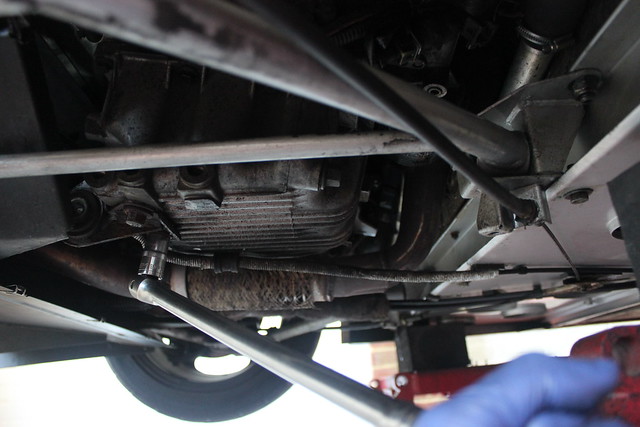
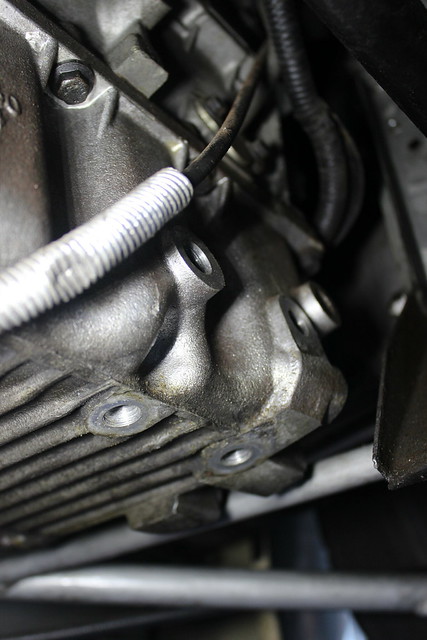
Having found the exhaust to be leaking at the join between the manifold and downpipe, when I first got the Elise, and noticed the flexi section underneath the sump had occasionally been touching the undertray. I figured the engine mounts might have got a bit tired after 20 years causing a bit more engine movement than there should be. I always prefer the feel of driving with an engine that has less movement too so I had a look at what would be the best place to start for reducing some of the engine movement without any major increasing in NVH or needing to spend too much.
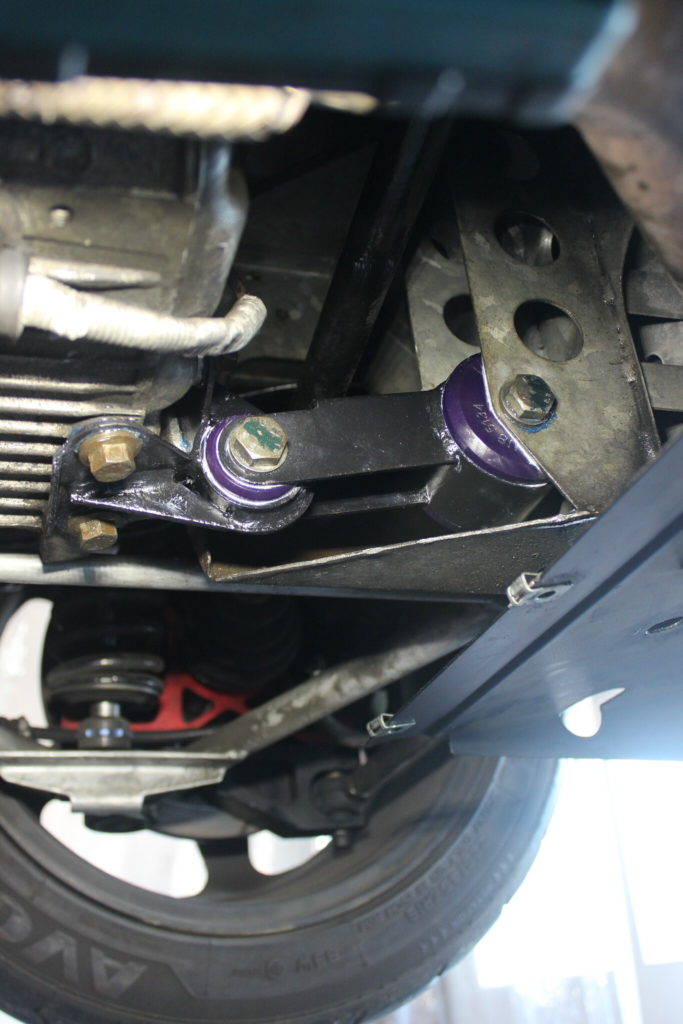
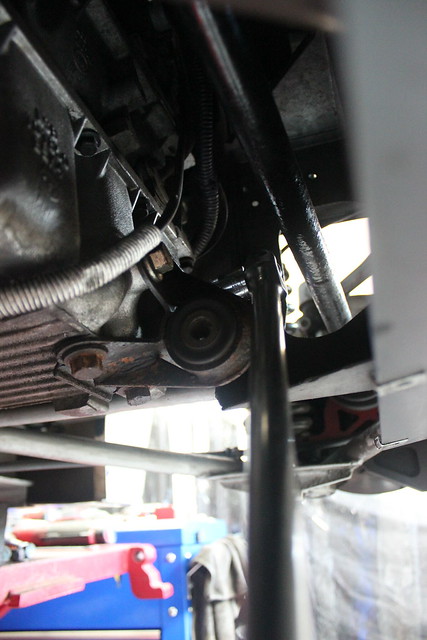
By far the simplest place to start for access is with the lower rear engine mount between the sump and subframe. Also reducing any movement at that point would clearly greatly reduce any pitch movement of the engine, which was the main thing I wanted to do.
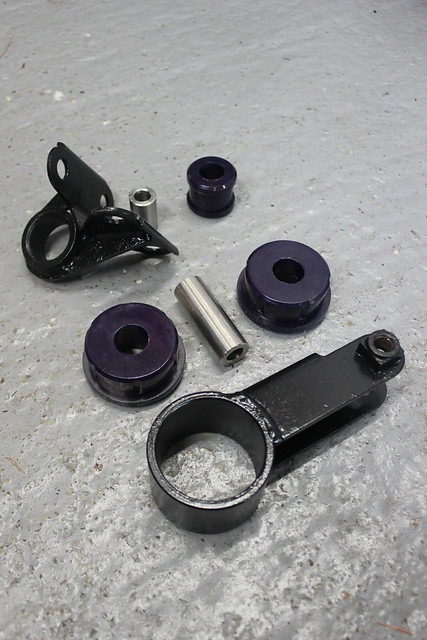
There are various options for replacing the lower engine mount that include just replacing the mounts for new OEM items or Elise Parts versions which they say have a higher quality rubber or polyurethane replacement bushes. Elise Parts also sell an adjustable mount which replaces one of the rubber bushes with what looks like a smaller and, probably therefore, stiffer rubber bush. I think the ability to adjust the mount can be useful when fitting a larger 4-2-1 or 4-1 exhaust manifold as they can be tight for space meaning some adjustment in the tilt of the engine can help gain a bit of clearance.
All things considered I went for replacement Polyurethane bushes as I’ve fitted plenty replacement poly bushes for suspension and engine mountings over the years and they always perform well, are easy to fit and are usually a very reasonable cost. I bought mine from and MG specialist called MG Mania. If you don’t already know the K-Series Elise engine mounts are the same as used in the MGF. MG Mania Sell through their website and via eBay. Here’s a link.
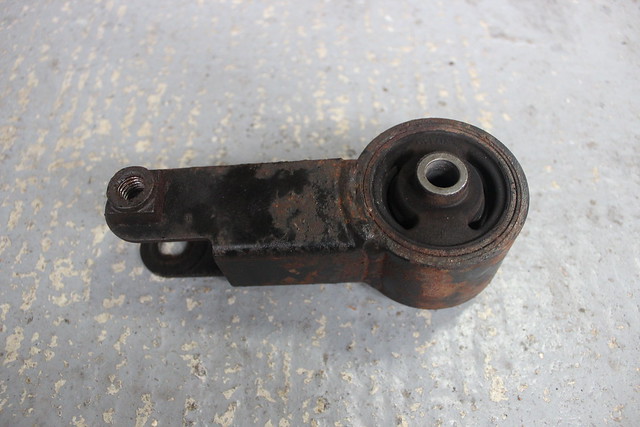
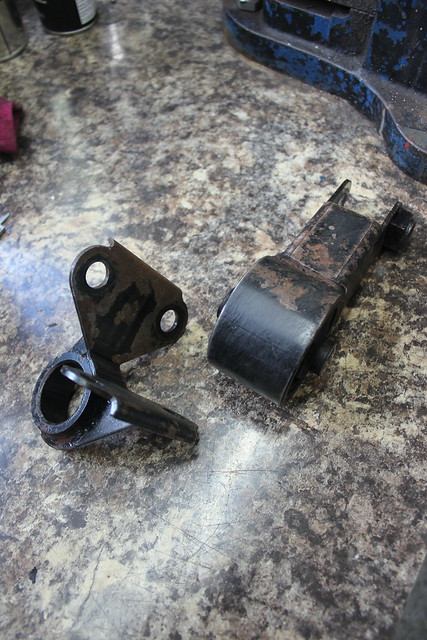
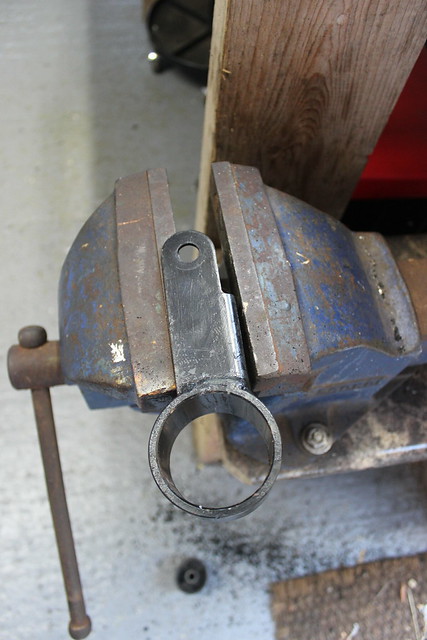
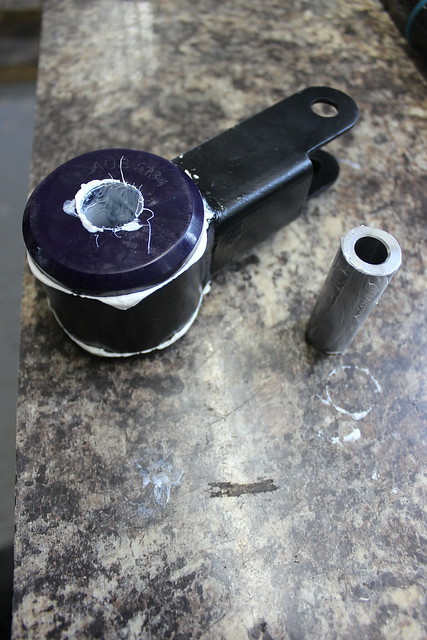
So to the job of removing the old rubber bushes and fitting the poly engine mount bushes. This is what needs removing.

The bolts were fairly tight so the smaller of my breaker bars was required.


Two bolts out.


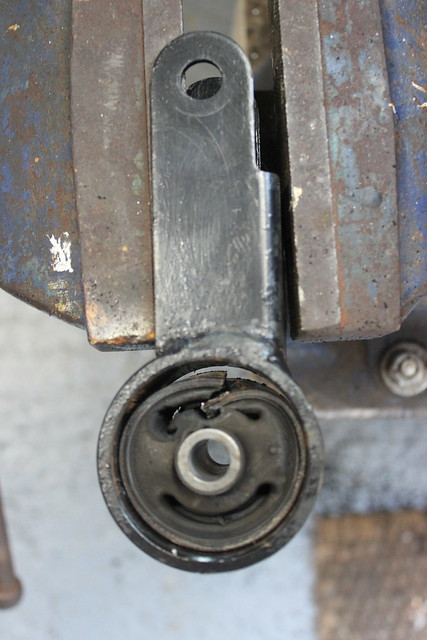
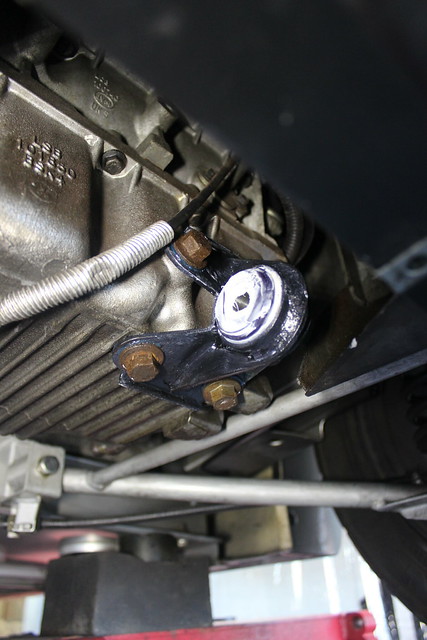
First bit removed.
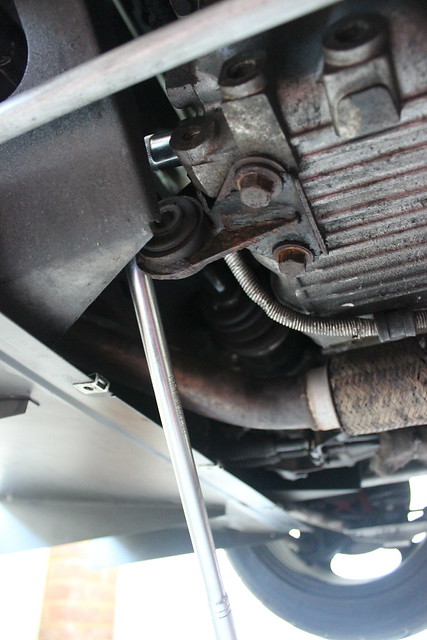
The part of the mount attached to the sump next. Again the bolts were quite tight.
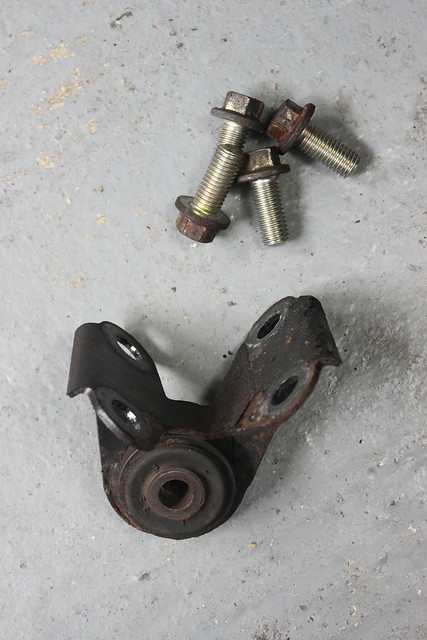
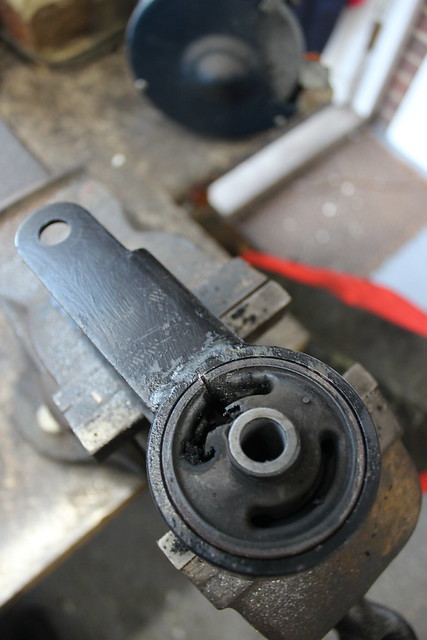
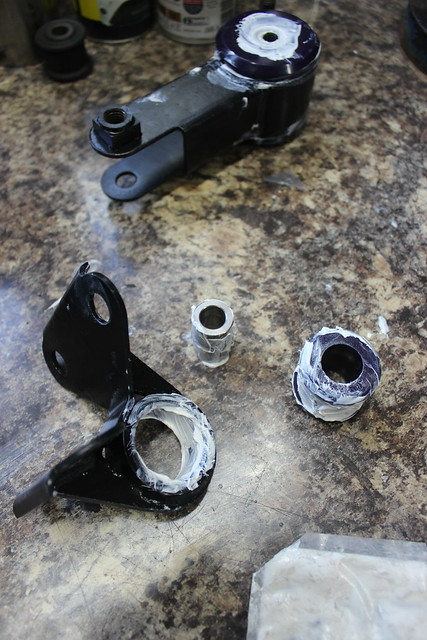
The smaller bush pressed out easily with a vice and a couple of sockets.

The larger bush would no doubt be more of a fight and I was a bit short of time so left that to quickly wire brush both brackets and apply some rust killer giving it plenty of time to set while I did whatever else it was I had to do.

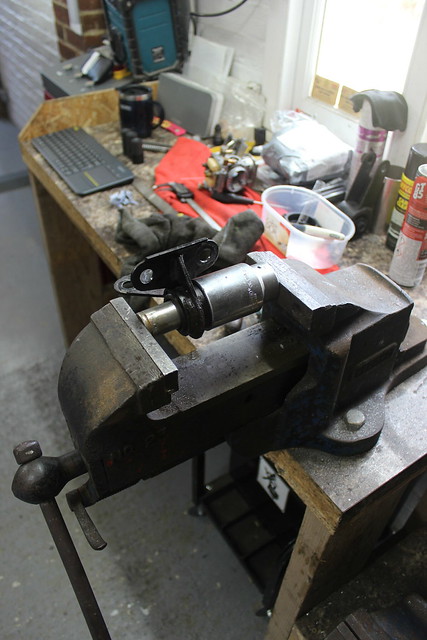
Now onto getting the larger bush out.

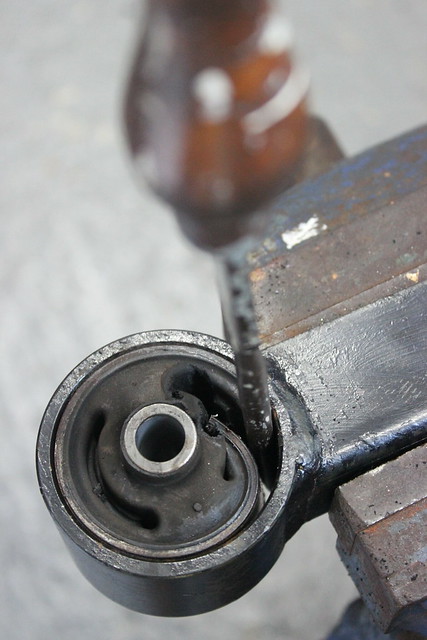
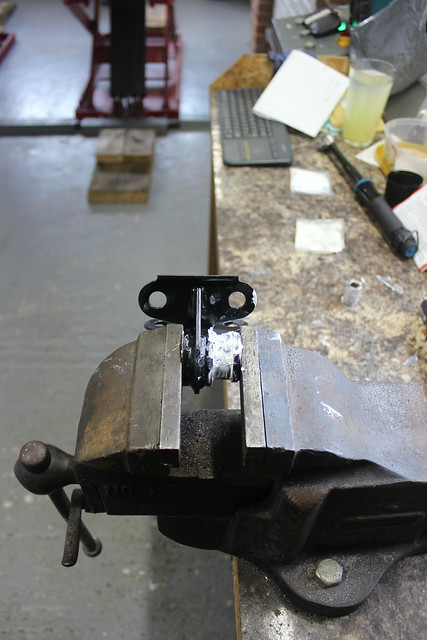
Attempting to press out bushes like this without exactly the right size sockets or inserts and a good solid press is almost always not worth the bother. Even with the right kit some metal sleeved bushes like this can be stuck pretty solid. I’ve found using a different technique is actually a lot less hassle and works every time. I’m sure I’m not the only one to do it this way either.
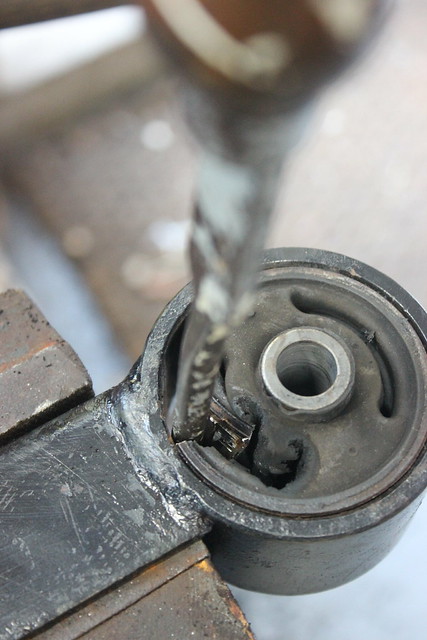
First drill out enough of the rubber bush to be able to slot a hacksaw blade in.


Push a hacksaw blade through the hole and fit the blade to the hacksaw. Then carefully cut through the outer metal sleeve of the bush. You don’t want to cut through the actual mount/bracket that the bush is fitted in so the blade needs to be kept very flat to the sleeve. A little nick in the bracket wont be a major problem plus choosing wisely where you make the cut, as I have here, will mean a mishap like cutting a little too far though won’t weaken the bracket badly.

Sometimes I will stop before cutting all the way through the bushes outer leaving just a very thin section of metal left so to be sure I don’t cut into the mount/bracket/suspension arm or whatever it is. Then it’s weak enough that some assistance with a screwdriver/chisel and hammer can finish the split.
Like so.


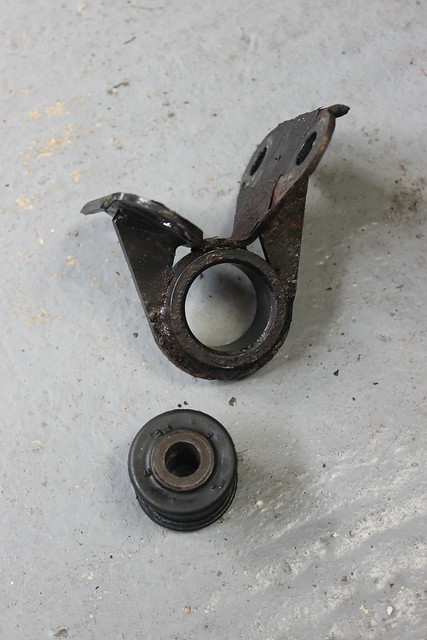
Now the metal outer ring of the bush is pulled away from the sides of the mount/bracket it is no longer wedged in and will press out or tap out with a hammer quite easily.

With both bushes removed I sprayed the mounts/brackets with a couple of coats of black paint.
While the paint dried I cleaned up the mounting faces etc where the mounts fit to the sump and sub-frame.

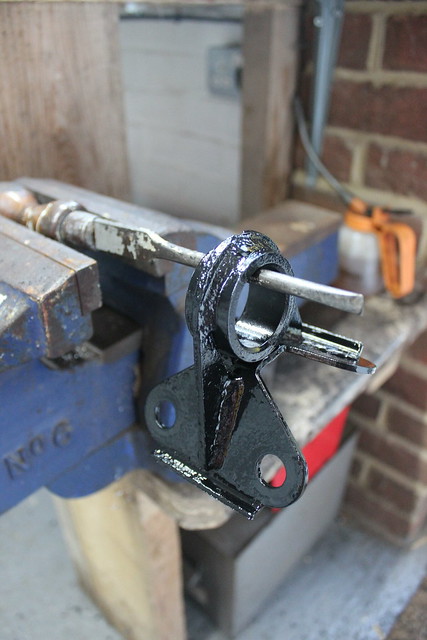
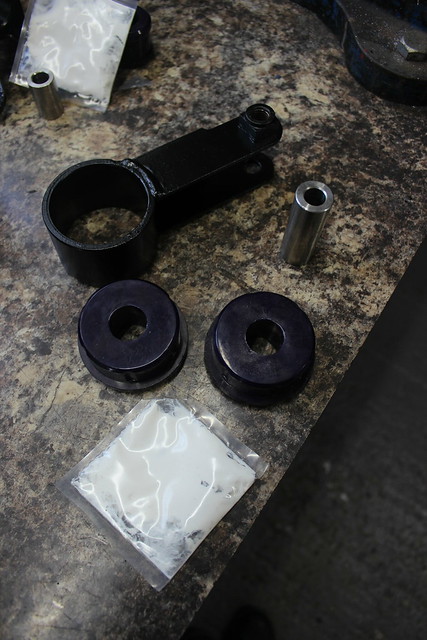
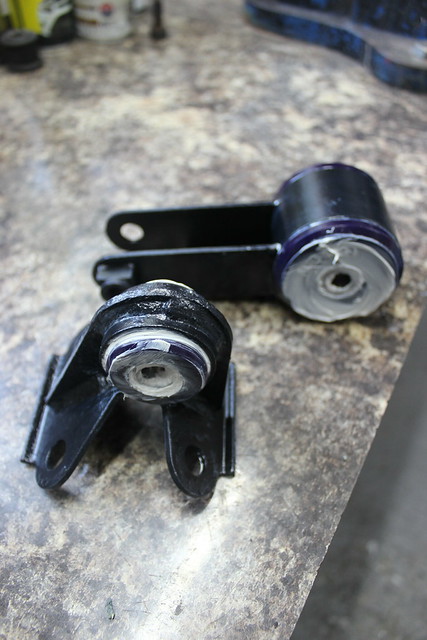
Now the poly bushes can be fitted.

Larger bush first, using the grease supplied.


Bushes in first, they press in with no trouble. Then the metal insert can go in which also presses in with a vice very easily.
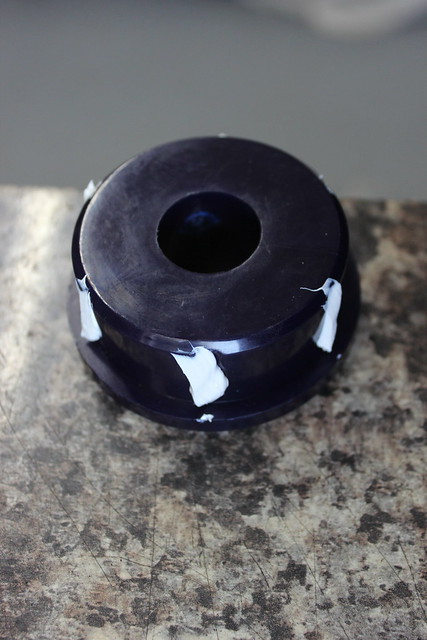
Now the smaller bush.

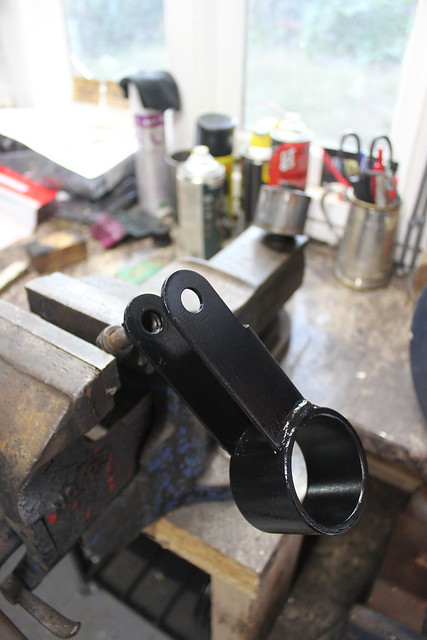
Both bushes and inserts fitted. Ready to go back on the car.


Job done. Having done a good few miles with these (I’m writing this nearly a year after fitting them) I can say they have caused no major increase in NVH. They have also made a noticeable improvement to driving when going on and letting off the throttle as there is clearly less movement before torque is output to the wheels plus the gear change feels a little more direct.
Certainly a worthwhile upgrade to the original bushes, especially if they are old and worn, for fairly low cost and little effort.