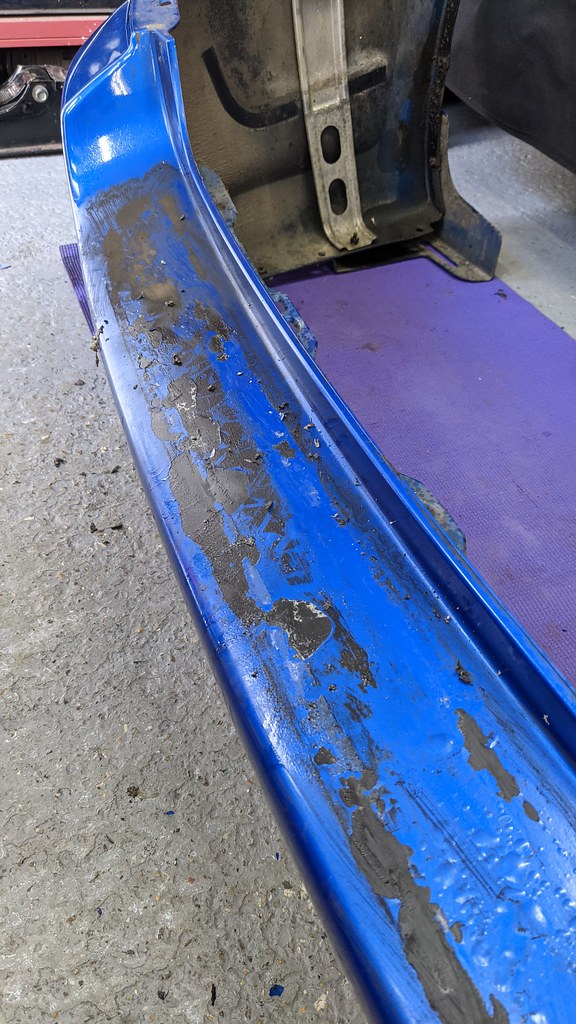
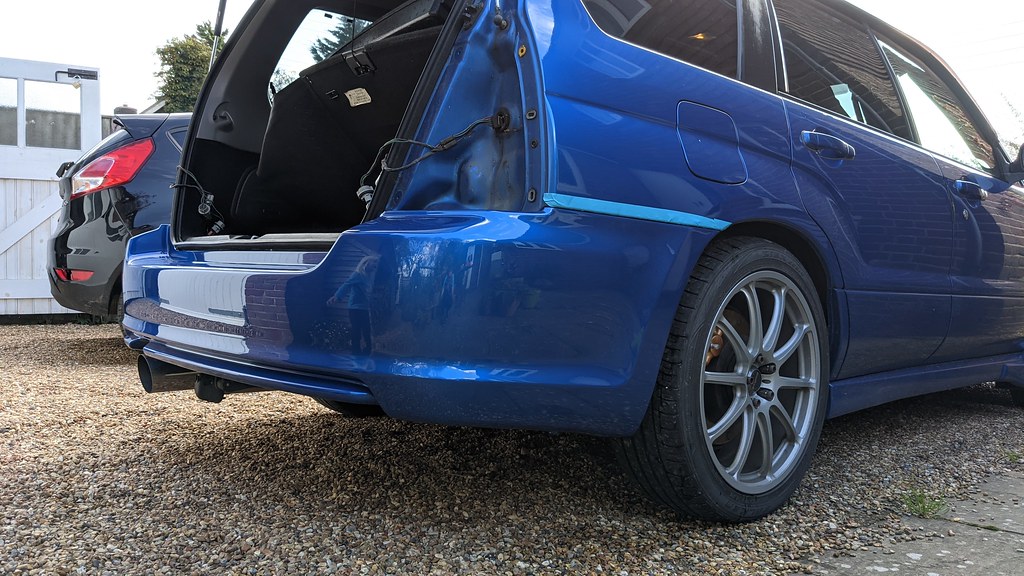
The rear bumper had been painted at some time prior to my ownership. It wasn’t the best job and some paint had started to lift in a few places. It didn’t jump out as being too obvious and nobody noticed until I pointed it out. But I always figured I’d get it repainted properly sometime. The problem was though ‘sods law’ says that, if I got it painted, the very next day I’d put a bike in the back and catch a pedal on it or something like that! So I was in no rush to repaint the bumper really but while the car sat not being used much during the pandemic, particularly during the extended period of hot and sunny weather, more of the paint started to lift and it bugged me enough to do something about it.

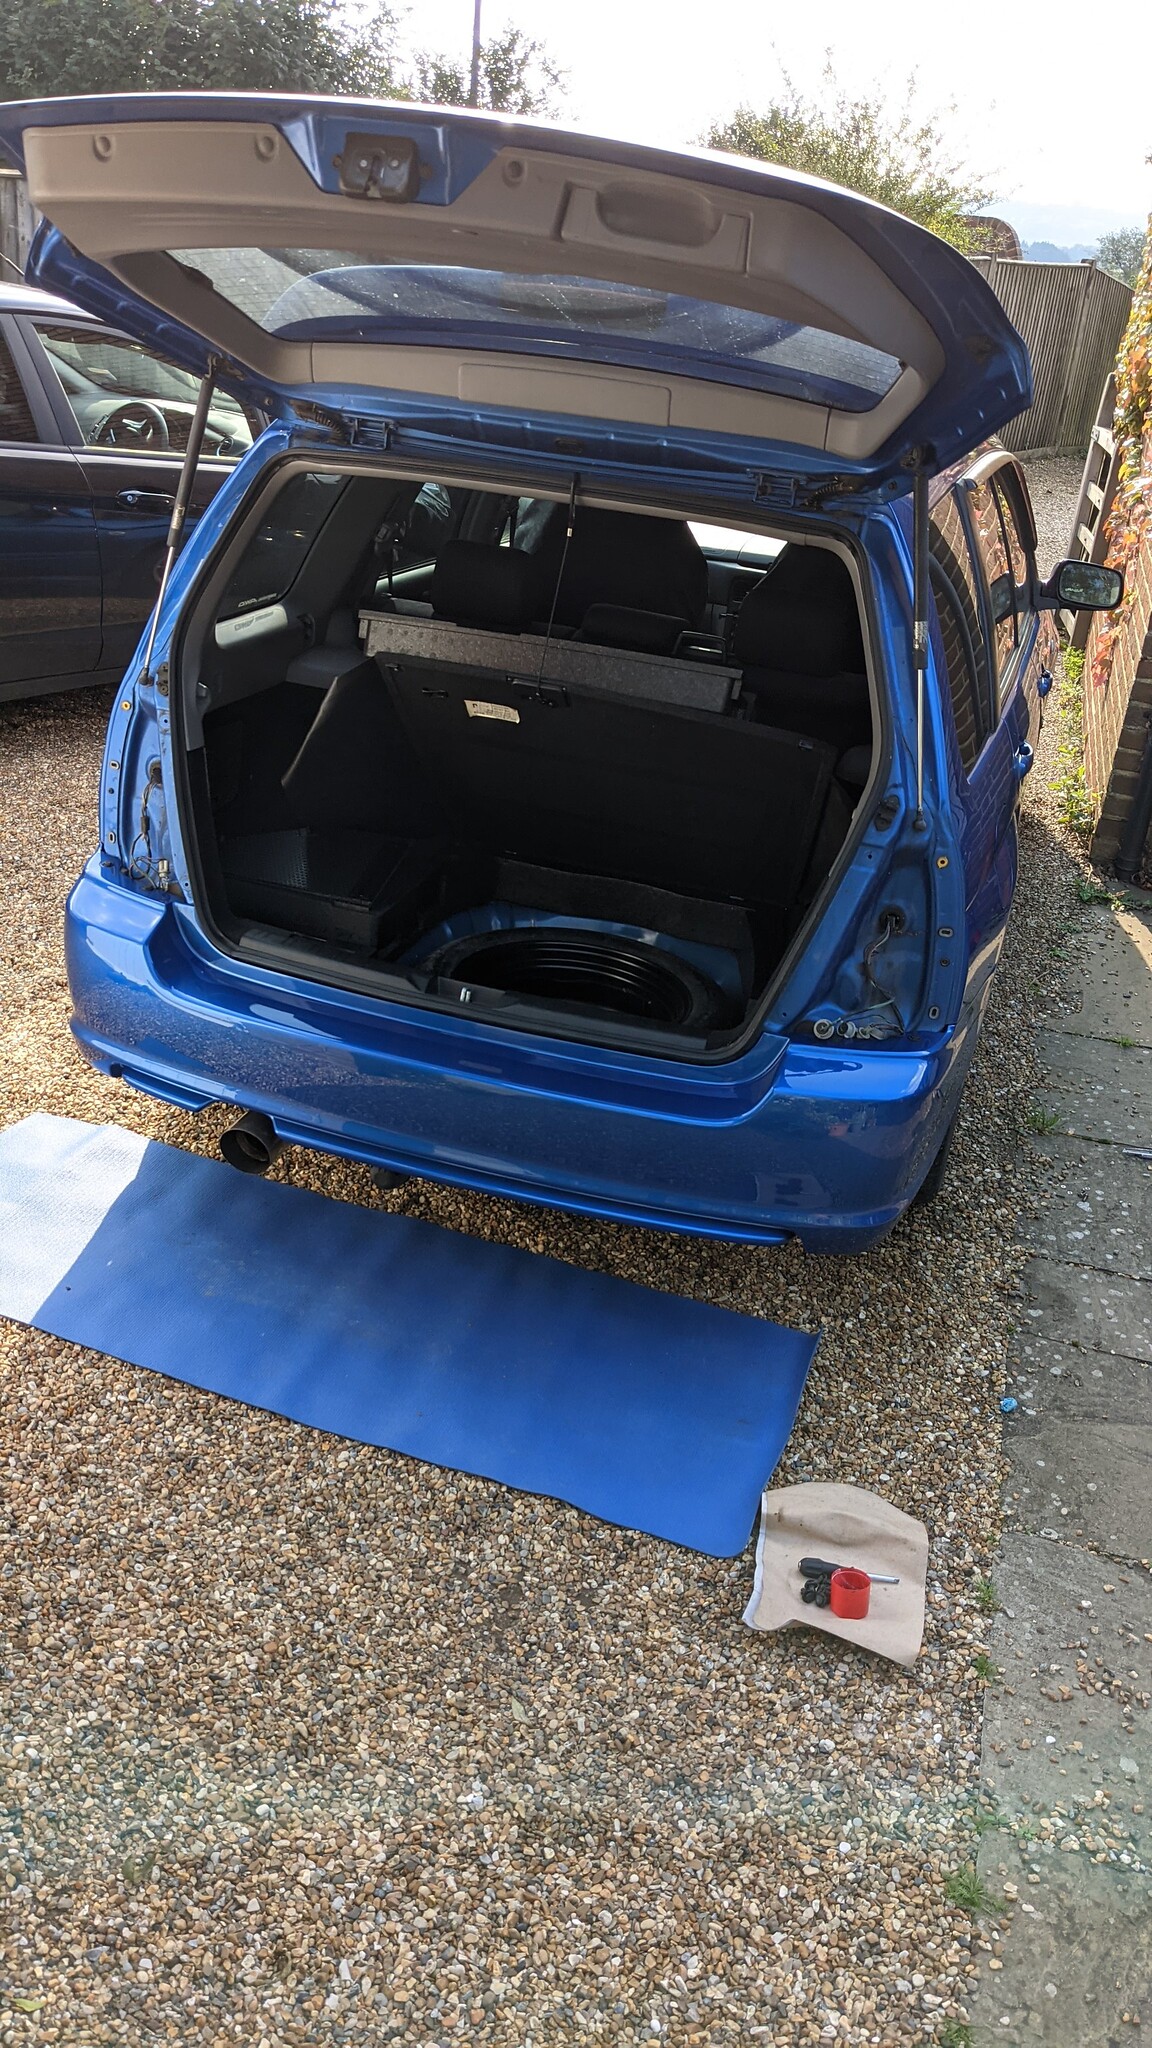
So a friend recommended a local guy and I paid a visit to him for a chat and estimate. He was booked up for quite a long time, but when I said I was thinking of just taking the bumper down which would make the job easier for him and the car wouldn’t be taking up space, he said he’d be able to squeeze the job in at some point sooner. So I did just that, the added bonus being and why I wanted to remove the bumper for the job, I could give it a proper clean before painting.
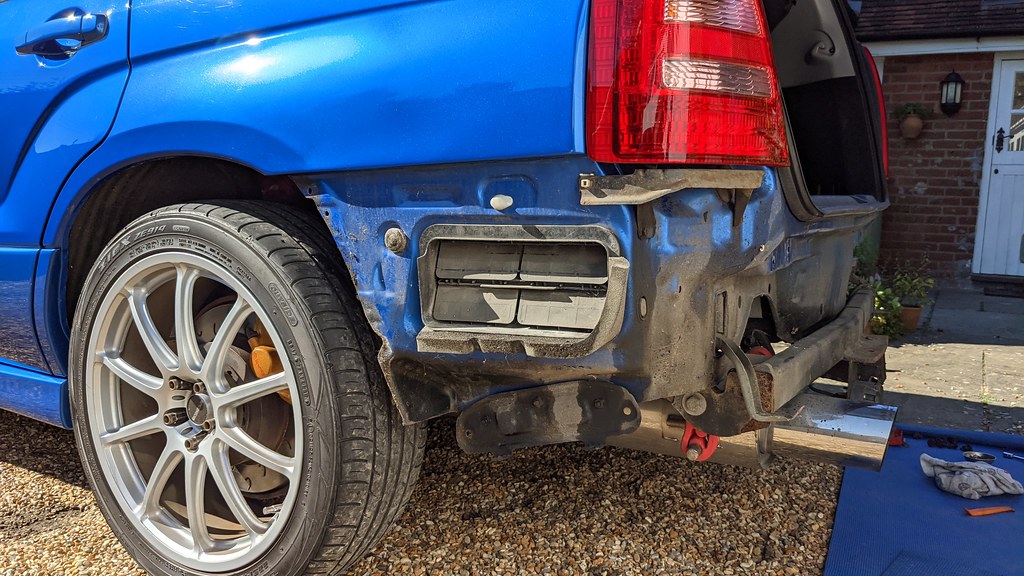
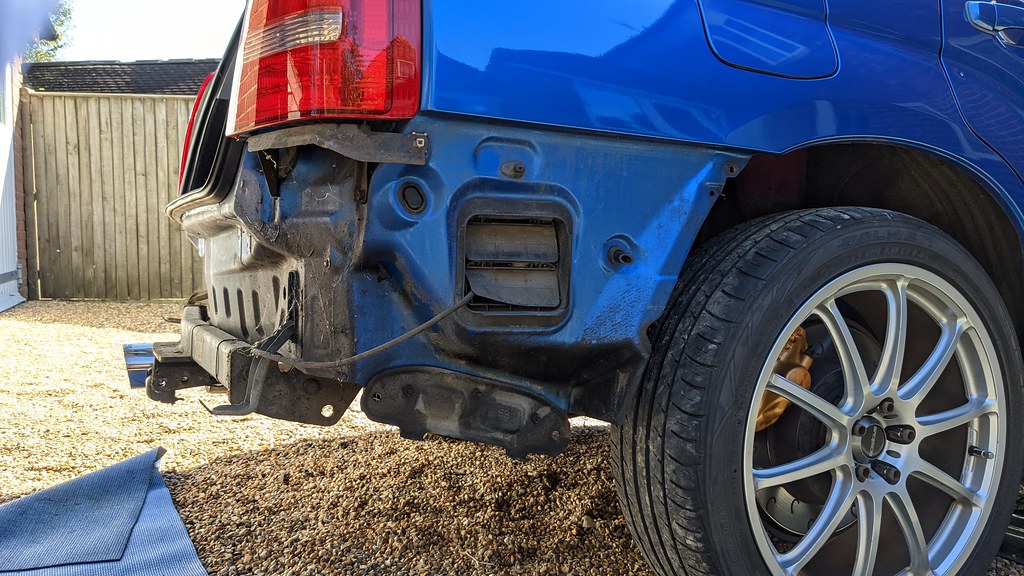
So I got the bumper off. It actually came off without much fight which was nice. Also, as you can see in the pictures, no rust lurking in the places it tends to on these cars which is good news!

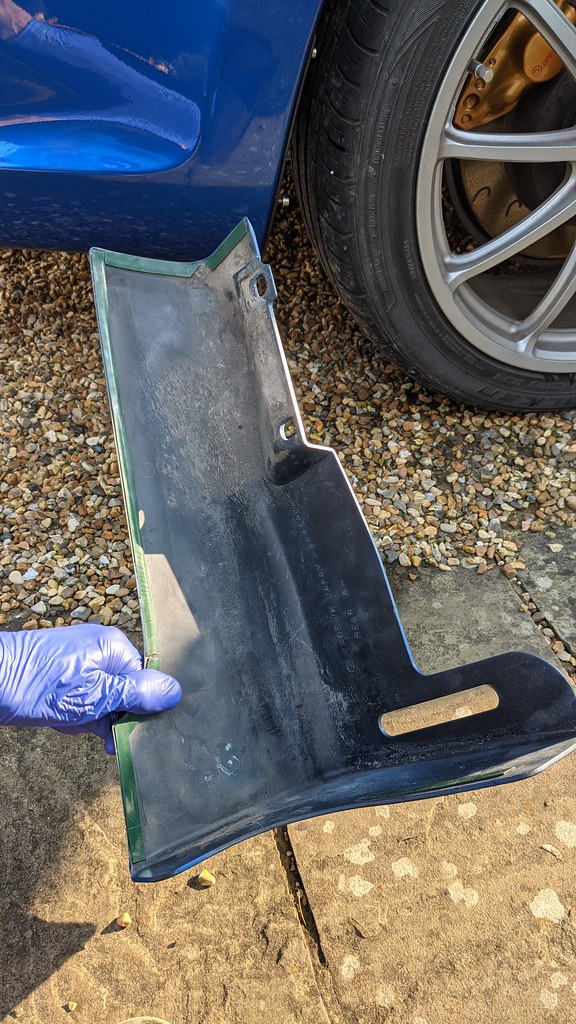
I removed the stuck on protective plate that had been fitted prior to my ownership. With it came a load of paint which was no surprise!

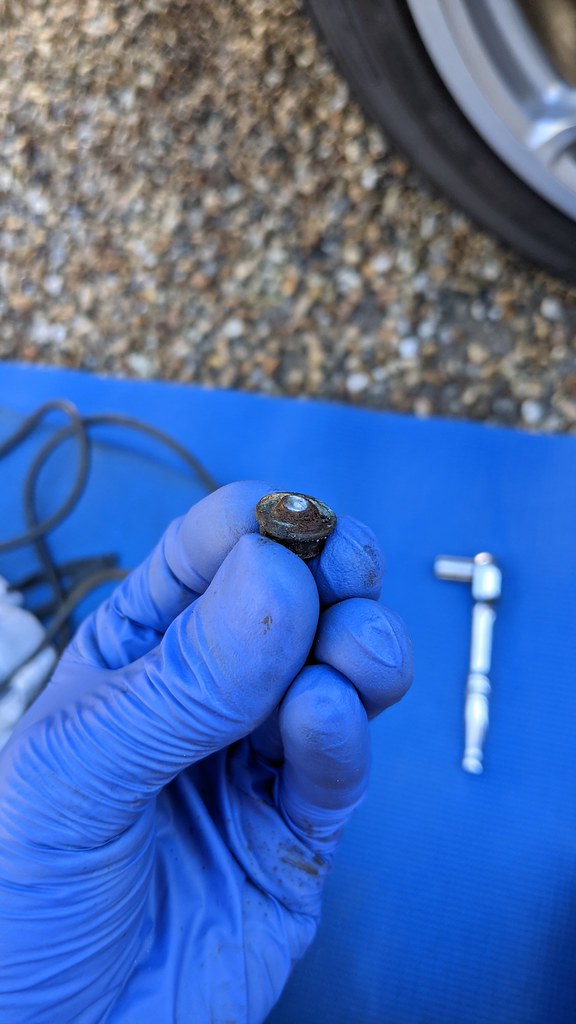
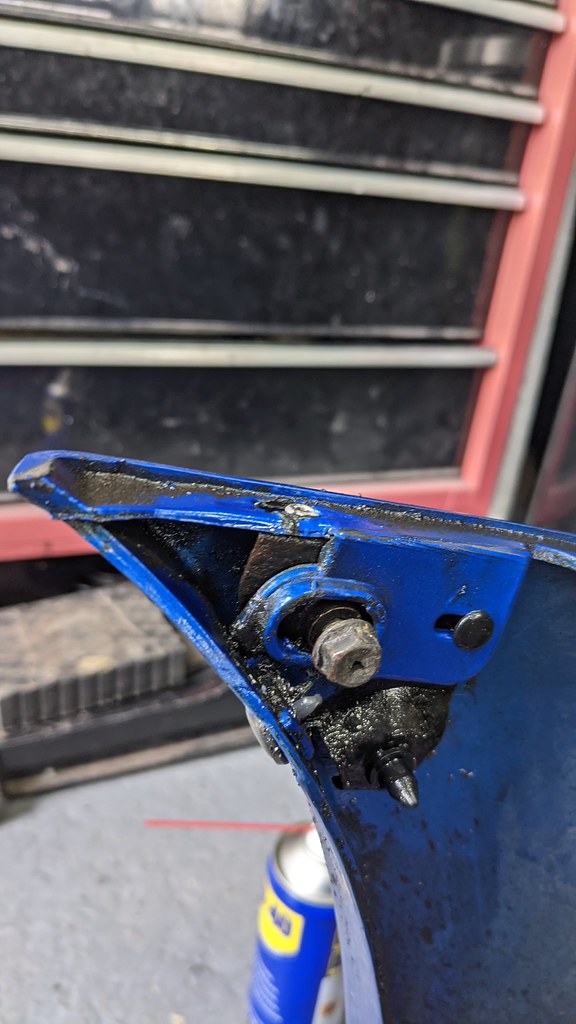
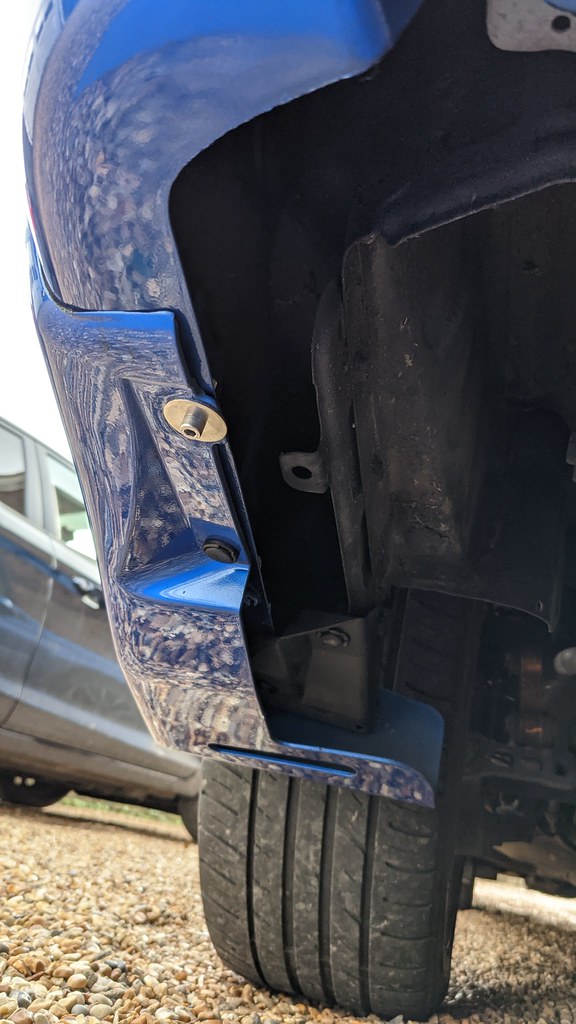
When removing the bumper, the drivers side bolt that holds the front edge in place broke off, leaving the the rest of the bolt in the fixing on the bumper. Fortunately the other side came out fine and all the other fixings came off without a problem. Now (before any fresh paint was on the bumper) was the time to drill and retap the fixing.


Drill a small hole right in the centre first. Notice the metal plate pushed up behind where I’m drilling. It would be easy to pop through and stick a drill bit through the bumper too!

Increasing the hole size bit by bit.


Tap the hole out back to what it should be.

Some new stainless steel bolts and washers to replace the original bolts. These won’t get stuck in again.

Now a proper clean inside and out. Any dust or dirt left anywhere can get blown around and into the paint when it’s being painted so best to make sure there’s none on the bumper anywhere.

Bumper protected and in the back of the car.

Car bumpers are big. It went in easily enough though..

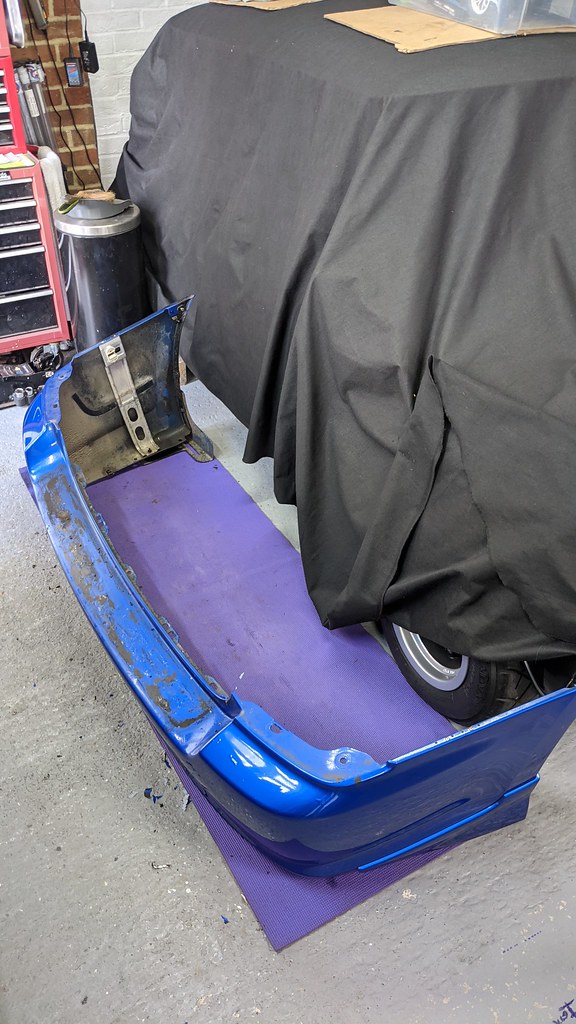
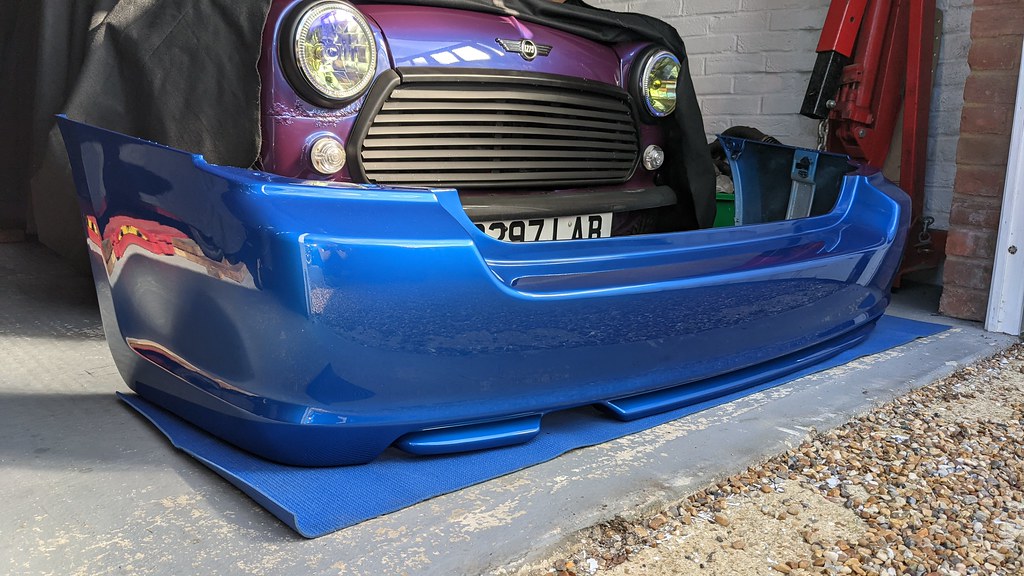
A week or so later I picked up a freshly painted bumper. The spats were removed and all the previous paint was stripped off. No point putting new paint on top of old paint that’s not adhered properly!


Getting it back on the car.

Some masking tape on the edges of the rear wings to prevent any damage to the paint while fitting the bumper up. I also got my glamorous assistant to help as trying to do this on my own would have been asking for trouble.
More stainless steel fixings.
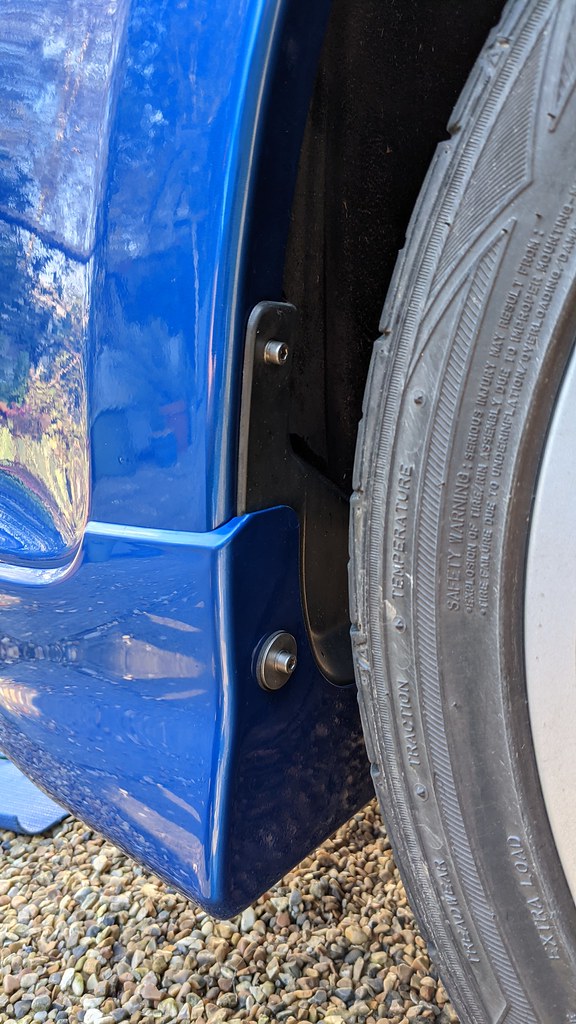
Now the spats can go on.

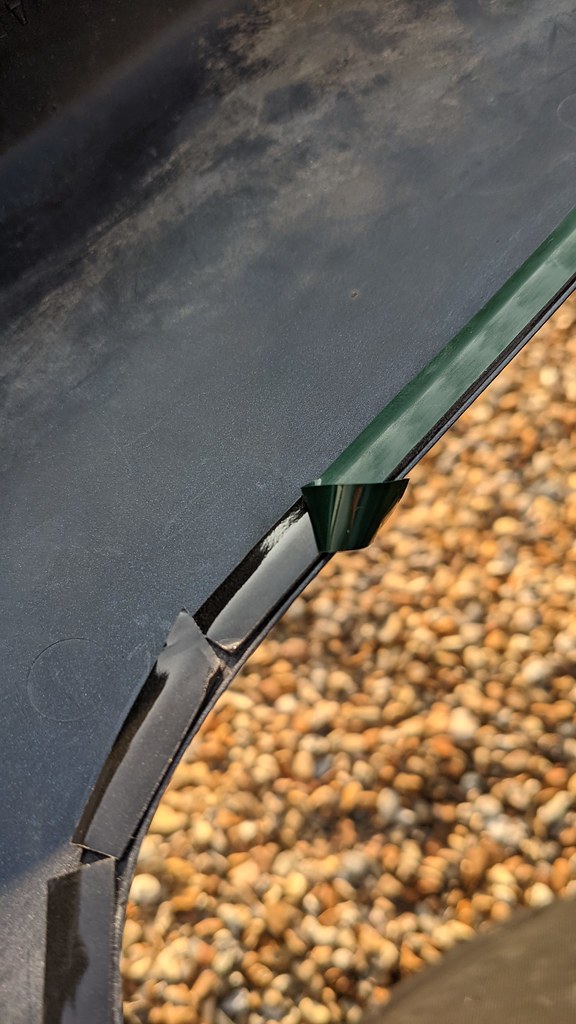
They are originally fitted with a combination of sticky foam like this, bolts and clips.

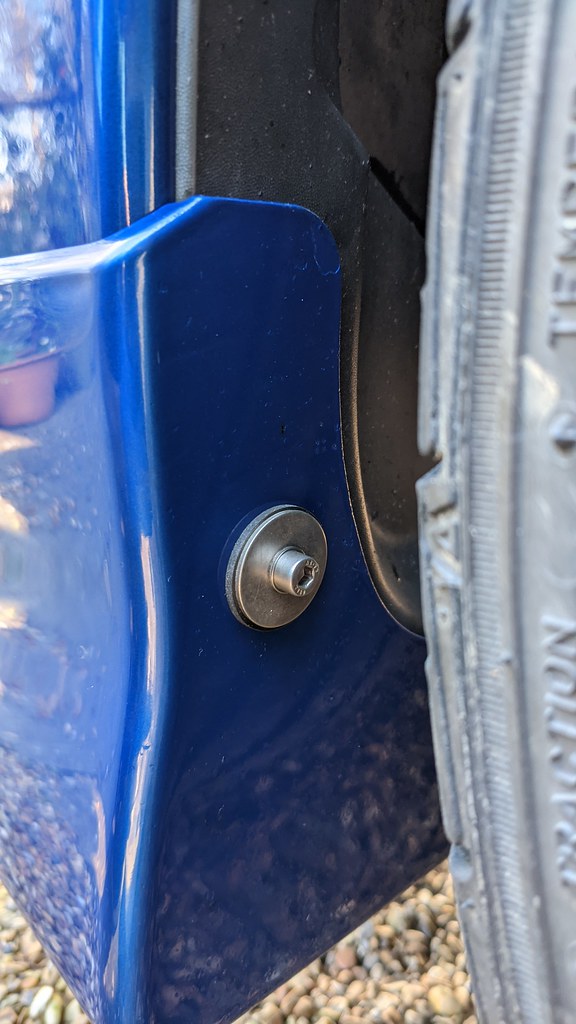
Large stainless and rubber washers to prevent the fixing damaging the new paint.
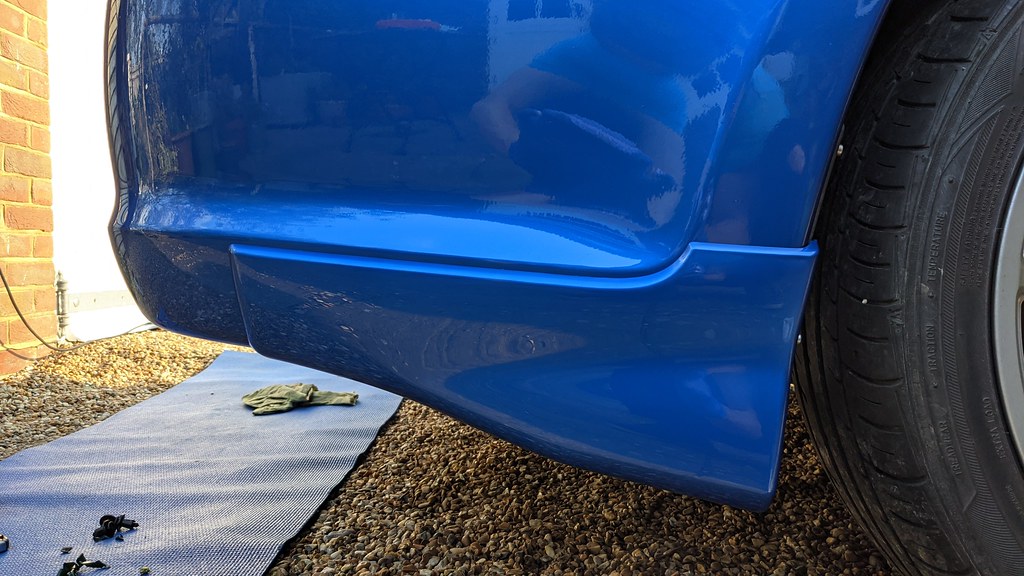
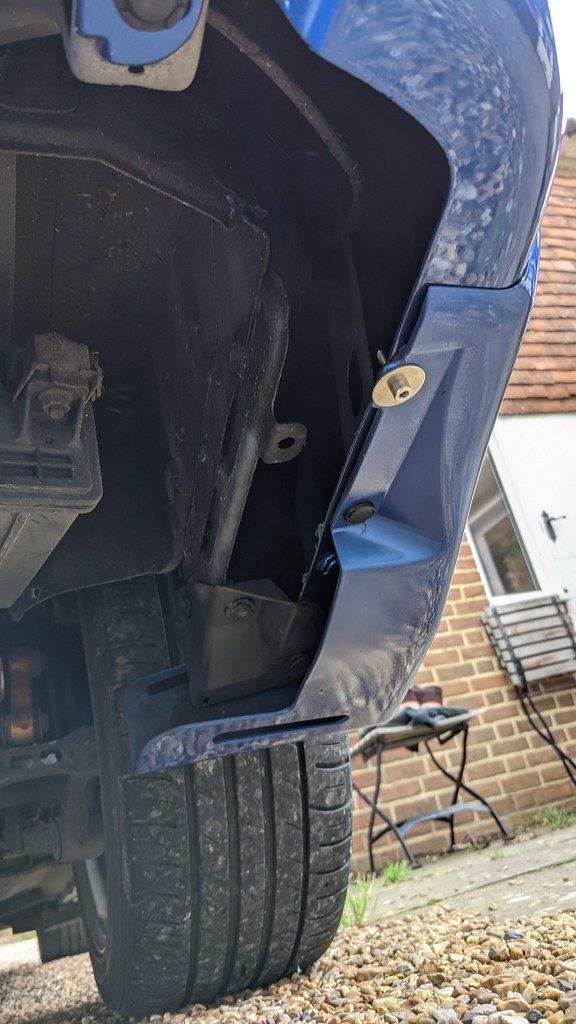
Drivers side done. Nice panel gaps.


Passenger side done.
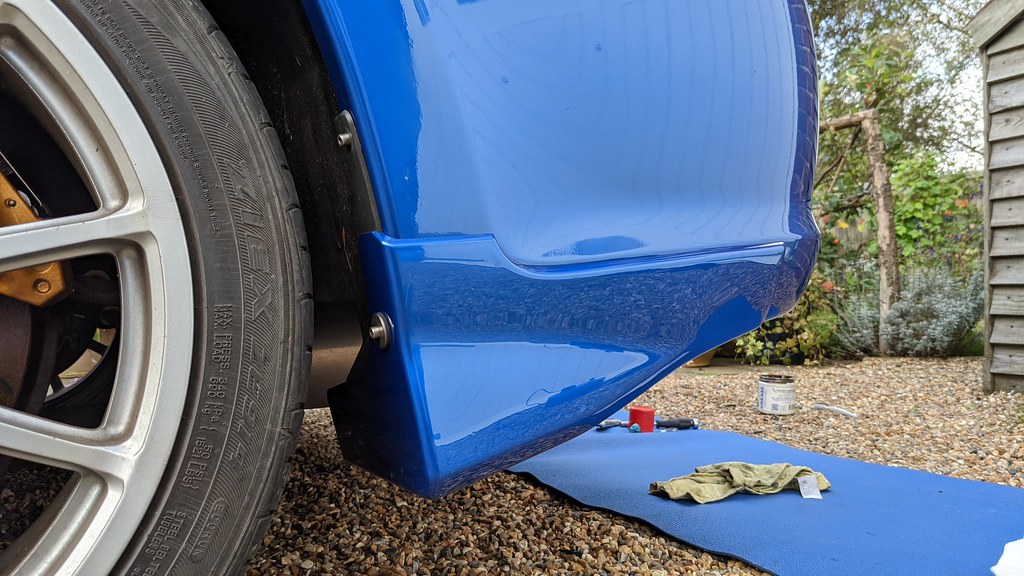
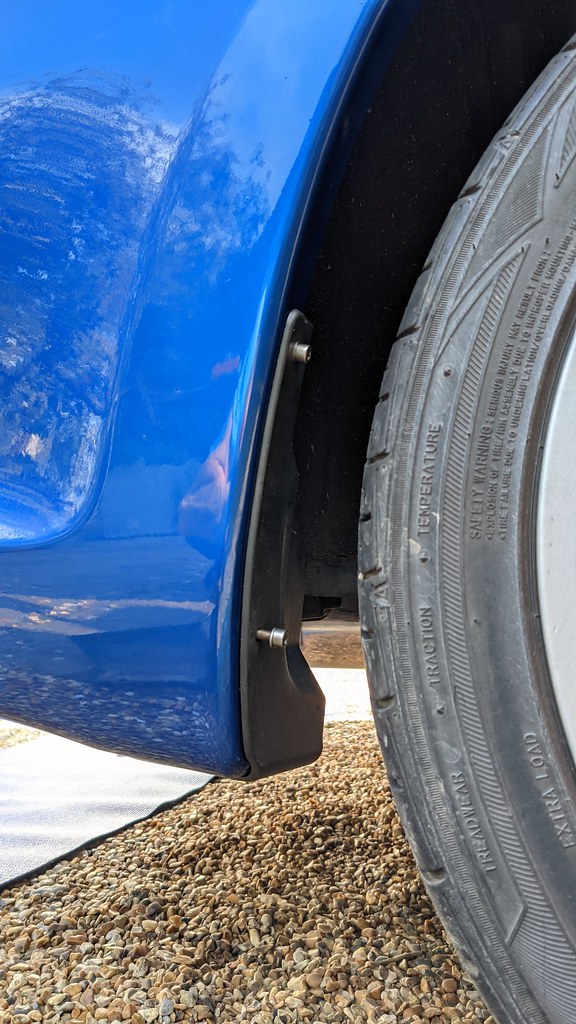
All bumper and spat fixings in place underneath.


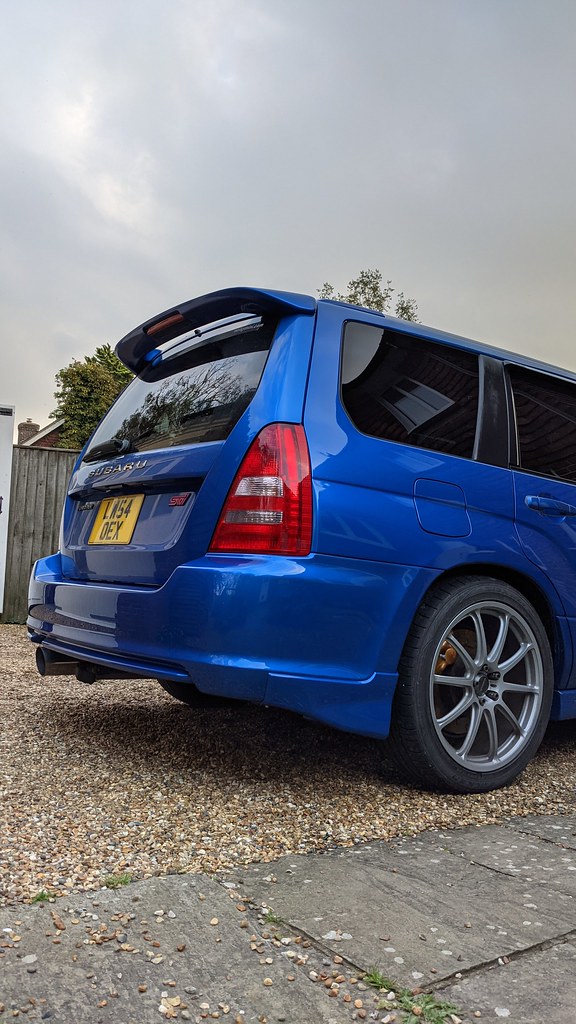
Job done. Looks nice, just gotta keep it that way!