As soon as I got the Elise I got it up on the lift for a good look over and found a few little jobs that needed doing including replacing some suspension parts like a ball joint and track rod ends at the front and a couple of toe link rod ends at the rear, all detailed in previous posts.
As I was doing these jobs though, I could see I’d eventually want to do a full suspension refresh but at the time I just wanted to do what was necessary to get the Elise on the road and enjoy it. The problem was it was March and the nice cold but dry early spring days I was expecting never materialised and the Elise sat in the garage a lot.
I started to think I may as well have it in bits and be getting on with a full suspension refresh so I could enjoy it all summer with the suspension all tip top.
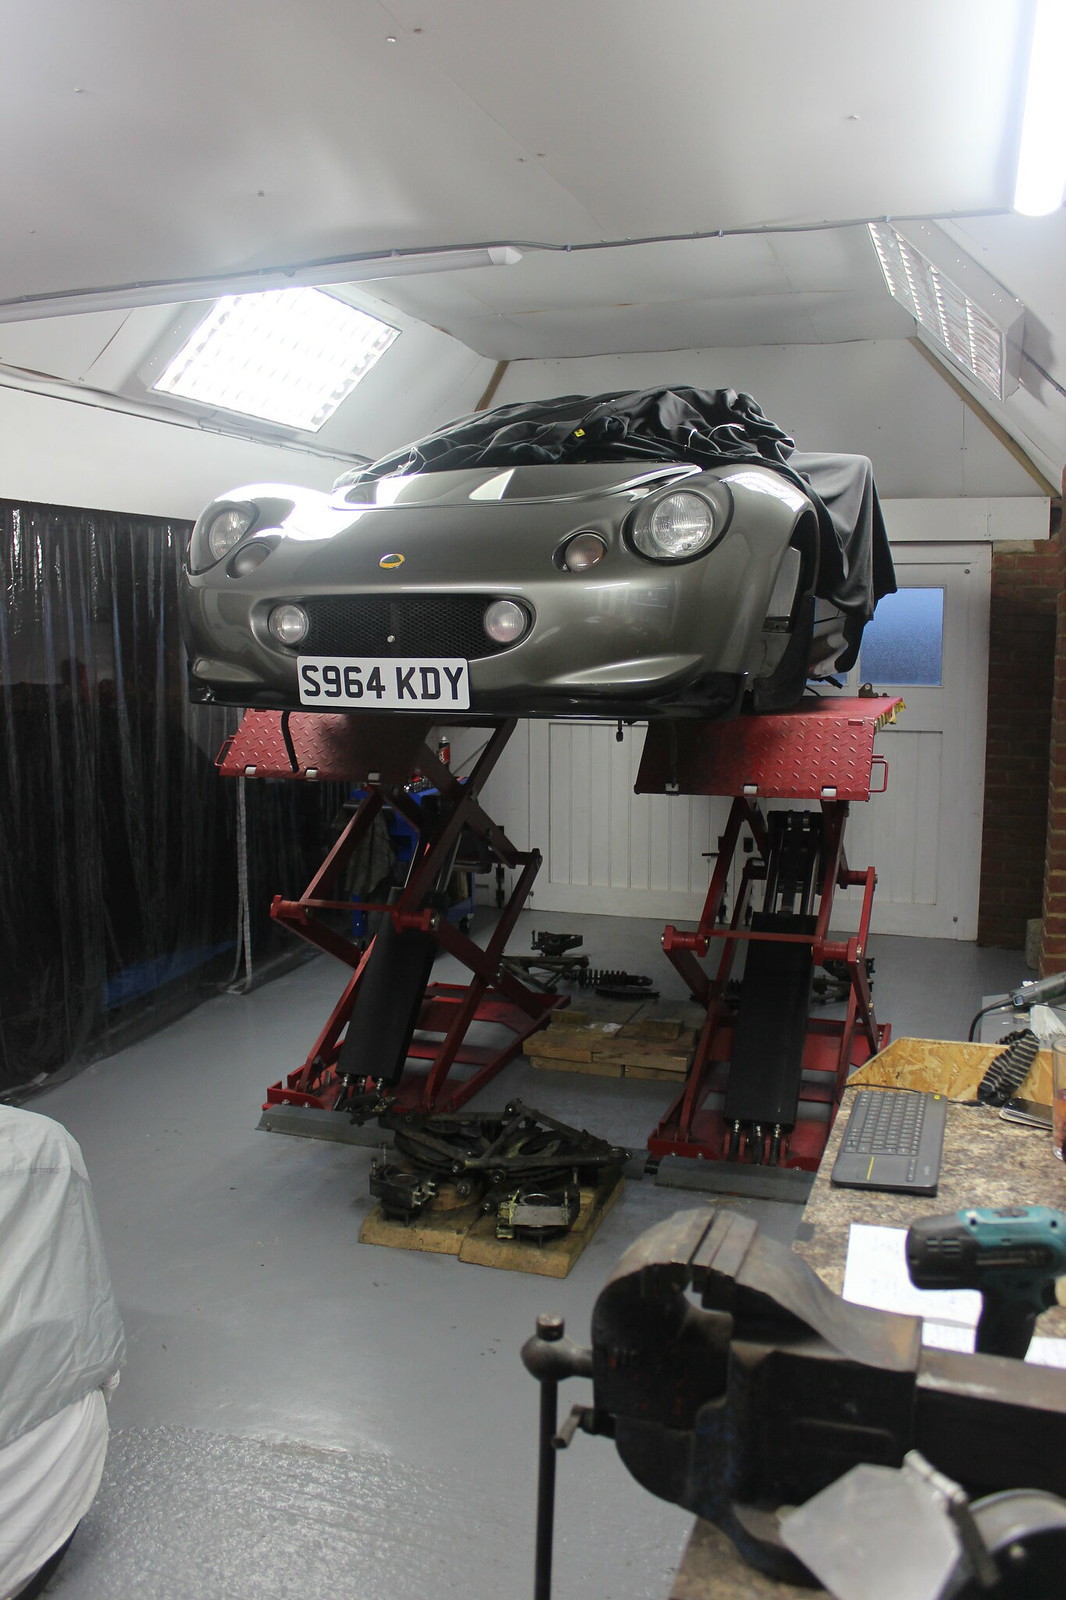
Well my itchy fingers got the better of me and I got the Elise up off the ground and just got stuck into stripping it down.
I started at the rear end.
Handbrake on, fetched my biggest breaker bar and got the hub nut undone. As I had the breaker bar out I also undone the bolts that go through the front ‘drive flanges’ at this point.
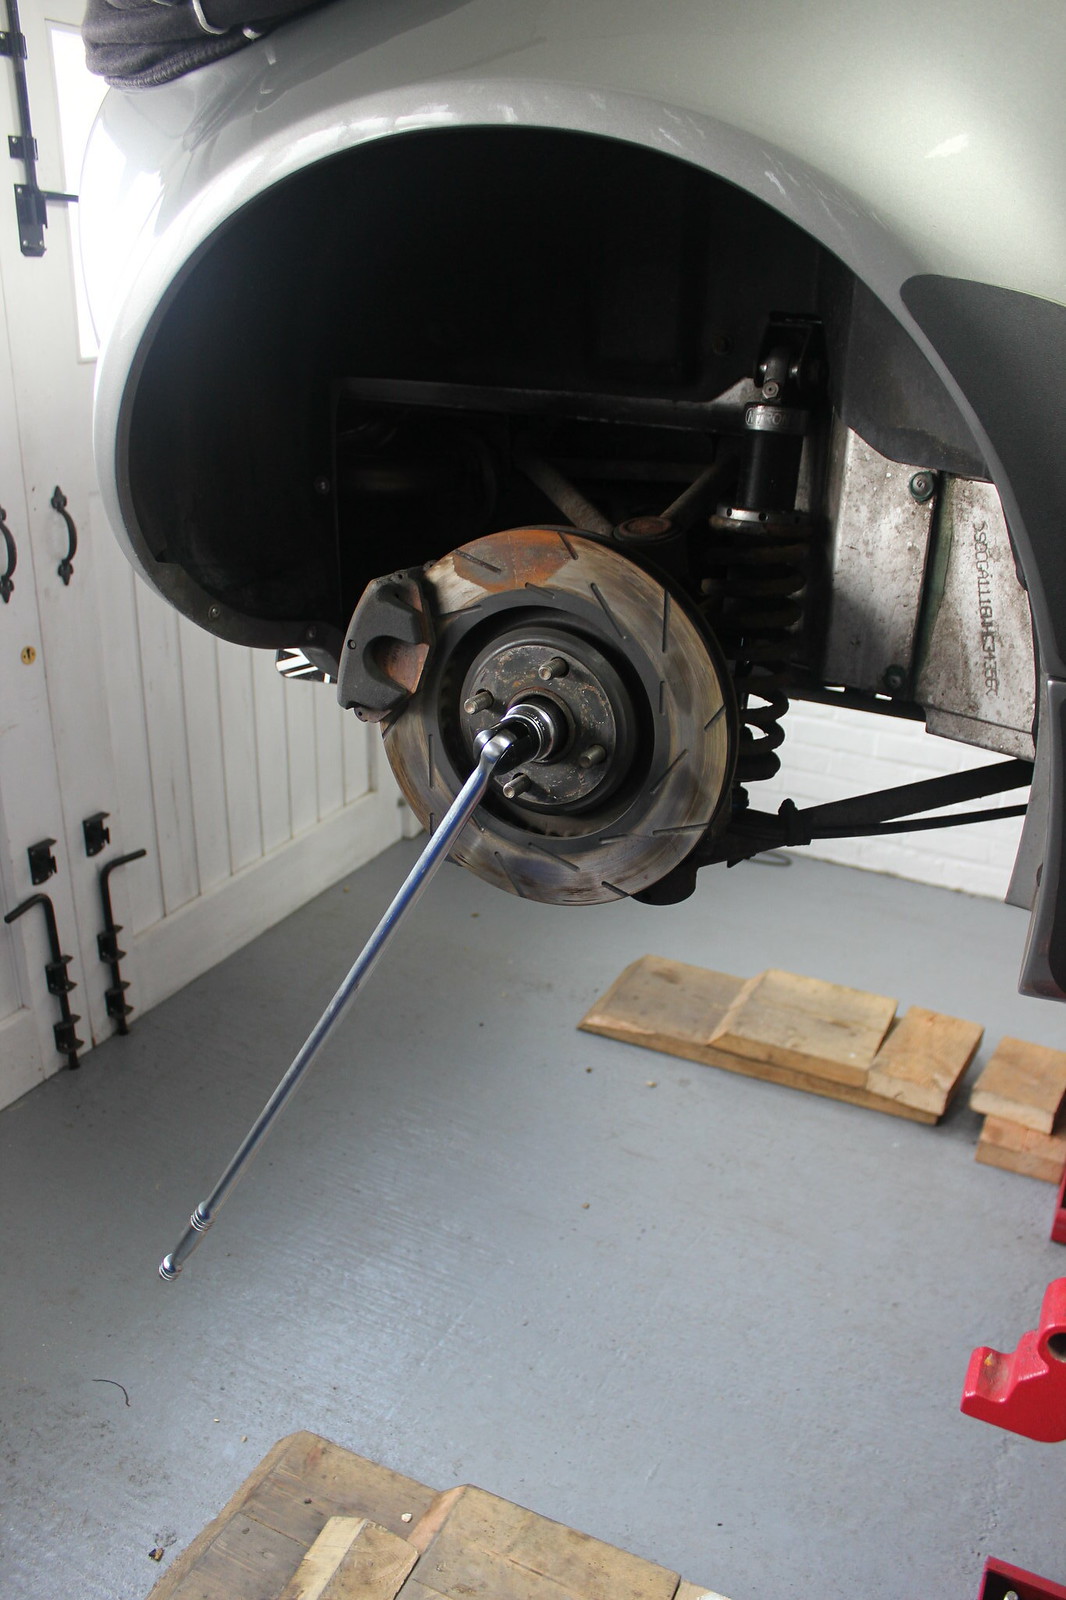
Plenty of WD40 penetrating oil and a bit of heat in certain areas to help things come loose.
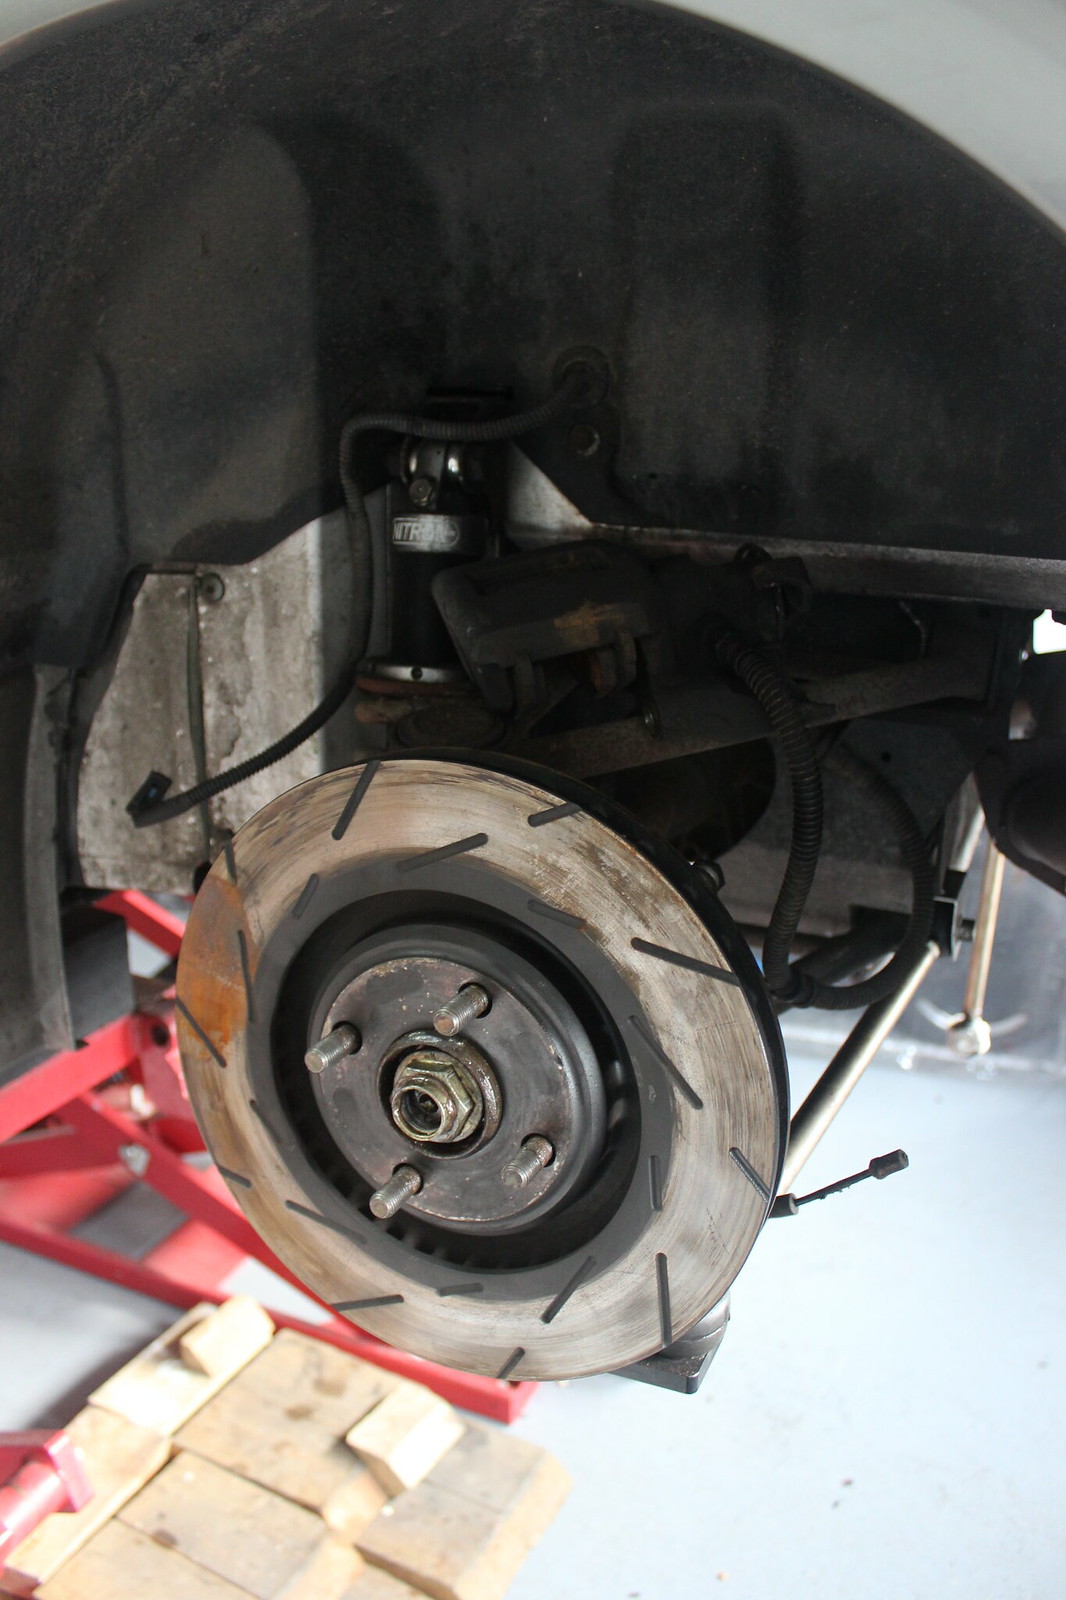
Disc and caliper off.
Hub nut off. I bought myself a puller as I expected the CV joint to be fairly well stuck in the drive flange but all it needed was a good tap with a hammer and it slid out easily.
4 bolts holding the ball joint plinth to the upright/hub carrier removed.
Lower ball joint nut undone and plinth being split from it. I always leave the ball joint nut on the end of the thread as it helps keep the splitter located.
Upright removed.
Upper ball joint nut undone and the joint being split from it’s plinth.

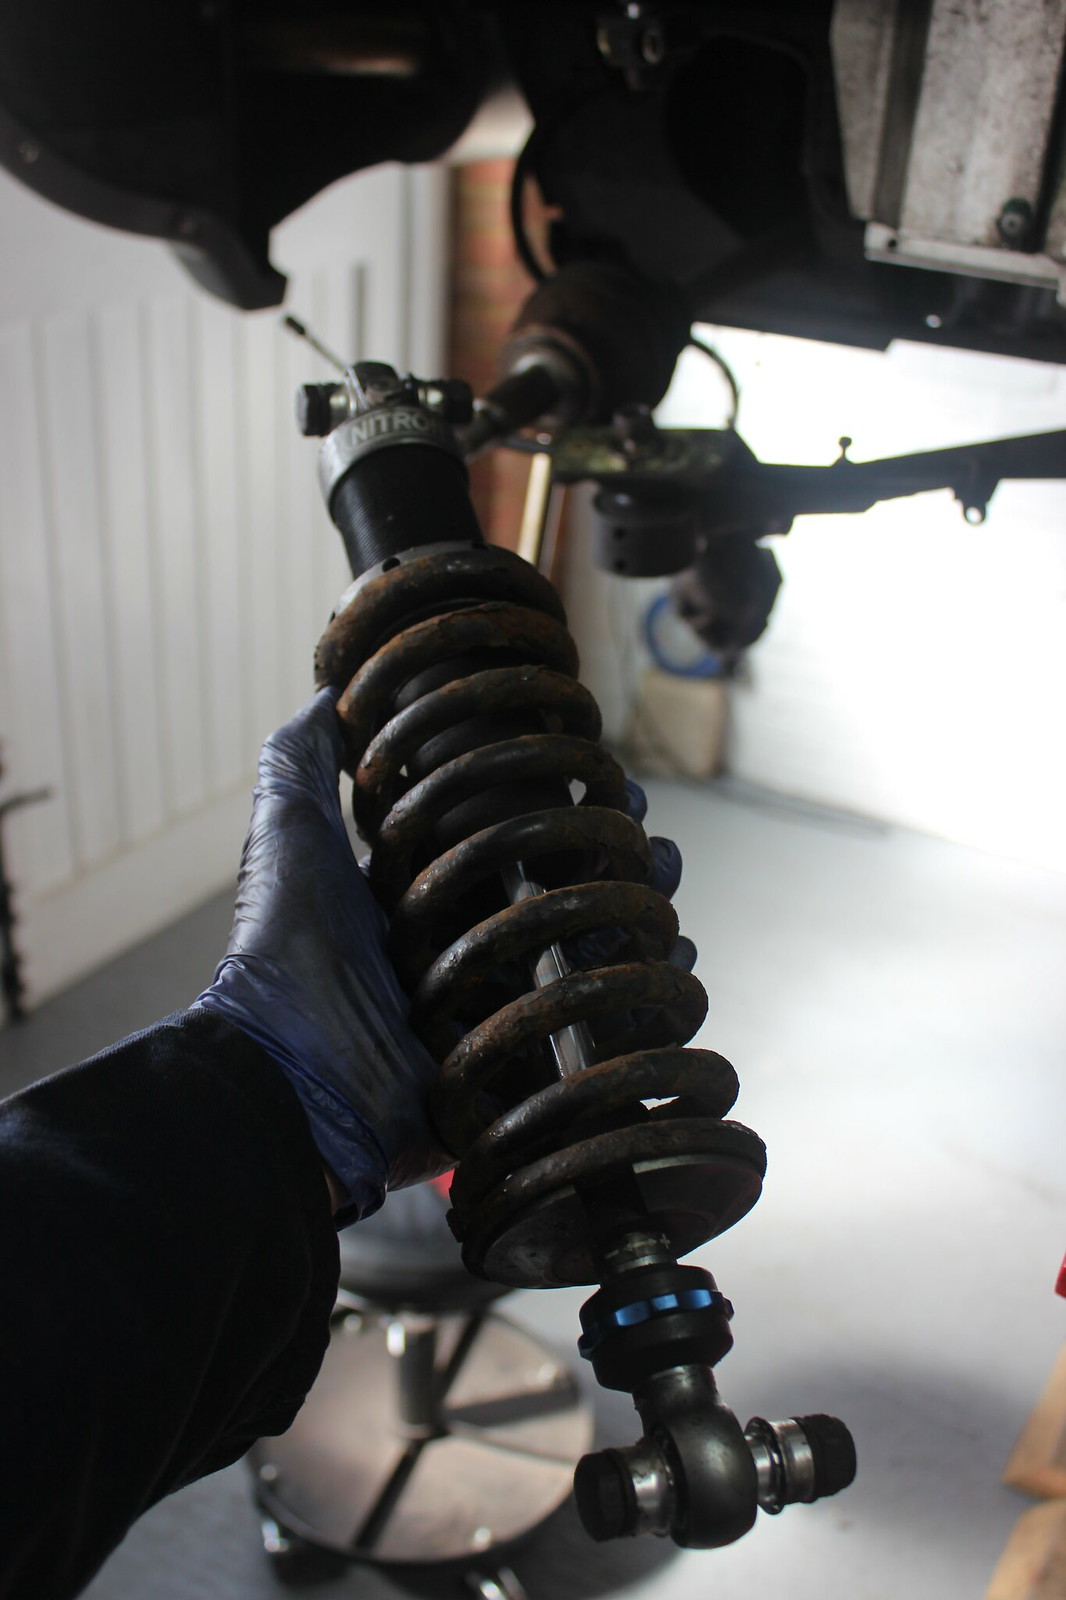
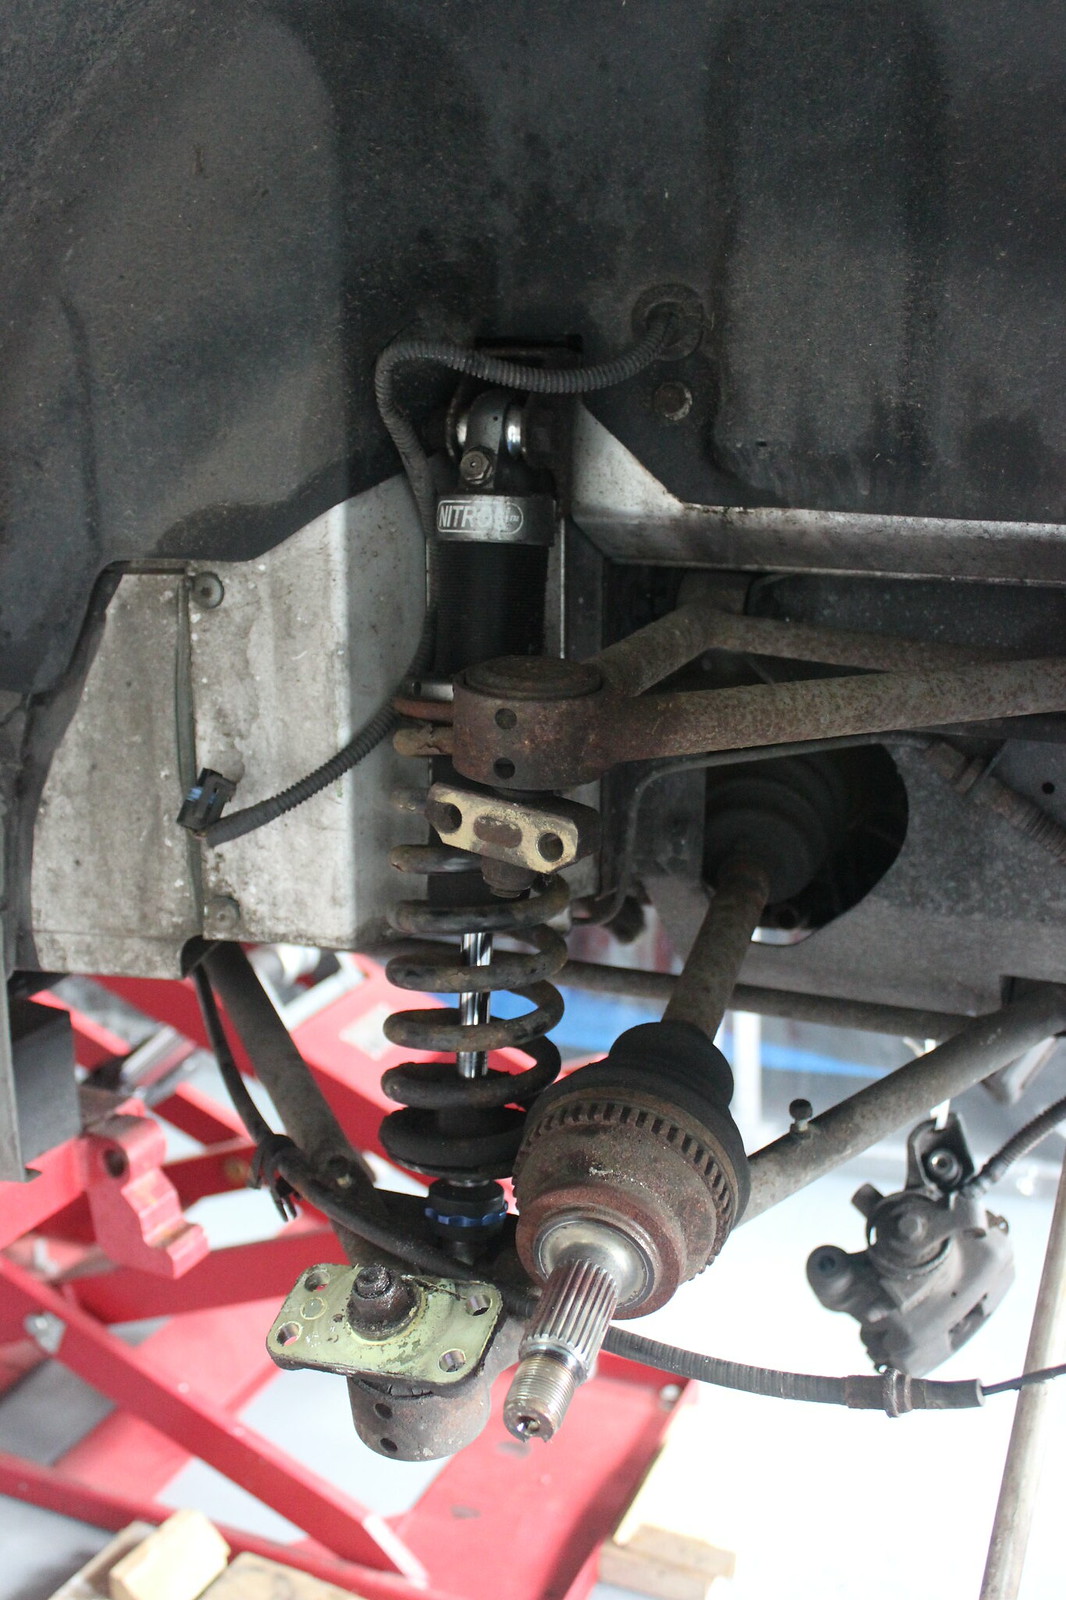
Shock off.
Upper wishbone bolts undone.
Upper wishbone removed.
Lower wishbone off.
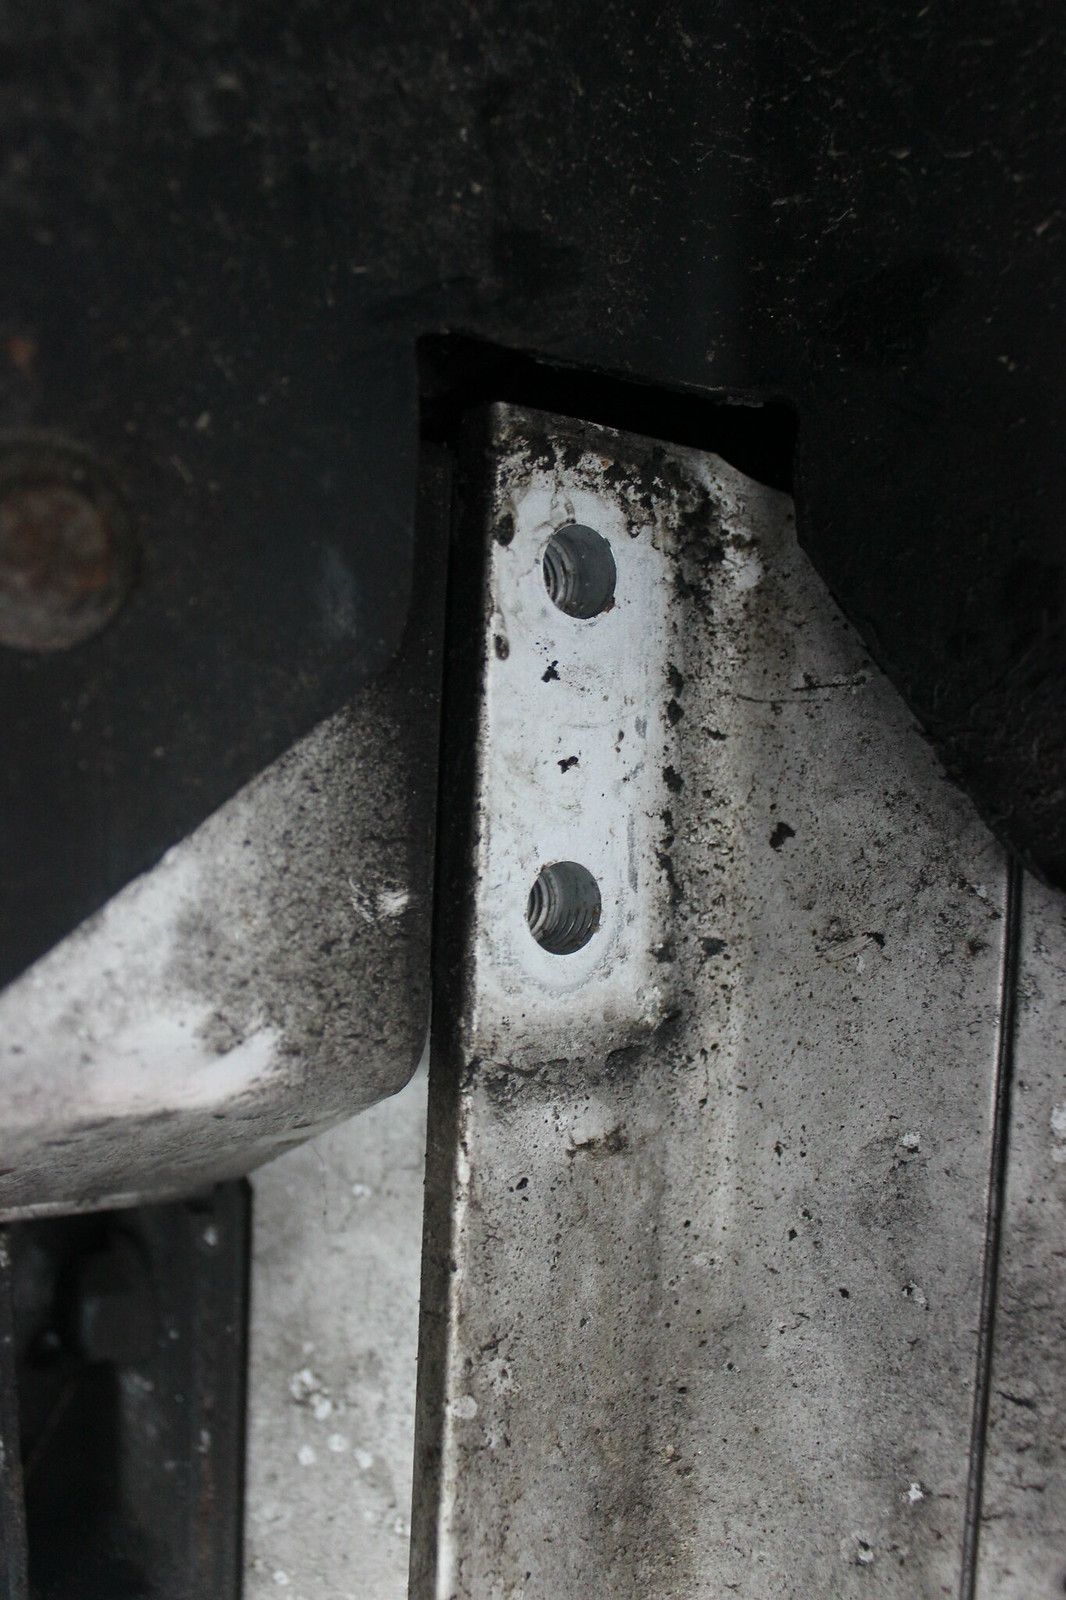
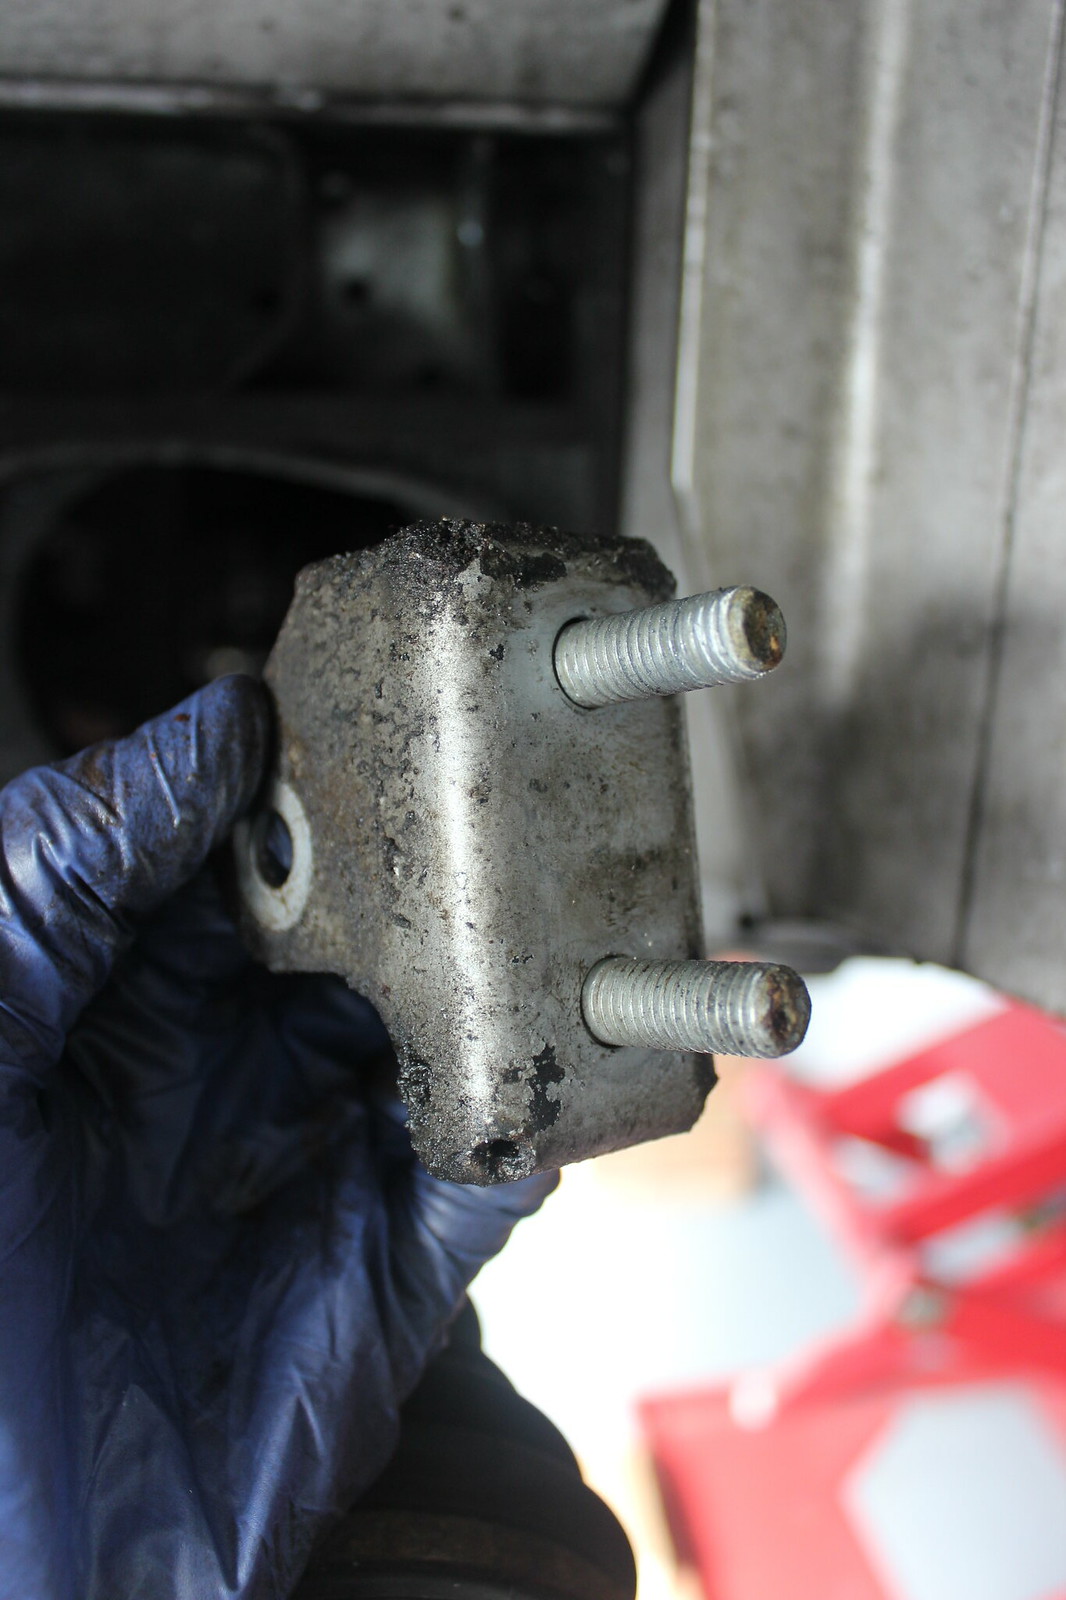
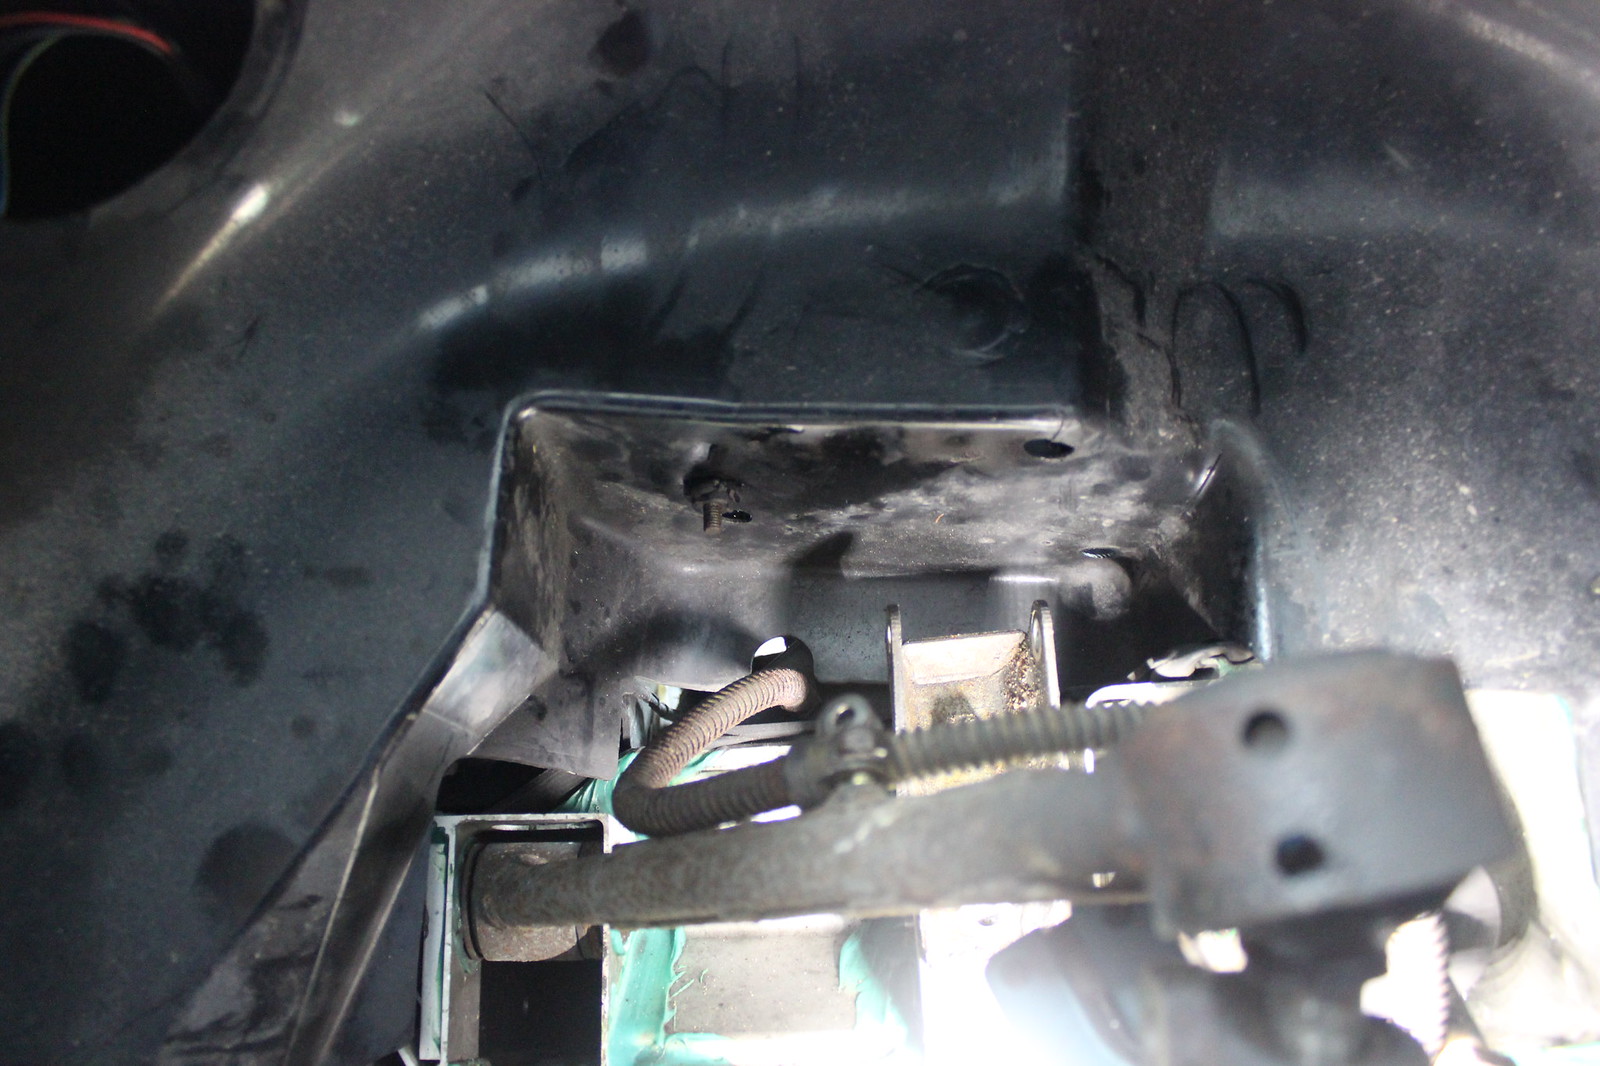
Shock bracket off.
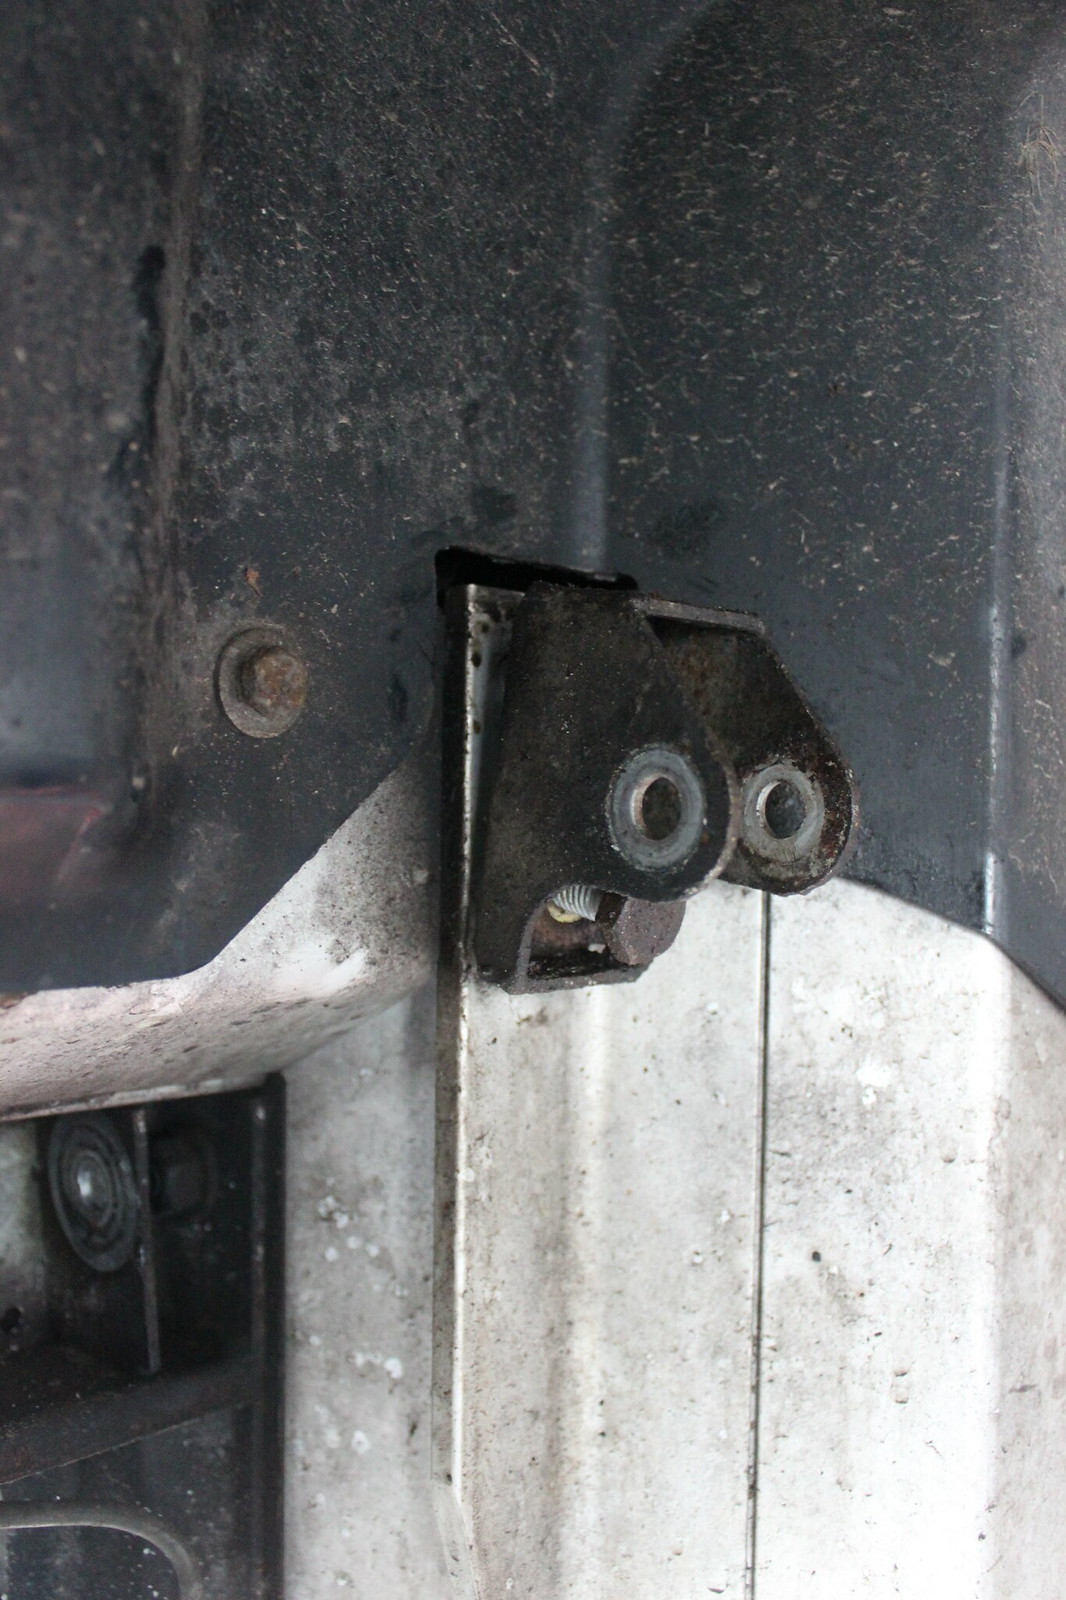
Nice to see it pretty clean and tidy behind the bracket.
One corner down, 3 to go…
Left rear.
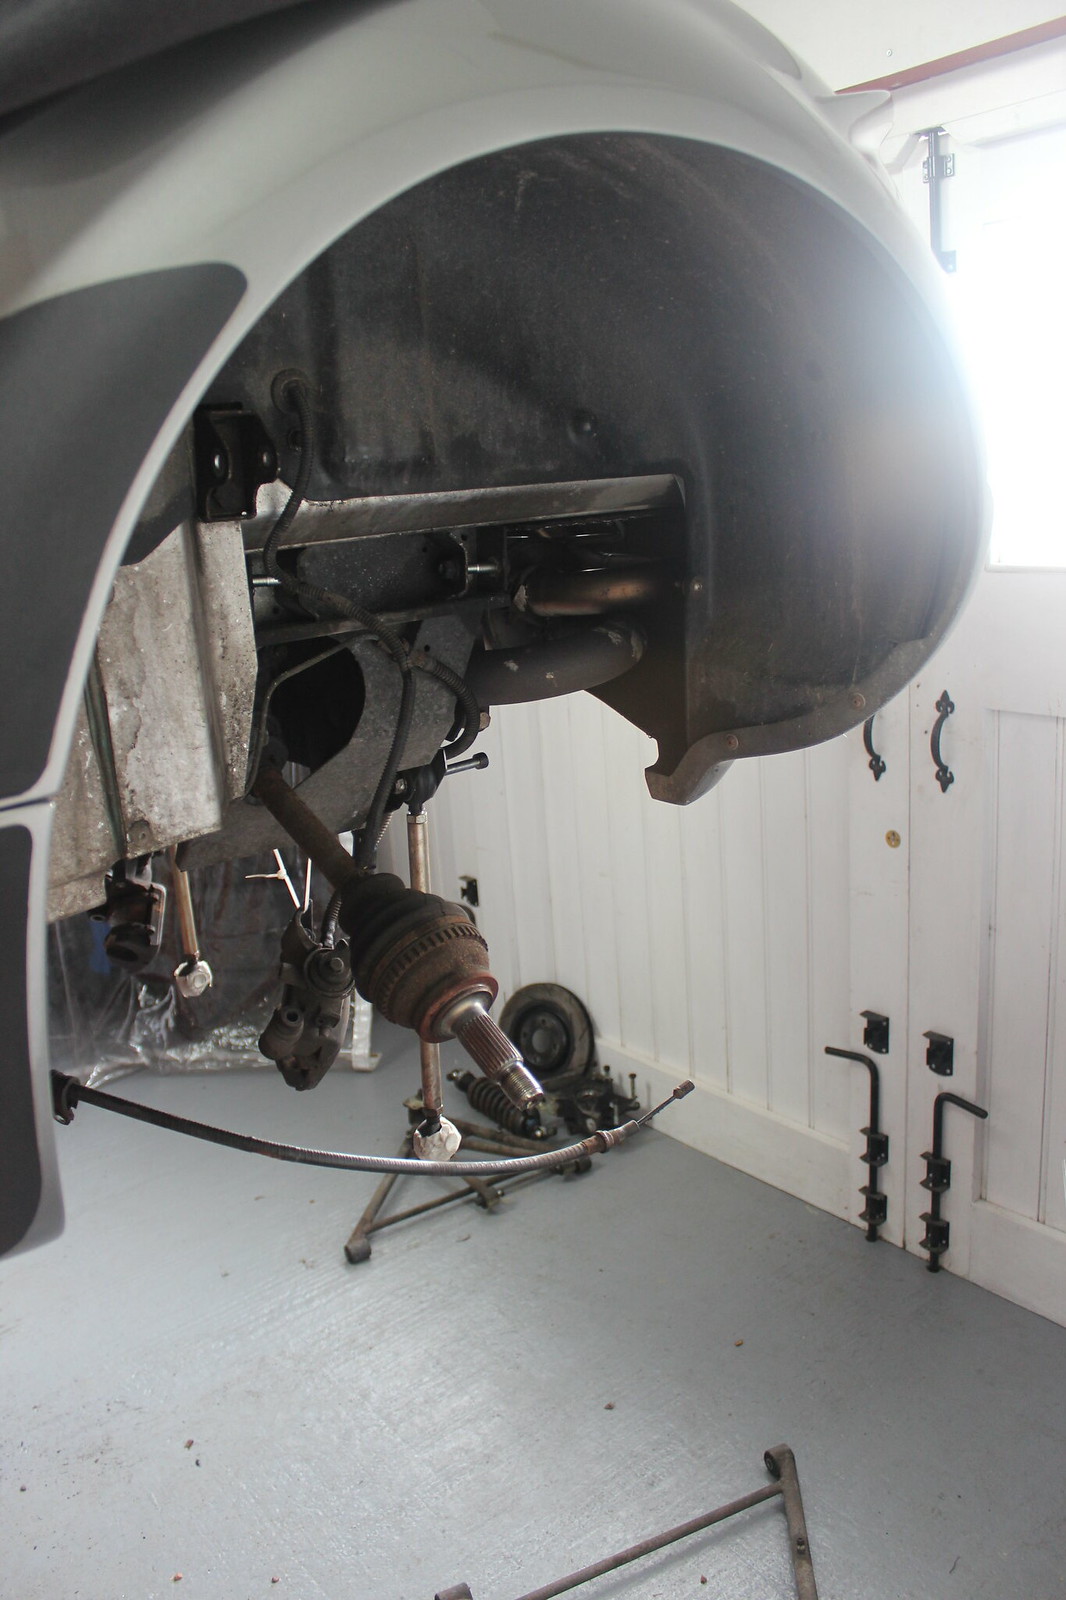
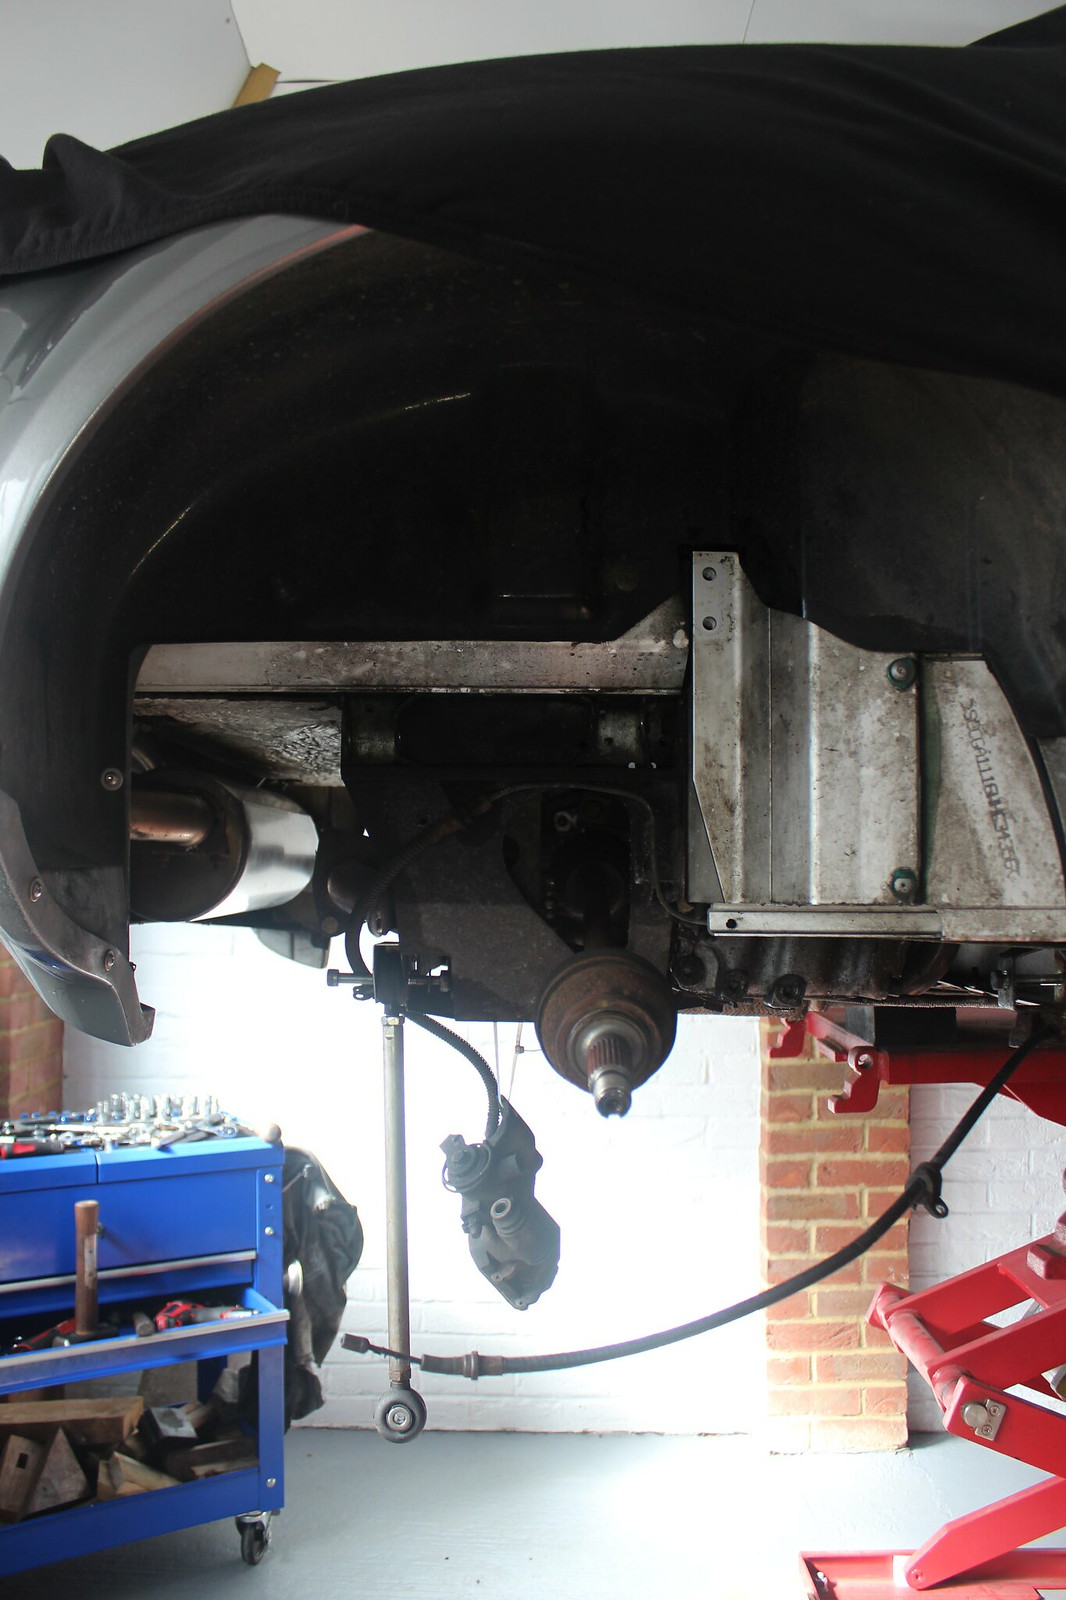
Onto the front end.
Starting on the left side. Not many pictures here, I took more detailed pictures of the right front.
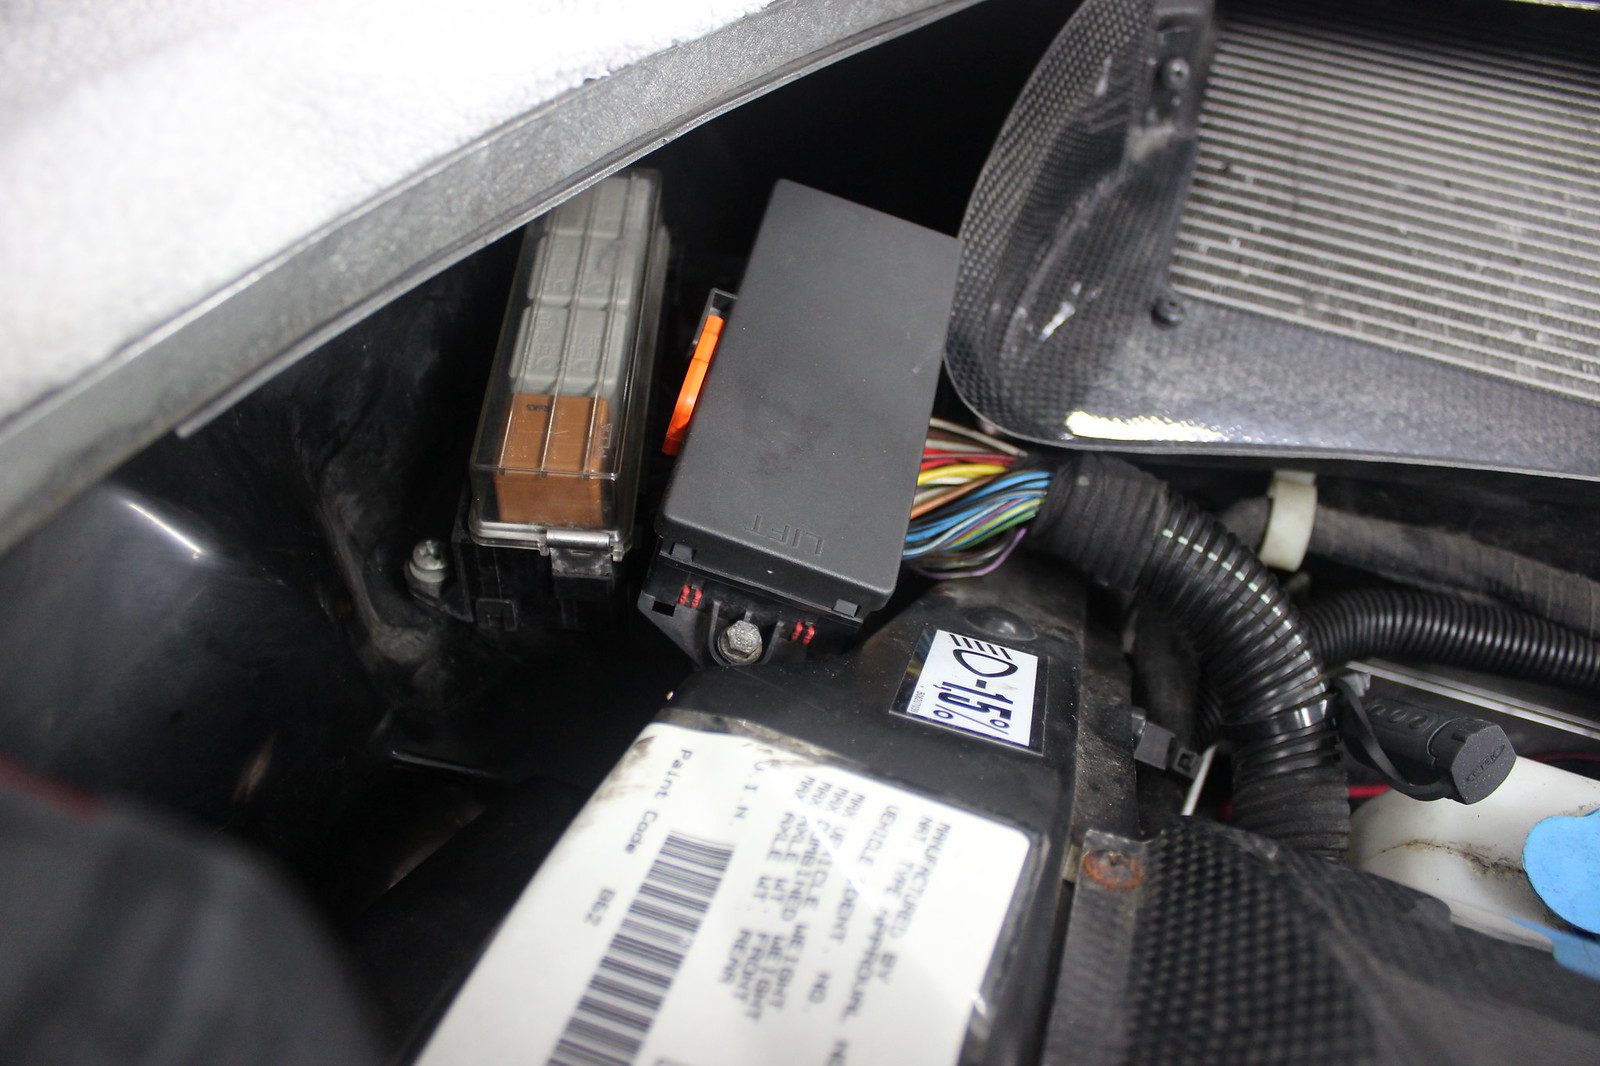
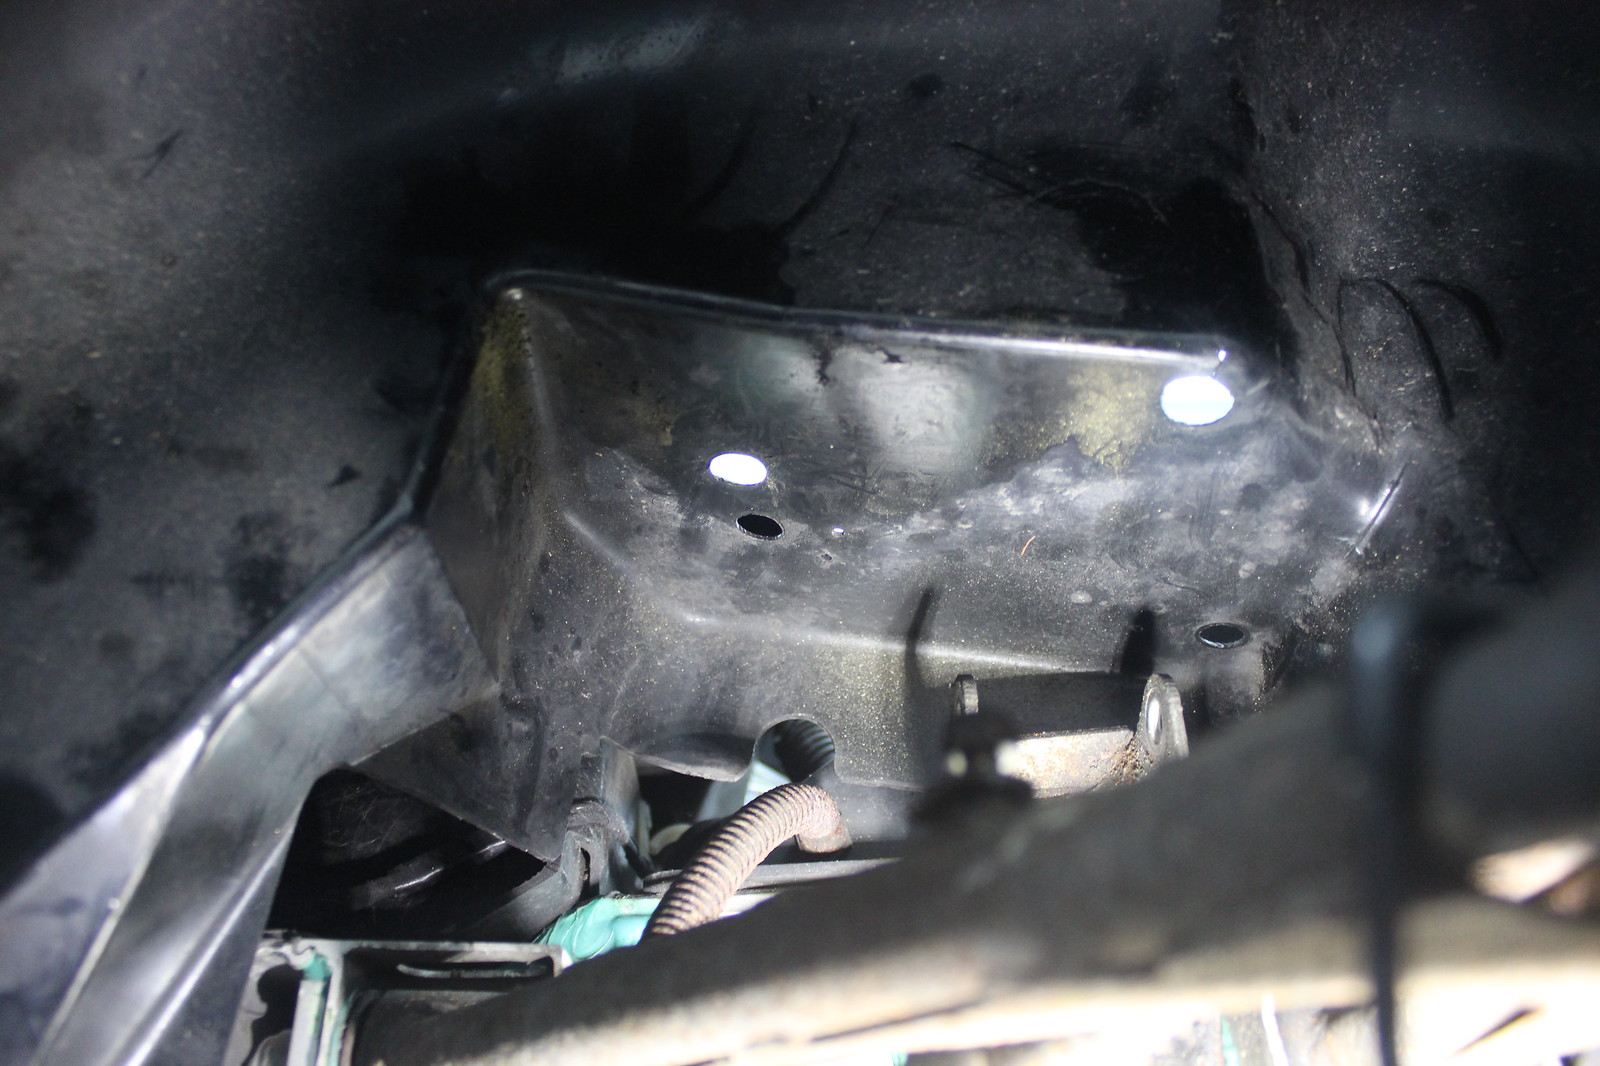
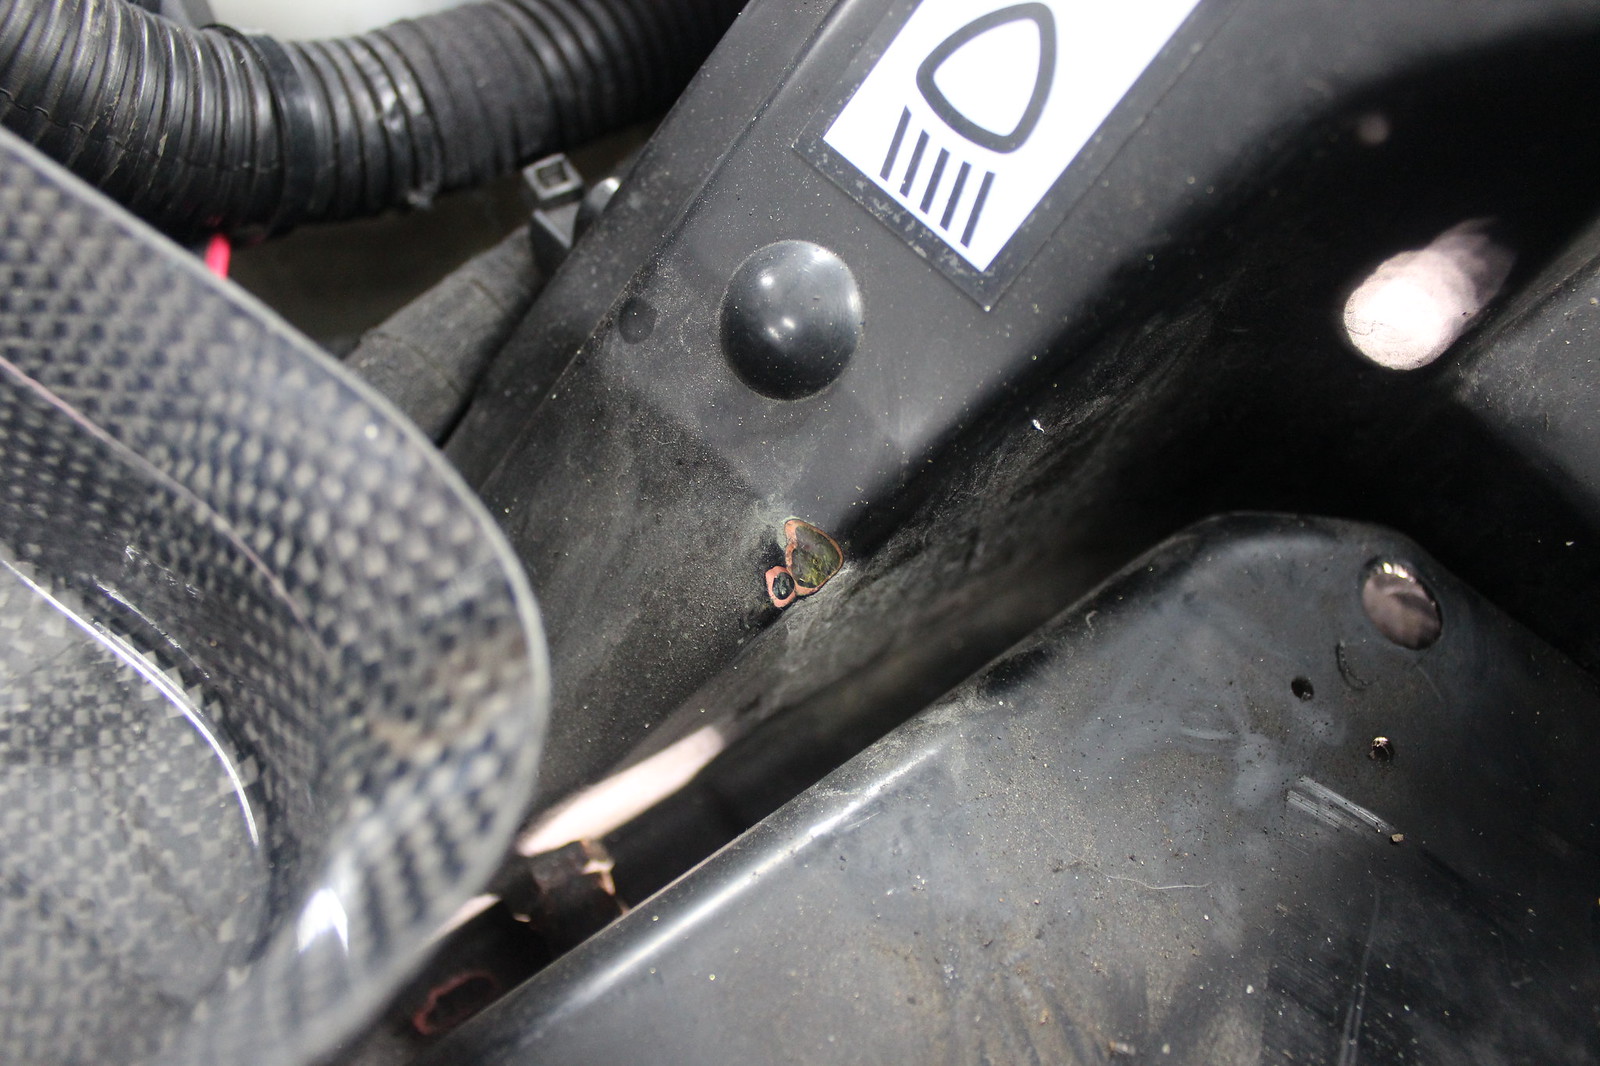
I had some trouble getting the arch liner out as the bolts that hold the fuse box in place were a bit rusty. I was able to get some mole grips on one really stuck one and it eventually undone.
This last one refused to come undone at all though.
So I got the angle grinder out.
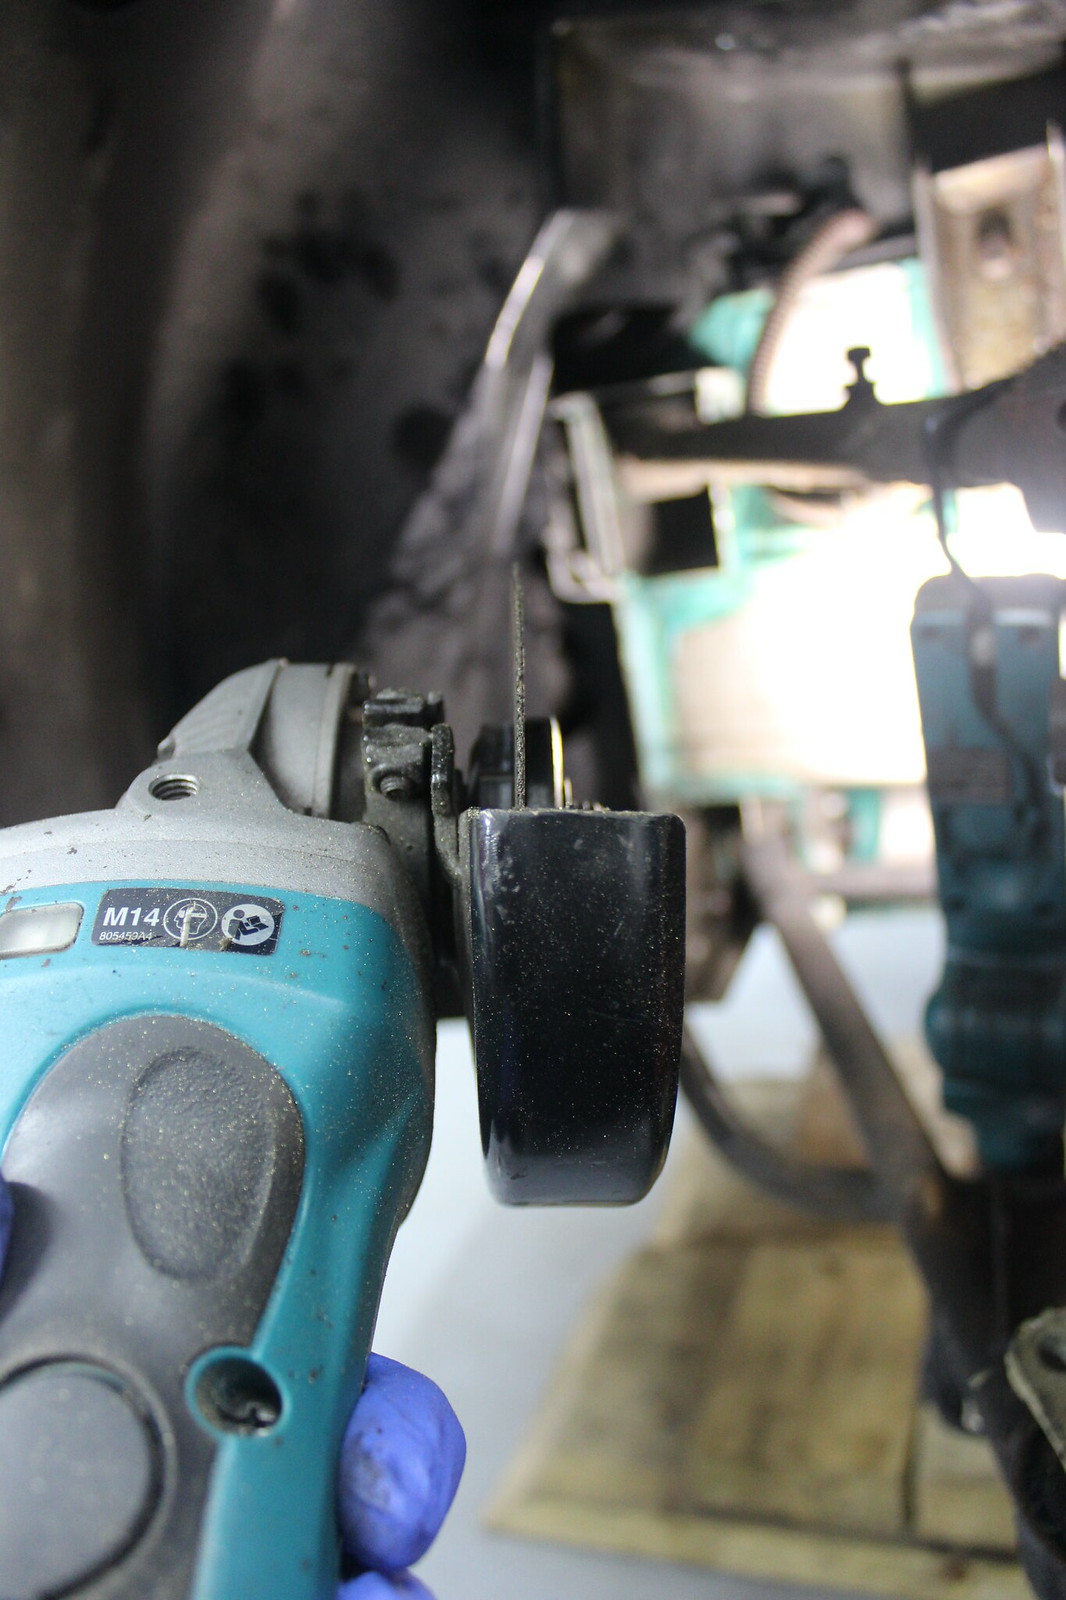
Free at last.
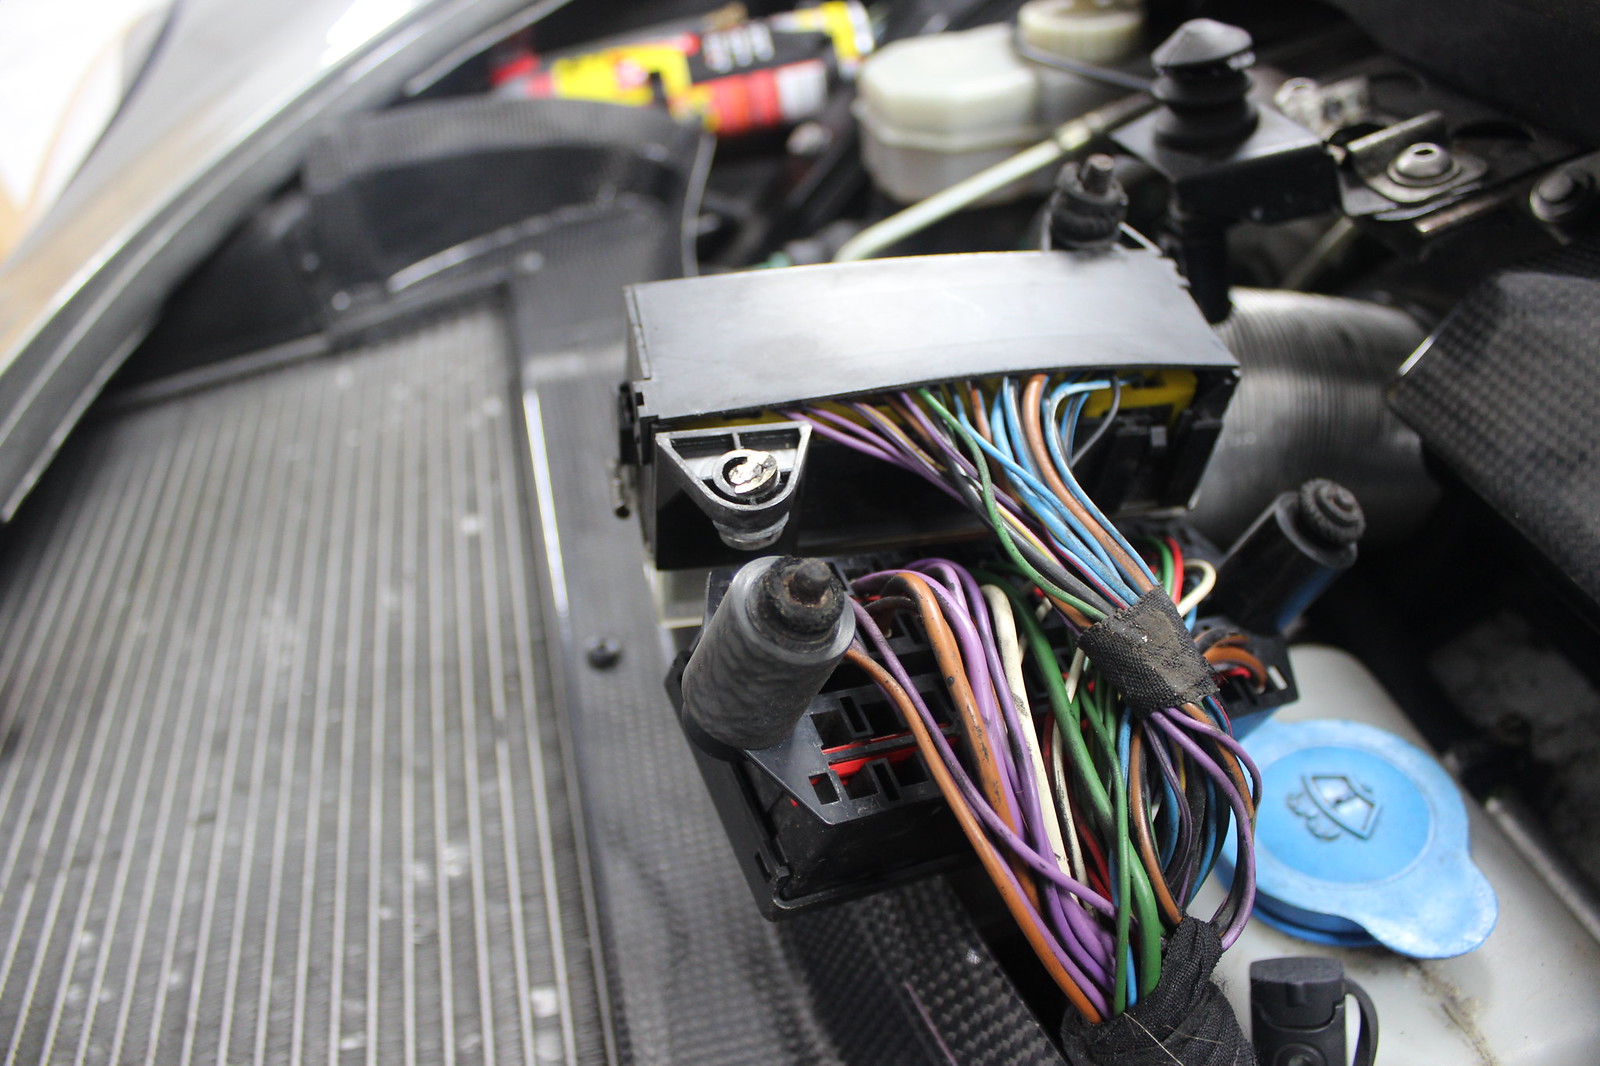
Glad I bothered with this fight in the end as I found the wiring loom had been rubbing and was wearing through.
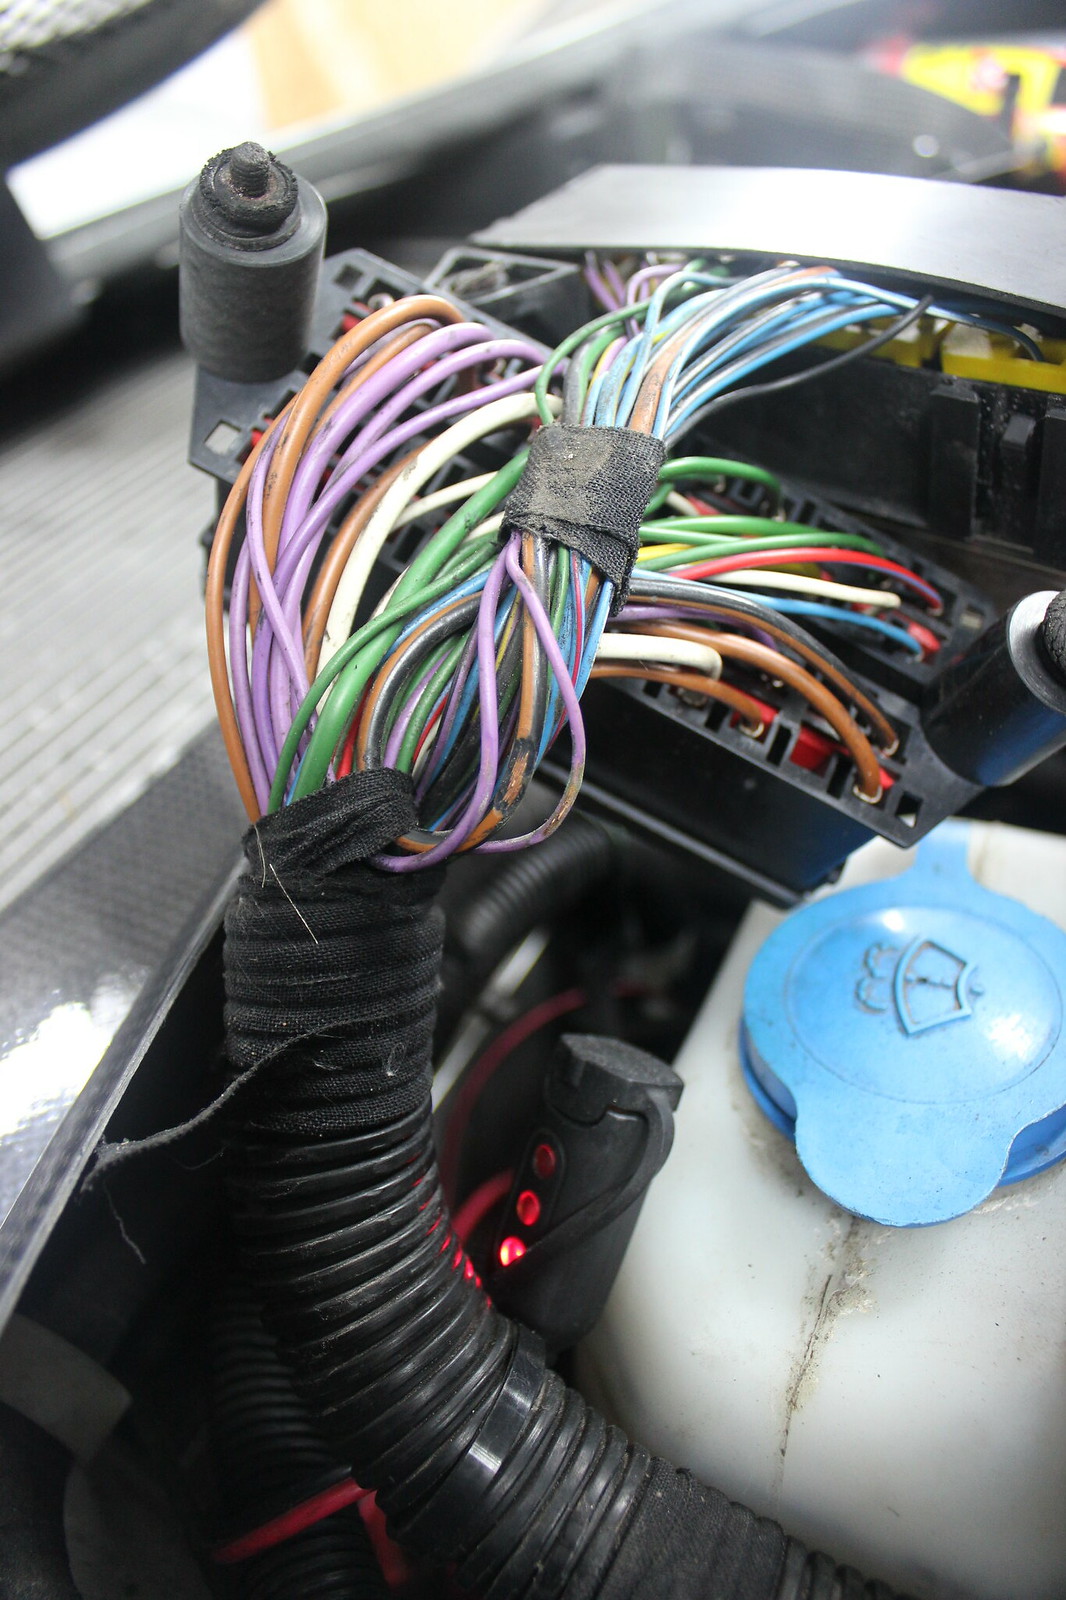
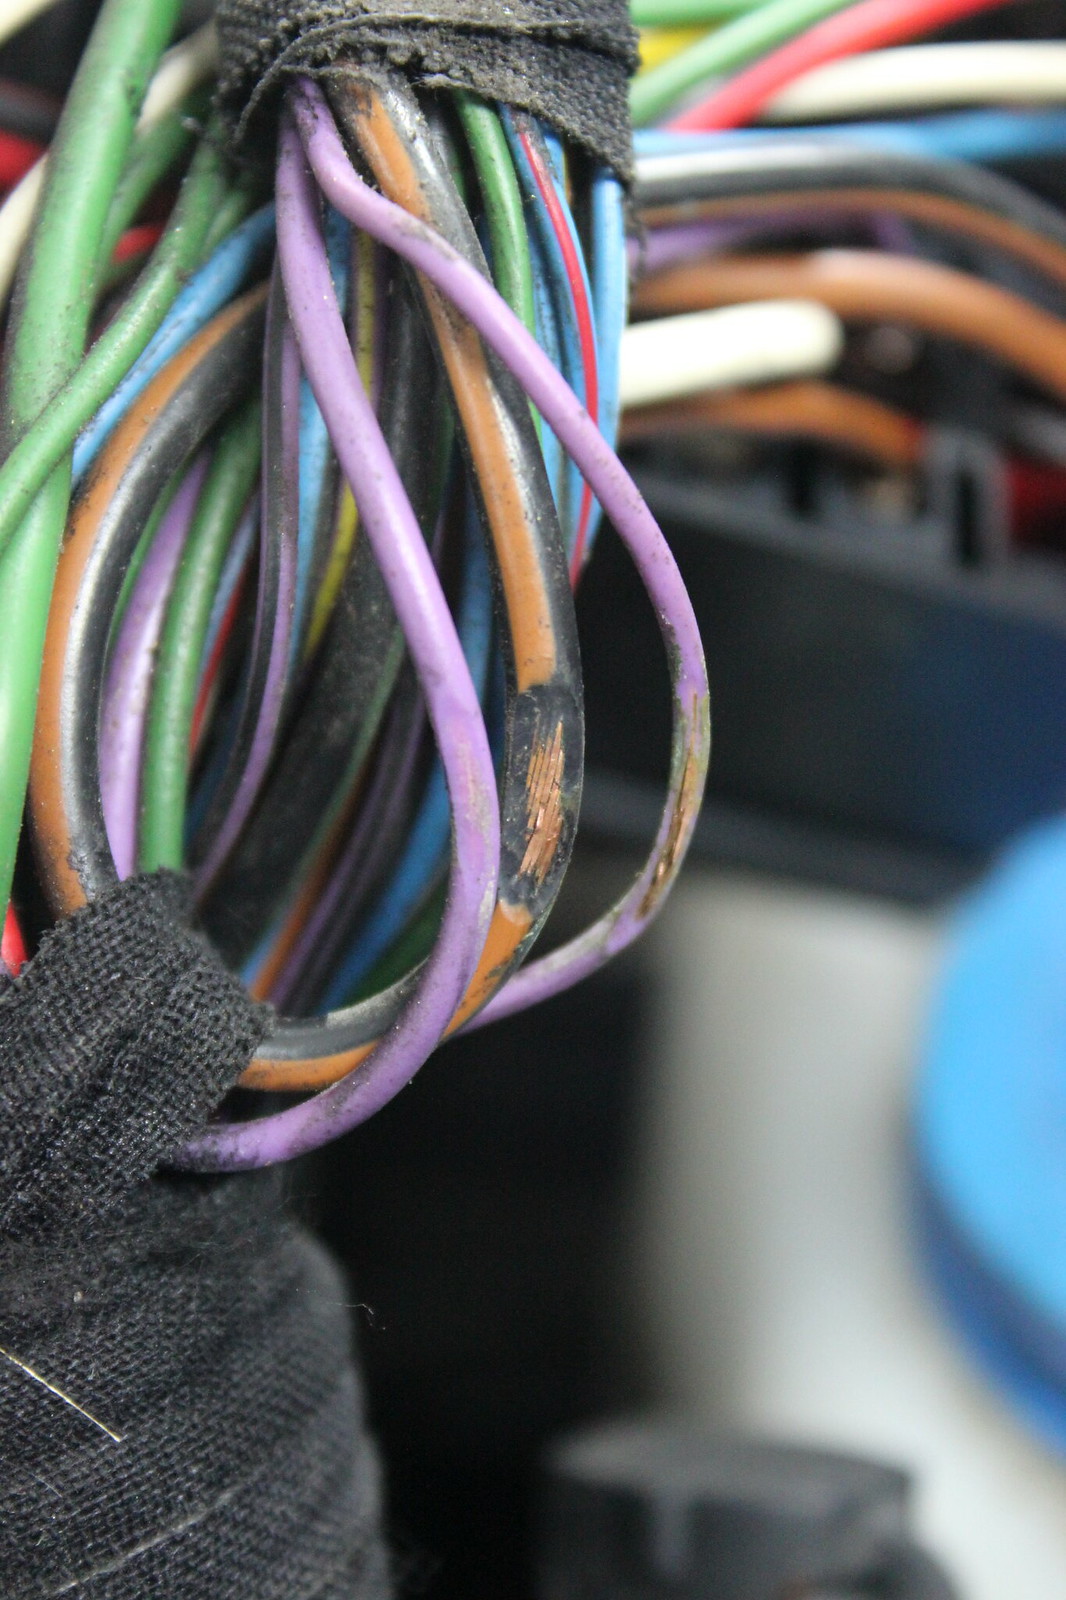
Not ideal but glad I found if before it was able to cause any problems. So that’s the first additional job on the list to come back to later. Hope I don’t find too many of them as I go.
On with the suspension strip down.
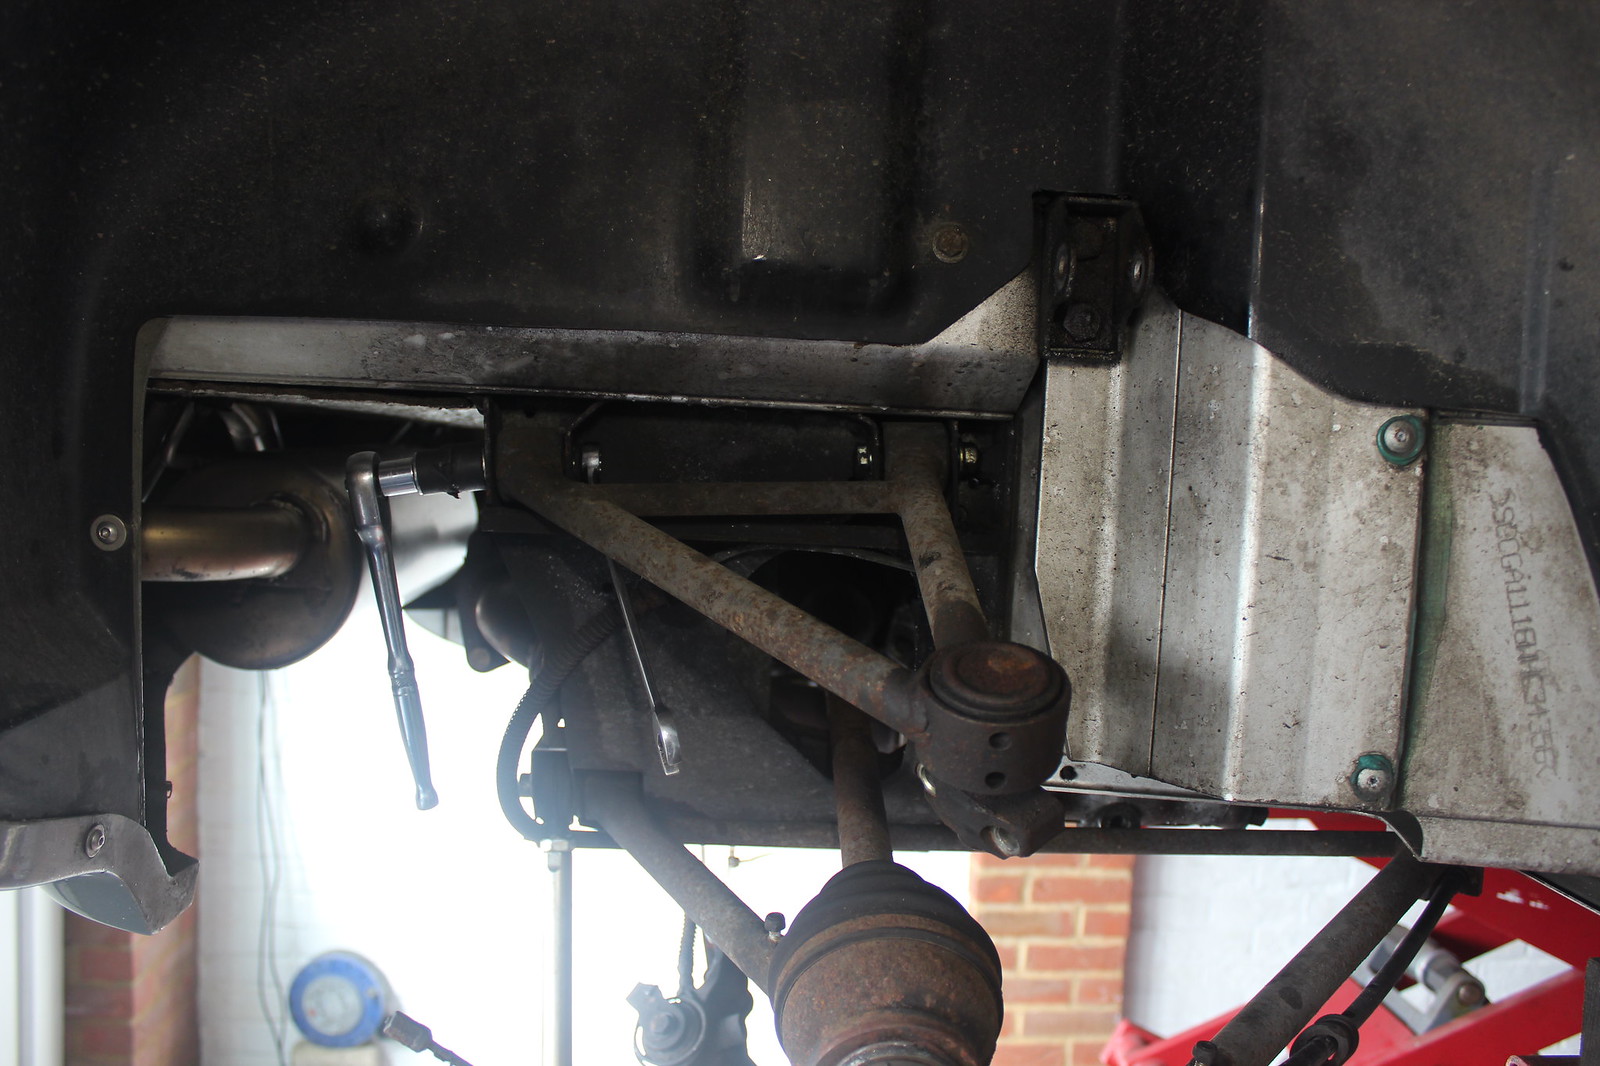
All but the lower arm removed. I’d need my glamorous assistant to get at the bolt head inside the car for that.
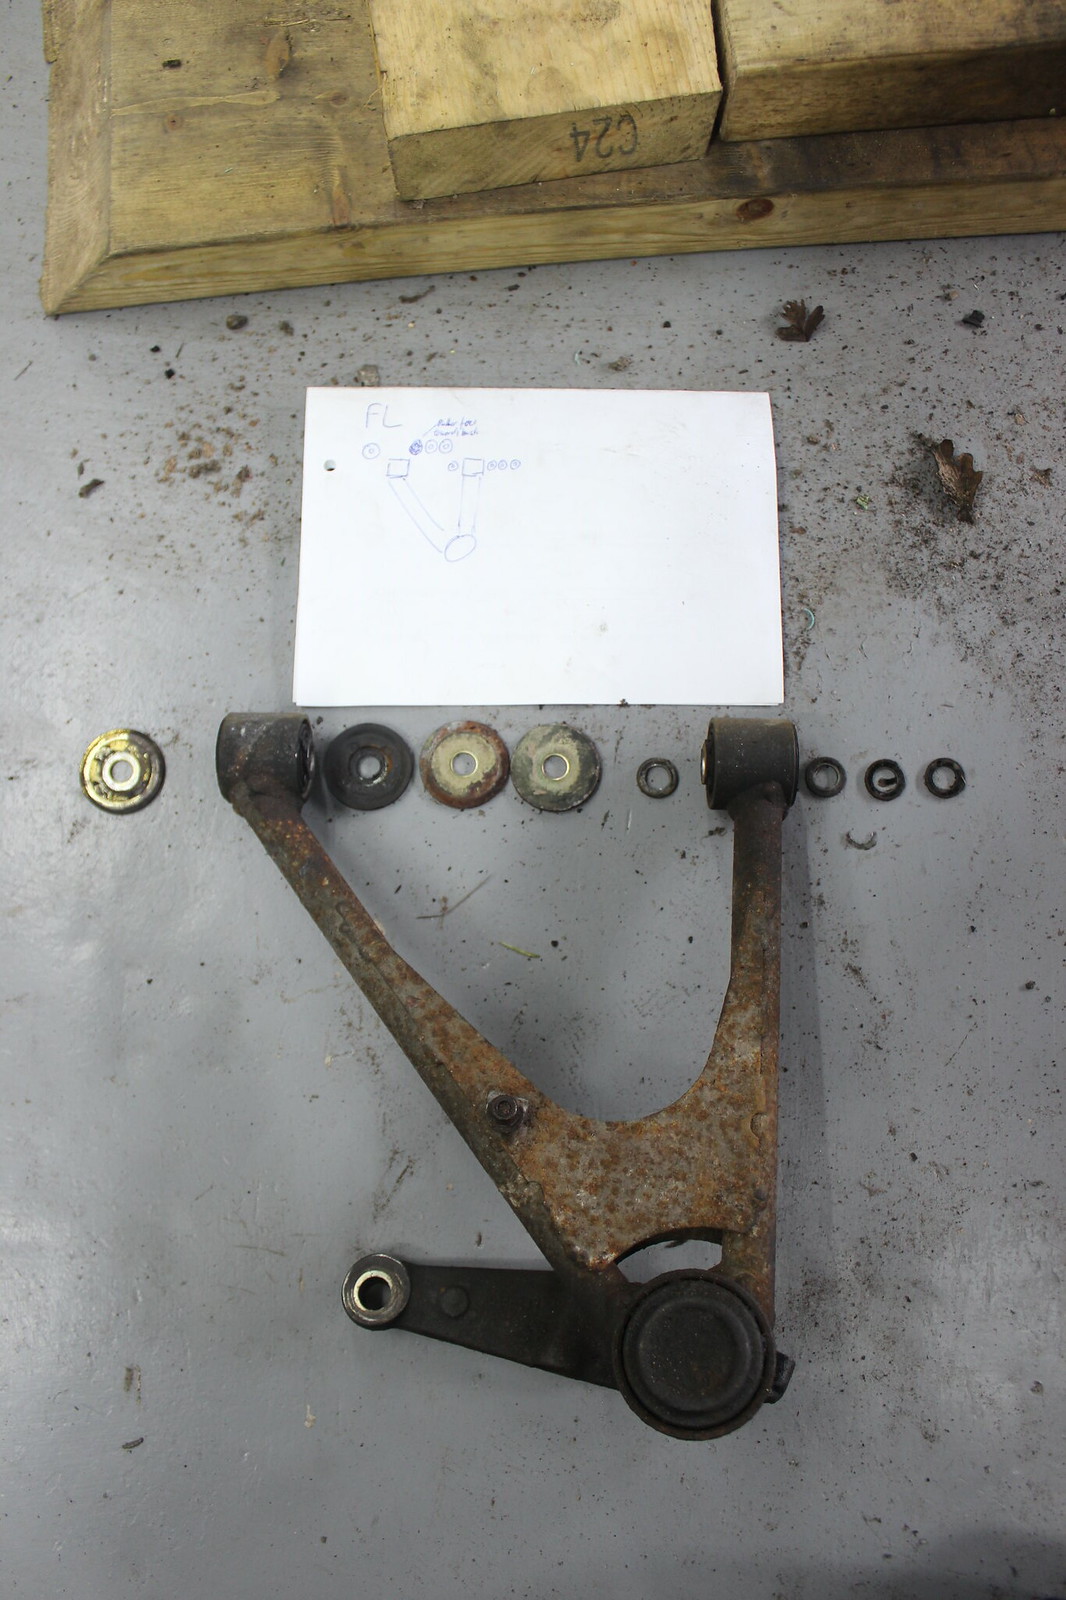
A record of how the shims etc came off. Not that I was necessarily going to reassemble it the same, it is still good to keep a record of these things.
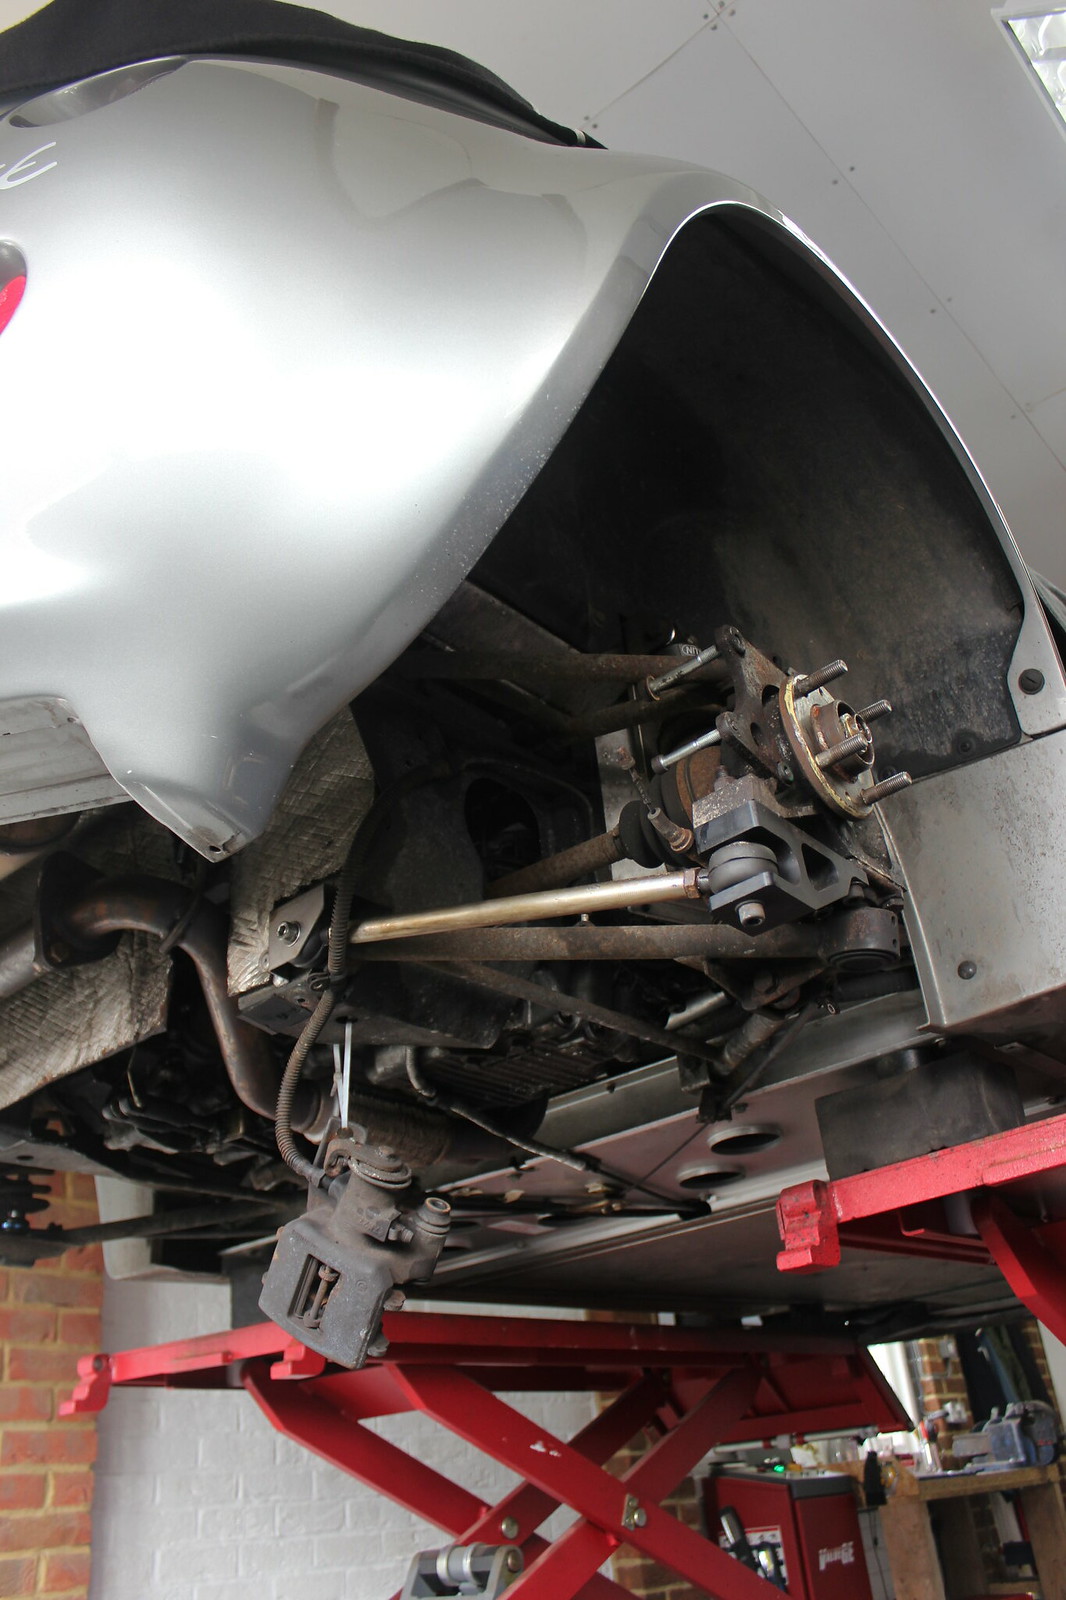
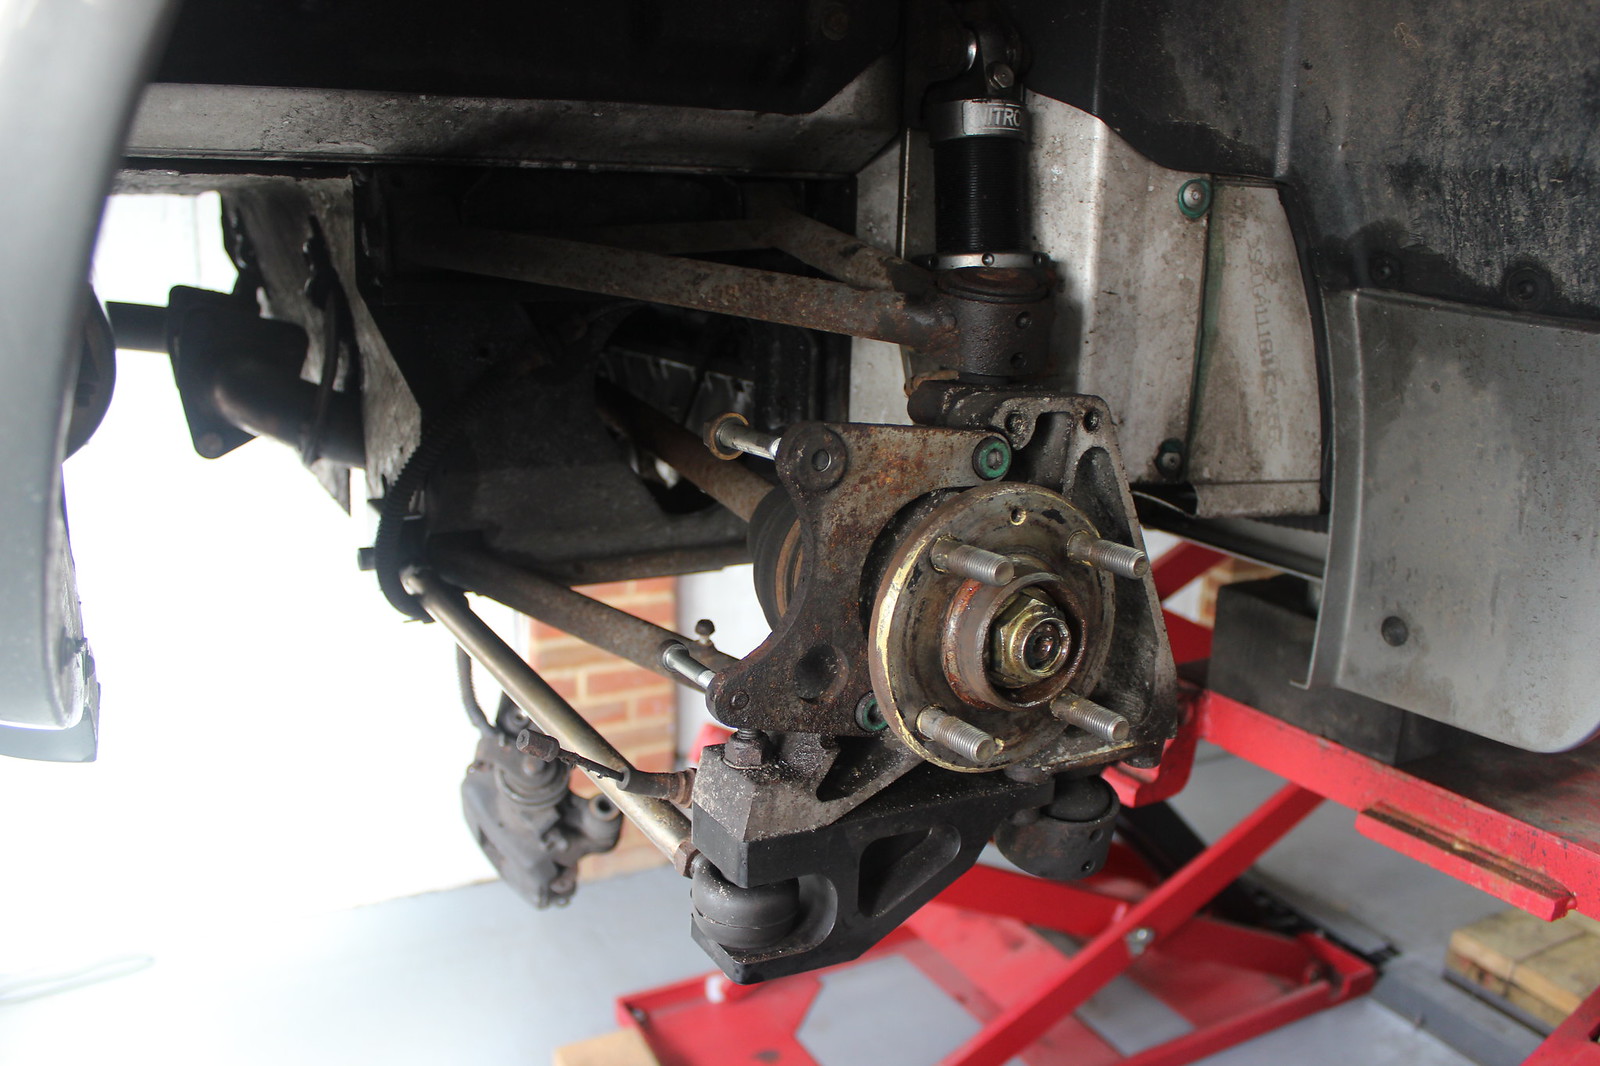
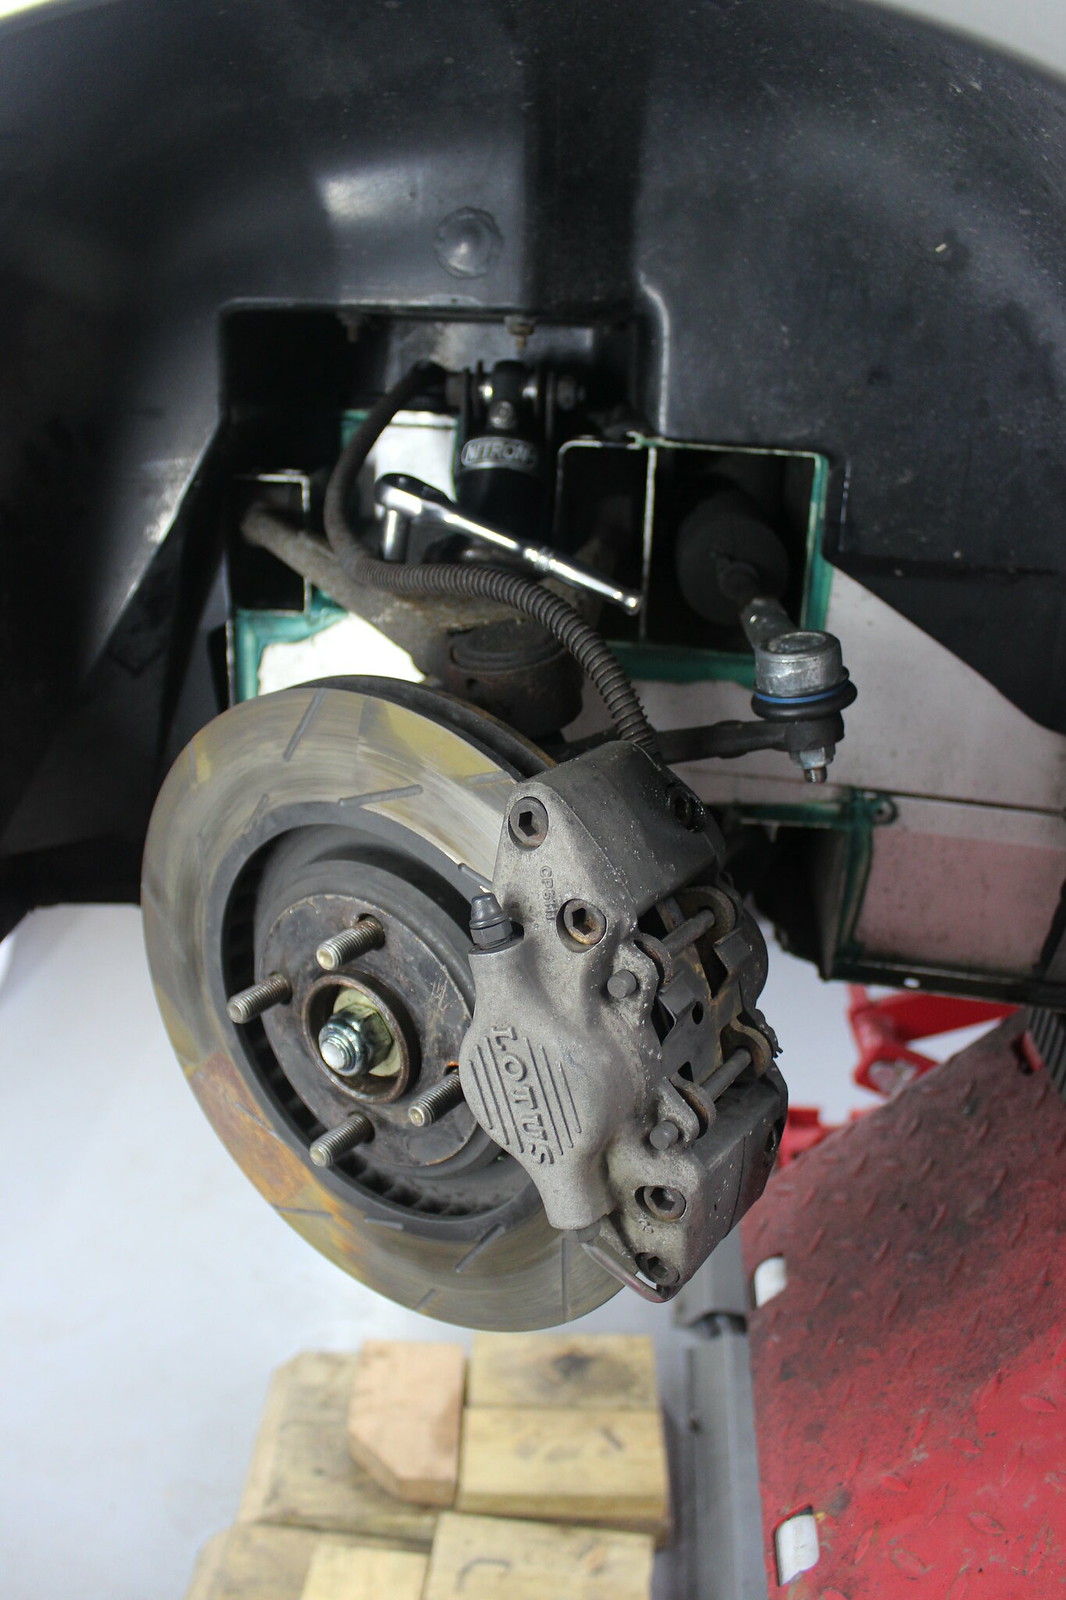
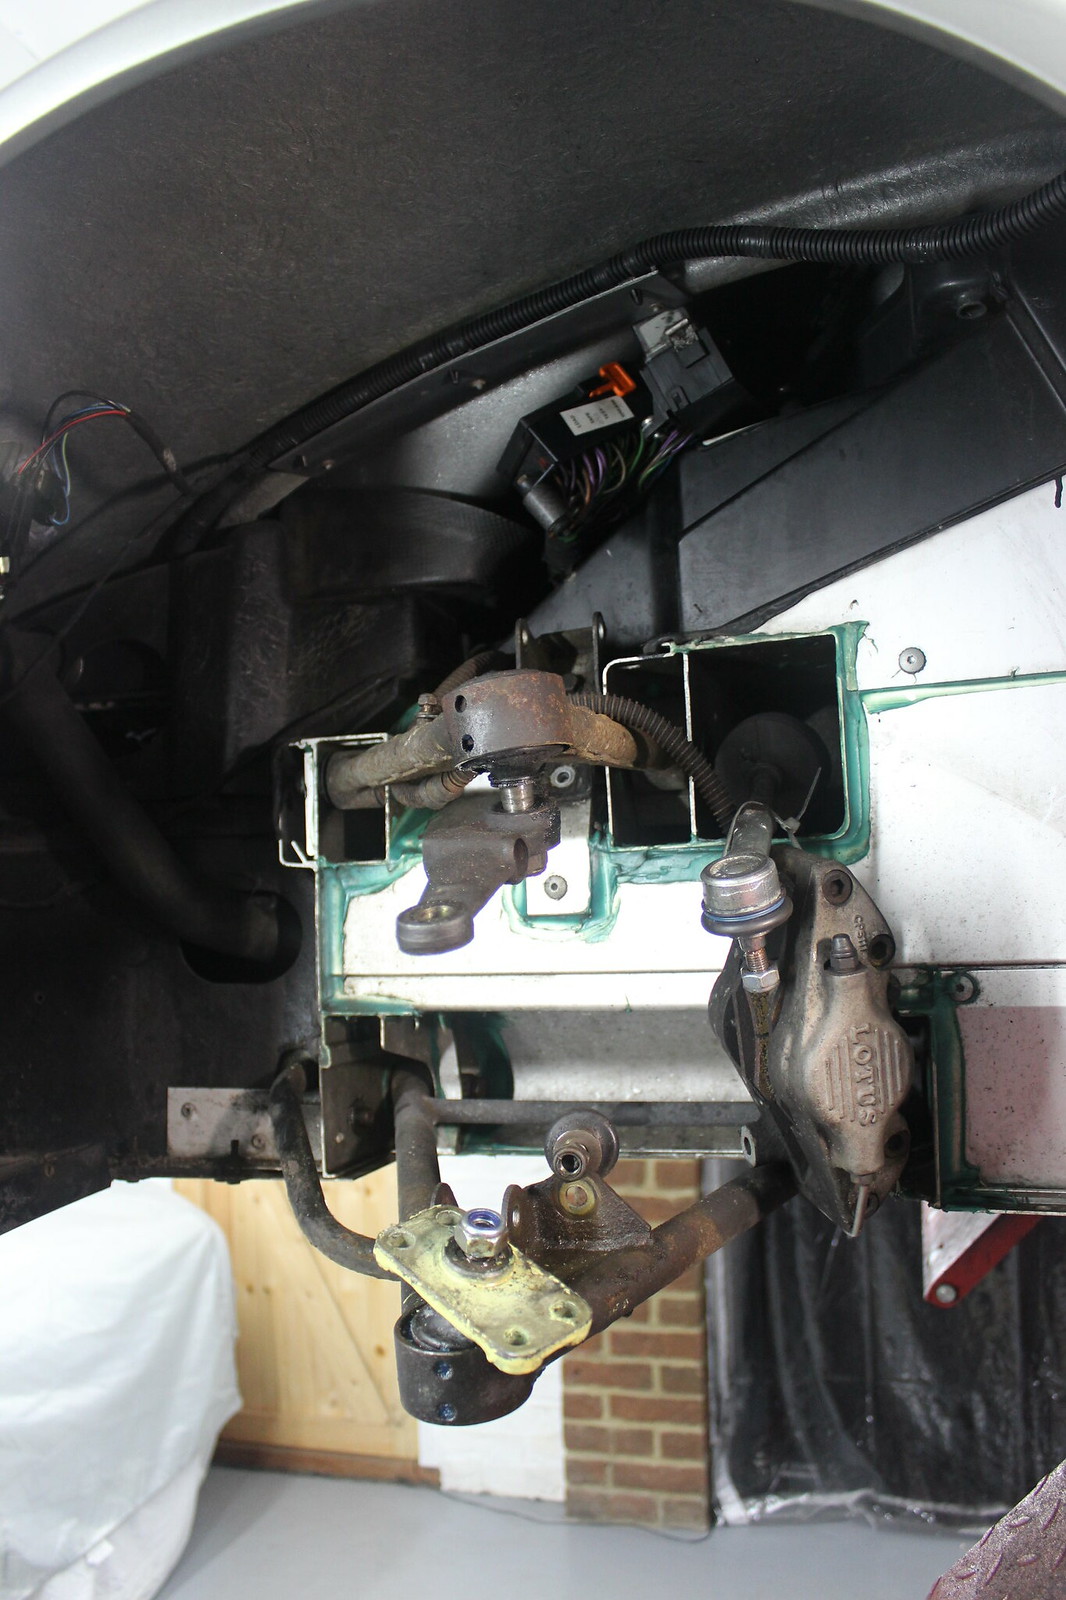
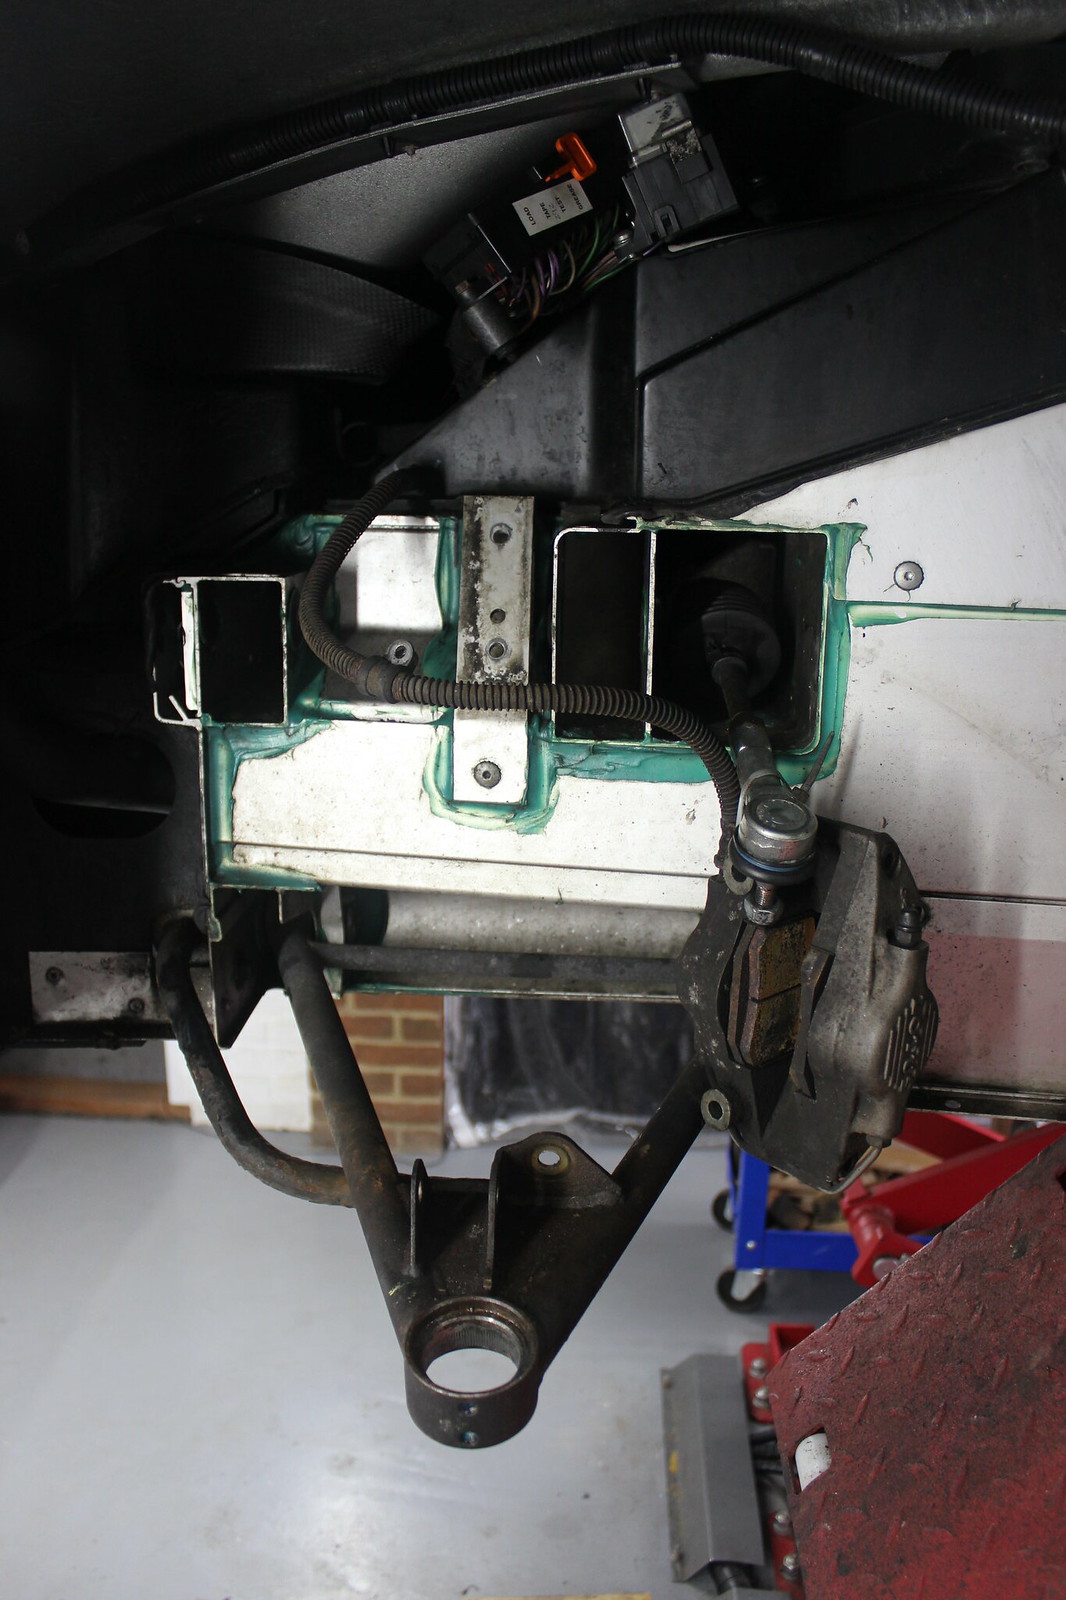
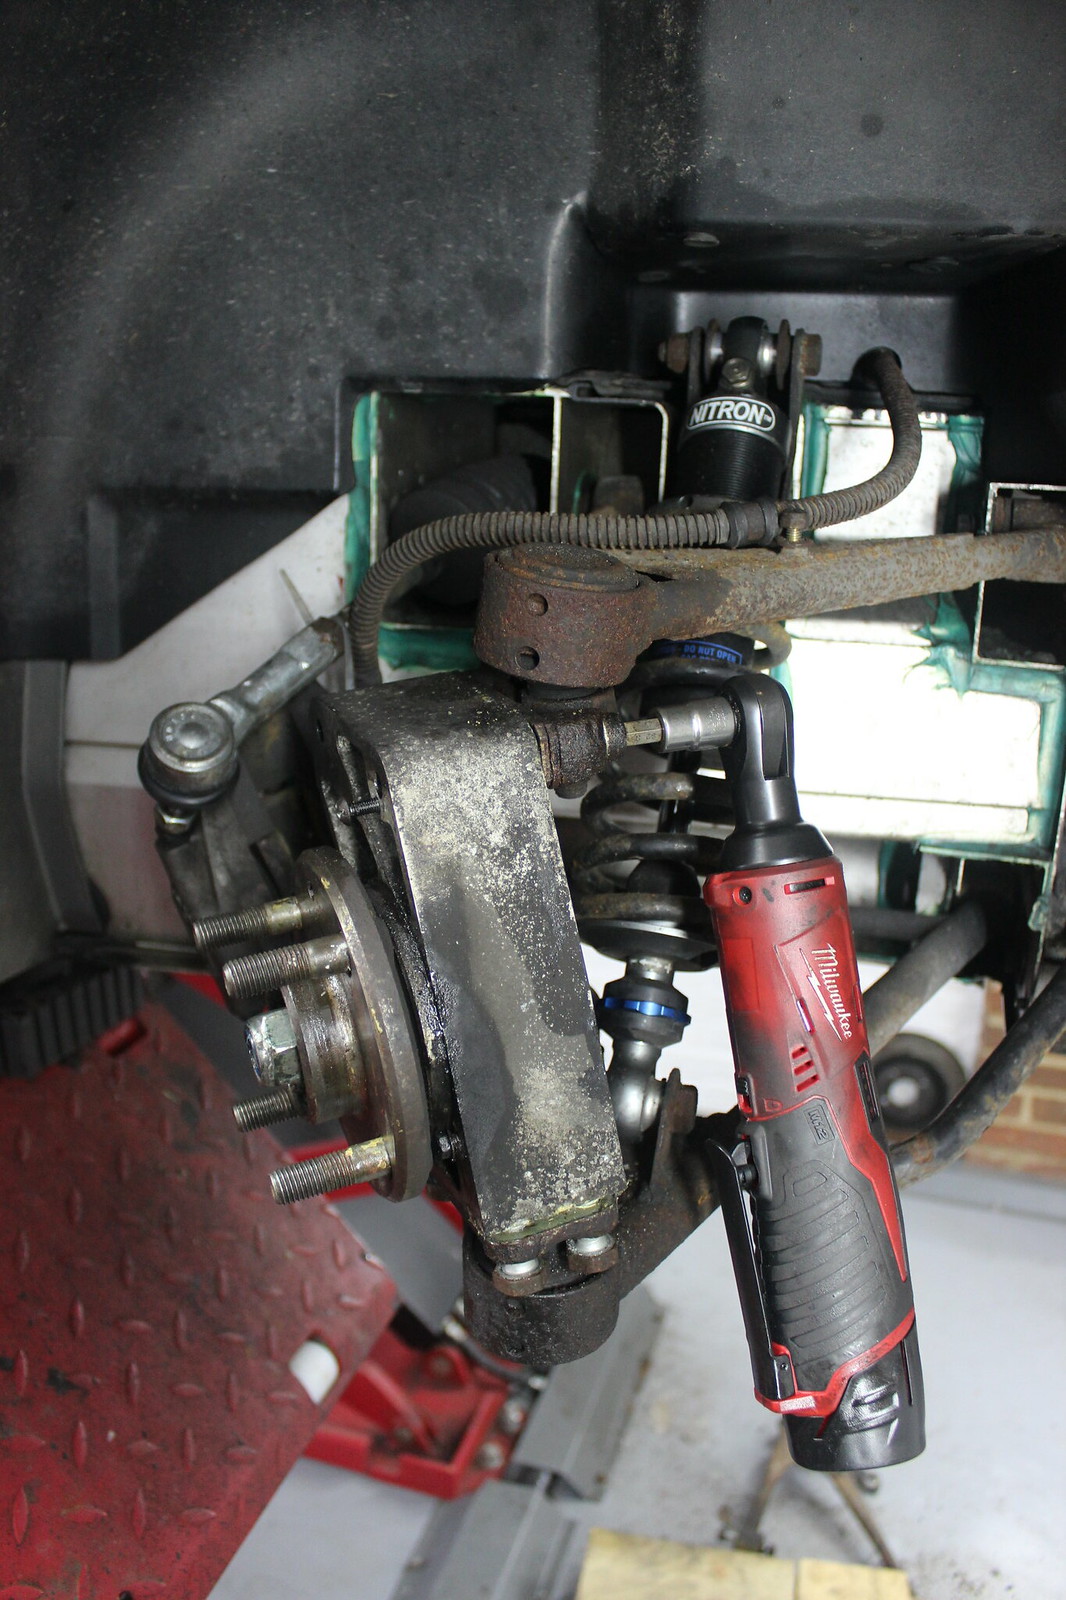
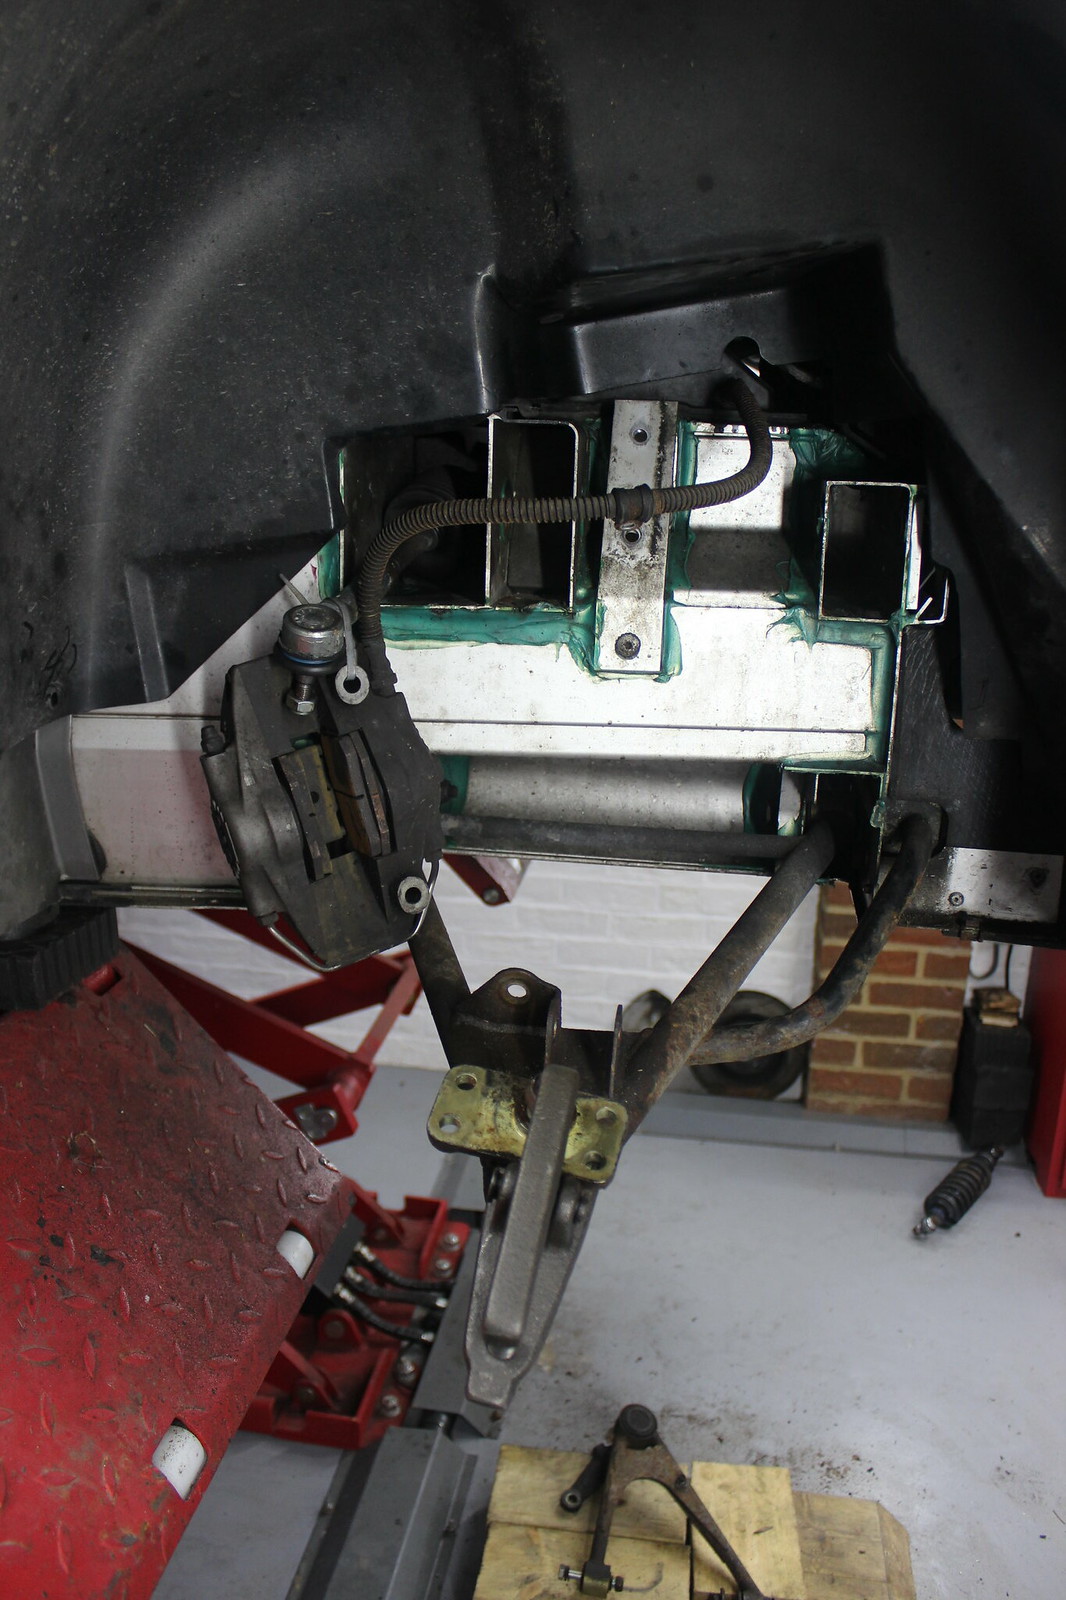
Some proper pictures of dismantling the front right suspension.
Brake caliper bolts.
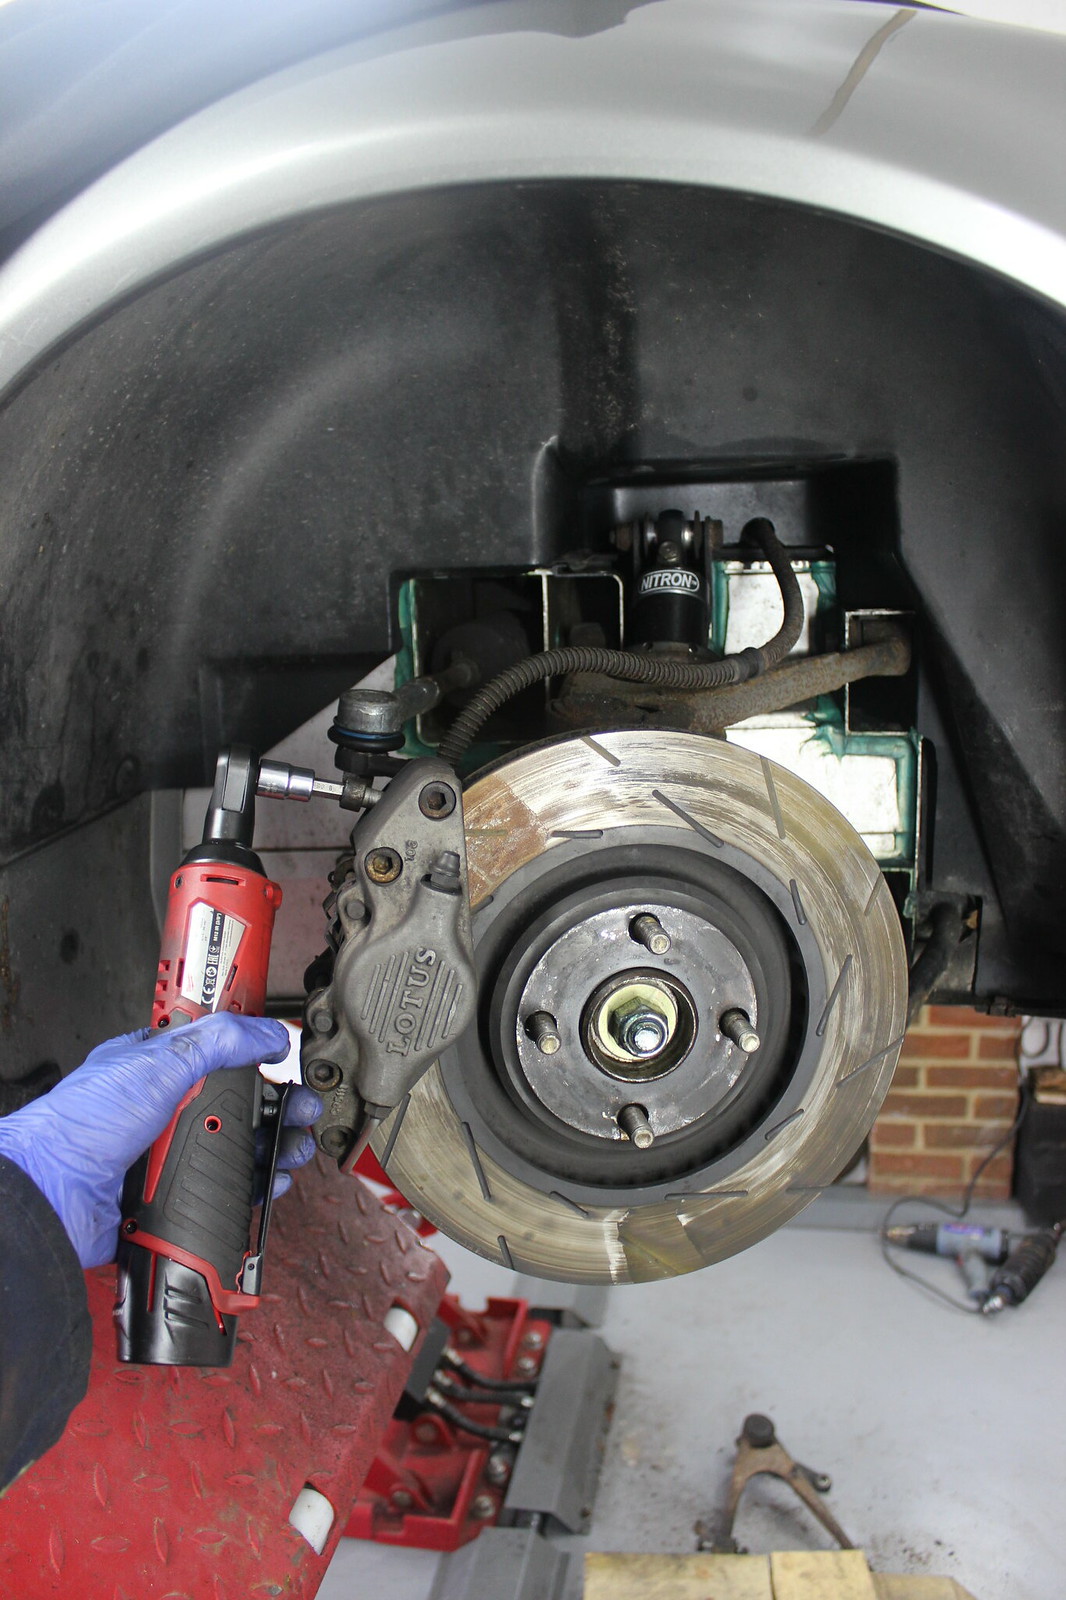
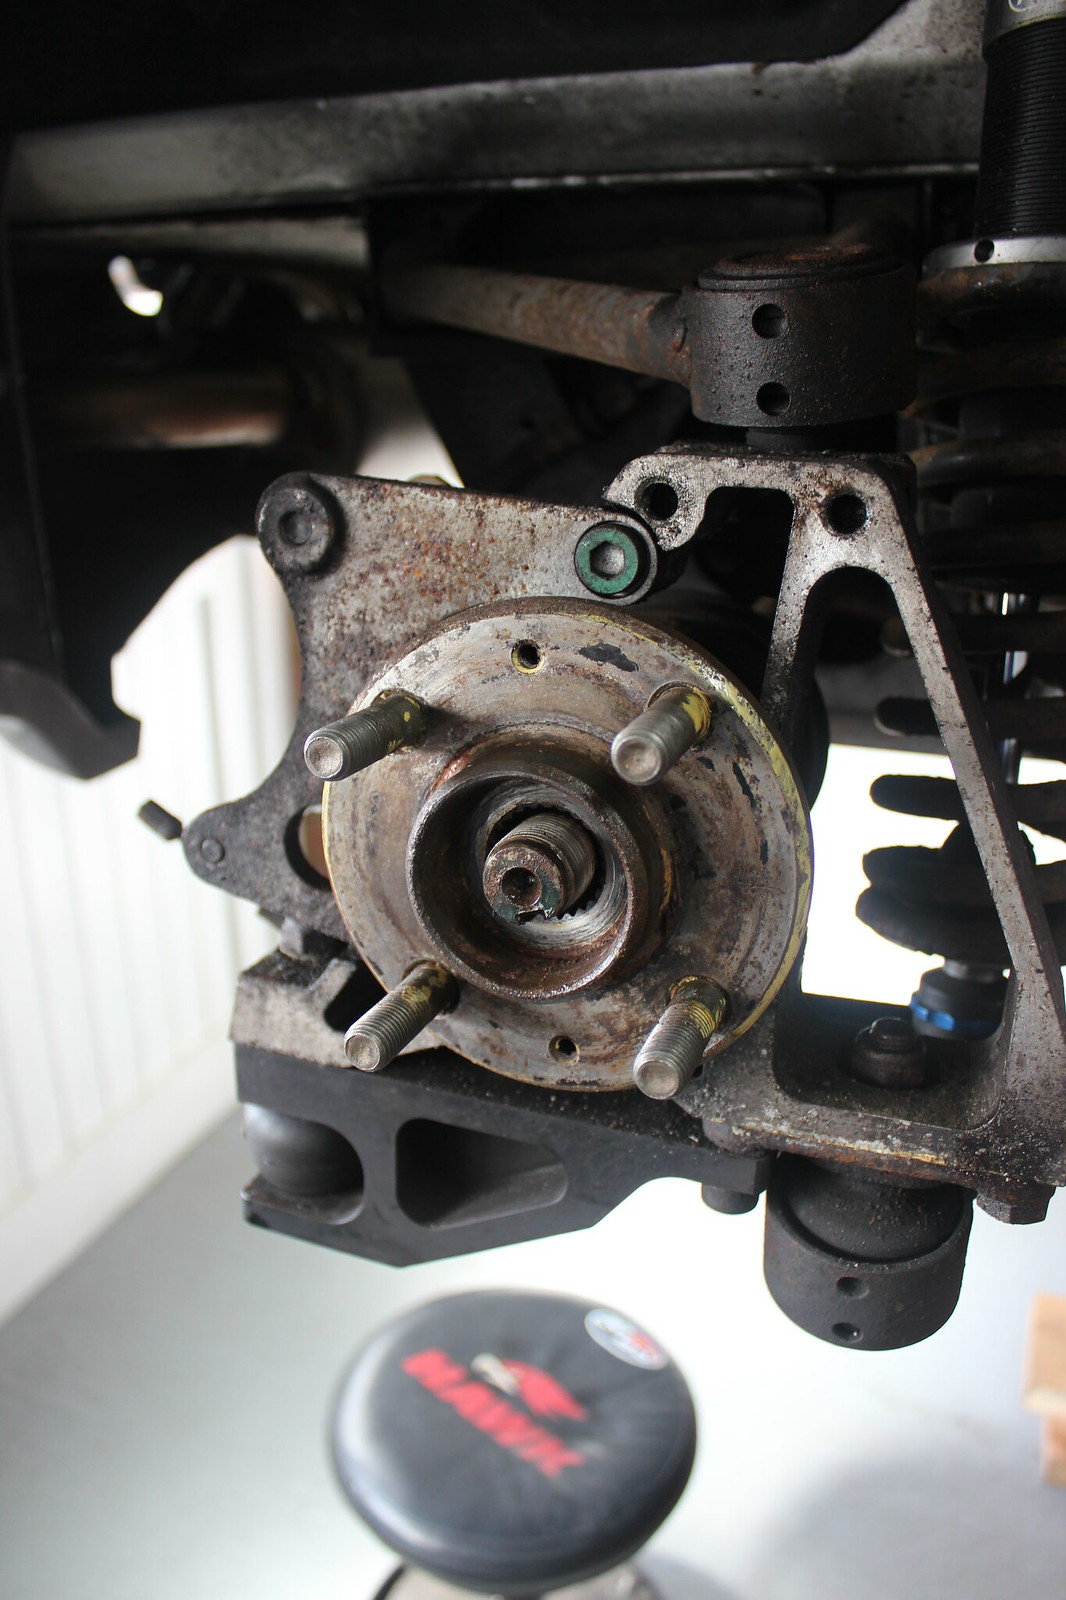
Caliper and disc off and steering track rod end removed from steering arm. Plus the disc guard removed with the same fight I had the other side a few weeks before here. As before I cut some slots in the heads of the bolts and used the impact setting on my drill to slowly increase the torque and eventually shock the bolt loose.
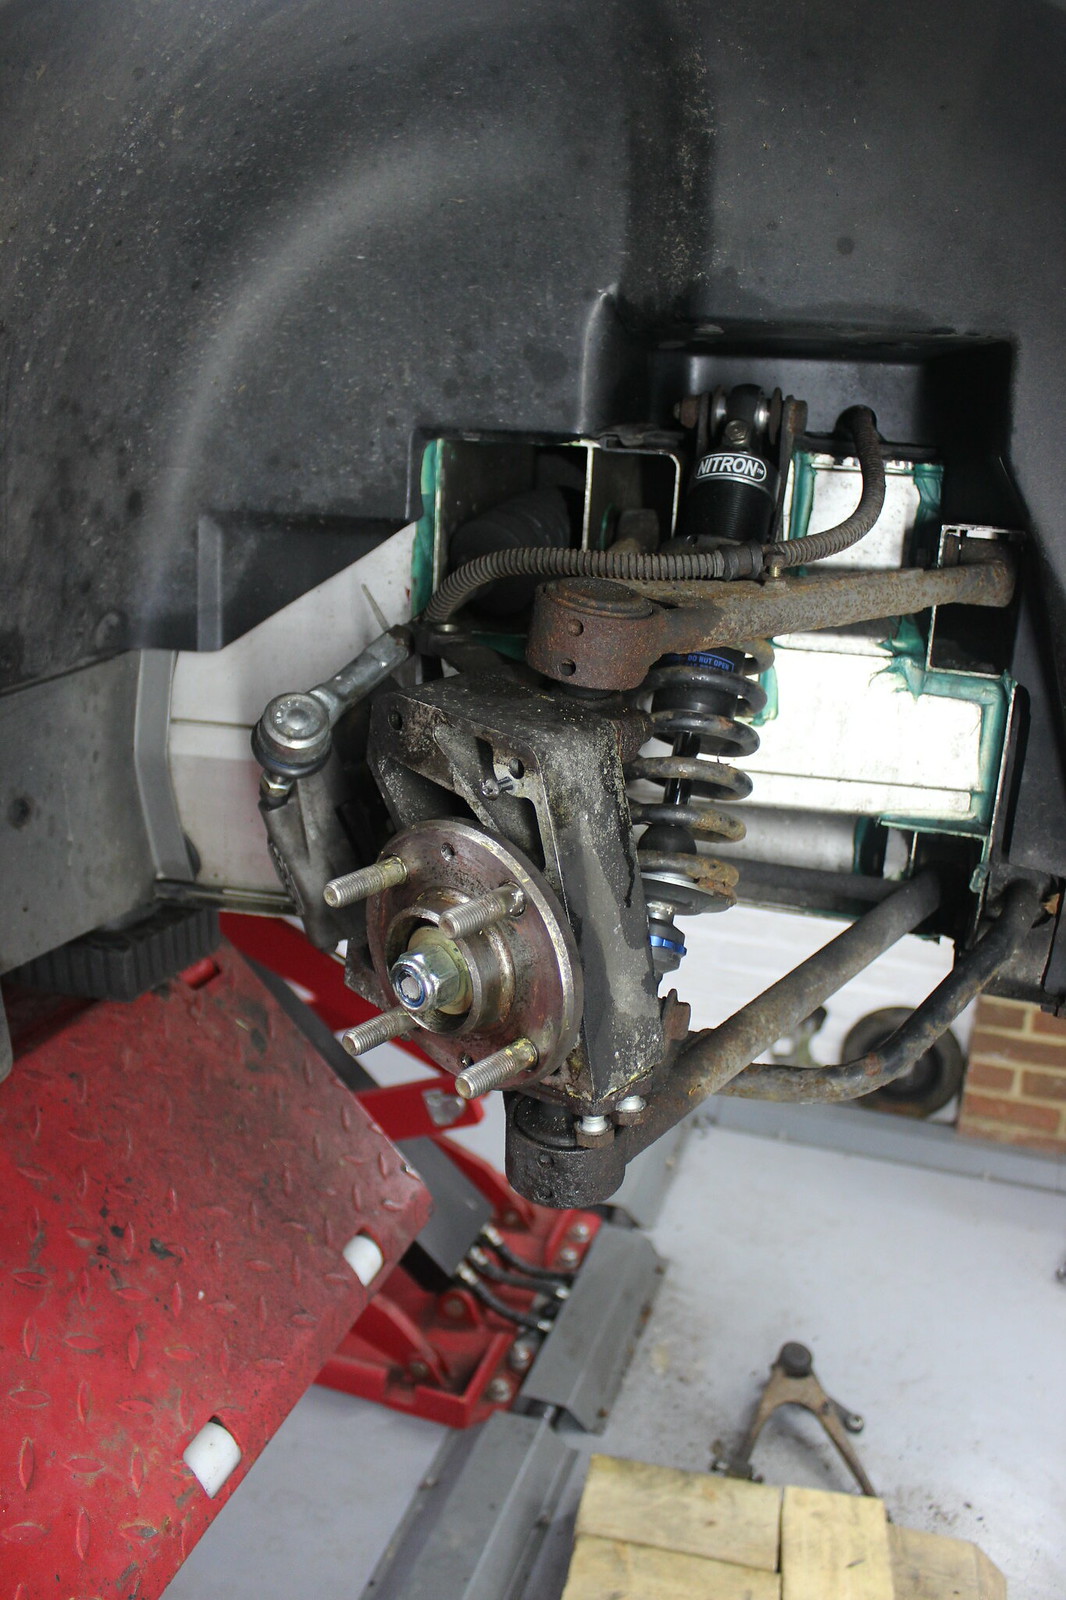
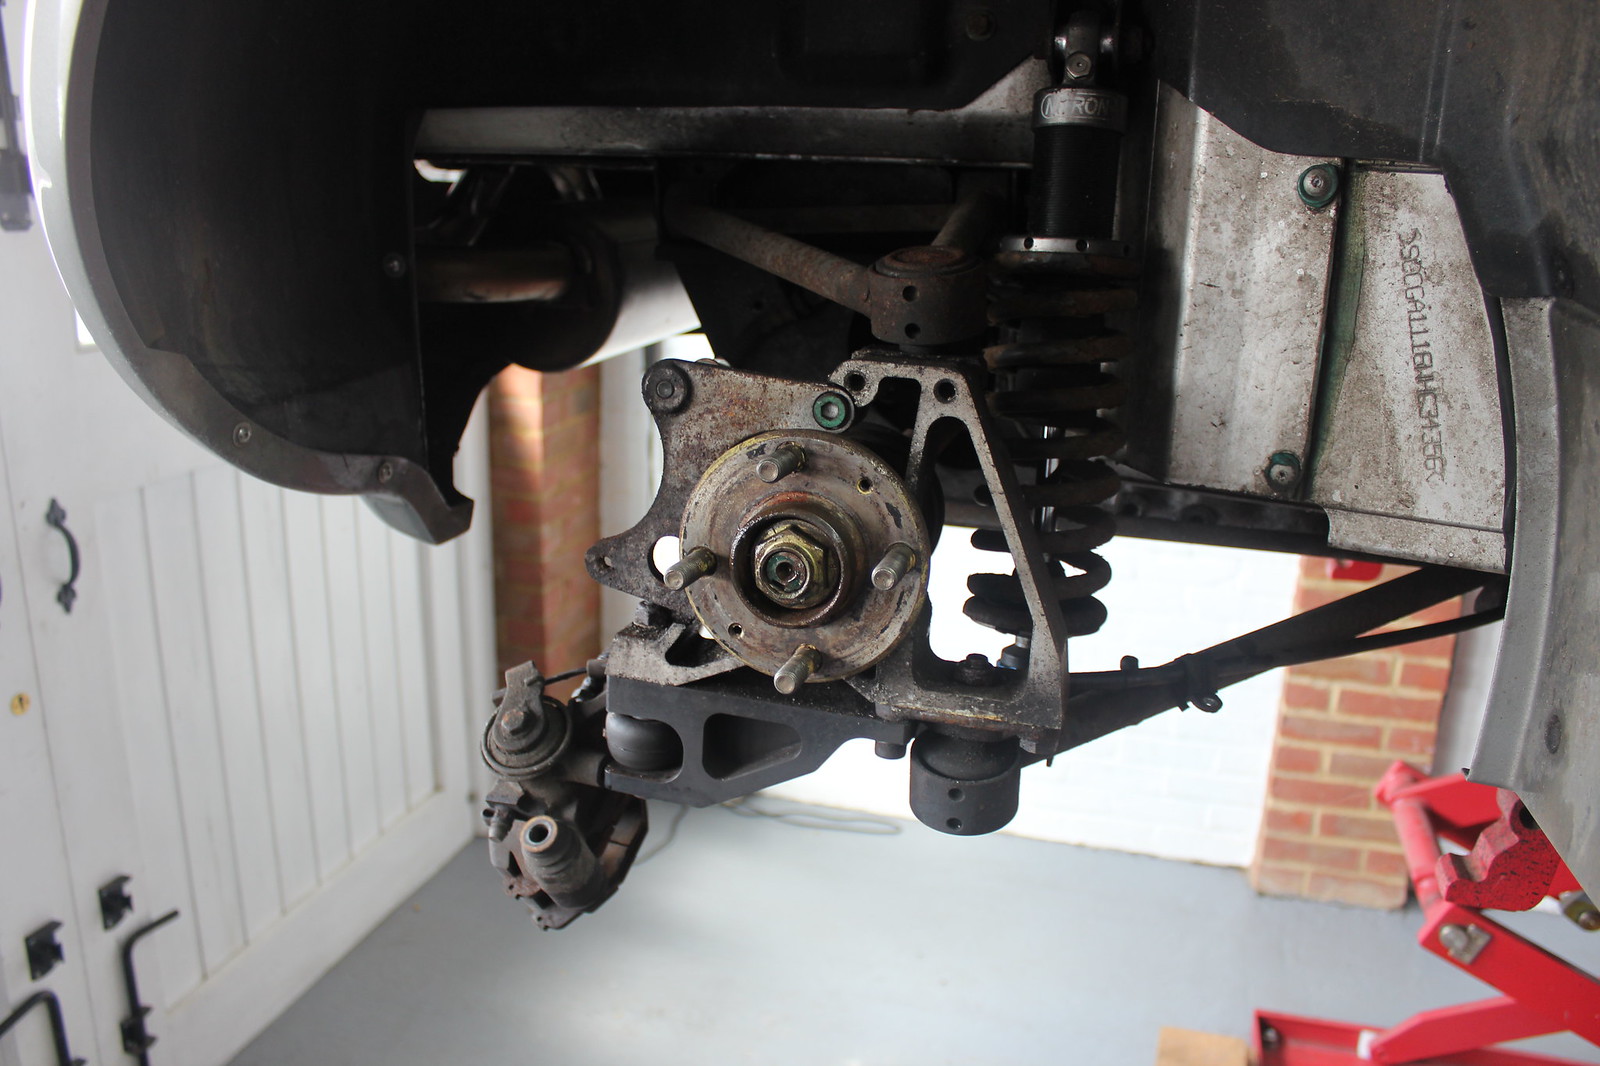
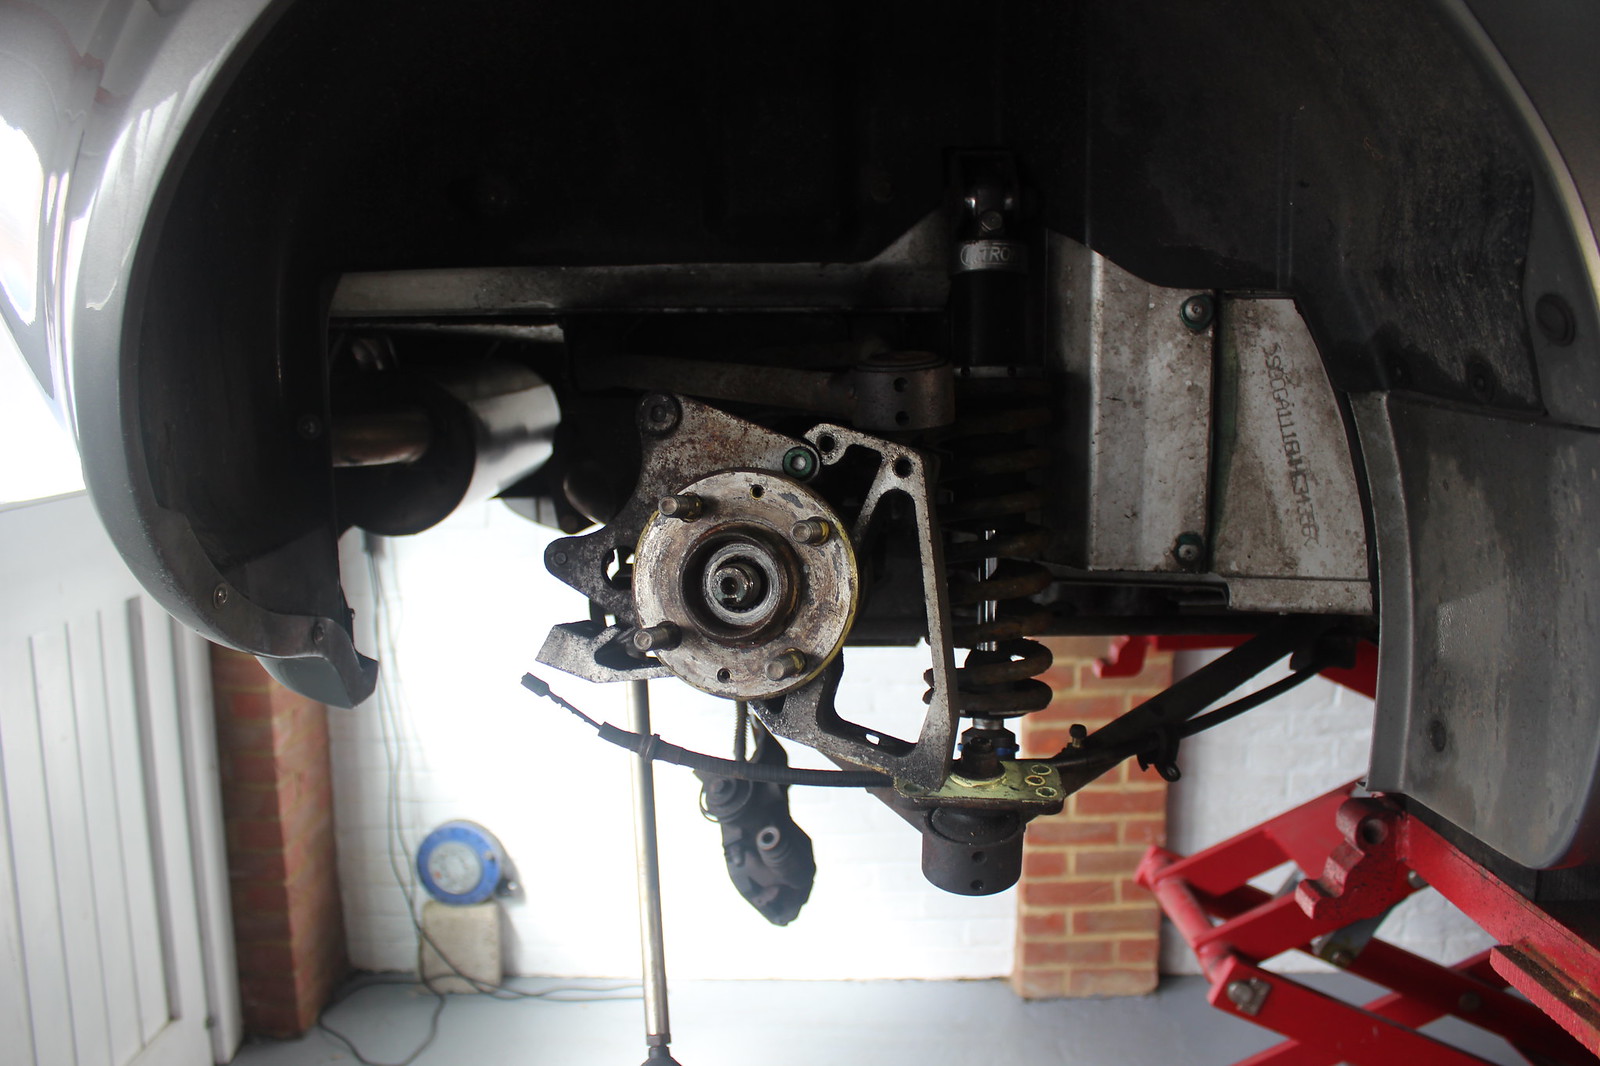
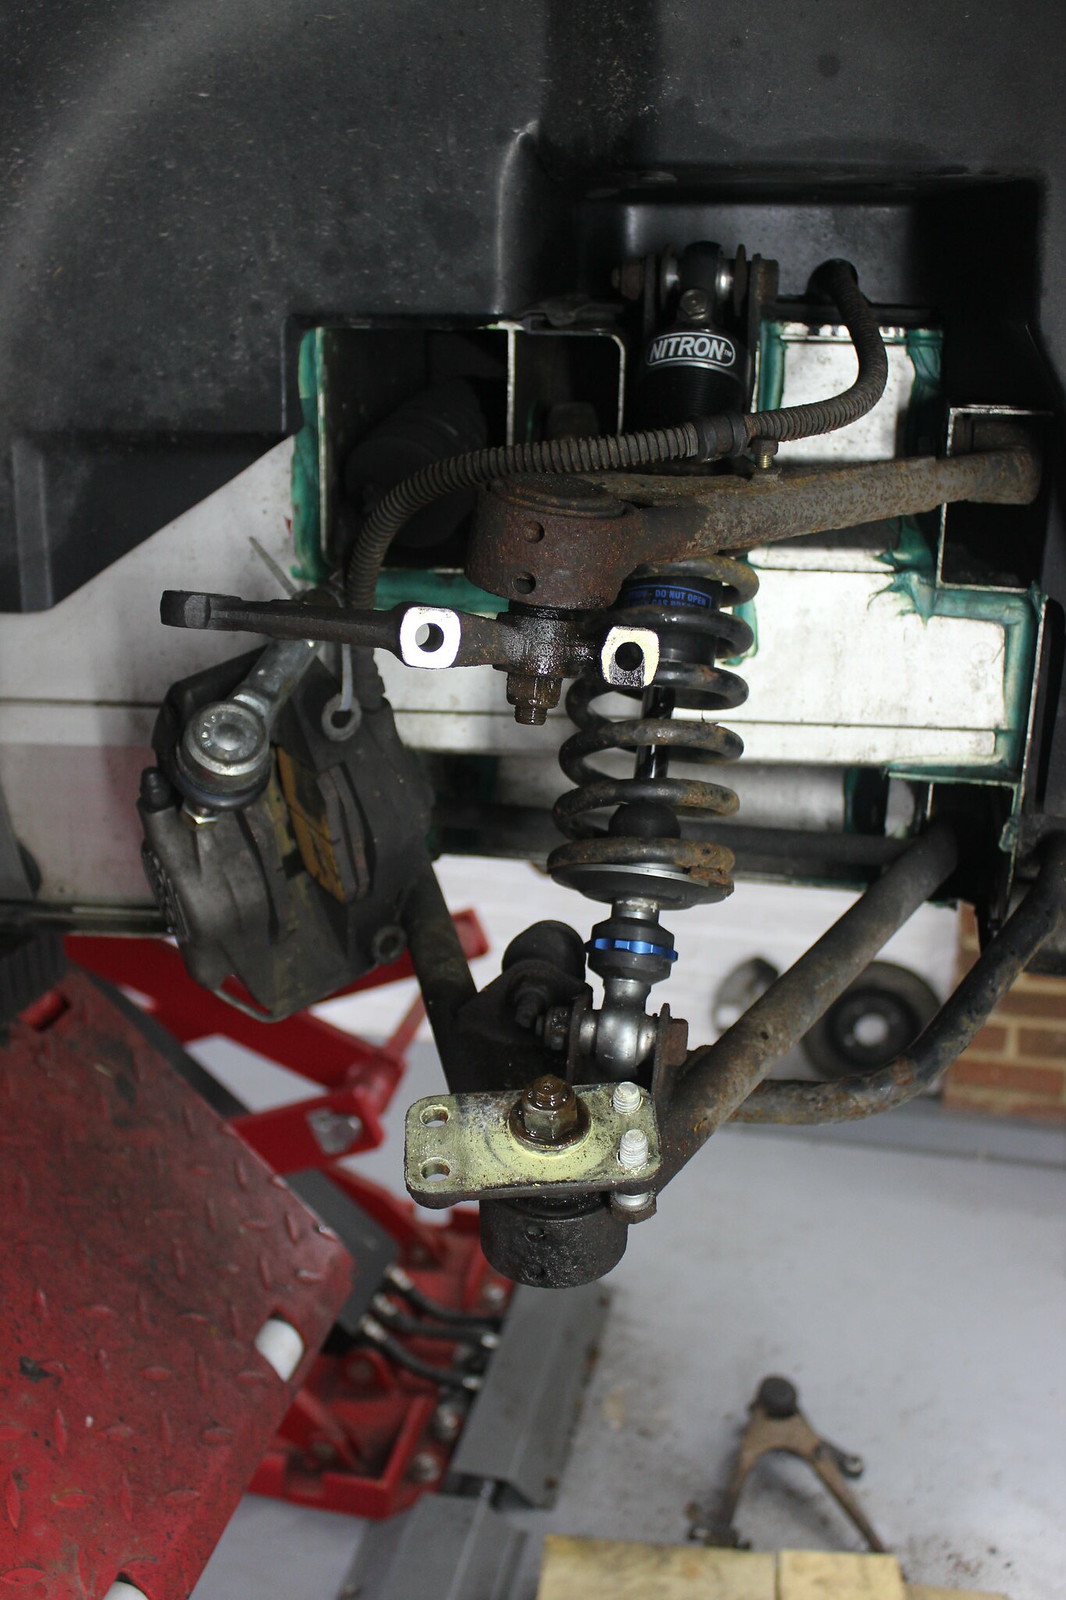
Lower ball joint plinth bolts loose and the plinth split from the upright.

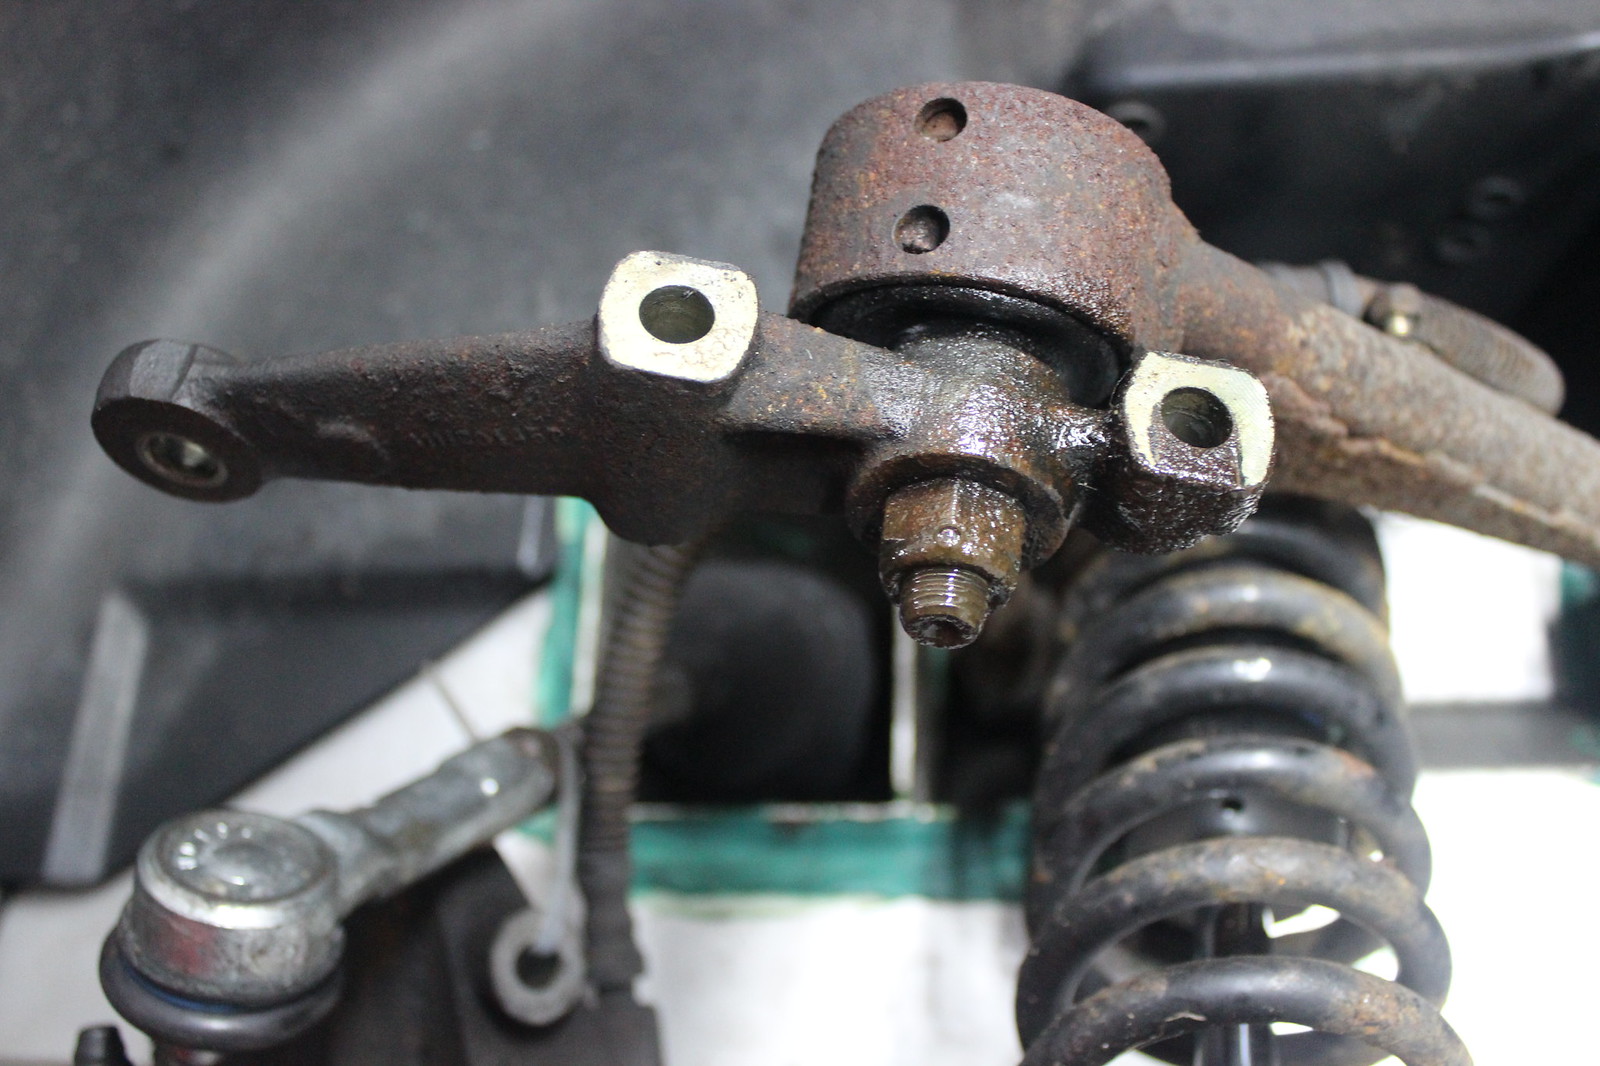
Steering arm / upper ball joint plinth bolts coming out.
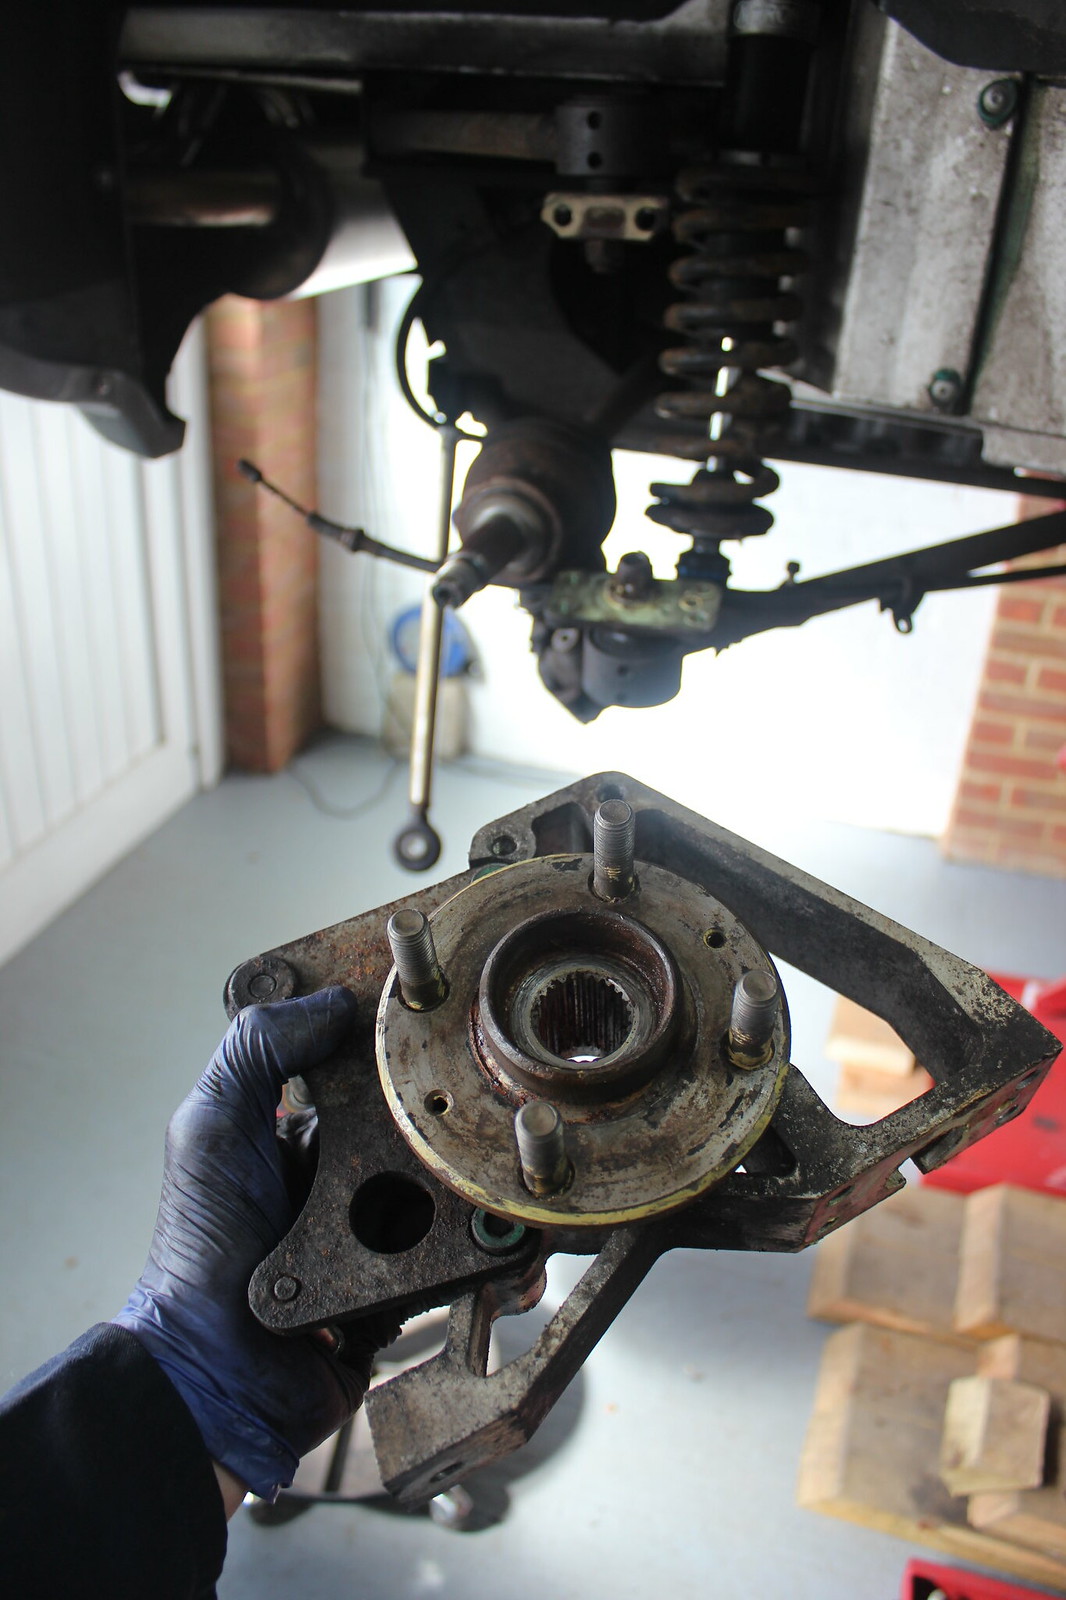
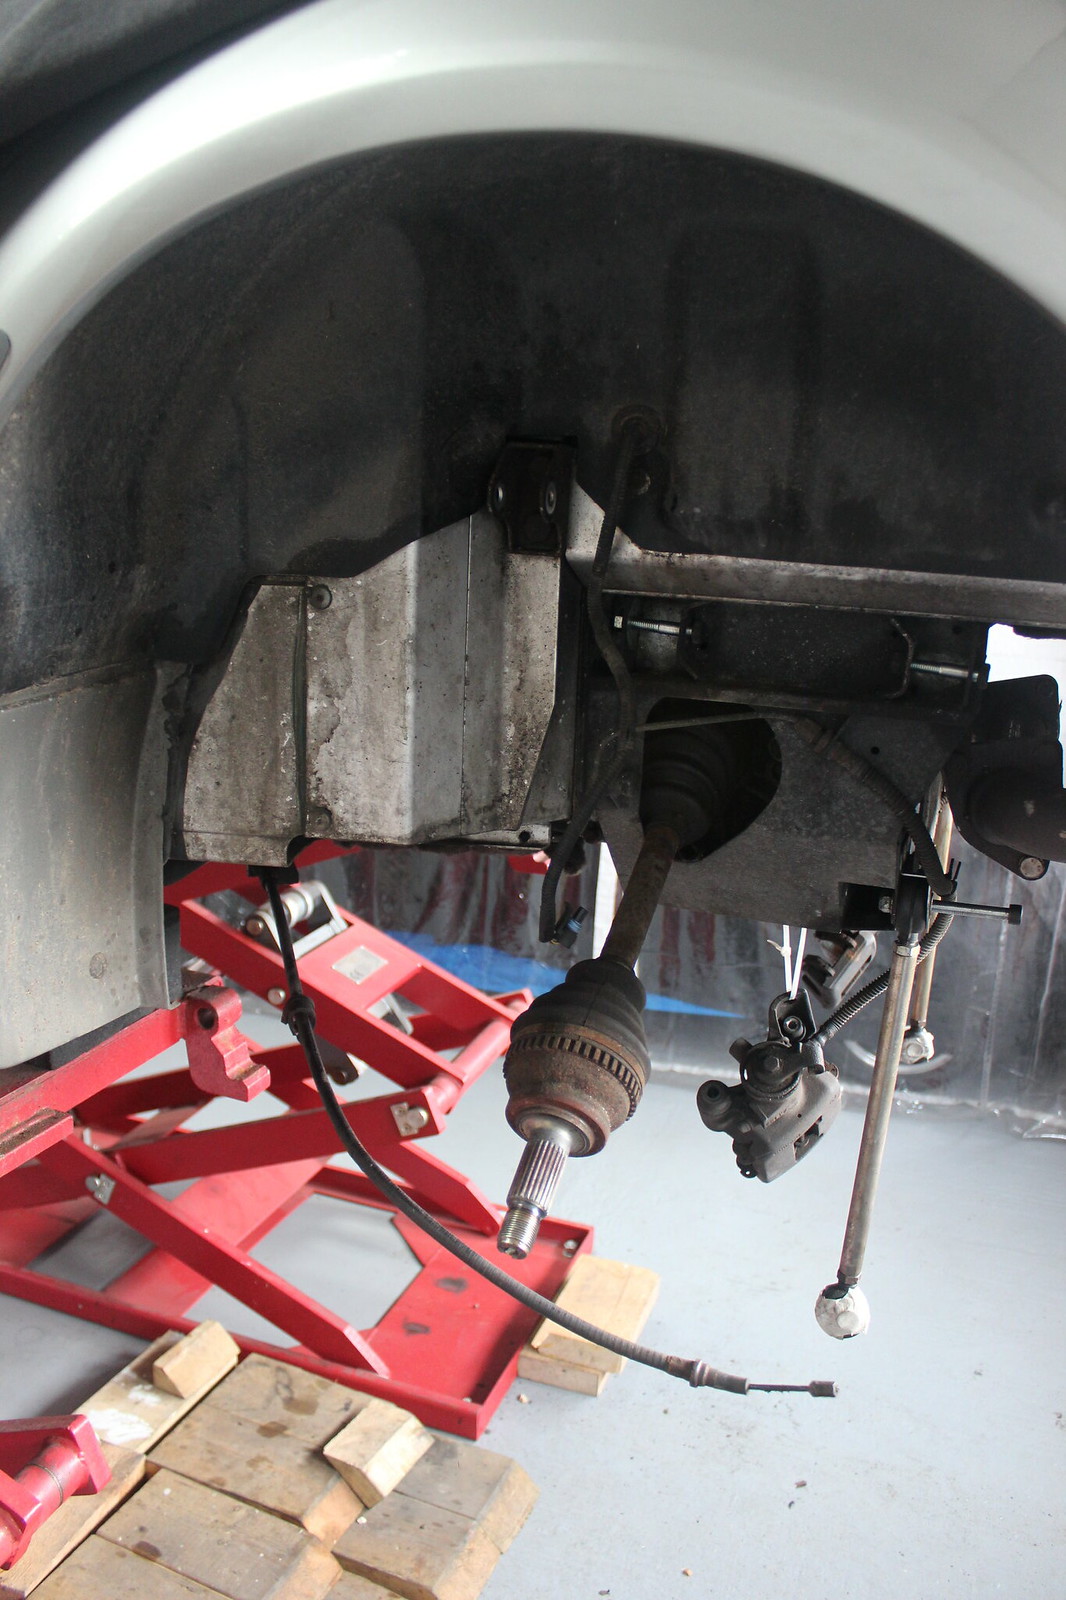
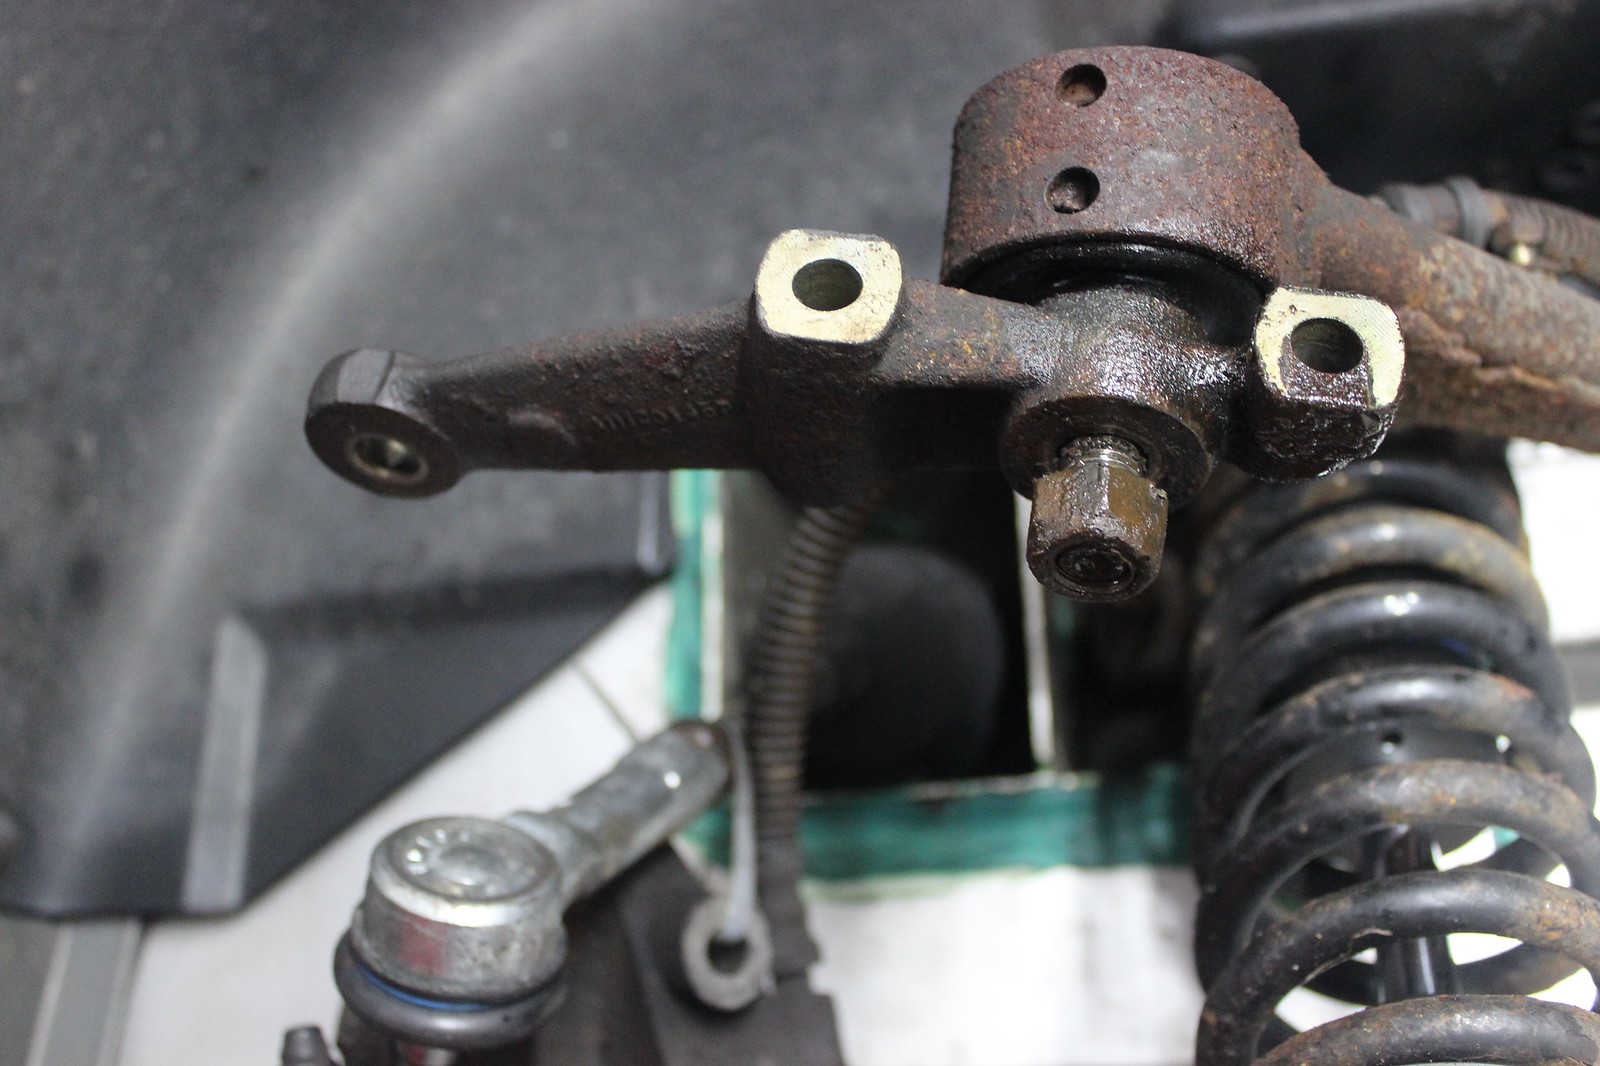
Upright removed.
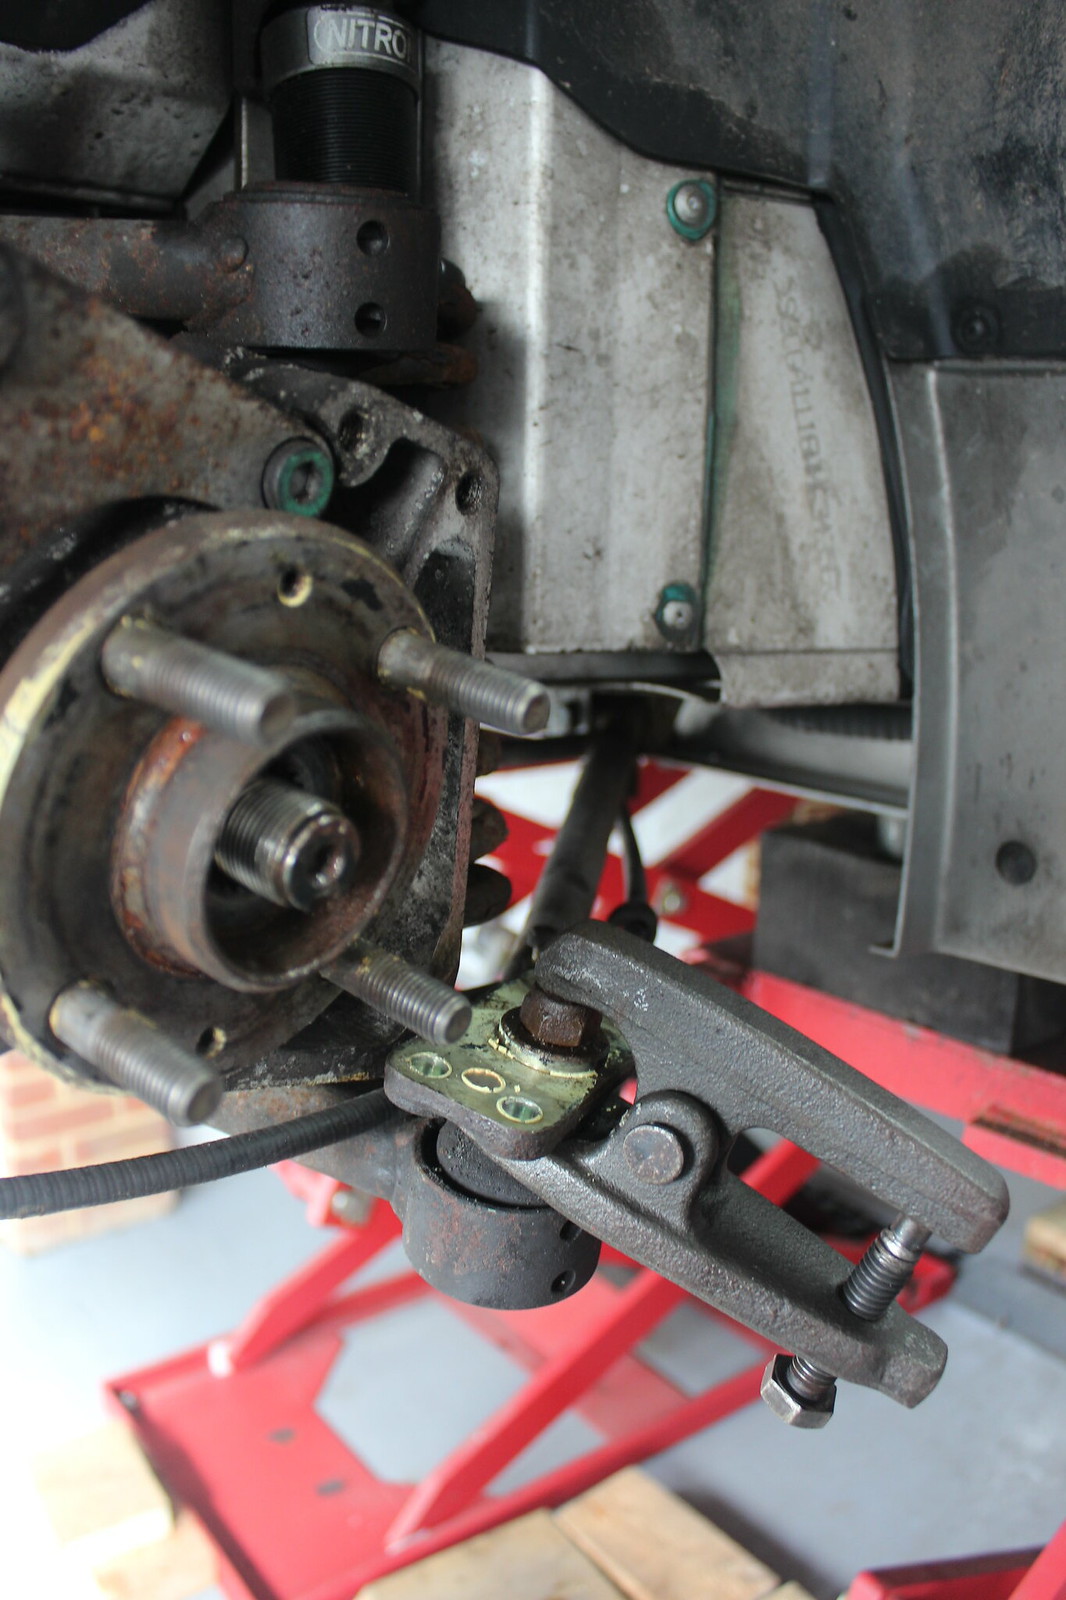
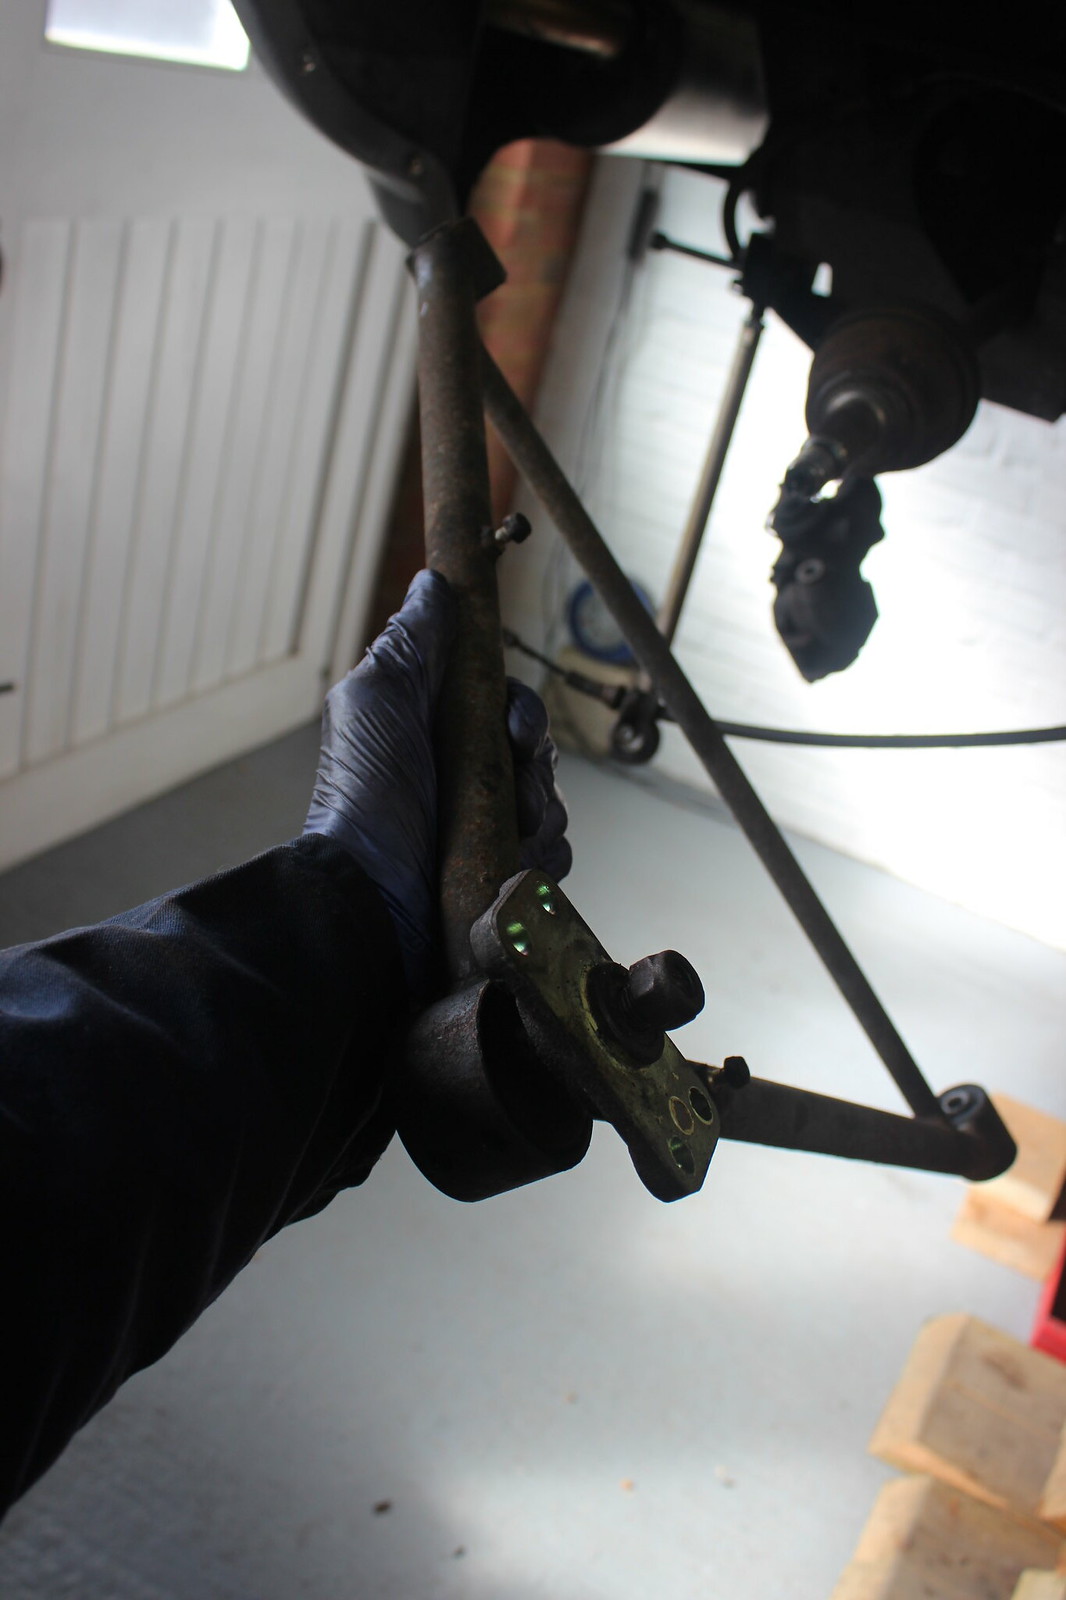
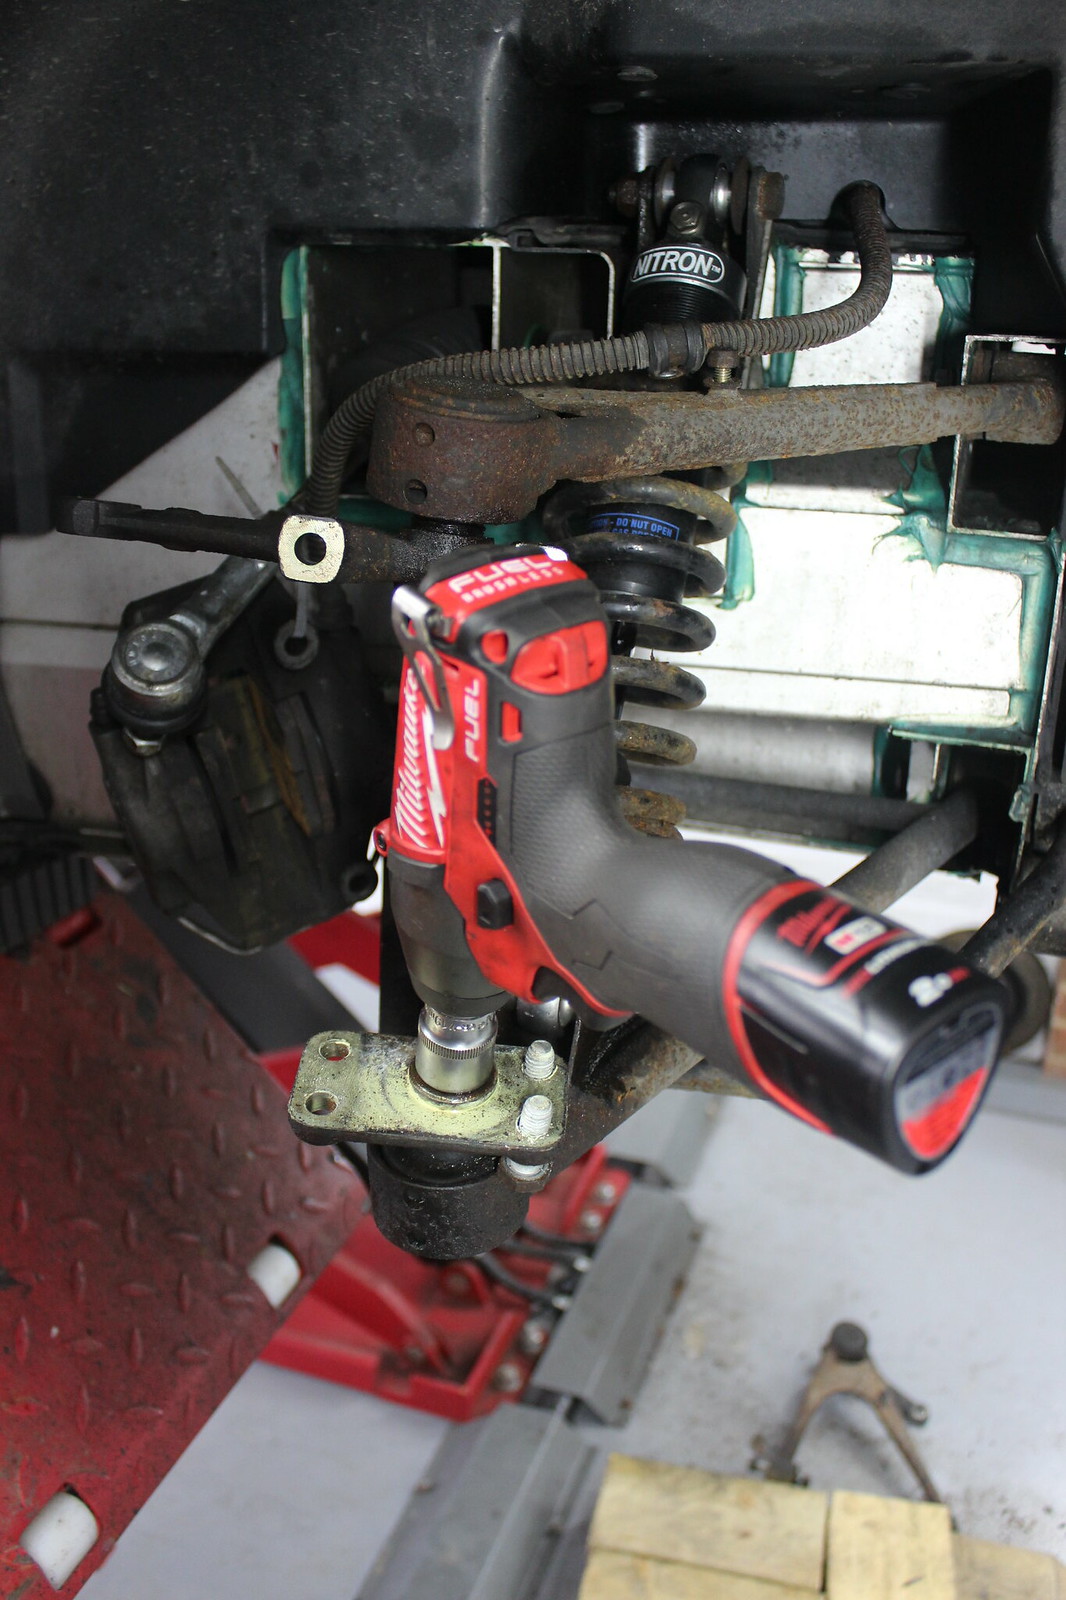
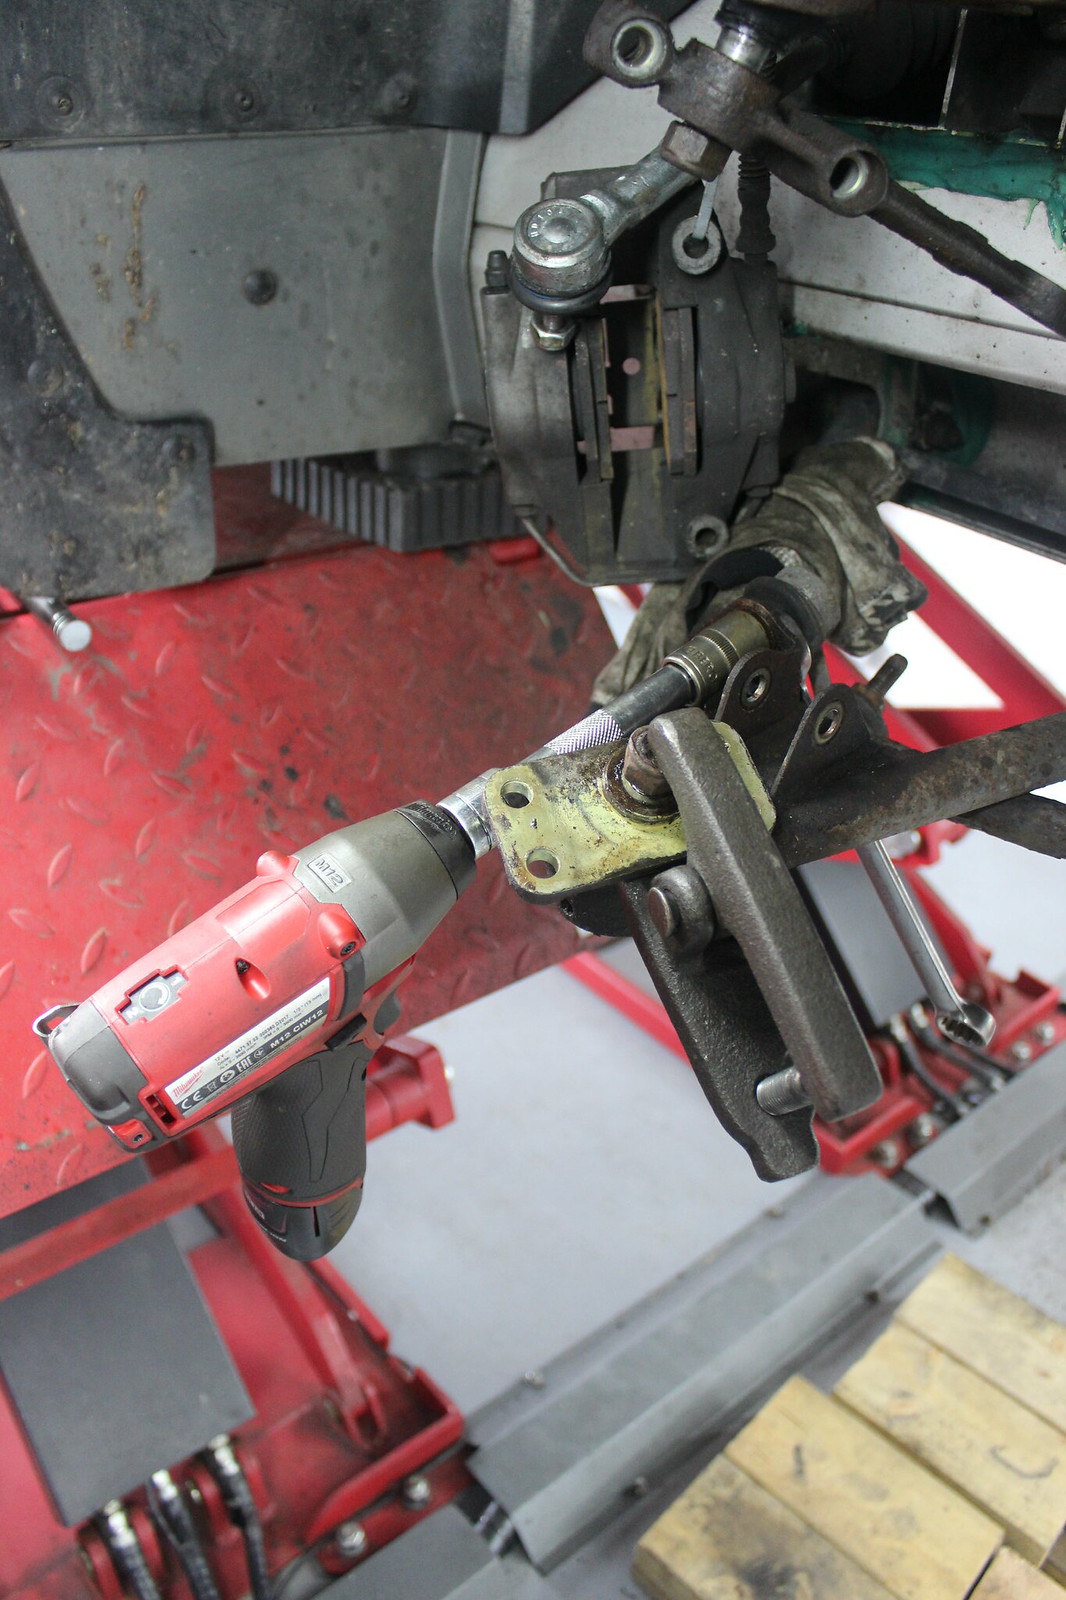
Ball joint nuts next.
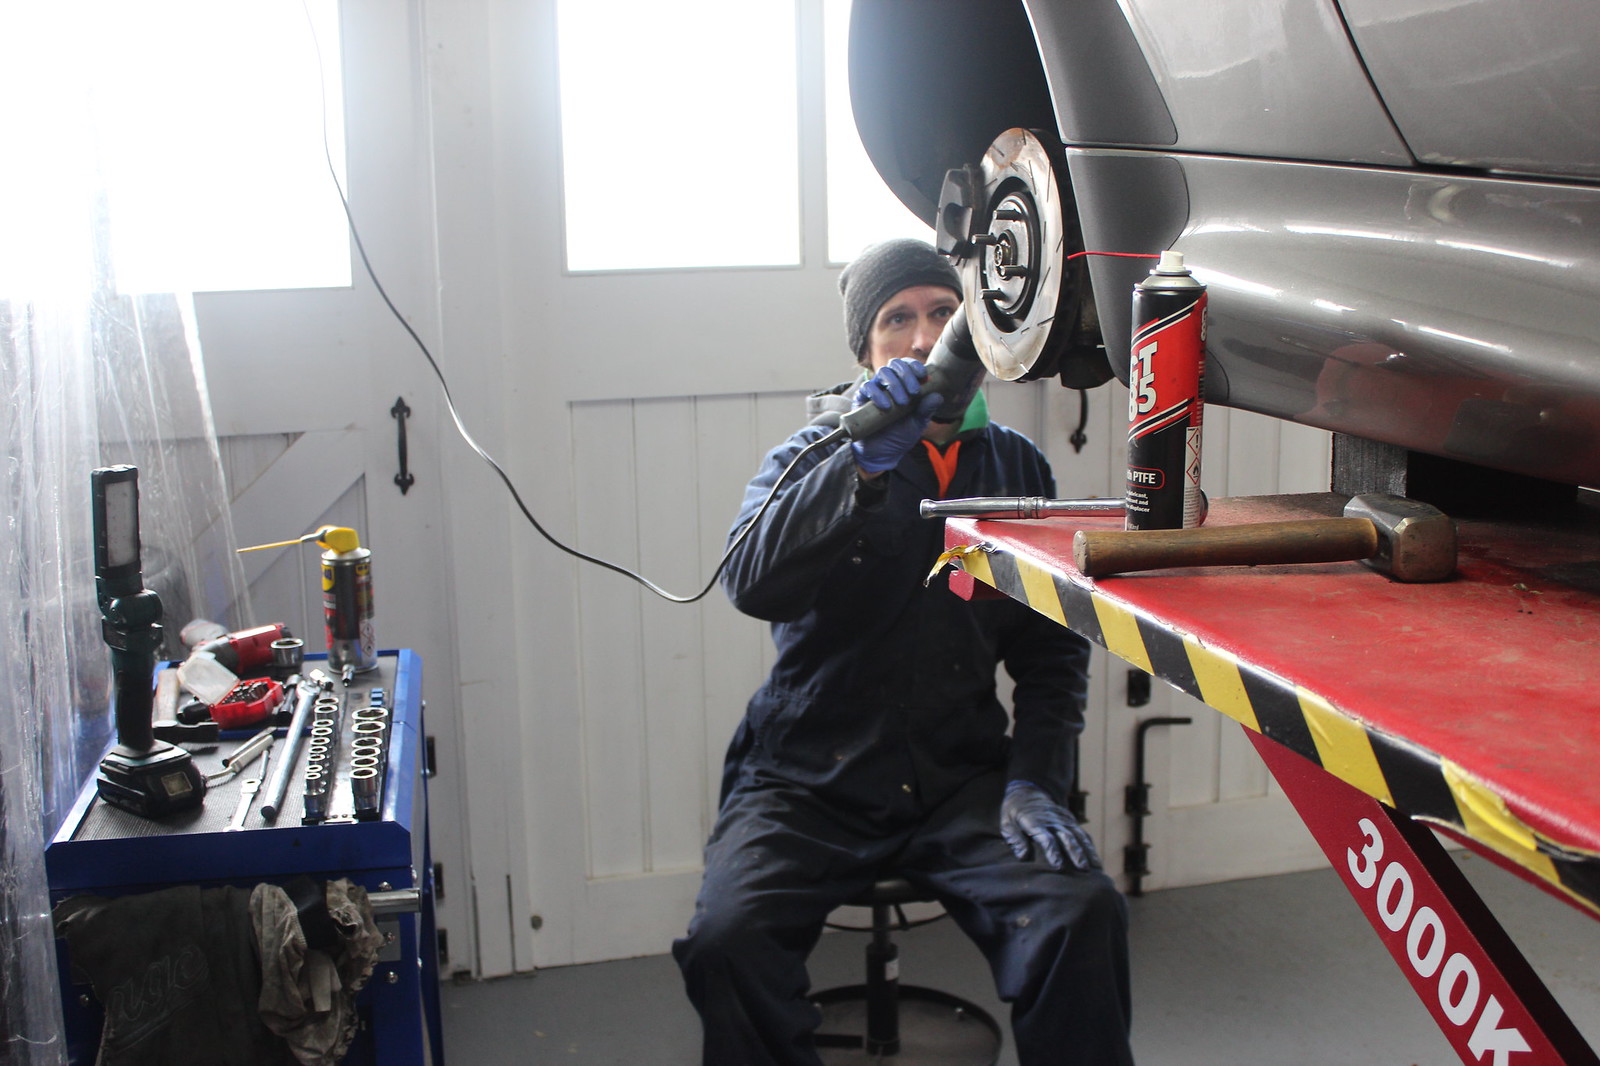
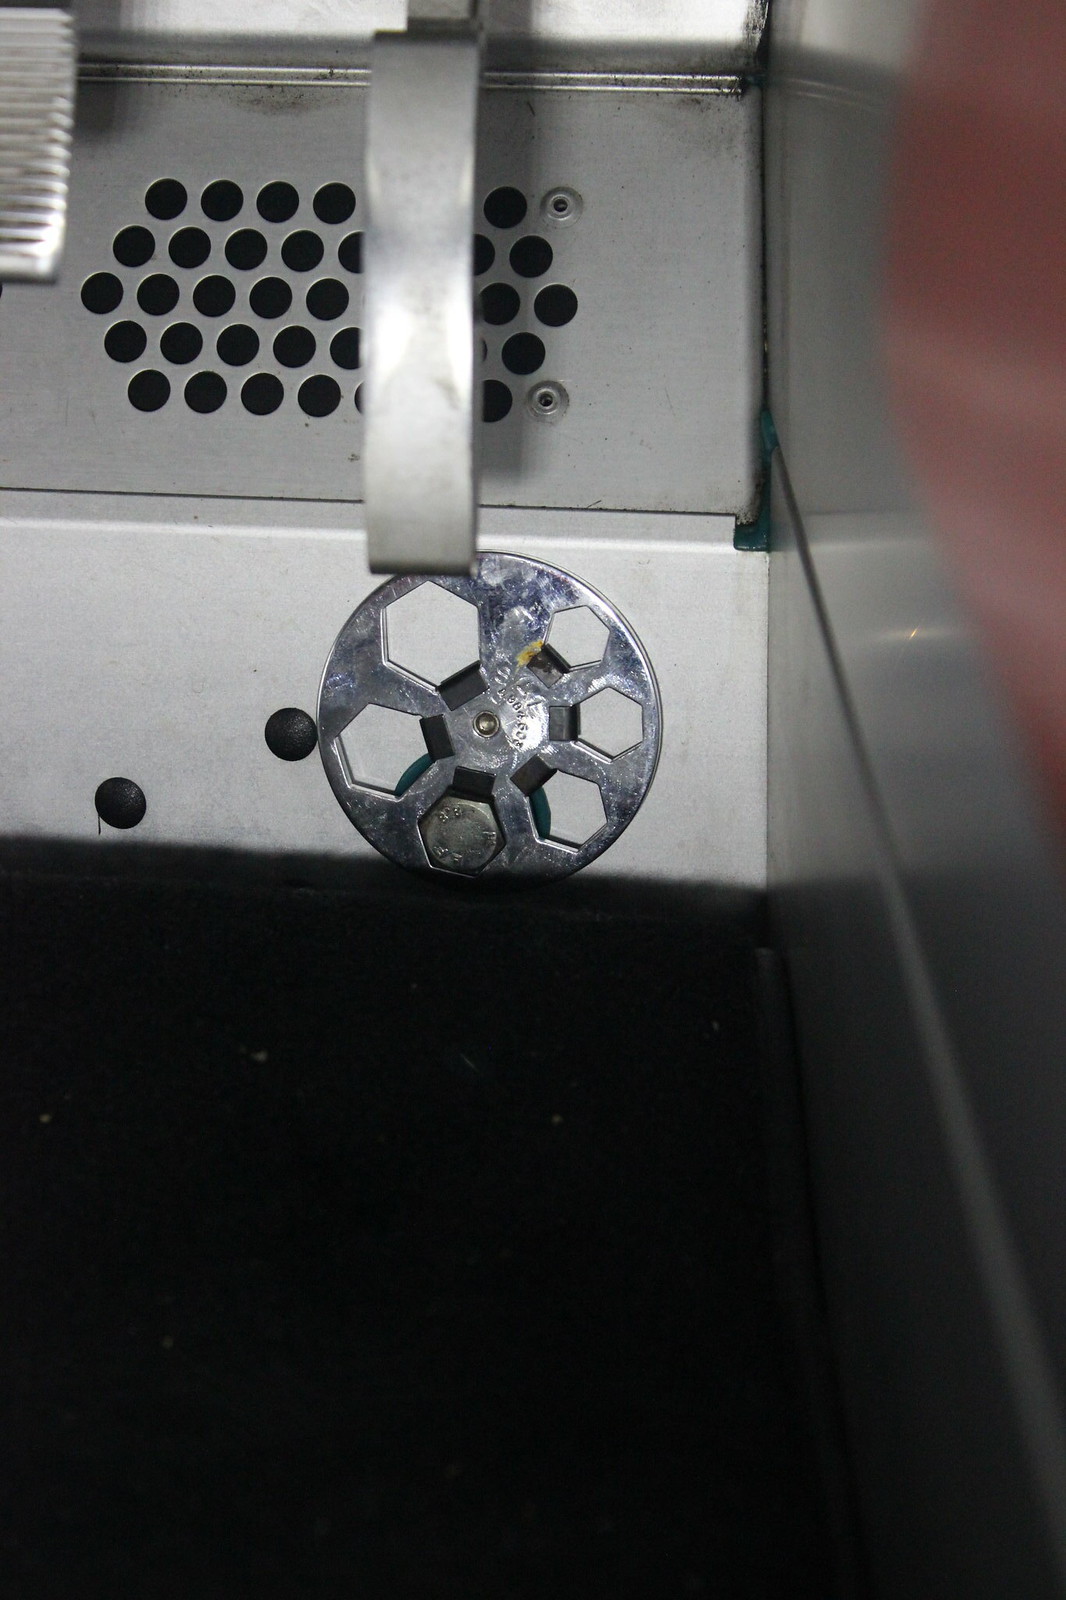
This tool is so good for this kind of thing. It just works and buzzes the nut off with no fuss.
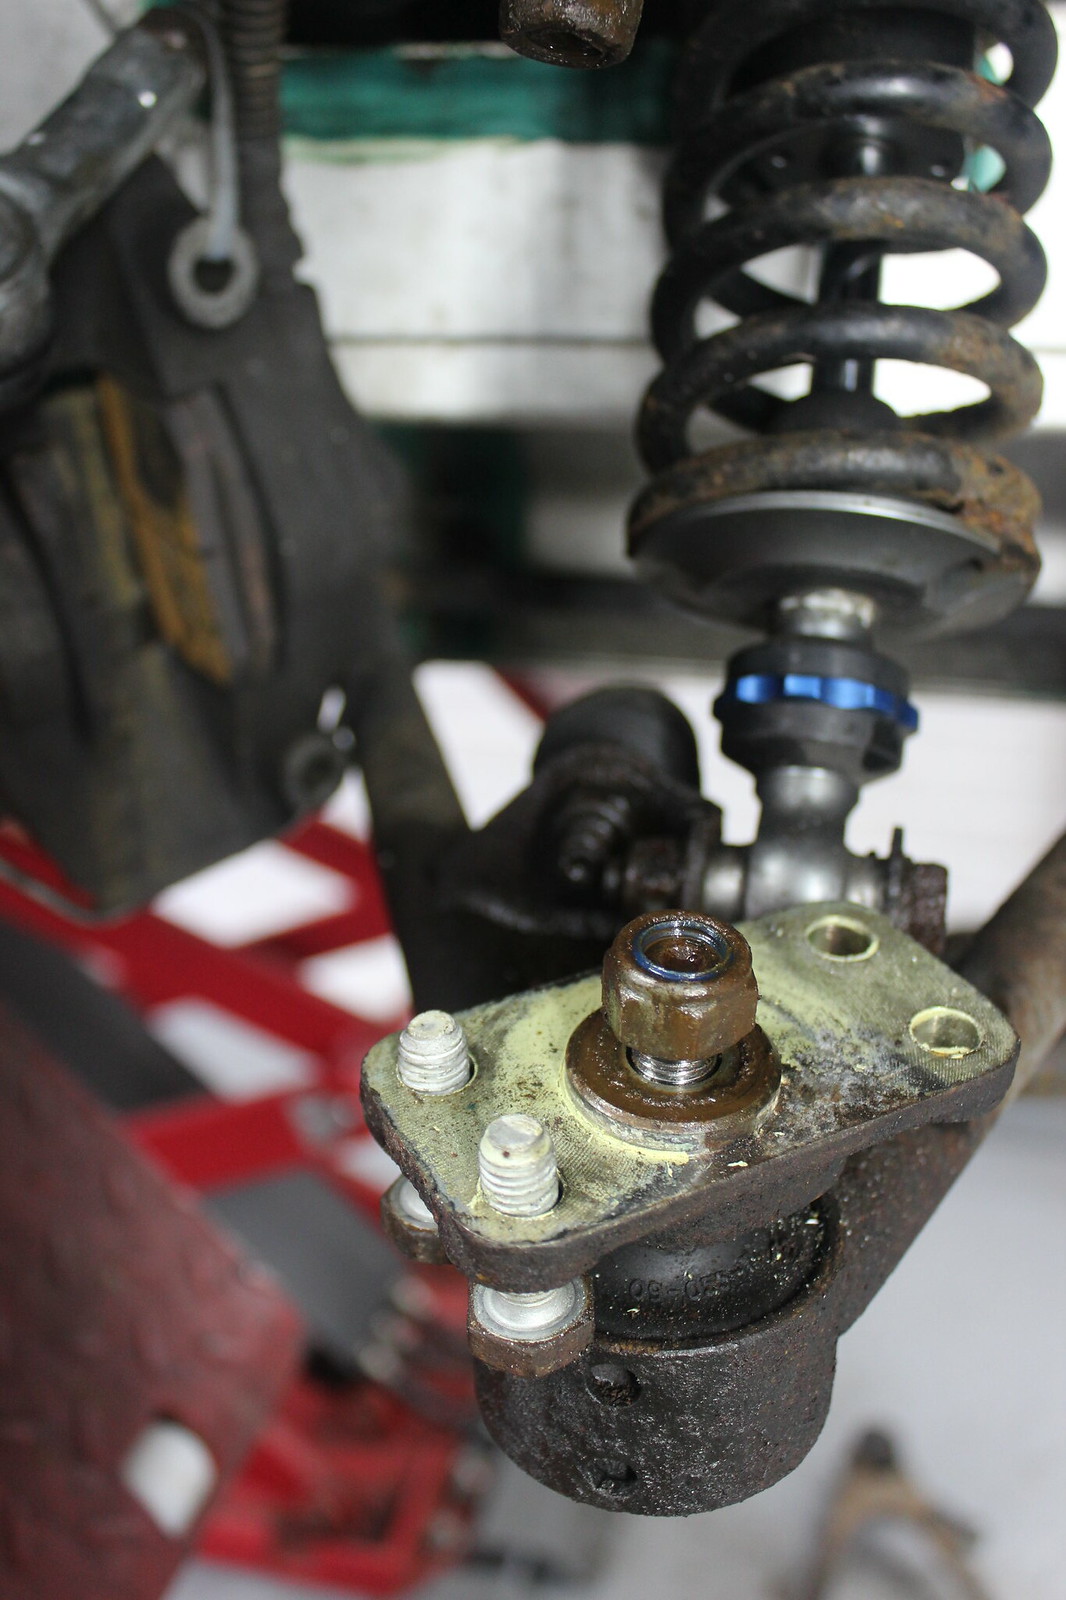
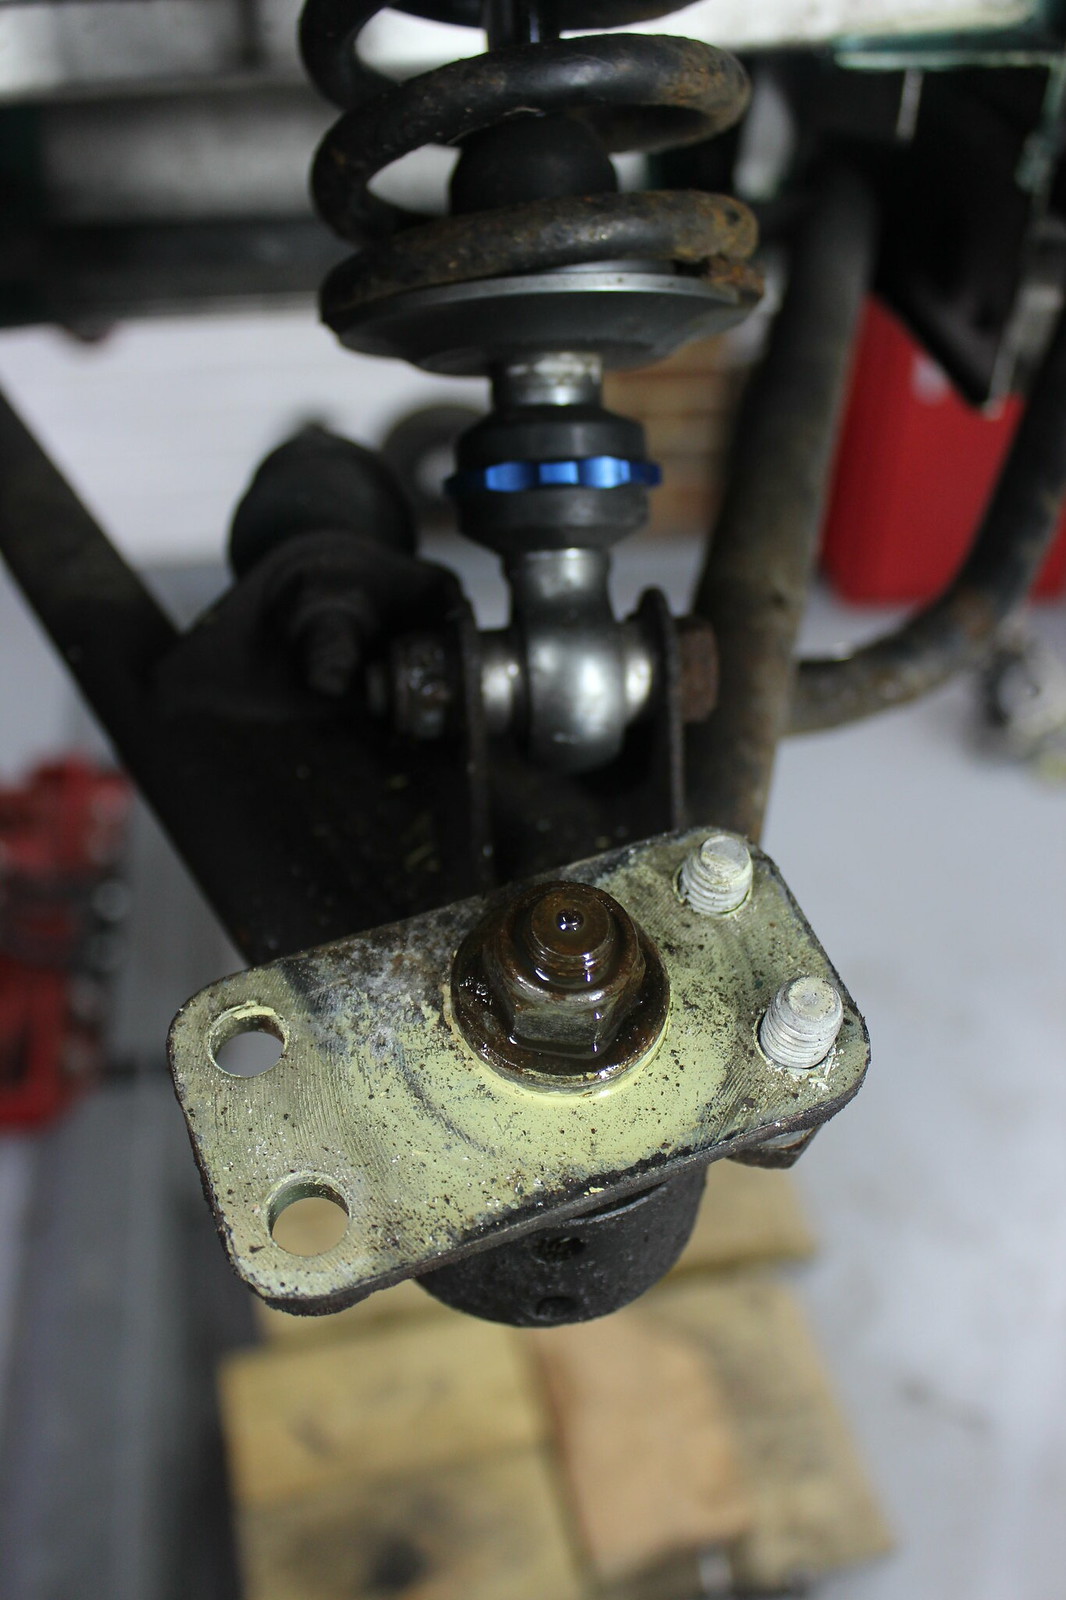
My trusty old ball joint splitter is usually just as good and had been on all the ball joints so far but this one was not having any of it!
I heated it, covered it in penetrating oil. Wedged a bit of wood in place to I could really tighten up the bolt but I got nowhere.
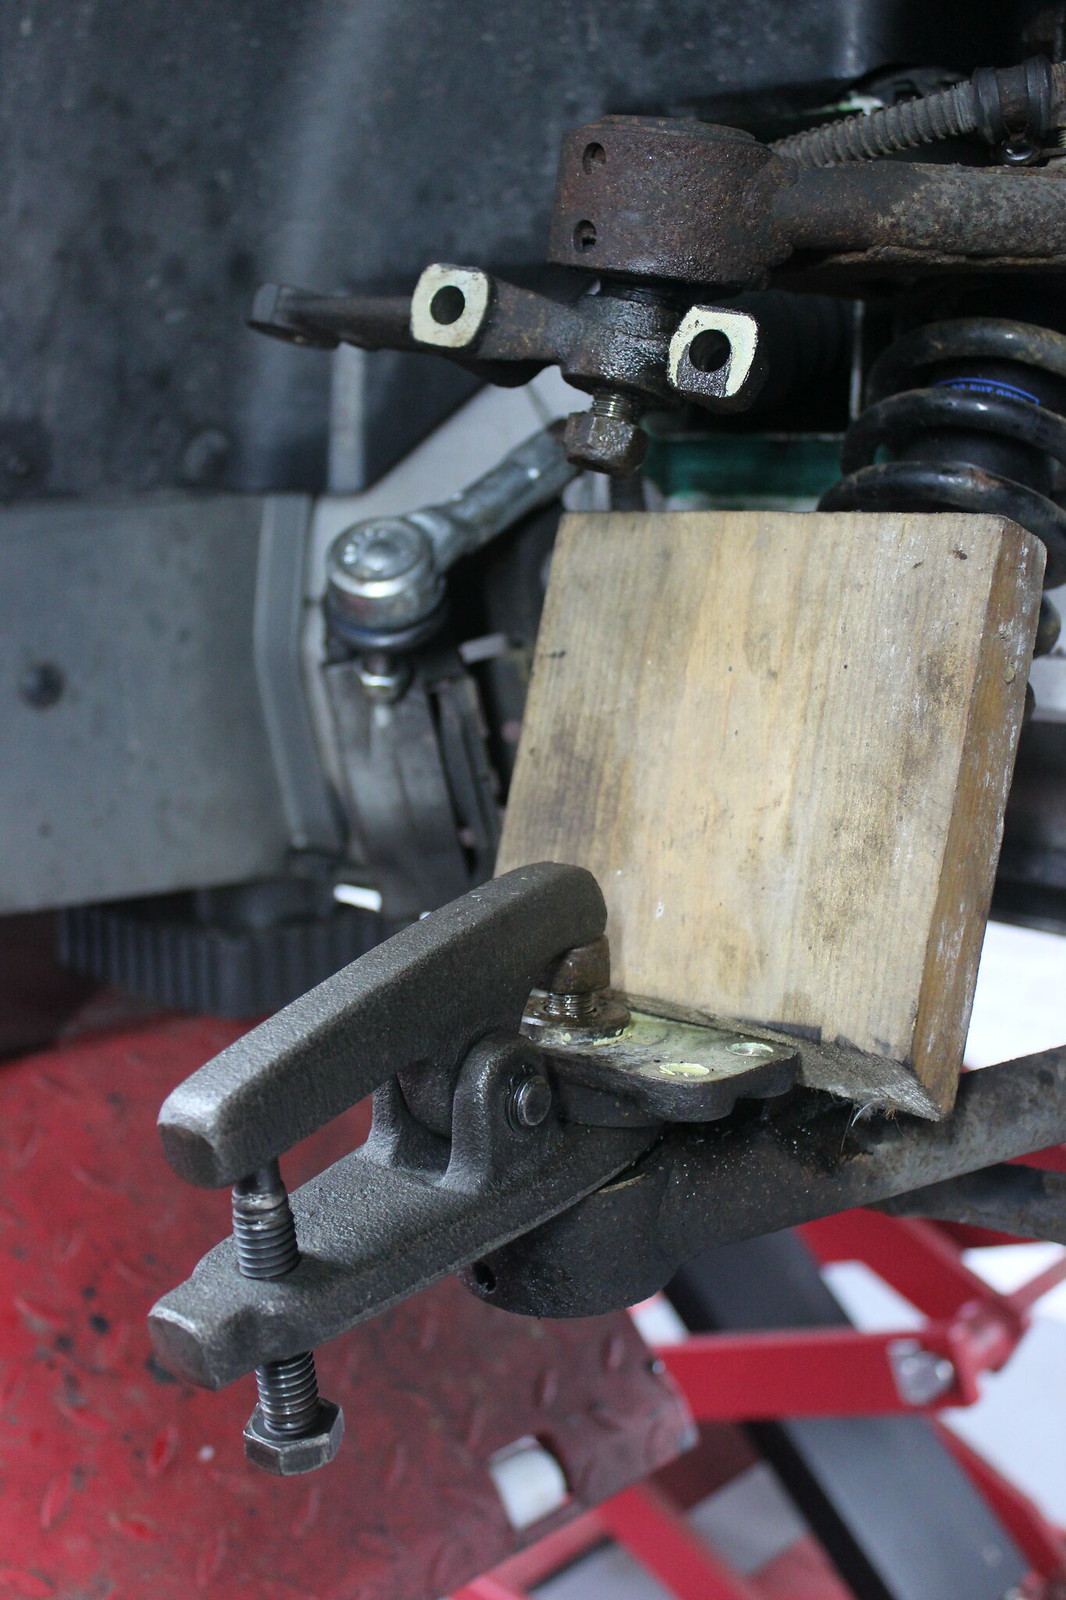
Ball joint 1, ball joint splitter nill.
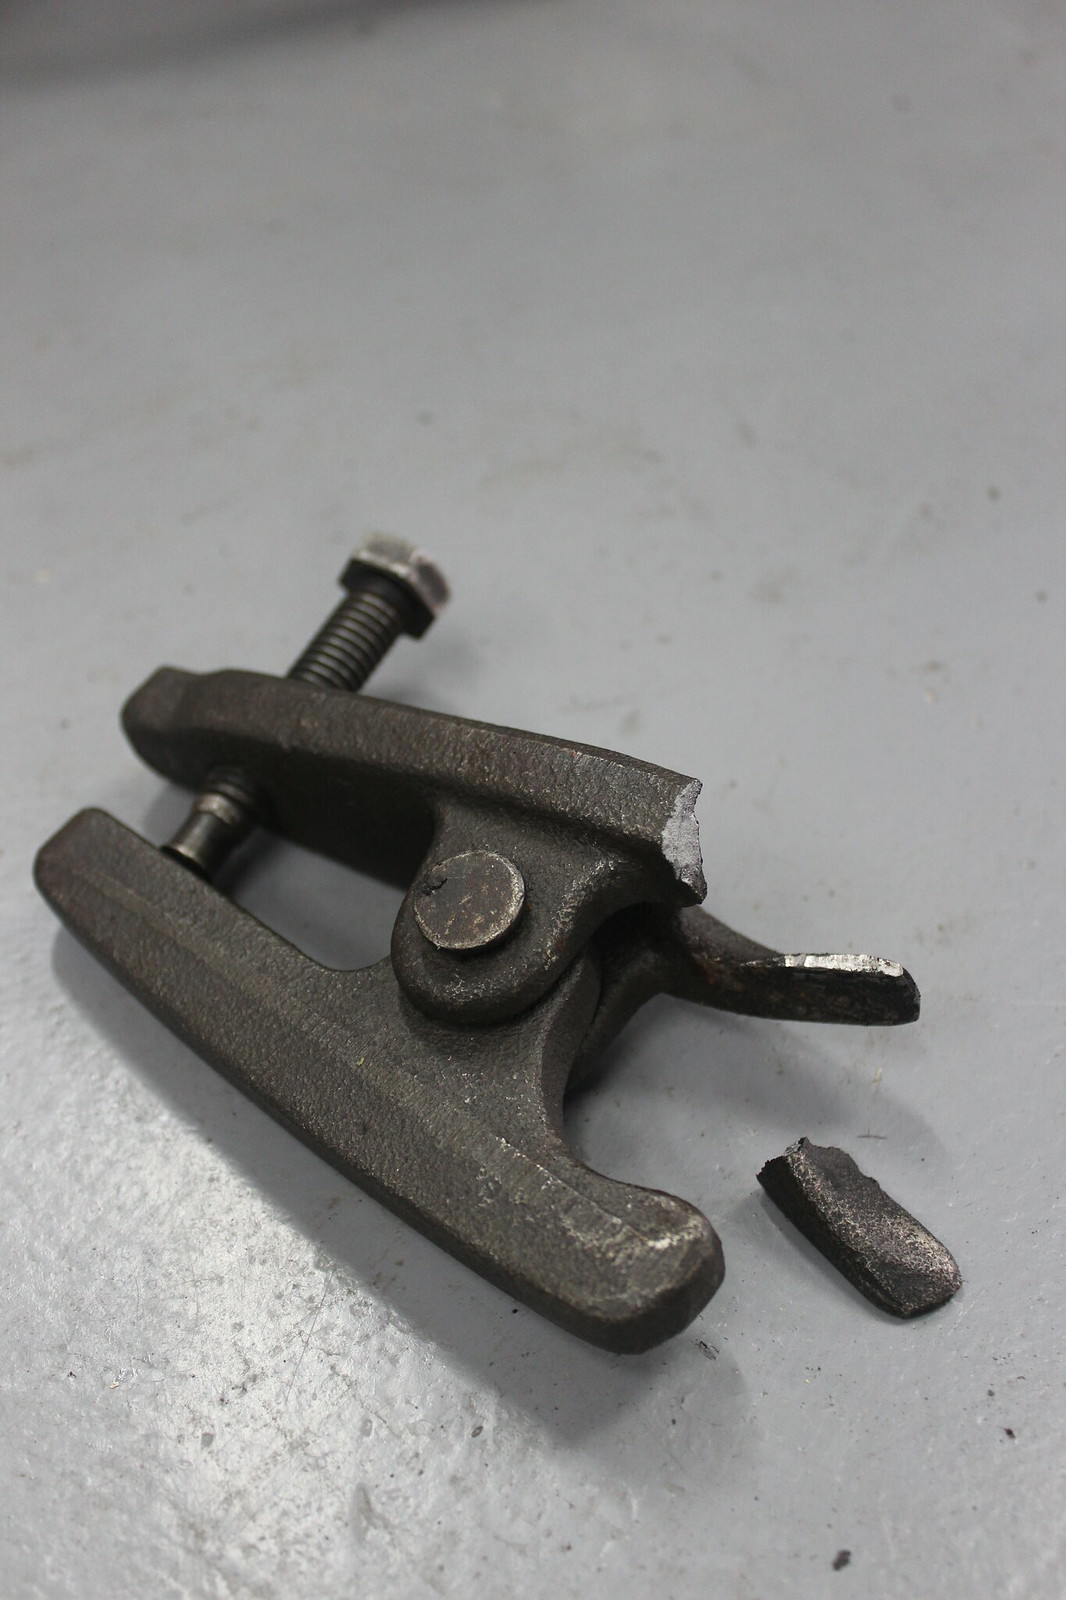
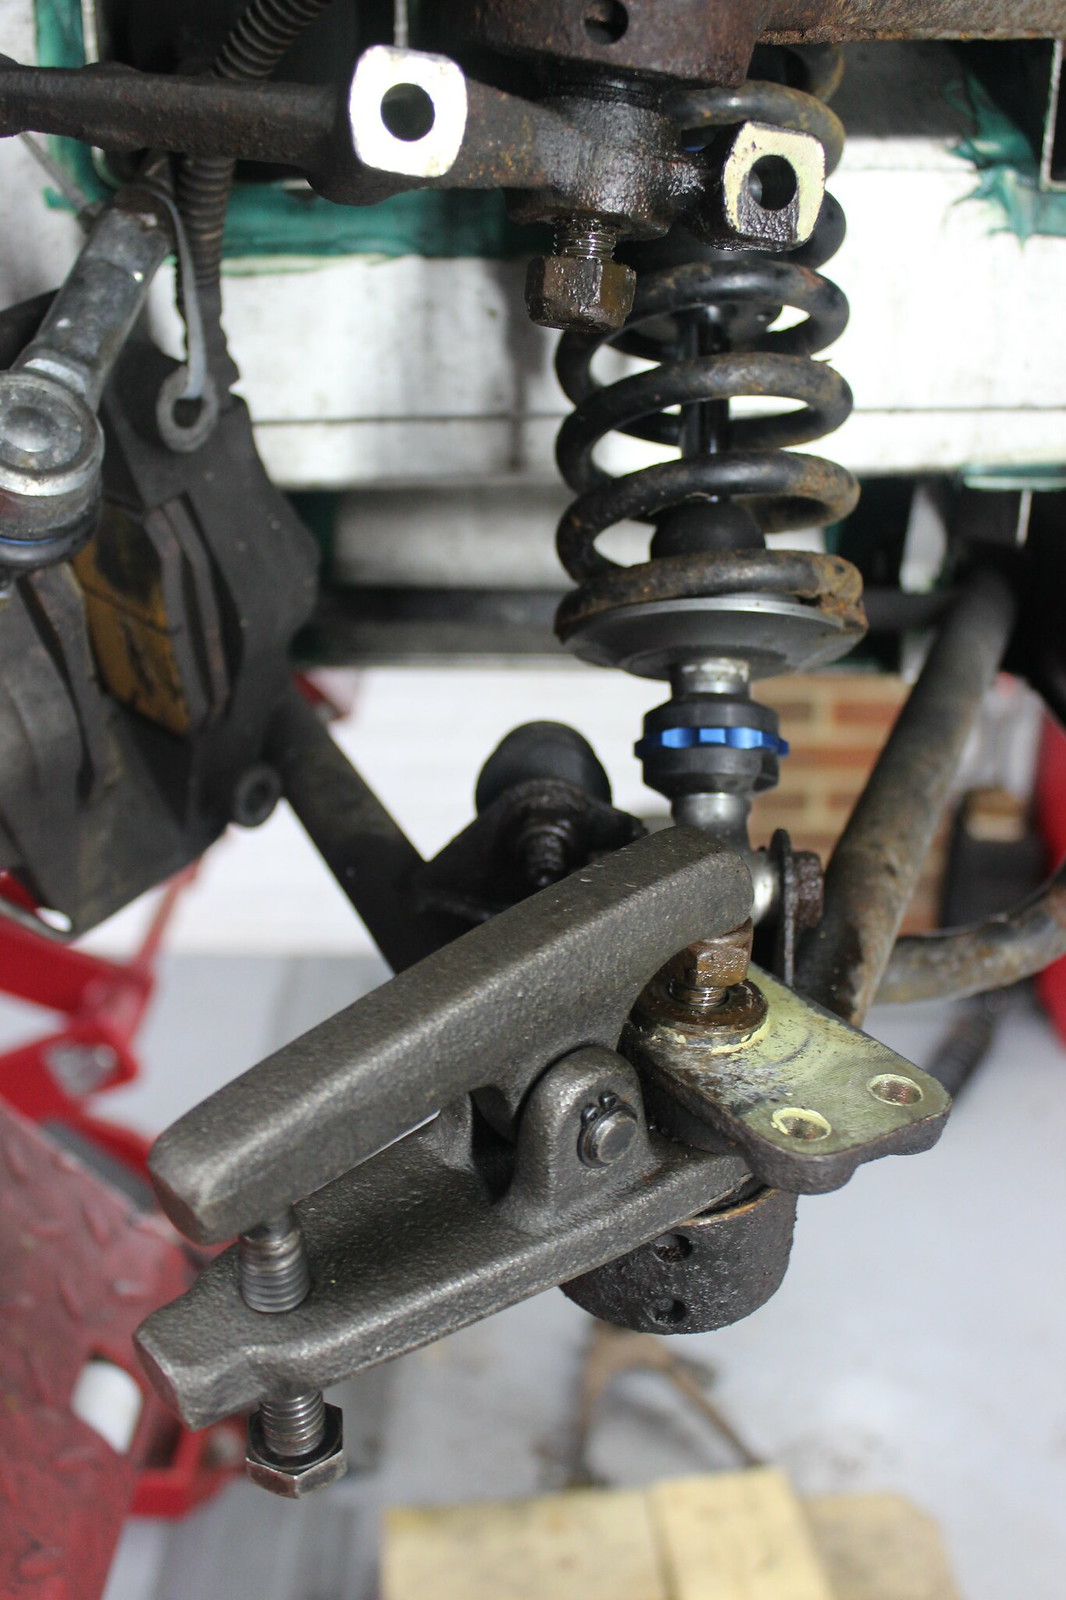
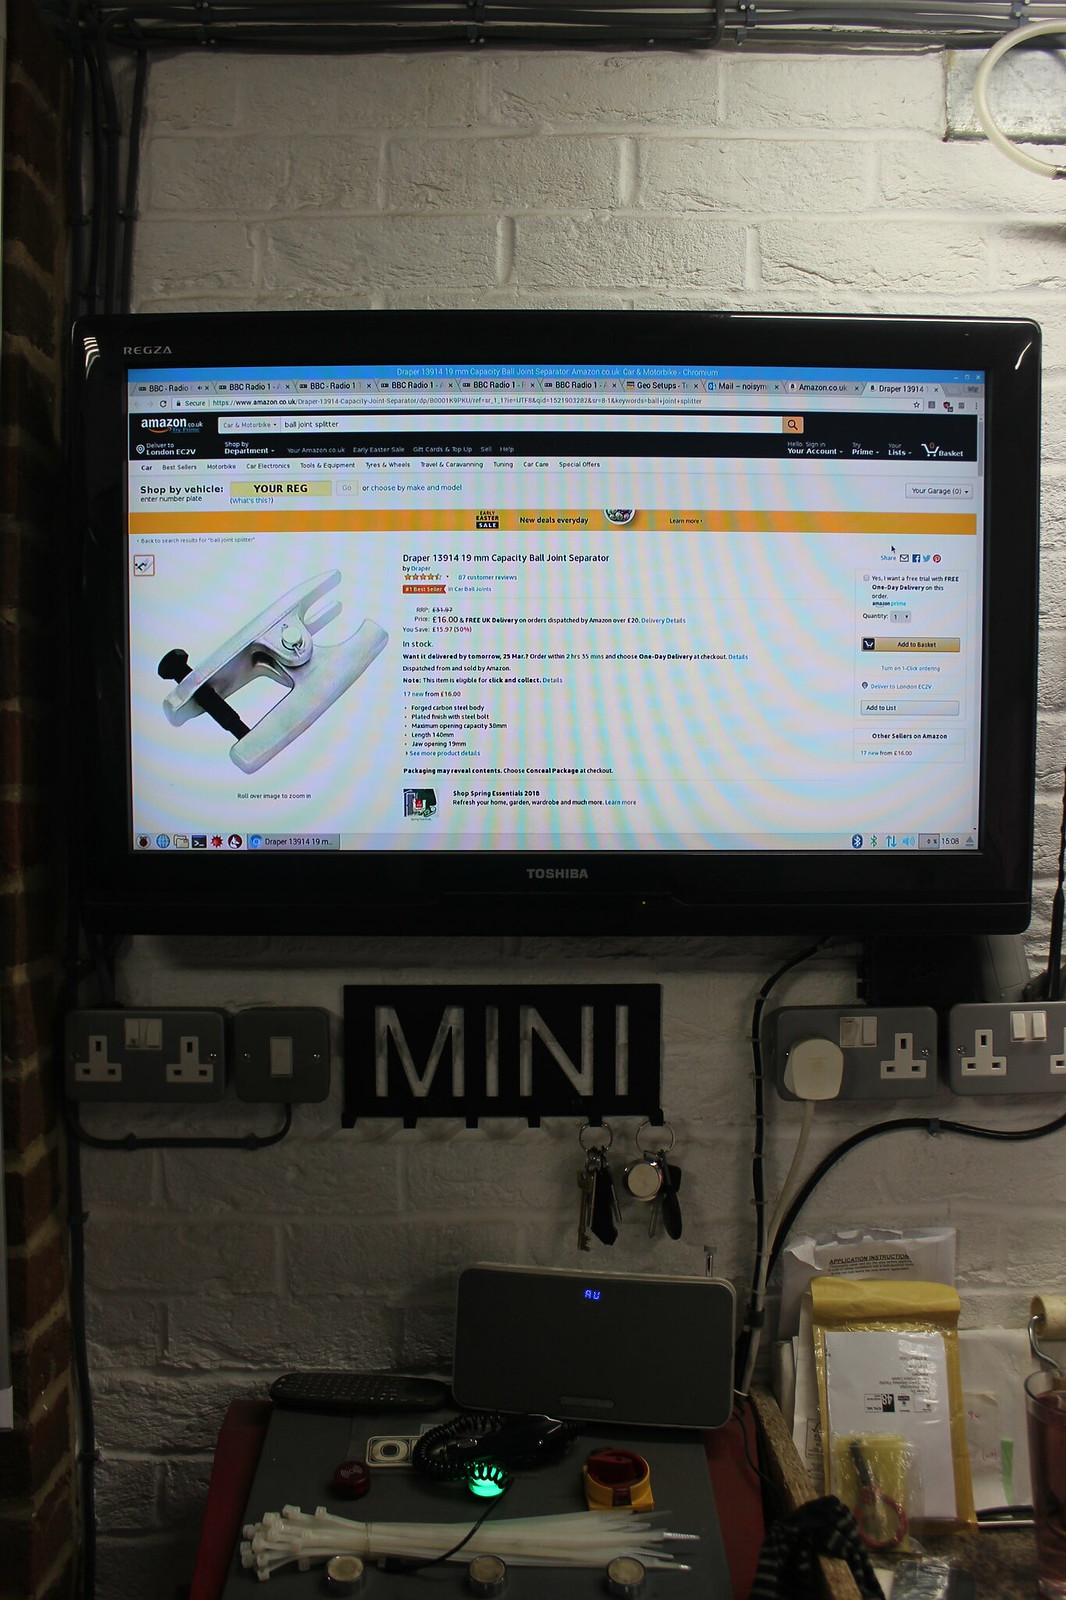
Got straight on Amazon. This is when having a Prime account is pretty useful as it cam next day and progress wasn’t delayed too badly.
I stuck what was left of the splitter back on to keep some pressure applied as it can help if you just leave it for a while. Then got on with things. ARB drop link being removed from the lower wish bone.
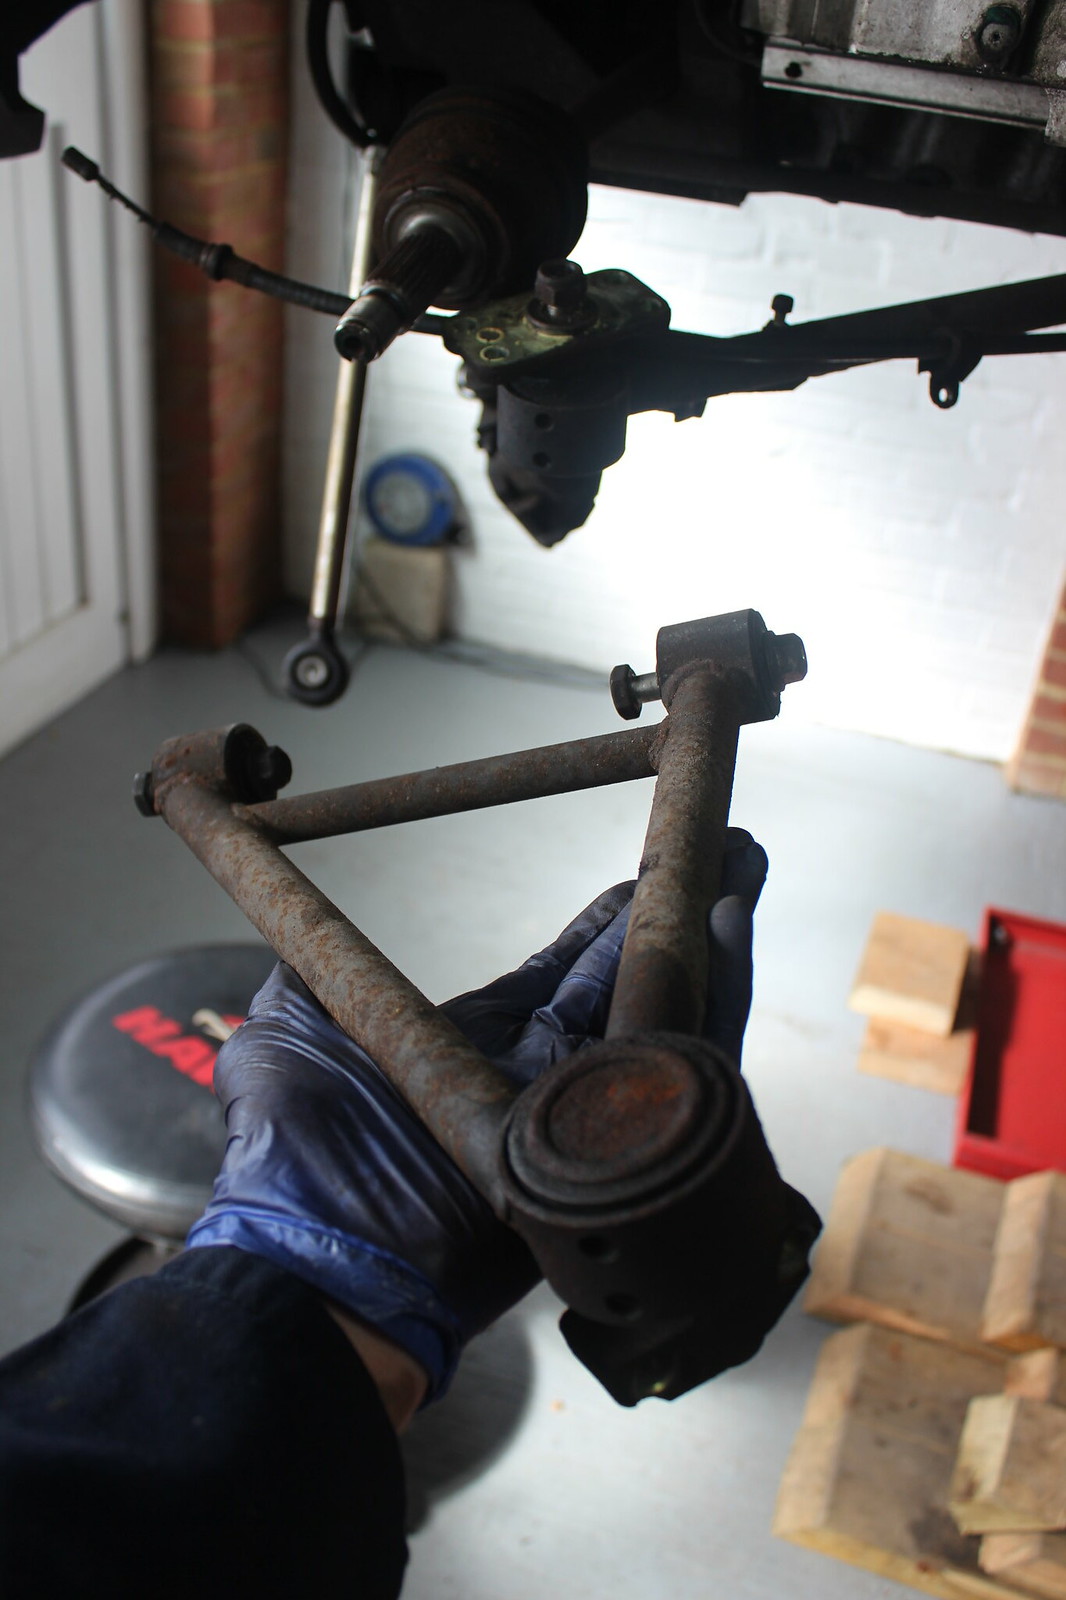
Upper wishbone off.
Another record of how things were assembled.

Now’s when I remembered a special tool I have, meaning I wouldn’t need my glamorous assistant to remove the lower wishbones.

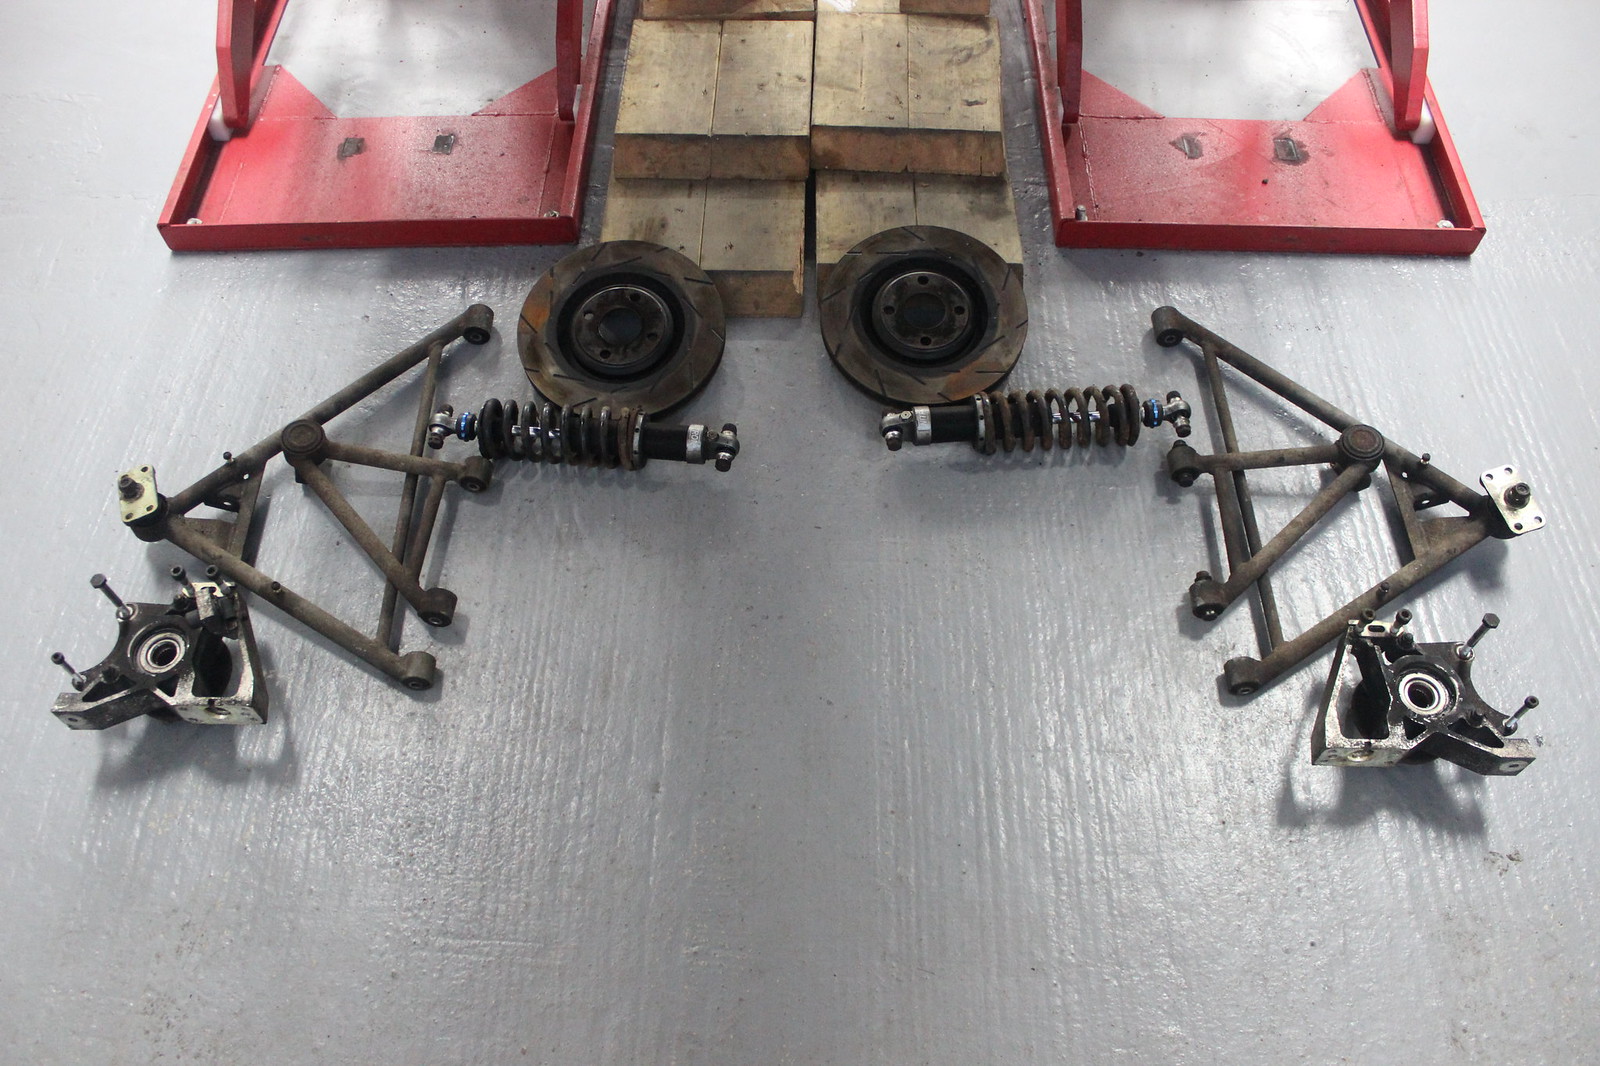
Well that’s it everything removed from the car ready to move on to the next stage.
A pile of bits from the front end
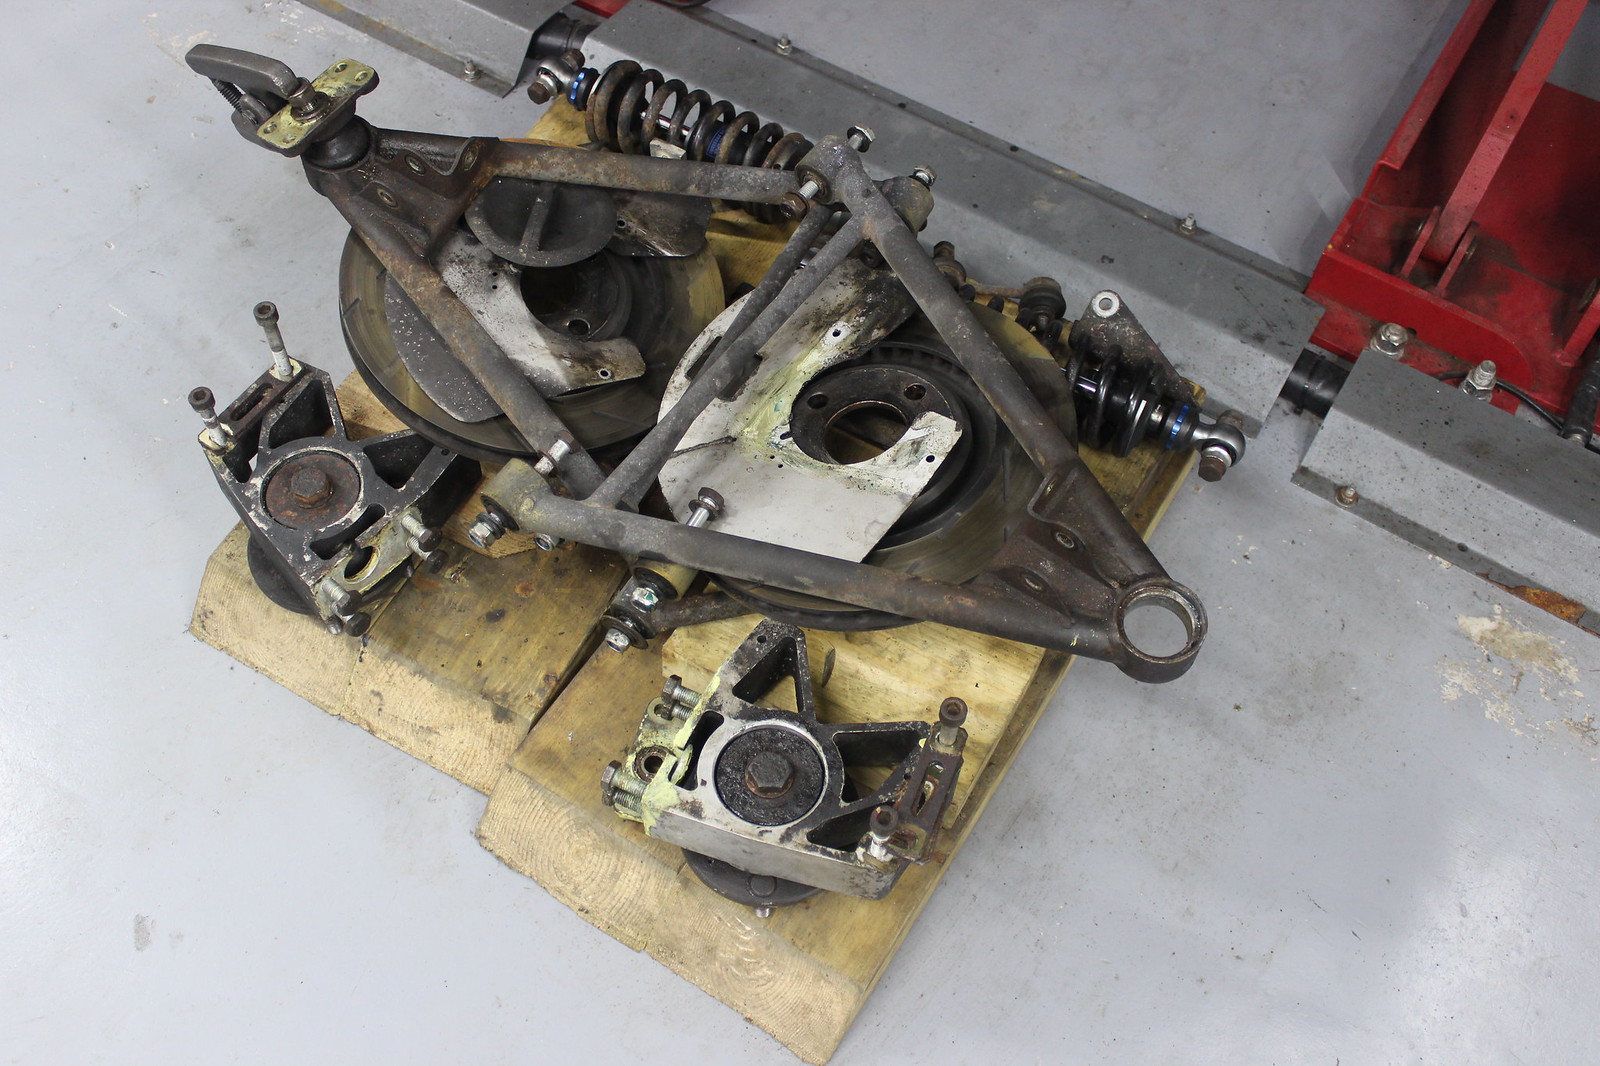
and the rear end.
Well this is where the Elise would stay for a little while. I went off to place an order for lots of new parts.