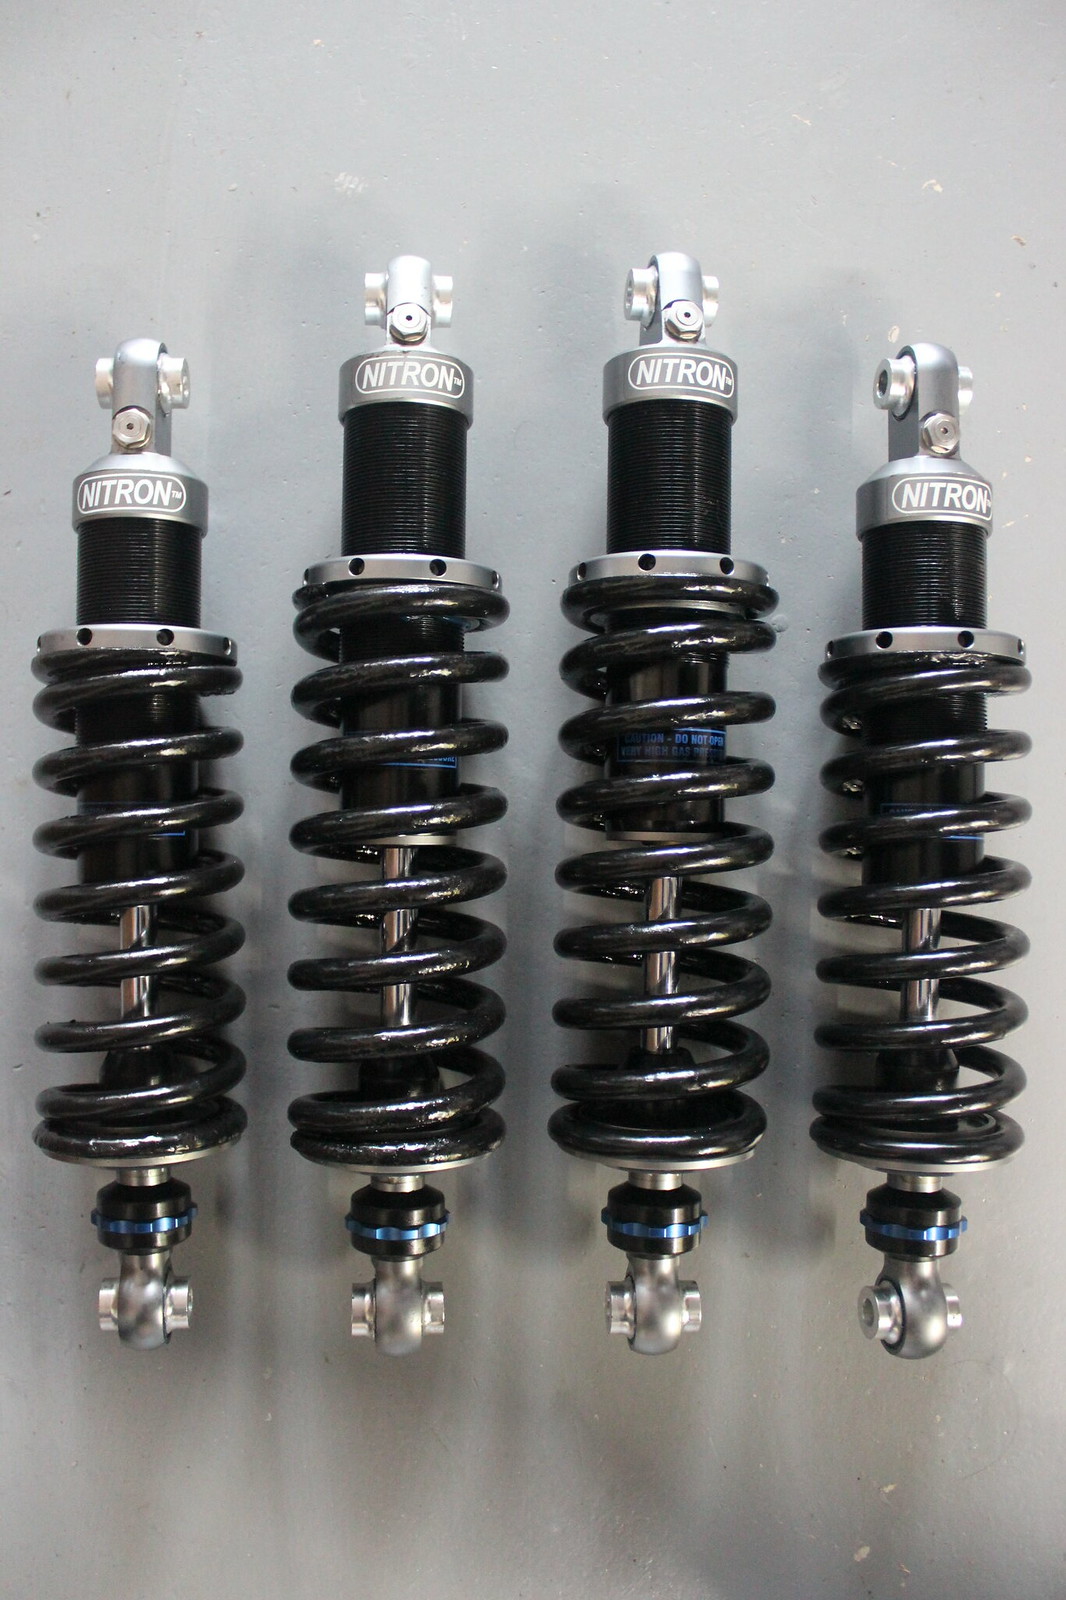
The Nitron Street Series, fitted to my Elise by a previous owner, are very well liked by Lotus owners for road use and they certainly feel pretty good to me. So as I only intend to use the Elise on the road and the dampers had only covered 11k miles I didn’t see any reason to change or replace them. They just looked a bit used but that was mainly down to a layer of filth on them and the springs starting to lose their paint and go rusty.
So I thought I’d just strip them down for a good clean and general inspection.
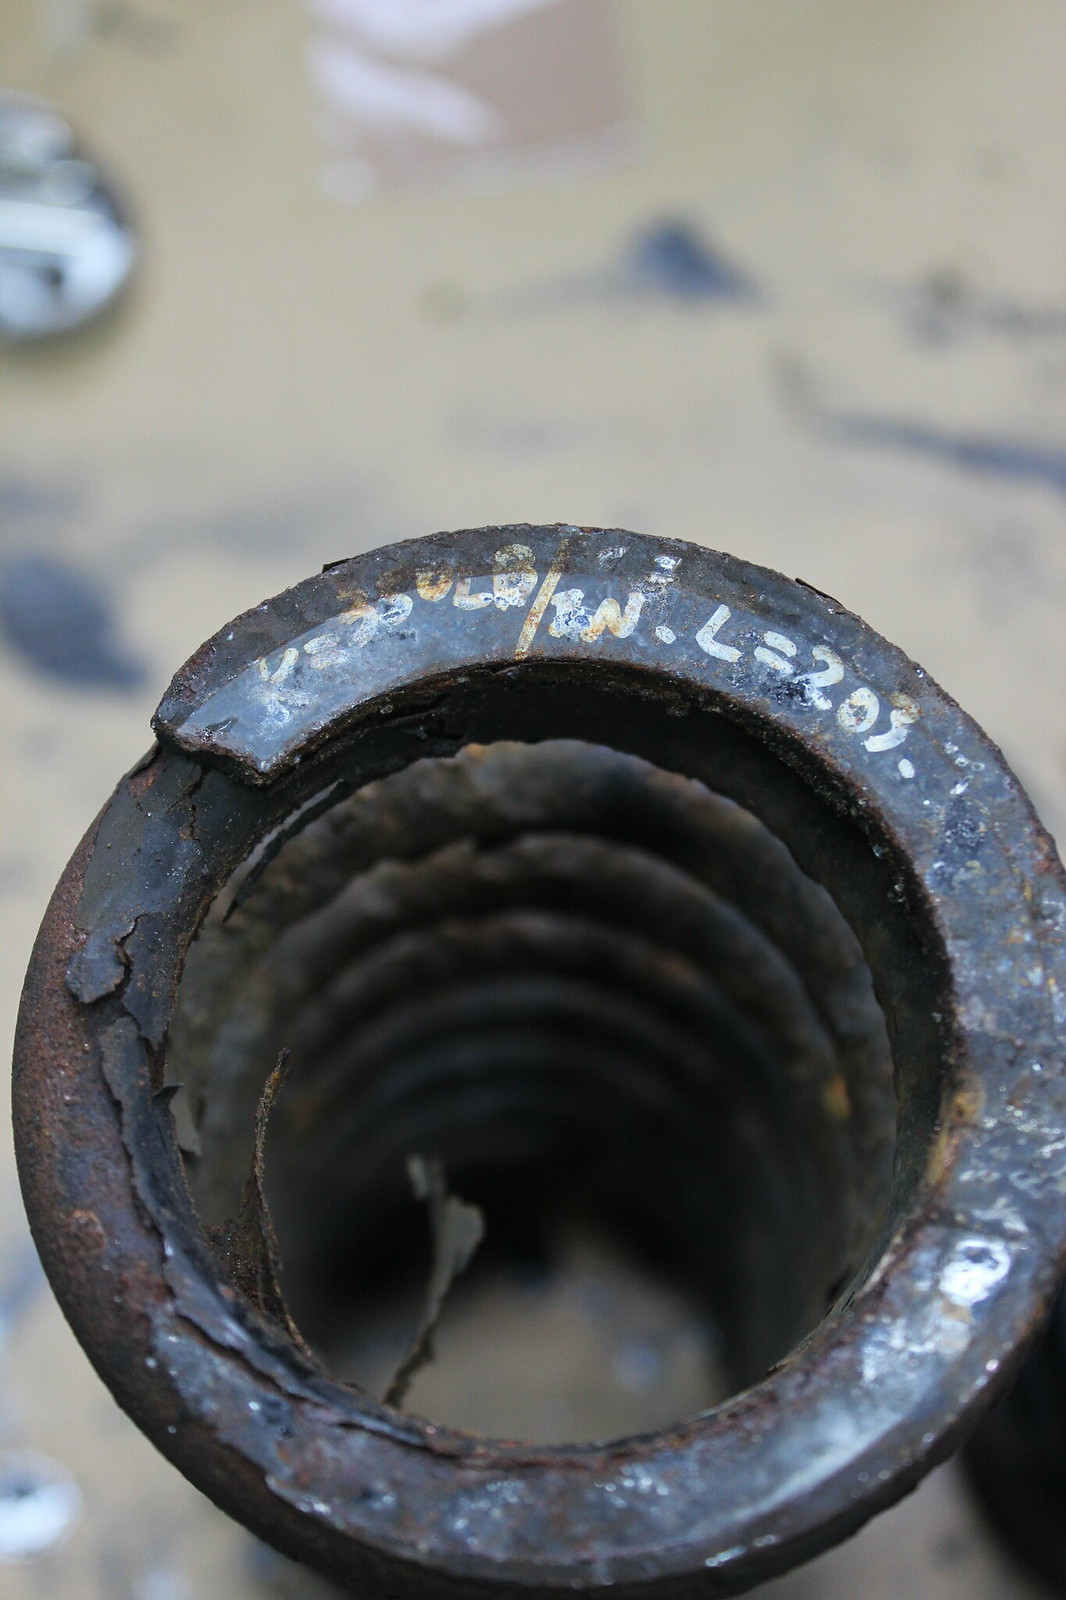
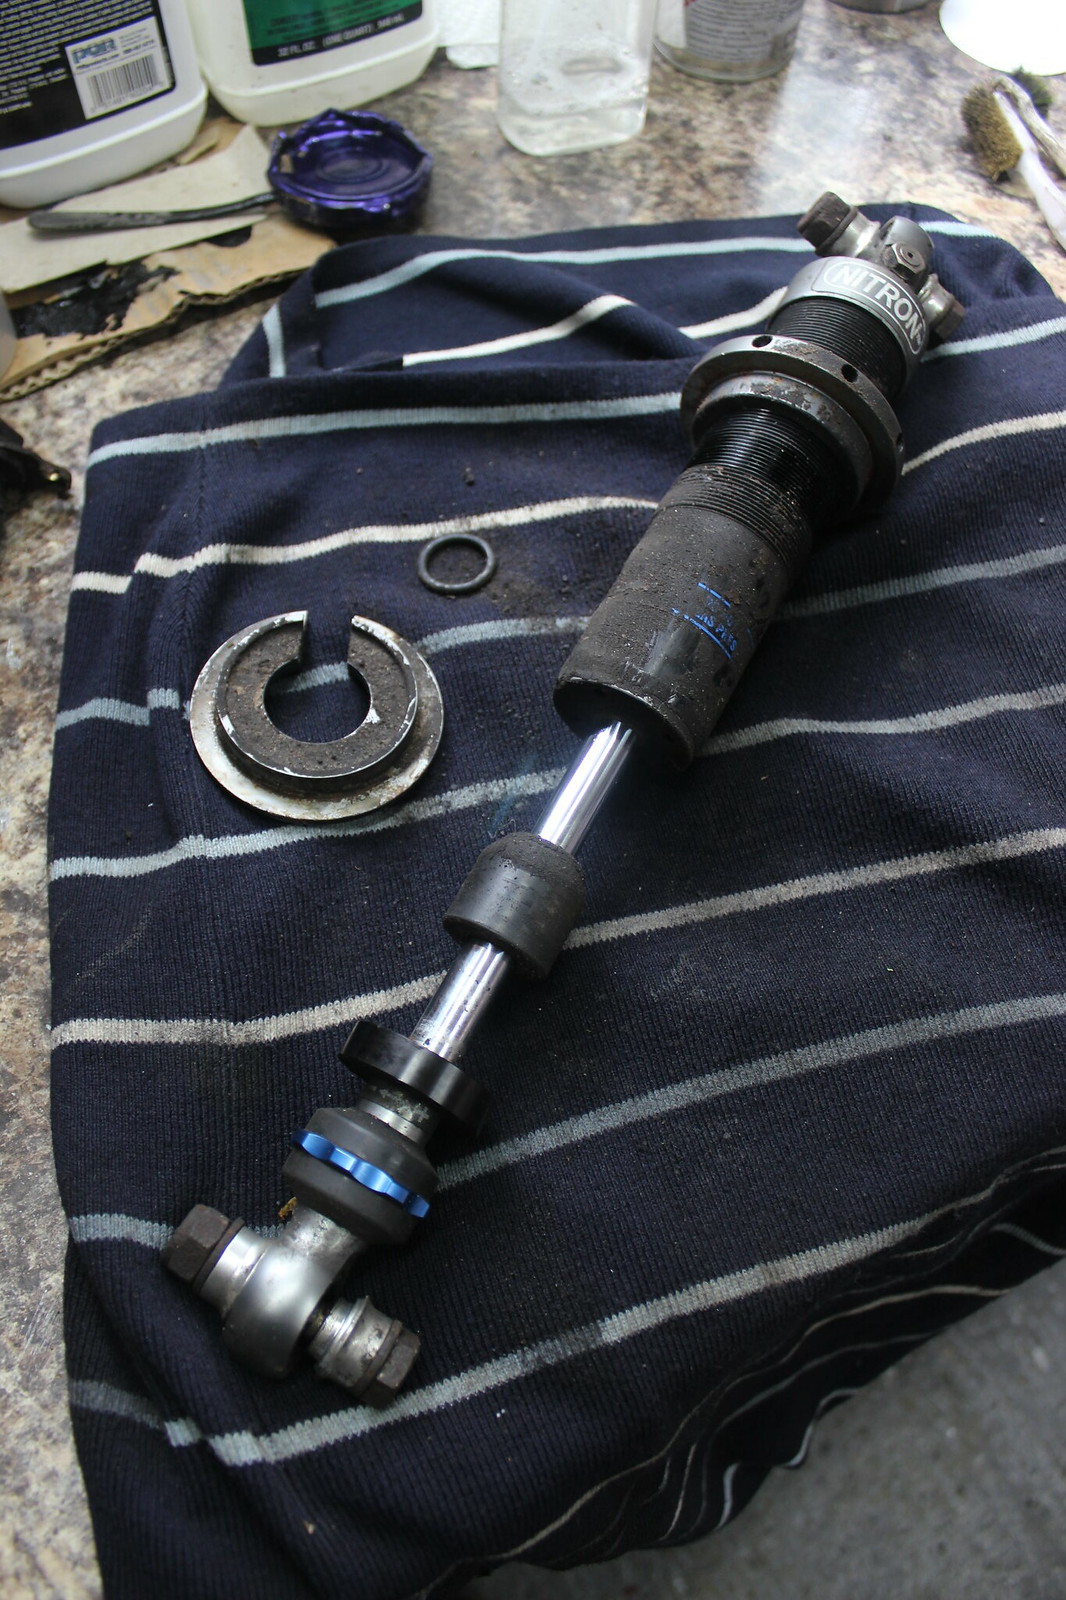
One of the rears having come straight off the car.
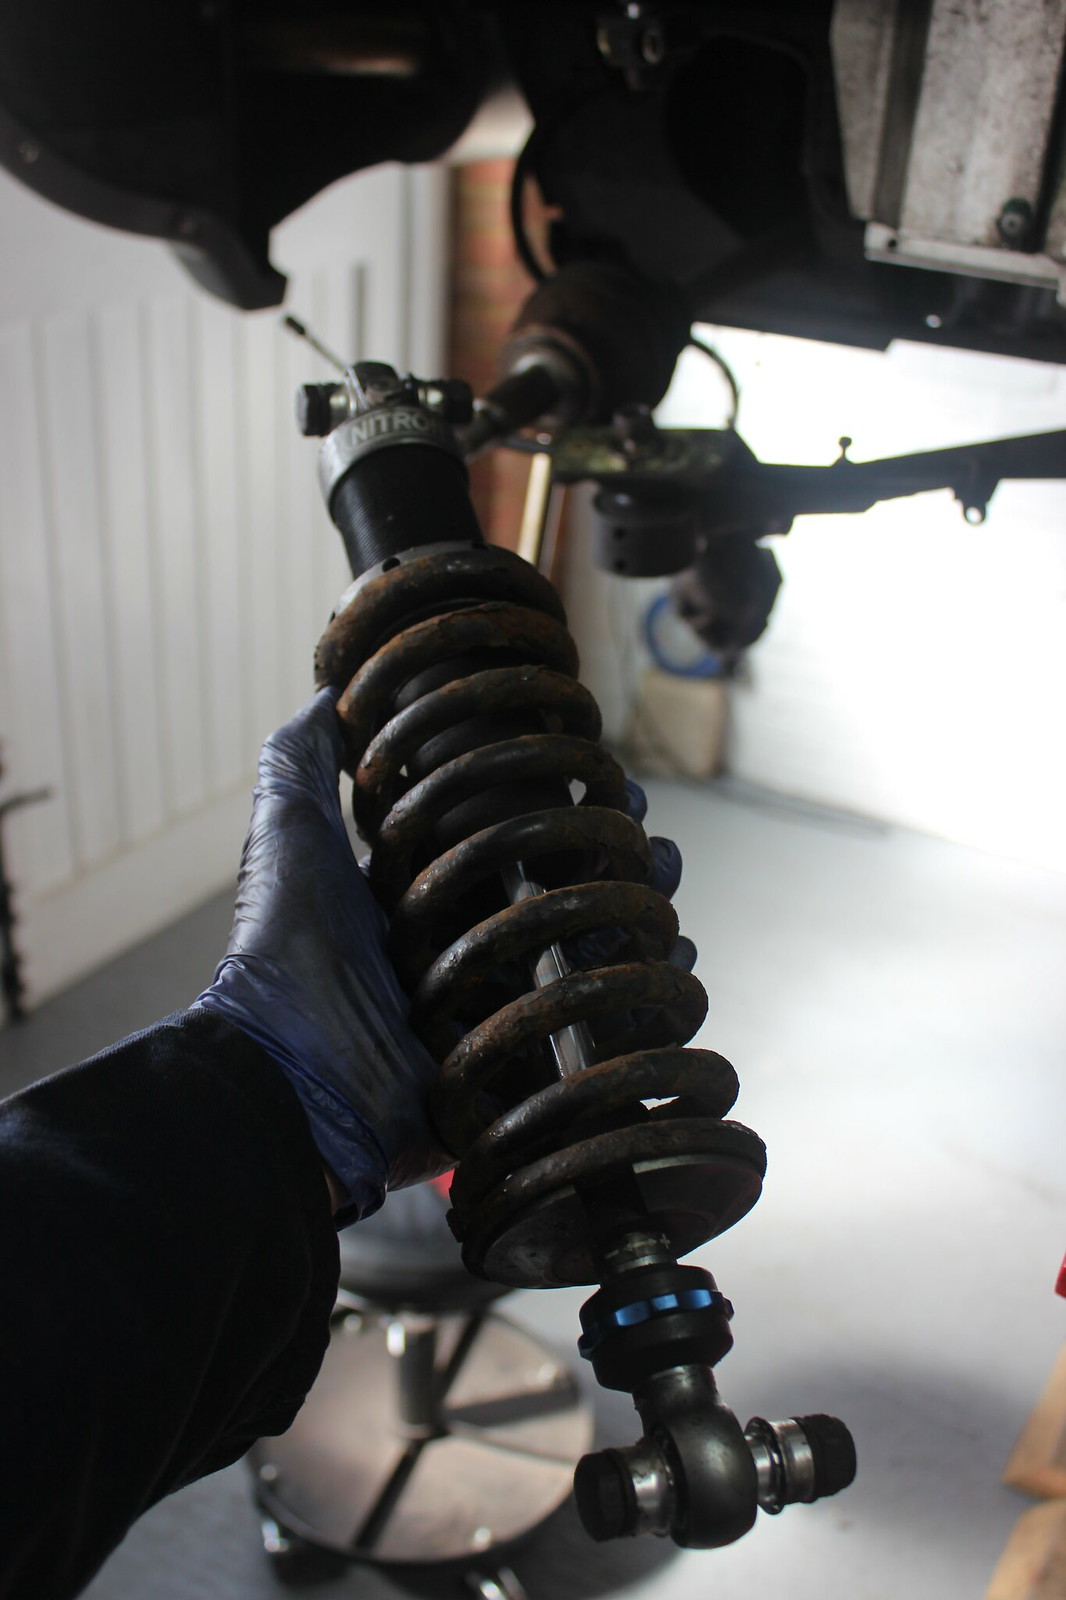
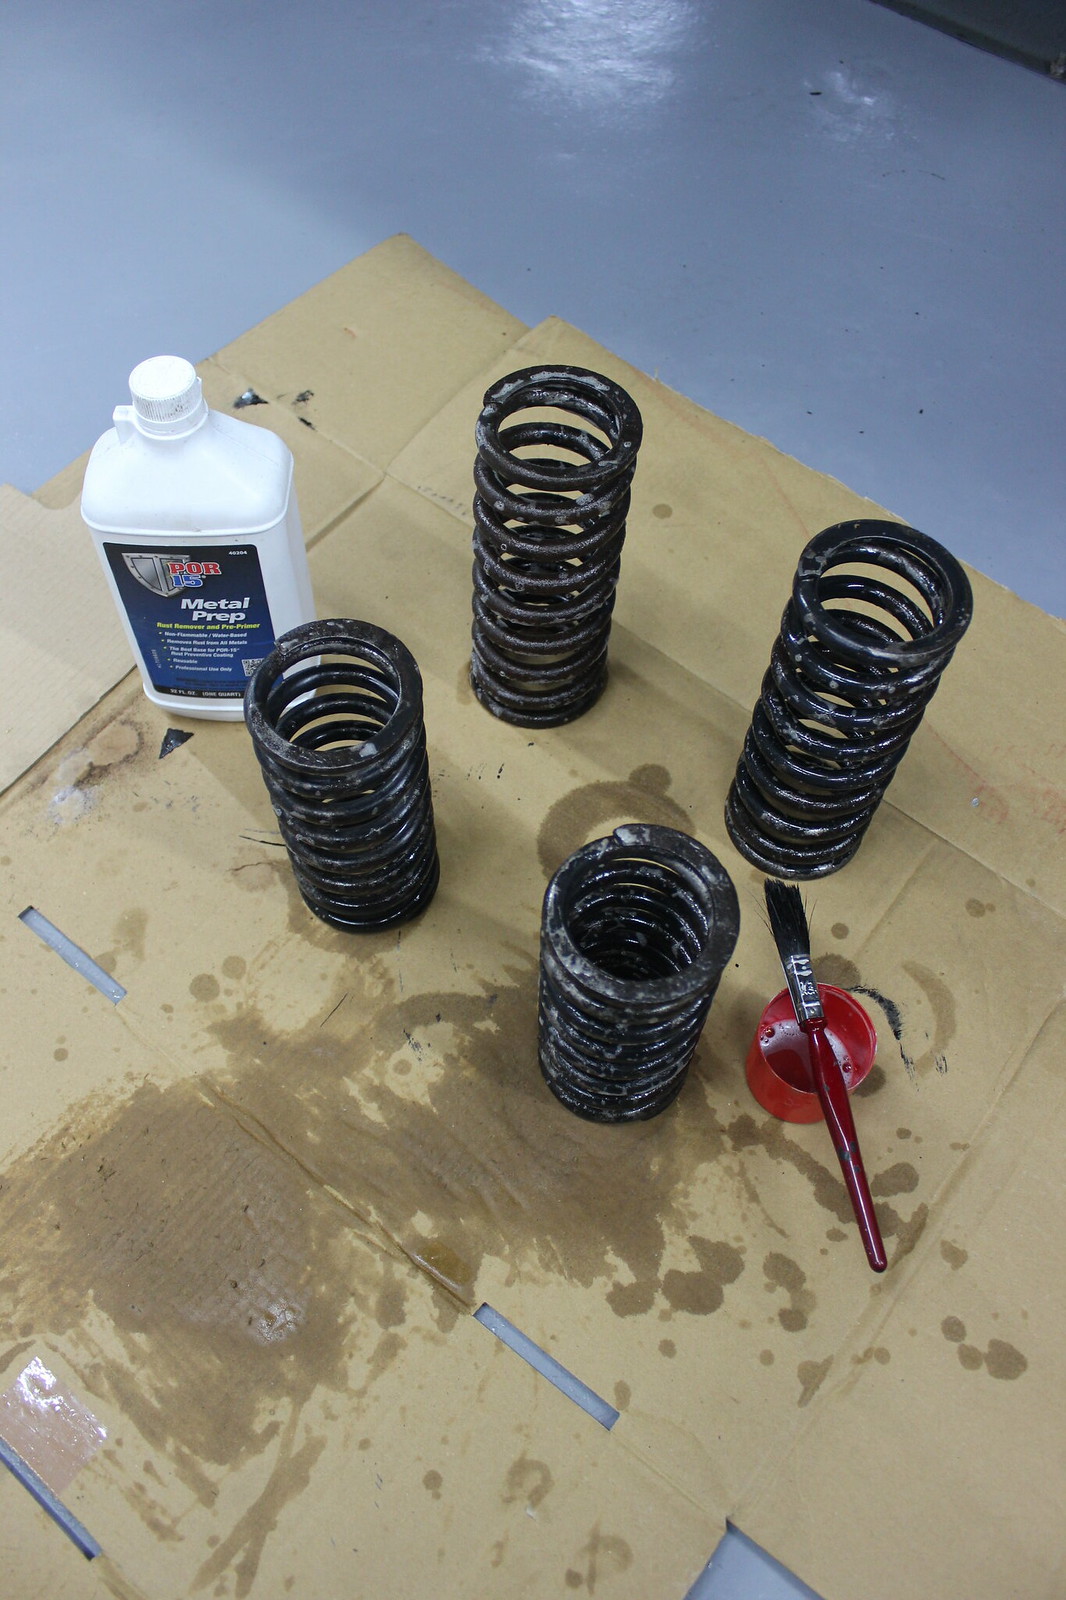
Springs off first.
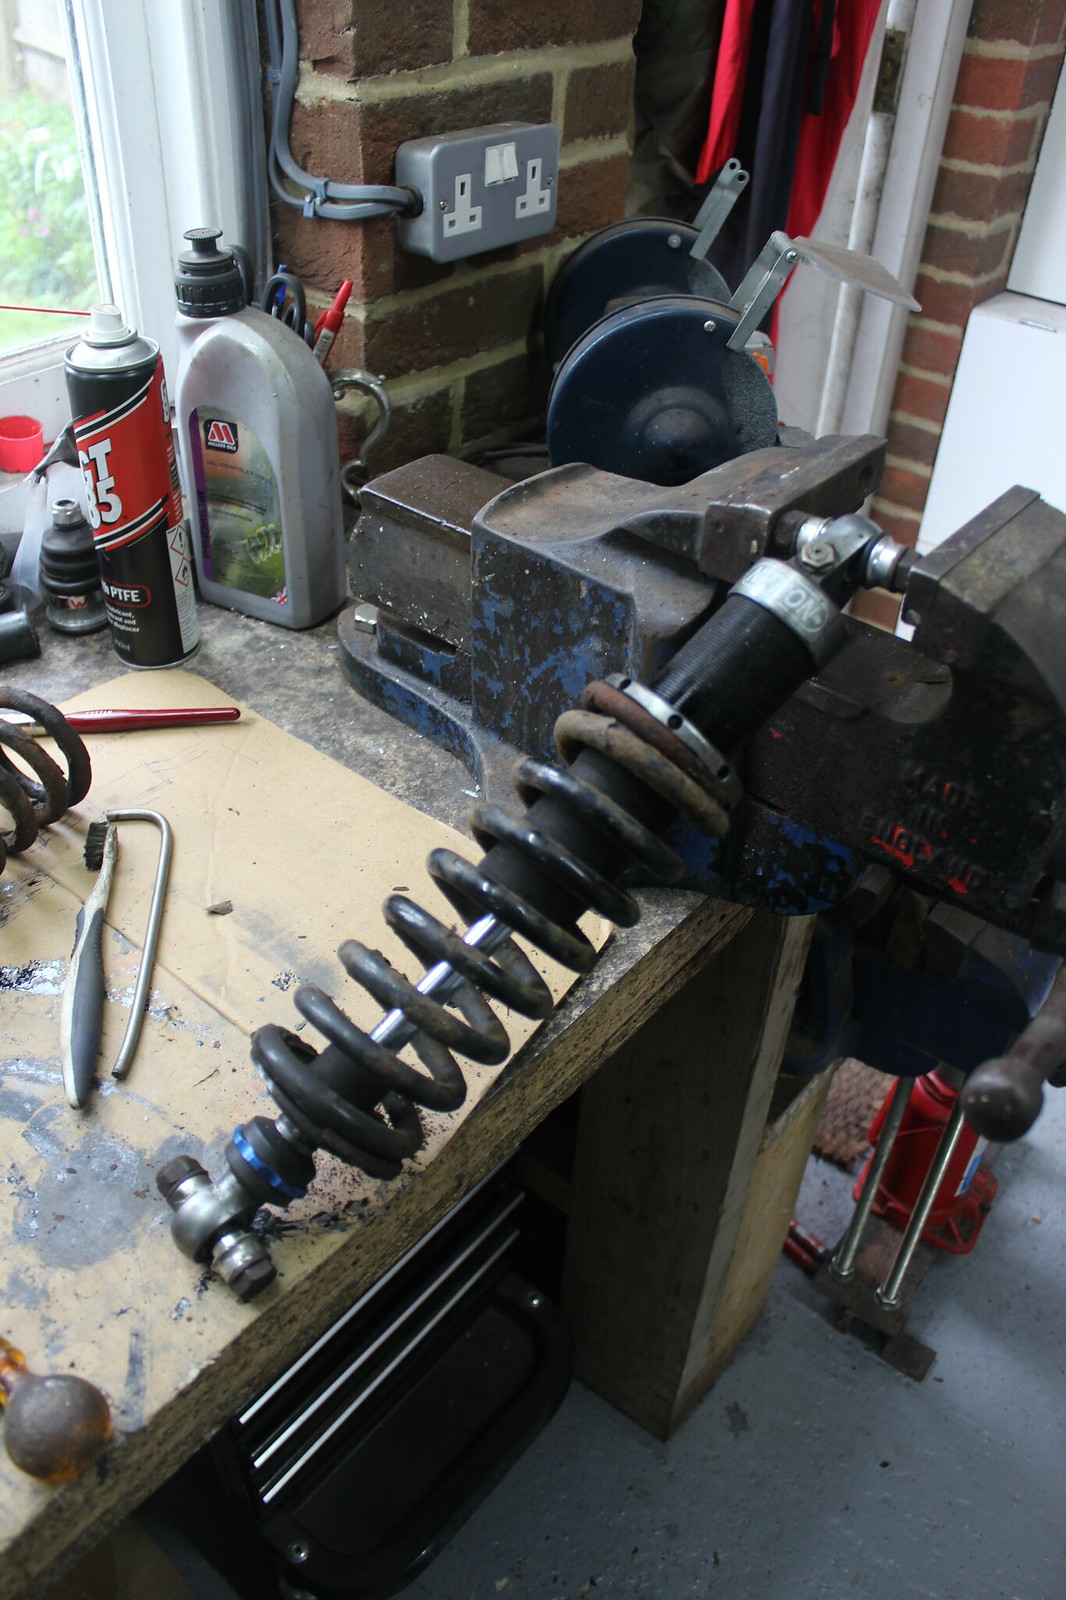
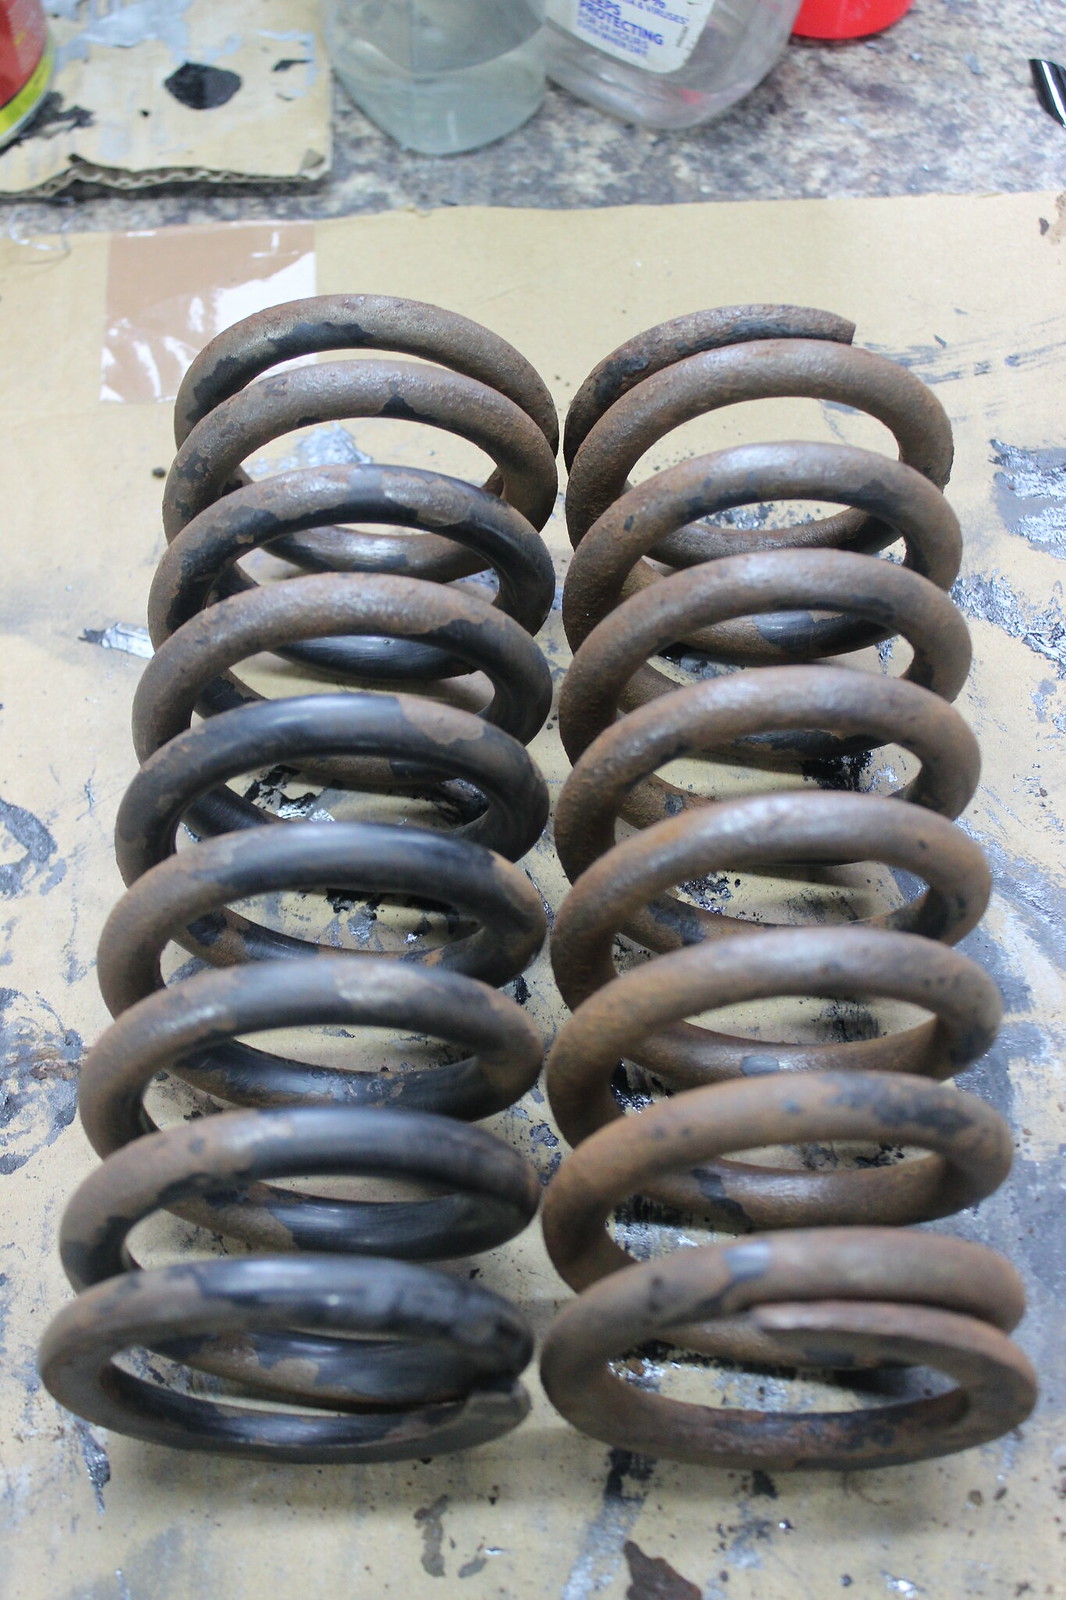
A picture as a record of the spring rate on one of the rear springs before I remove the paint.
I was tempted to just buy new springs as it’s quick and simple but I’d already spent a fair bit in the few weeks I’d had the car and I was quite interested to see how well POR-15 paint might last on a spring. So as a bit of cost saving and as an experiment I decided to do the full POR-15 treatment to them and see how they go.
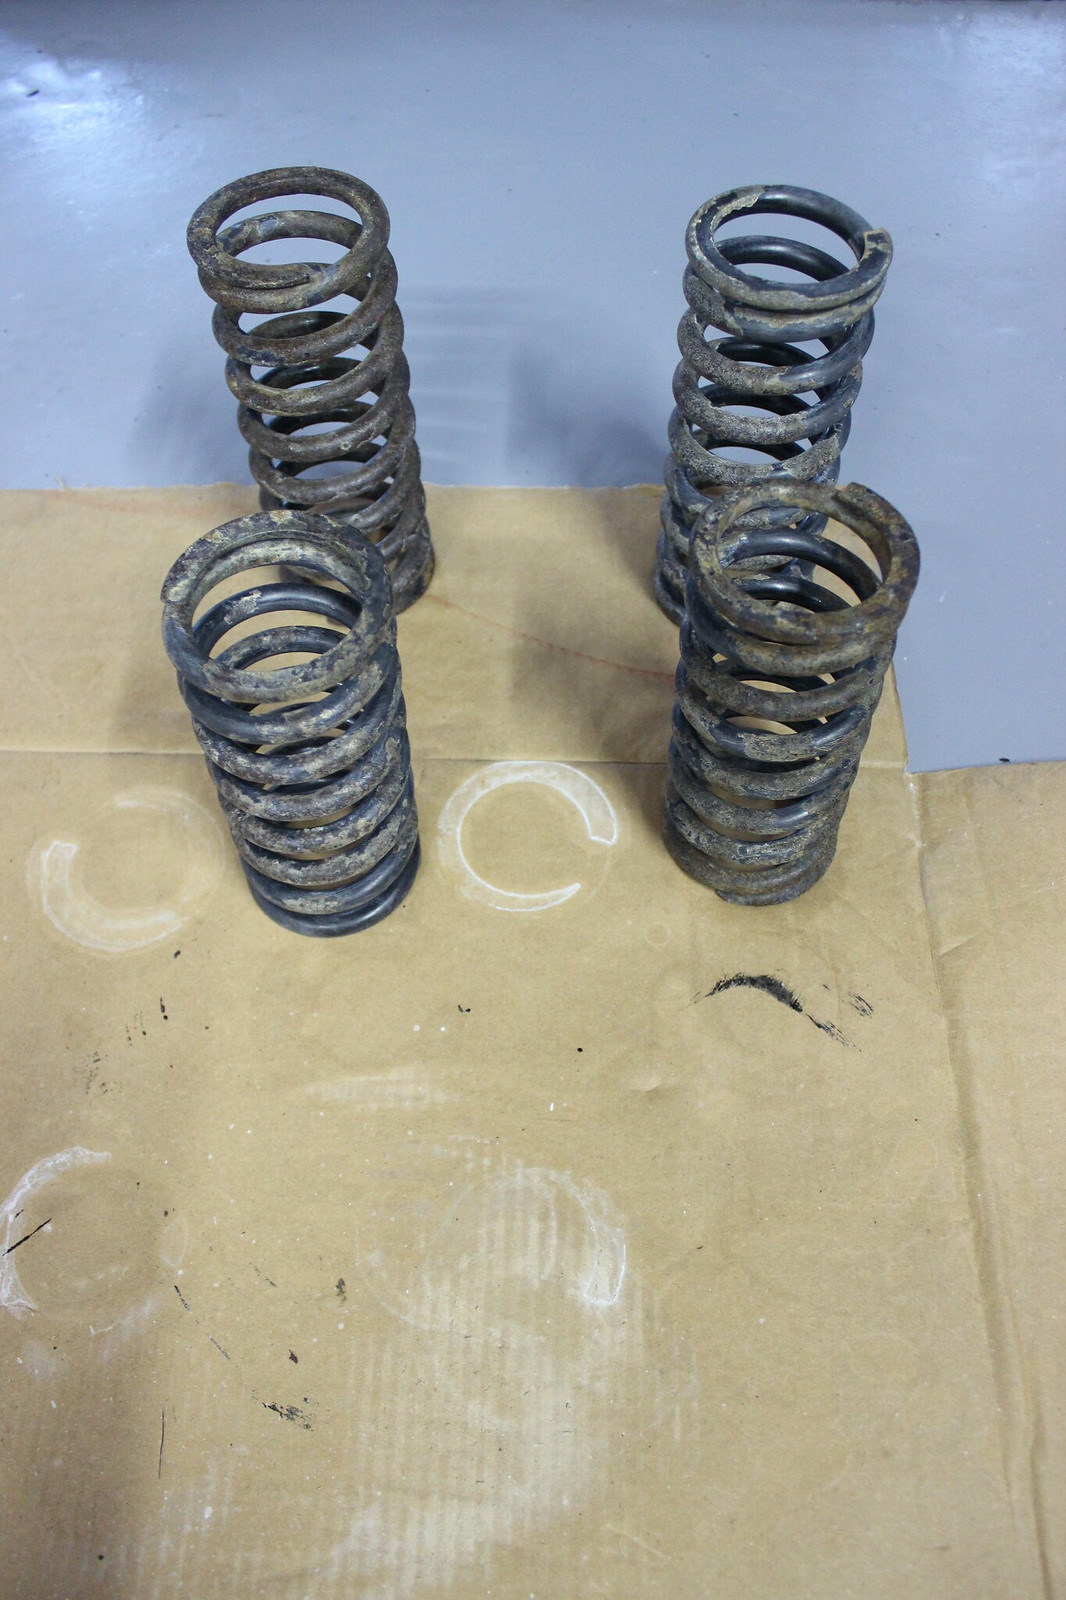
Wire brushing.
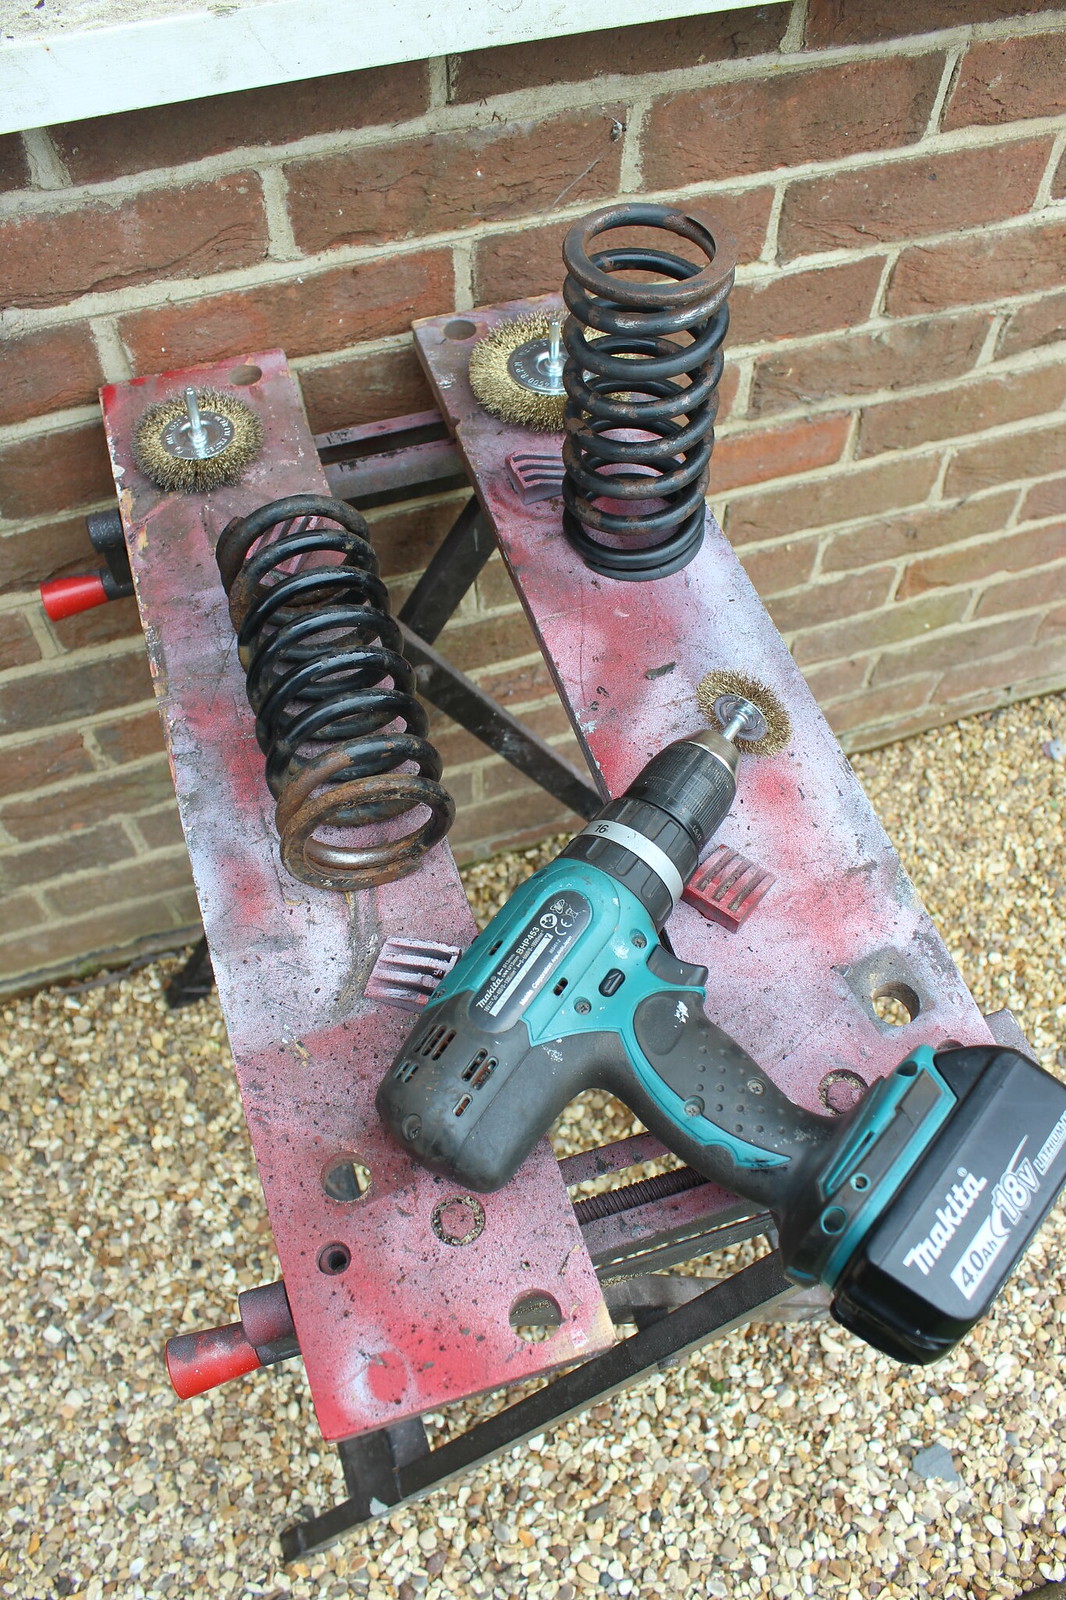
Some more wire brushing and sanding to get at all the awkward bits.
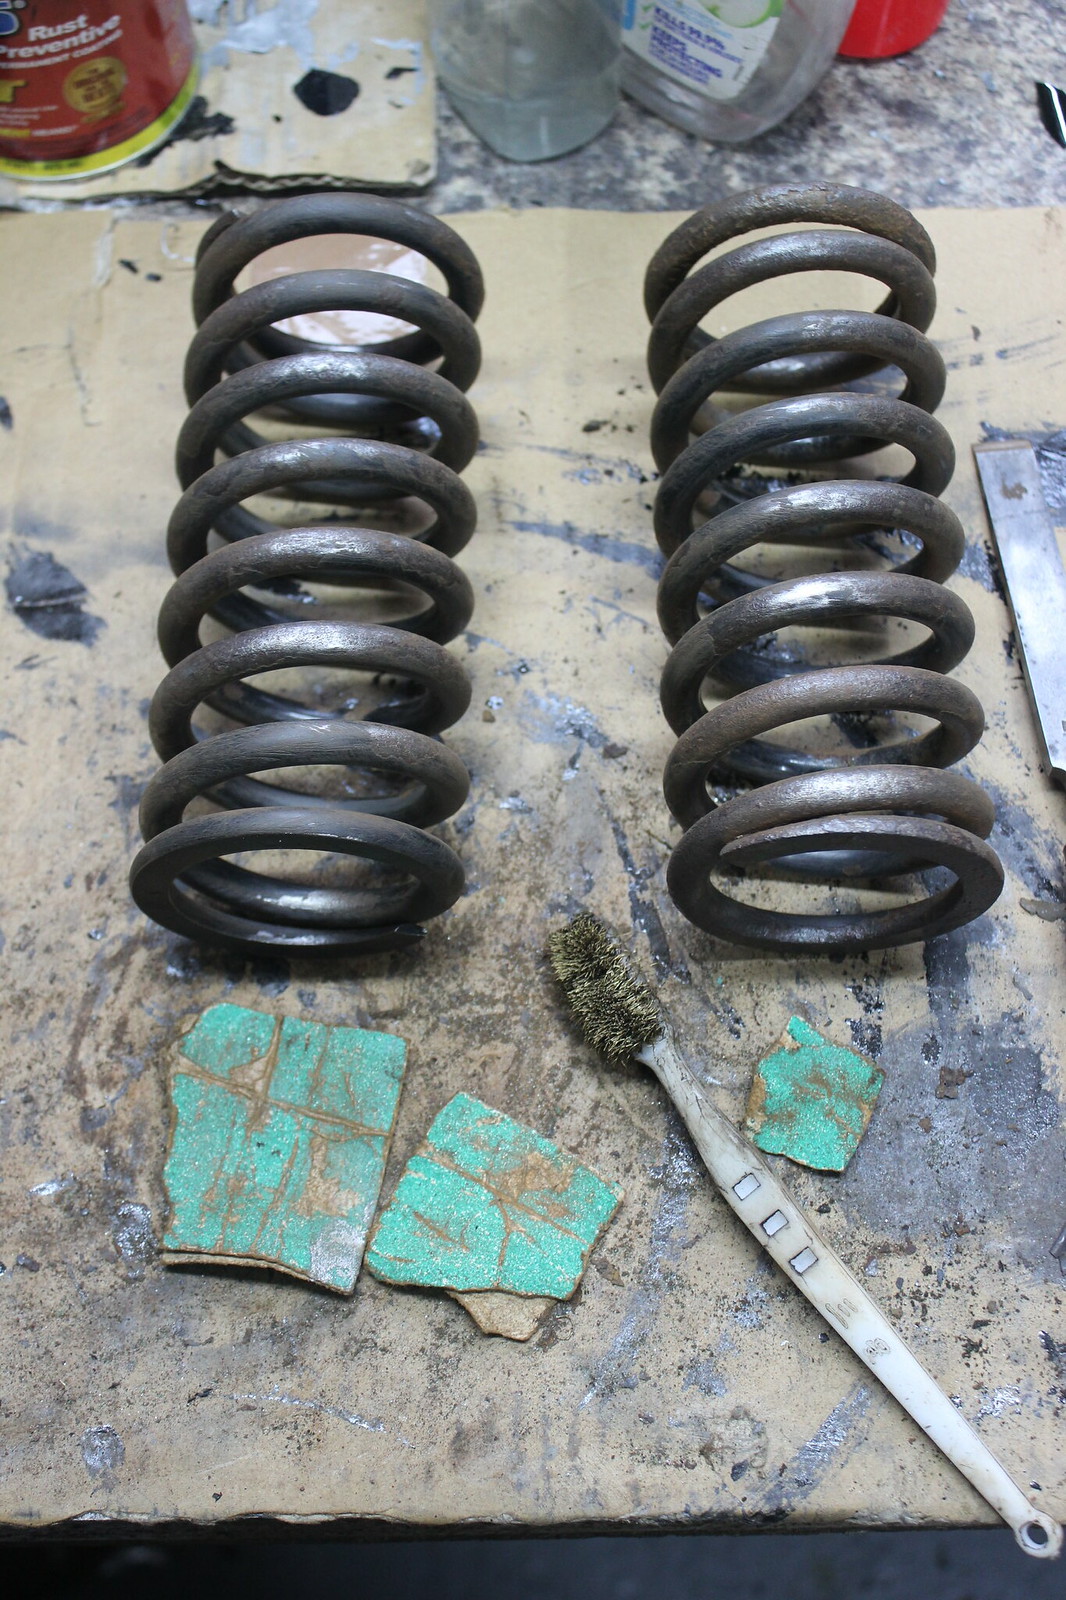
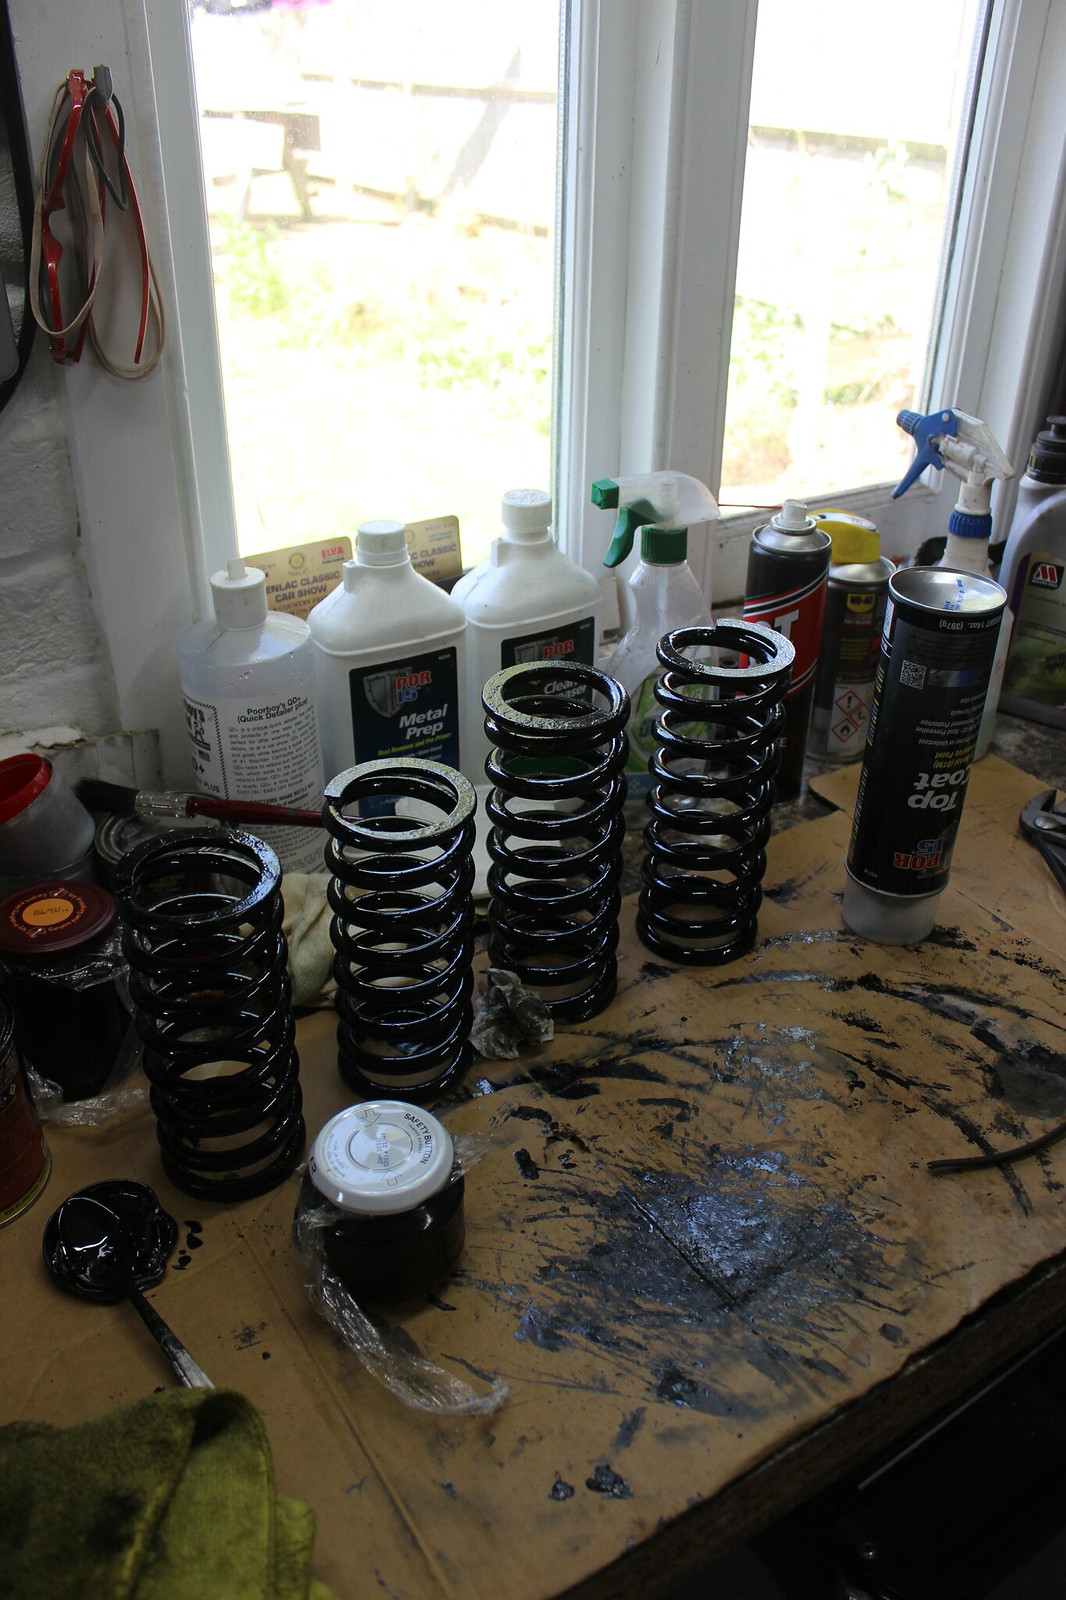
Metal Prep.
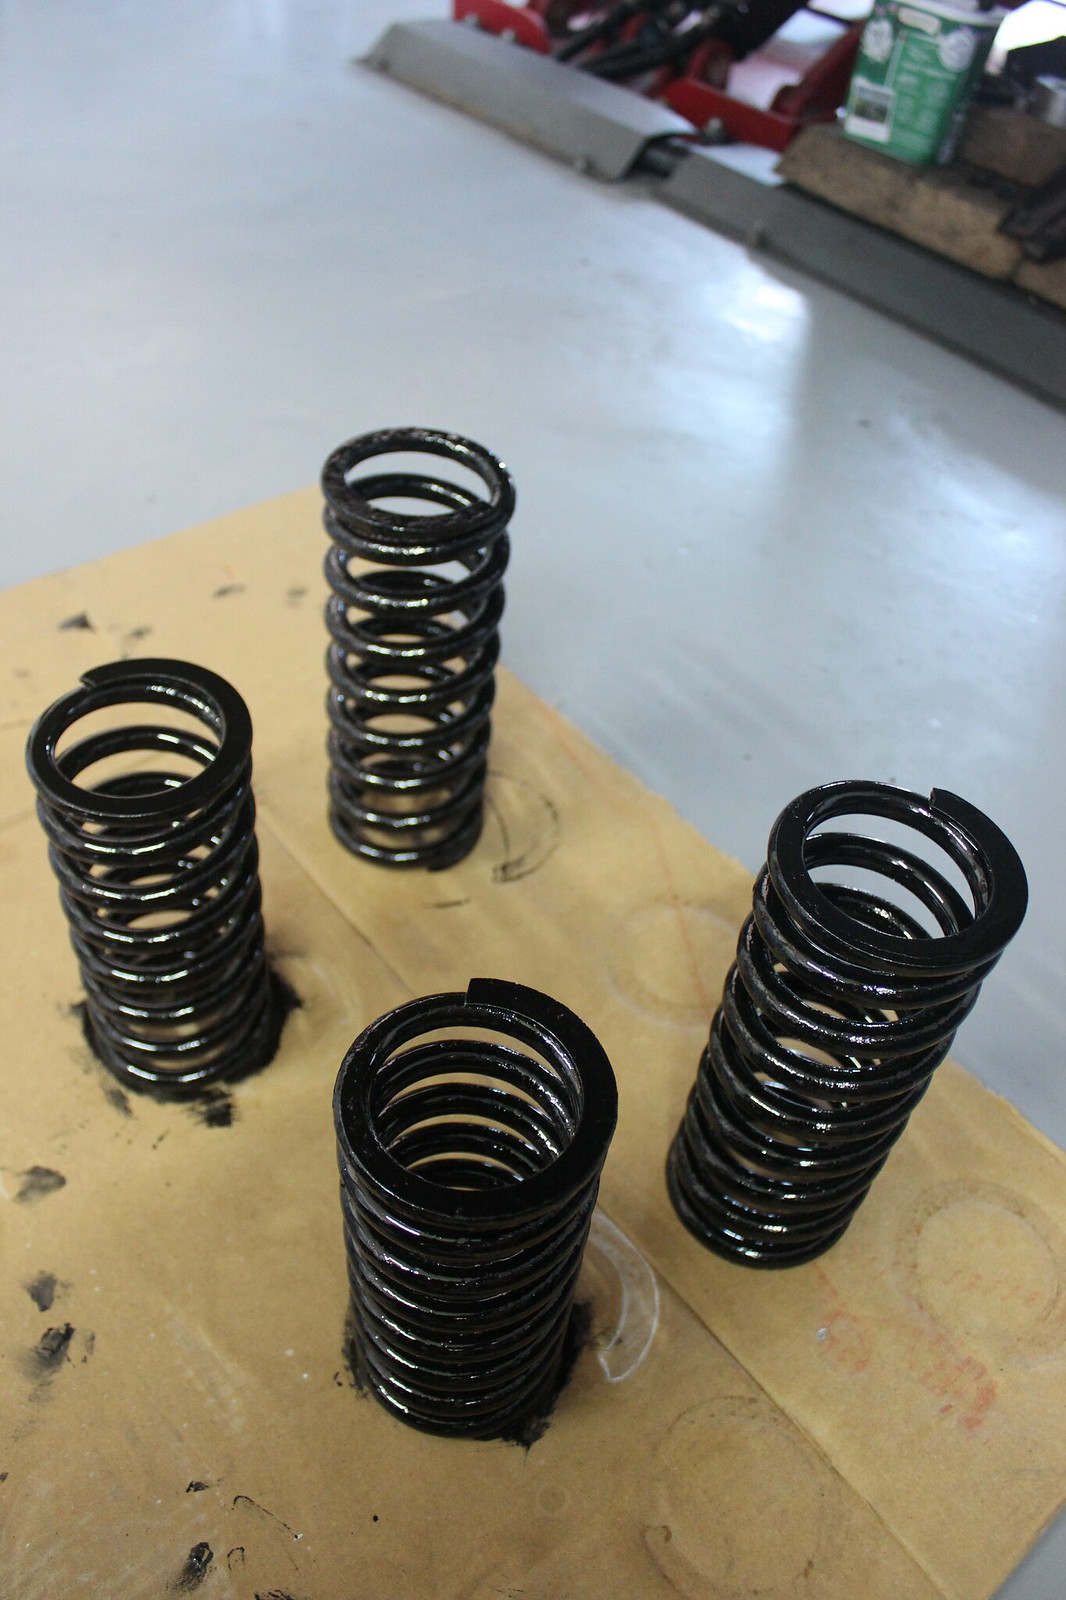
A couple of coats of paint.
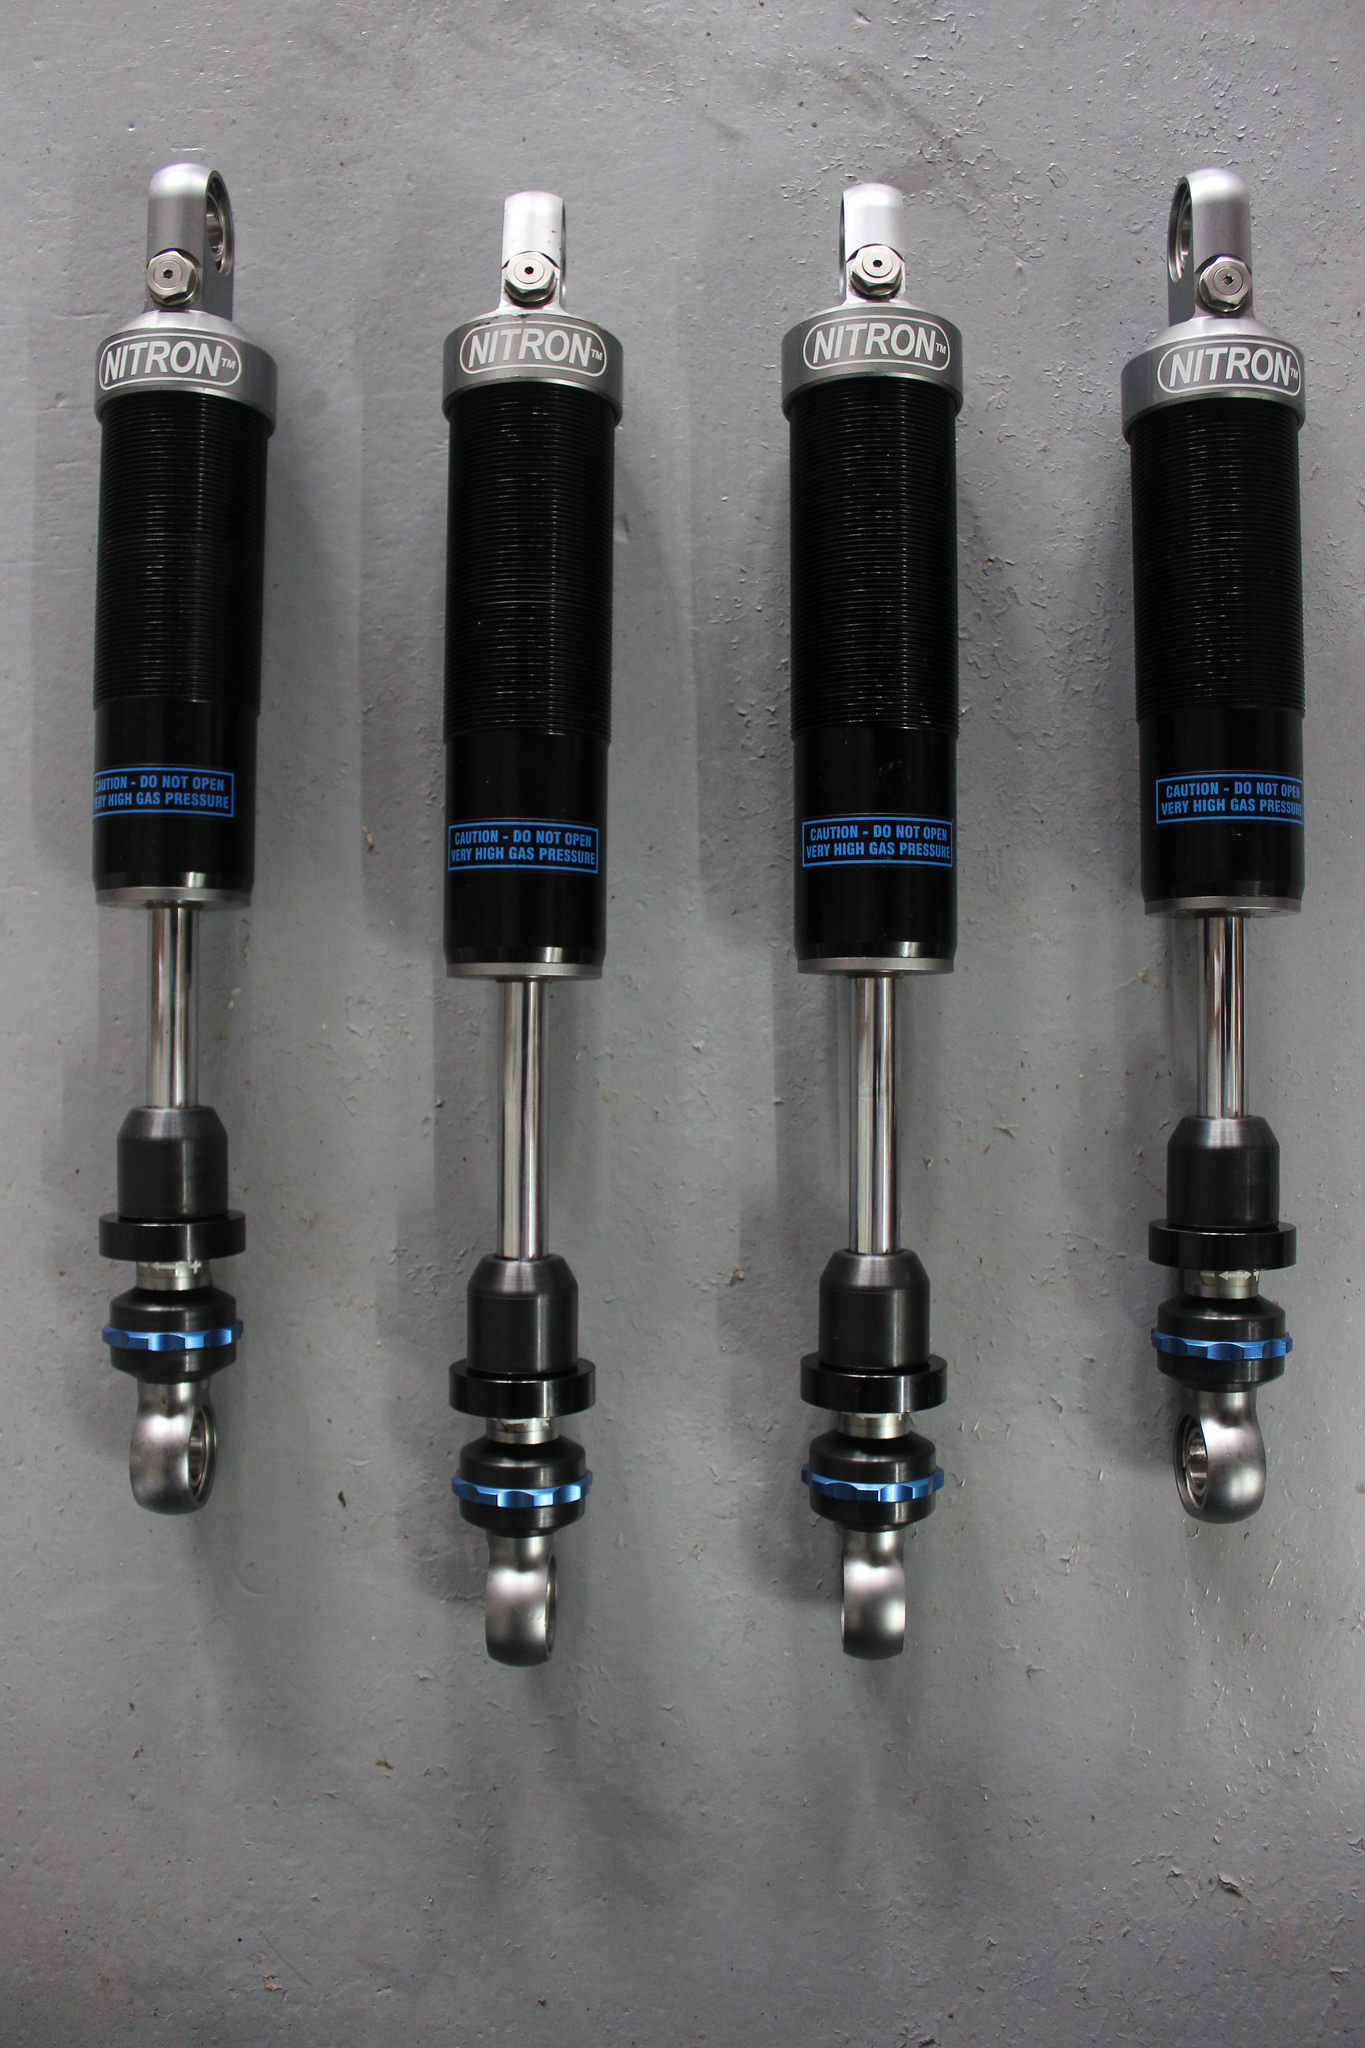
Now the dampers.
Filthy but hopefully under all that is a nice shiny nearly new looking damper.
Progress with some GT-85 and a toothbrush.
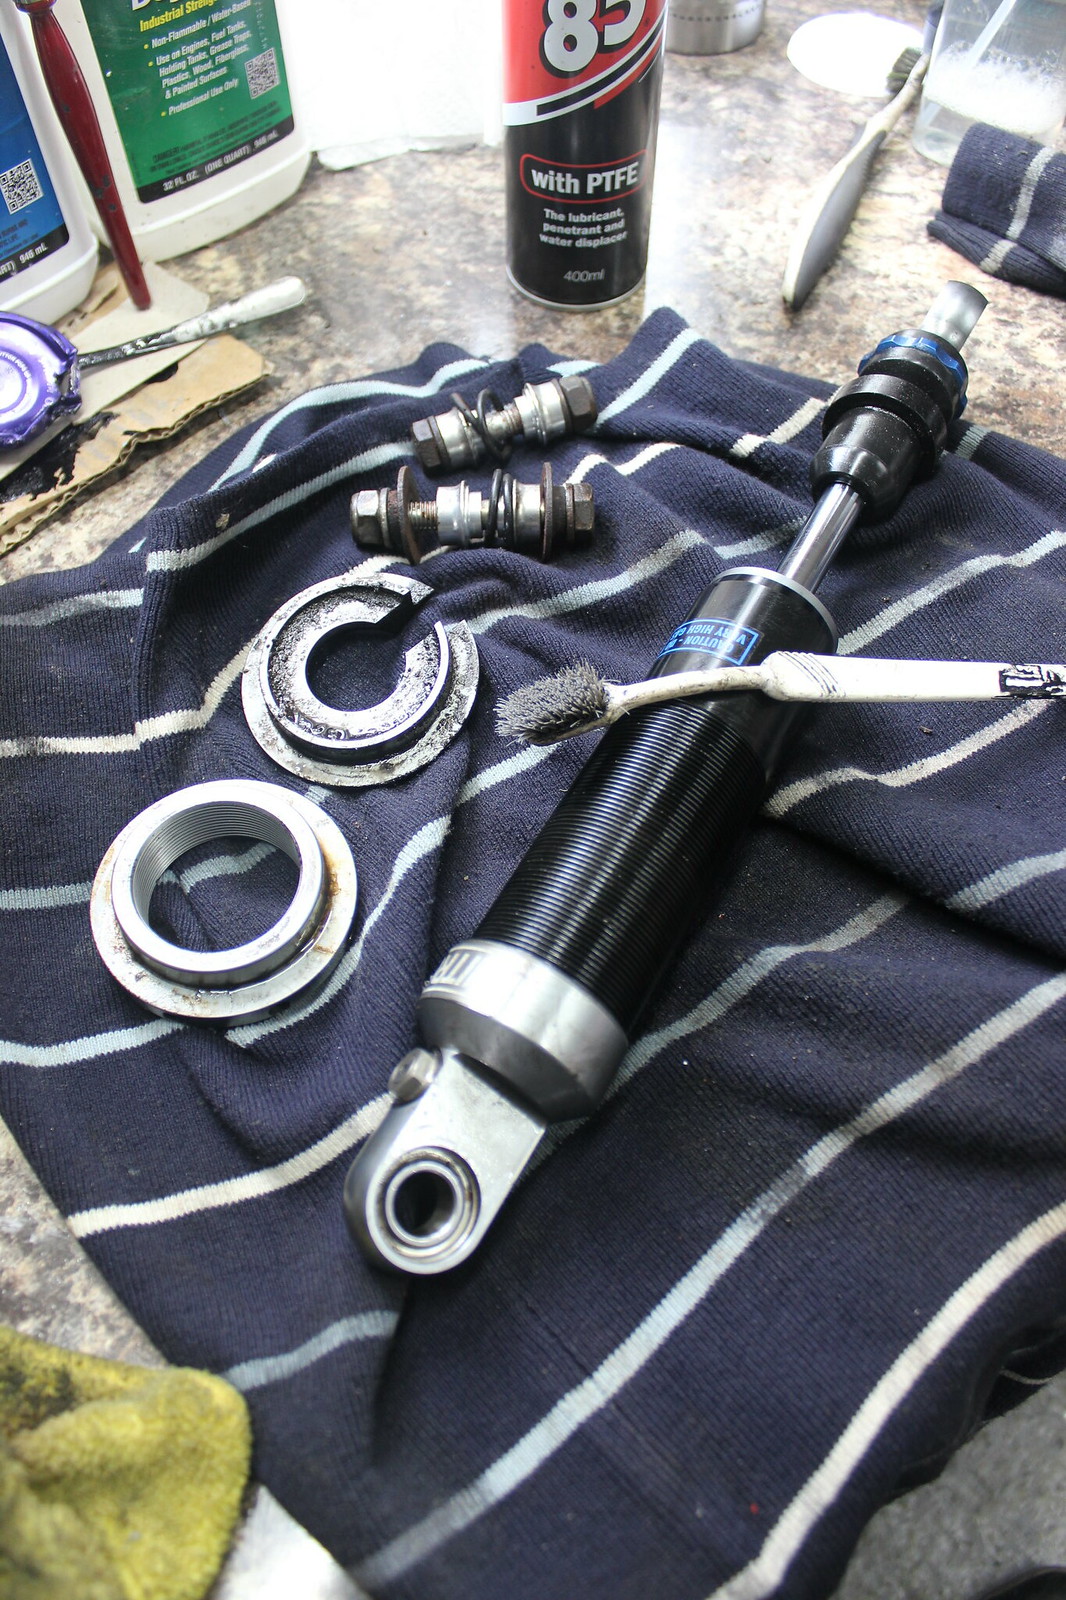
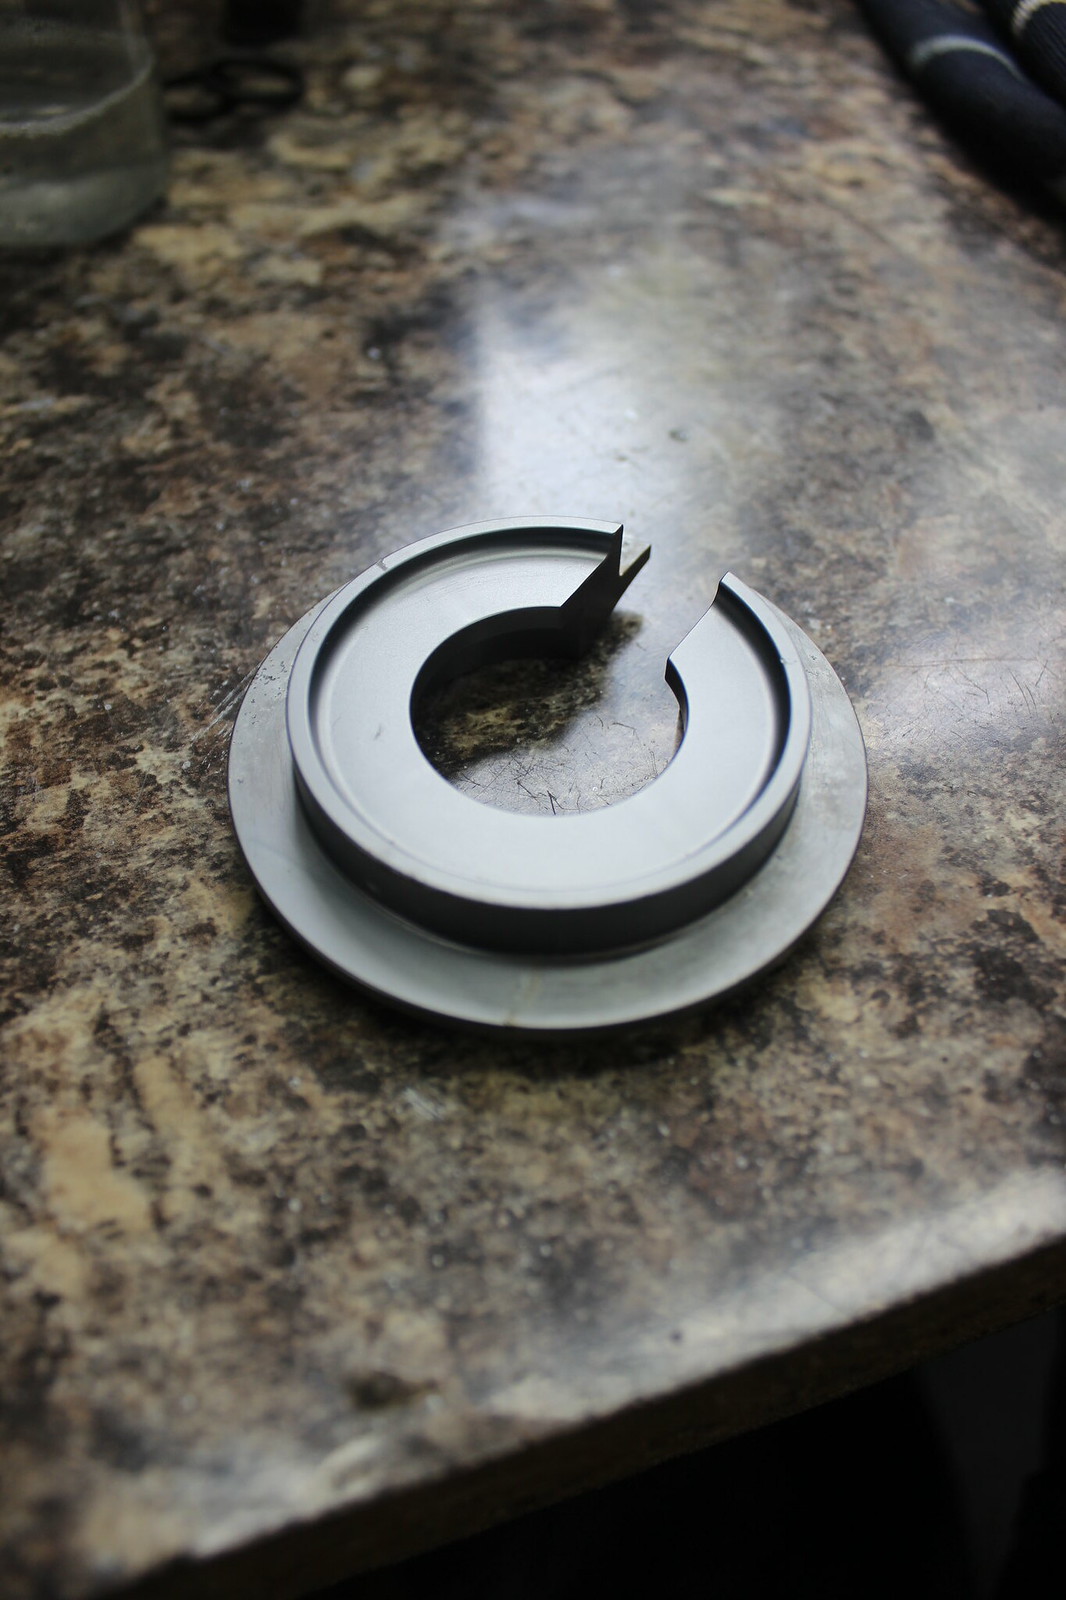
One of the spring perches with some of the spring or it’s paint still attached plus some staining.

After I’d finished with it.
Same with all the other loose parts.
The anodising had started to go in a few places, particularly where the perches were in contact with the springs so I gave them a couple of coats of POR-15 Clear Top Coat as it should help prevent any future corrosion.
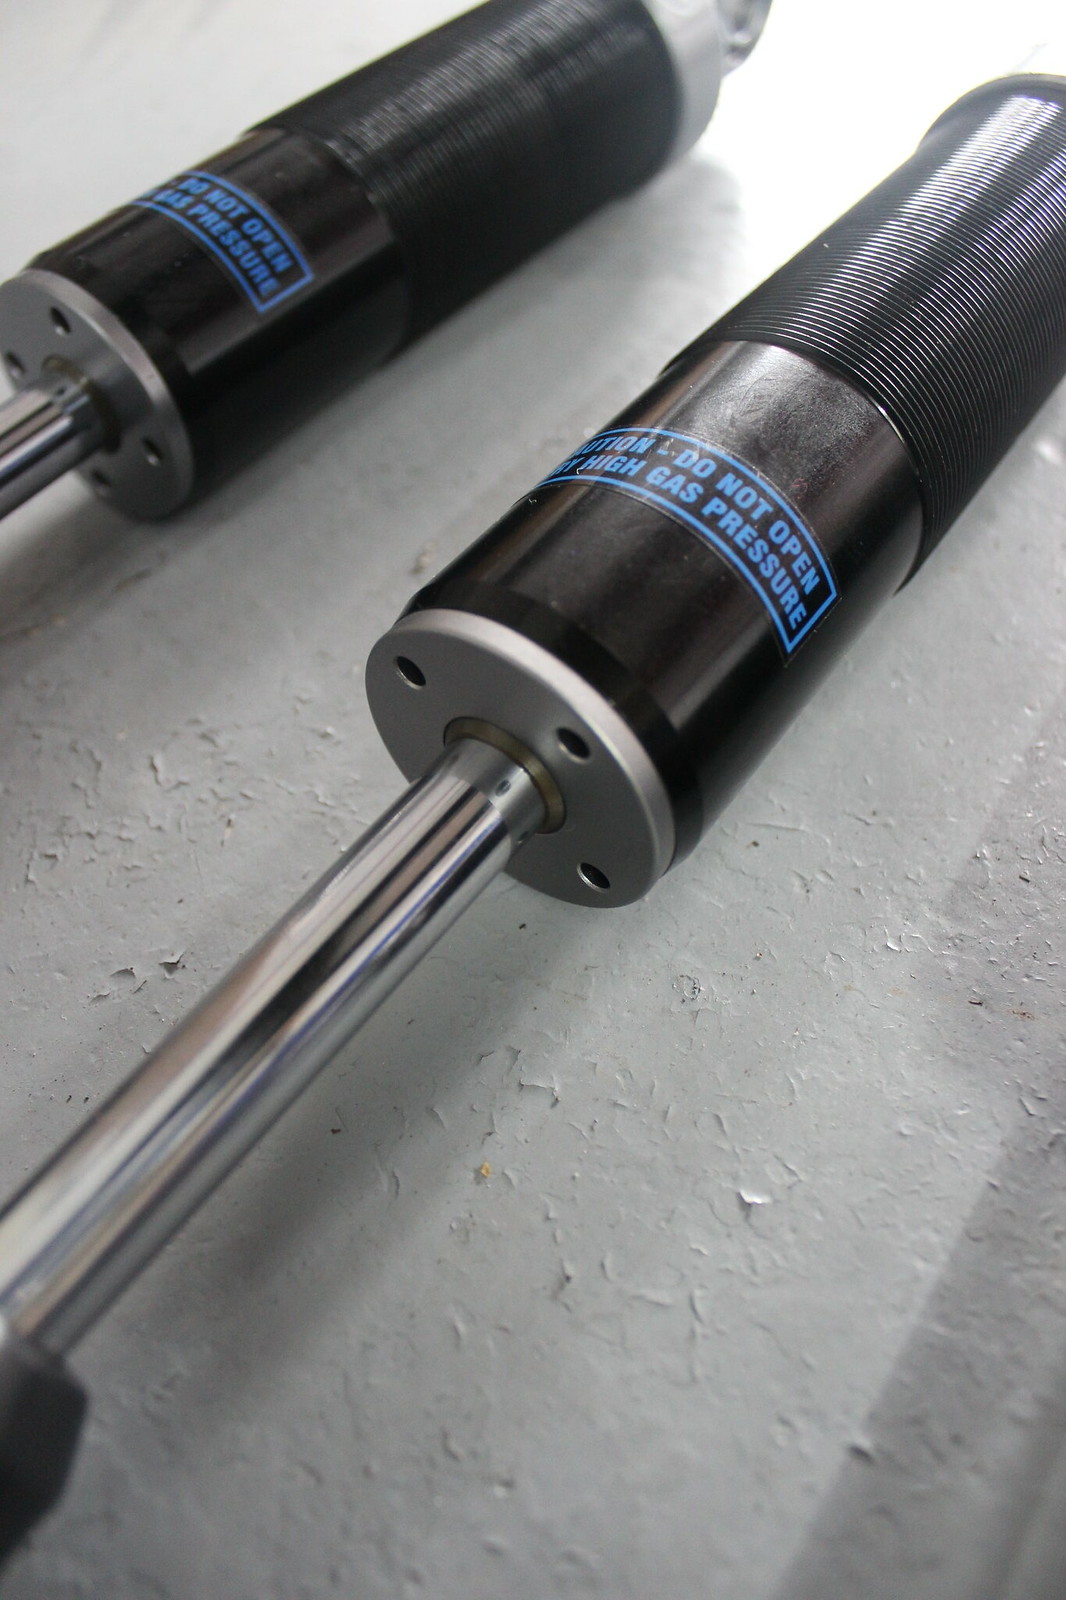
The damper bodies were spotless and came up like new.
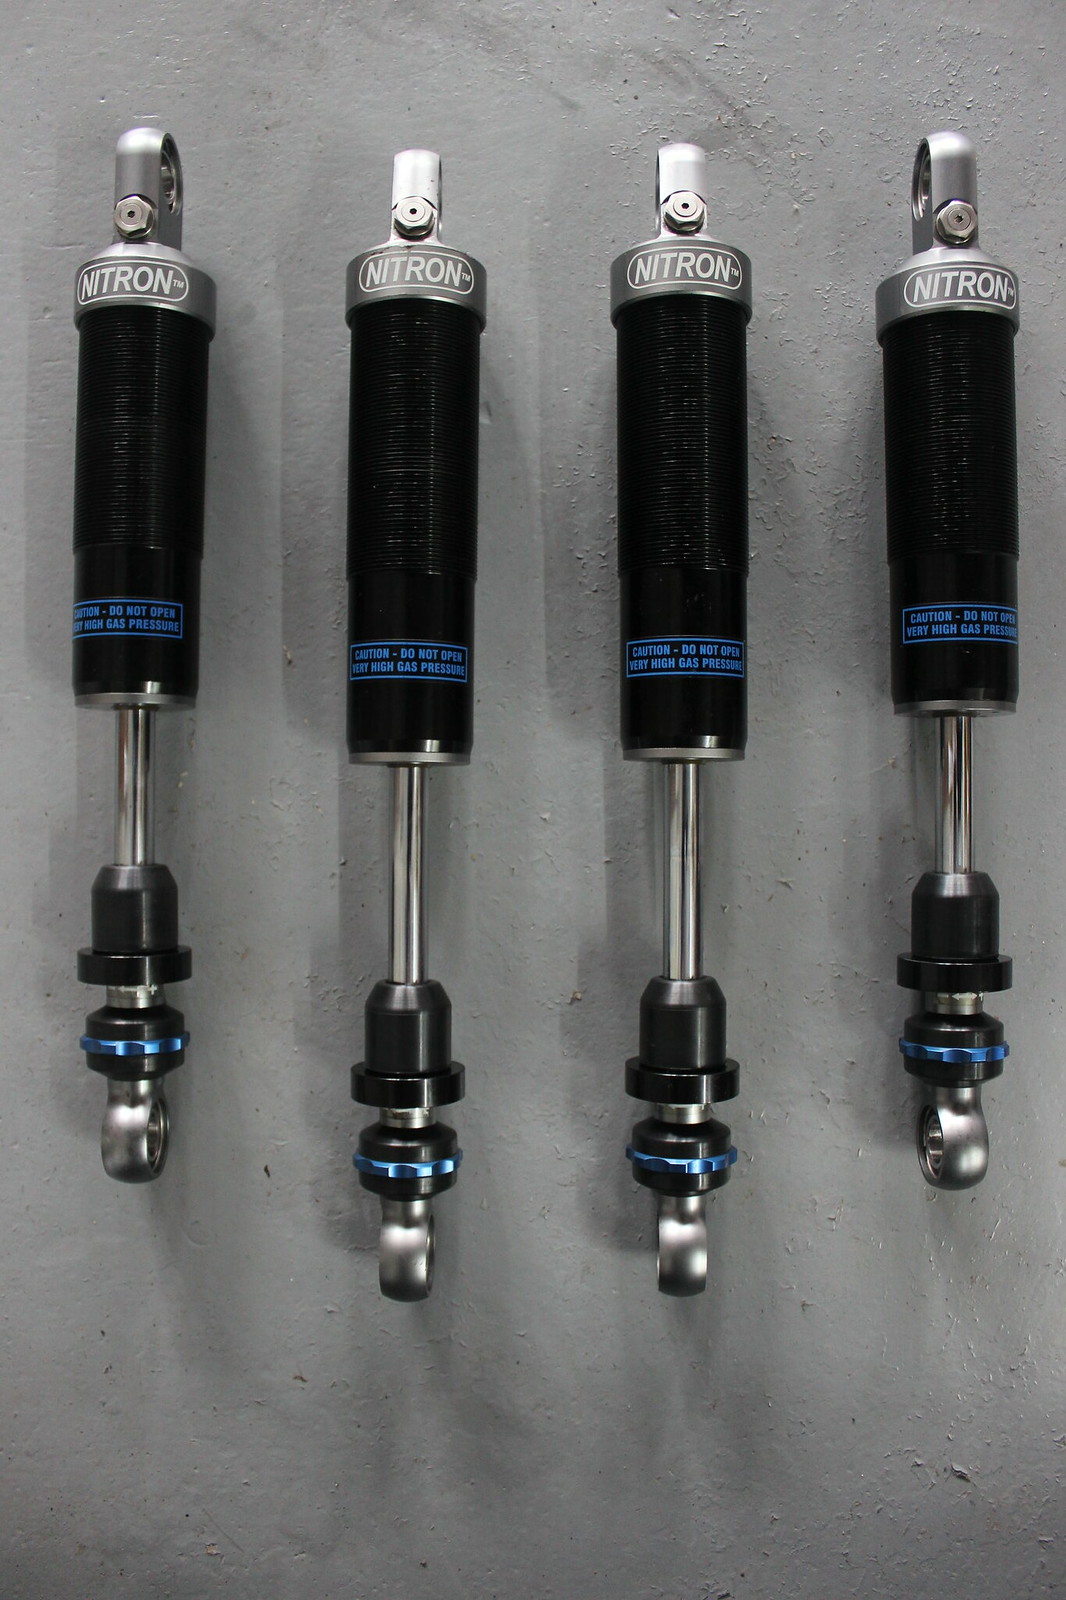
With the dampers clean, so nicer to handle, I took the opportunity to check they all compressed/extended as they should and that all the damping adjustment valves operated correctly. Happily they were all spot on with no differences in the adjustments or squelchy noises or jerky movement which can be a sign of air having got in due to oil having got out.
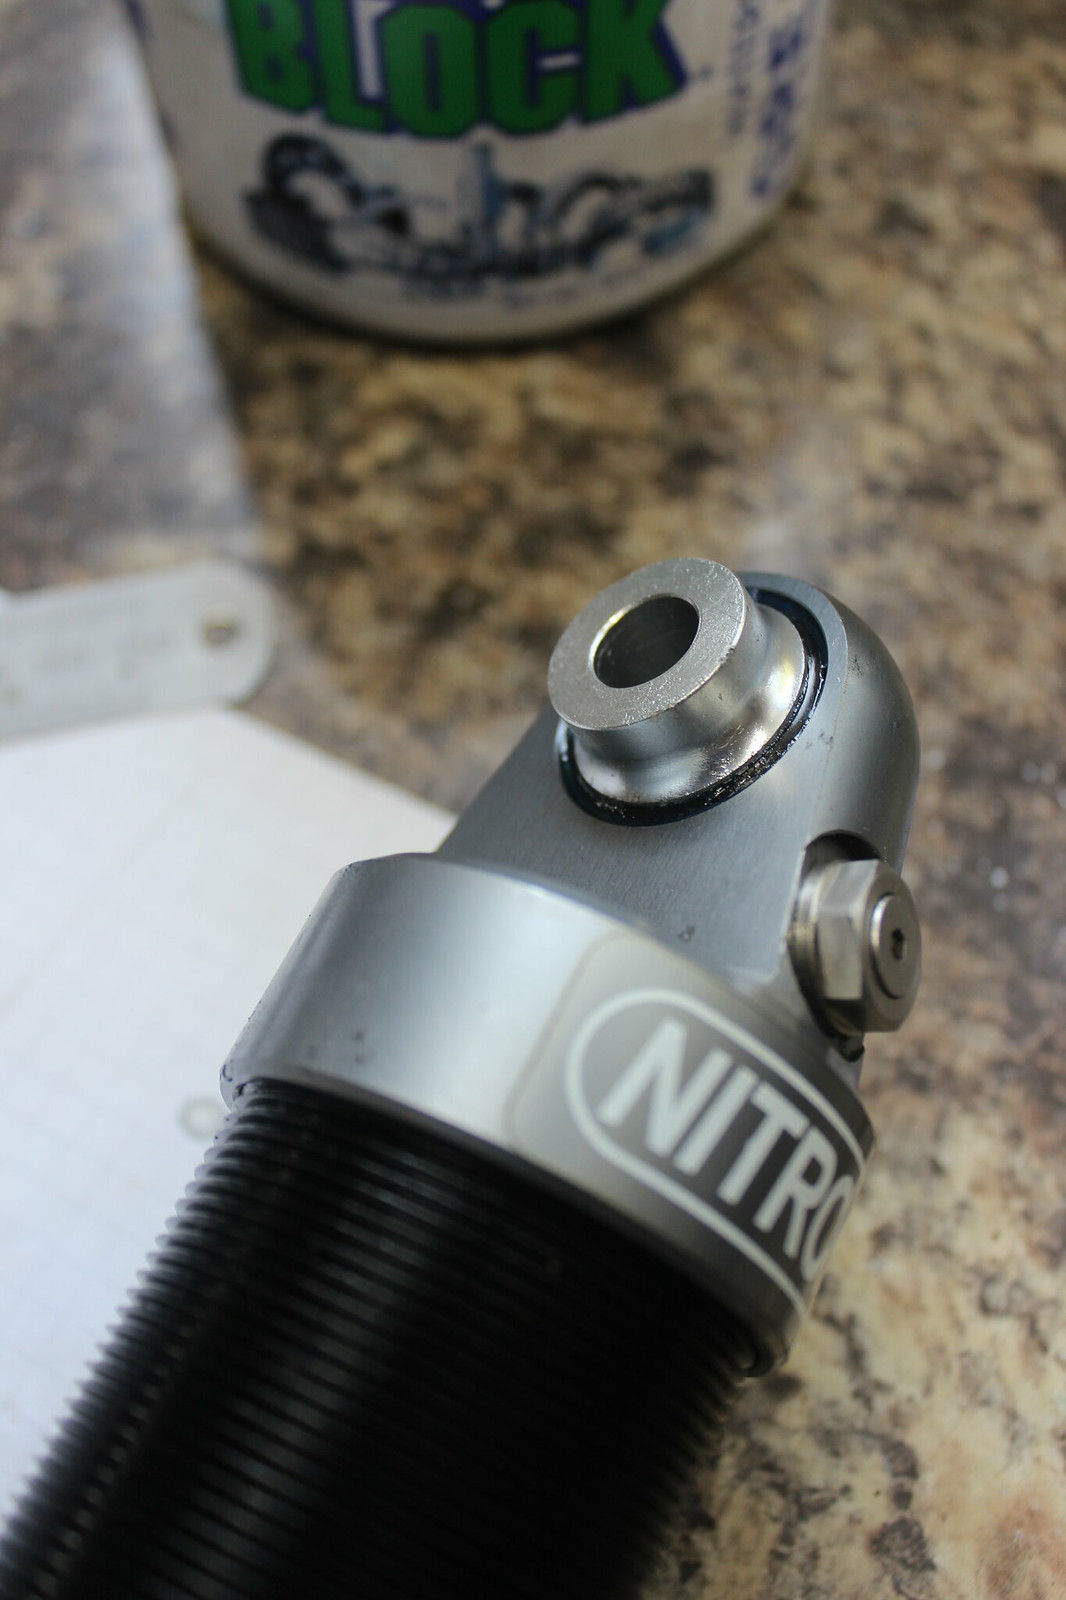
I also checked the condition of all the bearings in each end of the shocks. A few had obviously let a little moisture in and suffered a little corrosion on the outer edges. The actual bearing surfaces were all fine though and they all moved freely with no play. So I figured a clean up, some fresh grease and new O-rings would do fine. Any play in spherical bearings like this on a damper would be very noticeable so if they ever need replacing I’ll know about it soon enough!
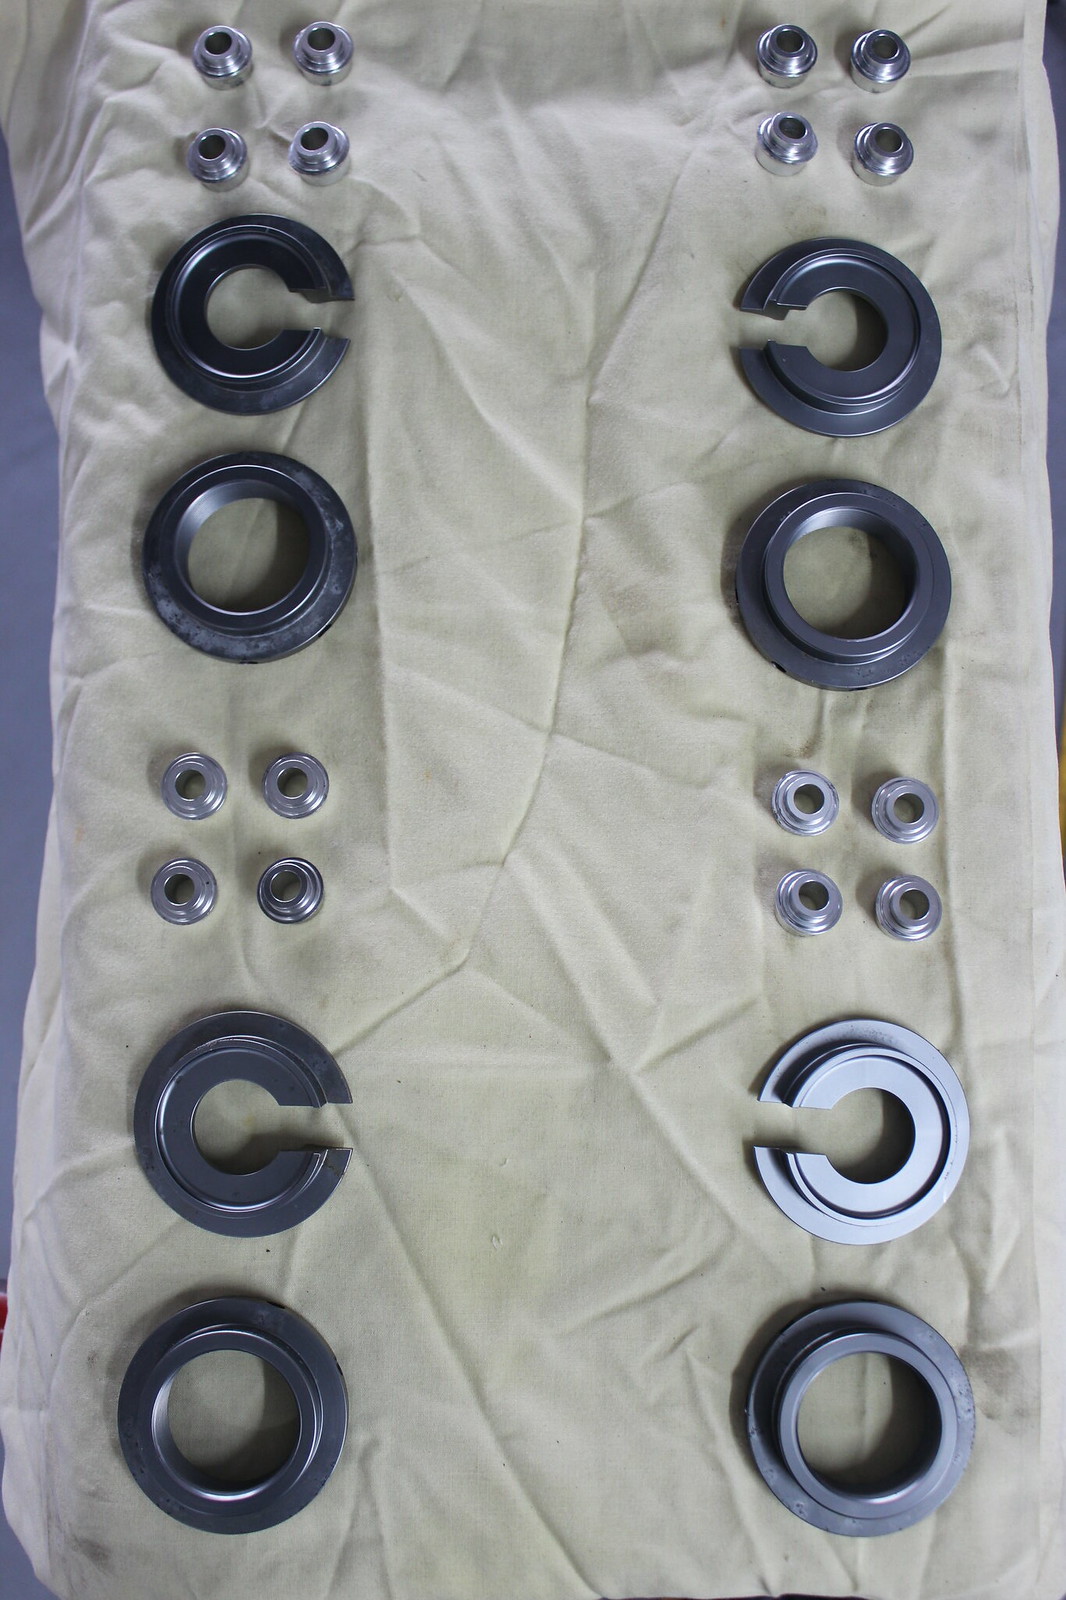
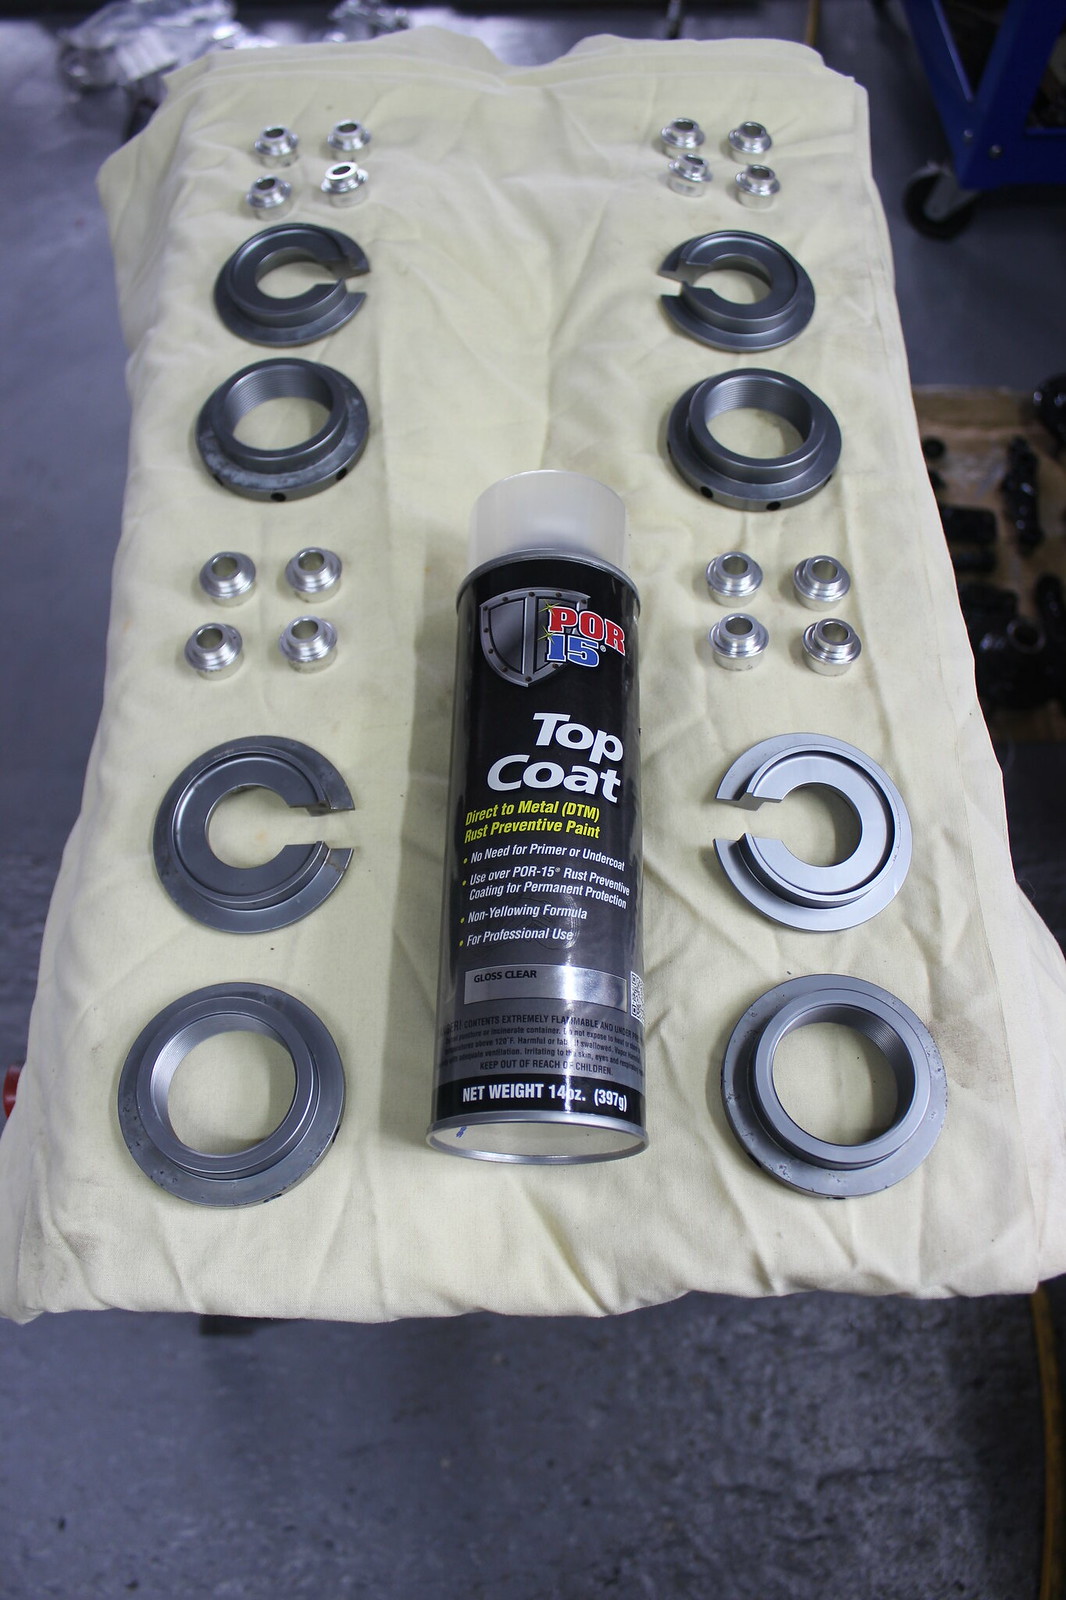
Everything ready for reassembly.
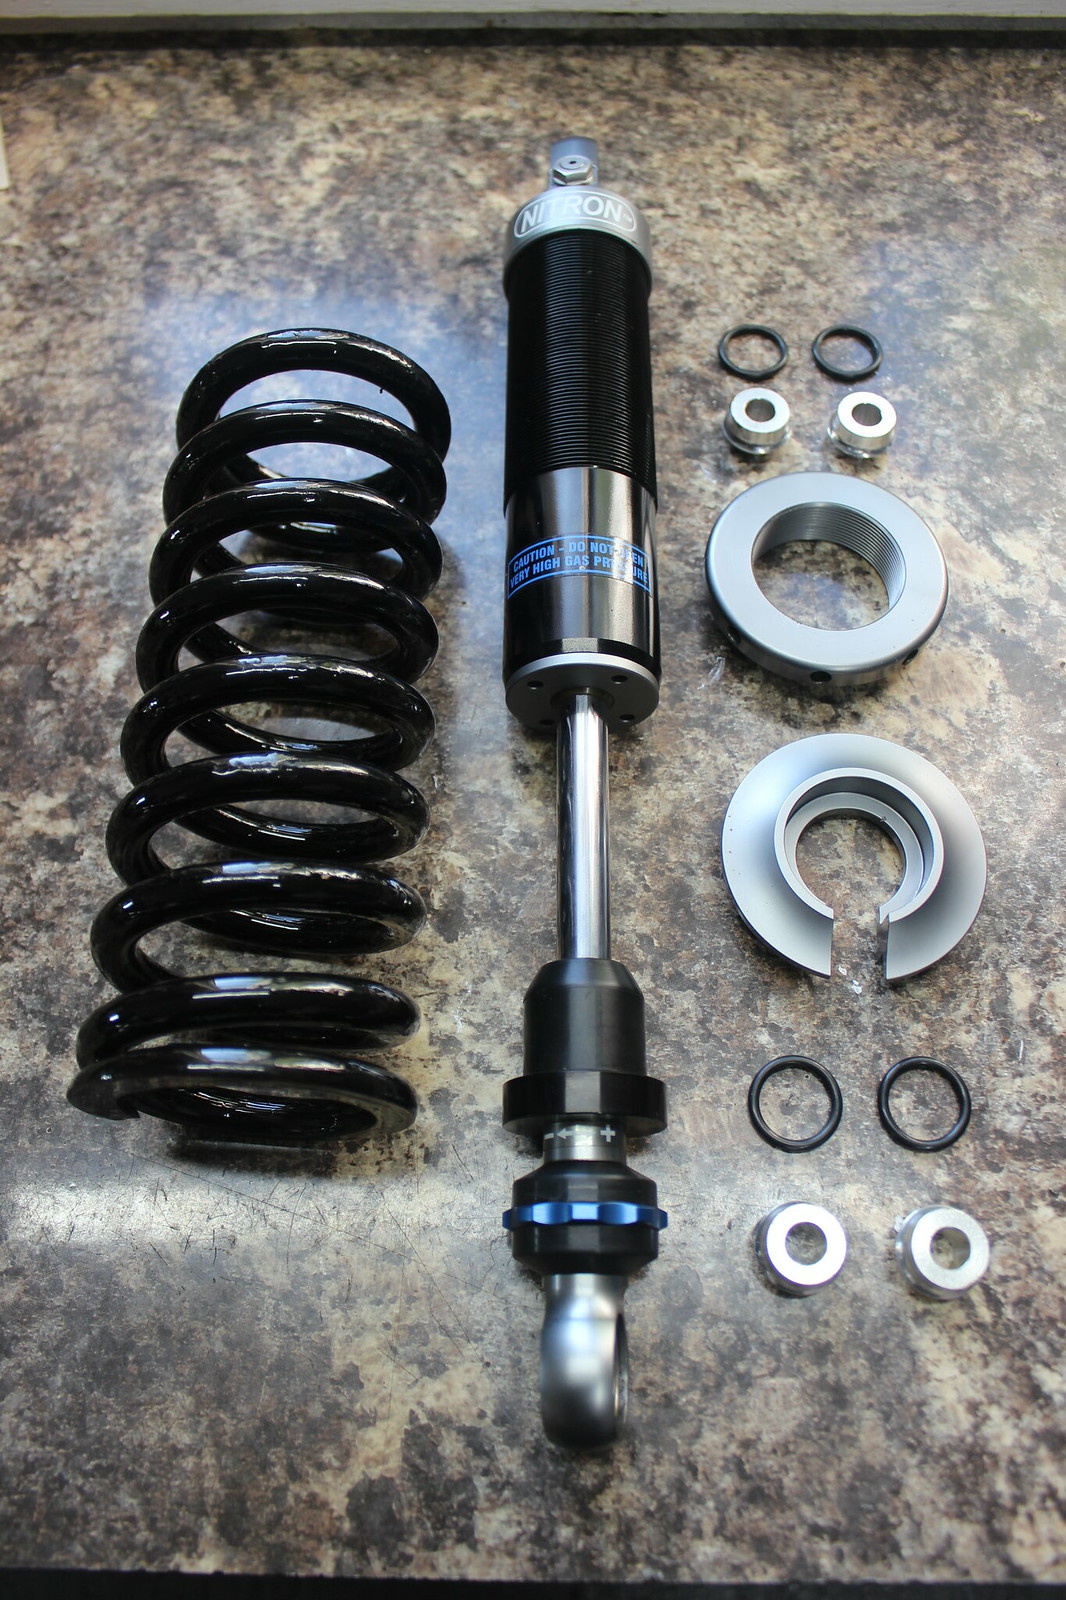
I got a packet of nitrile O-rings to replace the original ones. They are 19mm internal diameter with a 3mm cross section.

Perfect fit, plenty of fresh grease too. The bearings don’t require any grease but I used corrosion block grease here as an additional barrier against water ingress. This grease and nitrile O-rings are safe for use together.
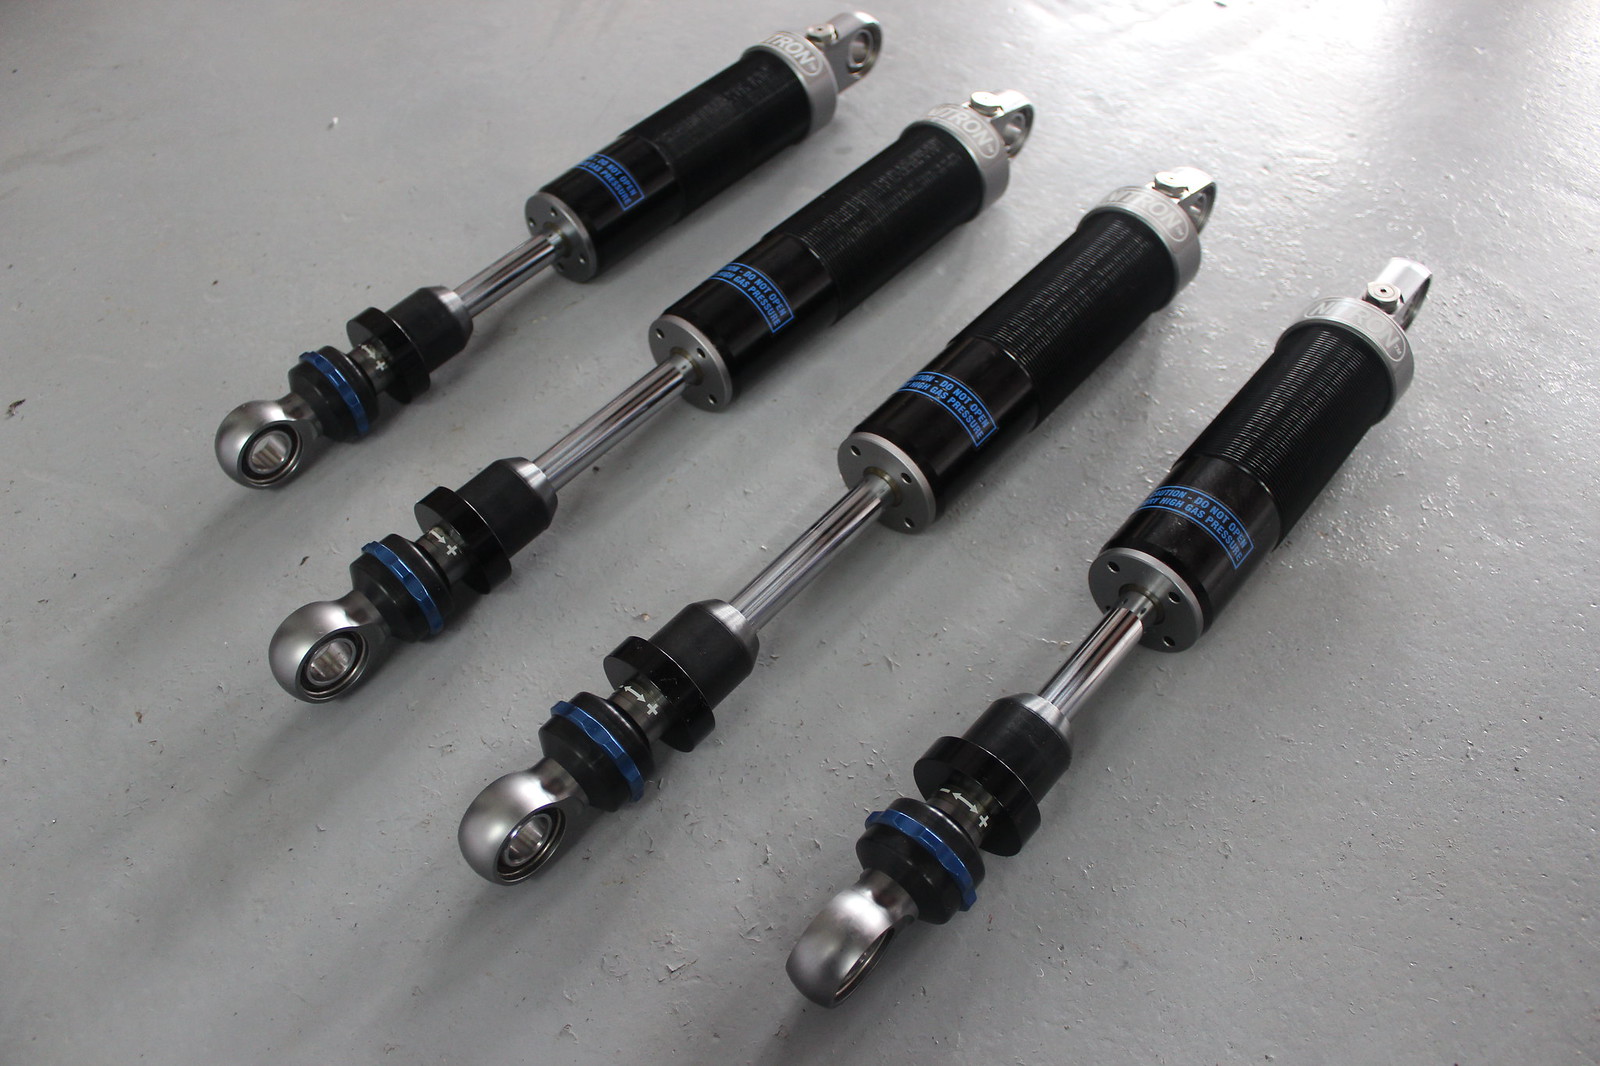
I took measurements of the positions of the spring perches before dismantling the shocks so I had a reference to work from to get the ride height back to something similar after everything was back together. I applied some adjustment for my preference and to account for the lowered damper brackets I’d be using. I decided to use some stainless steel lowered shock brackets as with the ride height as it was there was not much travel in the damper before hitting the bump stops, particularly at the front. My concern was confirmed after a helpful email exchange with a guy at Nitron.
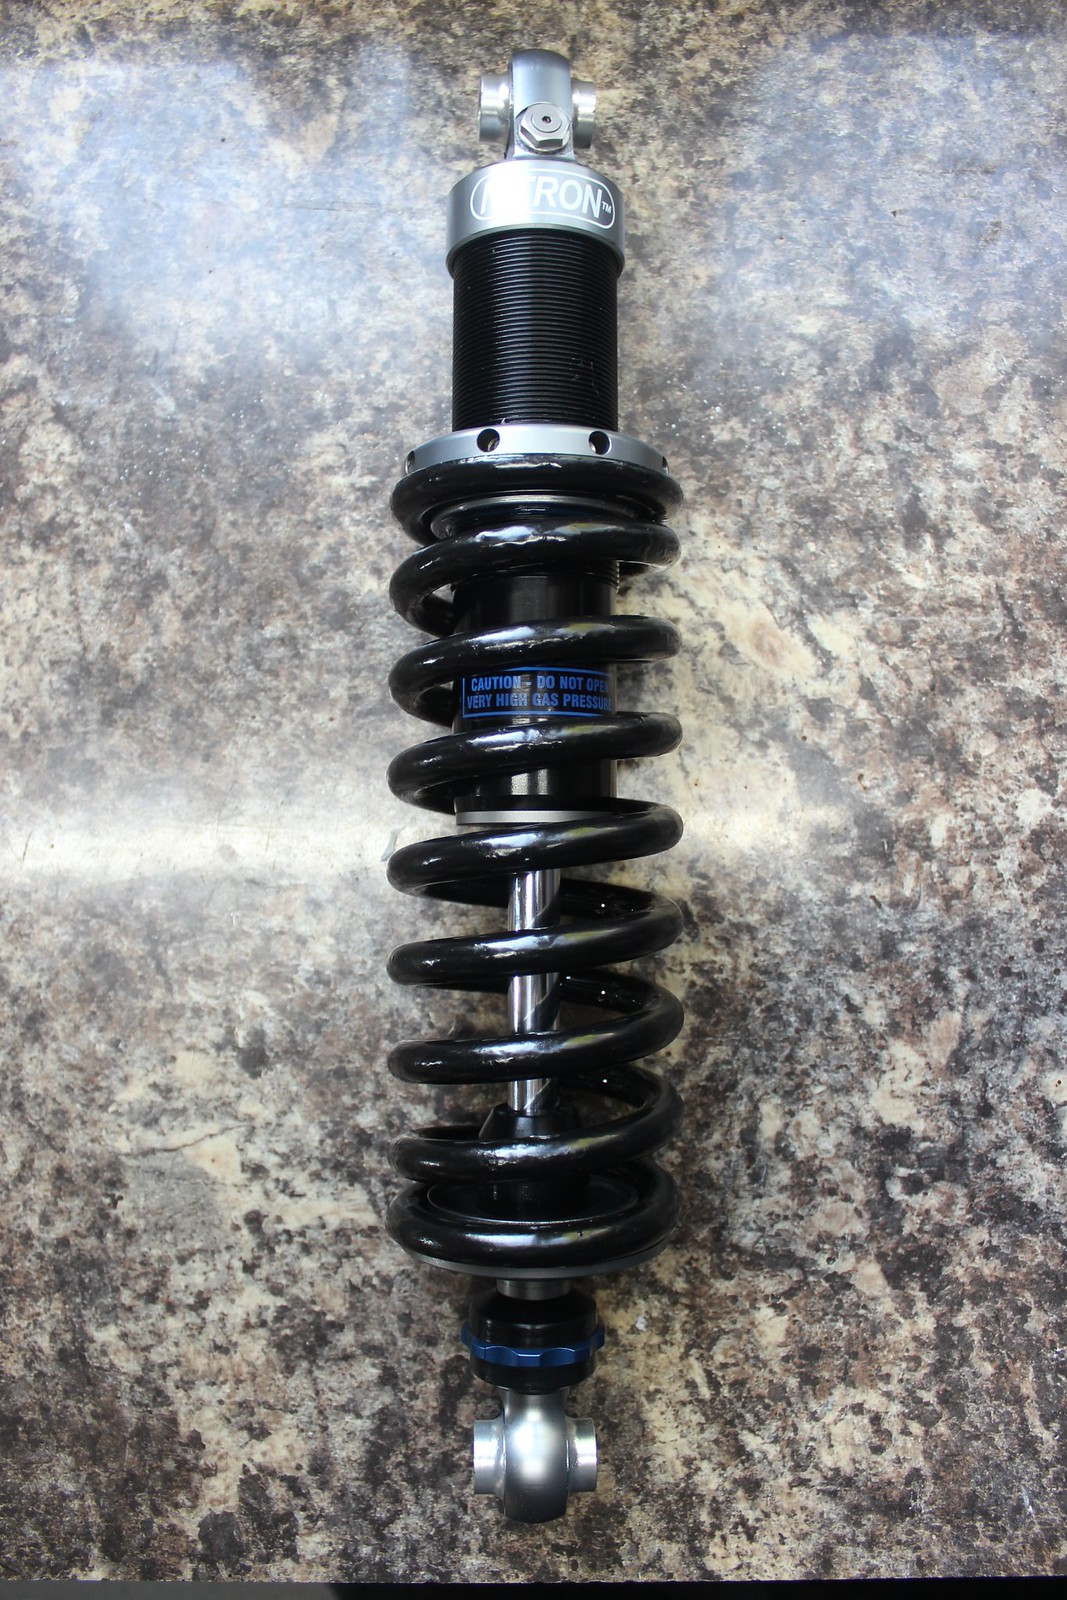
Ready for refitting but there’s lots of other parts to get back together and on the car first. Nice to have something clean and fresh looking, ready to go back on the car though.