
With the Dinitrol Super Protect 447 applied, next I could deal with protecting the body shell and subframe cavities. I could also apply a layer of wax to the whole underside.
There wouldn’t be much point in me putting in all this time and effort to protect the outer surfaces of the body shell and subframes to then ignore all the bits you can’t see that are just as susceptible to corrosion. That’s where the cavity wax and sprayer come in. The wax can be sprayed into any cavities, in all directions, coating everything and running into any seams and joins. The wax layer then repels any water and prevents it getting into any areas that would just stay damp and rust.
Unfortunately the standard quick undersealing jobs that get done to many cars imported to the UK, usually by the importer themselves, neglect to carry out this important step. The outer surfaces get a quick coating and look nice and protected for a while but the internal surfaces of any box sections remain unprotected. These internal surfaces can get just as wet and coated in road salts from winter use and are more slow to dry out. These areas then begin to rust which goes undetected as it can’t be seen until eventually it breaks though to the visible side. By the time this is discovered these structural sections can be very badly effected and require some major repair.
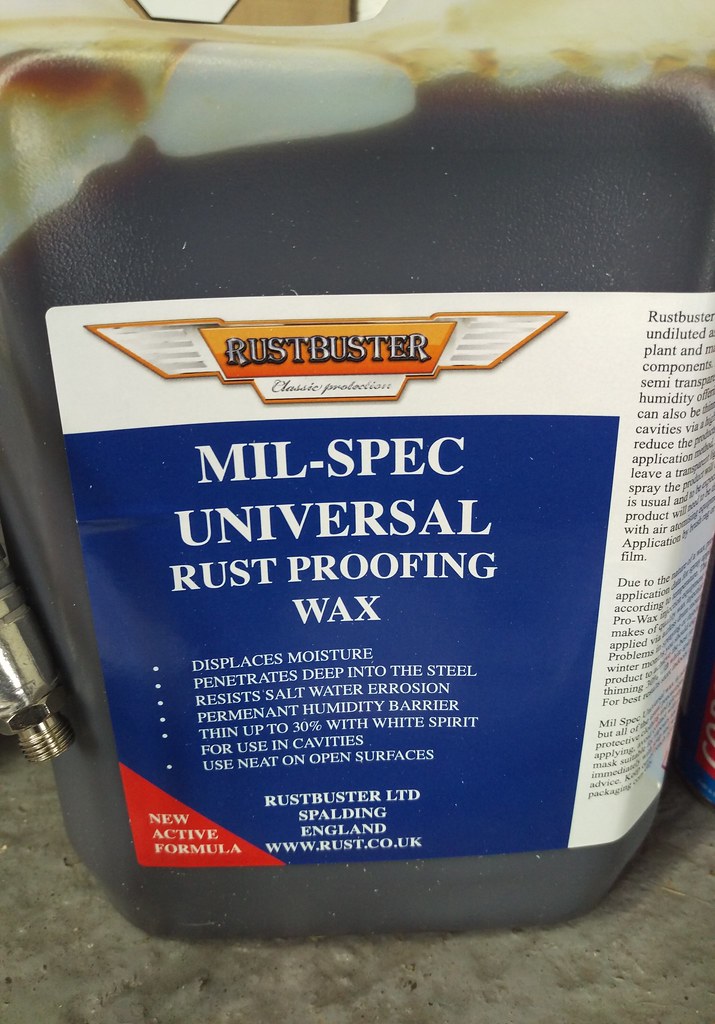
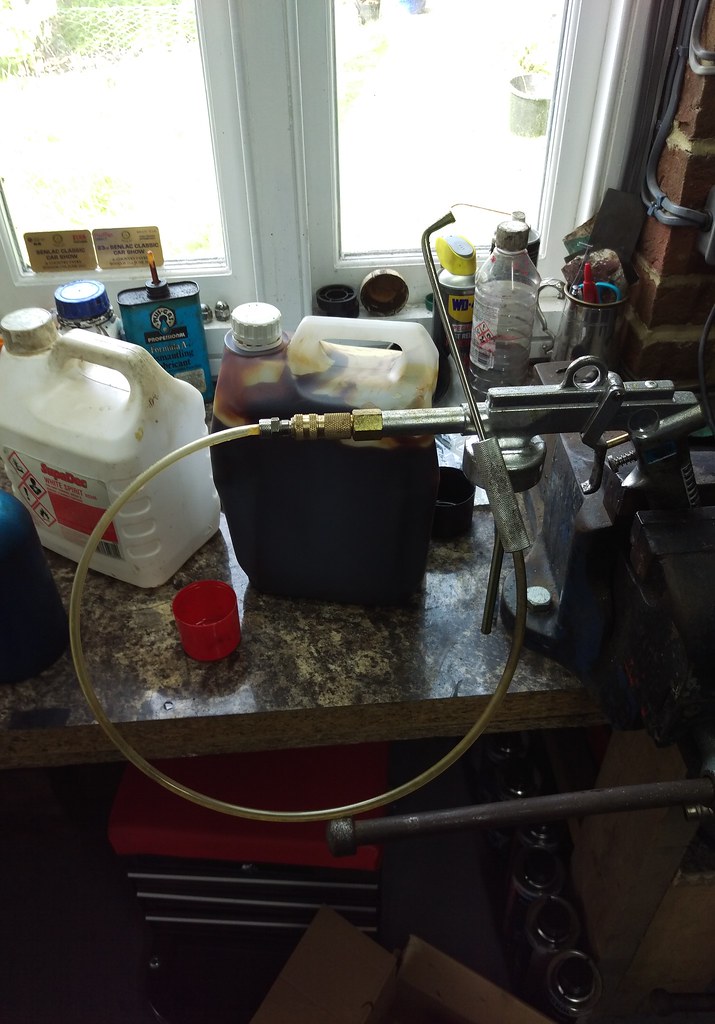
There are various cavity wax and undersealing type waxes available for this kind of job. I chose to go with the Mil-Spec Universal Rust Proofing Wax from Rustbuster as it is a clear/amber wax so if any of the anti stonechip layer becomes damaged or wears with time through abrasion it will be visible and can be repaired. It can also be used as both a surface wax and cavity wax as it can be thinned with white spirit. This is also useful as white spirit is a cheap easily obtainable solvent so if it ever needs cleaning off something it can be dissolved and washed off fairly easily. This wax could aslo be got in a large tub making it cost effective and having plenty off it would mean there was no need to keep an eye on how much I was using on the car. The more the better so I could just keep pumping it into the cavities to be sure they got a good coating.
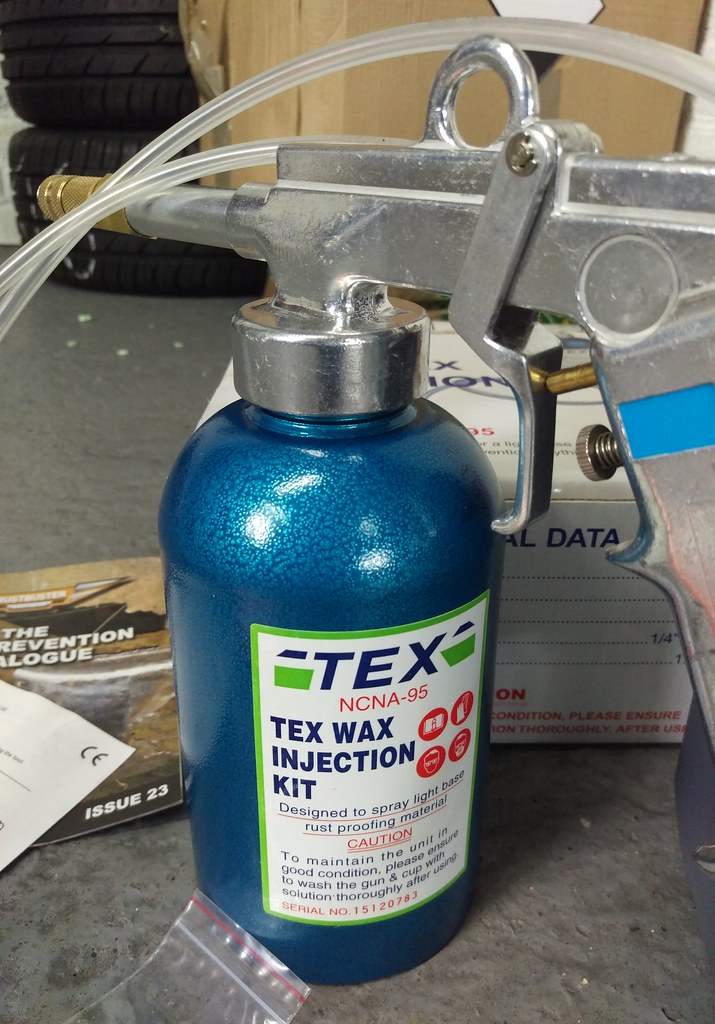
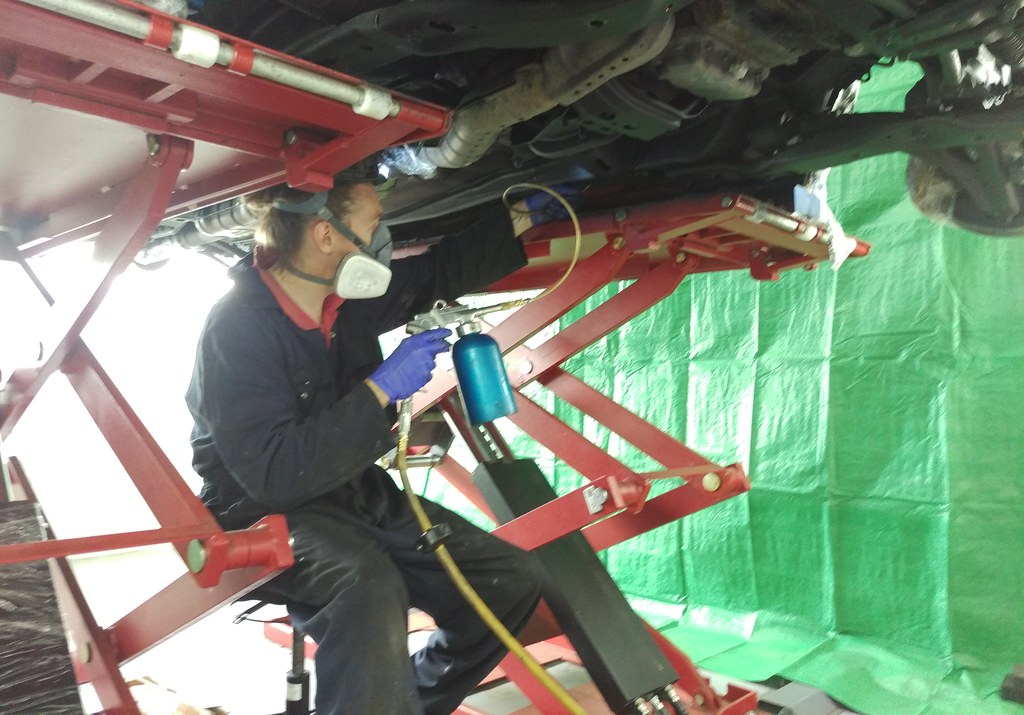
I also got a good quality sprayer for the wax from Rustbuster. It was certainly worth the extra expense as it made this messy job go much smoother and gave added confidence the wax was spraying well.
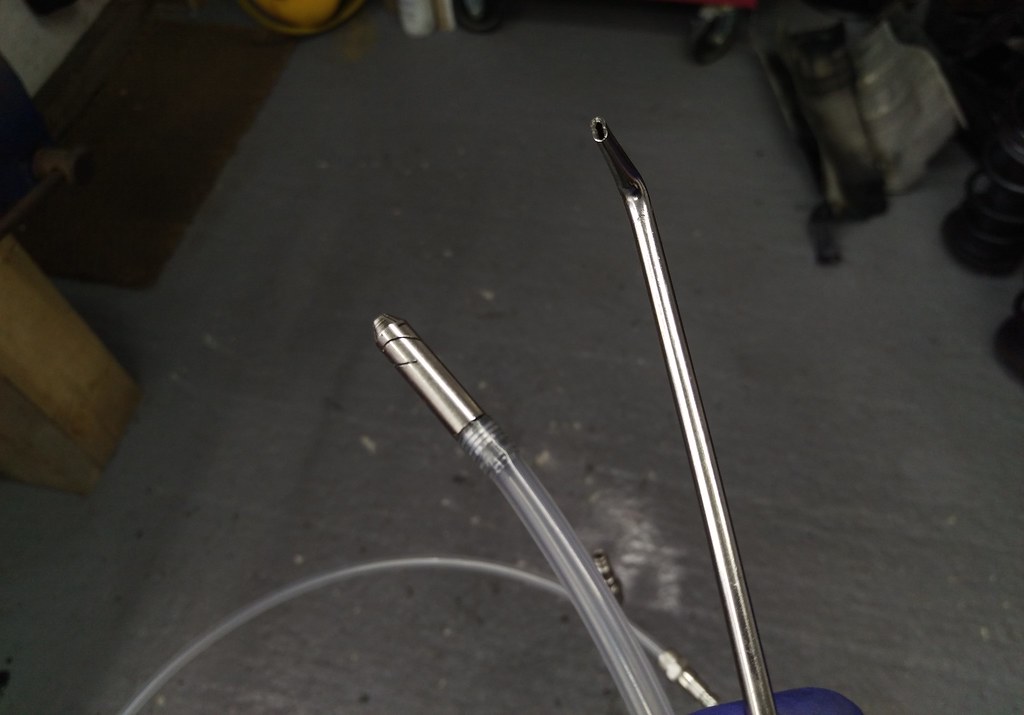
The sprayer came with two quick change attachments. One produces a fan spray which I used for spraying the outer surfaces and getting at some of cavity sections. The other attachment is a long thin hose with a nozzle that gives a full 360 degree fan spray as well as a jet out the end. Basically this just sprays the stuff everywhere so anywhere you can get the nozzle to spray will get covered in the wax.
Filling the can with a mix of the wax and some white spirit to thin it a little. I also used a heat gun to heat the can occasionally, this really helped thin the wax and mix it with the white spirit so it sprayed very well.
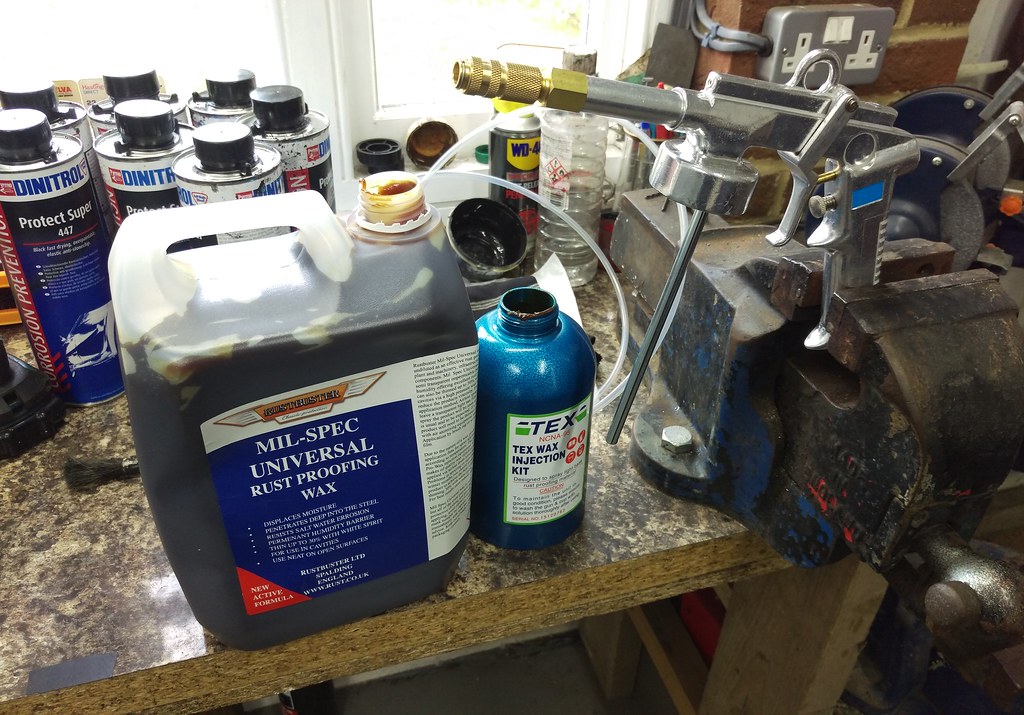
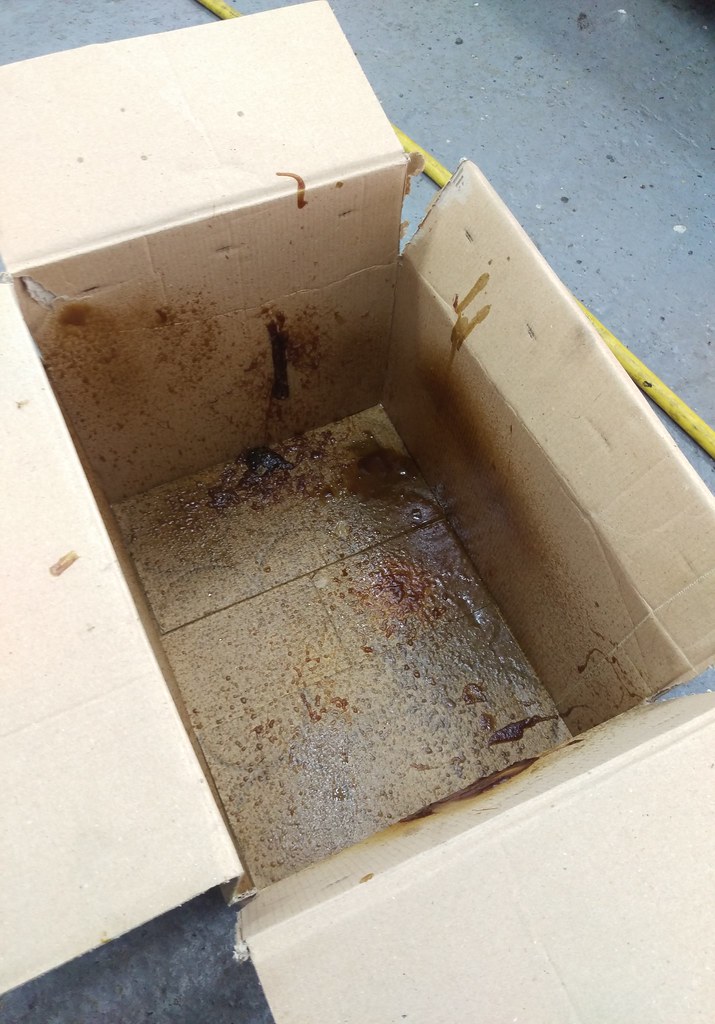
I sprayed the various nozzles I used and refills into this box to check they were spraying well before moving on to the car.
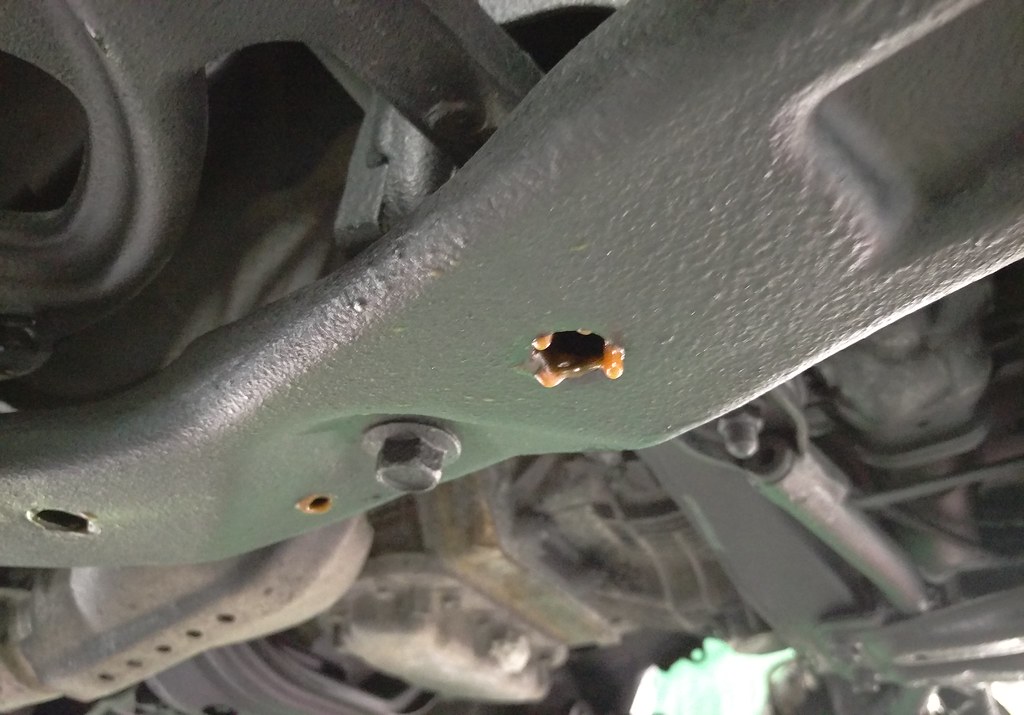
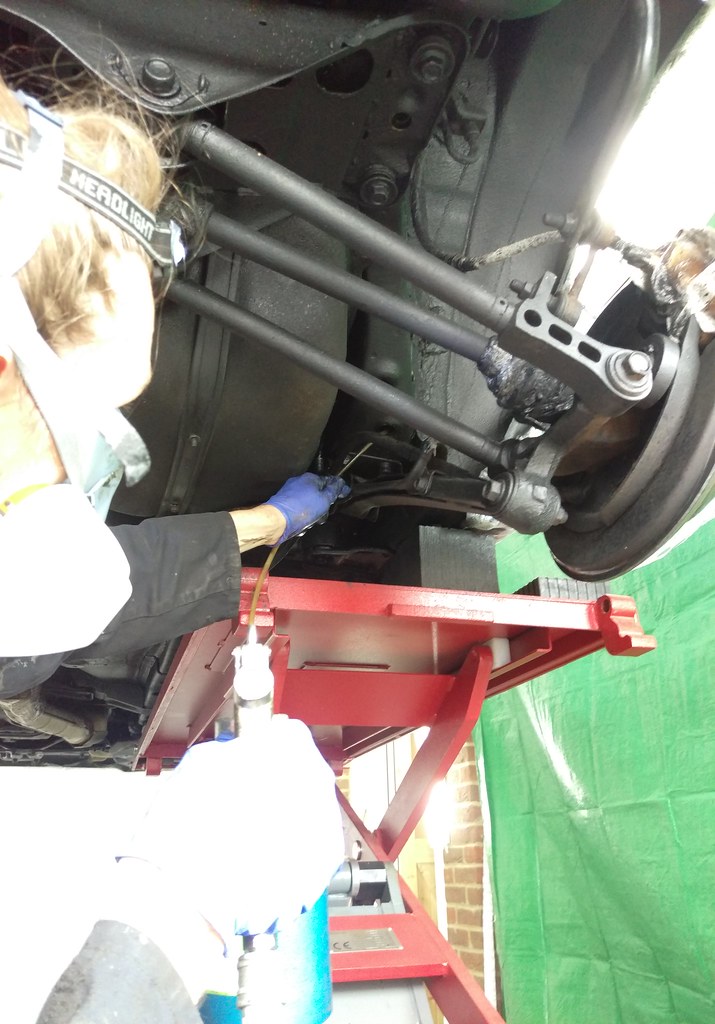
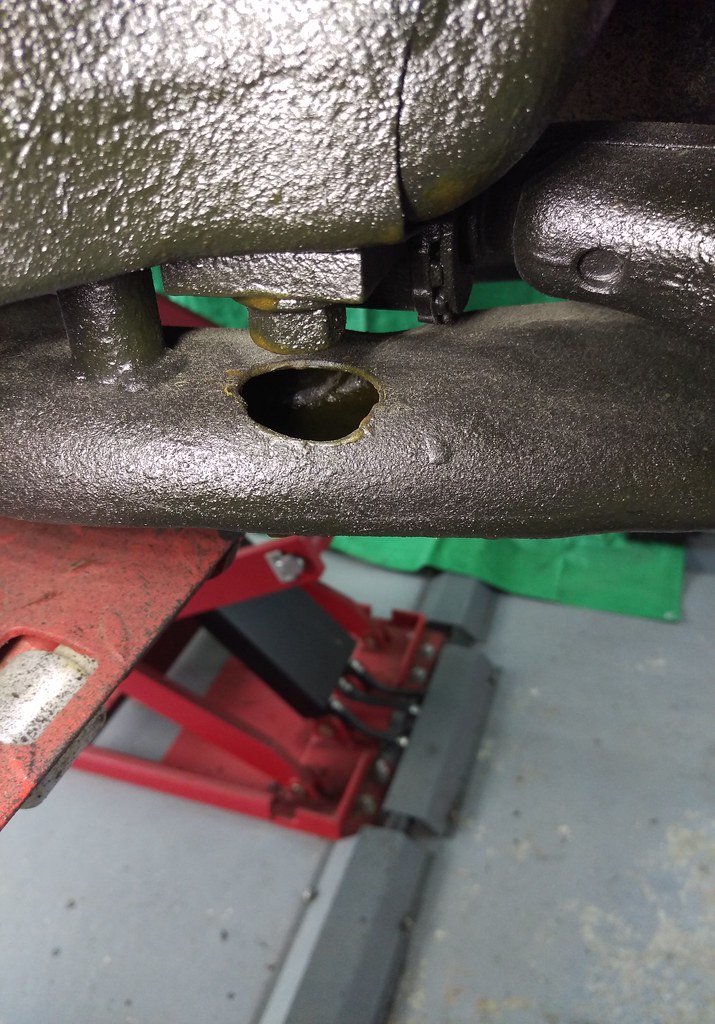
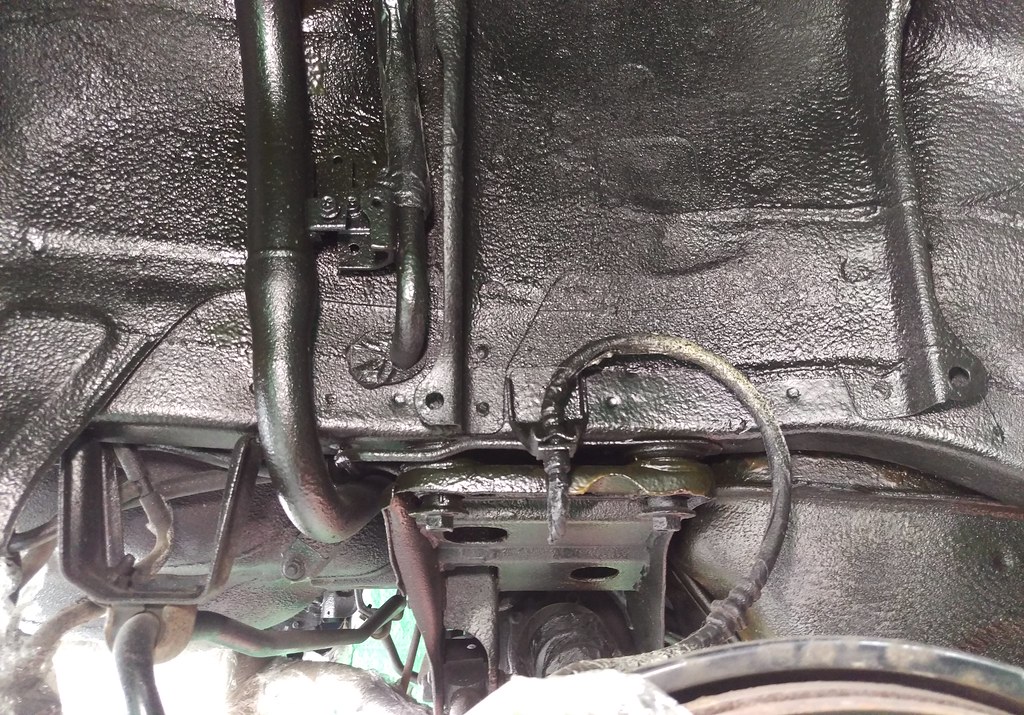
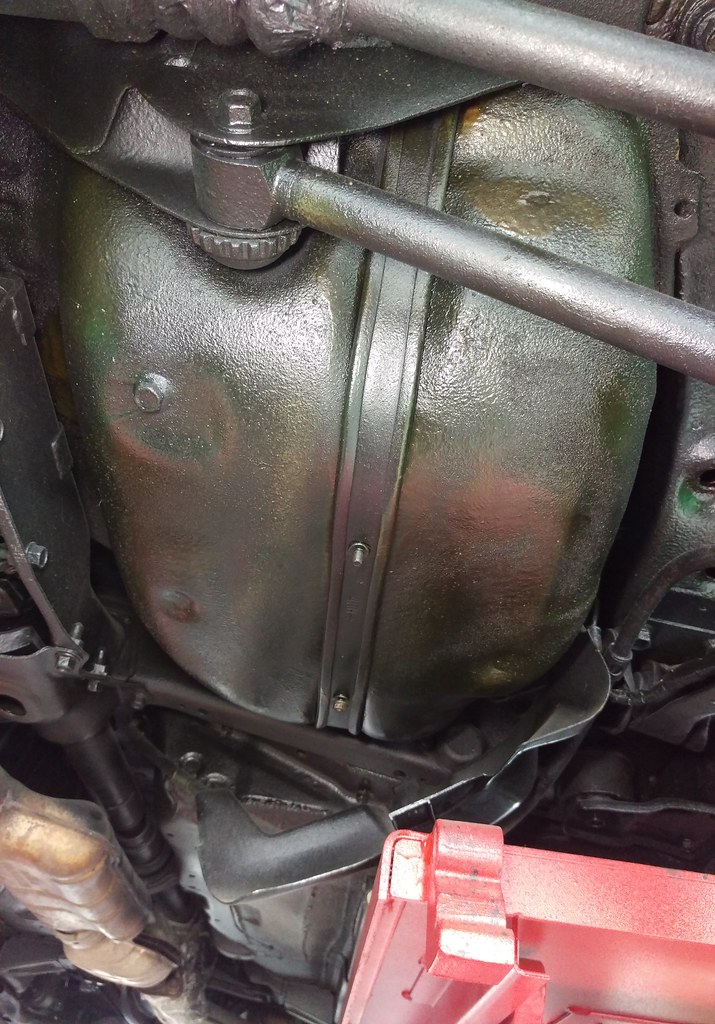
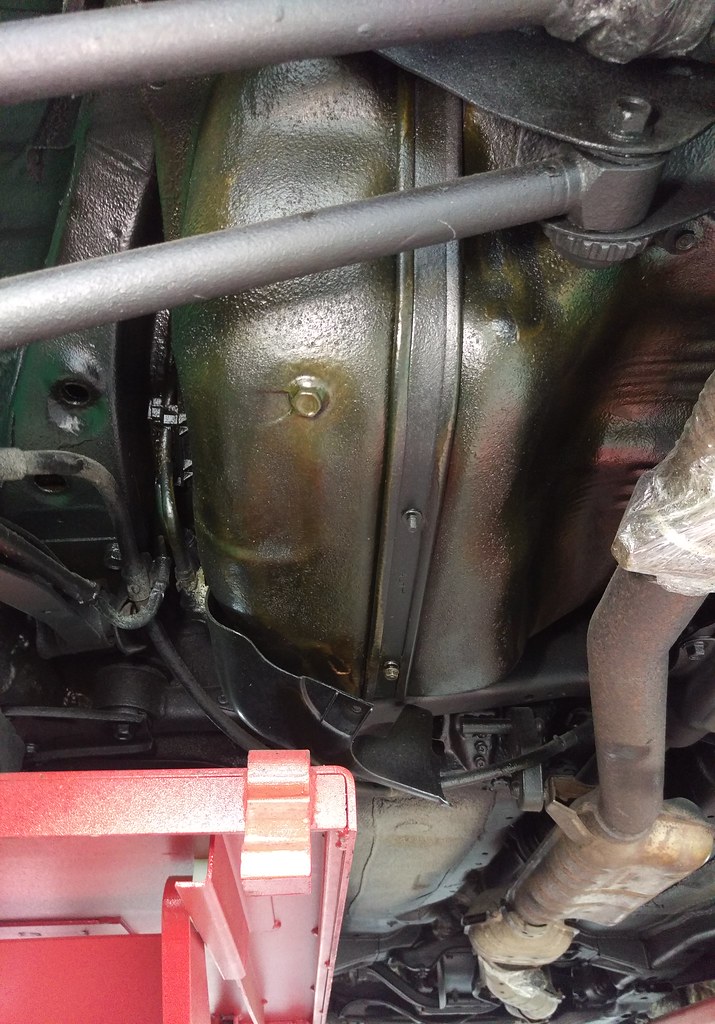
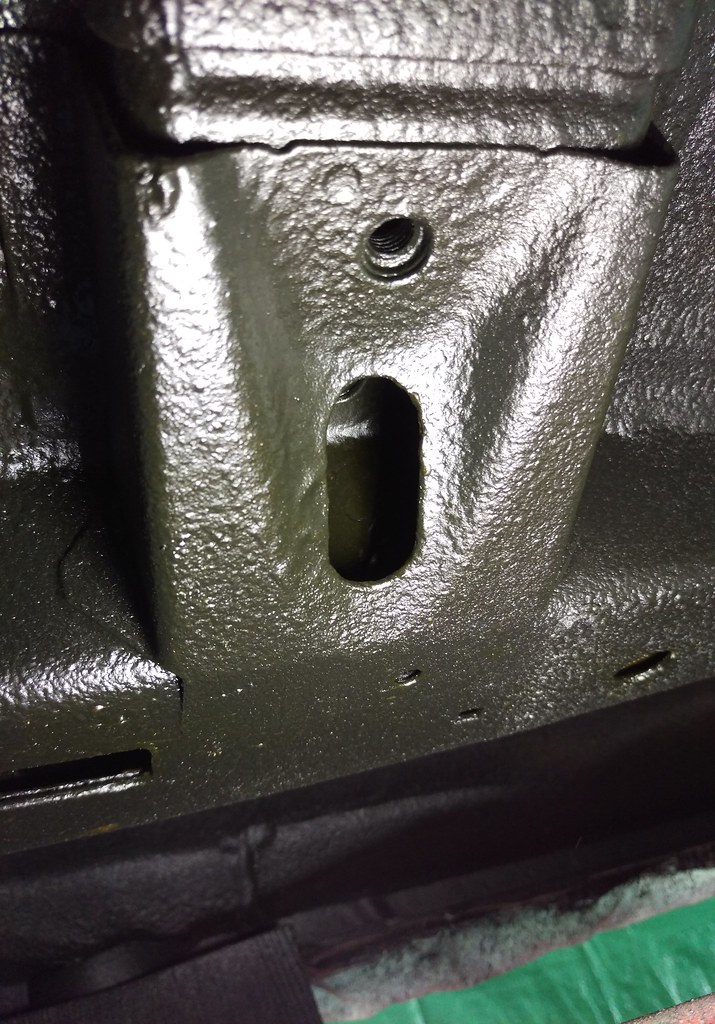
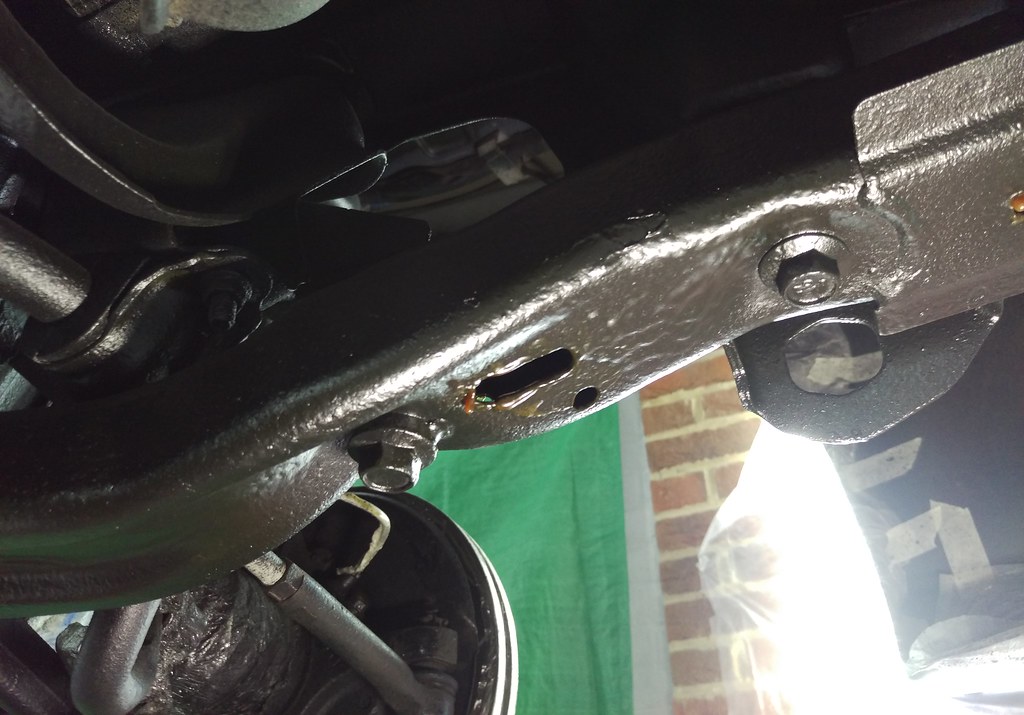
Filling the C Frame part of the front subframe.

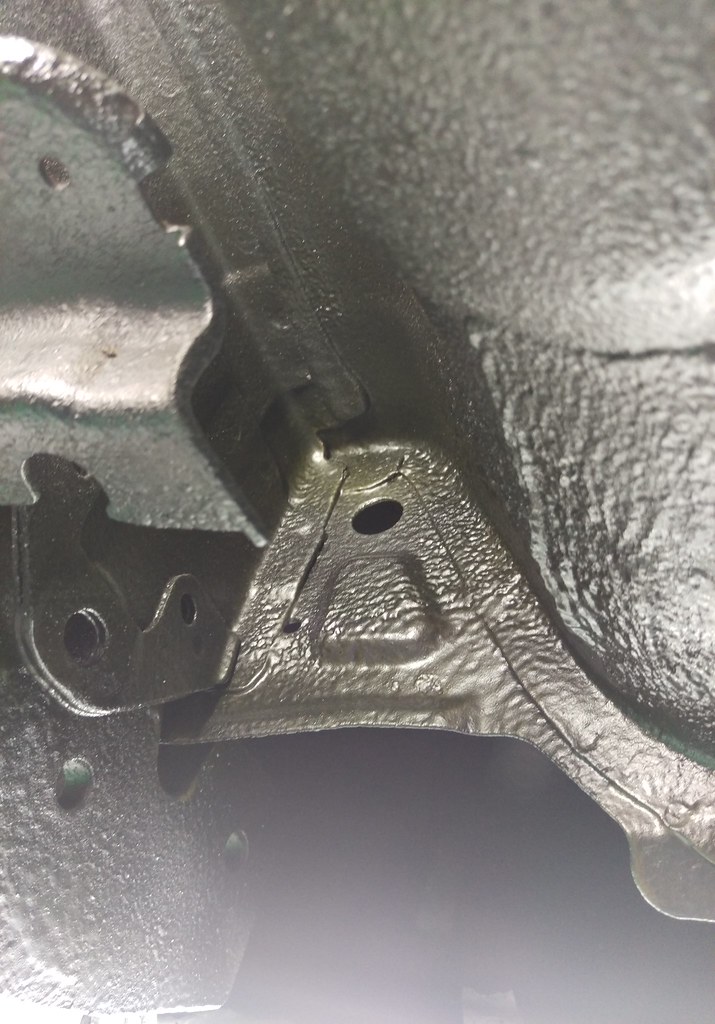
I just kept pumping the wax in until it was leaking out everywhere.
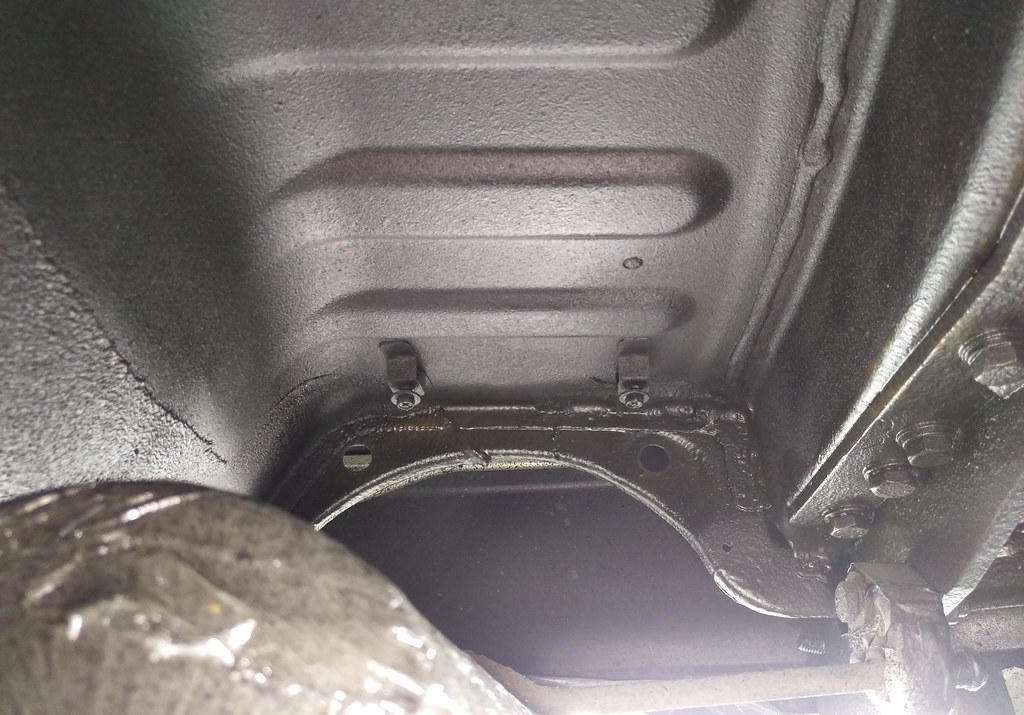
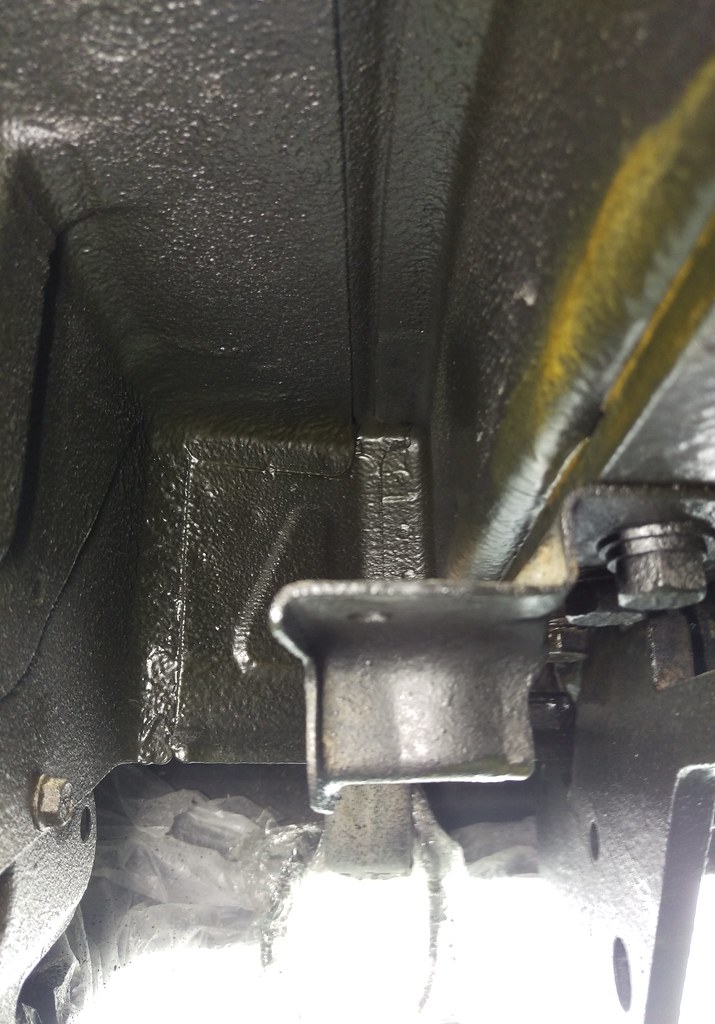
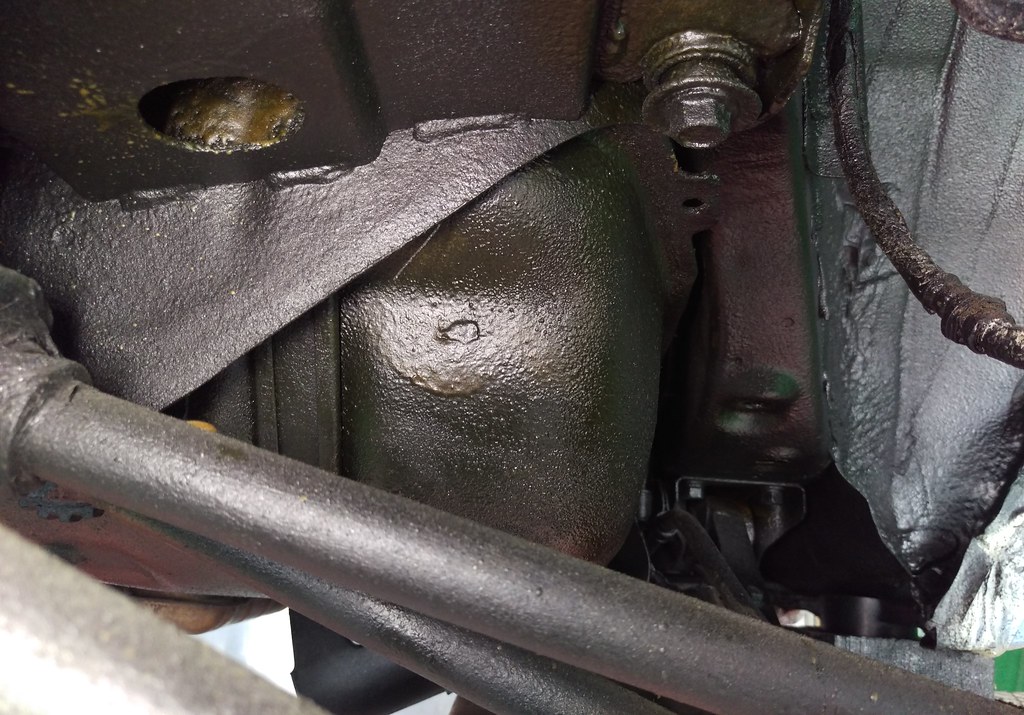
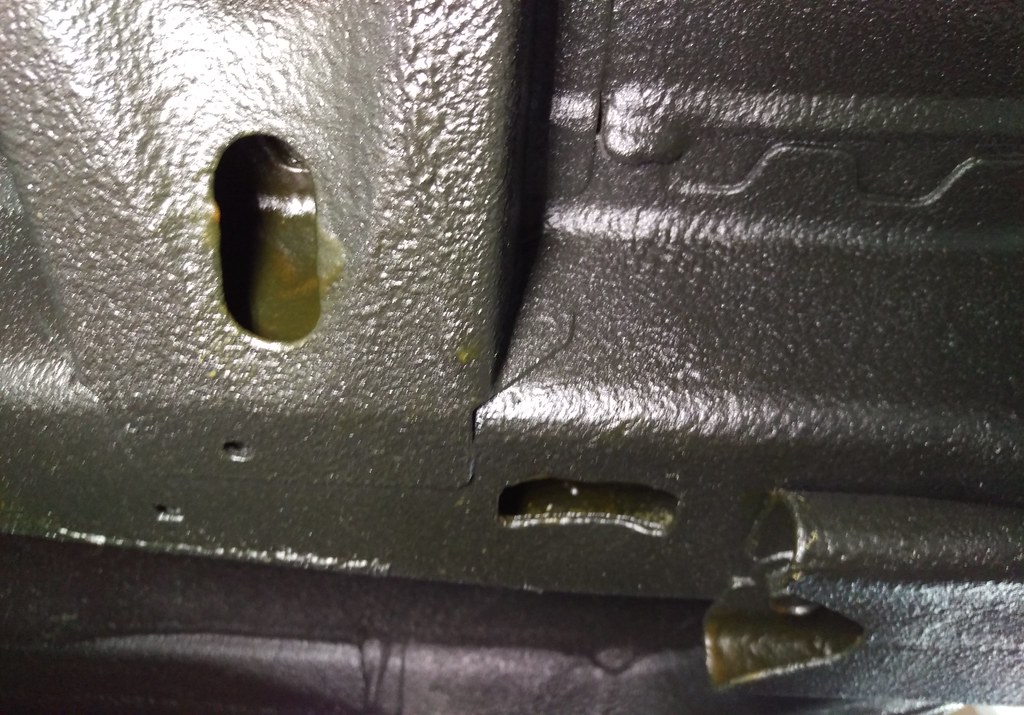
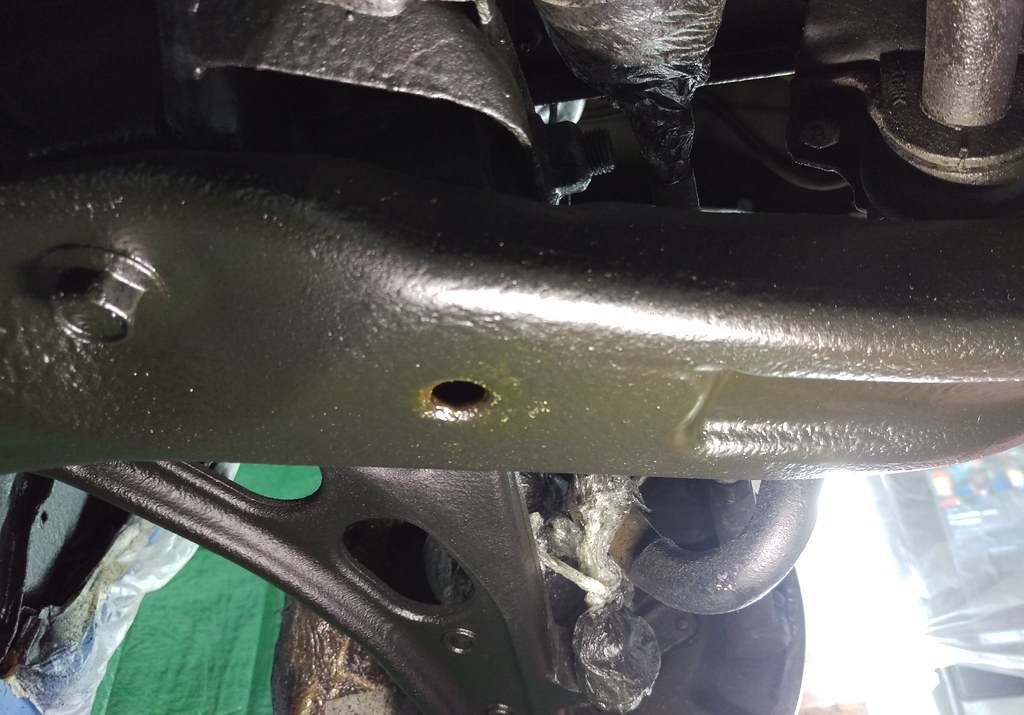
Filling the ‘box’ sections of the chassis.
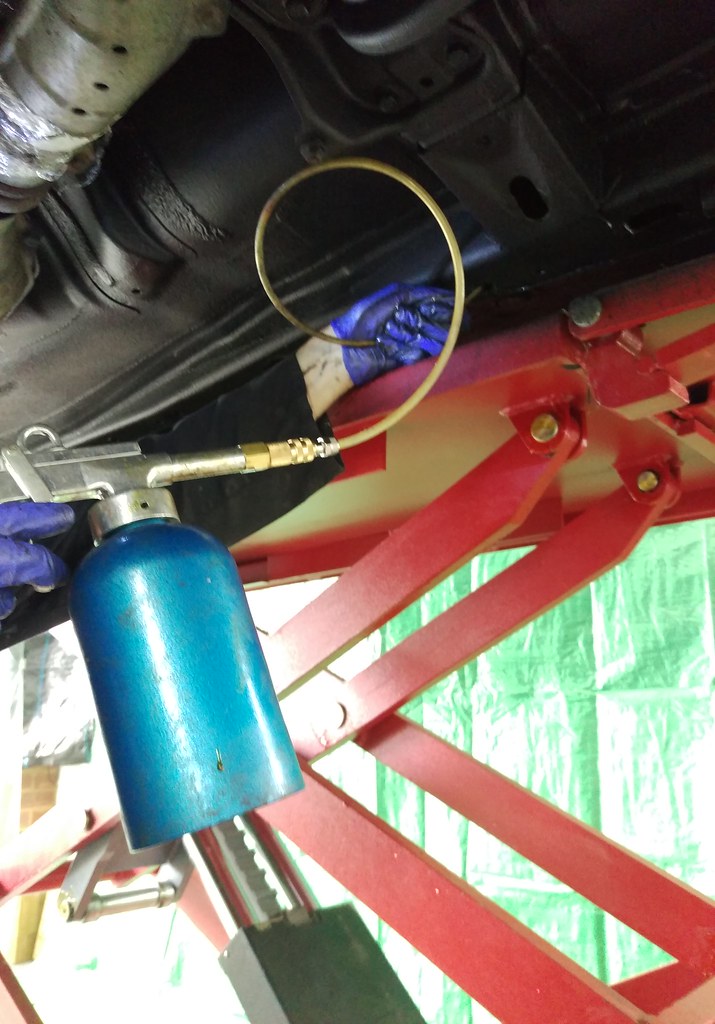
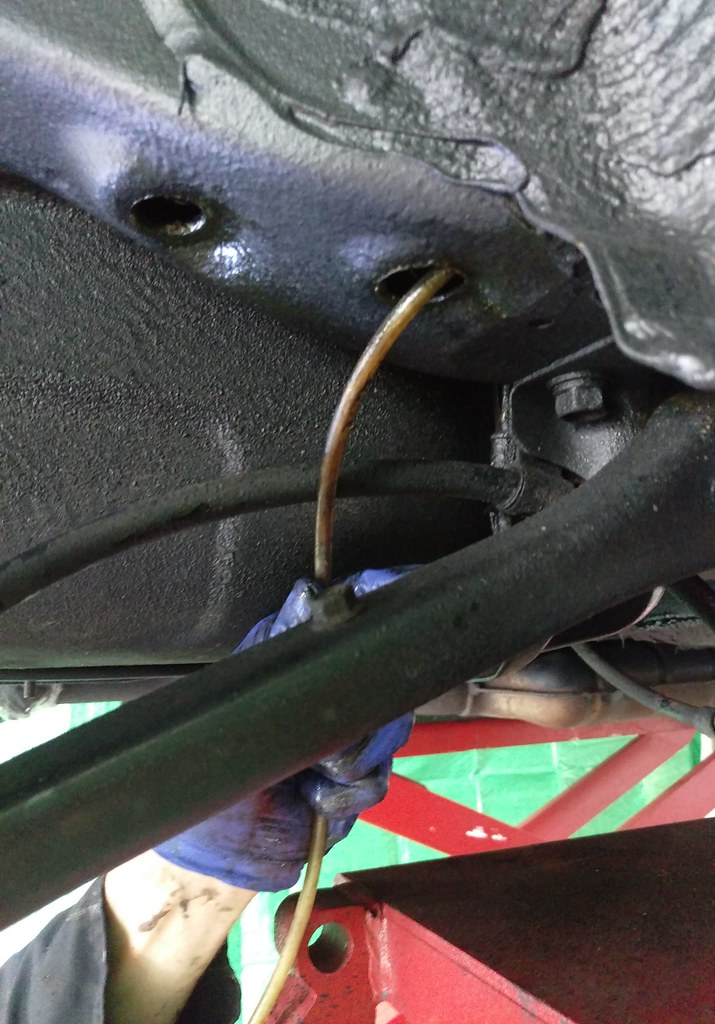
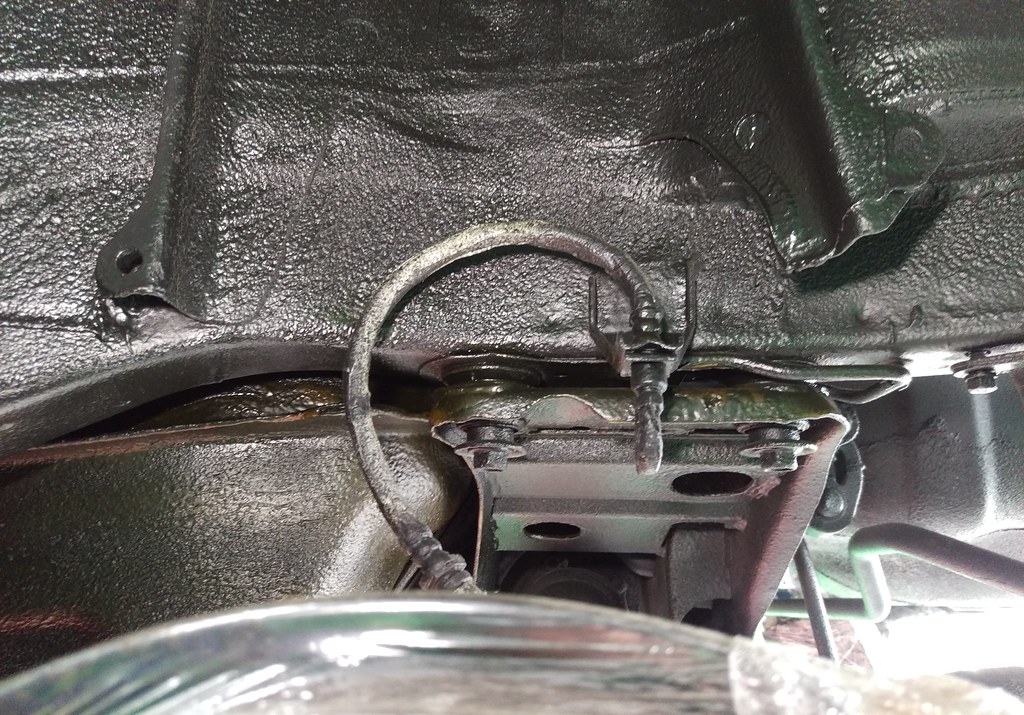
I put a load of wax in here and up in the sections above the front wheels…
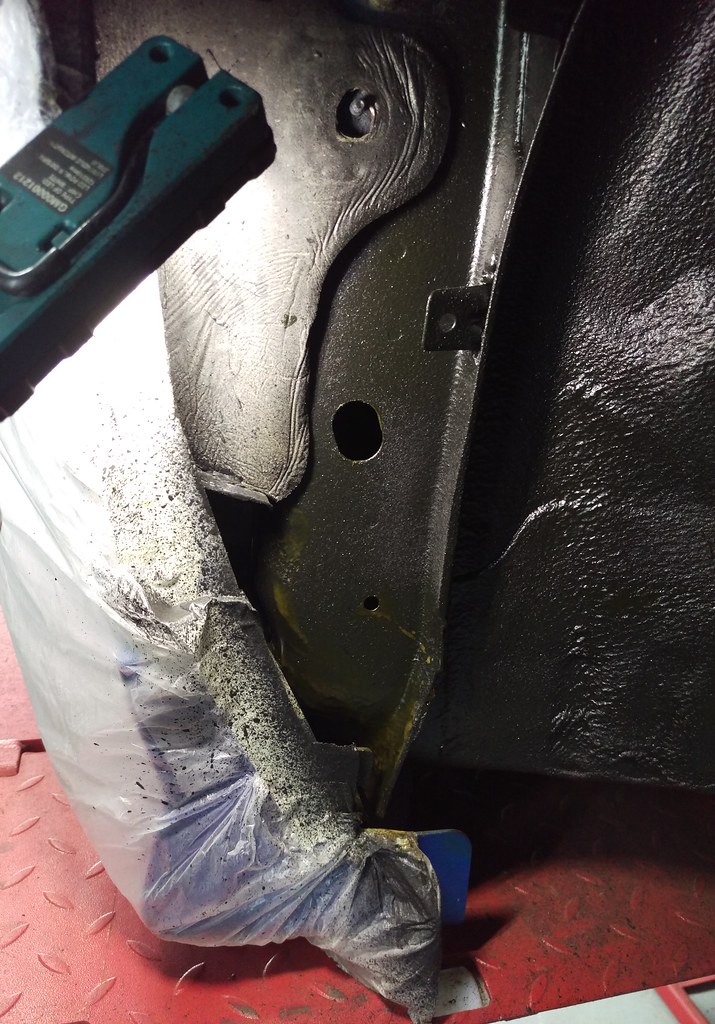
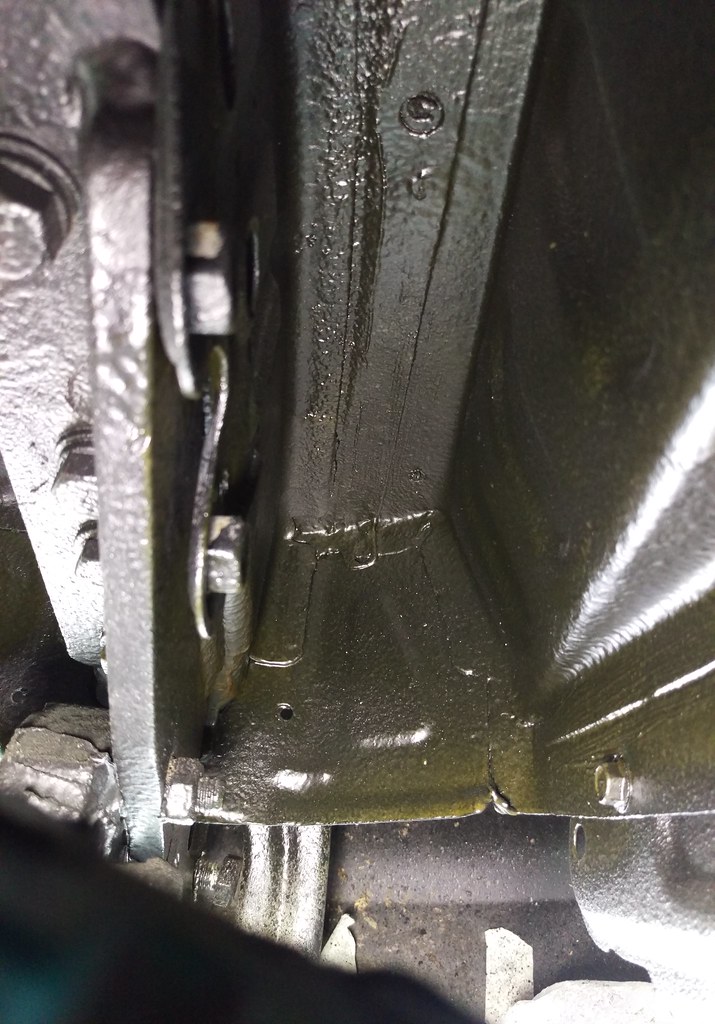
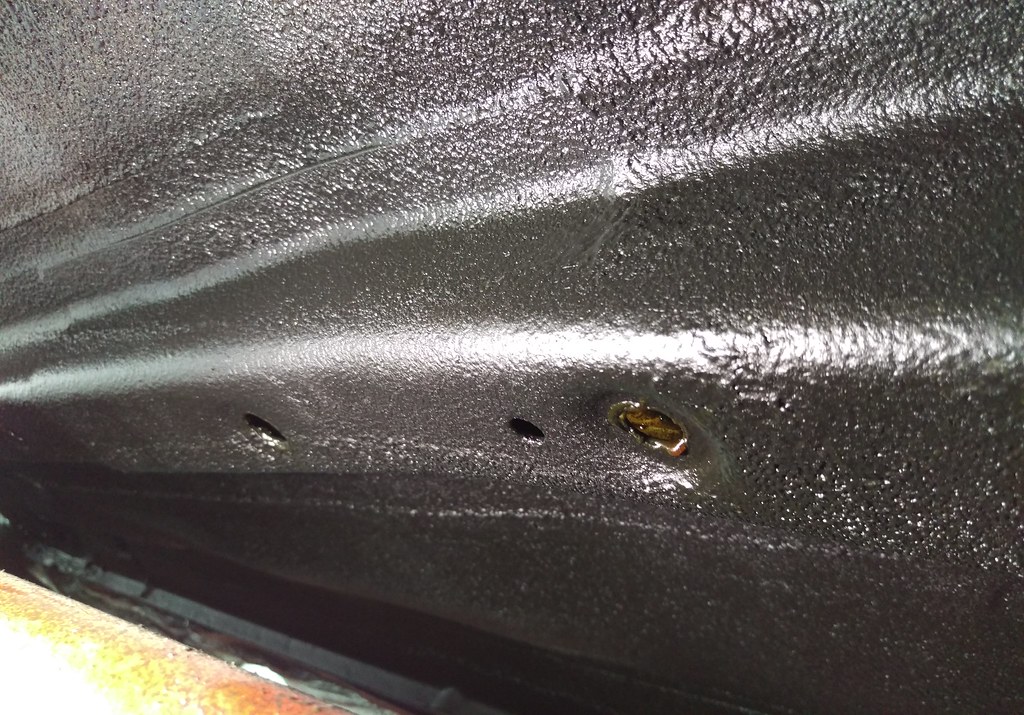
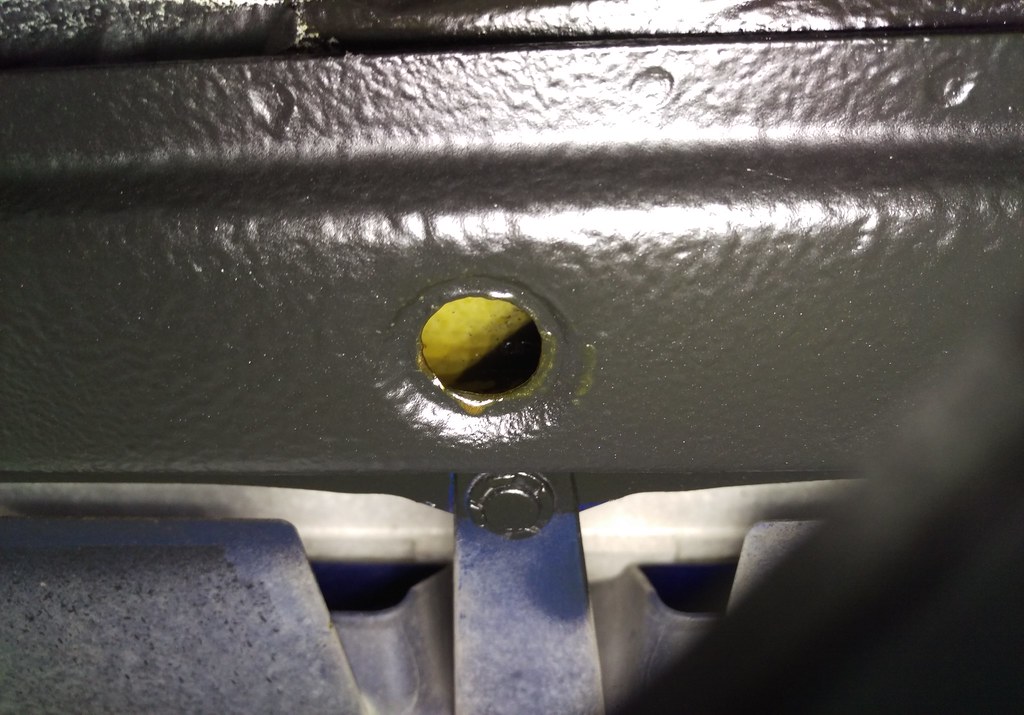
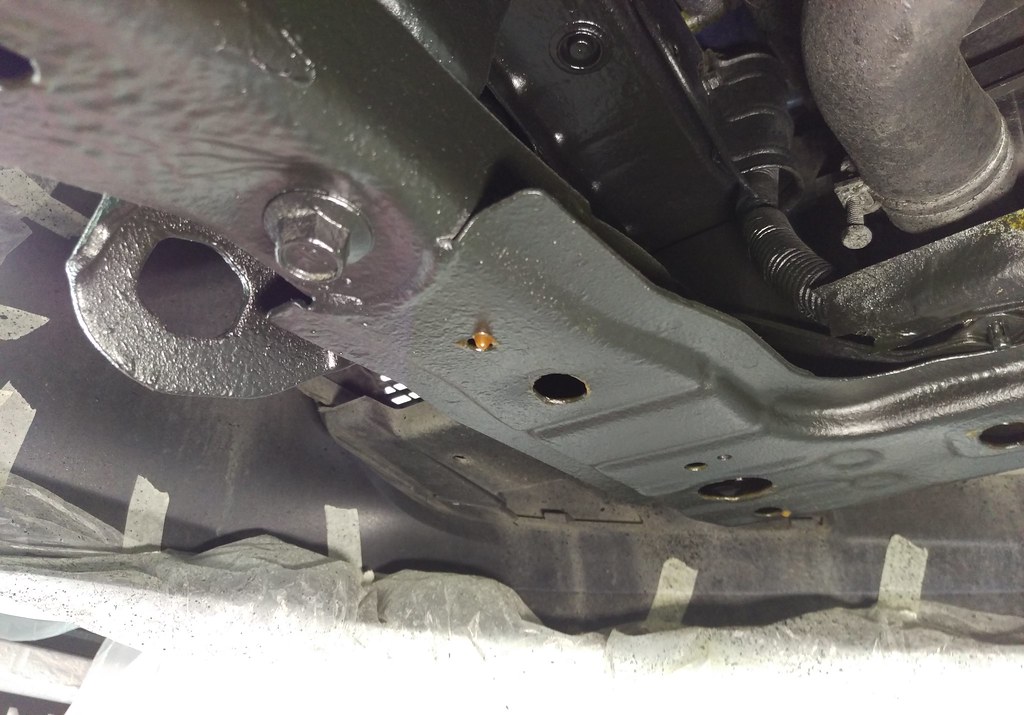
and here
and here etc etc. Basically everywhere!
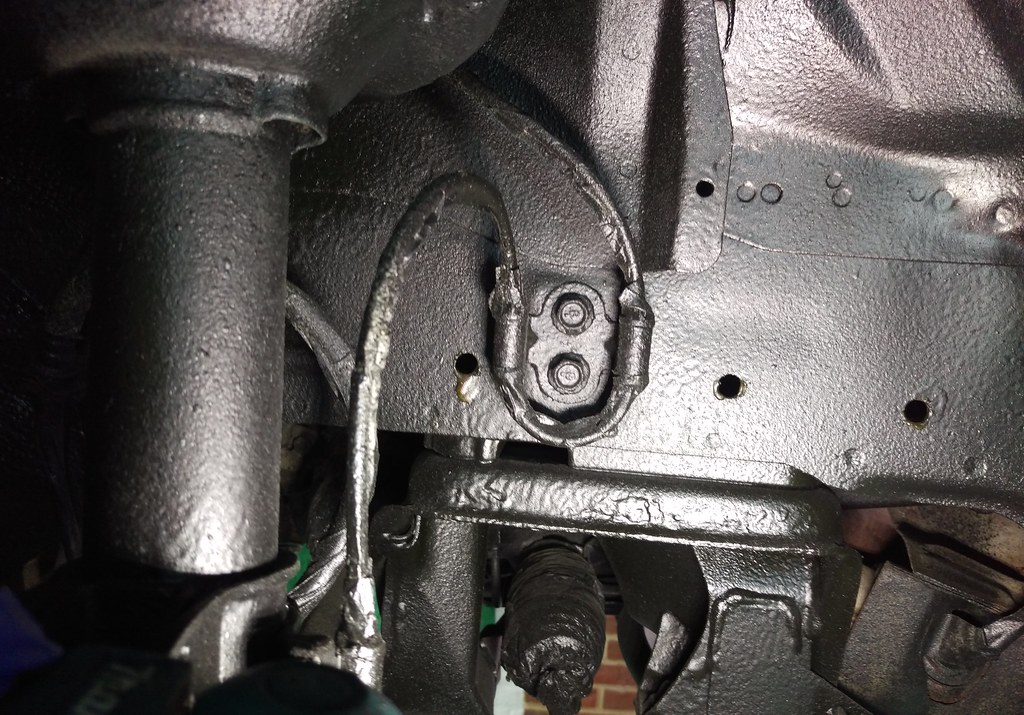
After filling all the cavities I moved onto giving the whole underside a light coat with the fan sprayer.
The idea of this is pretty much the same as waxing the shiny bits of a car. This light, clear layer will repel water and dirt will not stick so easily to it so it will clean more easily. Using a clear layer means there can be nothing hiding behind it too.


Well that’s the underneath of the Forester protected from harm by UK winter road conditions in the best way possible short of not driving it! As I can’t put every car I ever own into hibernation for the winter this is the next best option for my daily drive and I’m pretty confident rust will not become a problem for this car.
So the last job I have to do is put it all back together while sorting one or two things along the way.