
When the Lotus designers decided to build the Elise using extruded aluminium they really ran with the idea and used it for more than just the chassis. The suspension uprights or hub carriers are one such example as extruded aluminium hub carriers was and still is out of the ordinary. My guess is that nowadays, with the advances in machining, producing an aluminium hub carrier would be just as easy, no more expensive and stronger if machined from billet aluminium. Lotus eventually ditched the extruded aluminium design and moved to a standard steel design.
As I have an early S1 Elise though, I have four 20 year old extruded aluminium uprights to deal with. This is another reason why I was quite keen to find a relatively low mileage S1 that hadn’t spent too much time out in the rain or being used on winter roads. The hub carriers weren’t anodised from the factory either so had no protection from the elements.
So before I could get any ideas about what I might do with the hub carriers to help prevent corrosion in the future I had to give them a thorough clean and inspection to see how they’d fared over the last 20 years.
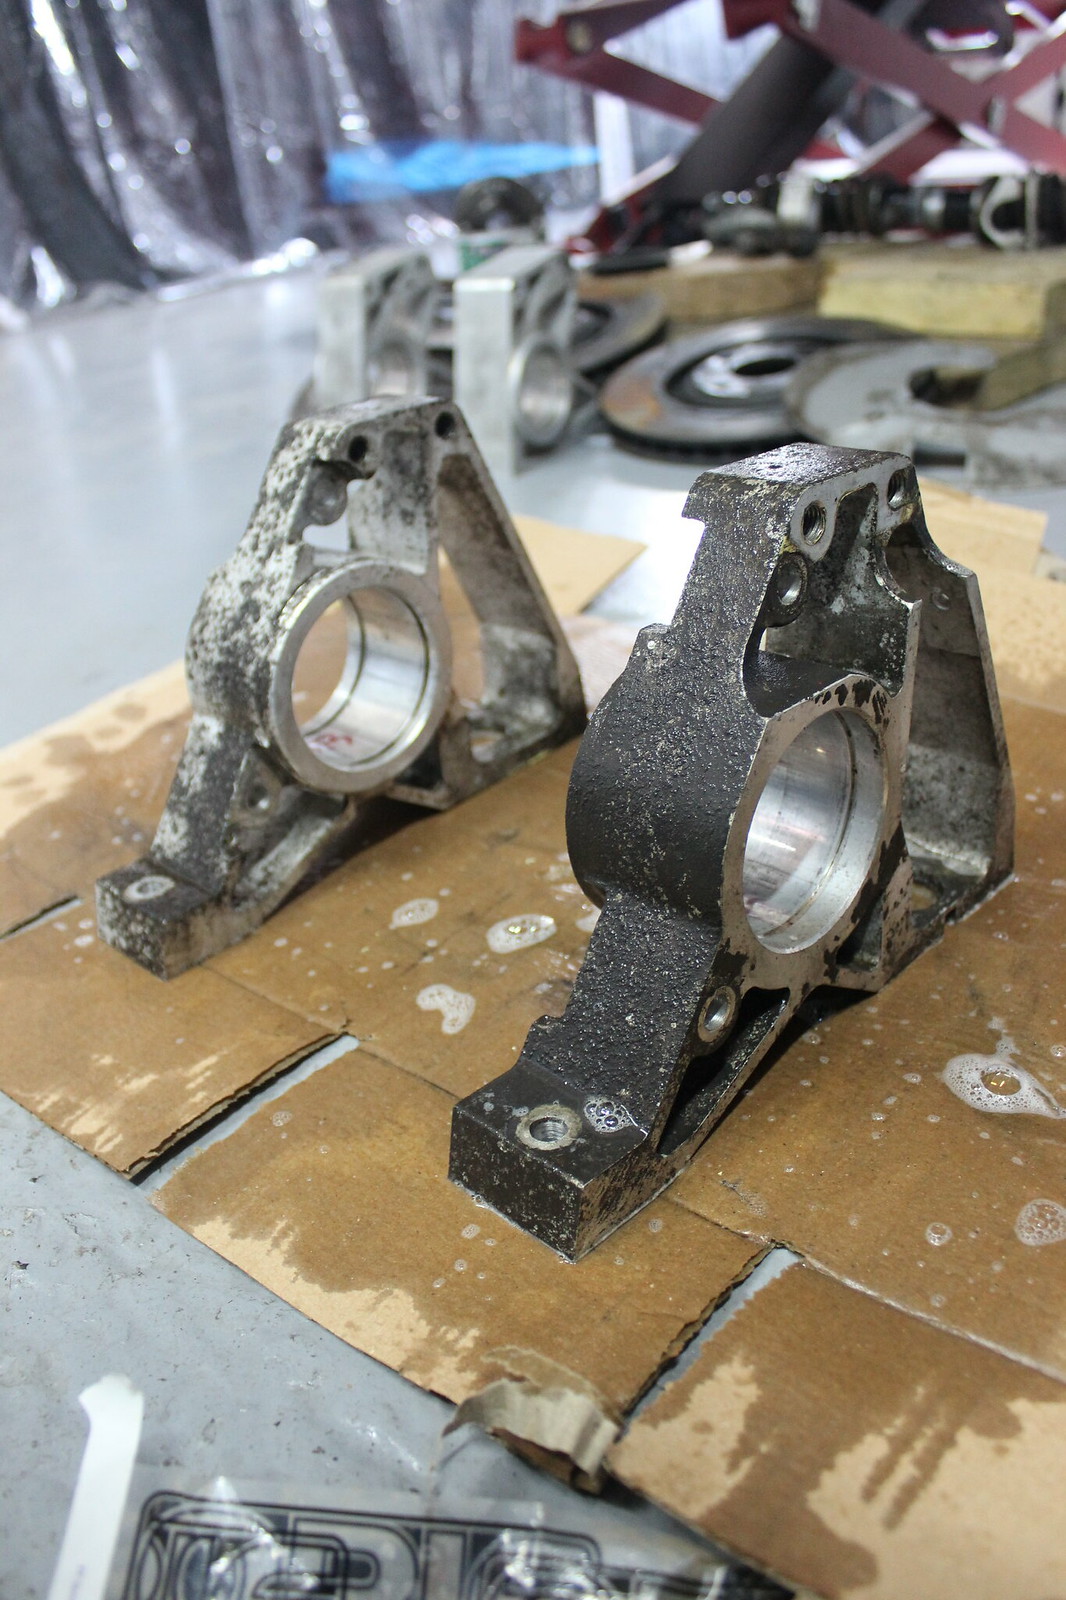
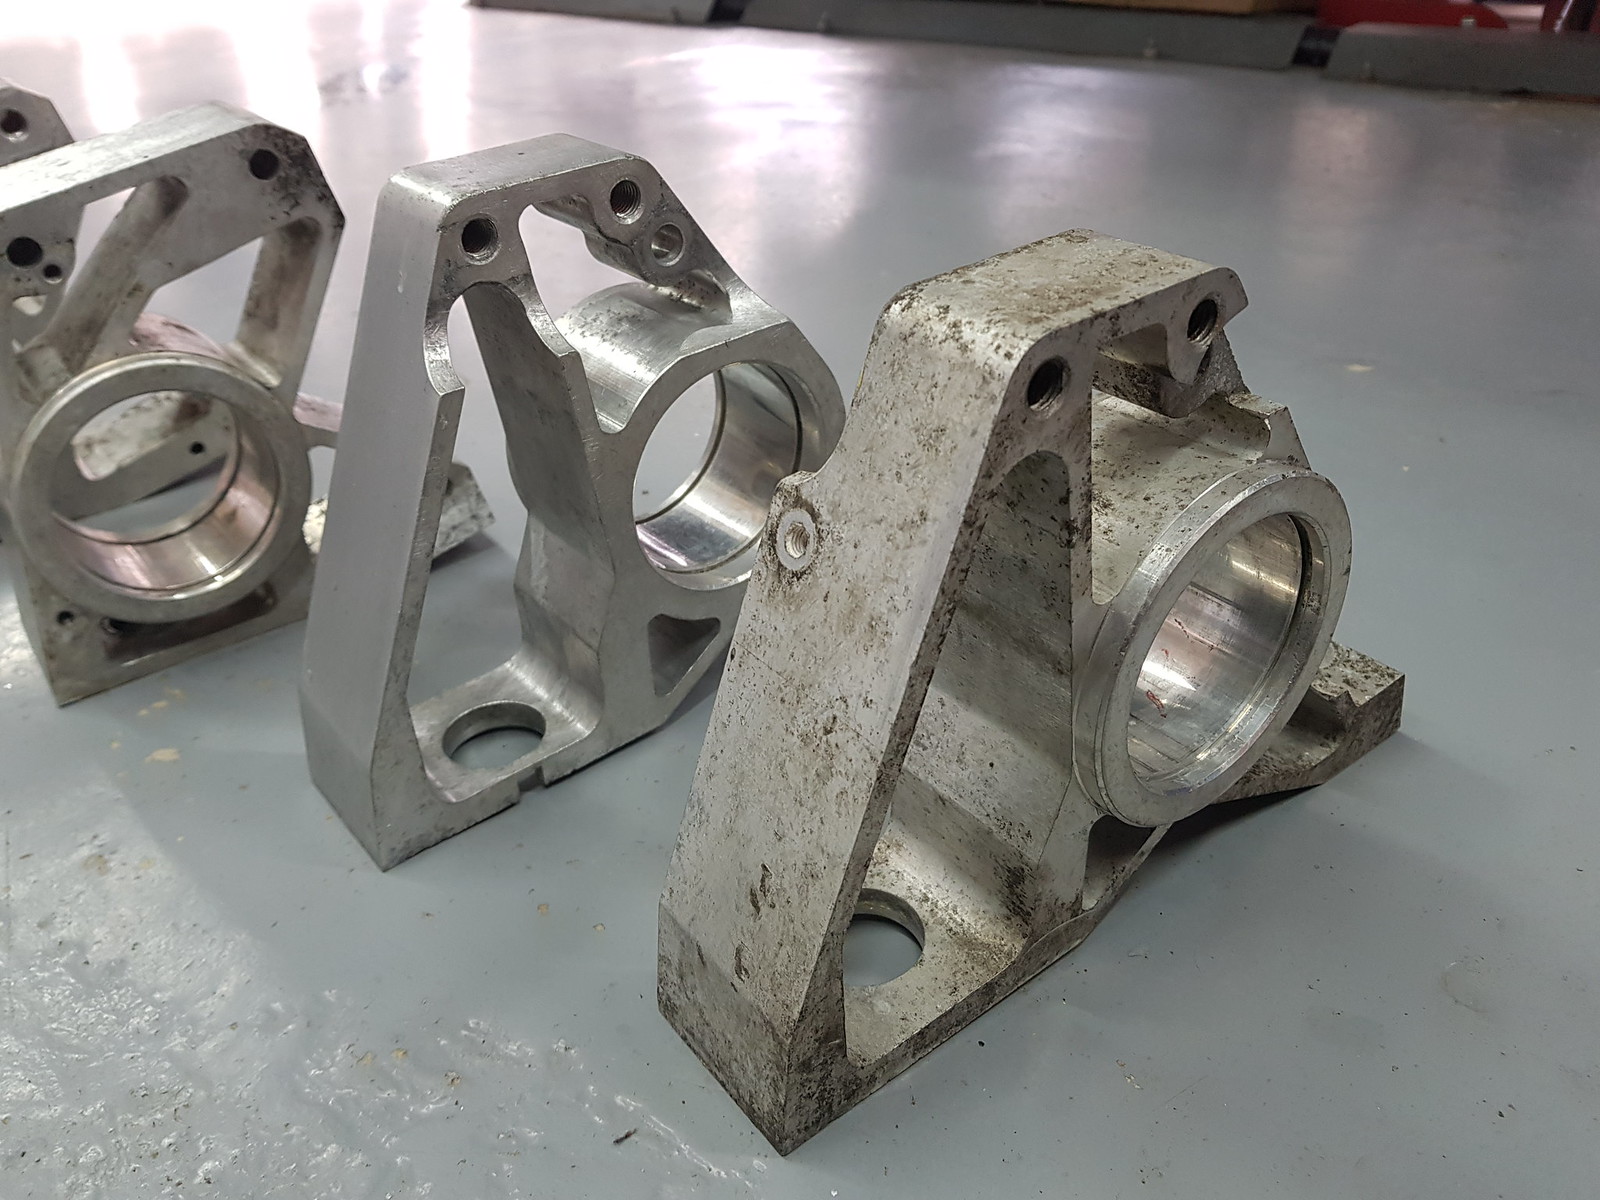
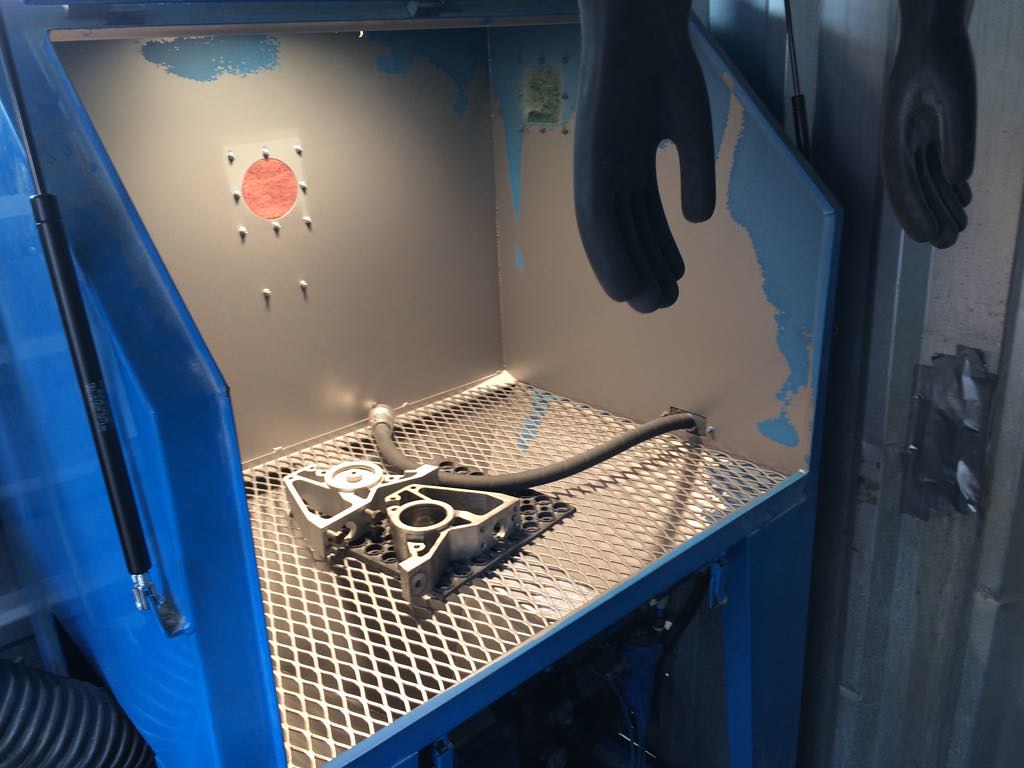
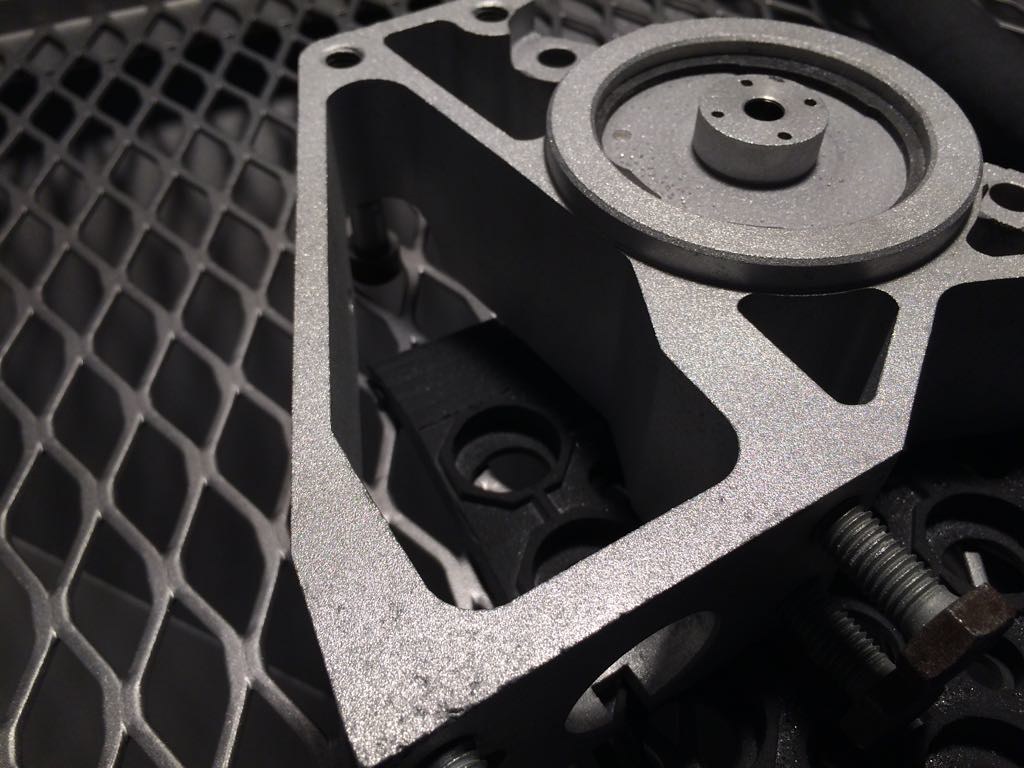
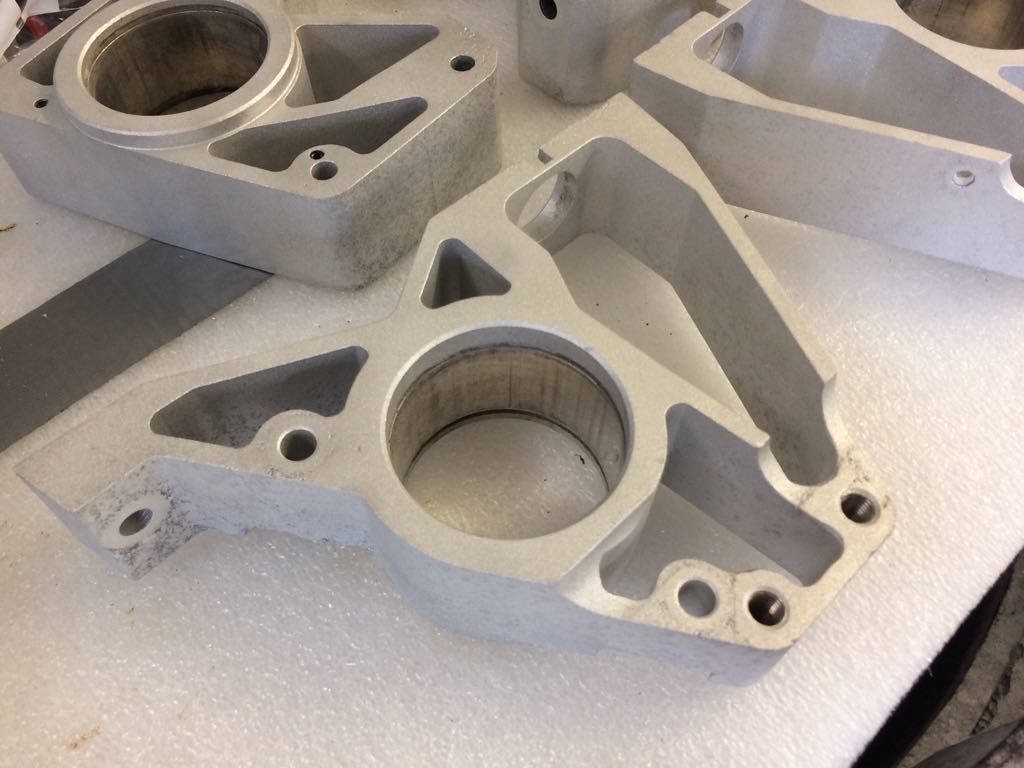
These are the rear hub carriers. Some degreaser and warm water already used for an initial rinse of the one on the left. The one on the right has had some degreaser soaking for a few minutes.
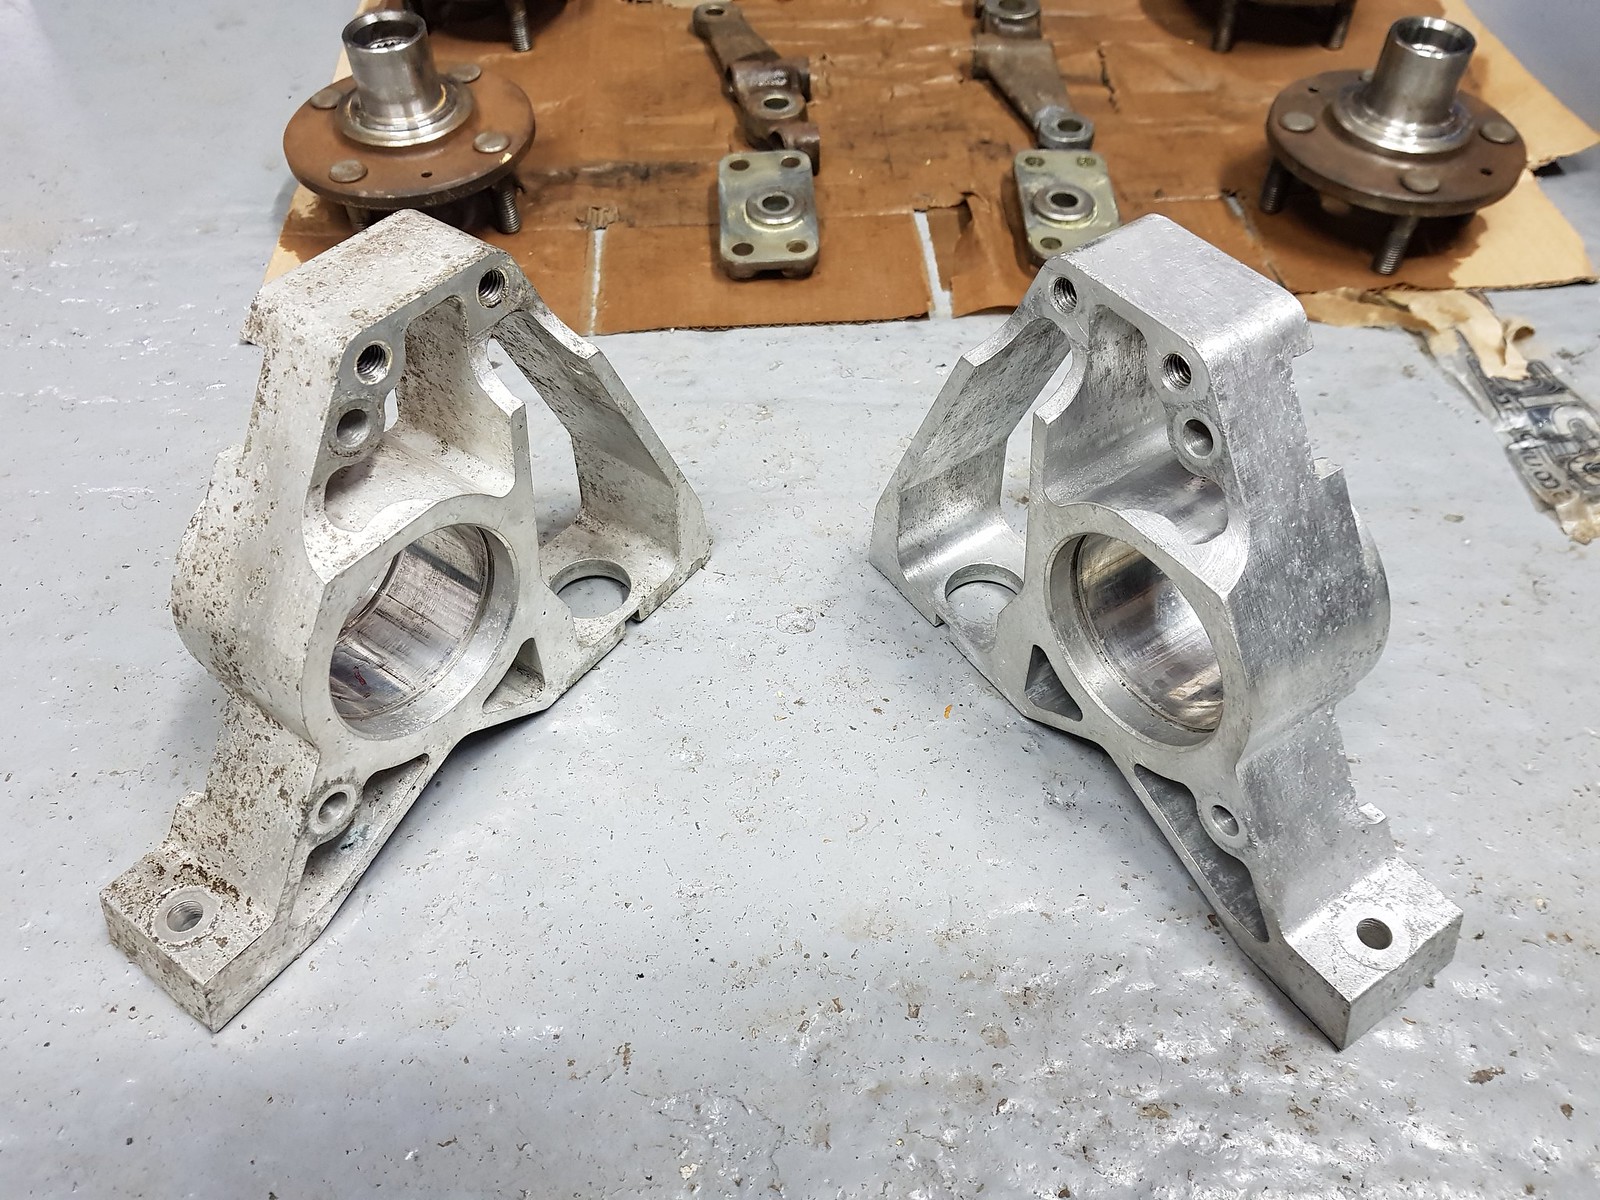
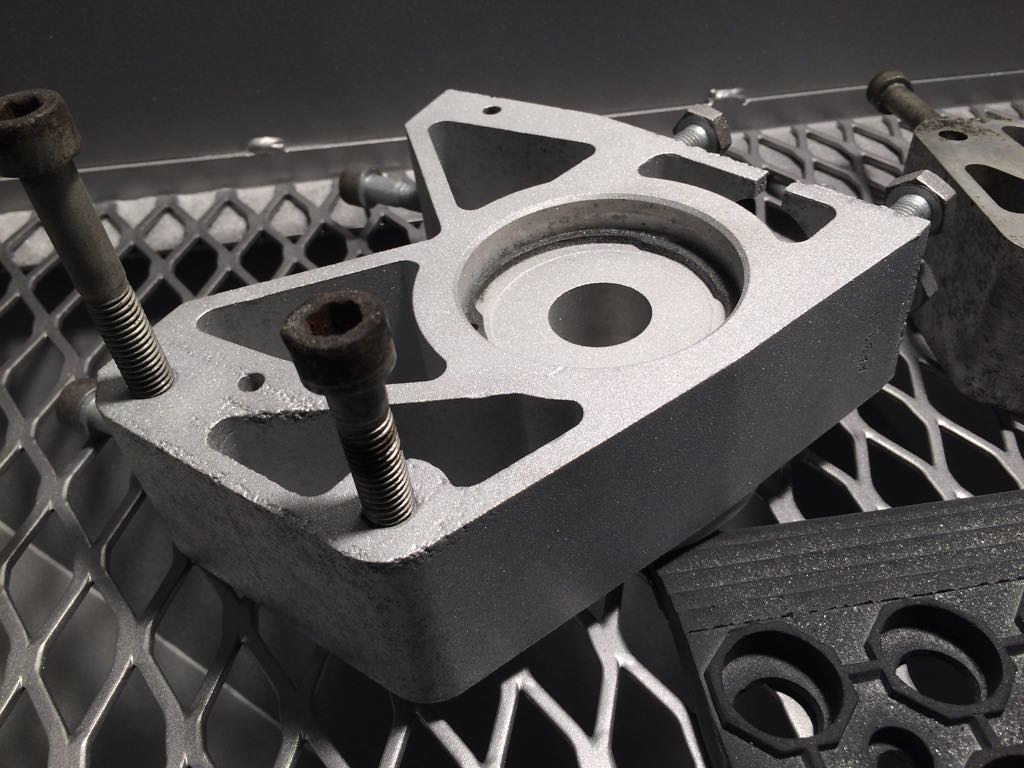
Both clean plus I had a quick go at using a soft wire wheel and polishing the one on the right to see how well it came up.
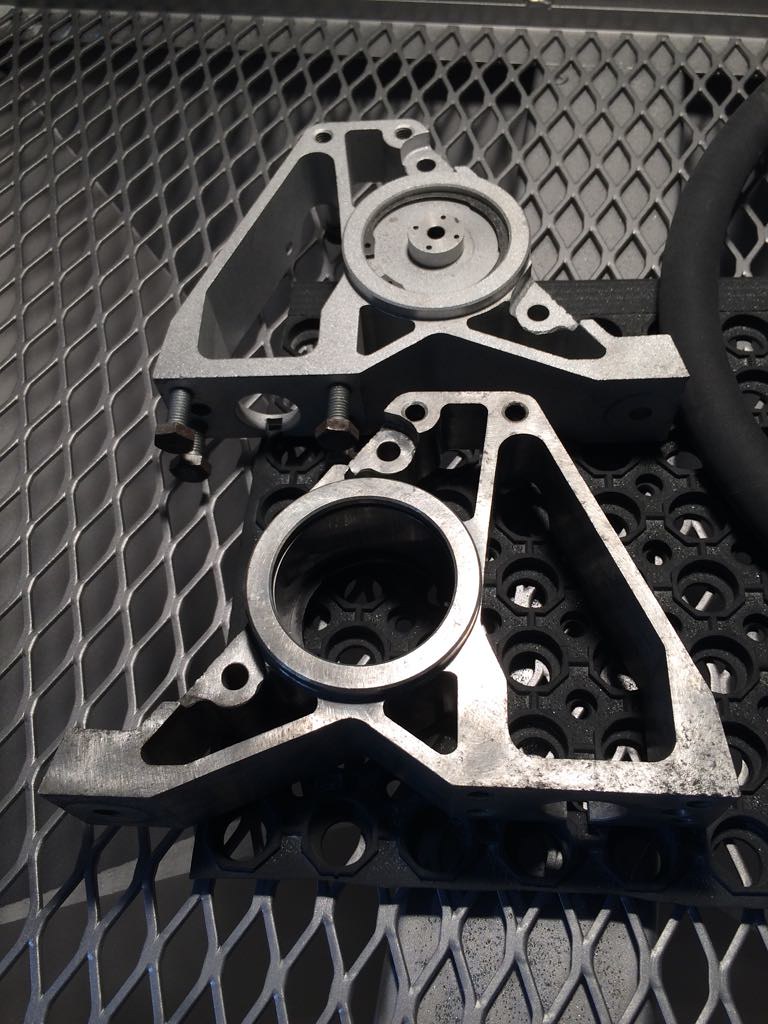
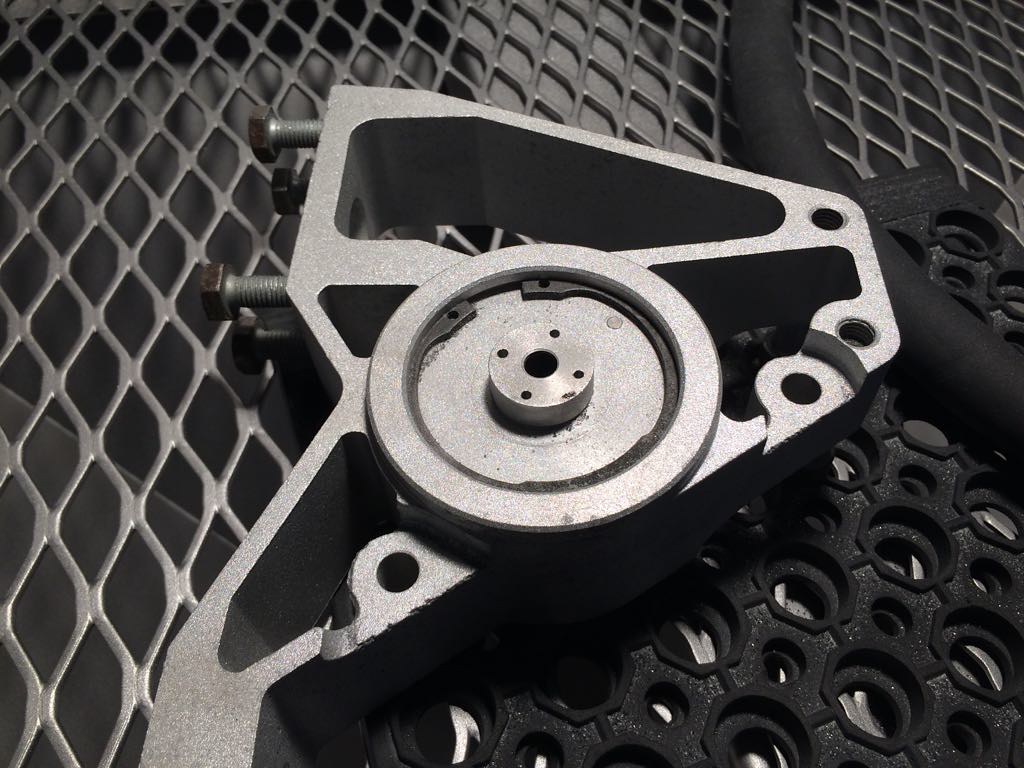
The fronts done too.
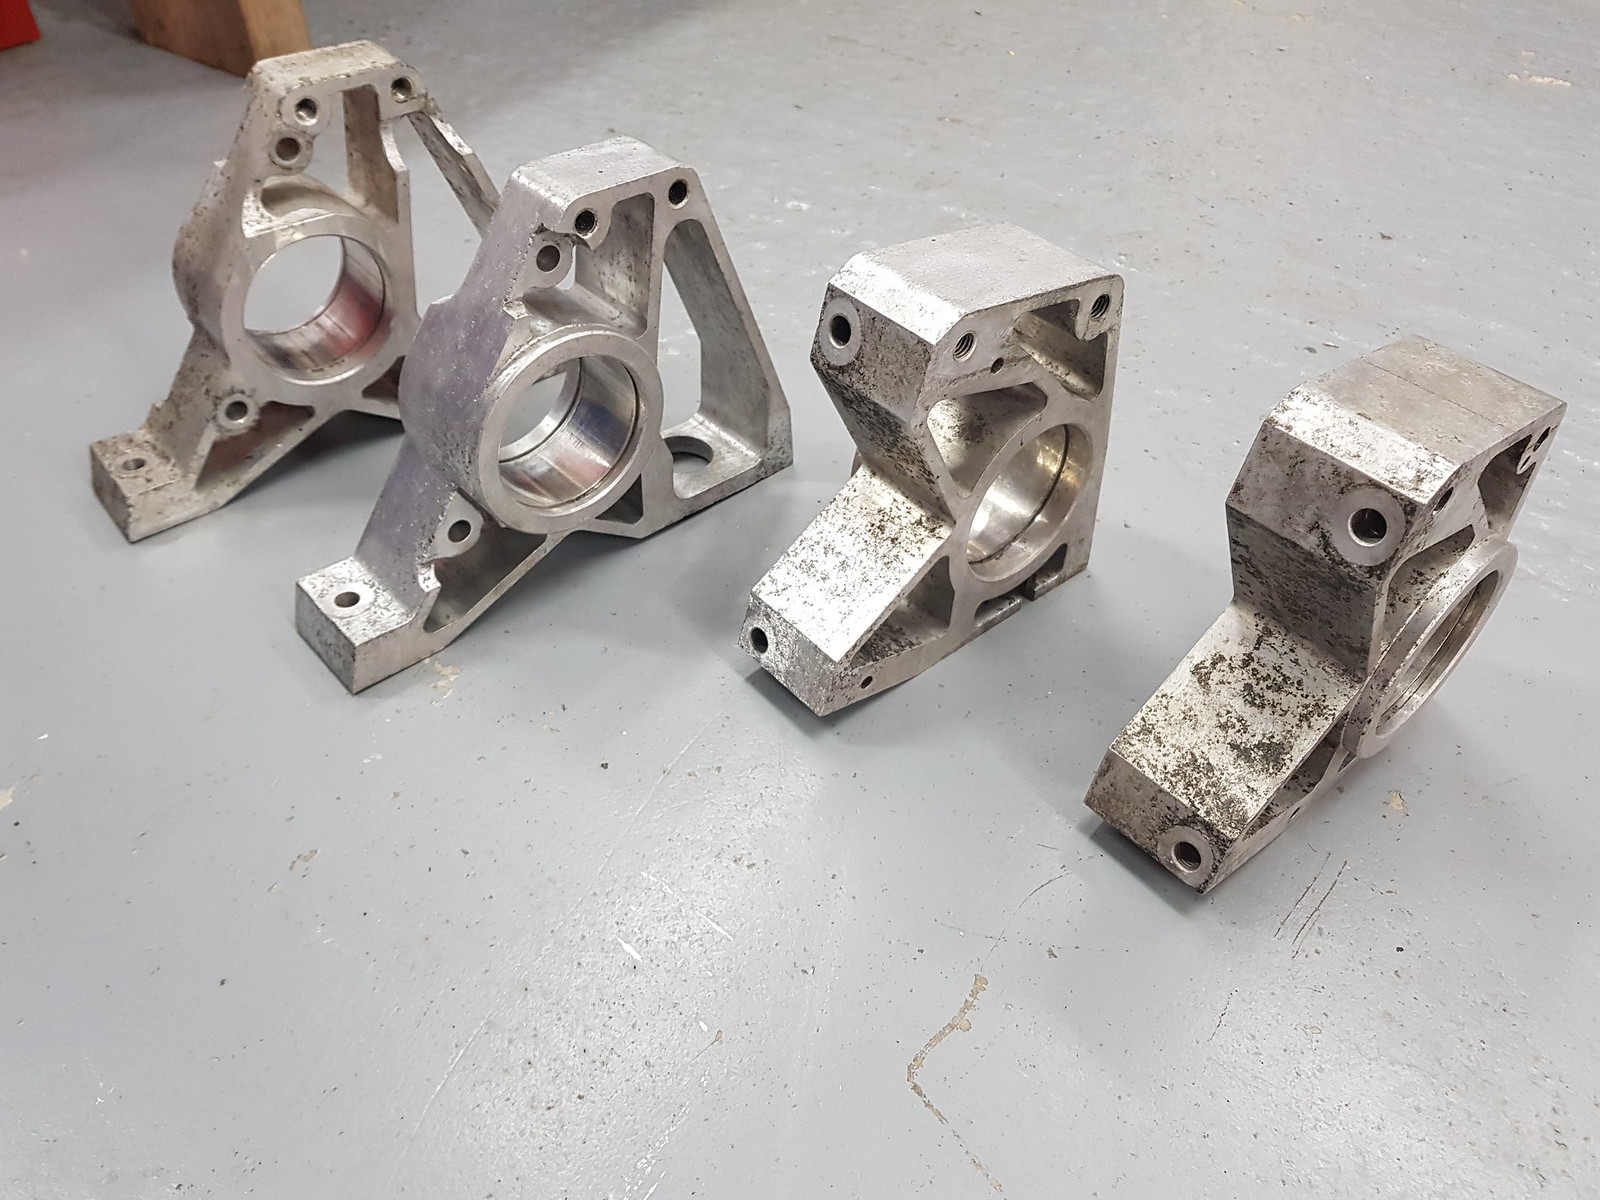
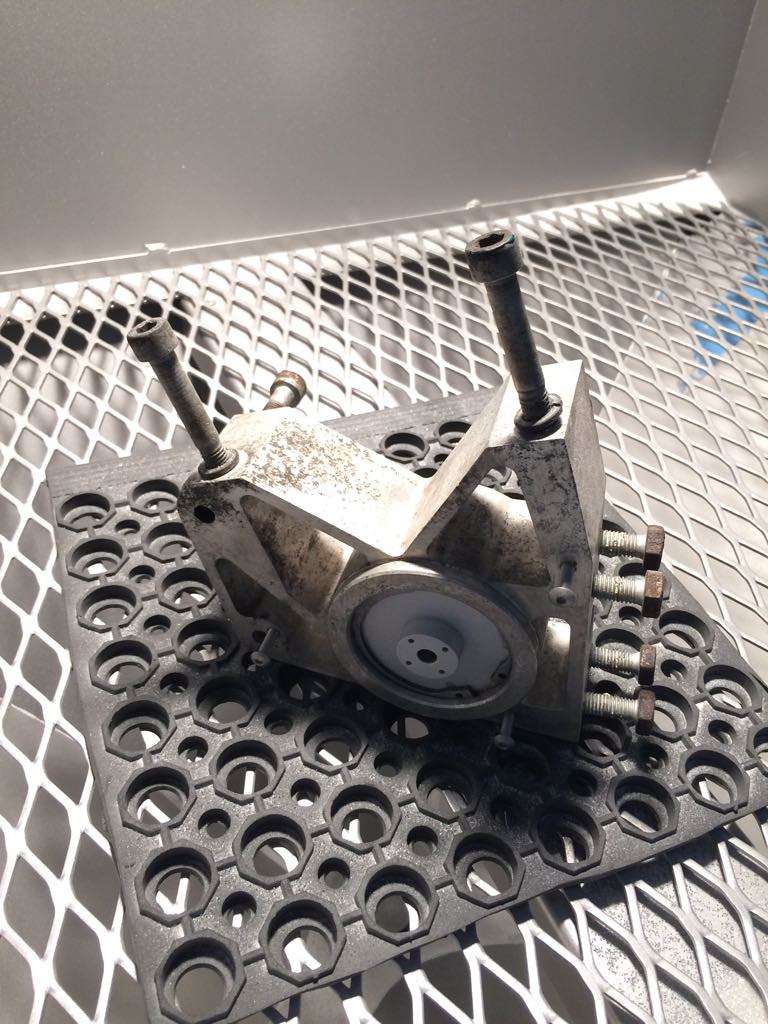
They were clean enough now to inspect them and make sure there was no major corrosion that might cause me to start searching for replacements. There was some pitting on some surfaces but nothing that had actually penetrated in a way that would cause any problems.
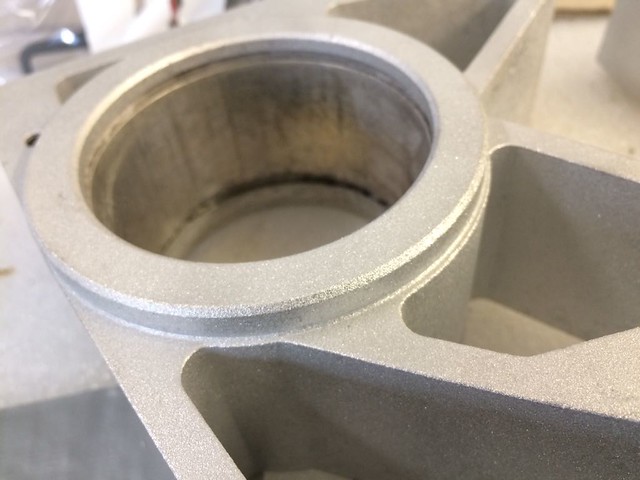
You can really see the difference on the one I spent some more time on. The problem was it really took quite a lot of time particularly working around all the awkward areas so doing them all was going to take forever. Usually that kind of thing wouldn’t bother me too much and I’d just get stuck in until they were all looking shiny but spring had arrived and I was getting impatient to actually drive the car! But I still had so much more to do and the better weather meant more clear skies so I was also working on average 20+ hours overtime a week.
So I called my mate Steve who I know is always having aluminium components made for work. I figured he could point me in the right direction for someone to contact about having them looked at, maybe cleaned properly so I could paint them or have them polished or whatever.
Well fortunately he was heading up to the engineering company that manufactures aluminium components for him and happens to have a bead blaster he could use, in a couple of days. The company that does anodising for him is also just around the corner from them so he could come pick up the hub carriers on his way and see what they thought.
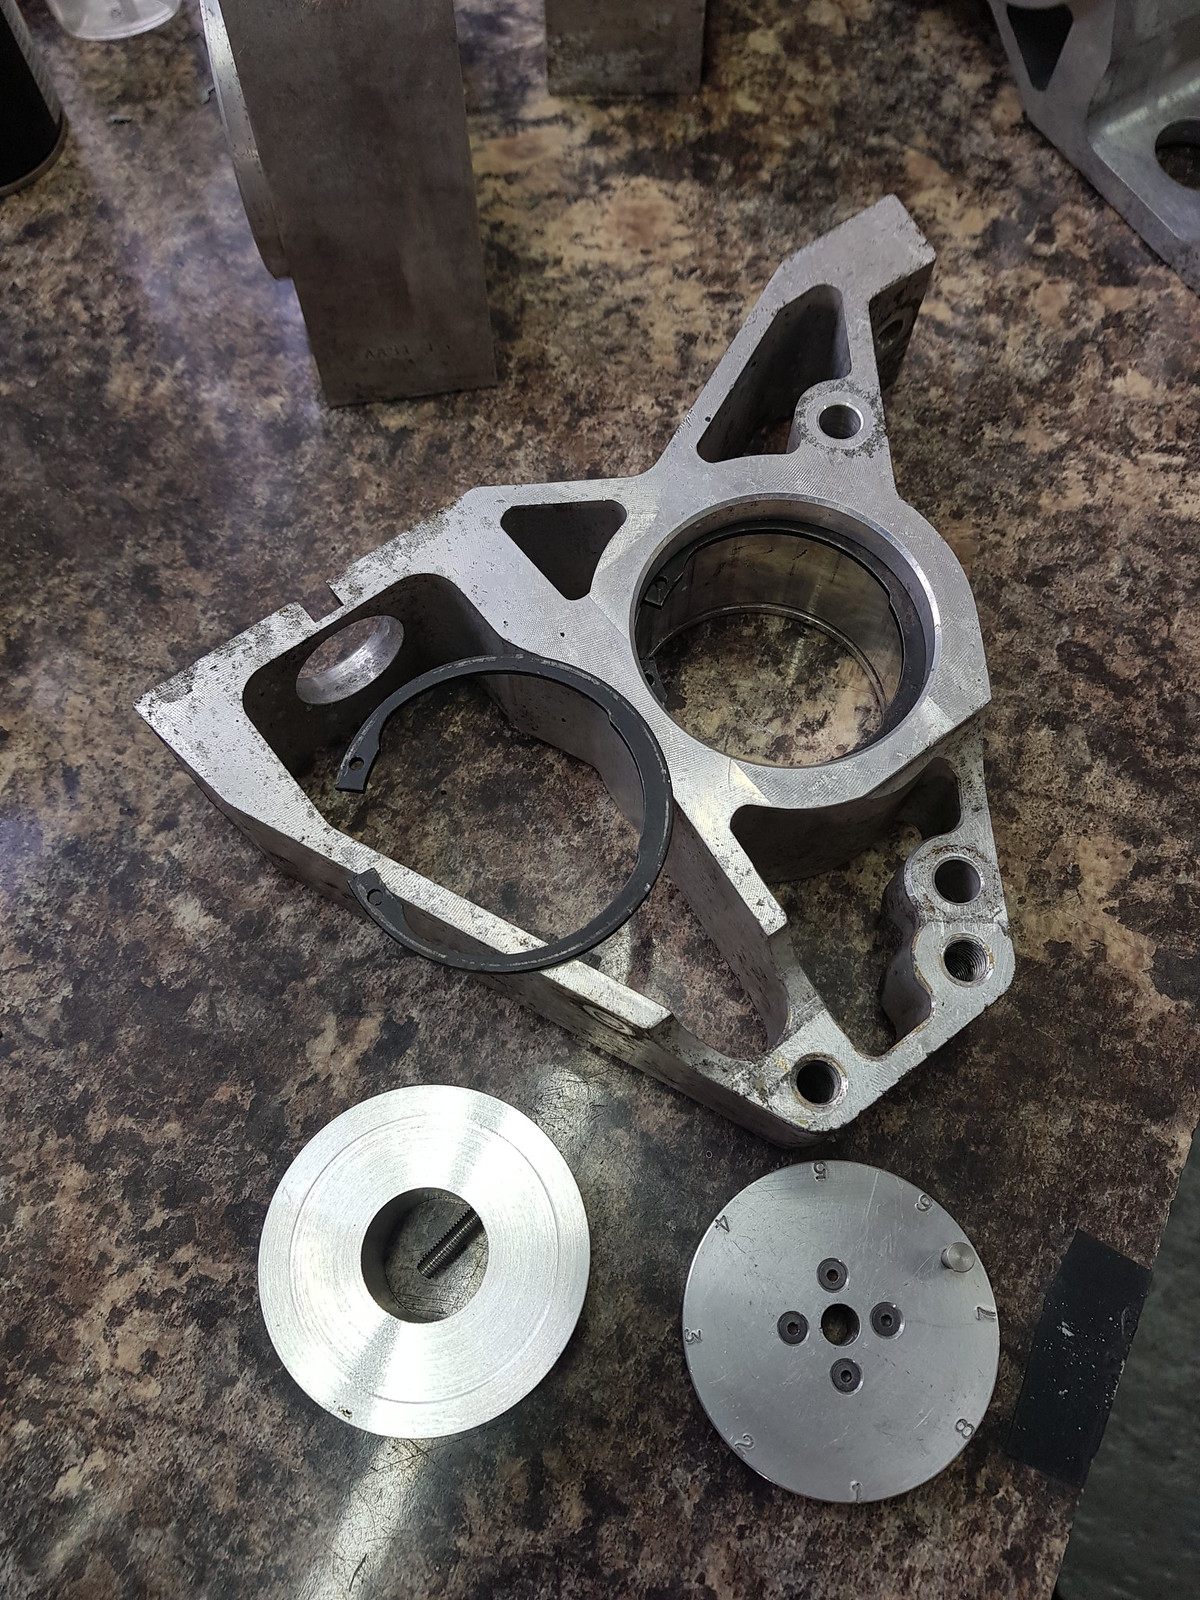
If we decided to go ahead with bead blasting them then the bores that the bearings press into would need to be protected as would the threads. So I found some scrap metal I could machine down to fit in place of the bearings, held in with the original circlips. I also gave Steve a handful of the old bolts so they could all be fitted during any bead blasting.
Steve had a chat with the guys and got back to me. We decided to go ahead and bead blast them then, all being good, he’d get them anodised.
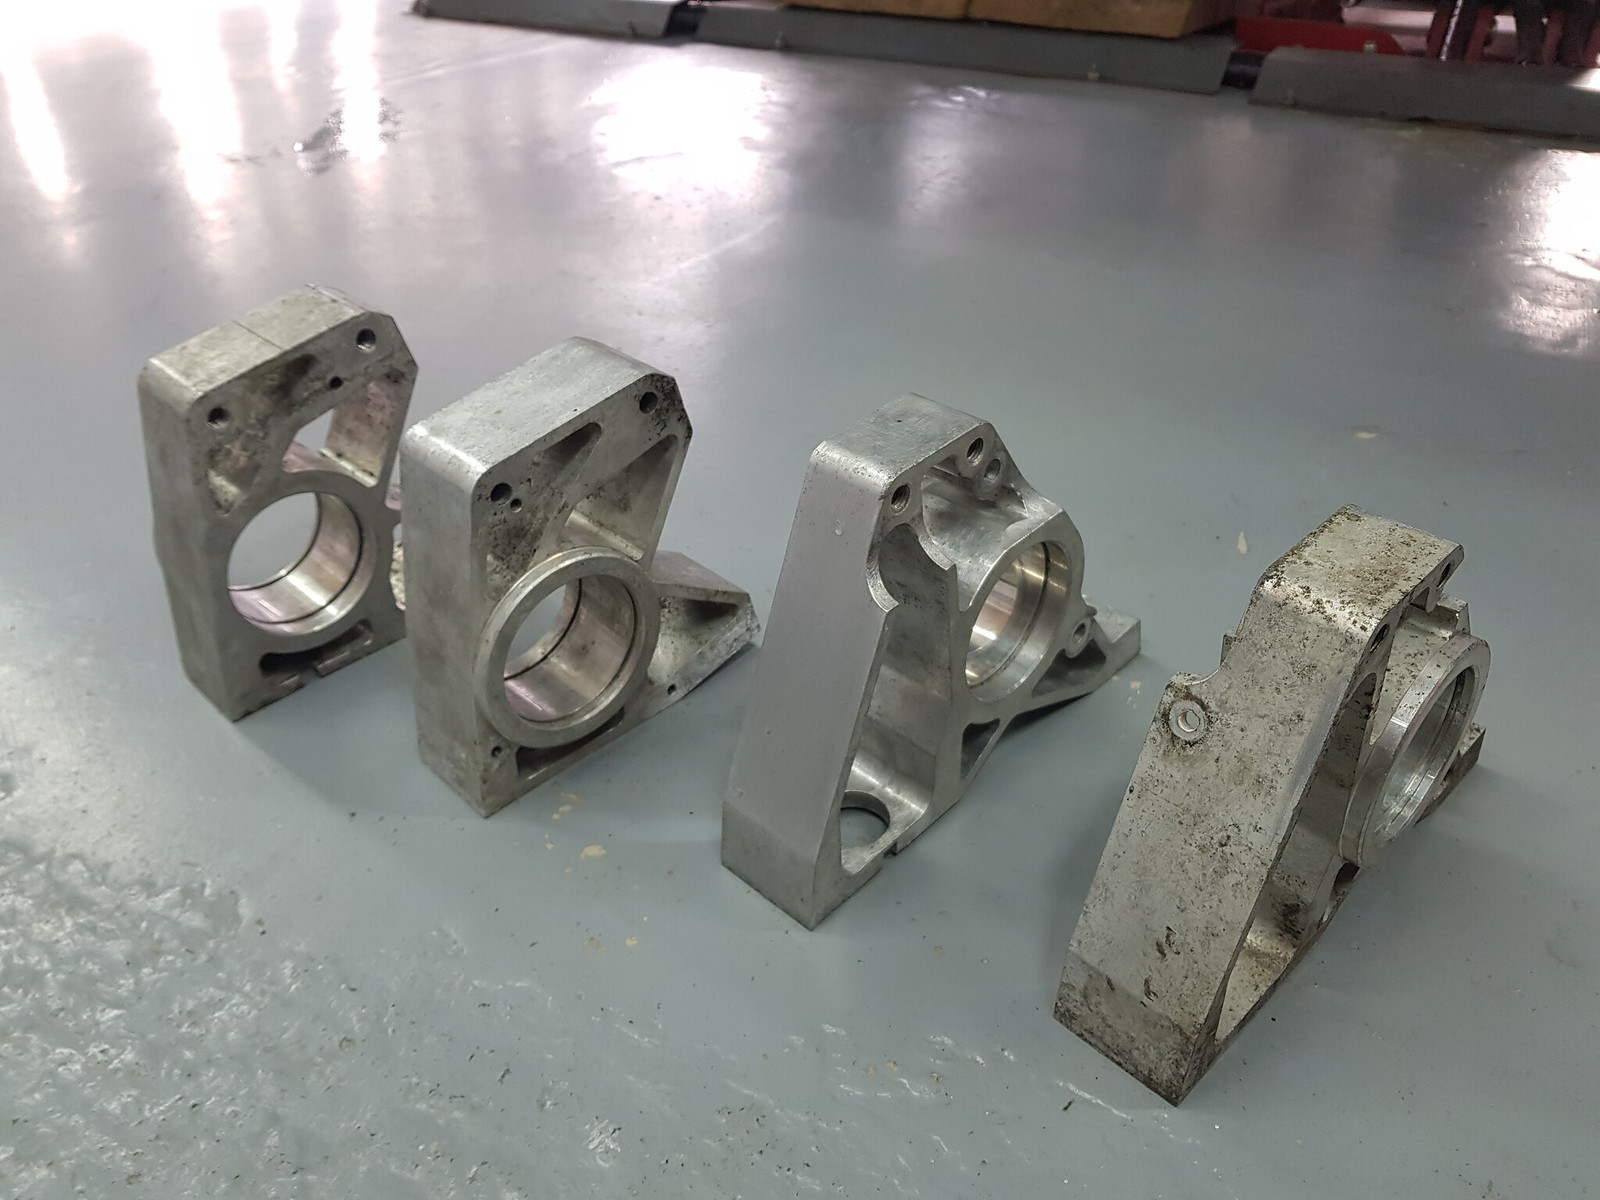
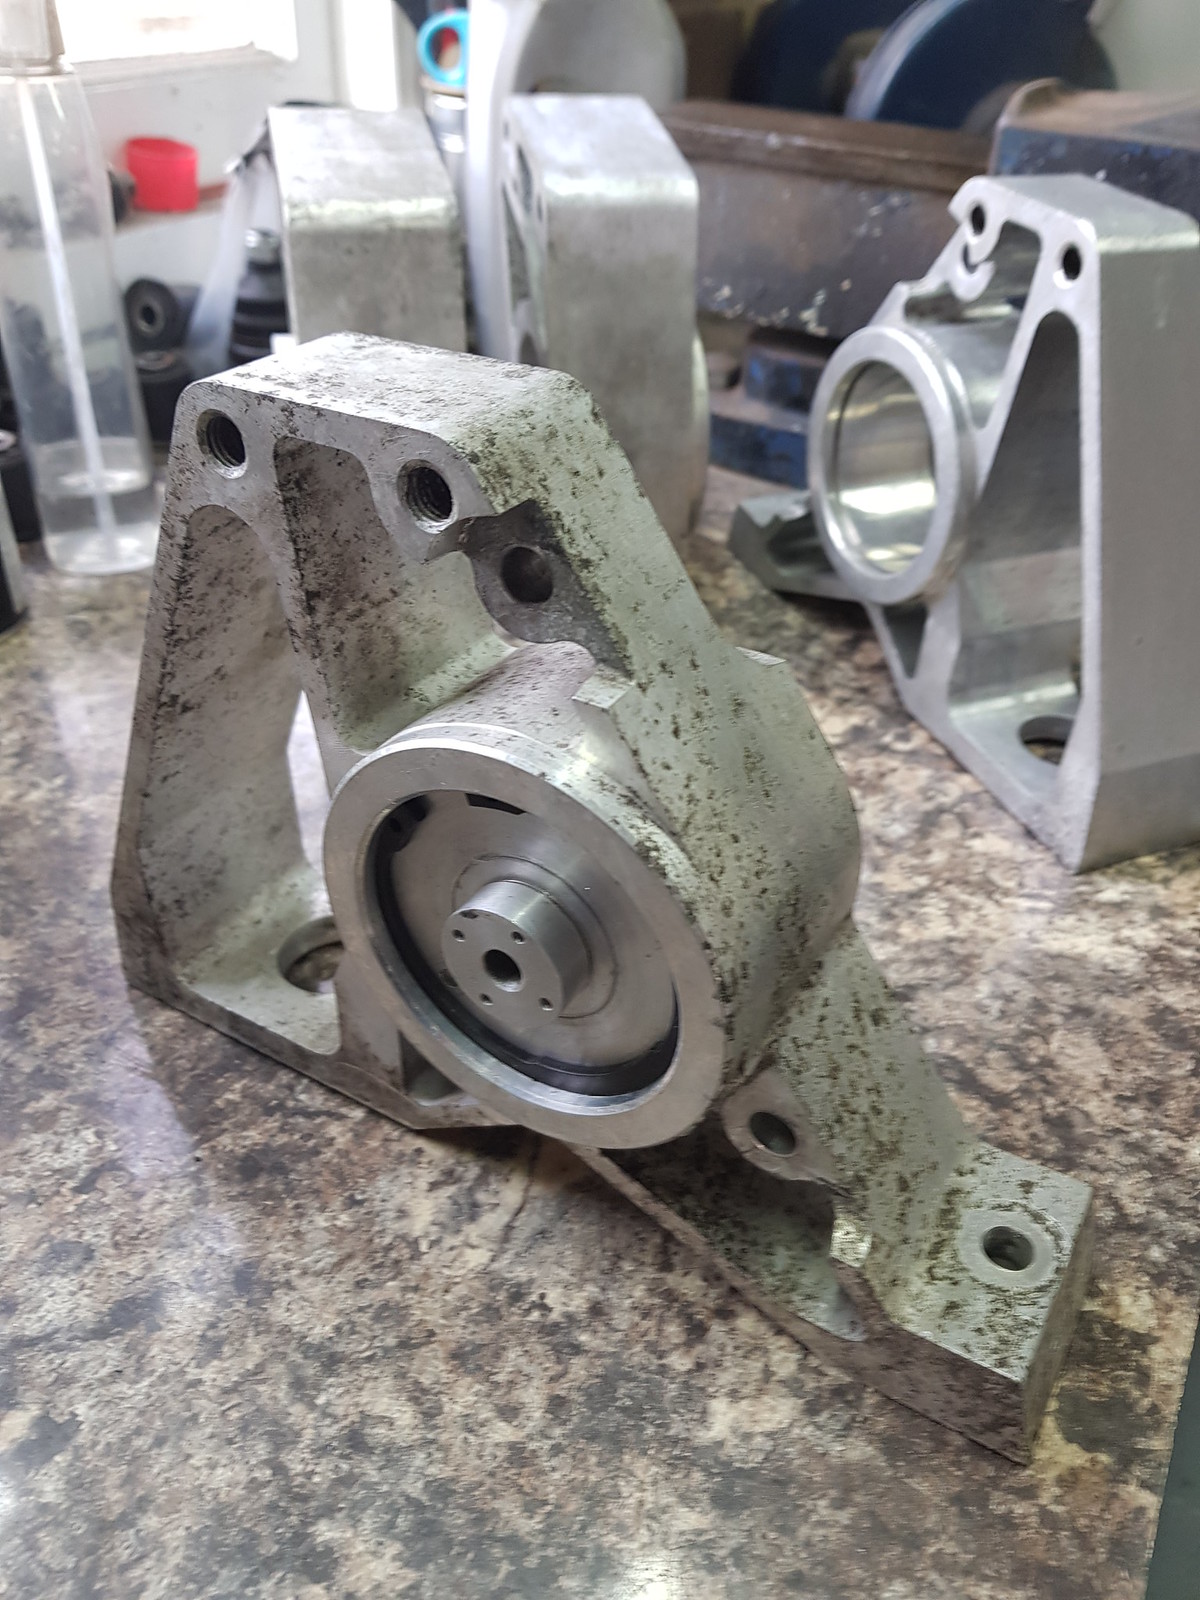
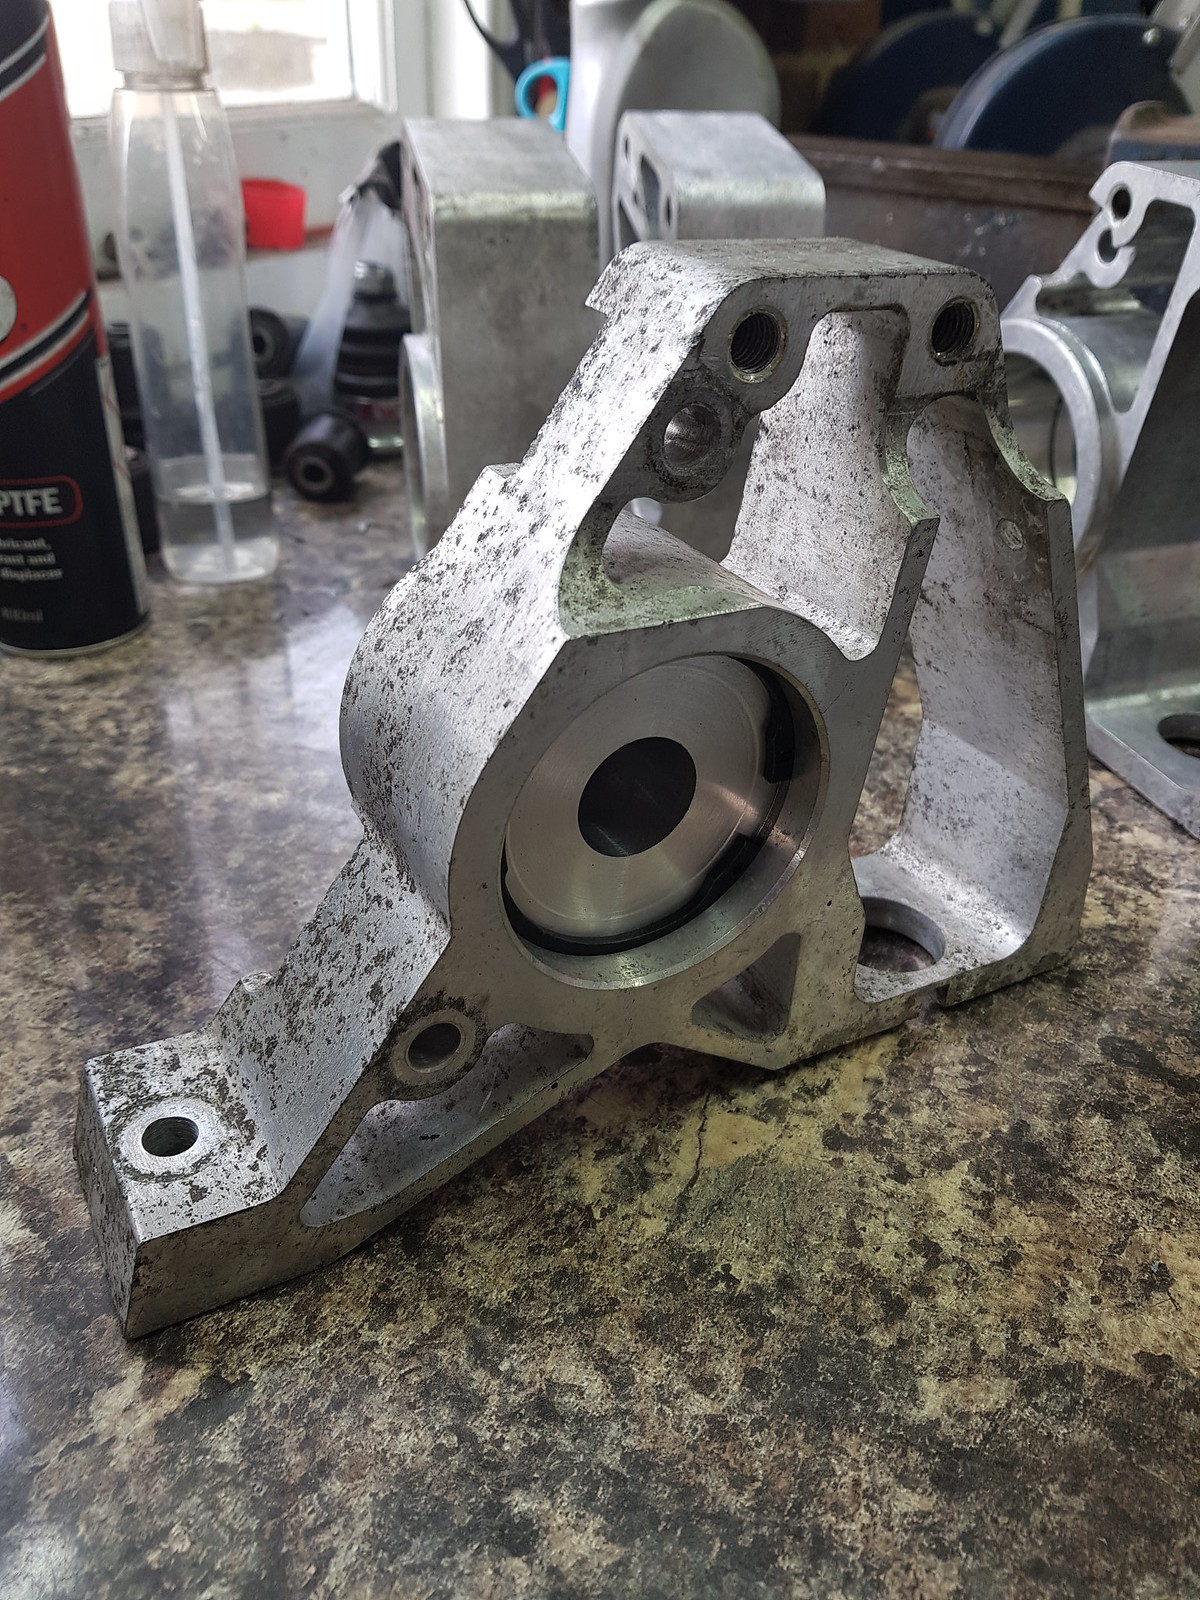
He sent me a few pictures while he was bead blasting them.
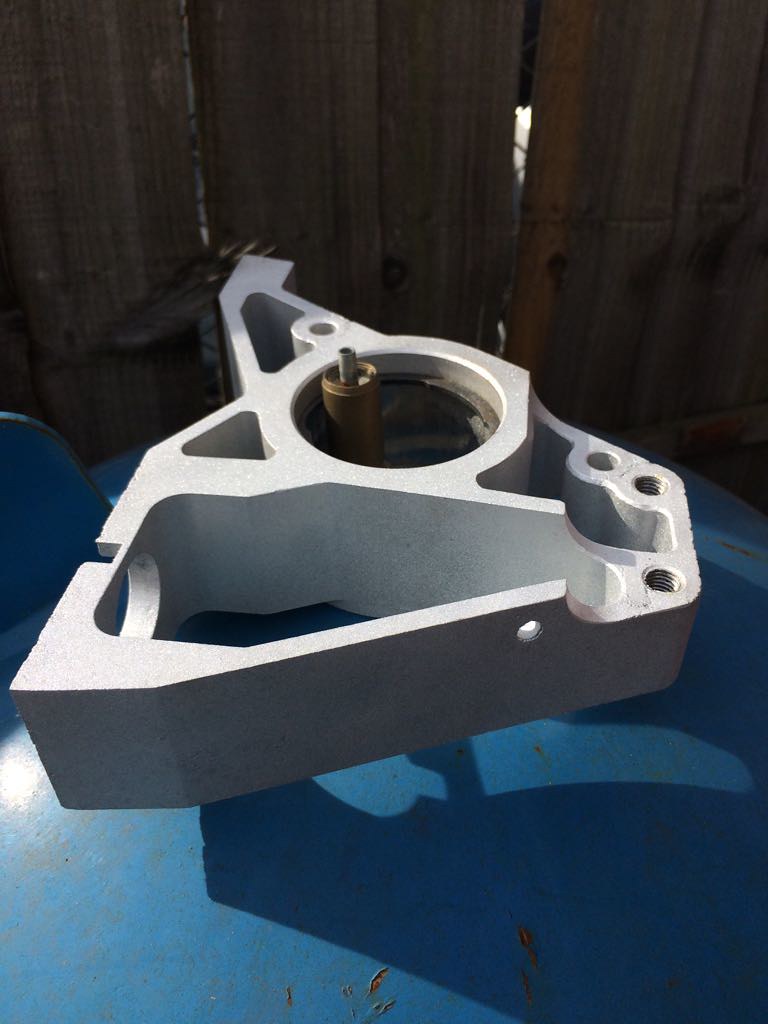
They cleaned up nicely and no more corrosion was uncovered. If there had been any particularly bad corrosion with any aluminium that had broken down into a powder then this should have exposed it. As it is there is still just pitting to some surfaces and corners.
The anodisers were happy to anodise them and I figured it would be good to have a protective layer to prevent any further corrosion so we went ahead and got them done. Steve had previously mentioned there would be a choice of colours and shown me some examples of parts he had with him. We discussed the options after the bead blasting, going for a colour risked the corrosion being slightly highlighted which probably wouldn’t be a problem with silver but I figured, given the chance, it’d be rude not pick a cool colour. I also intended to give them a few coats of clear lacquer however they turned out so that would help level out any uneven surfaces.
A week later he sent me some more pictures.
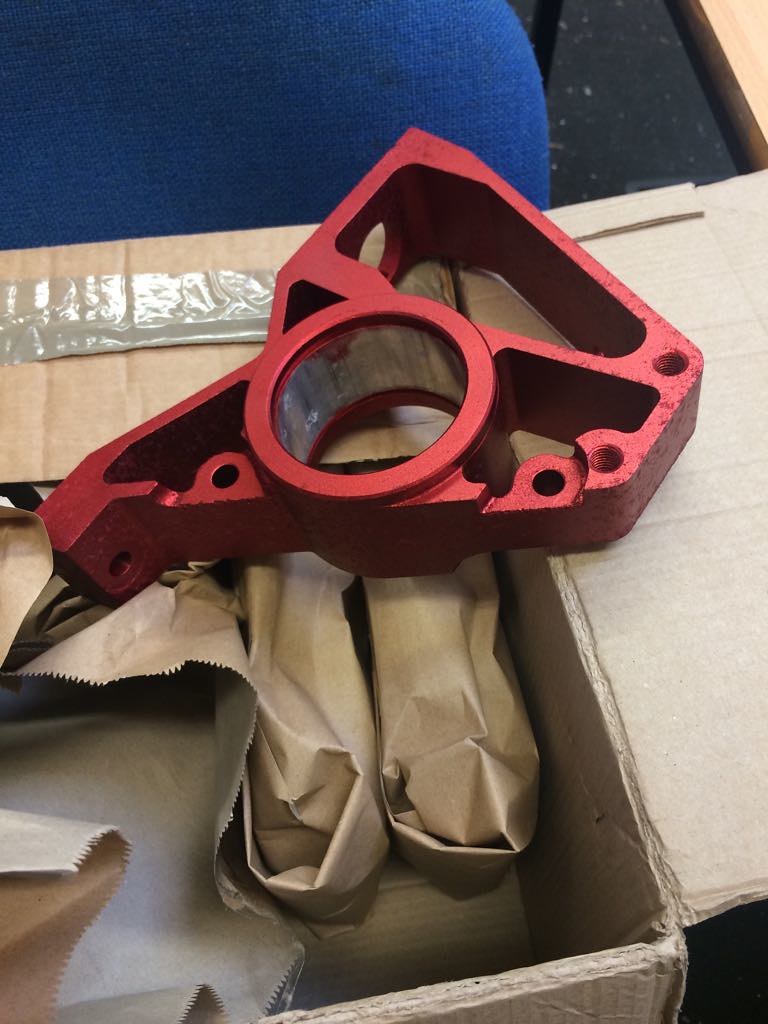
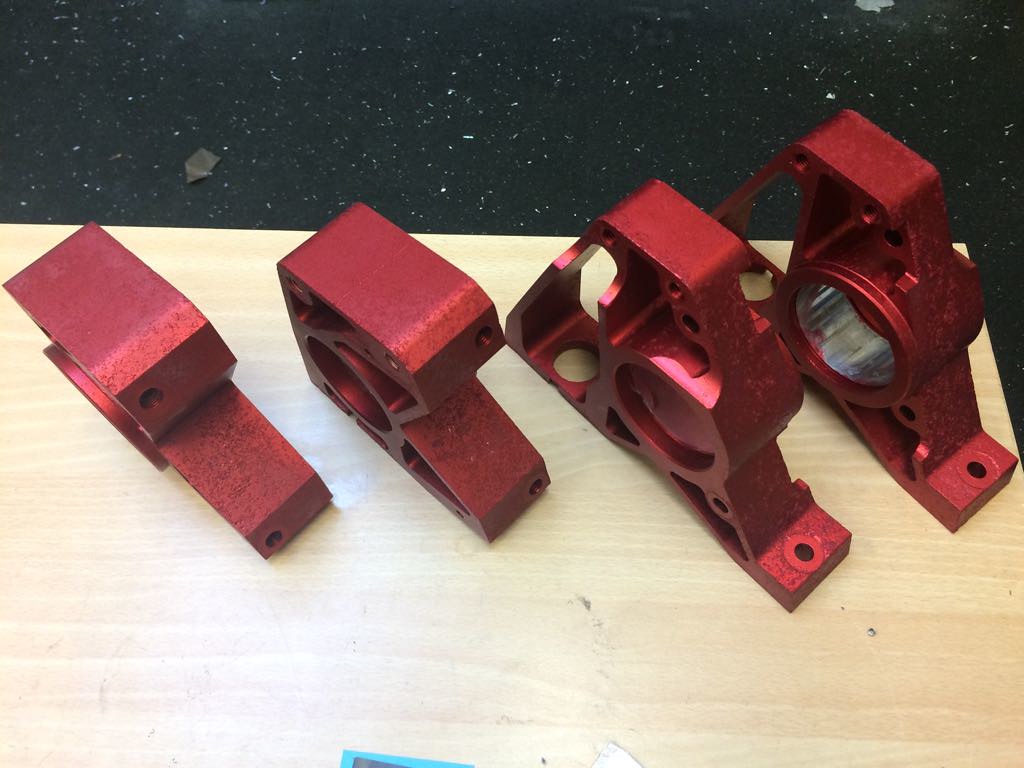
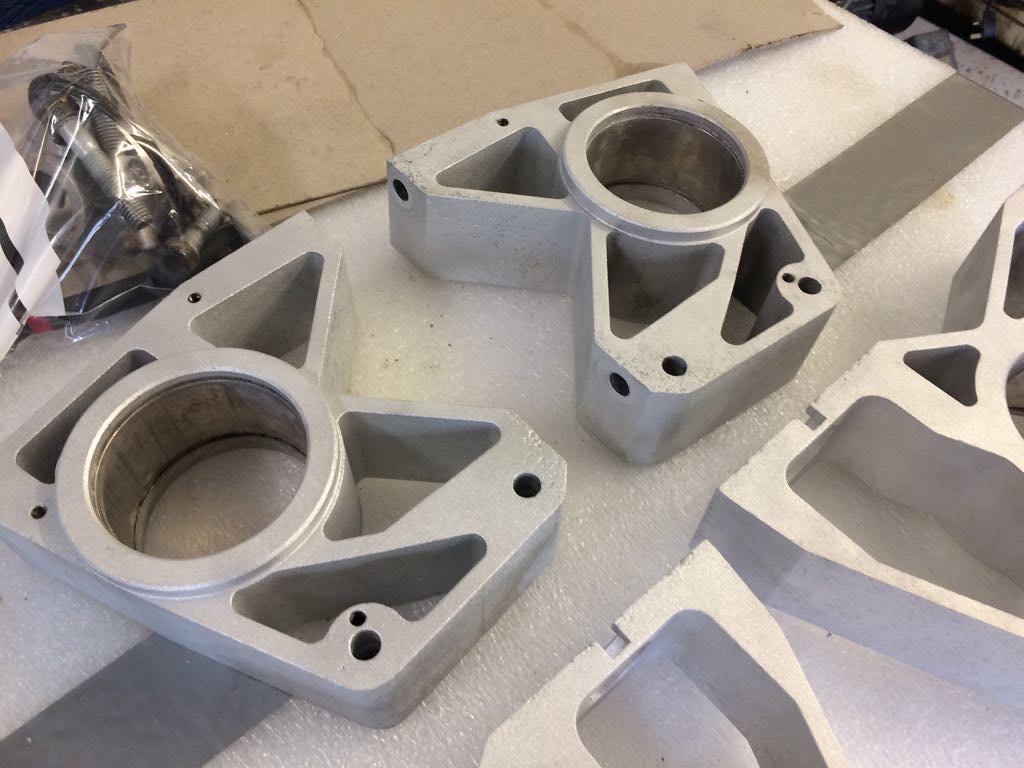
Yep, they’re red alright. It has highlighted the pitting a little but I think it will be much less noticeable with a few layers of clear lacquer over the top and obviously much less when they are all built up with the rest of the suspension then covered in ACF-50 and brake dust etc! The main thing is that they have a protective anodised layer on them now.
I just had to wait for Steve to deliver them back to me now, but I still had plenty of other jobs to be getting on with.