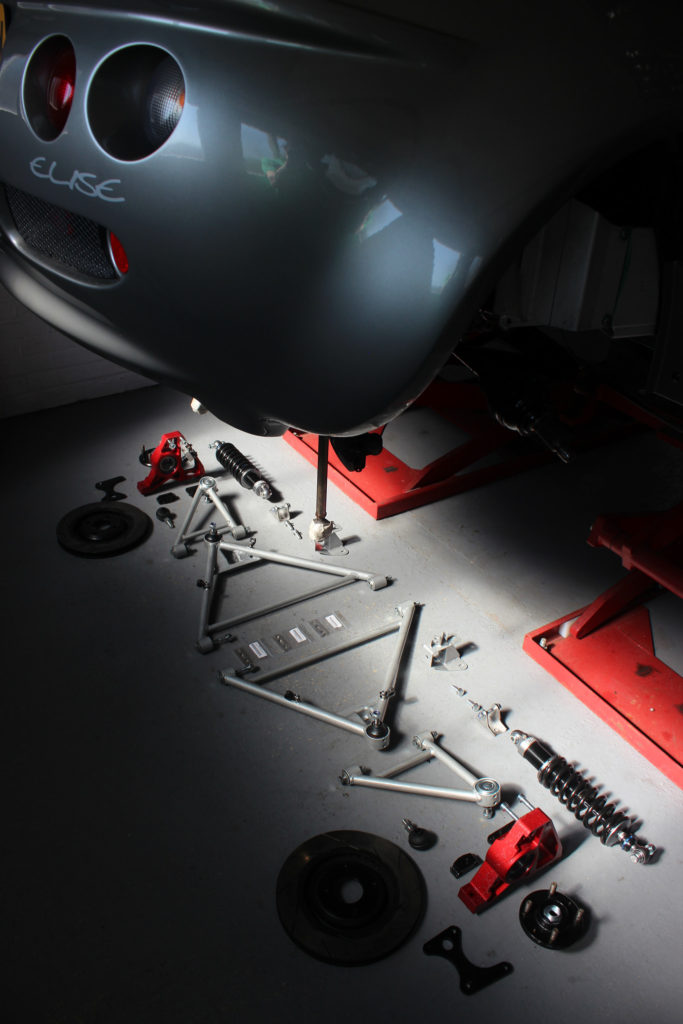
With the front finished it’s time to start assembling rear suspension components back onto the Elise.
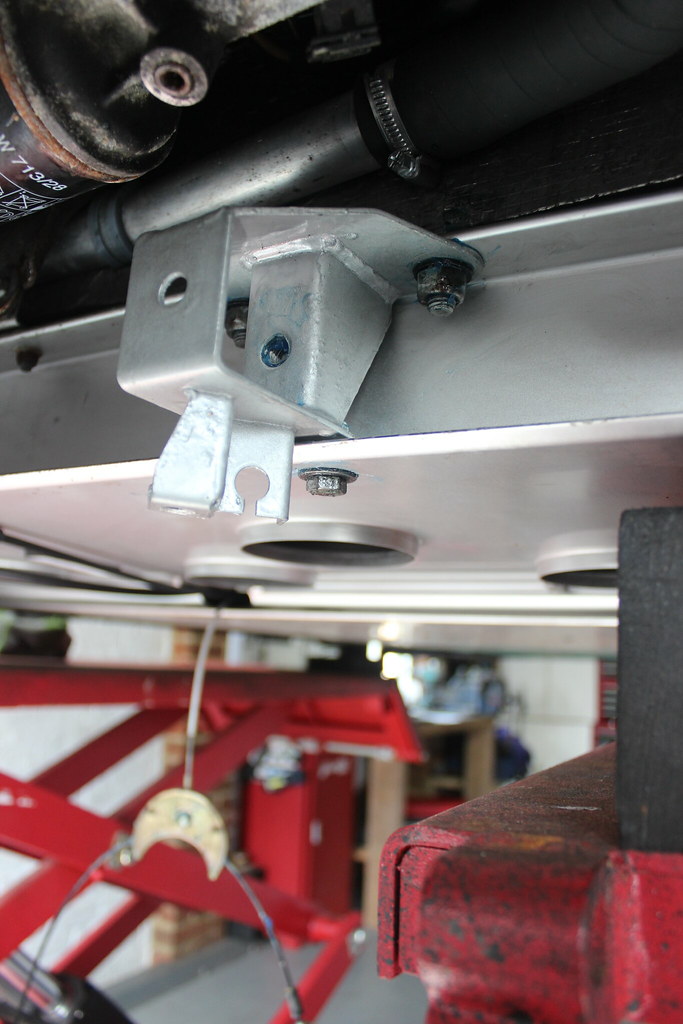
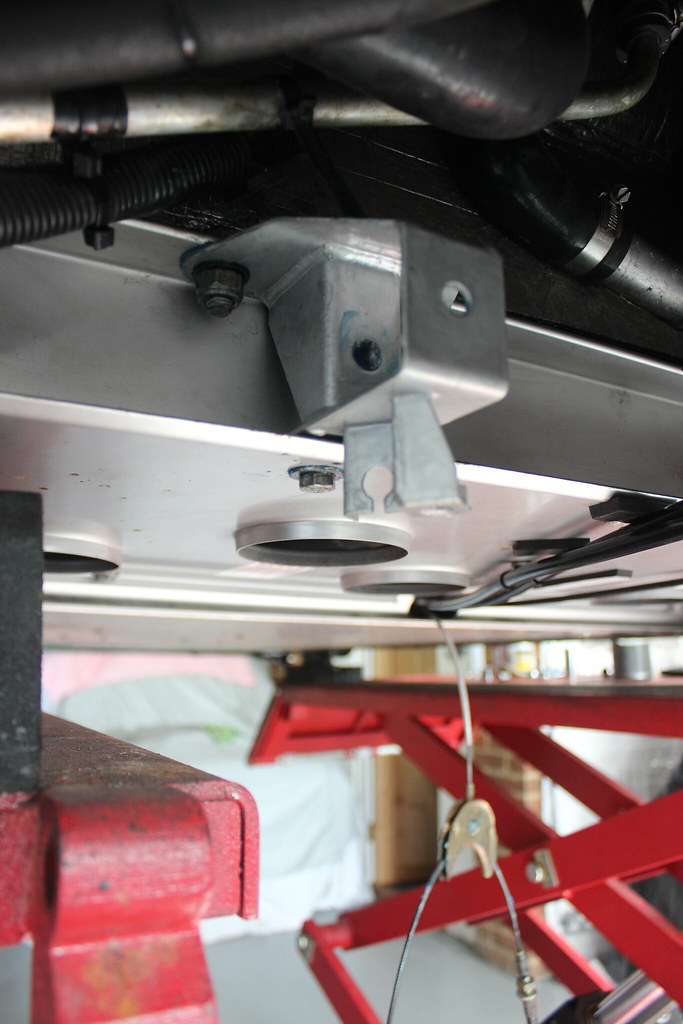
Pretty much the same as the front with a few small differences. Starting with these chassis brackets for the lower wishbones.
A bit of corrosion block grease applied too.
Right hand lower wishbone on.
Upper one on.
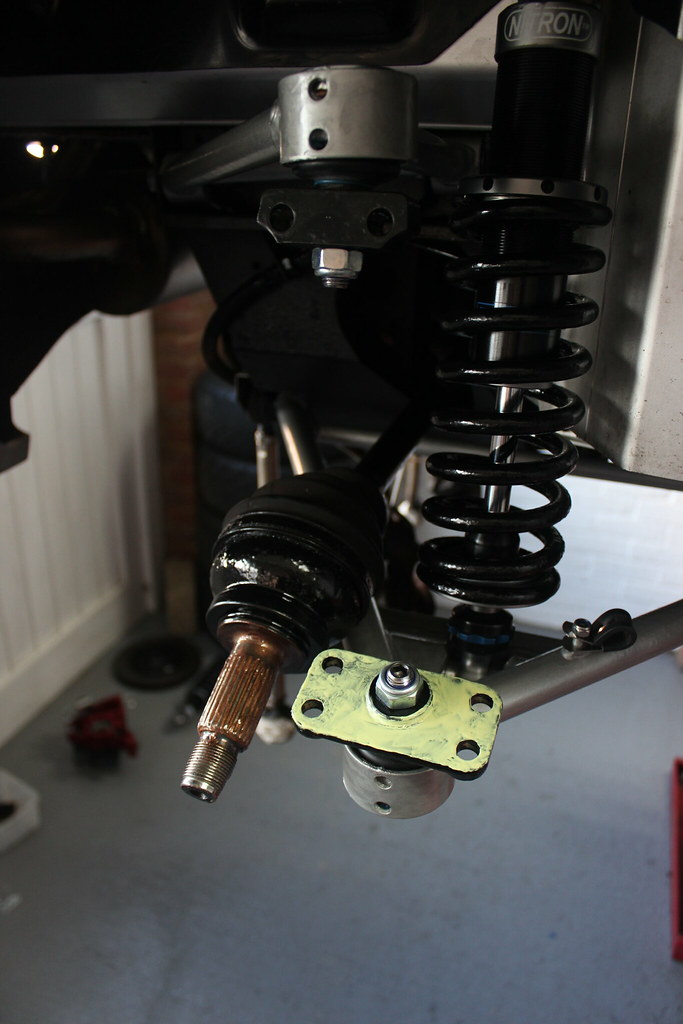
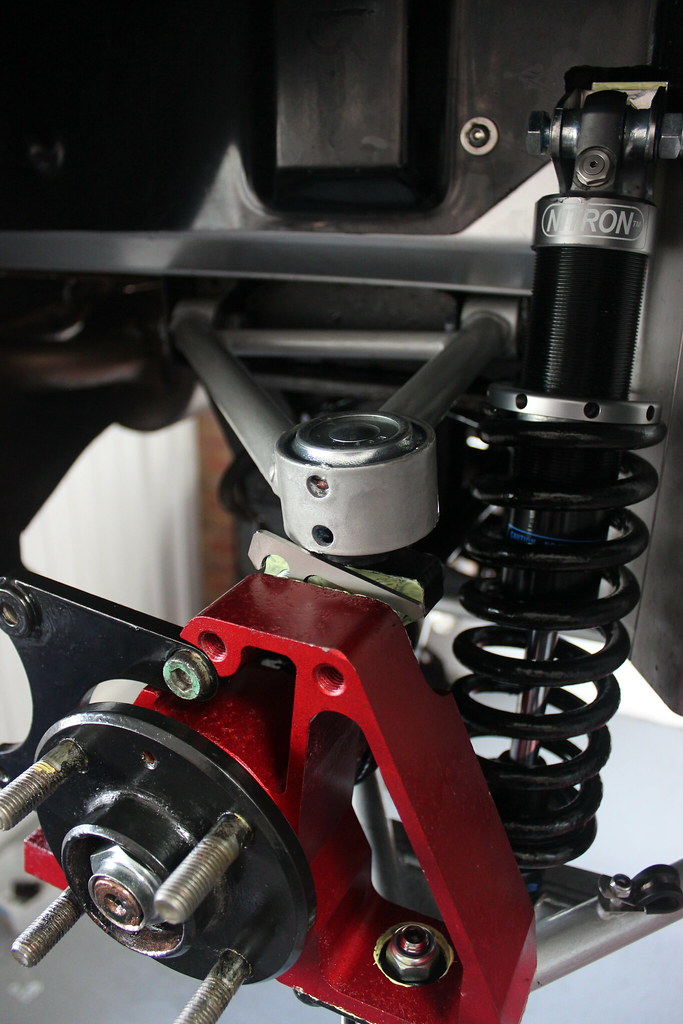
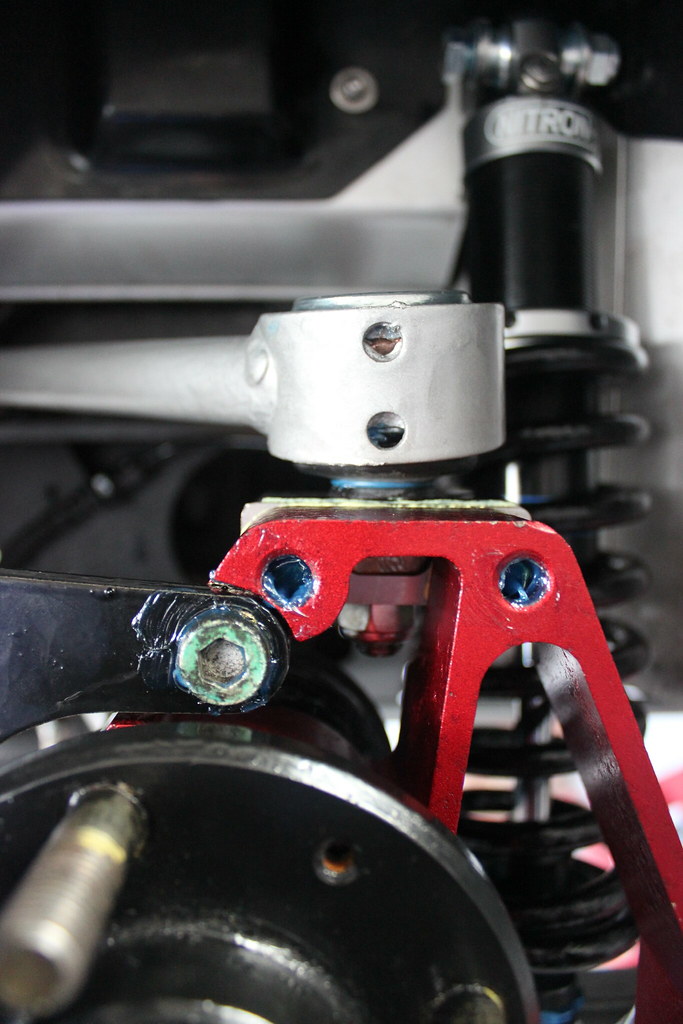
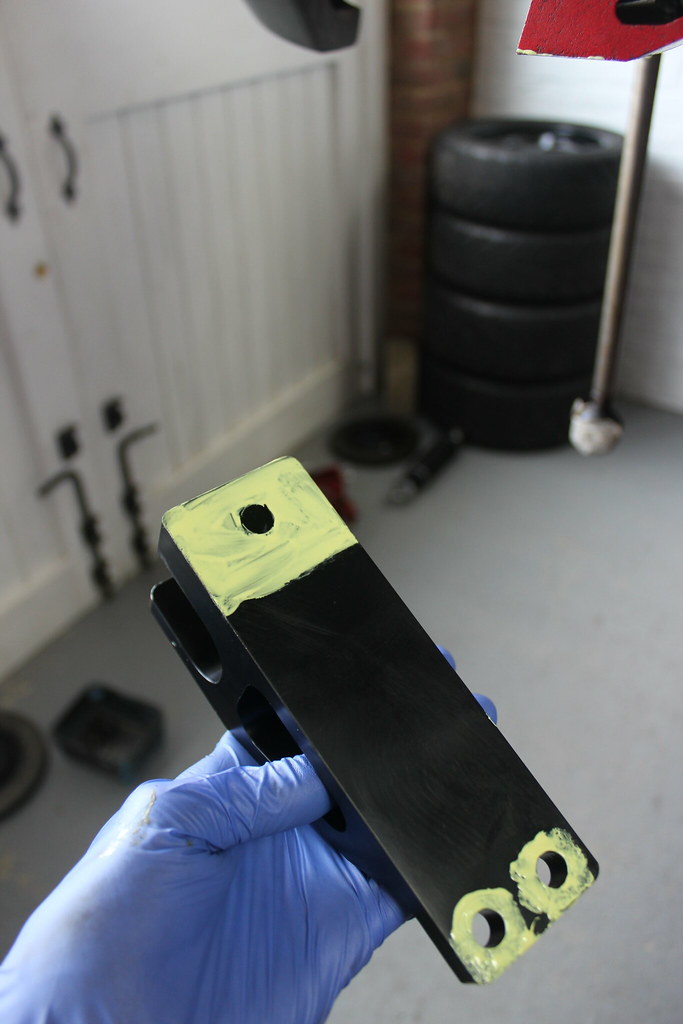
Damper mount. With a layer of Duralac on the mount and chassis.
The rear damper mount can go on either way up depending on what suits the damper, spring and ride height combination best. I’m not exactly sure which will be best for my setup so went for this way up to start with.

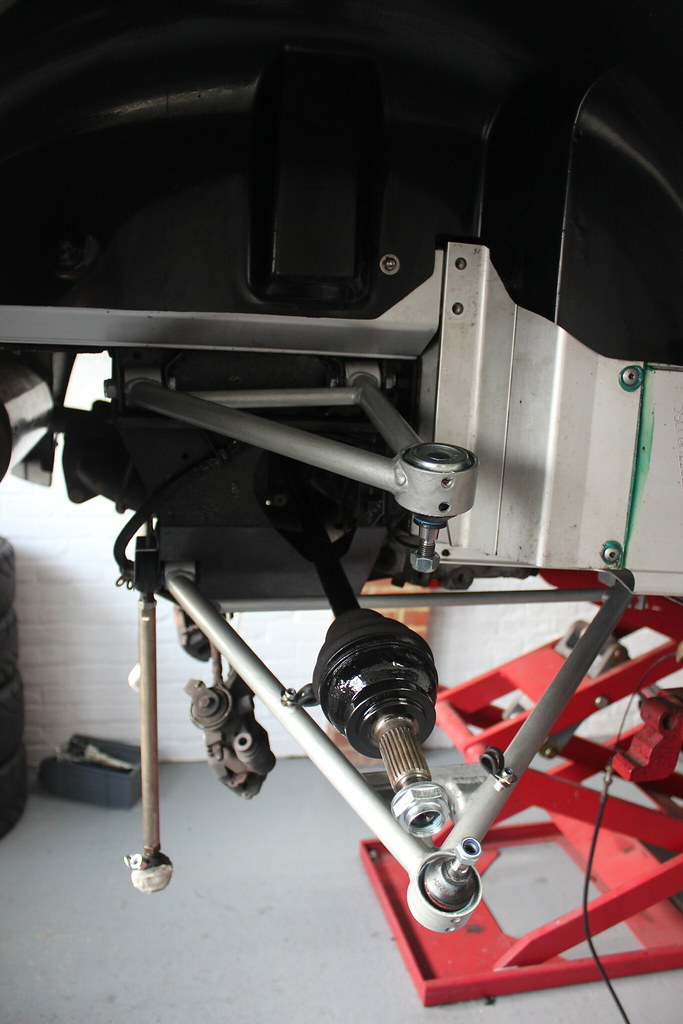
Upper and lower ball joint plinths on.
Hub carrier ready to go on. Grease everywhere.
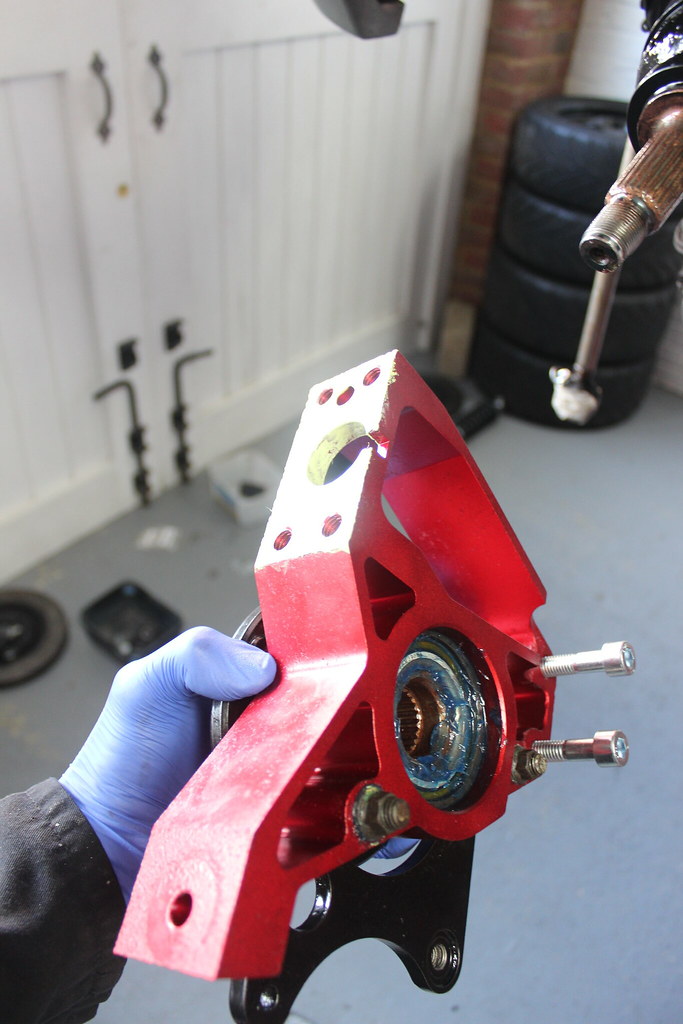
Damper and spring fitted plus some Duralac on the ball joint plinth and some copper grease on the CV joint splines.
More Duralac.

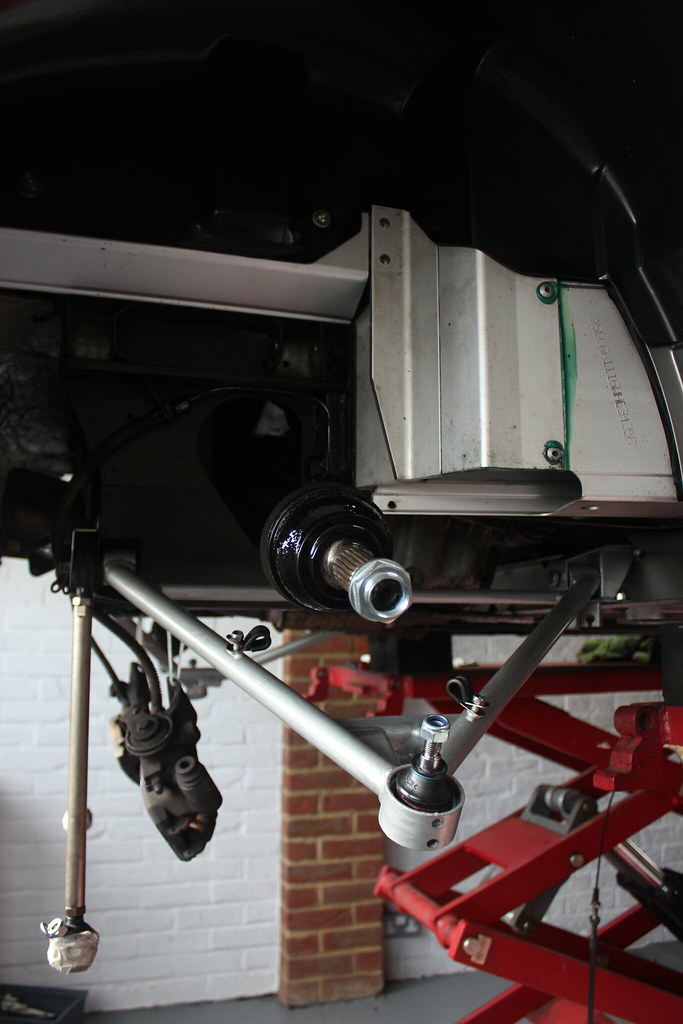
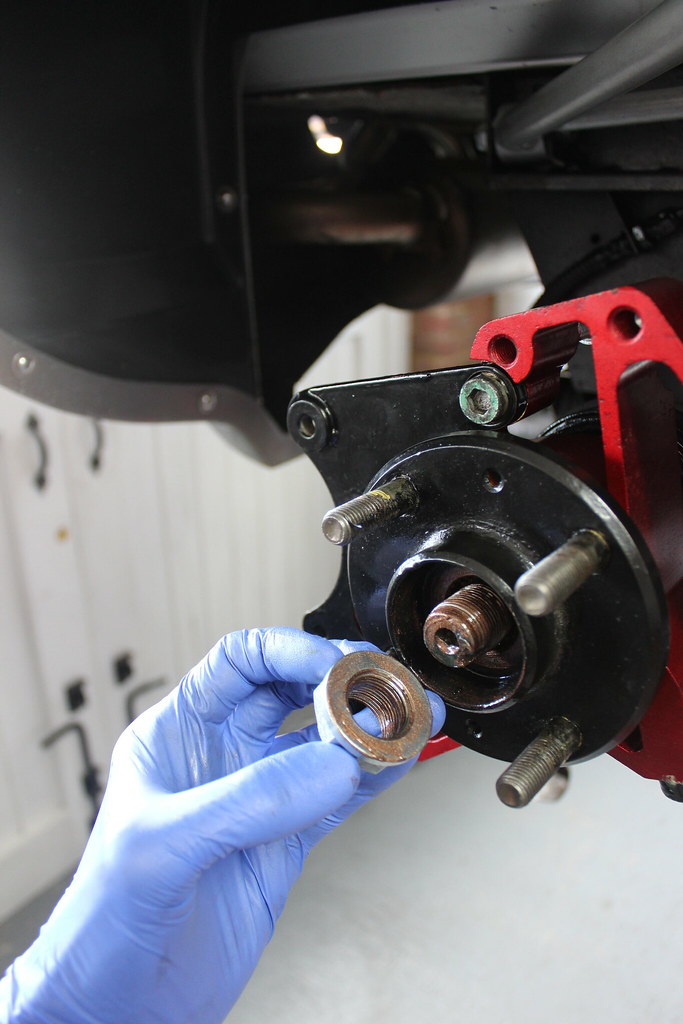
Drive flange fitted to the CV joint with a bit of copper grease on the nut.
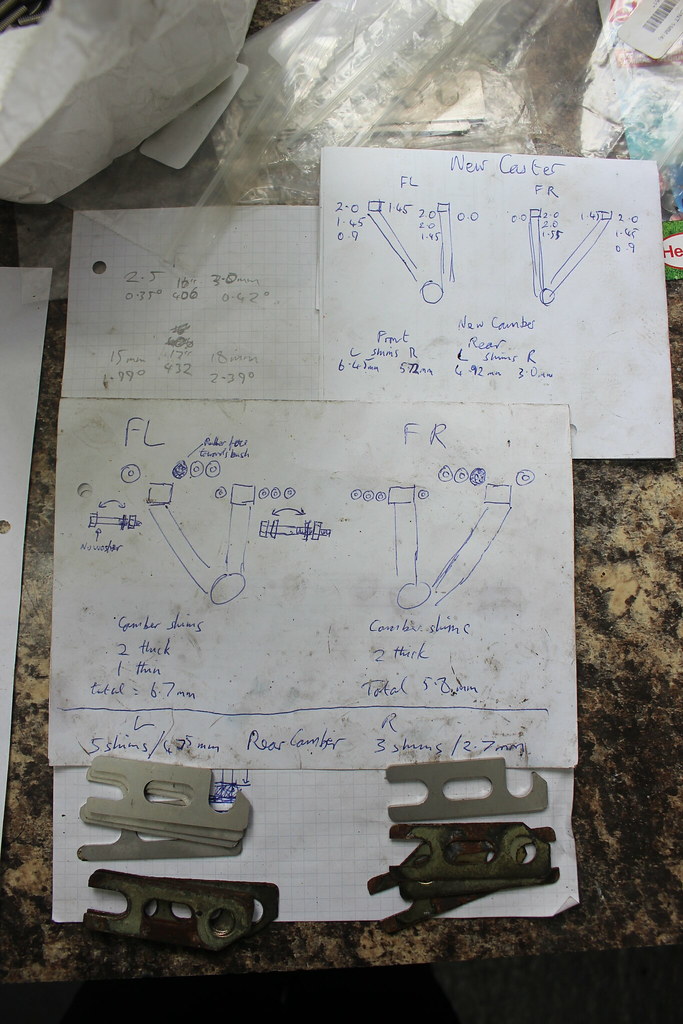
As with the front, I spent some time measuring the rear camber before dismantling everything and measured the camber shims I removed. So at this point I could have a pretty good idea of the shims I wanted to fit.
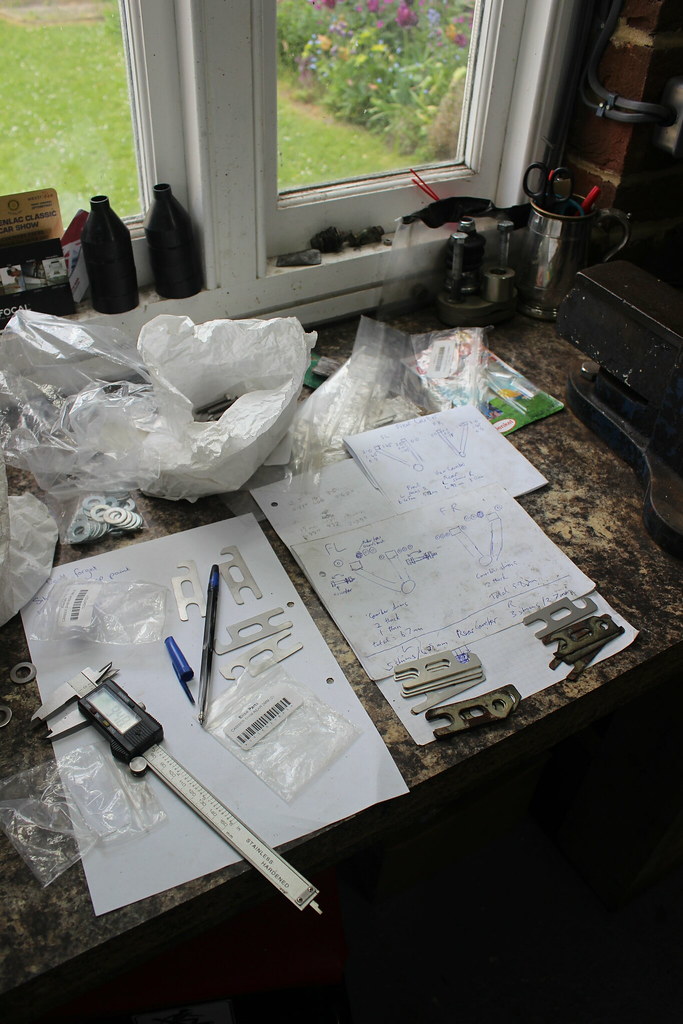
Some notes of what shims I removed and initially refitted.
More Duralac.
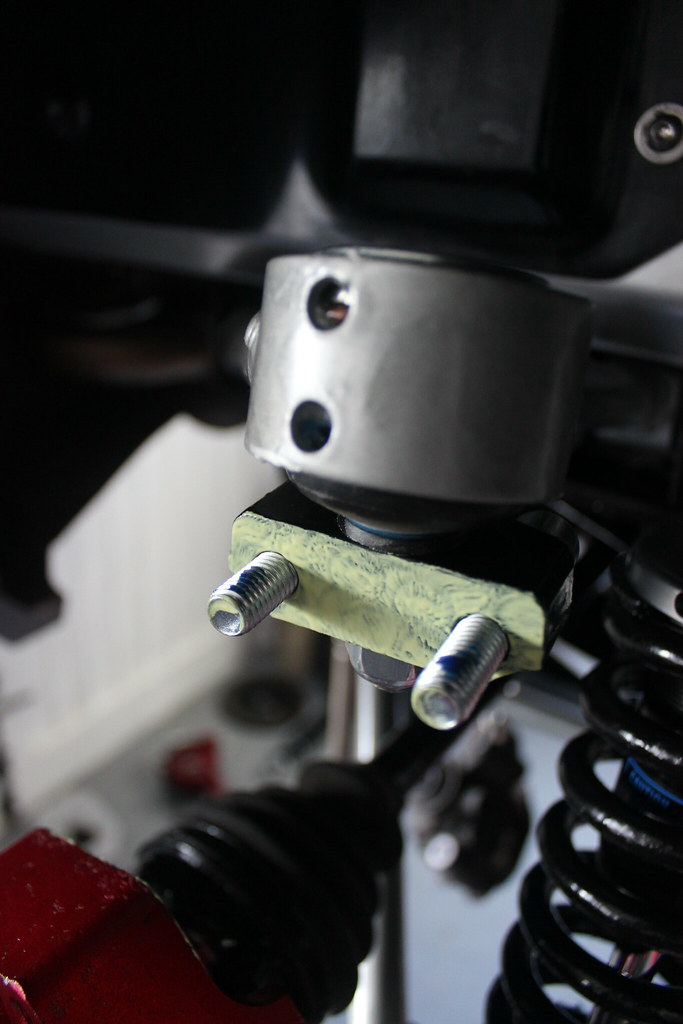
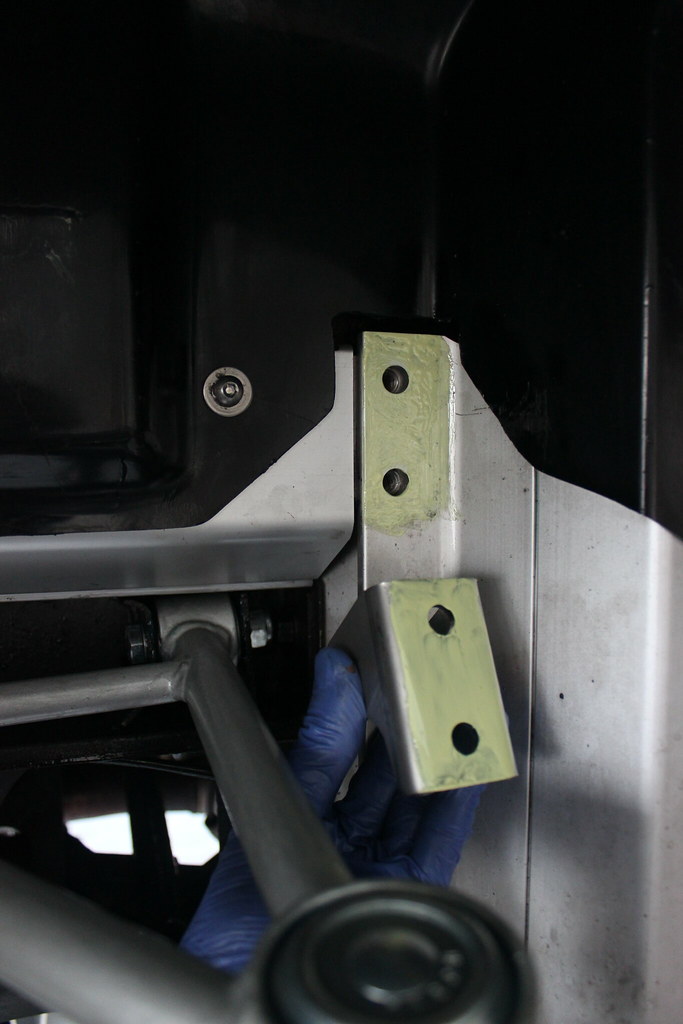
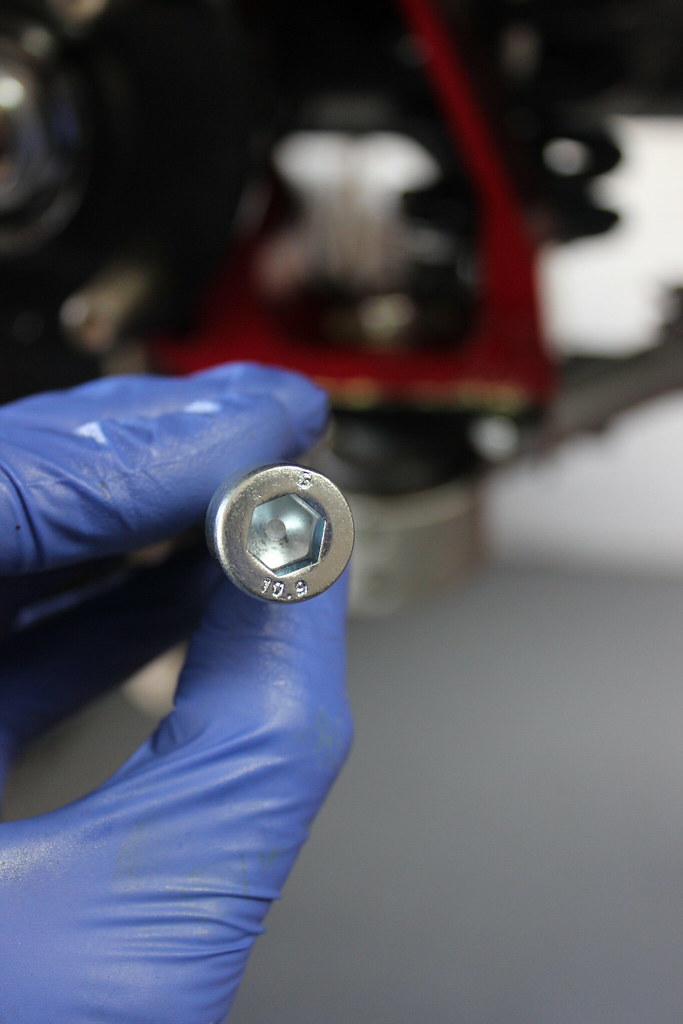
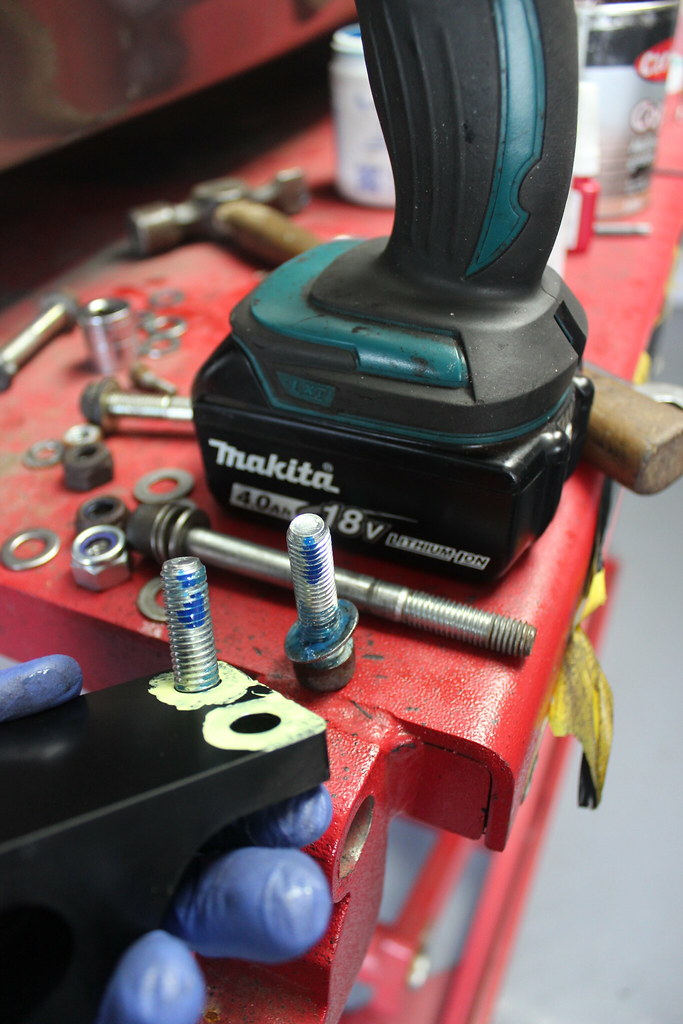
New 10.9 bolts for the upper ball joint plinth.
Bolts loosely fitted so the shim can be slotted in place.
Tightened up with some threadlock on the bolts. Also a couple of blobs of corrosion block grease pushed into this exposed side of the thread in the carrier. The theory being that it will prevent moisture getting in there and causing any trouble in future.
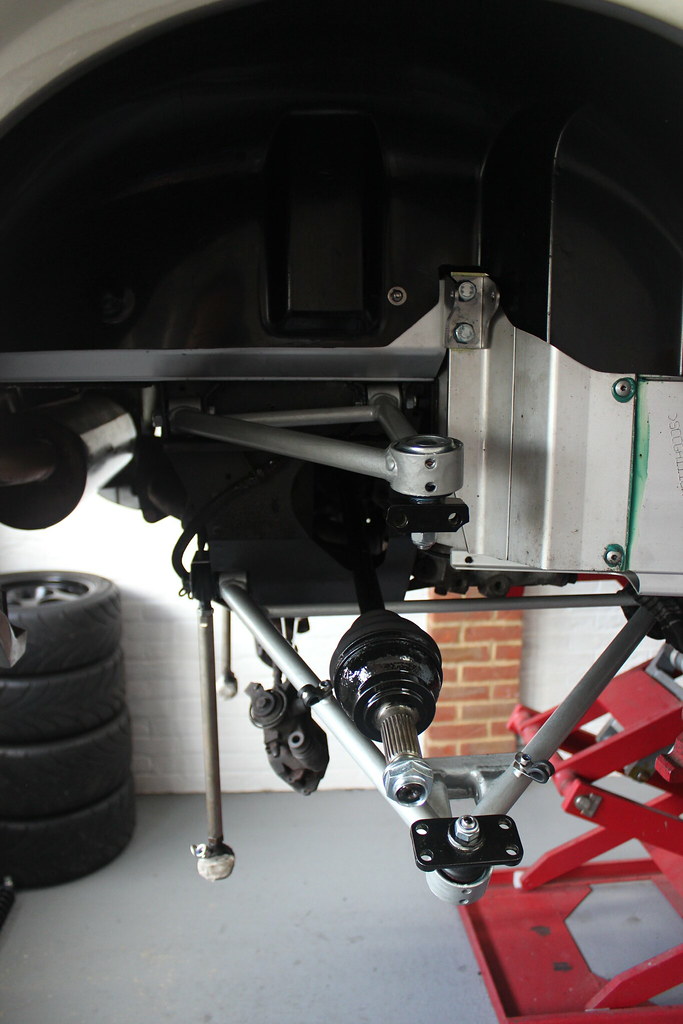
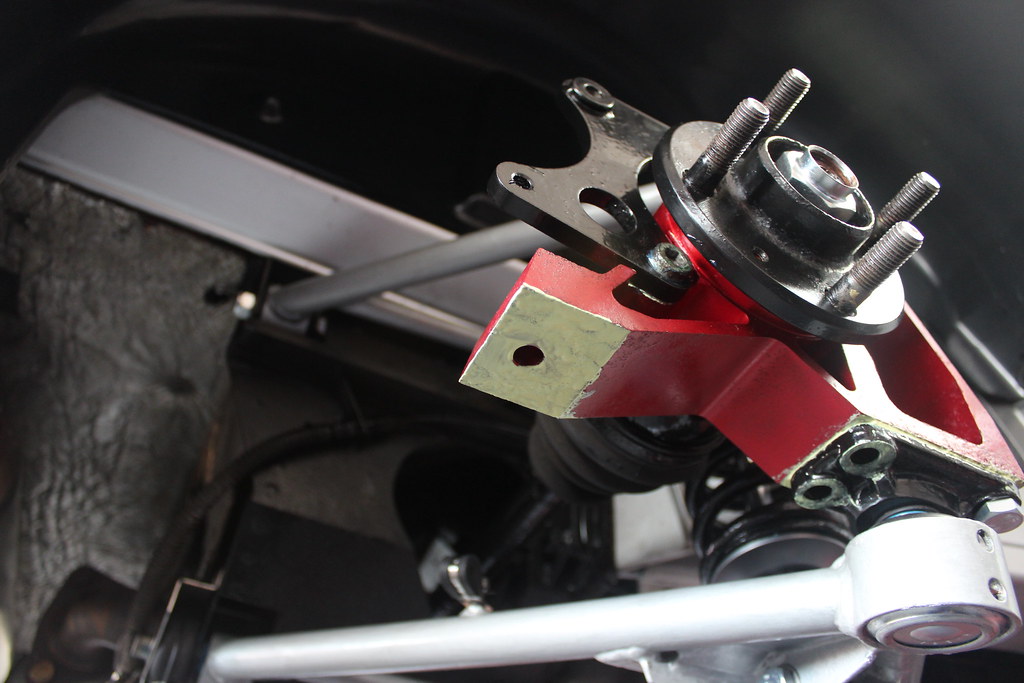
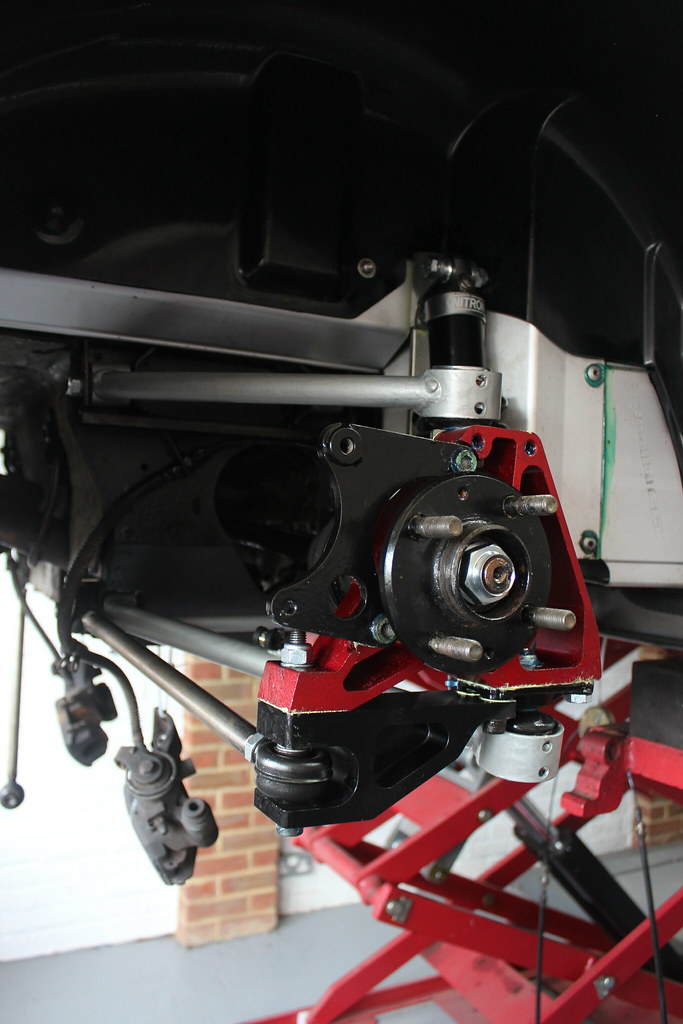
Uprated toe link mount next, with some Duralac, again!
And on the hub carrier.
Threadlock and grease on the bolts.
Tighten things up to the correct torque.

Another new rod end.
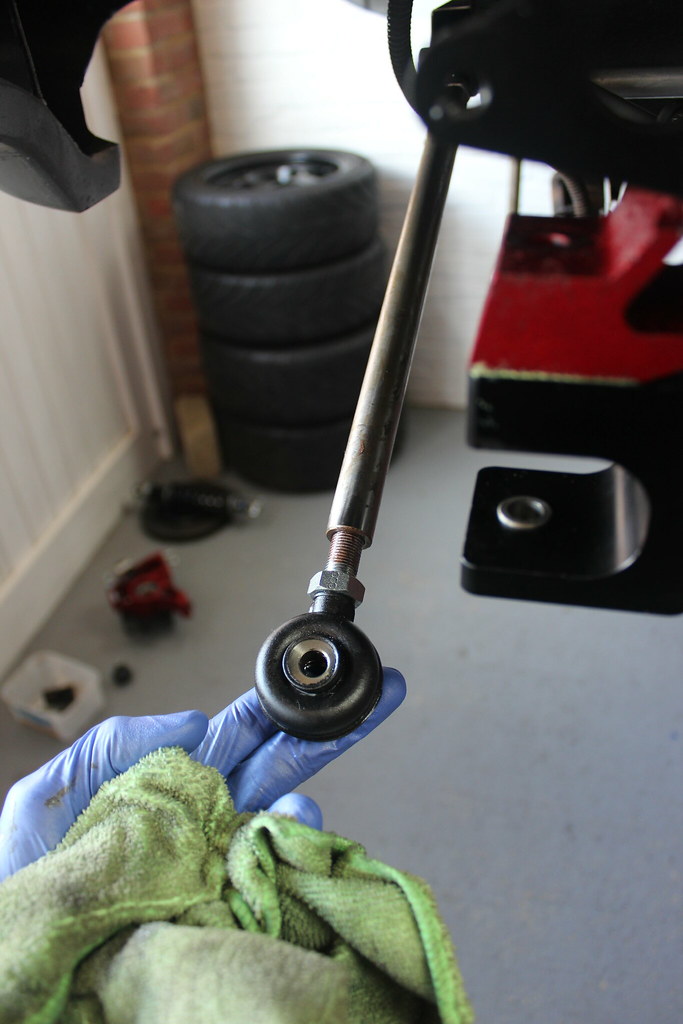
Nearly done.
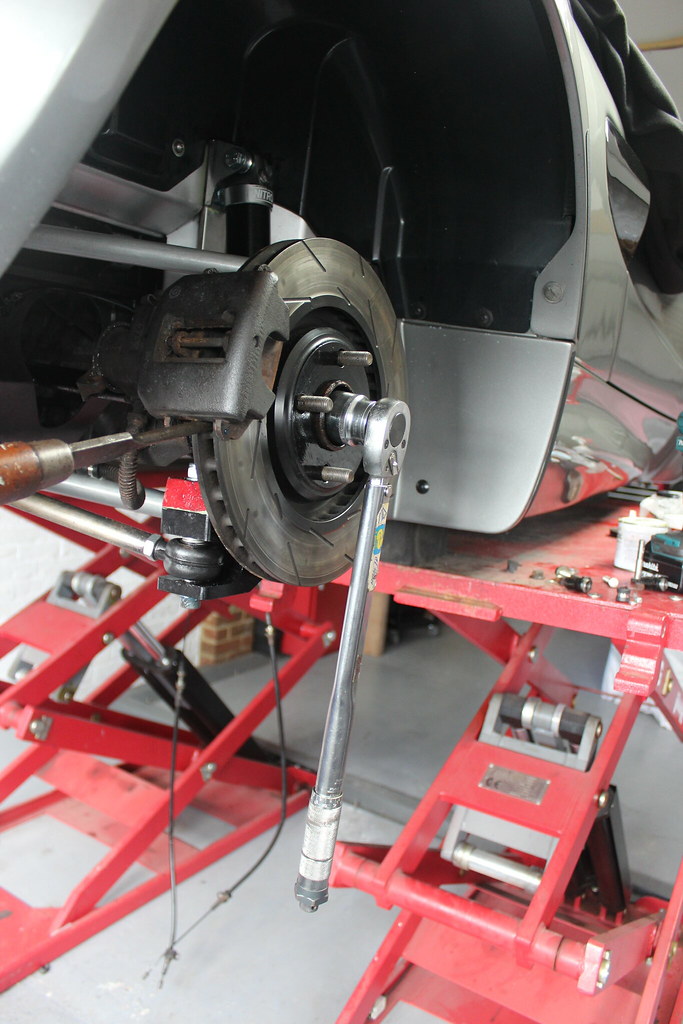
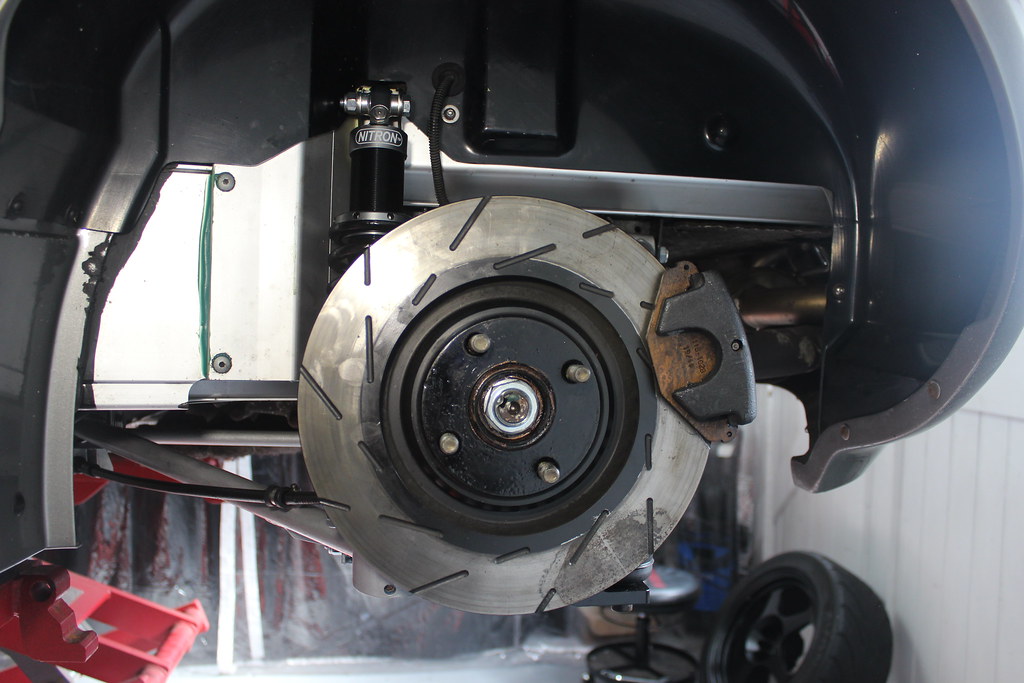
Brake caliper on and do up the hub nut proper tight!
Done. 🙂
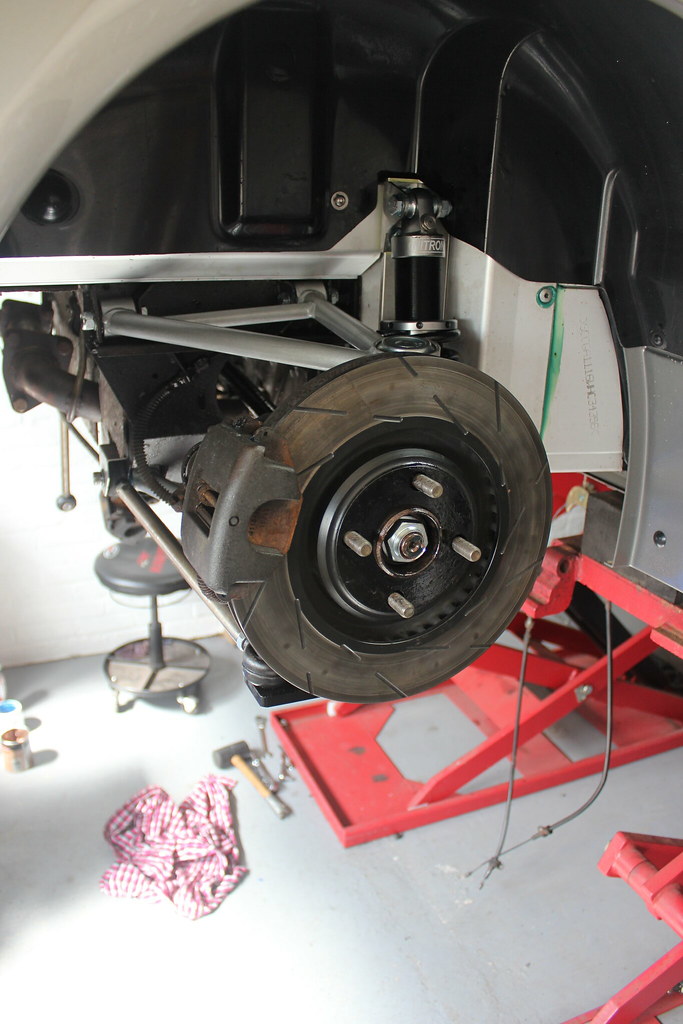
Exactly the same the other side plus both lock tabs on the nuts hammered down.
So close to getting it back on it’s wheels now. 🙂