Now the wishbones are on and the bolts all torqued up…
…I moved on to assembling the rest of the front end. As usual with these things ‘refitting is the reverse of removal’.
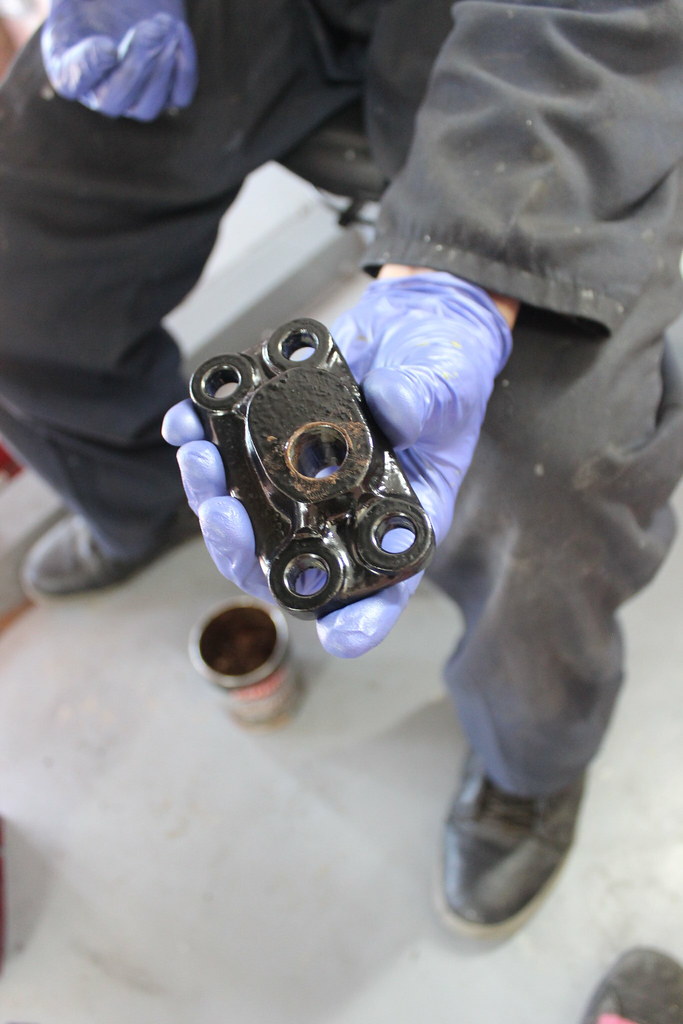
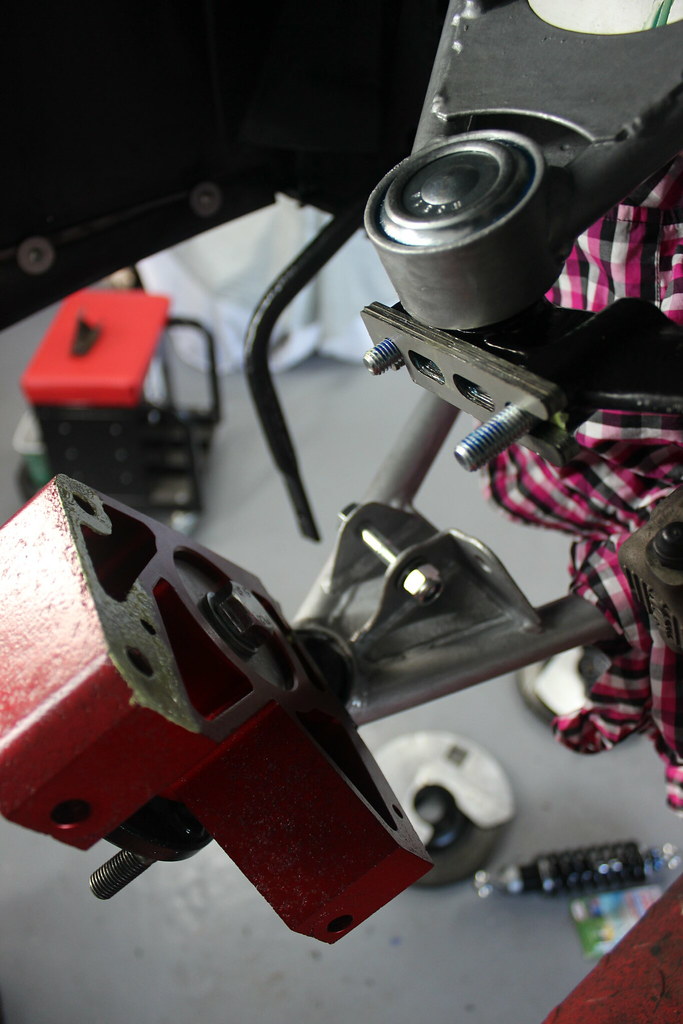
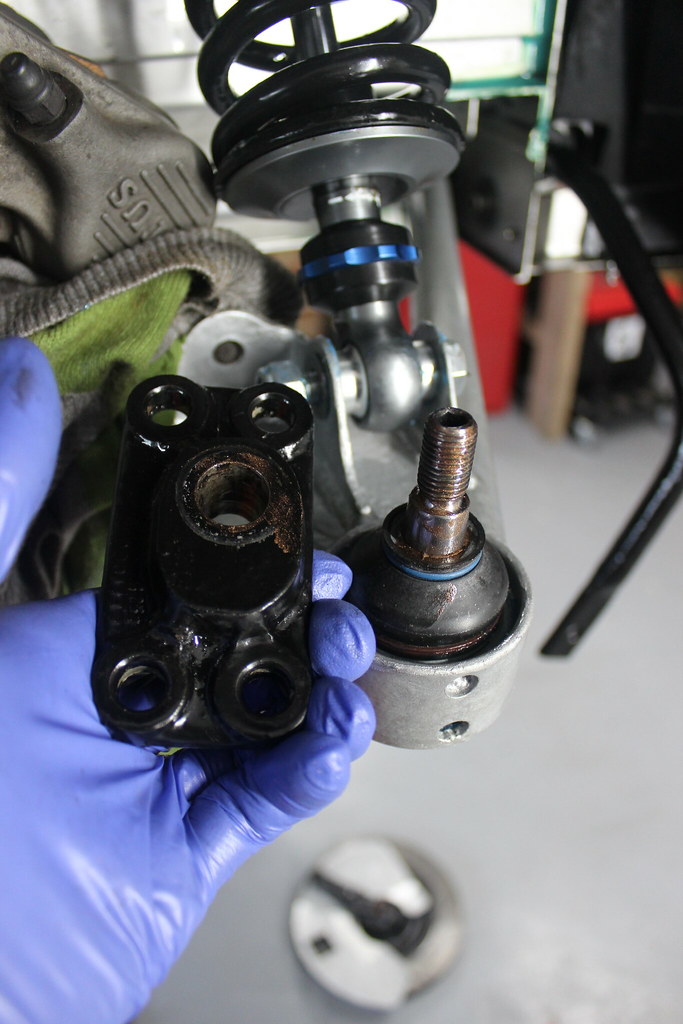
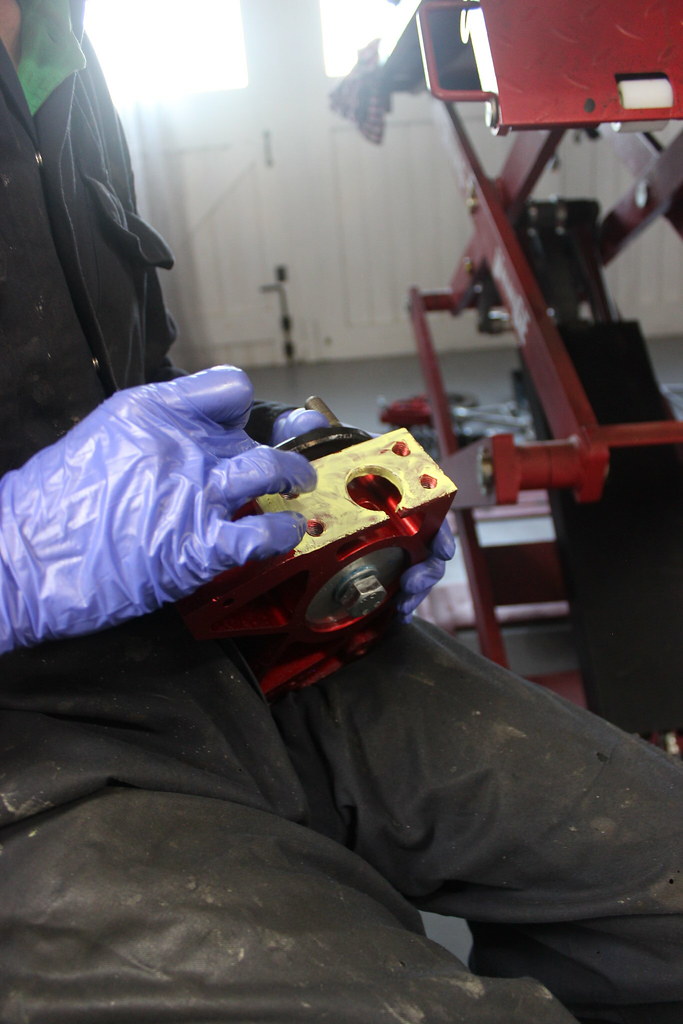
The ball joint plinths need fitting to the ball joints first. I used a bit of copper grease here to help prevent any future repeats of the trouble I had removing one of the ball joints.
Next the hub carrier bolts to the ball joint plinth. A layer of Duralac here between the steel plinth and aluminium hub carrier.
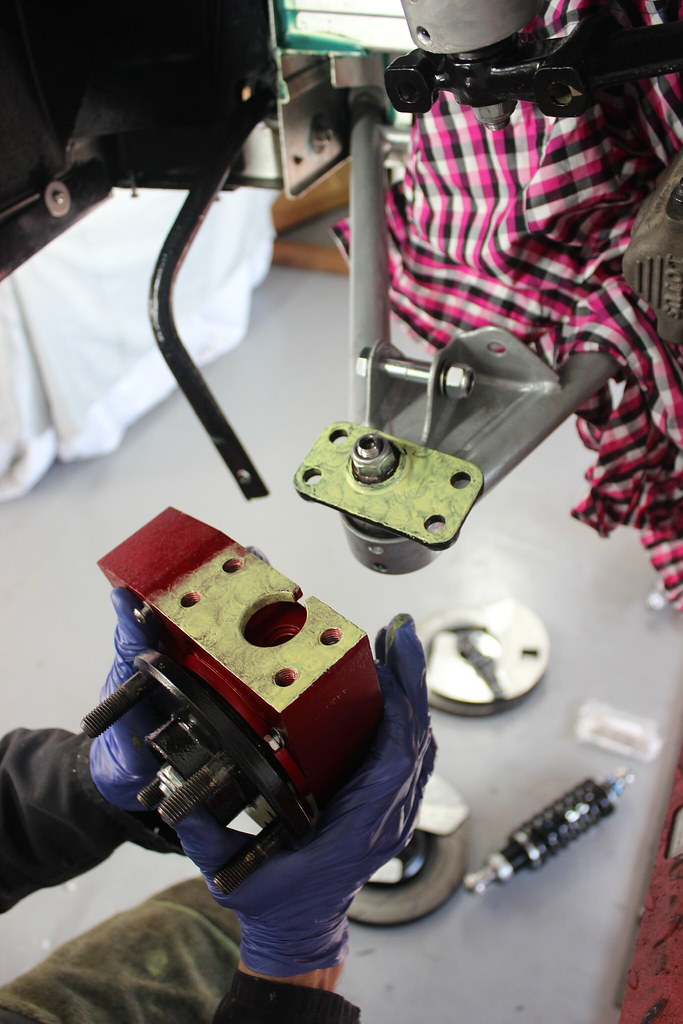
Some of the recommended thread lock on the 4 bolts that hold the ball joint plinth to the hub carrier.

Steering arm fitted to the ball joint, some more Duralac and some thread lock on the bolts that hold the steering arm to the hub carrier.

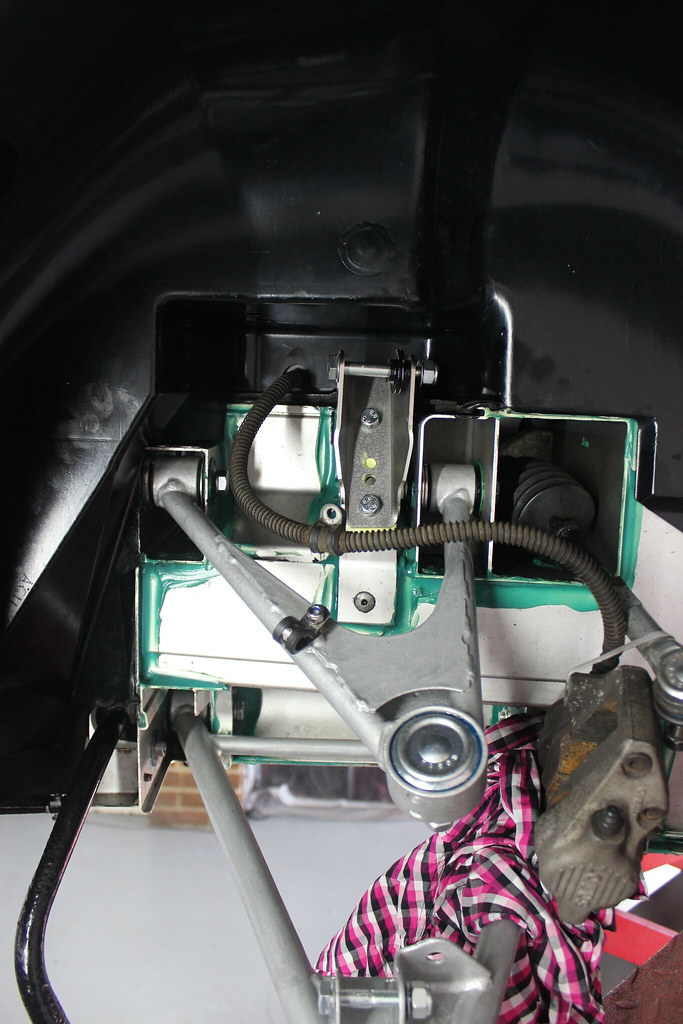
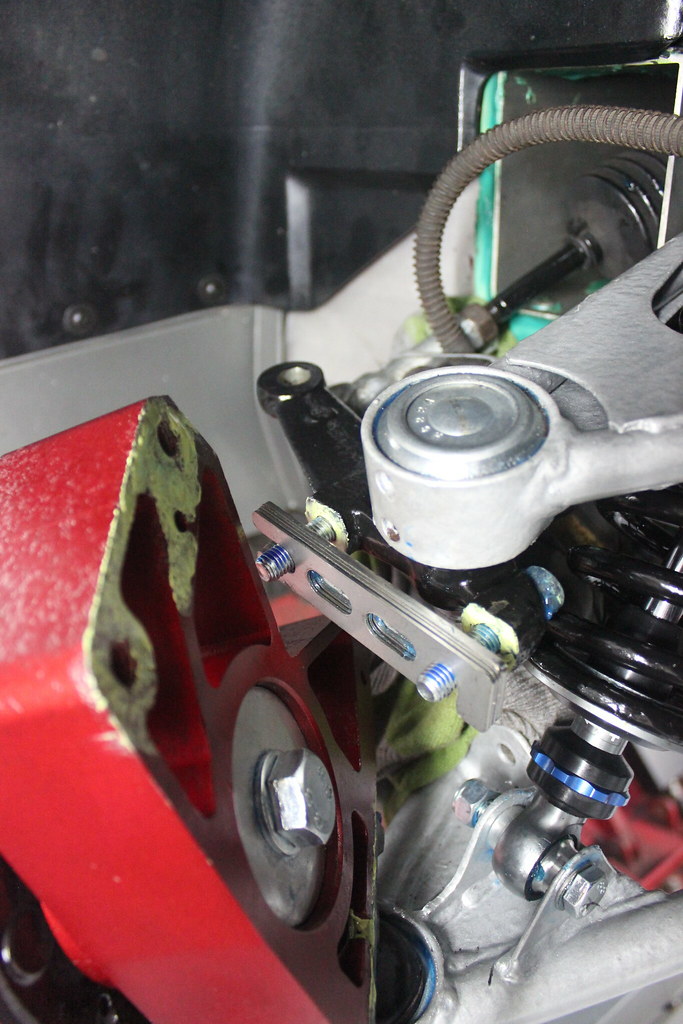
Here’s where the camber shims need to be fitted. So prior to assembling this lot I spent a little while with a cup of tea and some digital calipers measuring the shims that came off the car and putting together a decent estimate at what thickness of new shims I wanted.
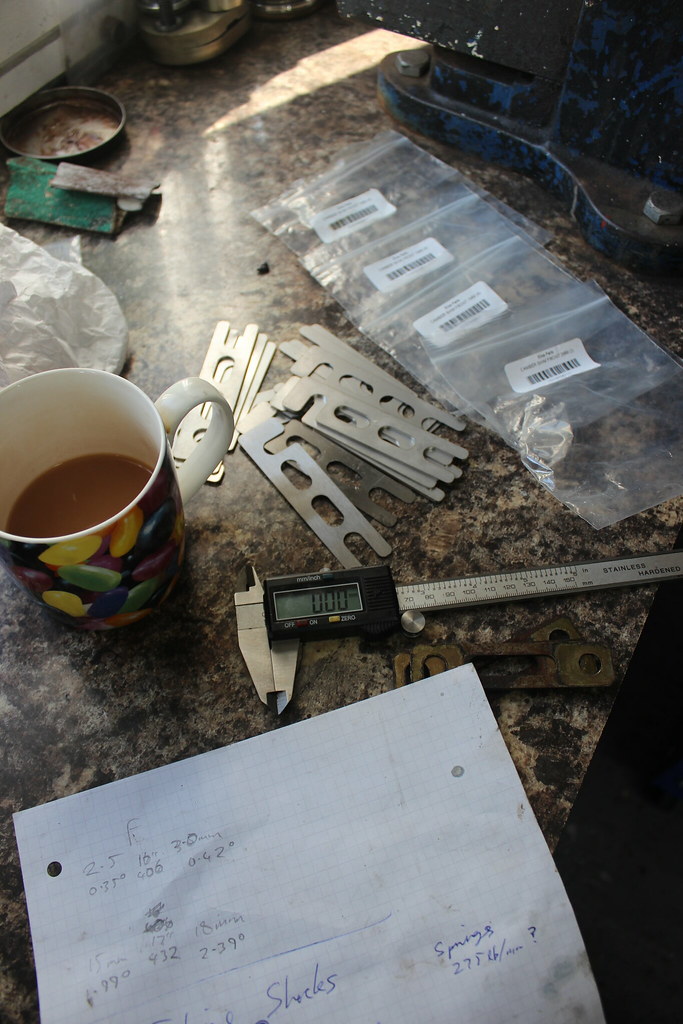
I had already measured the wheel alignment as it was before dismantling everything so I knew I didn’t want to go too far from that arrangement of shims but I also knew the slight increase in caster would effect the camber.
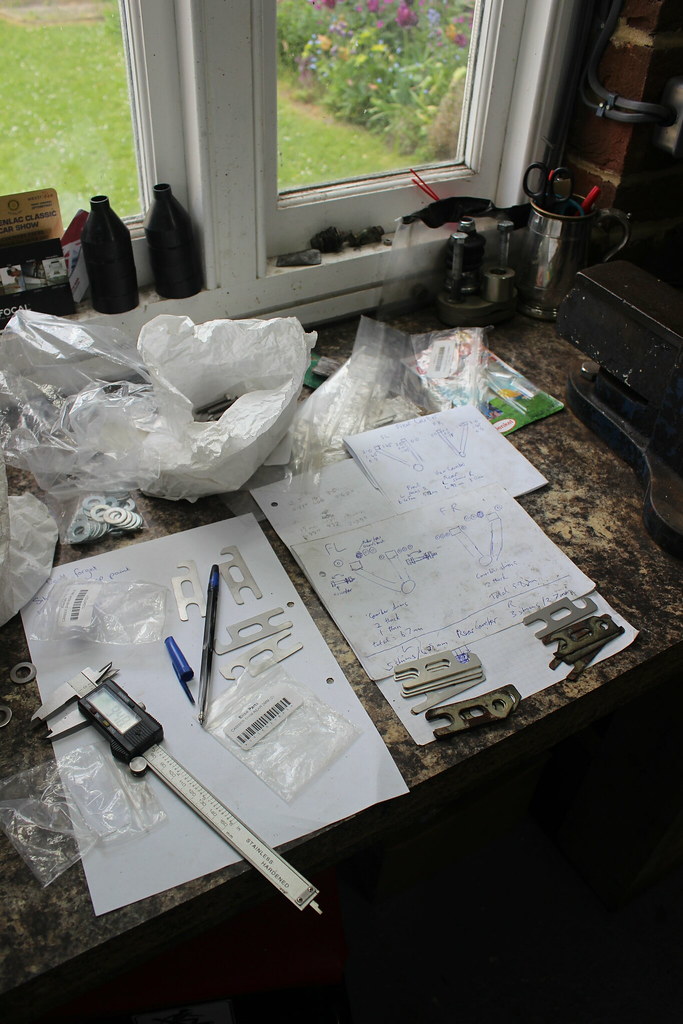
So here’s my notes of the measurement I made of the shims that came off the car and on the top right are the thicknesses of new stainless steel shims I decided to fit.
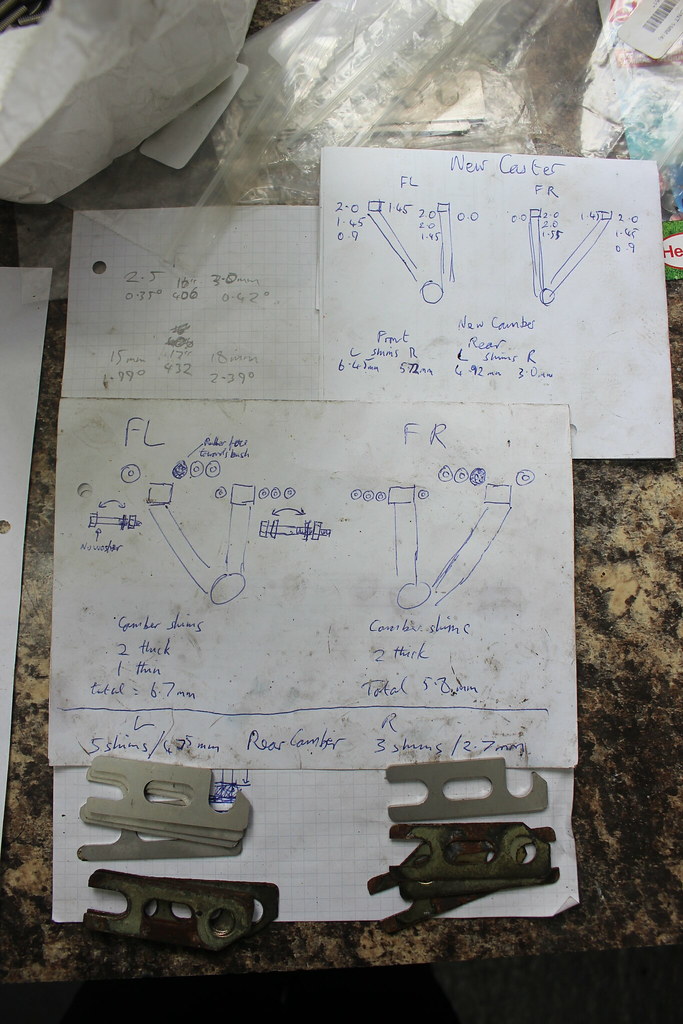
These are only a starting point as they may well need adjusting when I get to doing a wheel alignment. Best to try and get it as close to correct as possible from the start though.
Shims in place.

The other side.
Copper grease.
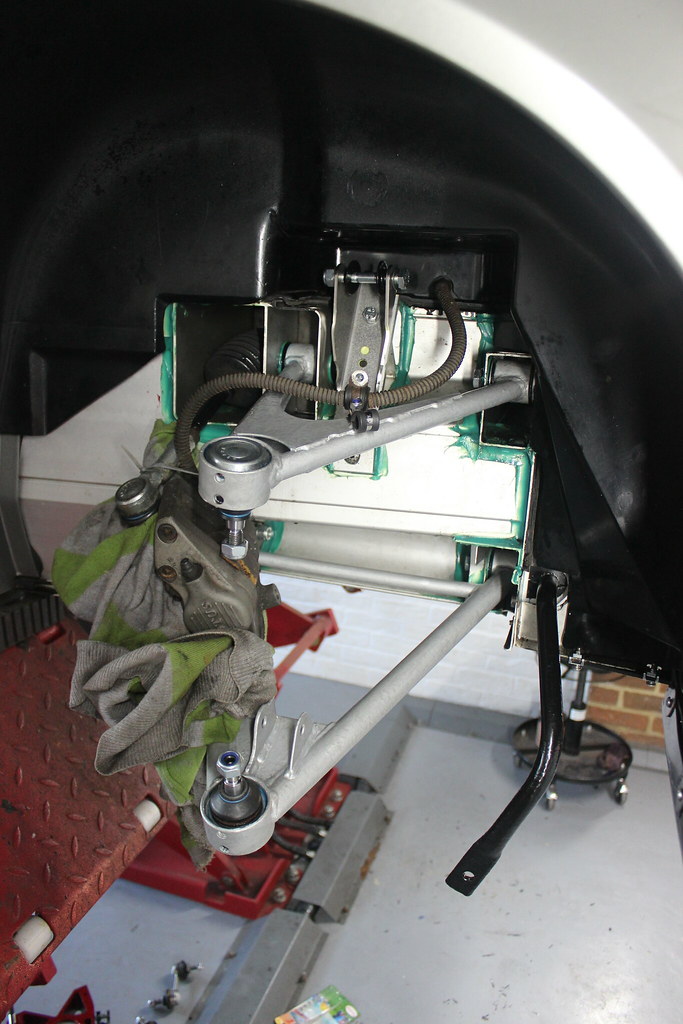
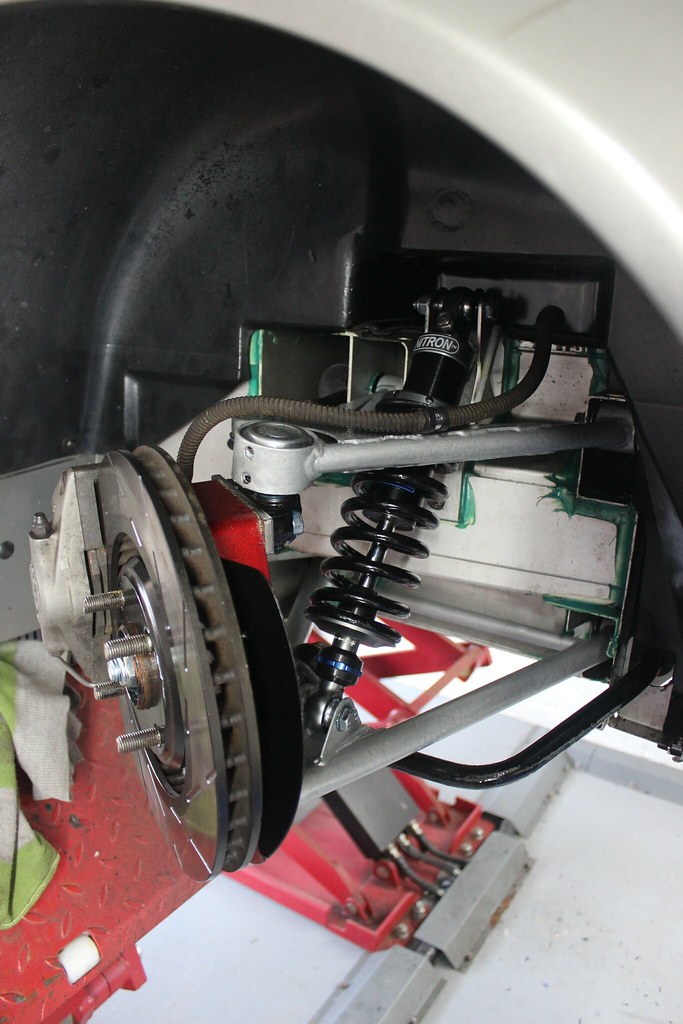
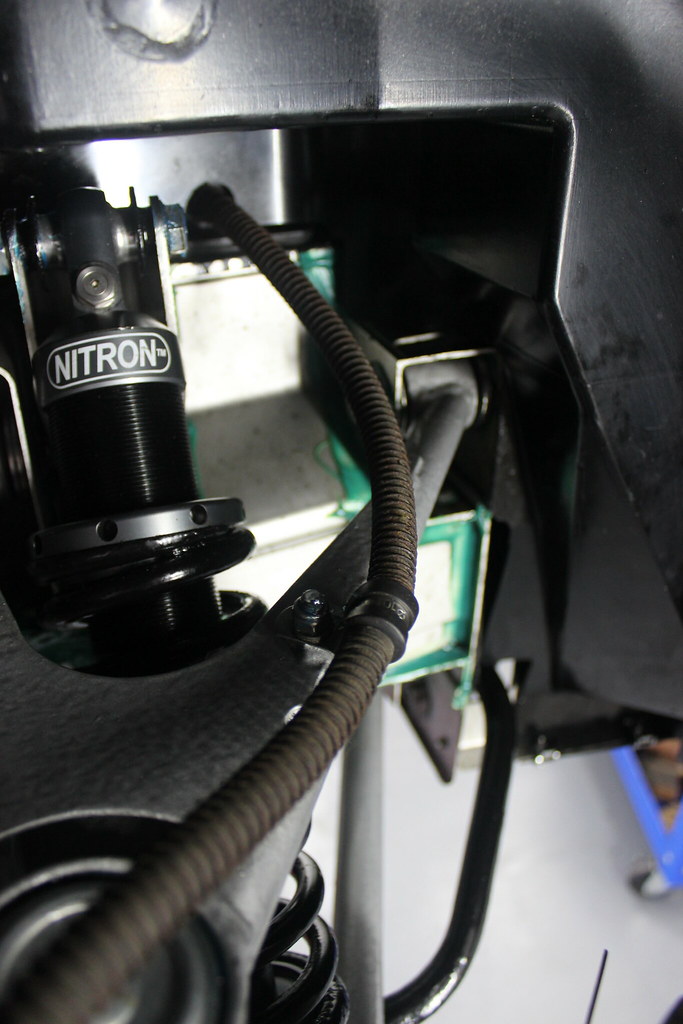
You’ll notice the damper has appeared. I was obviously a bit slack with my picture tacking here, not usually a problem for me! I seem to remember deciding that, after fitting the left front hub carrier with no damper attached, having the damper fitted would make things easier by holding the lower wishbone in a fixed position. Plus the hub carrier would get in the way of fitting the dampers a little, so I quickly fitted them.
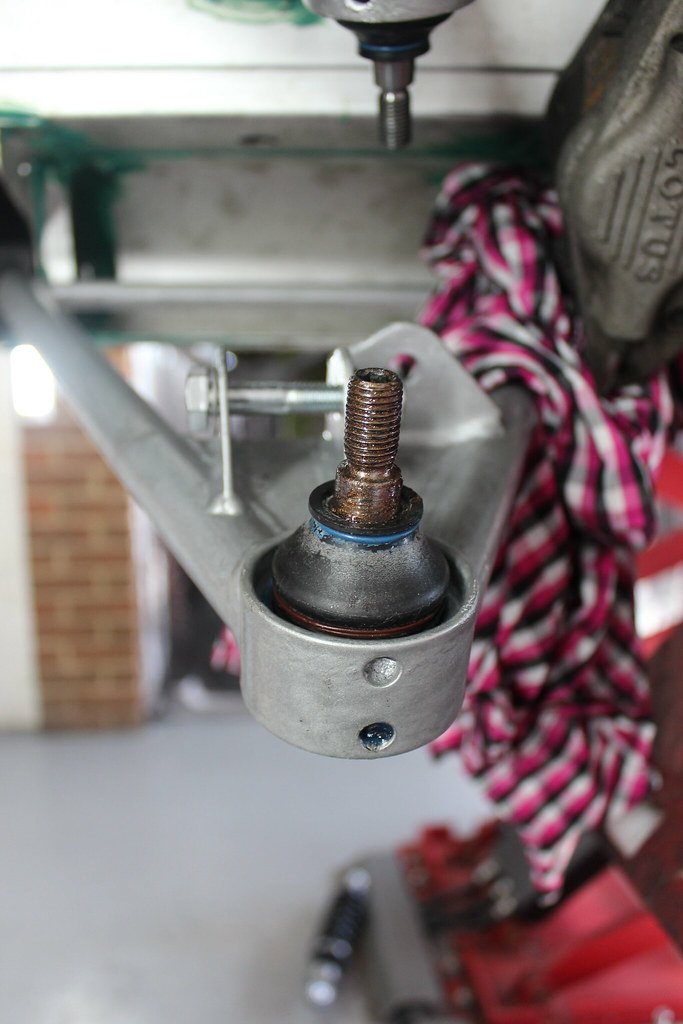
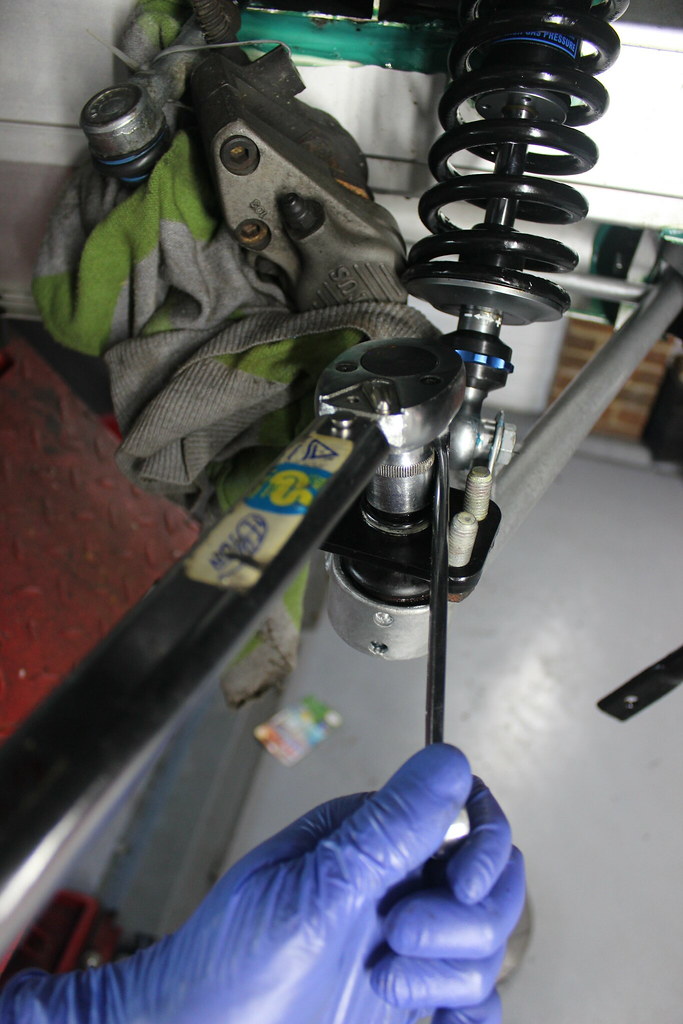
Anyhow, torquing up the upper ball joint nut.
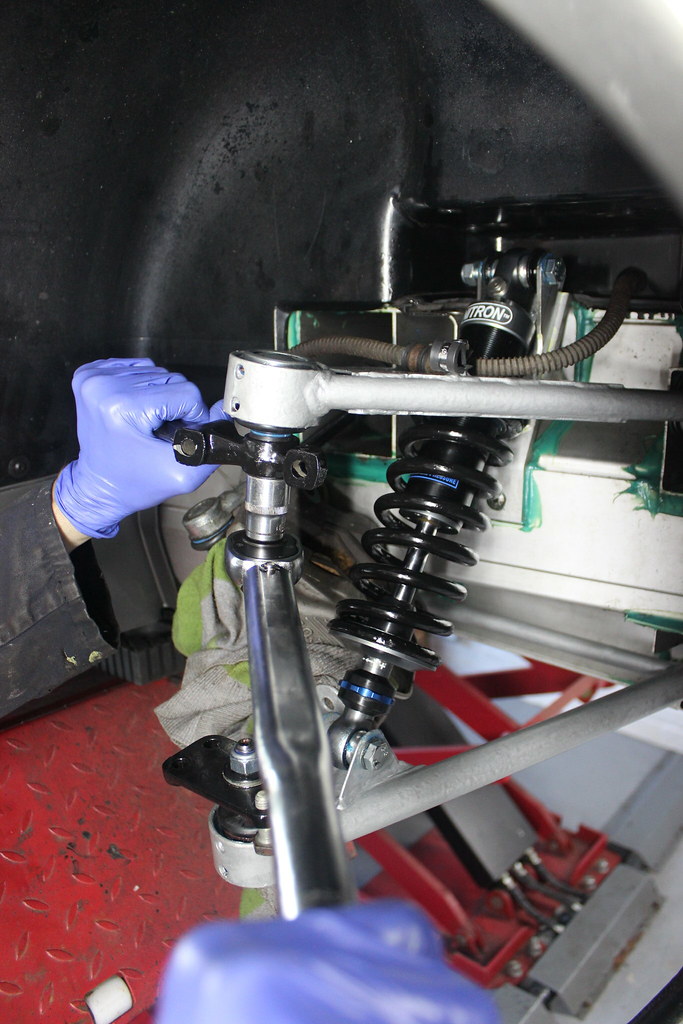
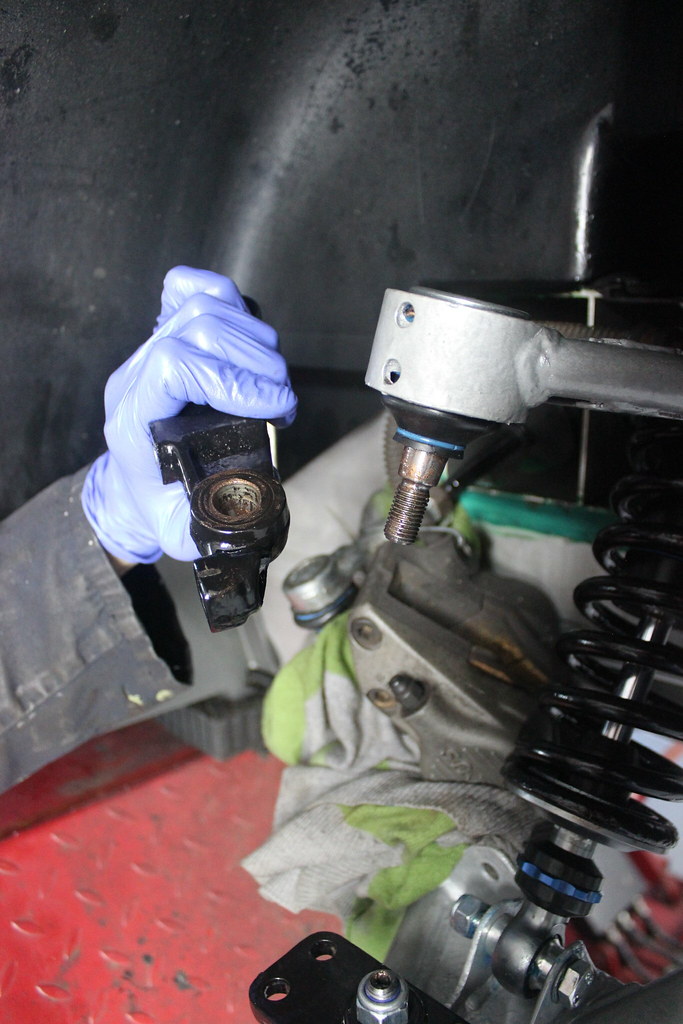
And the lower ball joint nut. This was the best way I found for holding the plinth in place while tightening the nut. The two bolts in the plinth here need to be fitted through the plinth before fitting the plinth to the ball joint or they’ll be pretty much impossible to fit past the wishbone.
More Duralac…
…and some thread lock.
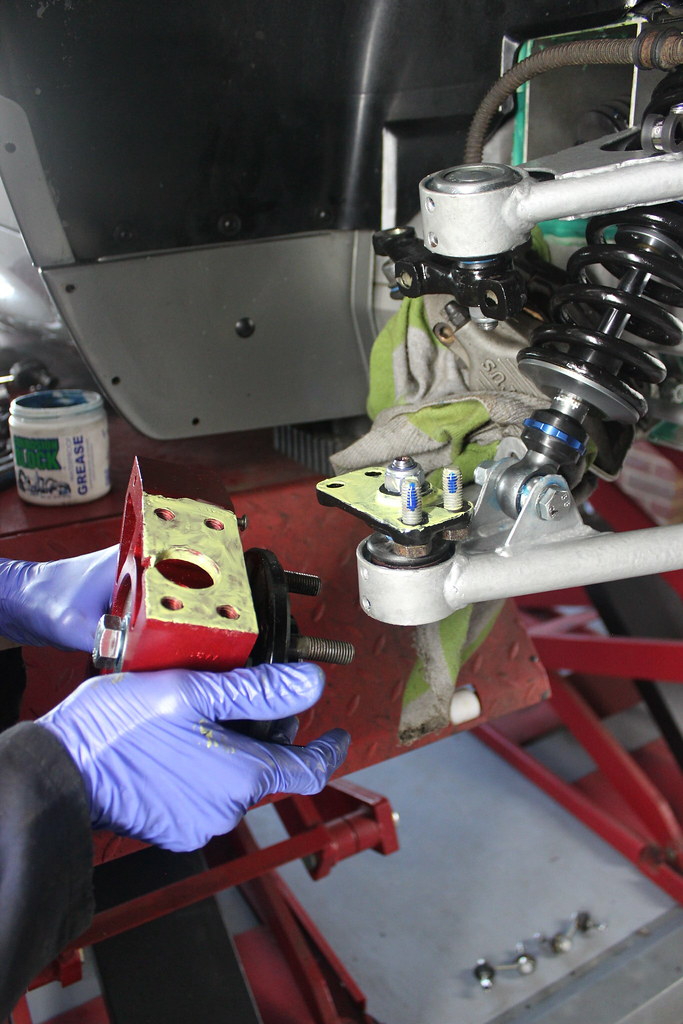
Tighten up the ball joint plinth bolts.
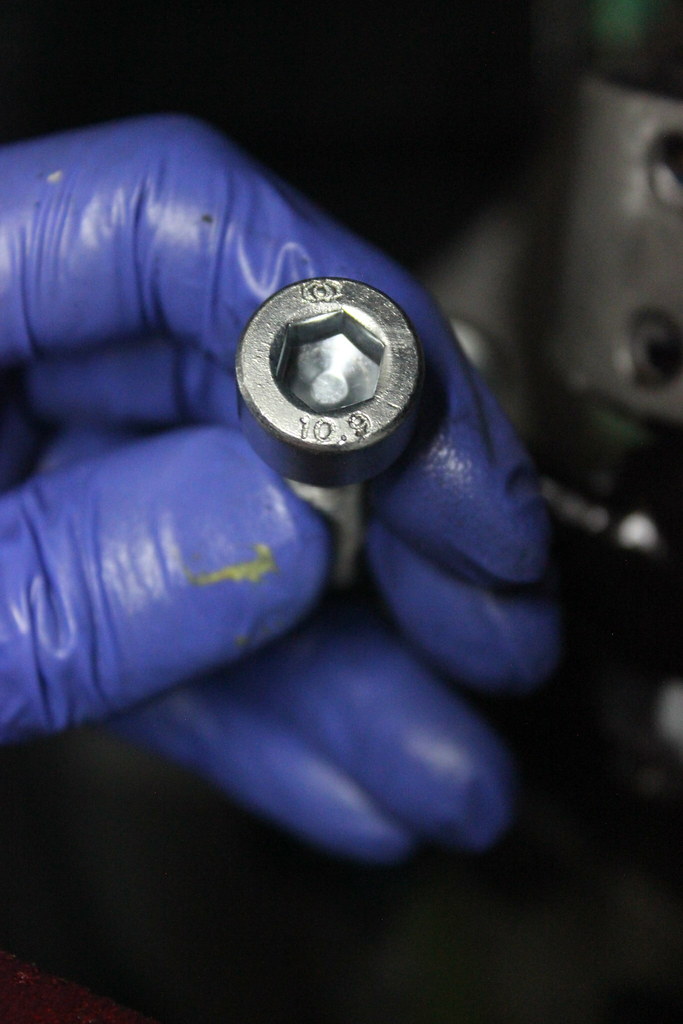
New stronger 10.9 bolts for the steering arms to hub carriers.
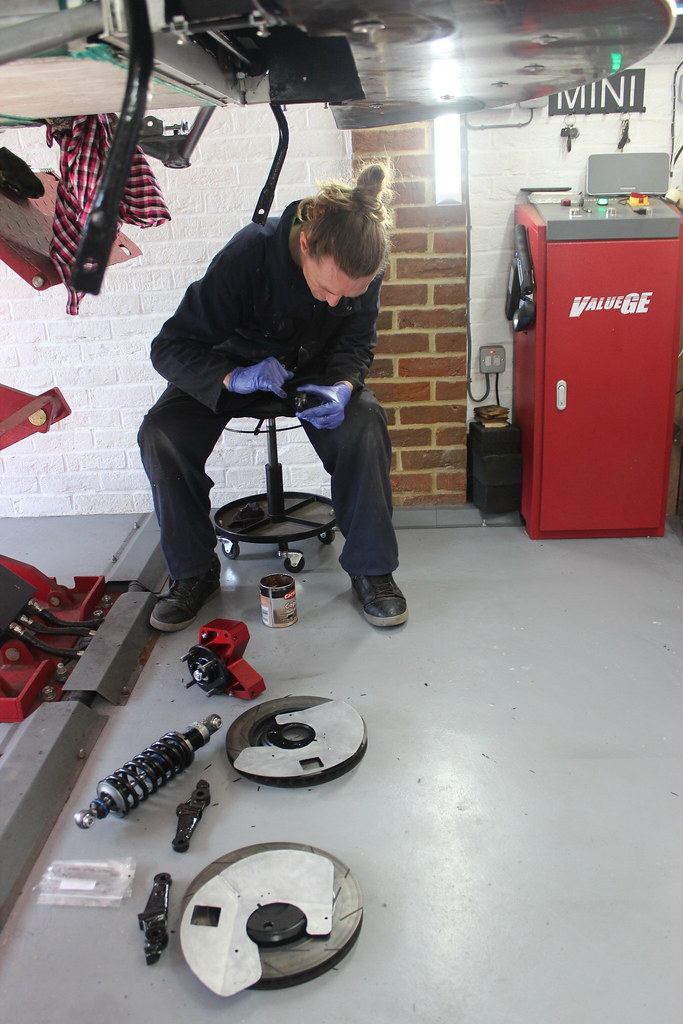
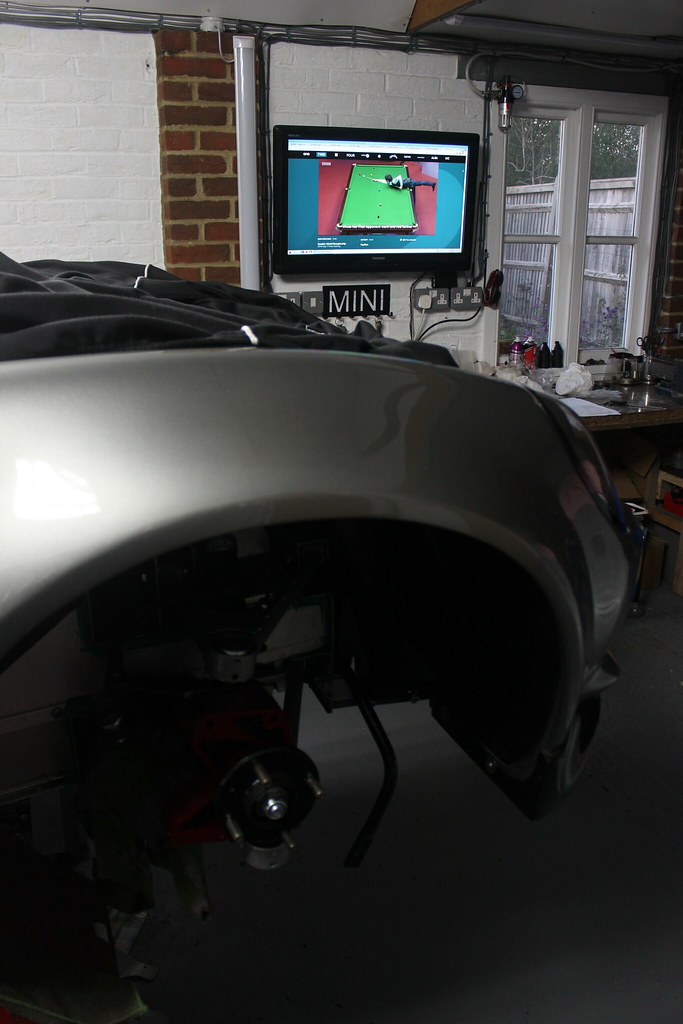
Keep an eye on the snooker 😉
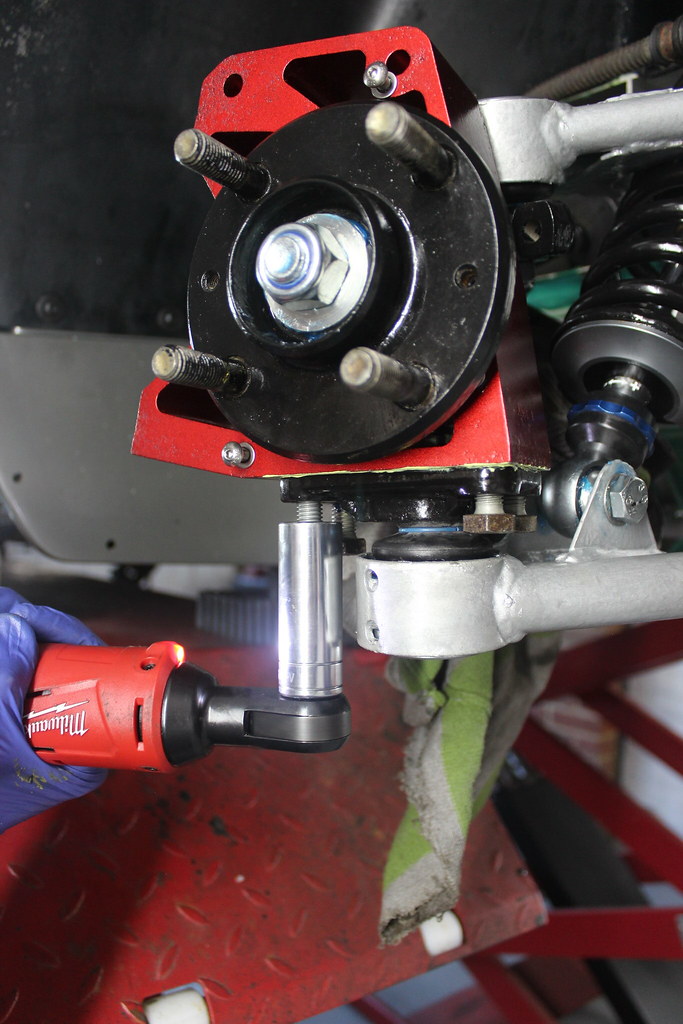
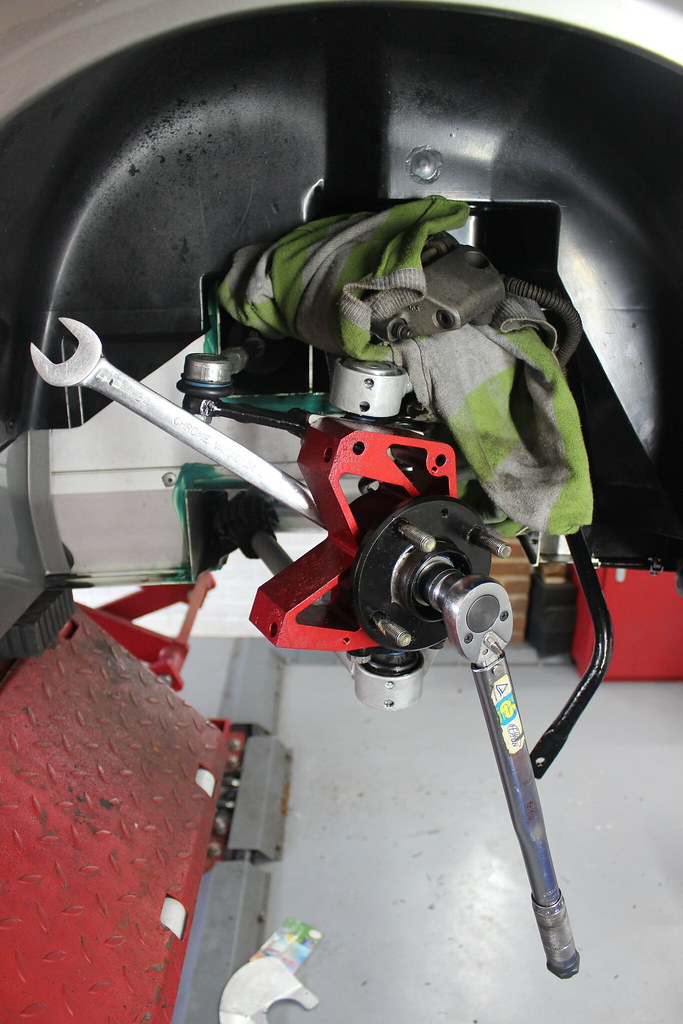
Now seemed as good a time as any to torque up the drive flange bolt. This needs to be done up very tight which was pretty difficult with my torque wrench. This resulted in me eventually upping my torque wrench game to get a couple of much better quality torque wrenches, one for proper tight stuff like this and another smaller one that is much better at lower torque values and better for getting into awkward spaces.
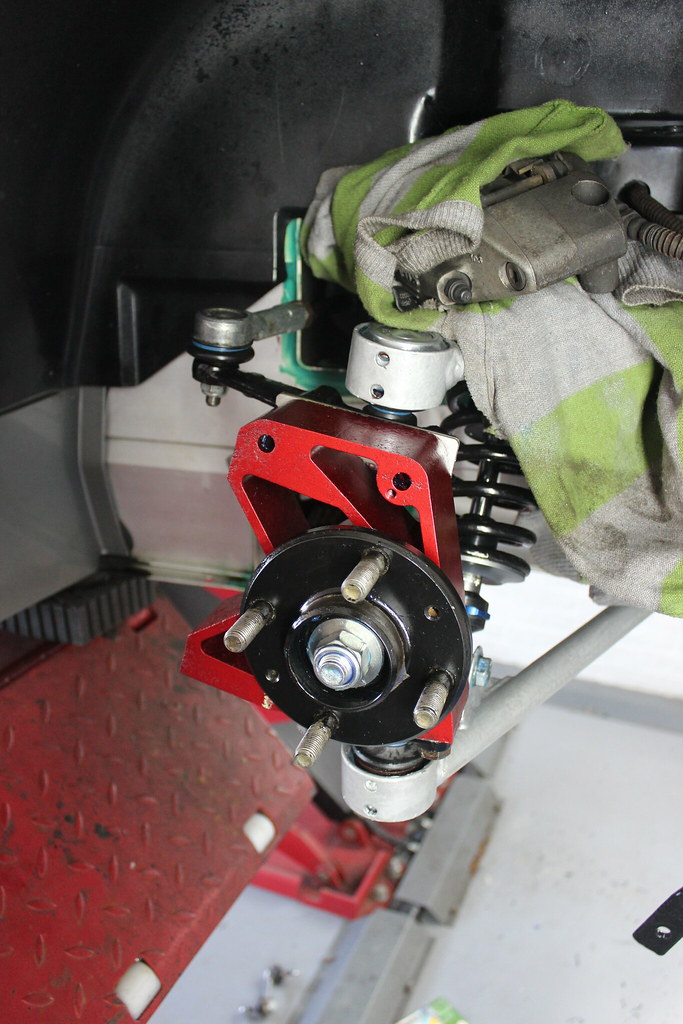
Track rod end and steering arm connected too.
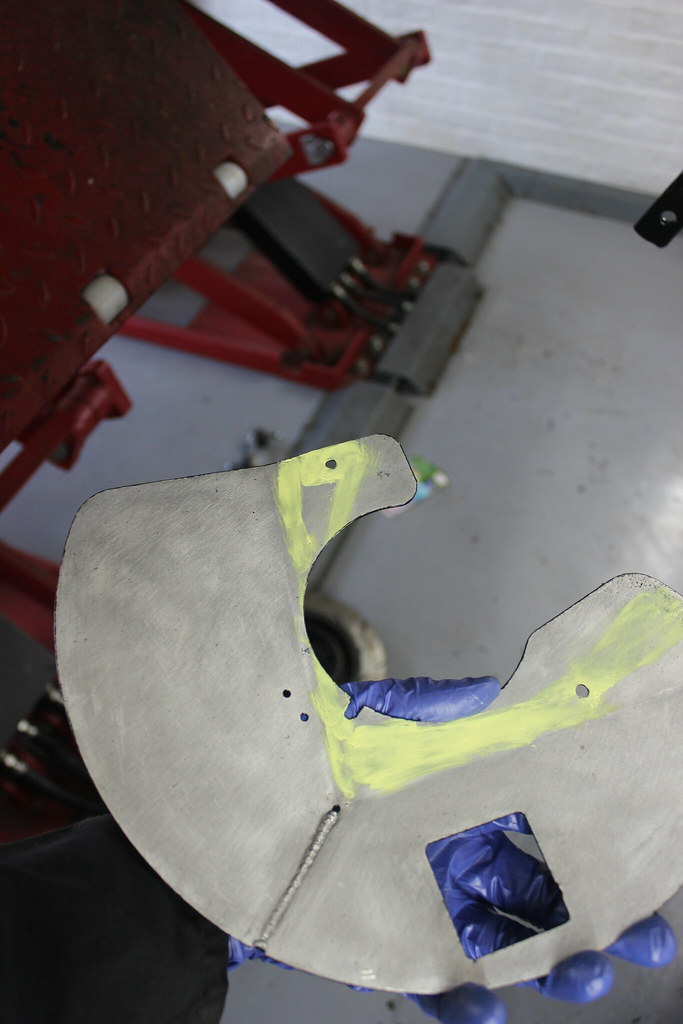
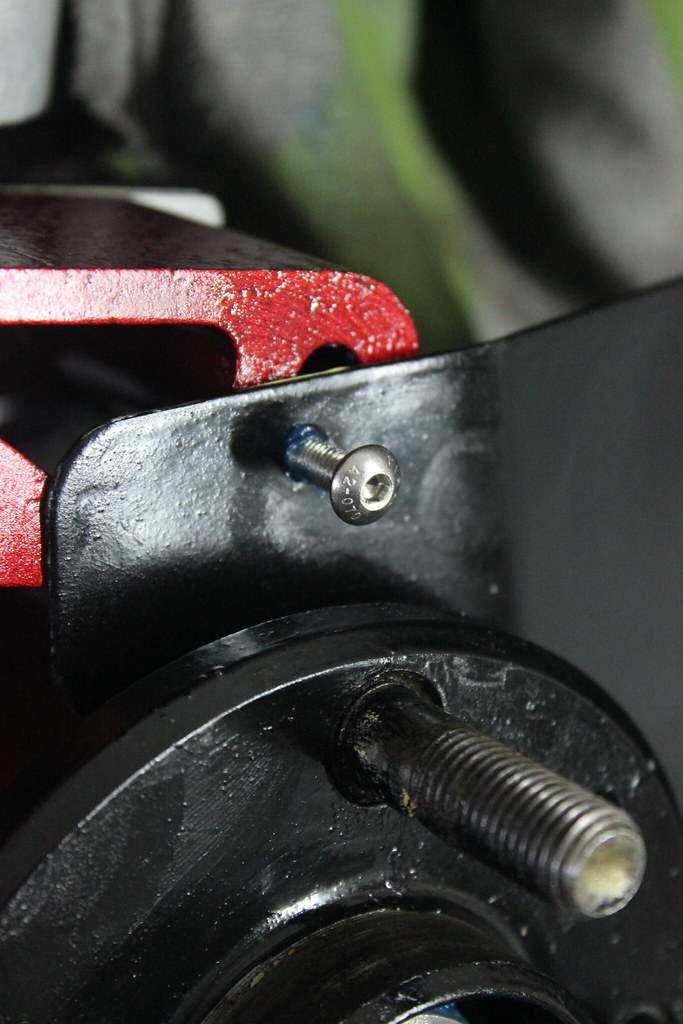
Disc guards next.
Duralac again.
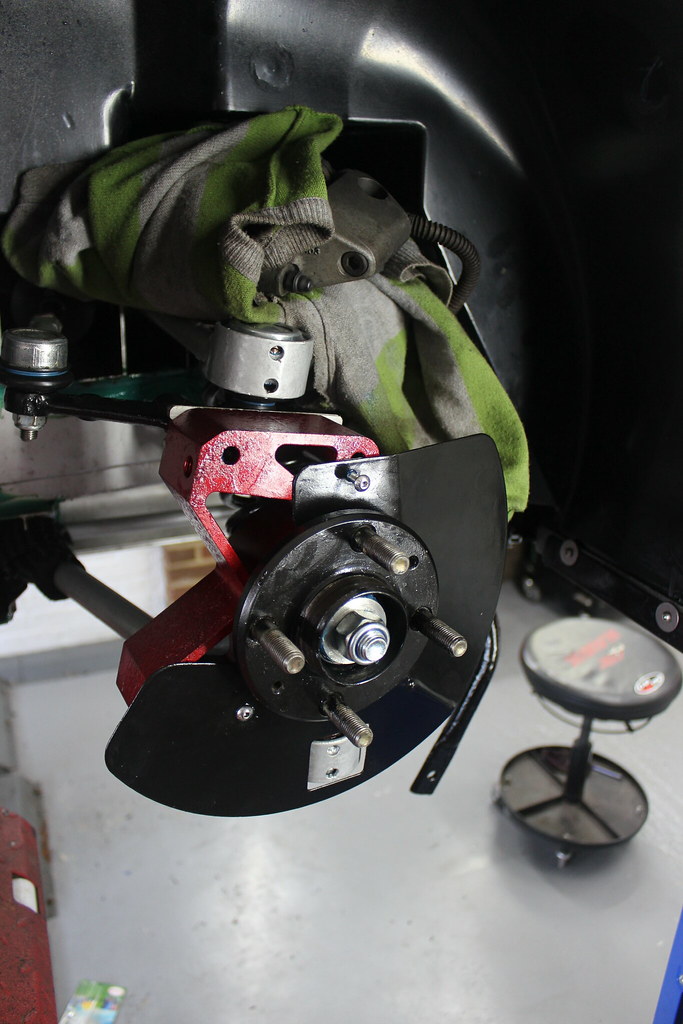
New stainless bolt with some corrosion block grease on the thread.
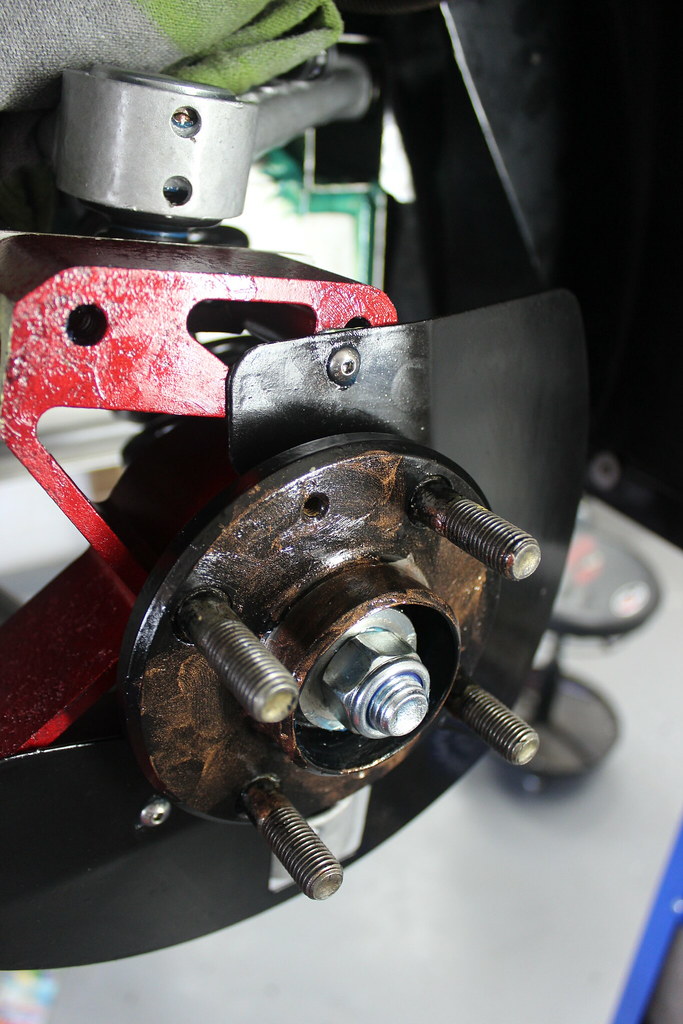
Copper grease on the flange face before the brake disc goes on.
Some Duralac between the mating faces of the hub carrier and brake caliper.
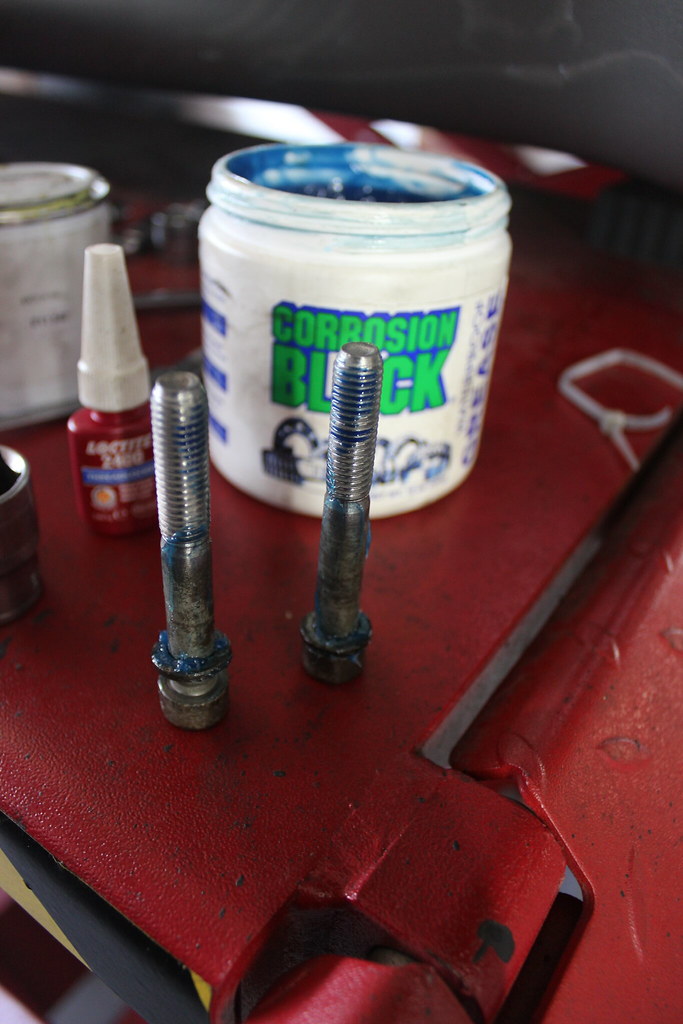
Brake caliper bolts thoroughly cleaned with a wire wheel.
Brake caliper bolts with thread lock applied to the thread and some corrosion block grease applied to the shoulder.
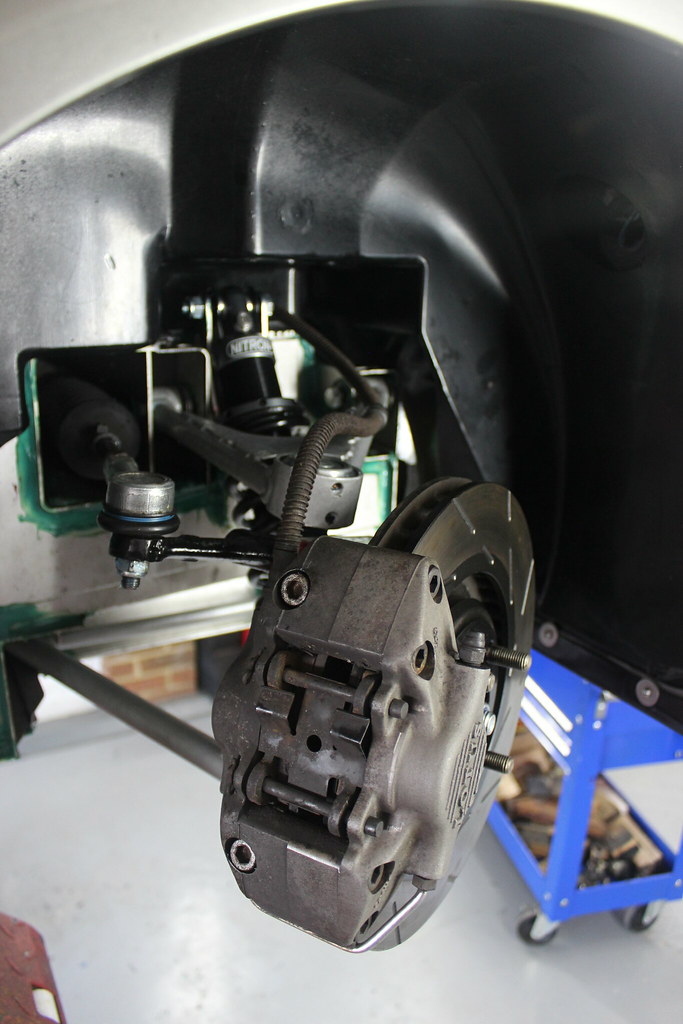
Caliper on.
A new P-clip for the brake line.
And finally some new anti roll bar drop links.
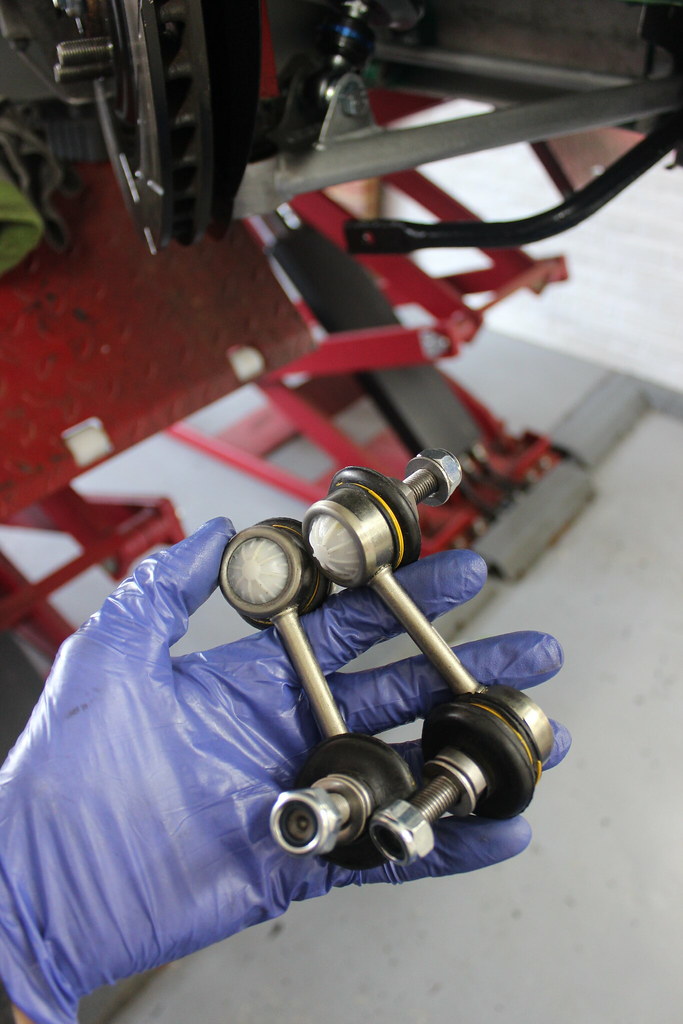
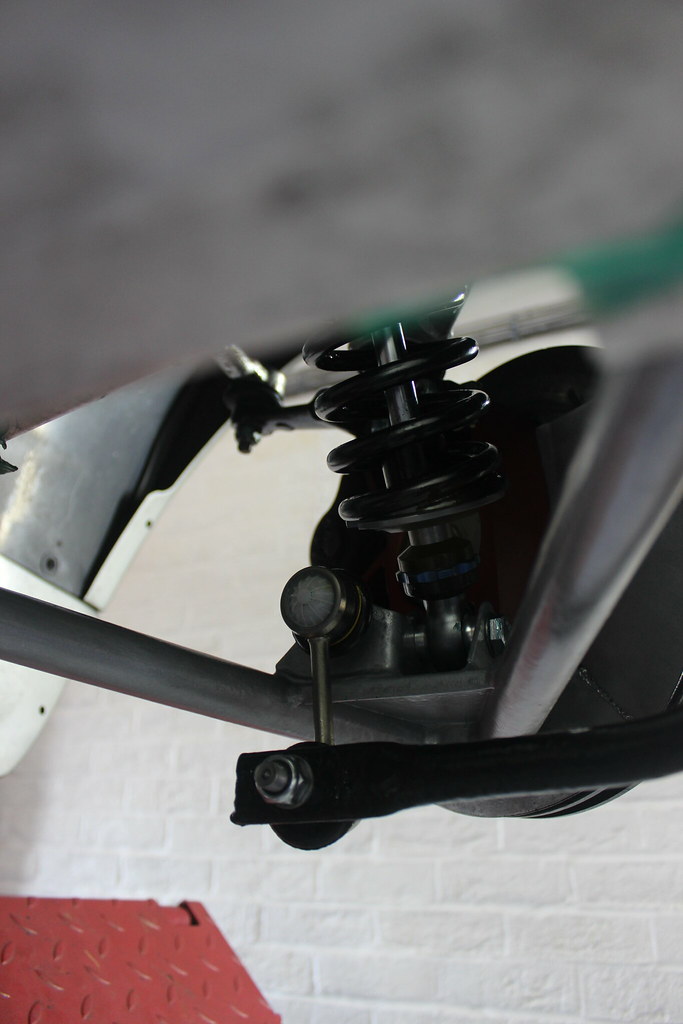
One side…
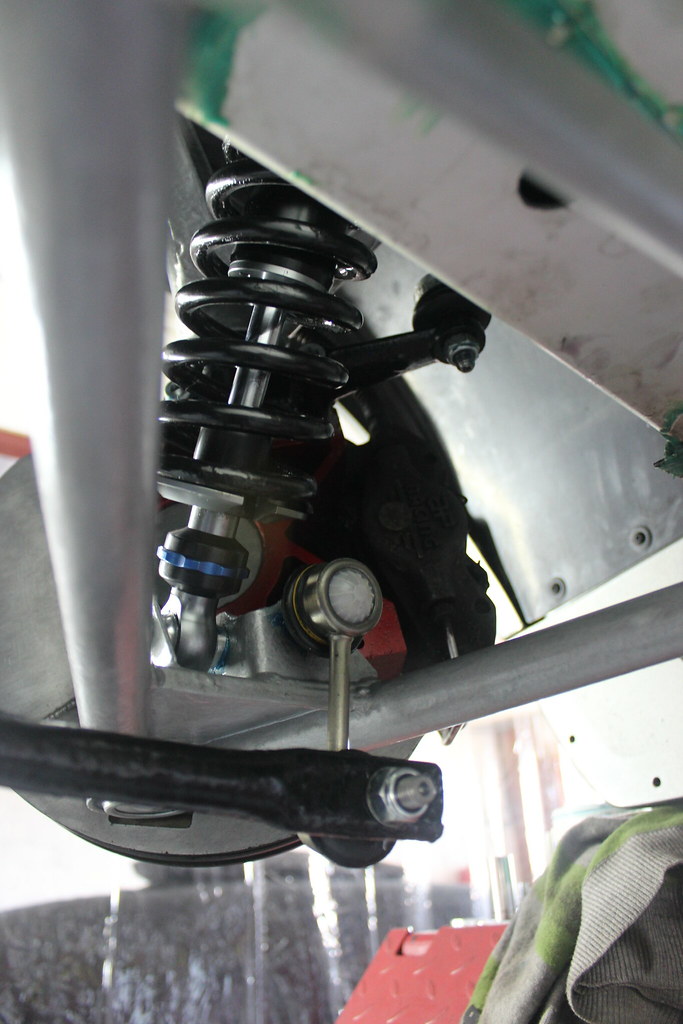
the other side.
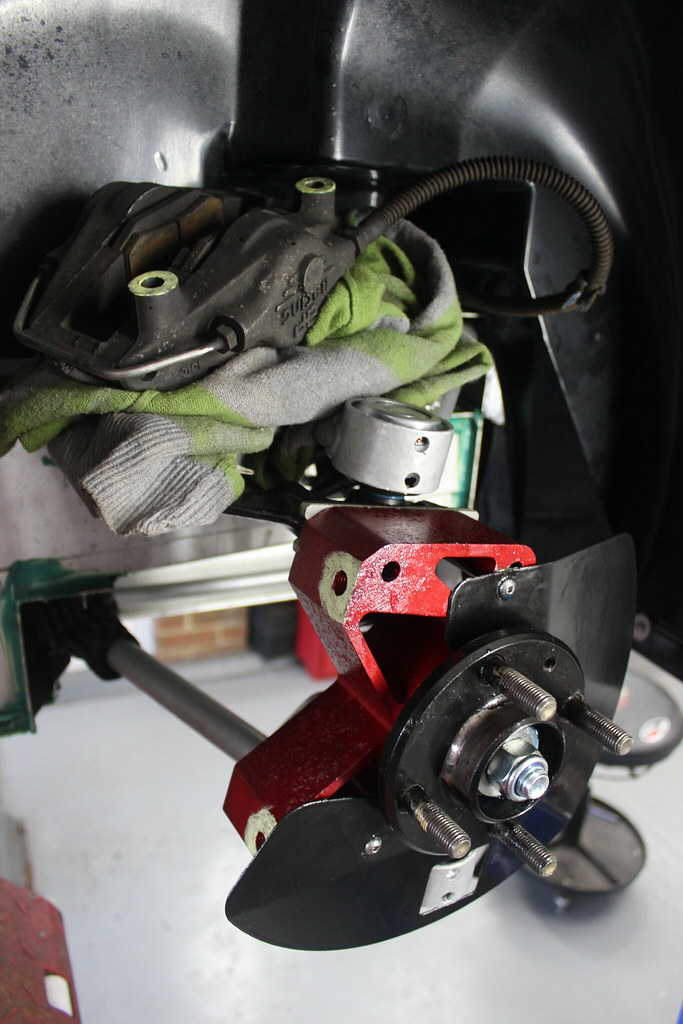
That’s the front end done.
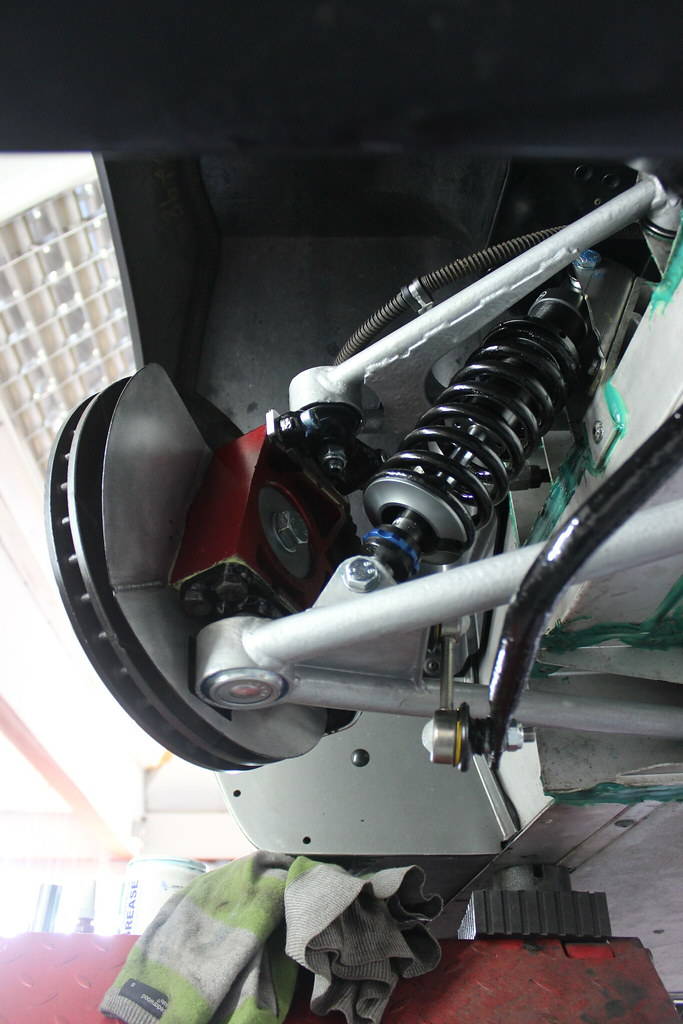
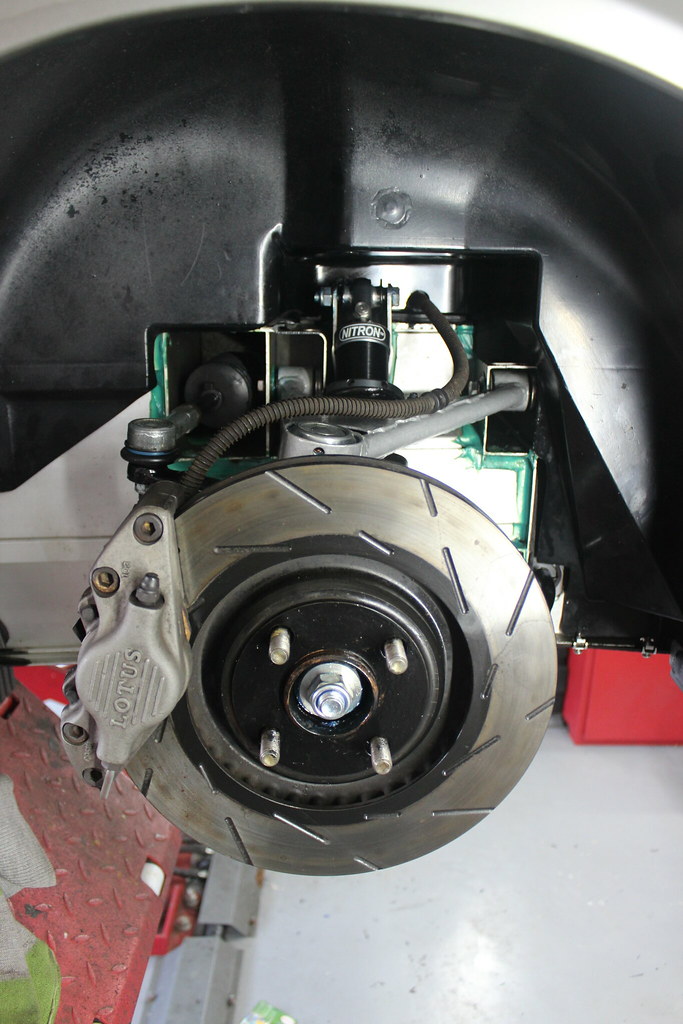
Not looking too bad now. 🙂