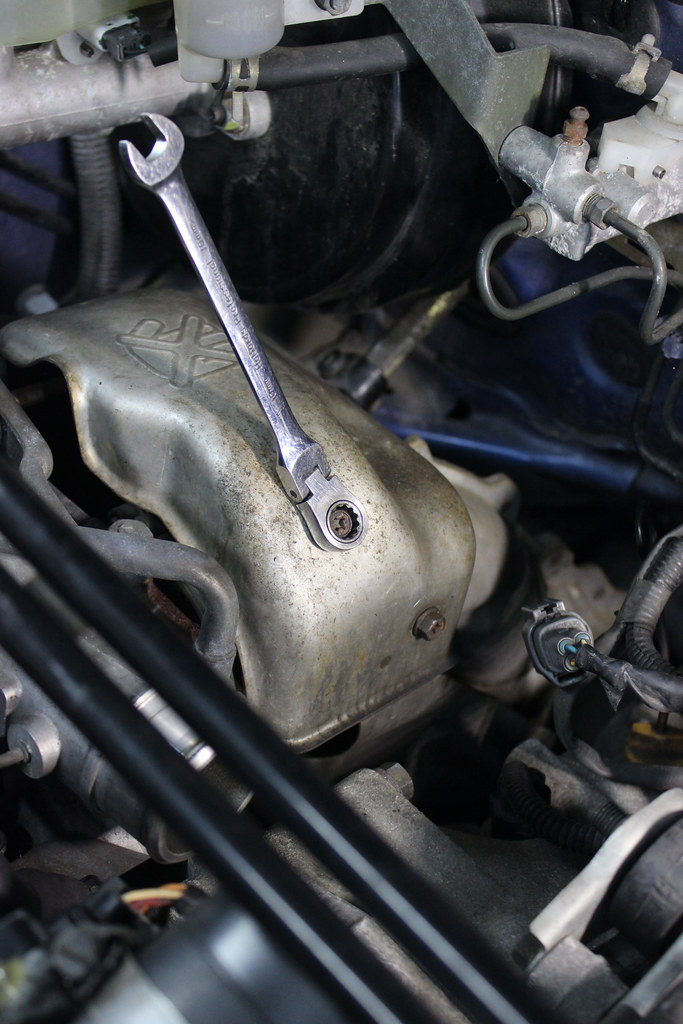
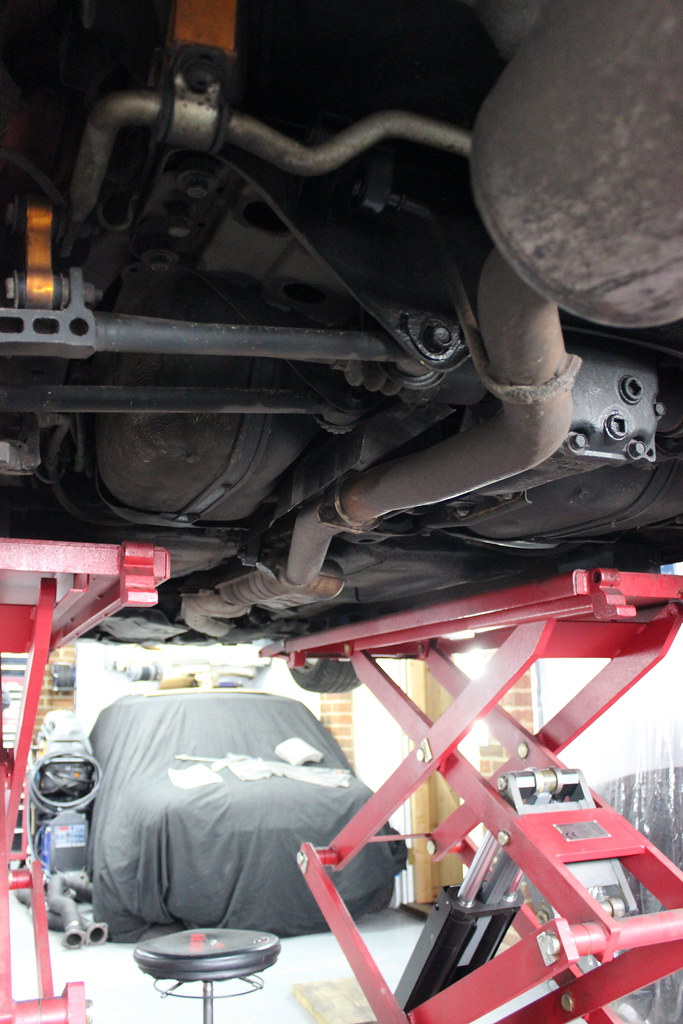
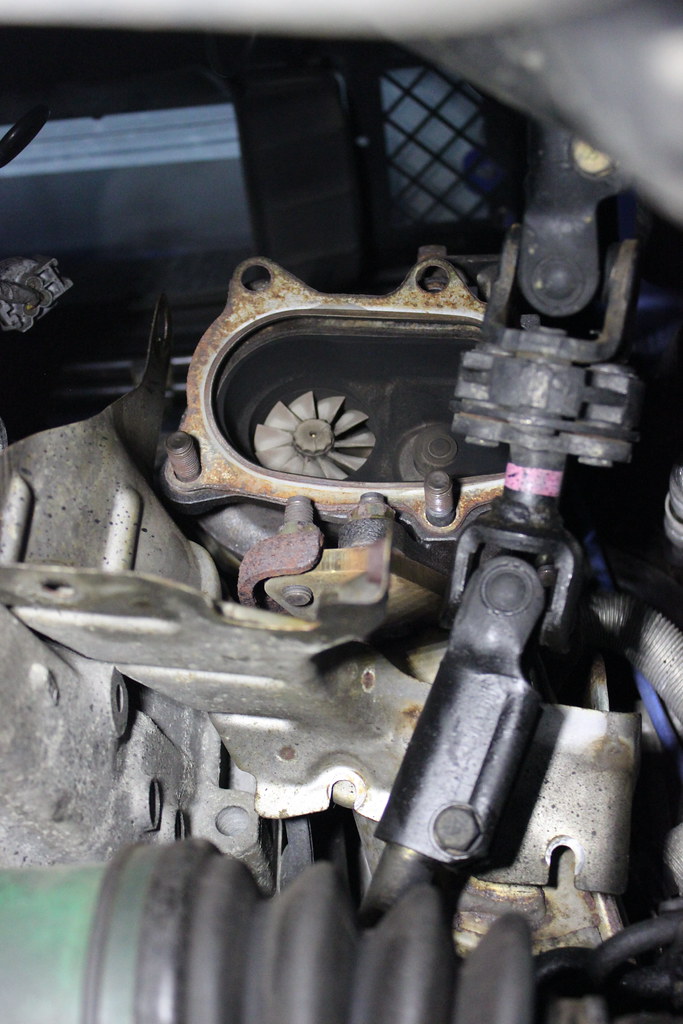
An important part of getting the most power out of the EJ255 in the Forester STI is improving exhaust flow. The factory catalytic converter (cat) is quite a restriction on flow and it being right at the outlet of the turbo will really reduce the speed the exhaust gas can flow through the exhaust turbine of the turbo. This means max achievable boost will be effected and boost will be slower to build.
To my mind the best option for the best flow but without removing the cat (no cat means no MOT or refitting one for MOT every year which I can’t be bothered with, also they are there for a good reason) would be a 3″ diameter system from the turbo back with a sports cat, ideally not right after the turbo but further down the system.
The only problem was, at the time at least, there really weren’t many options to fit the Forester STI. Though it’s the age of the ‘Newage’ Impreza, the exhaust arrangement is more like that of a ‘Classic’ Impreza. Also, though the floor pan/chassis of a Forester is basically the same as the same age Impreza so most of an Impreza exhaust will fit, the Forester rear bumper sticks out much more and the rear section hangers are arranged differently to an Impreza. The added complication with a Forester STI is that it’s bumper sticks out more than an Impreza but less than the normal Forester.
So I needed to find either a turbo back 3 inch system with sports cat where I wanted it (not in the downpipe as they usually are) for a Forester or an Impreza then work out what to do with the rear section once I had it and could see how it landed in relation to the bumper and rear hangers. I also wanted a system manufactured by a known quality brand as cheap items on eBay can be great value for money but they can also simply not fit!
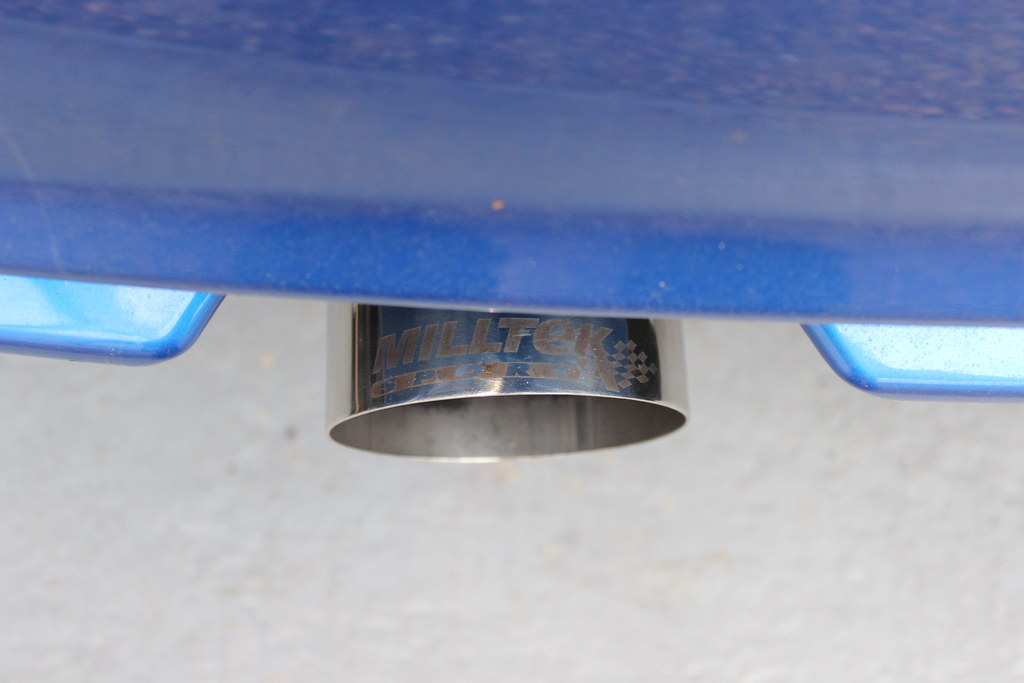
Eventually I found a Milltek system for a Newage Impreza, 3″ from the Turbo back, with a sports cat in the centre section and with a sensible sized slash cut tail pipe.
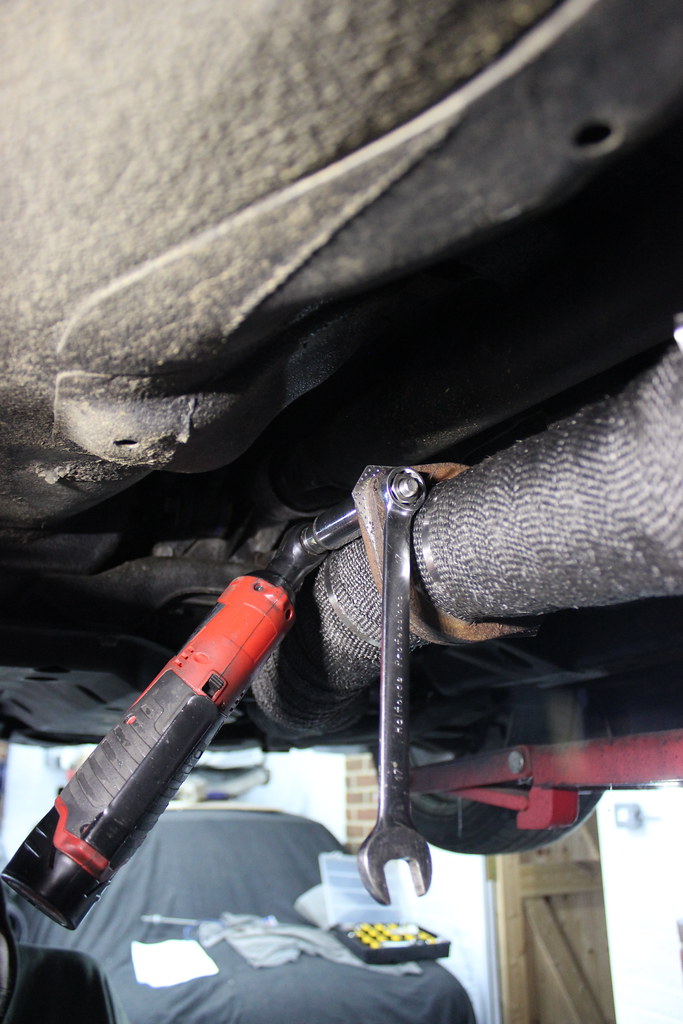
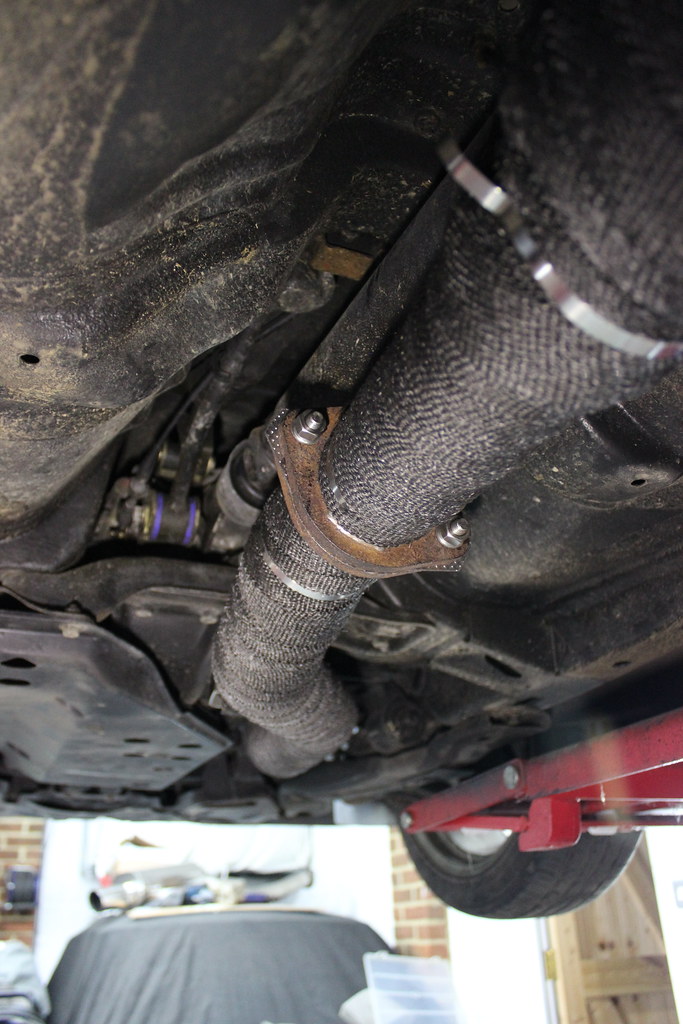
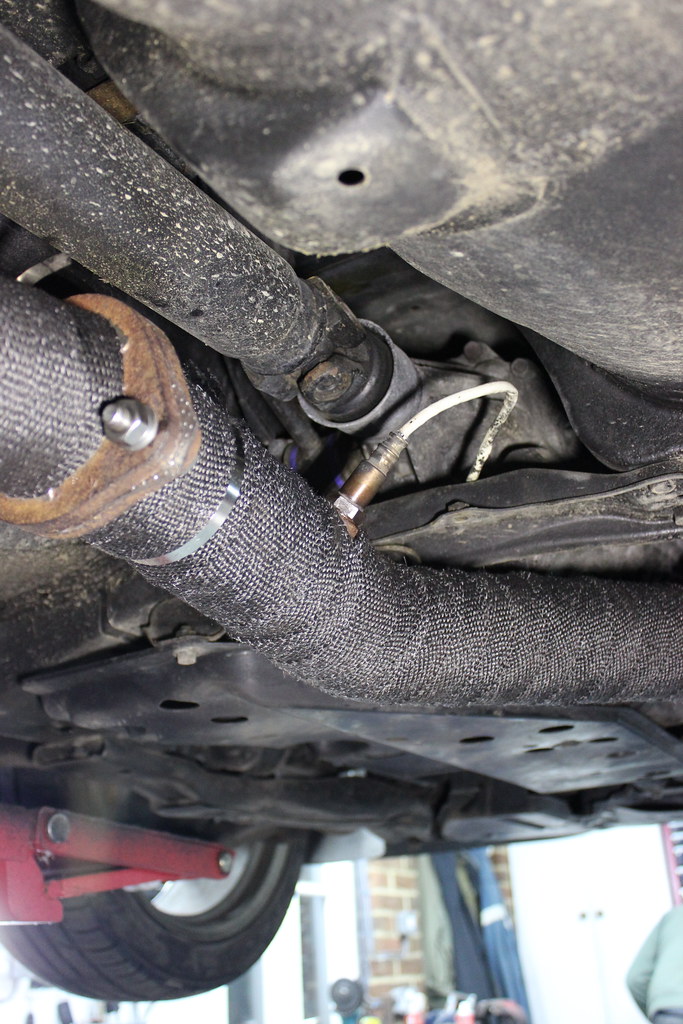
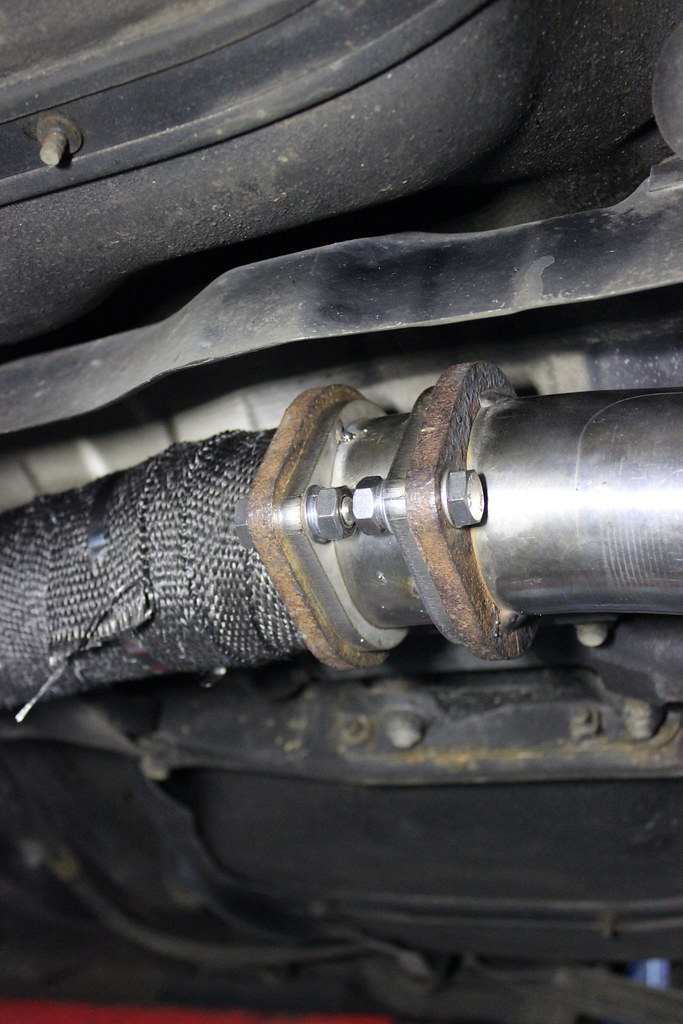
The only potential downside to having the cat not in the downpipe and further down the system is that it might not get heated so well and a cat needs to be nice and hot to work properly. The best thing I thought I could do to reduce the likelihood of this being a problem was to heat wrap the exhaust from the turbo to the cat. This was something I would have done anyway though, as it’s good to help prevent any exhaust heat cooking anything as the pipe is much larger than the standard system so closer to things and the original exhaust has lots of heat shielding that would not all be able to be reused.
Here comes many many many pictures of the job, start to finish.
Some black exhaust wrap and stainless ties.


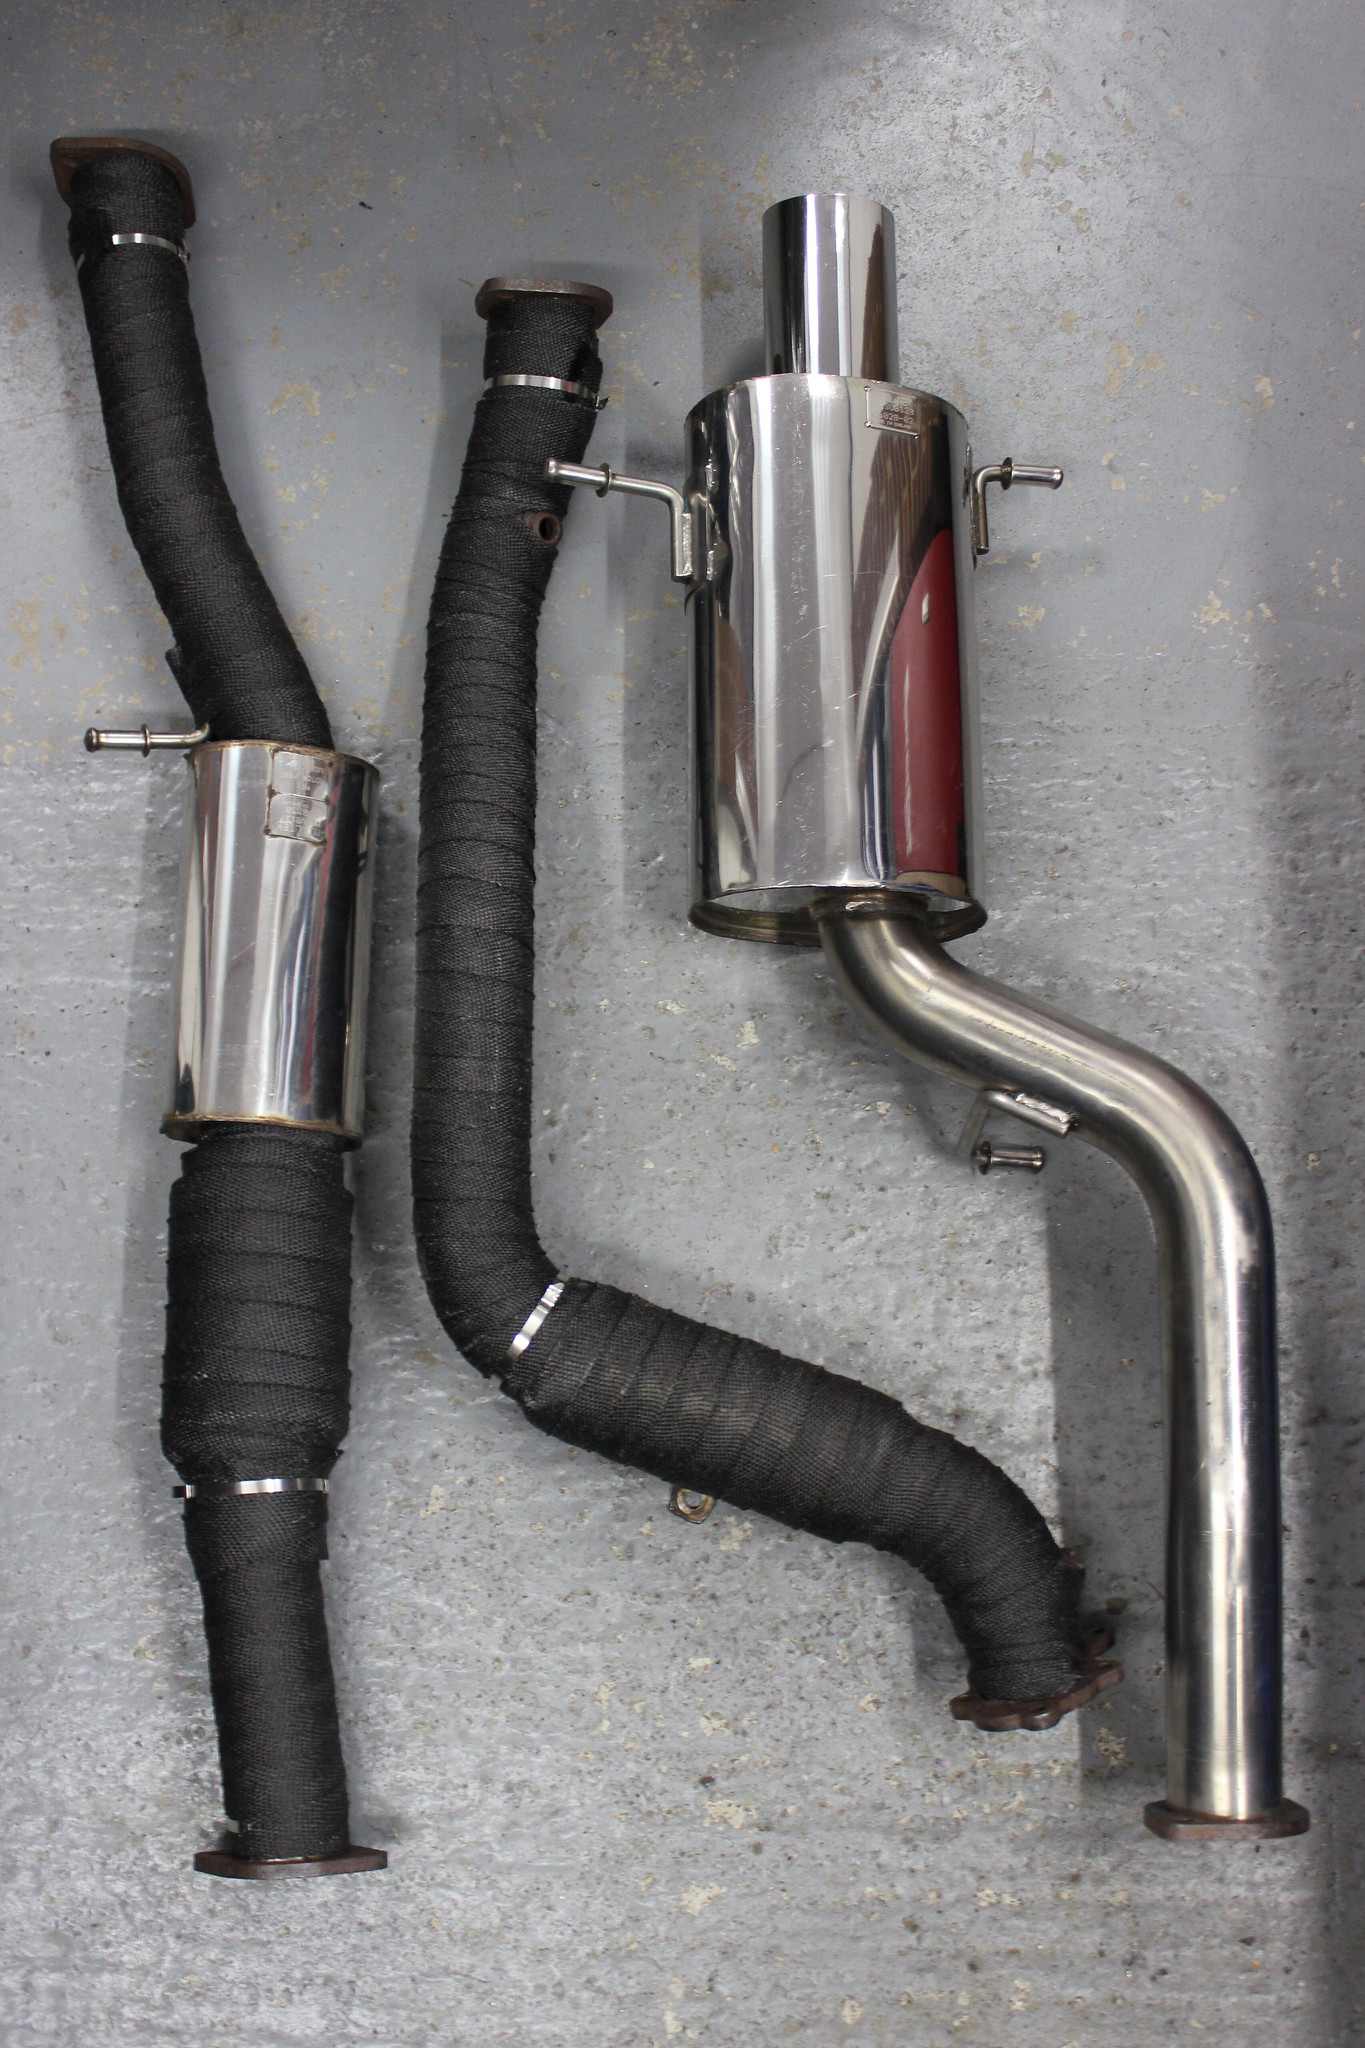
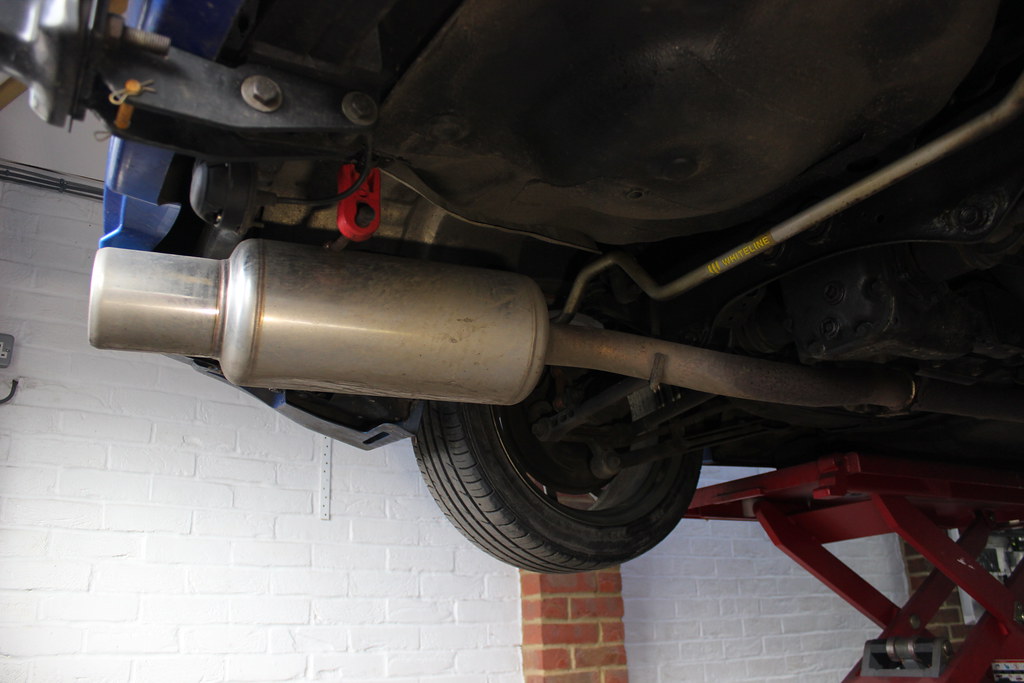
Here you can see the system has a small resonator / silencer in the down pipe to keep it from being too noisy, then the cat is in the centre pipe, followed by another silencer. Then a decent silencer in the rear section.

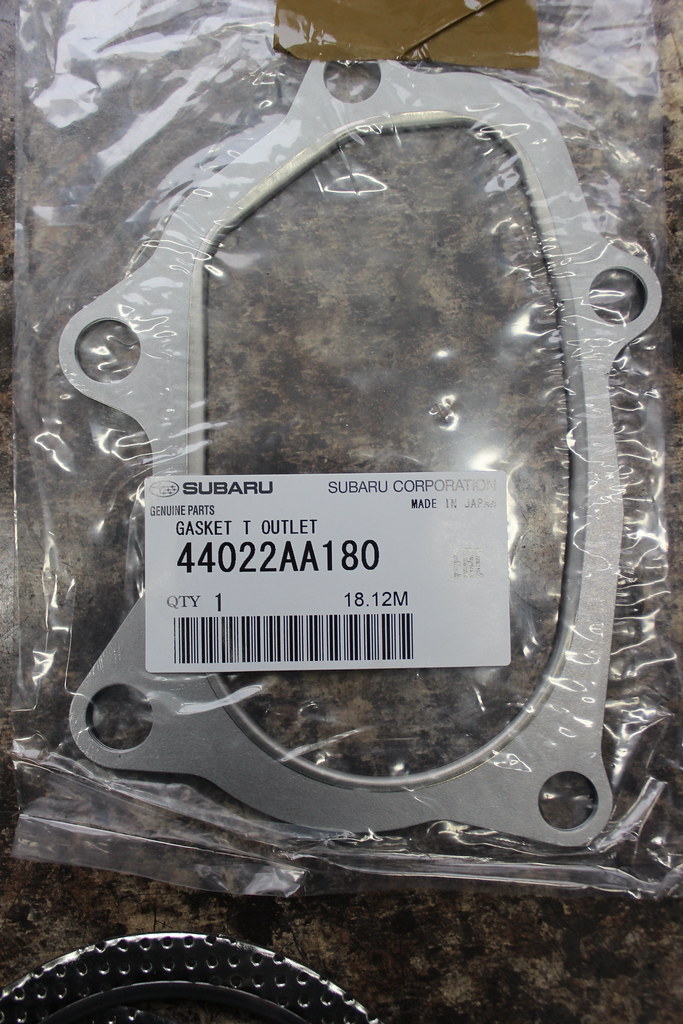
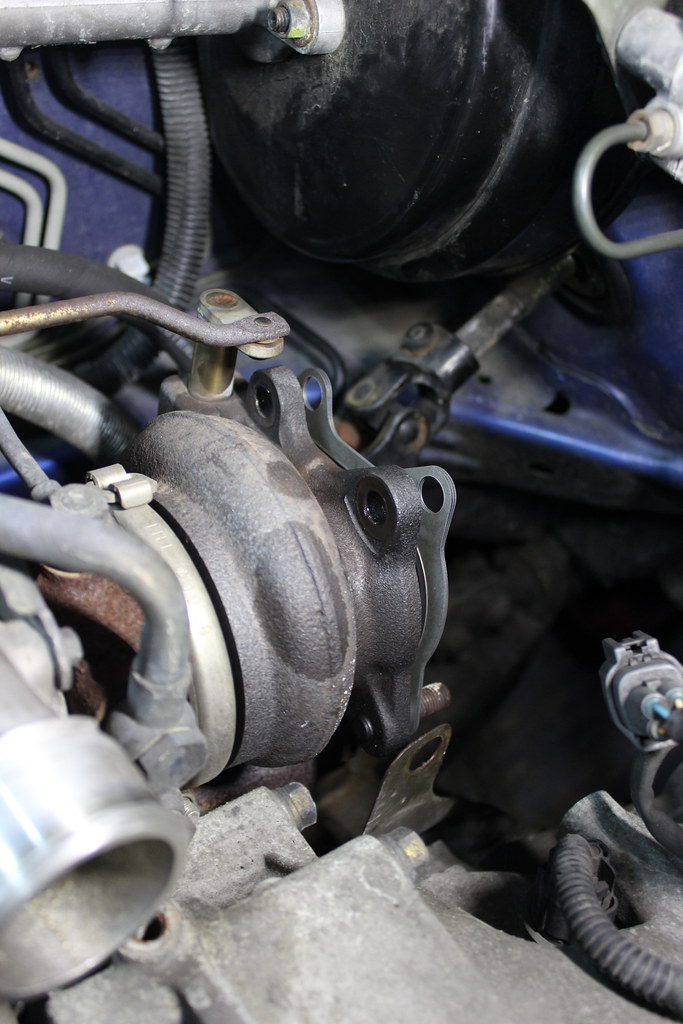
A new genuine Subaru turbo outlet gasket. Don’t waste money on anything else for this joint.

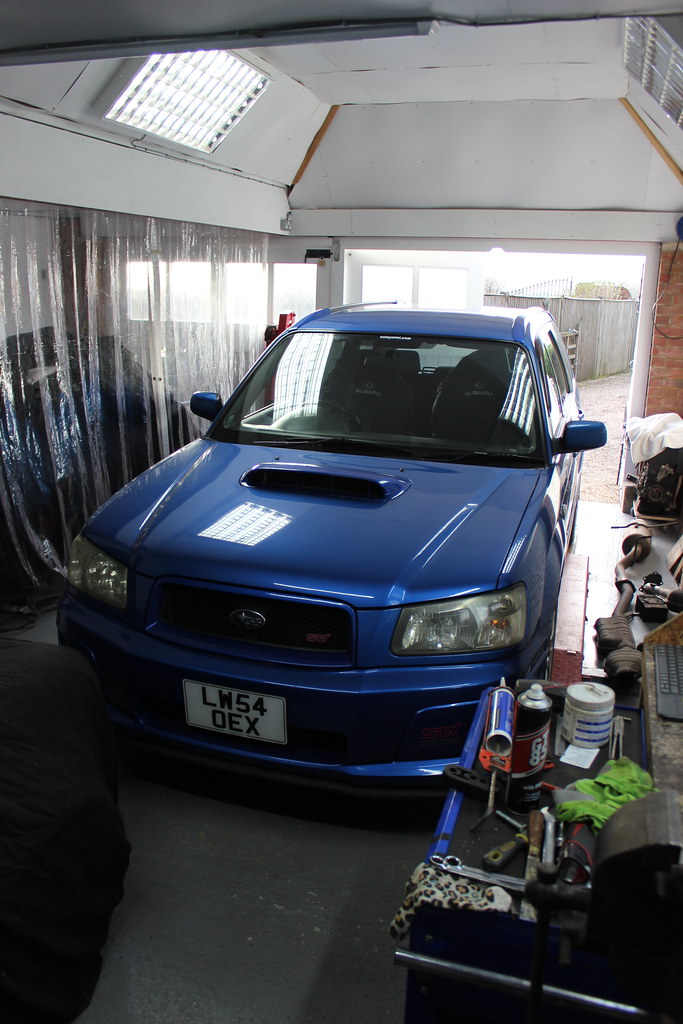
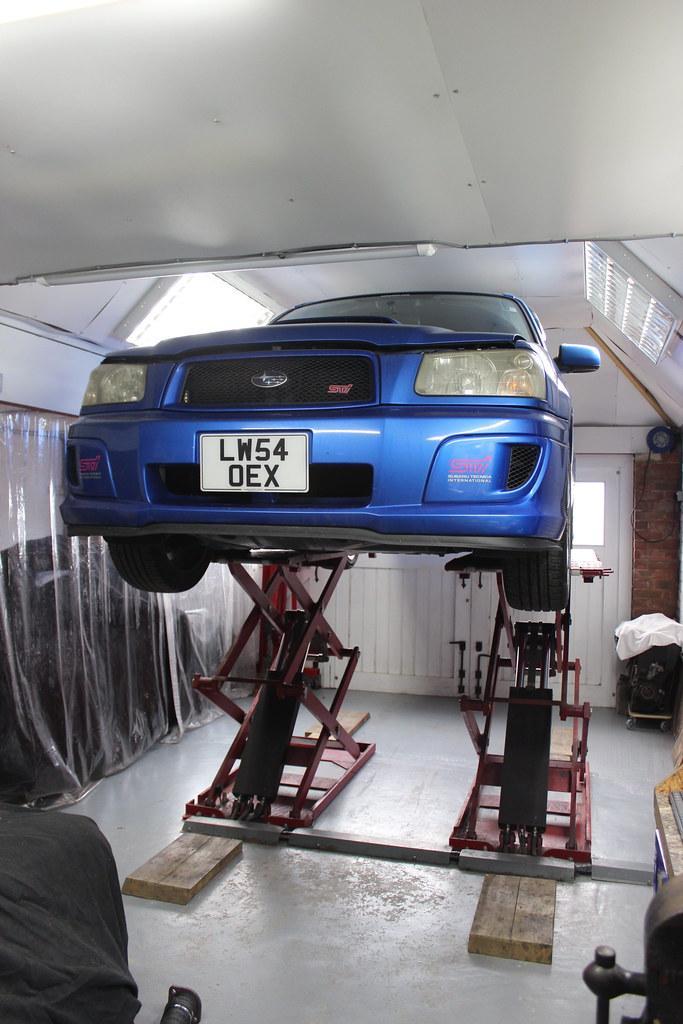
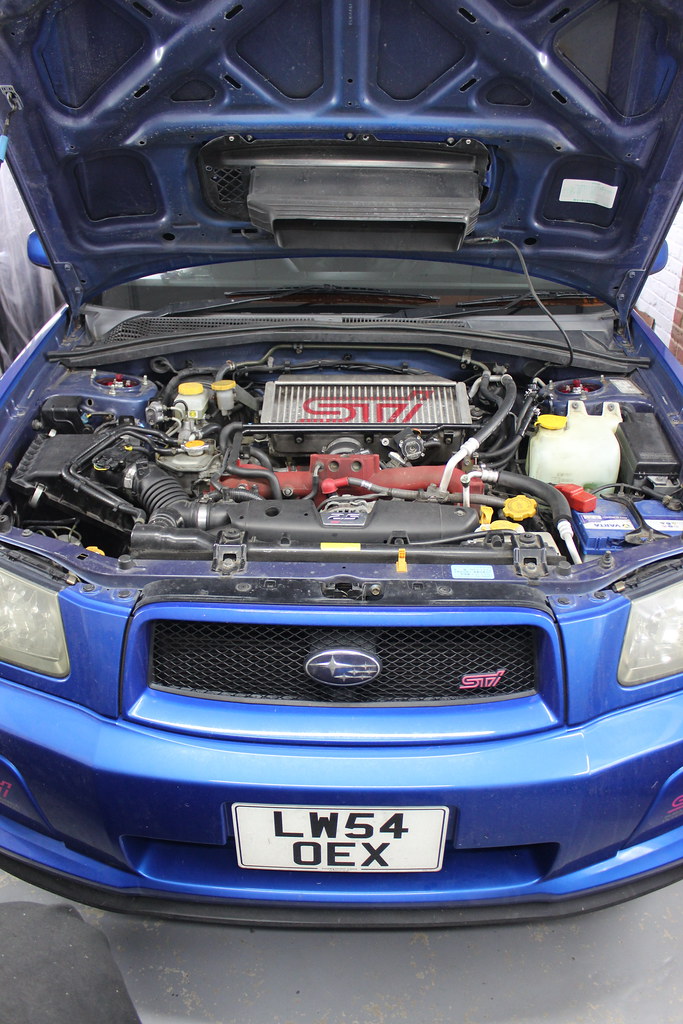
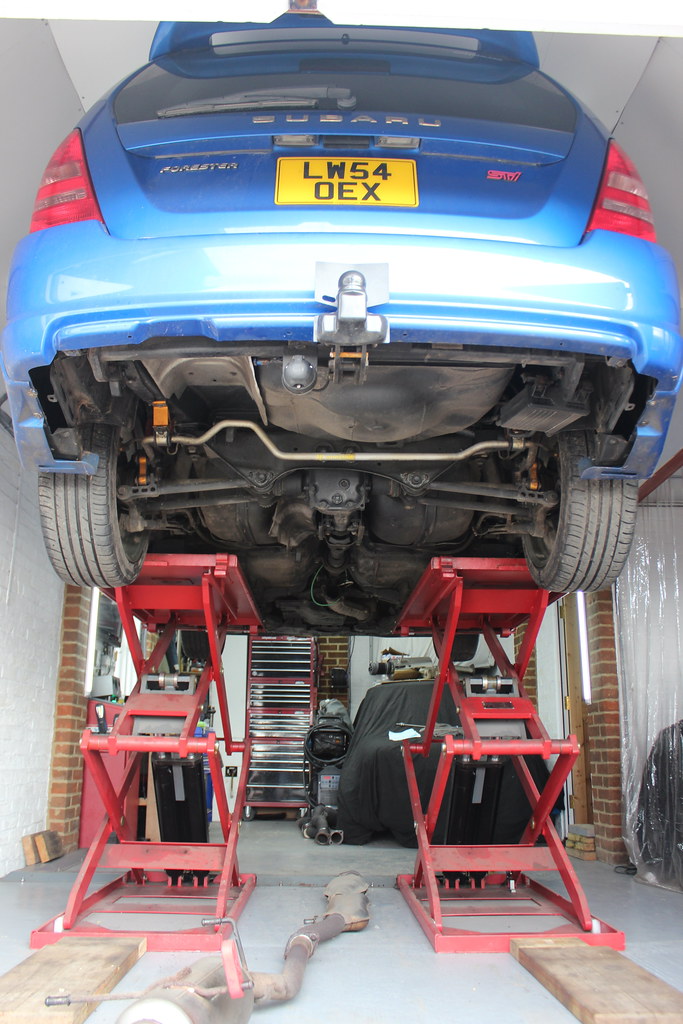
Some car shuffling to get the Forester in the garage.


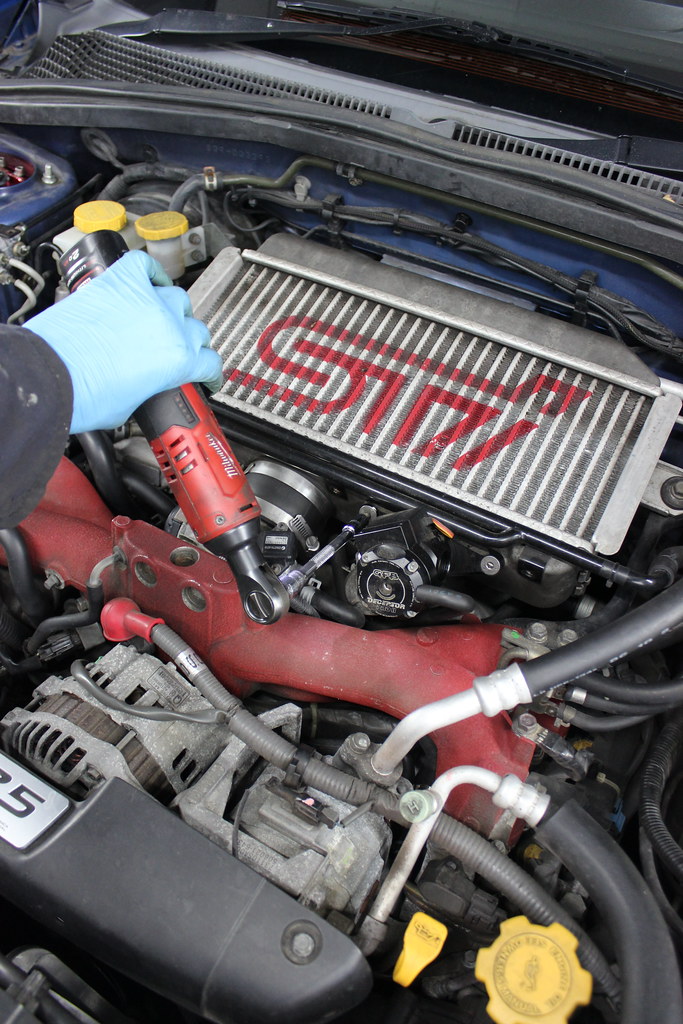

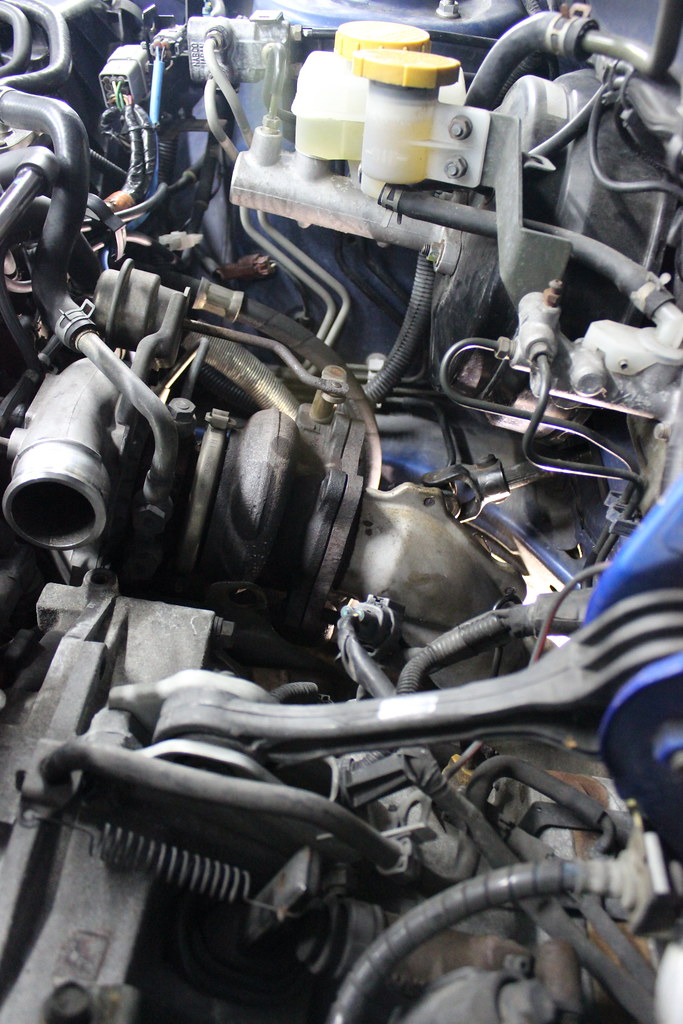
Intercooler off.


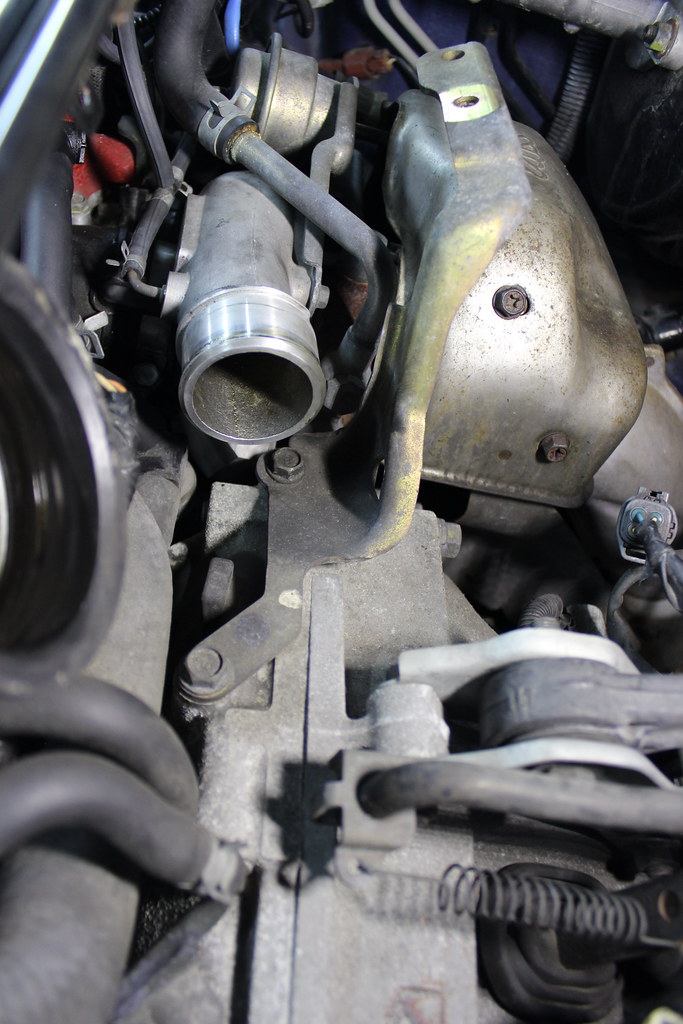


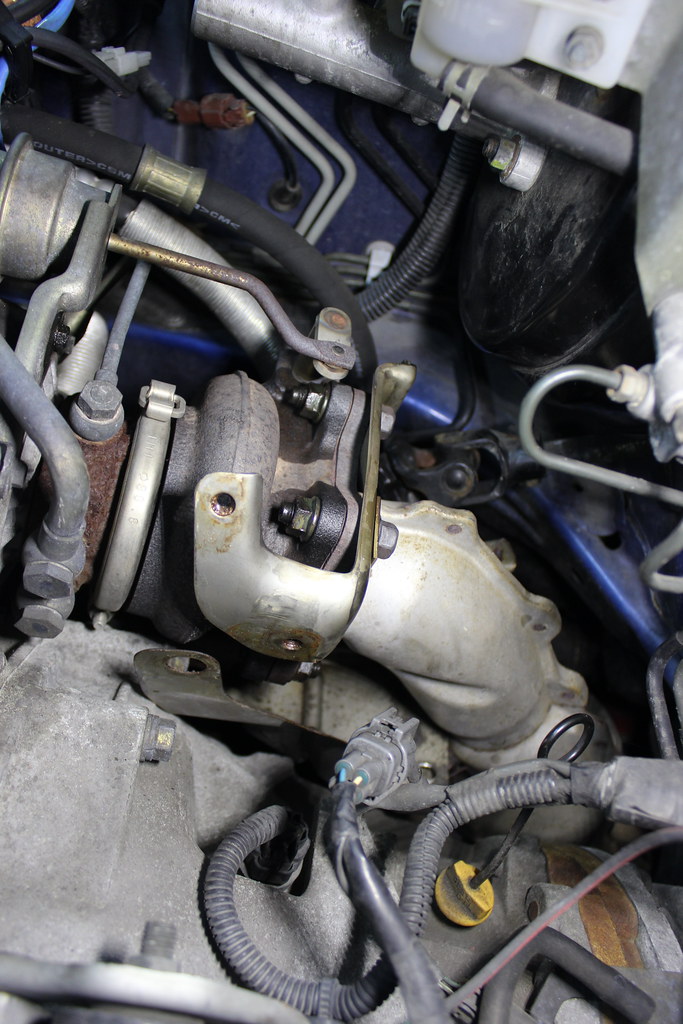


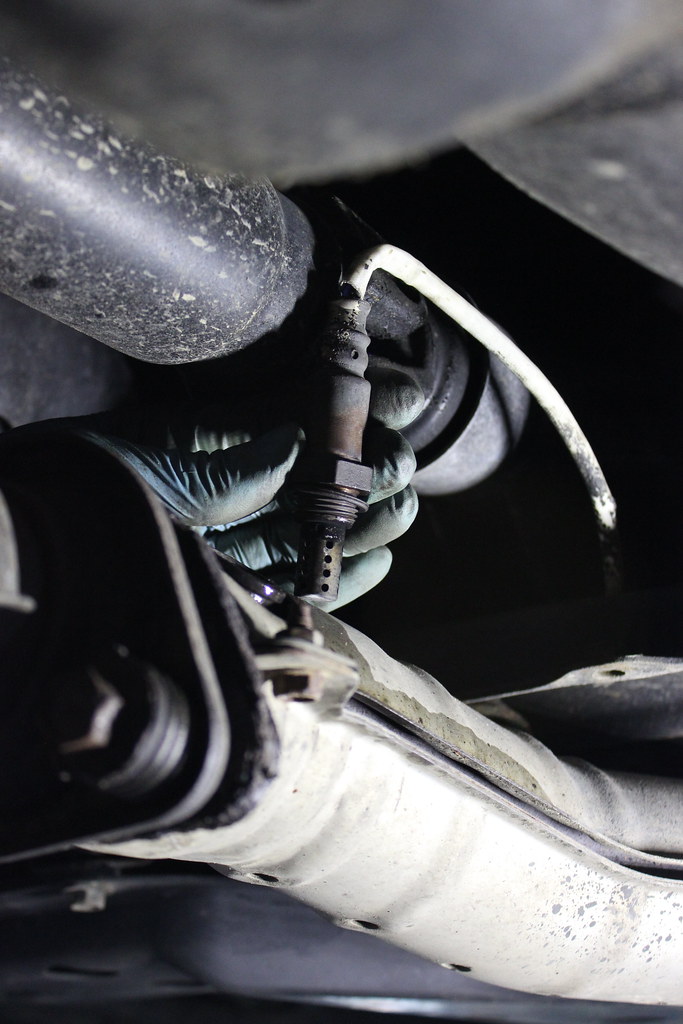

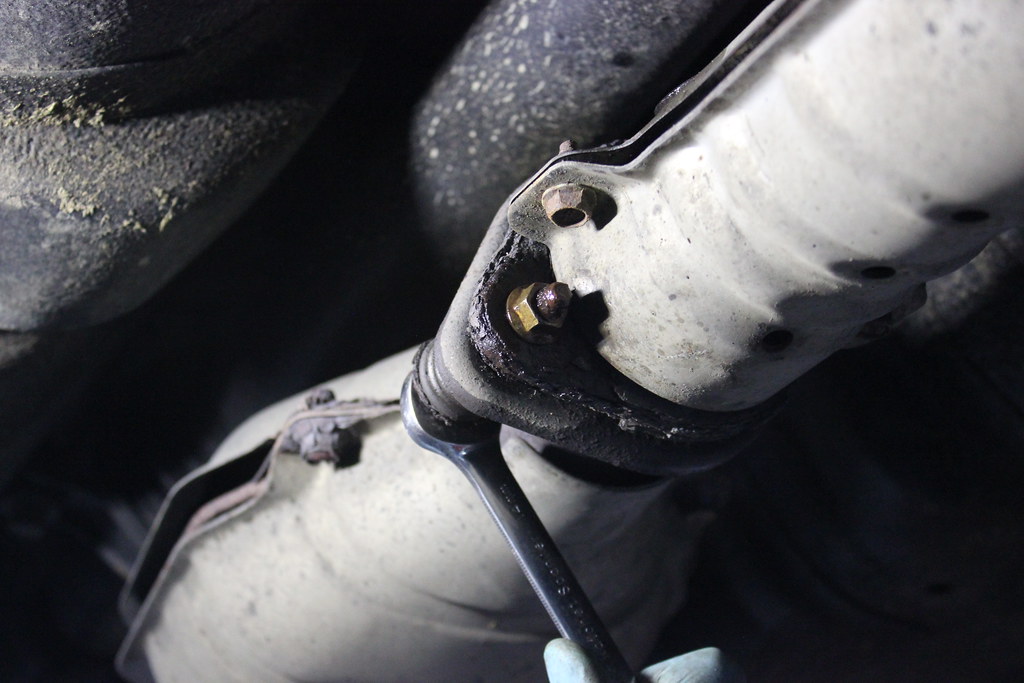
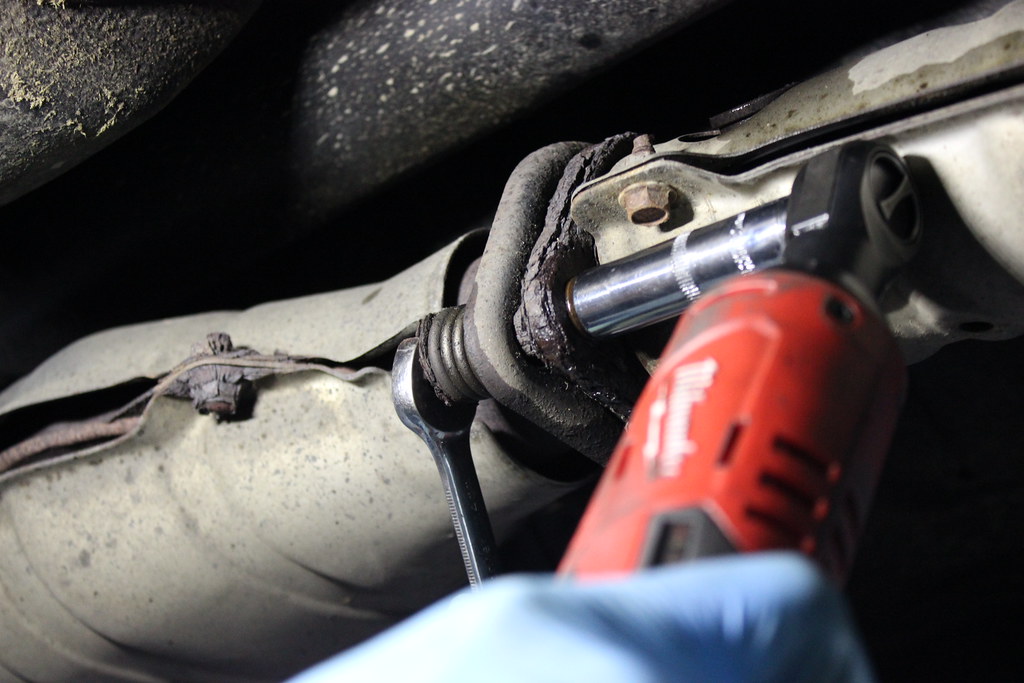
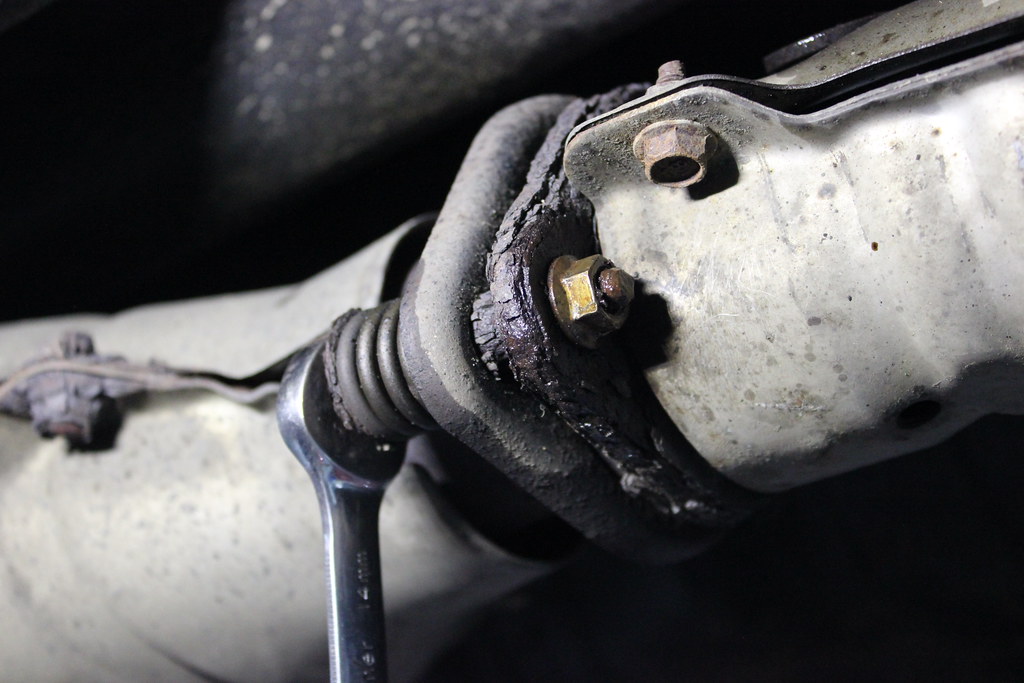


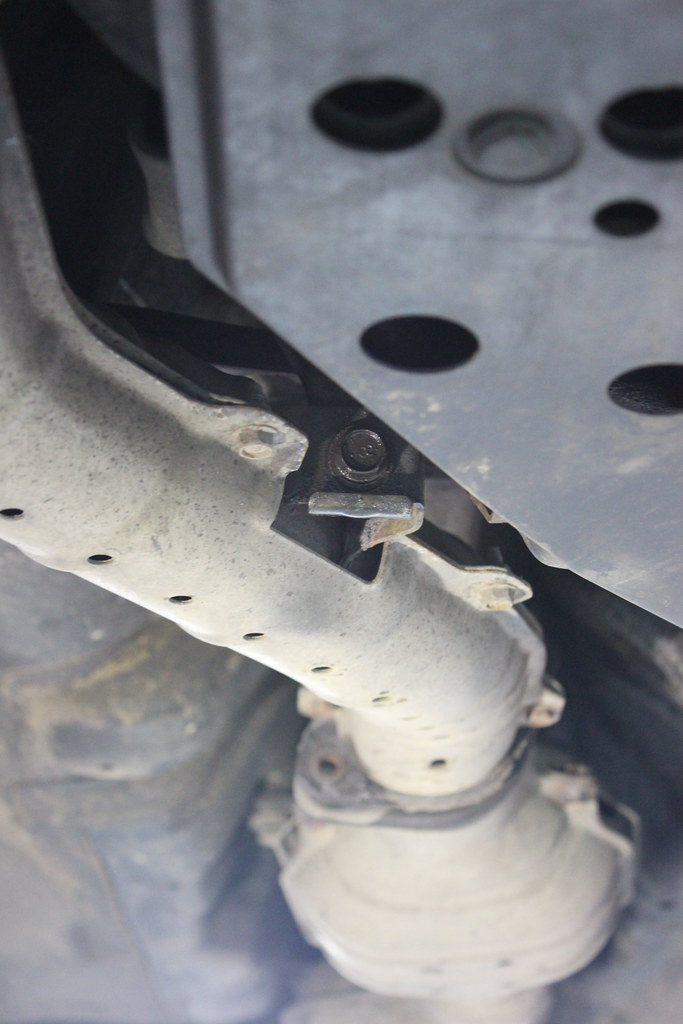


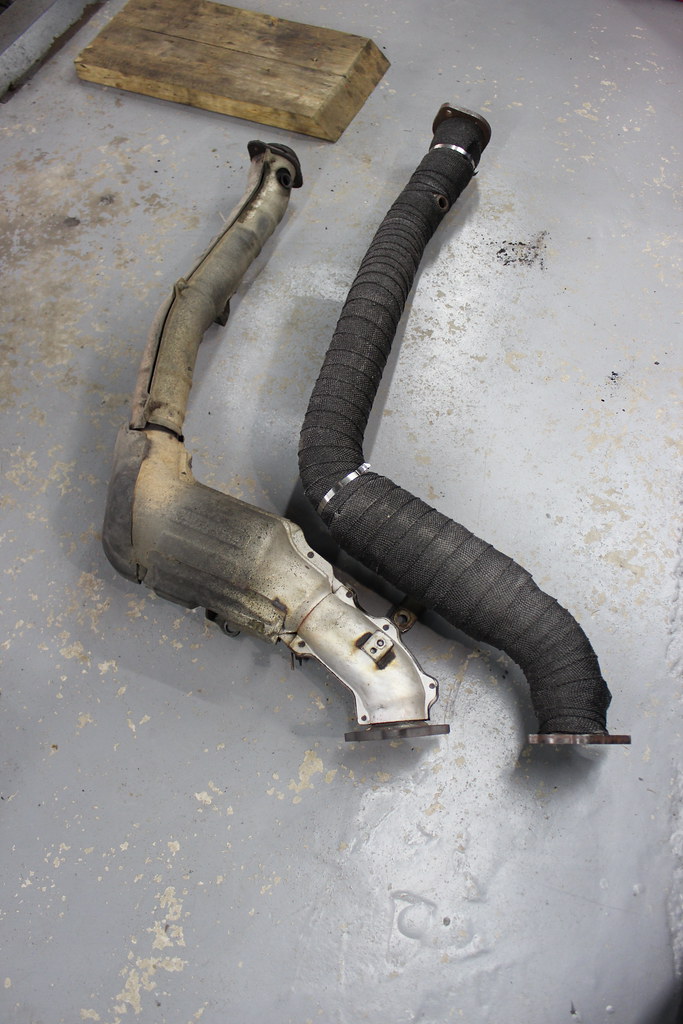
Old exhaust off.
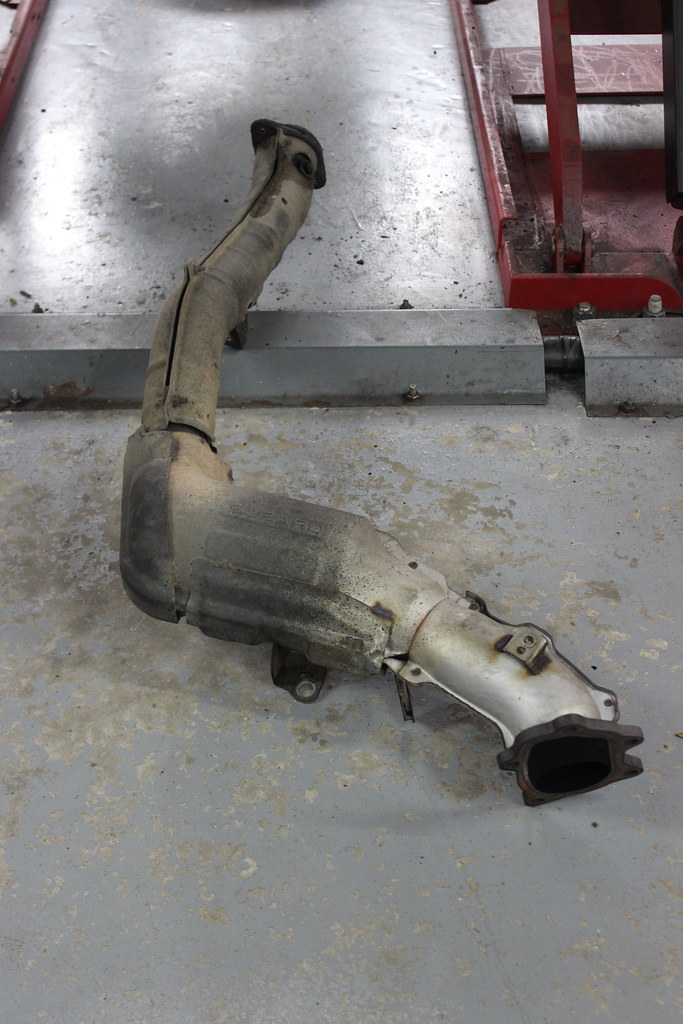
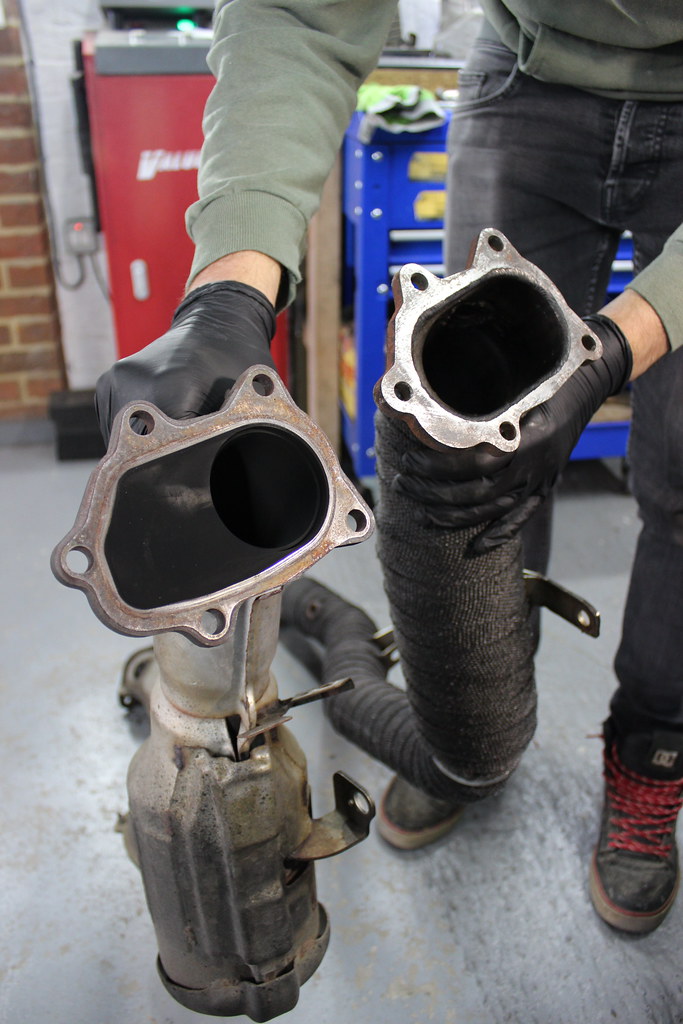
They look the same shape which is a good start.


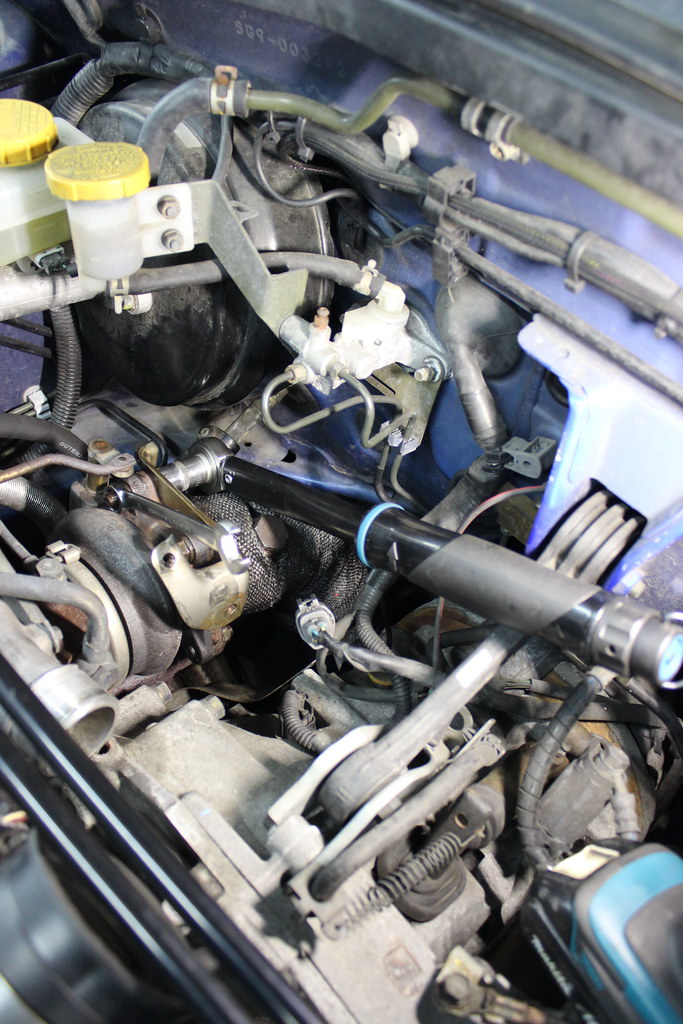
Milltek downpipe on. This fitted perfectly which is why the extra expense is worth it for a proper branded exhaust system over a cheap eBay special.


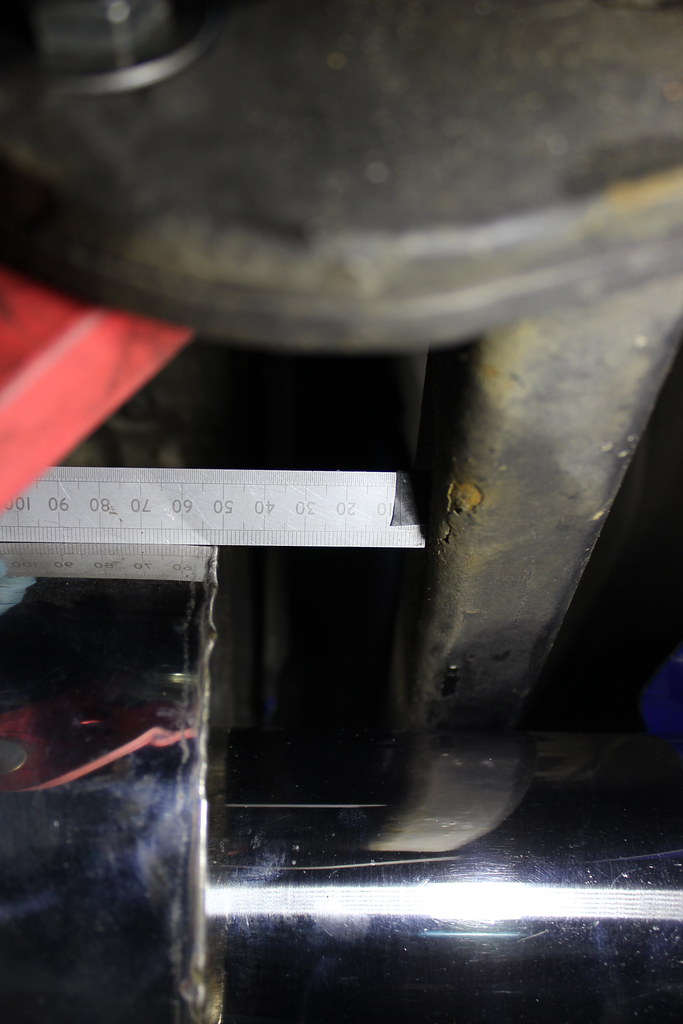
Here you can see how much too short an Impreza exhaust is for the FSTI.
Also the gap to the tow bar mount.
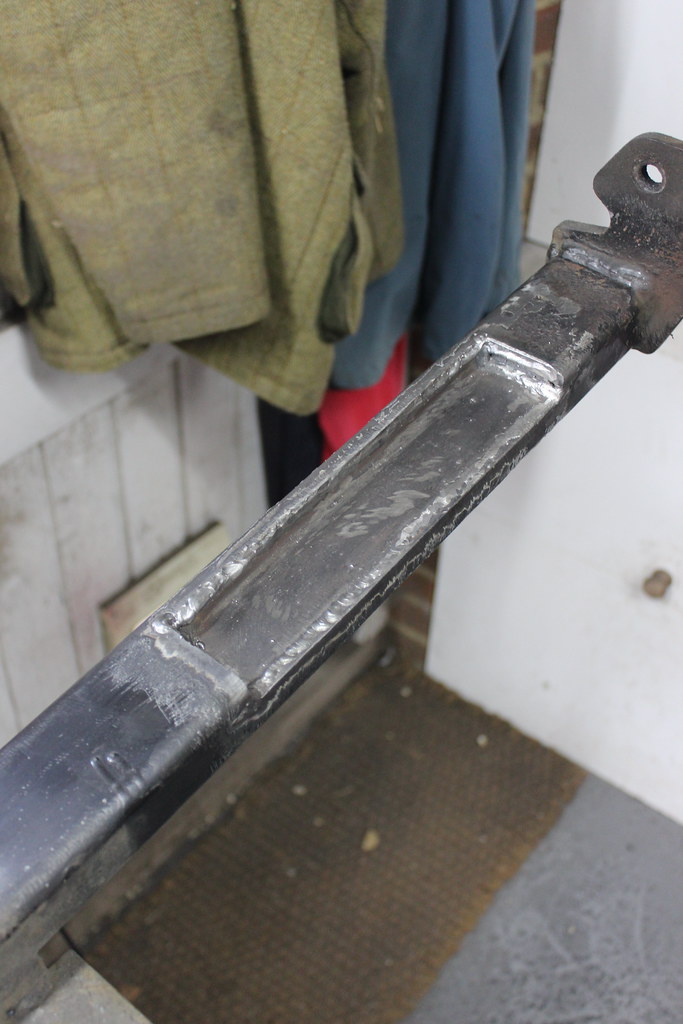
To move the rear section back I made a spacer.
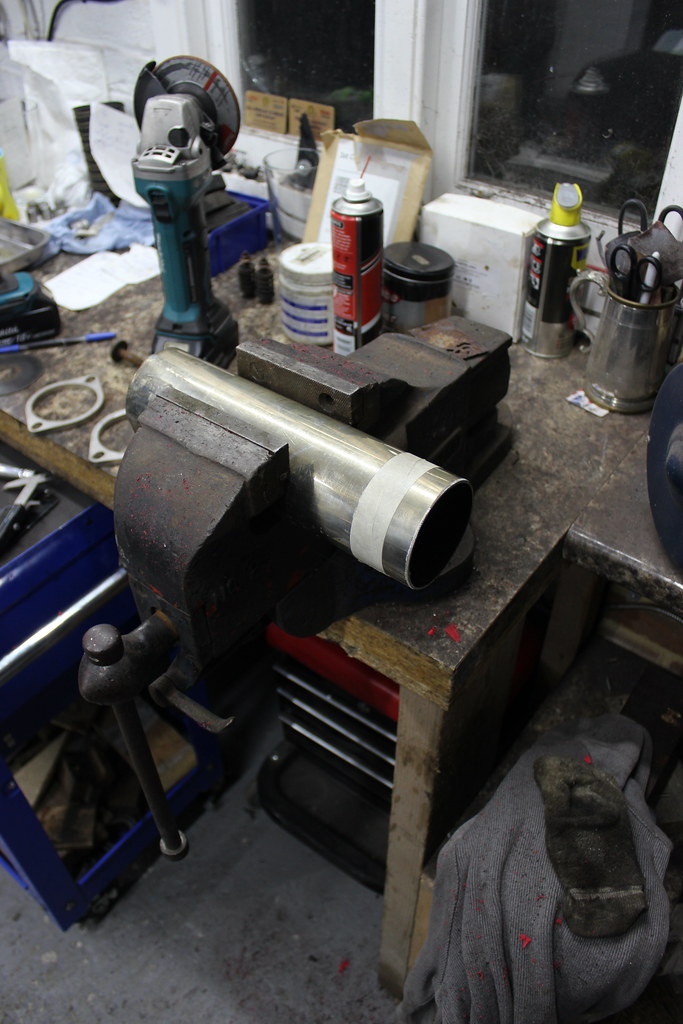


Little tack weld with the MIG to hold things in place and for a test fit.

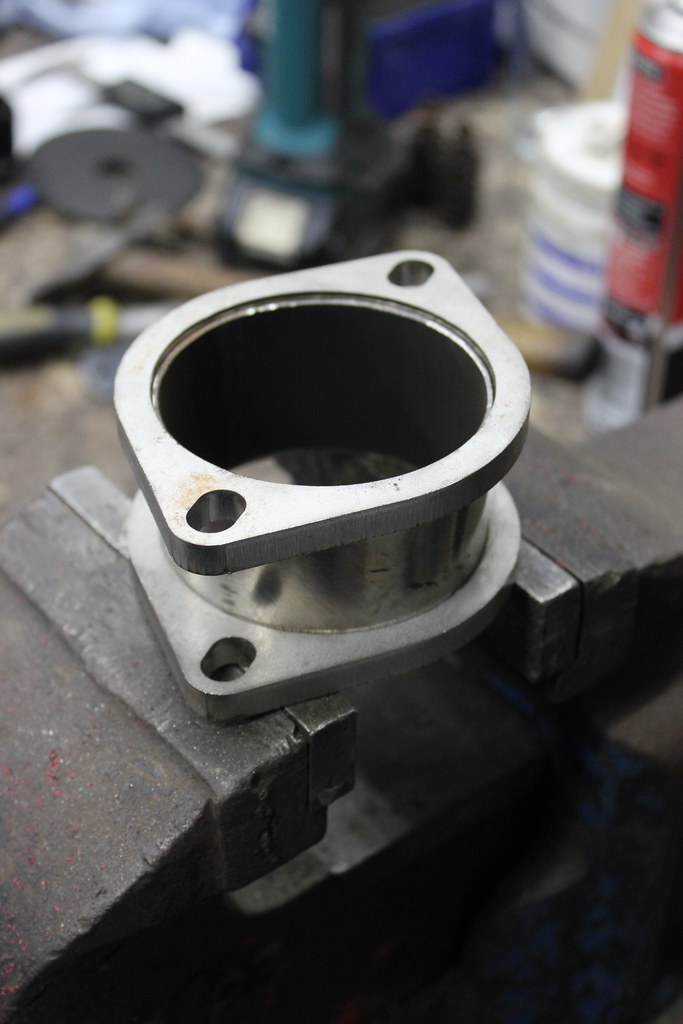
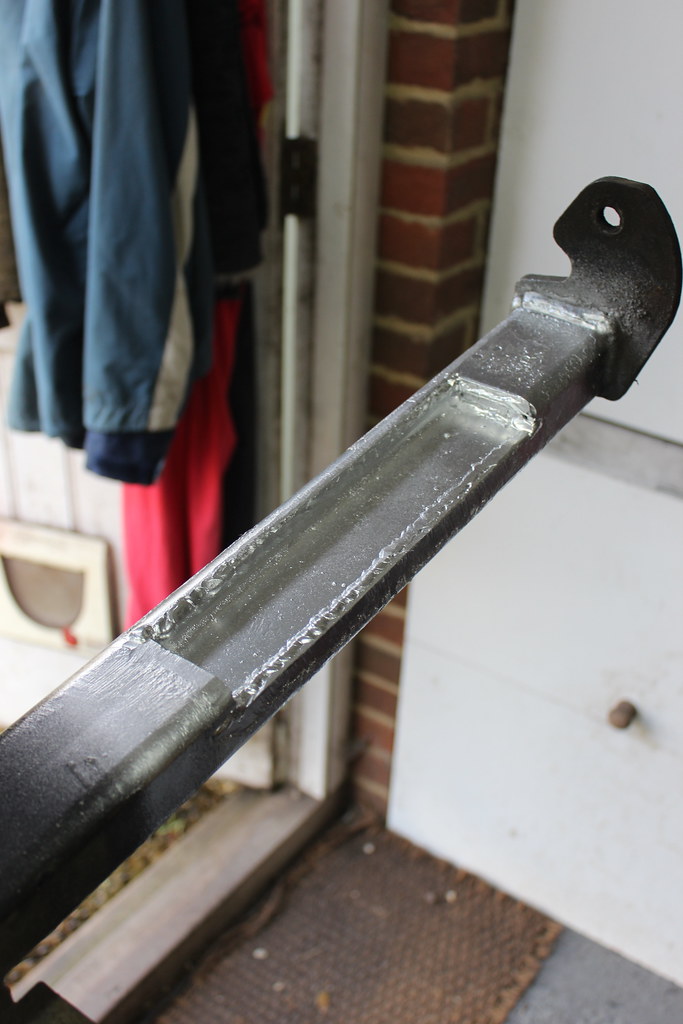
Now out with my new TIG welder.
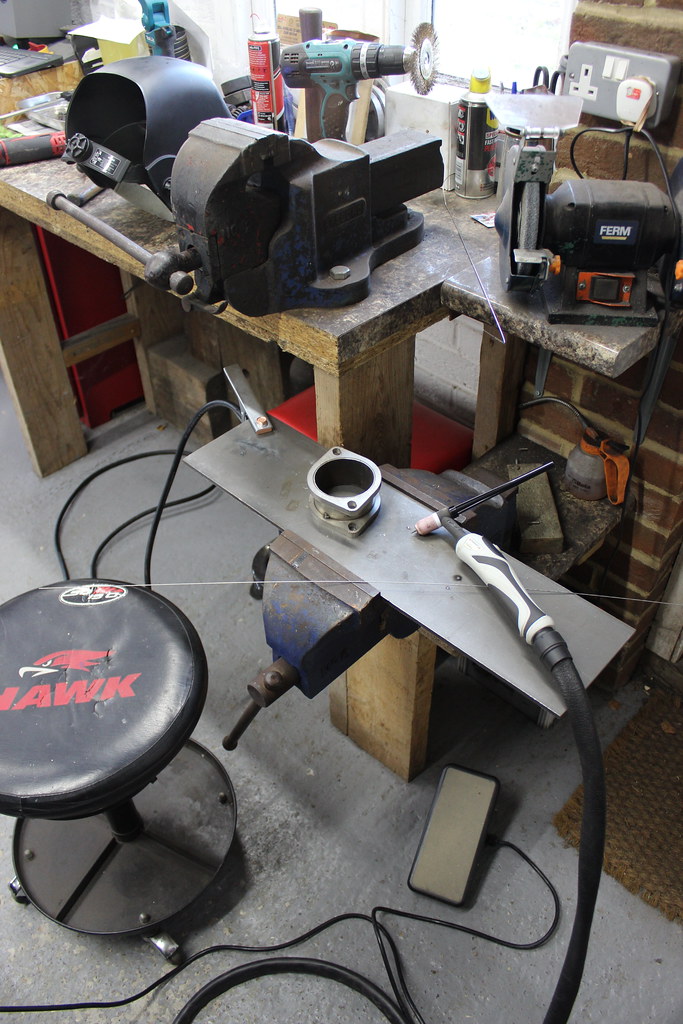


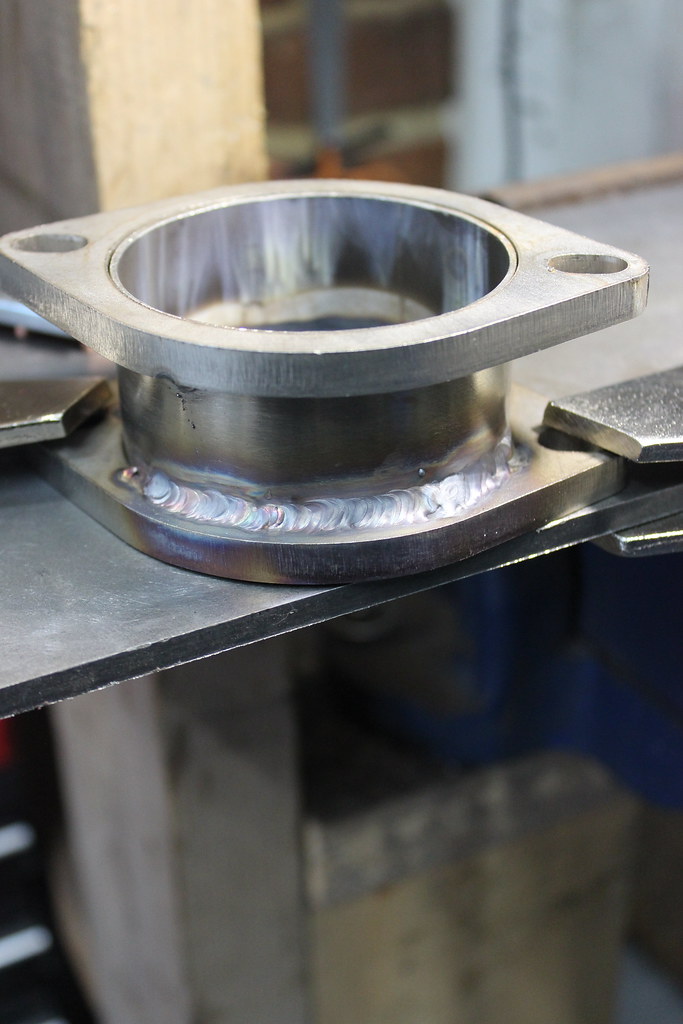
Quite happy with that for my first time TIG welding stainless.


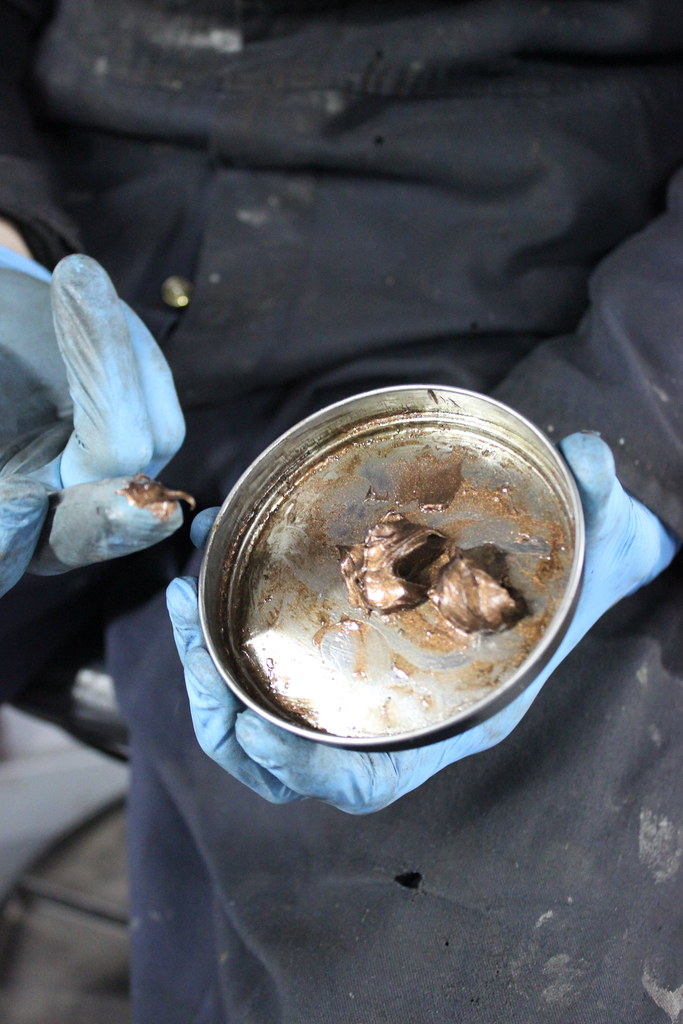
Gaskets and a bit of paste to be double sure of no farty leaky noises.


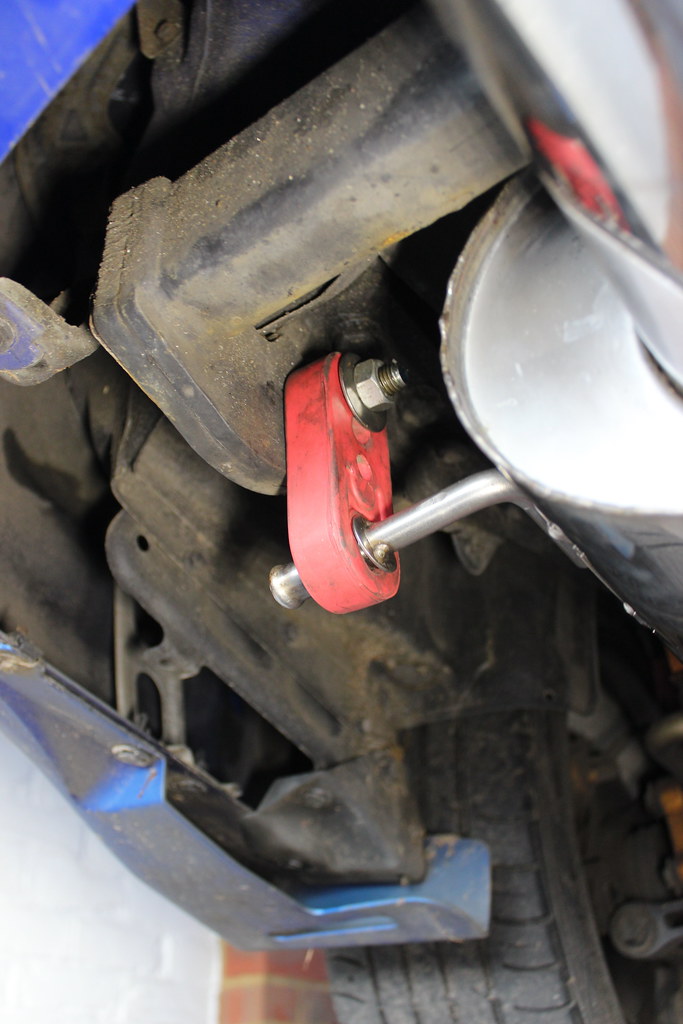
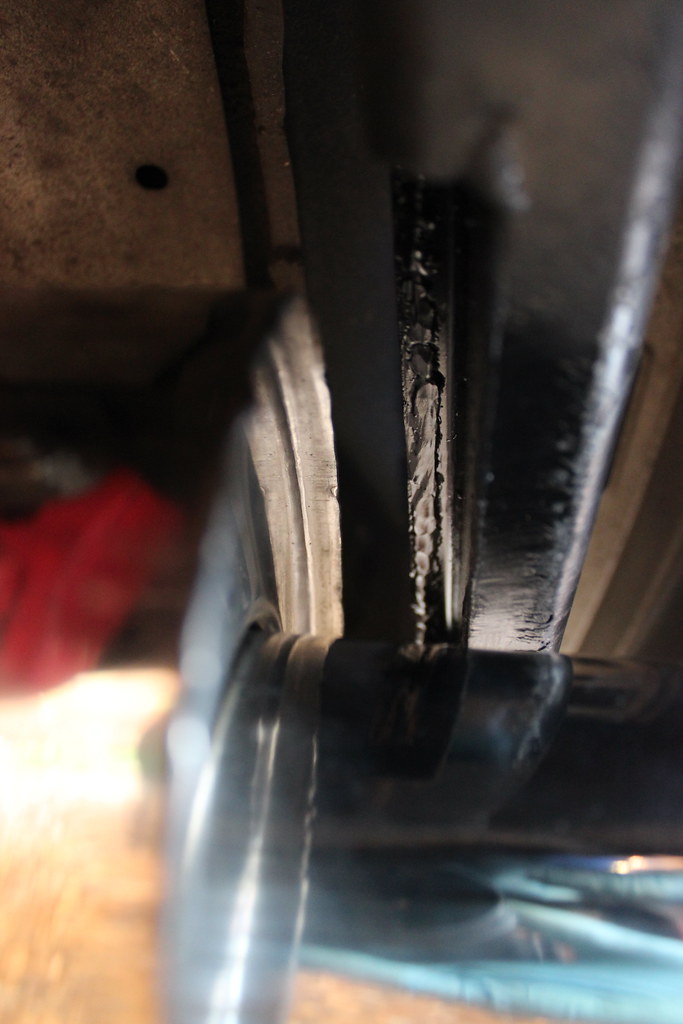
Next problem to solve was the Impreza hangers not matching the Forester arrangement.
Solved like this.
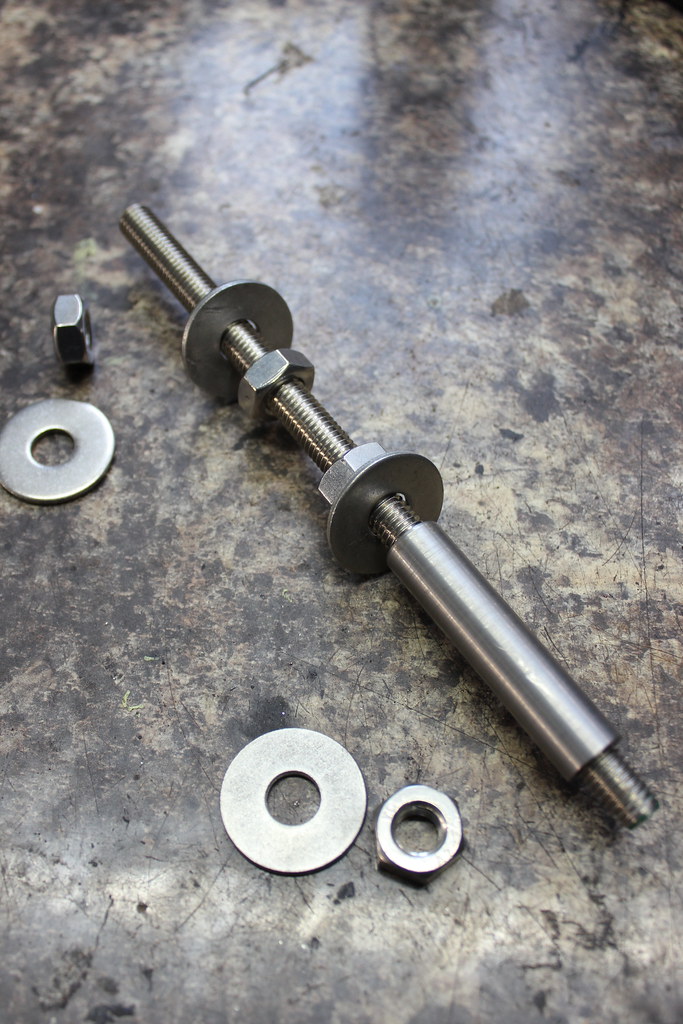


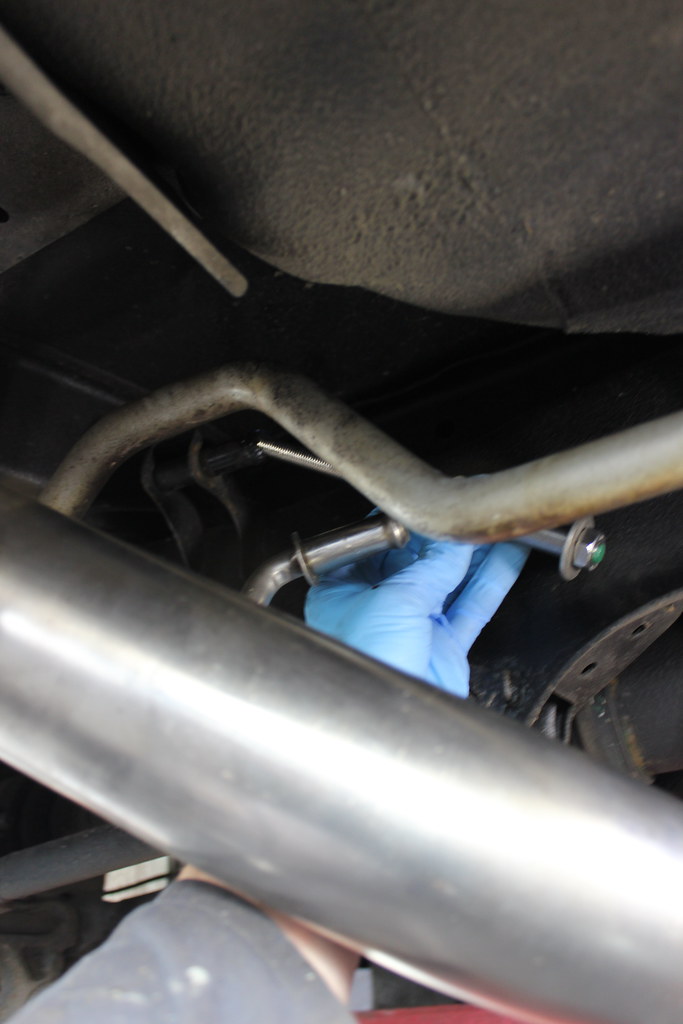

I just couldn’t find hangers long enough to sort this problem so this is what I came up with. It’s been on the car years now with no problem so can’t complain though it doesn’t look pretty. Nobody can see it at least.

Just right I reckon.
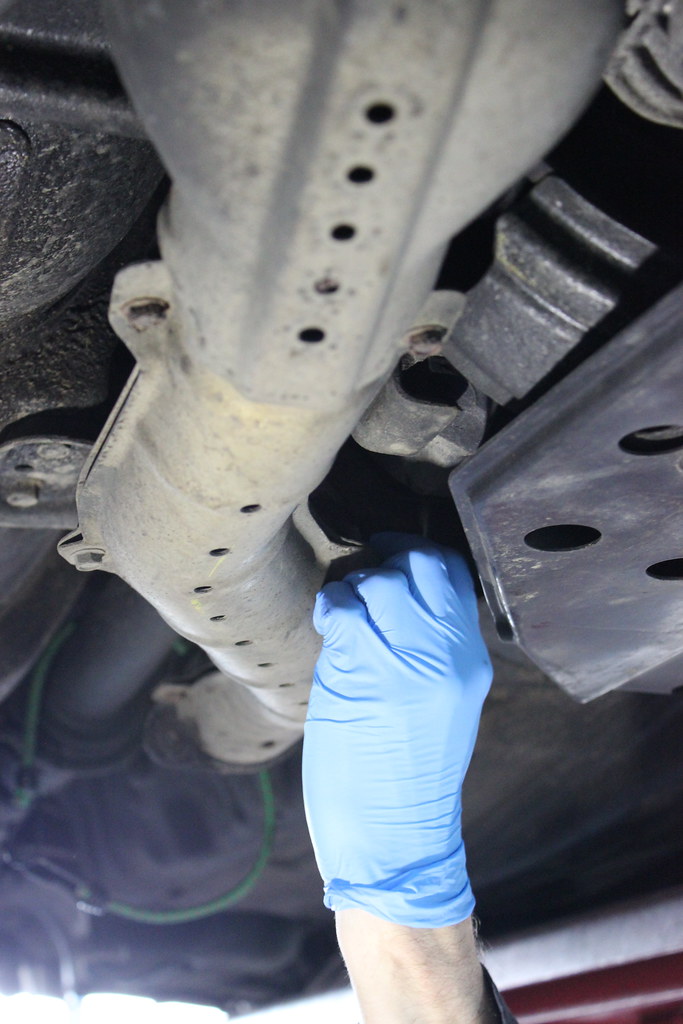
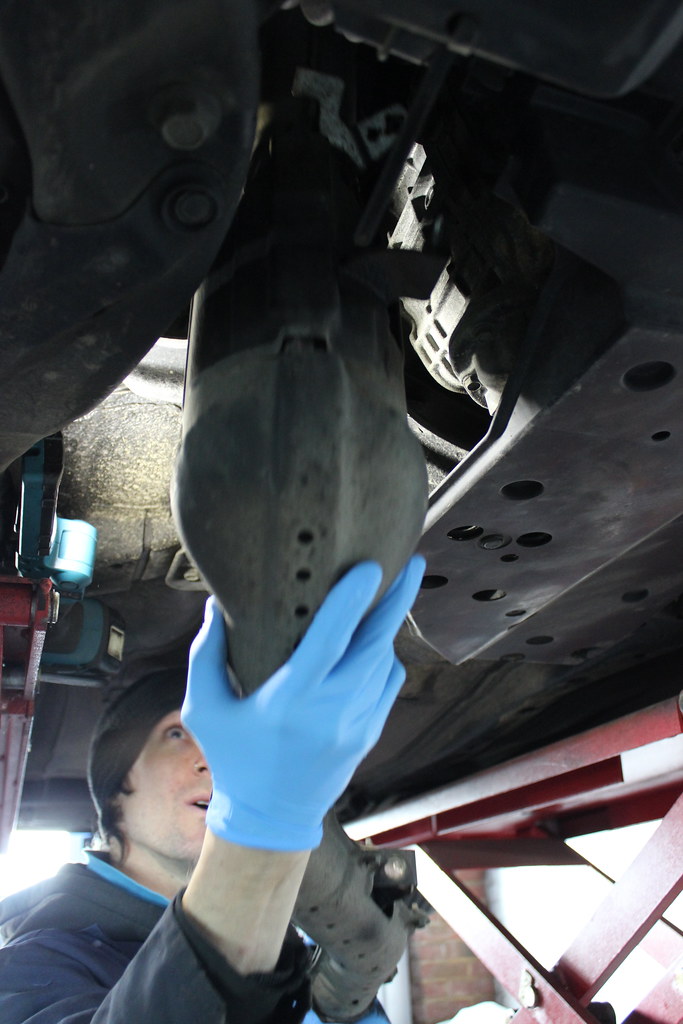
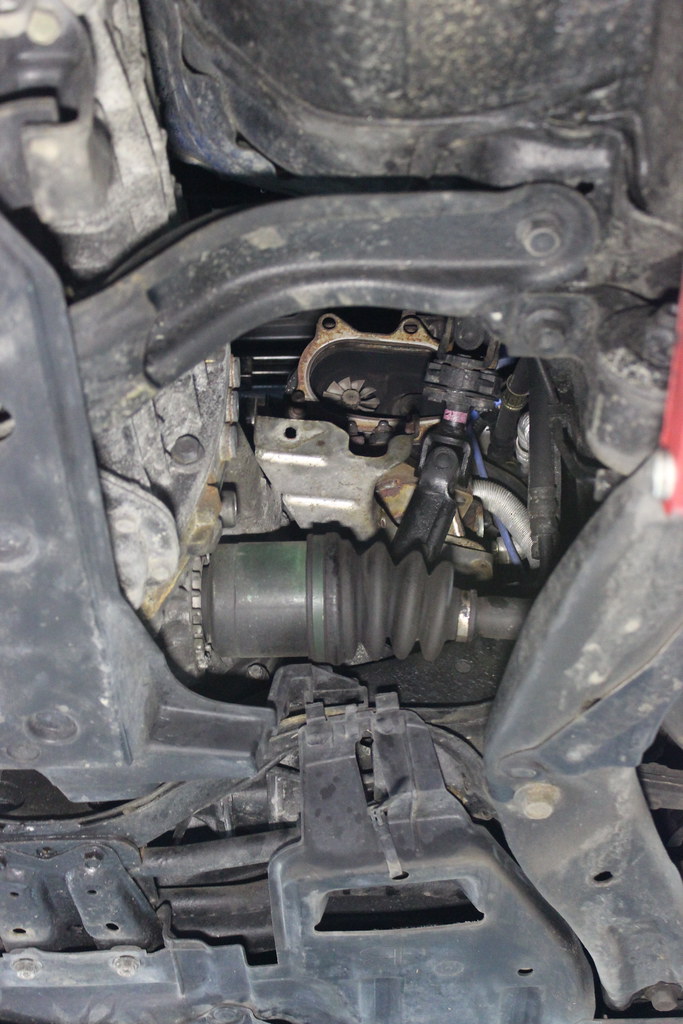
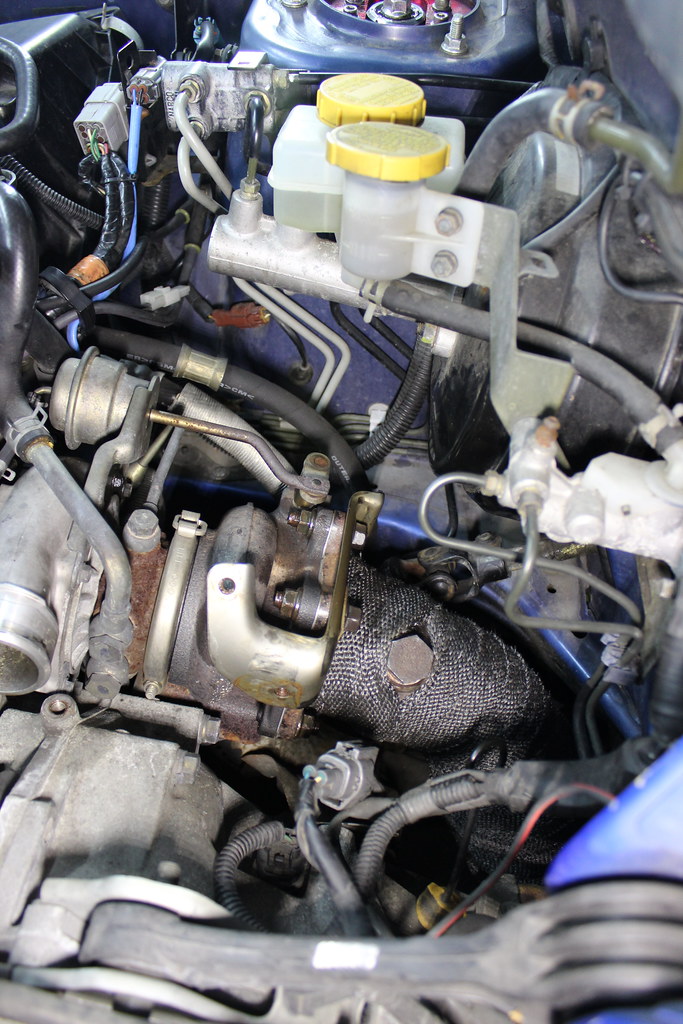
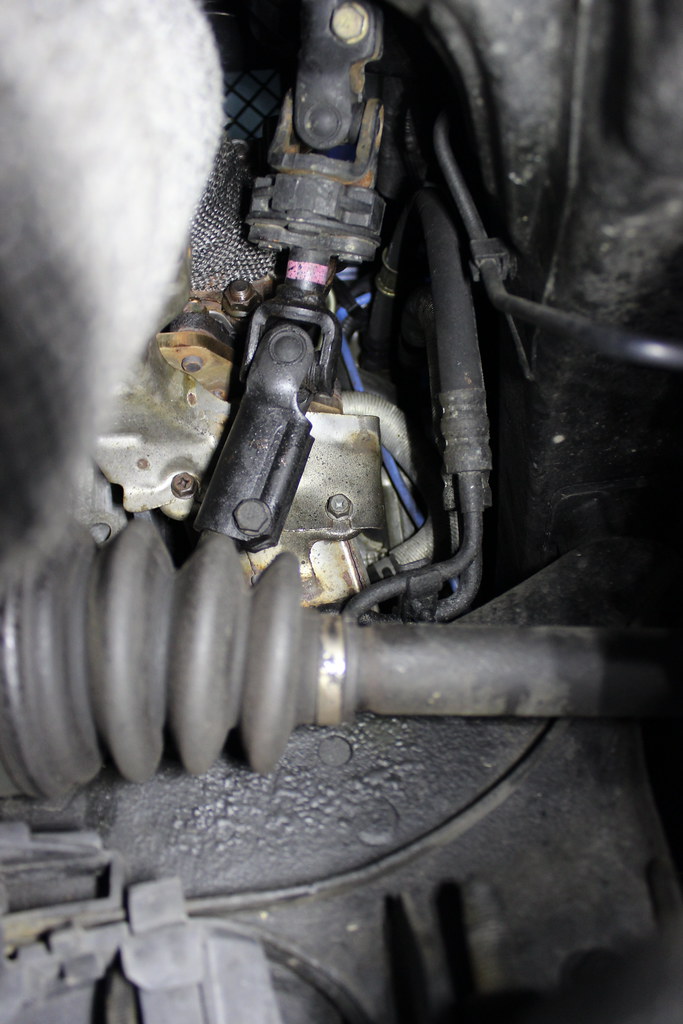
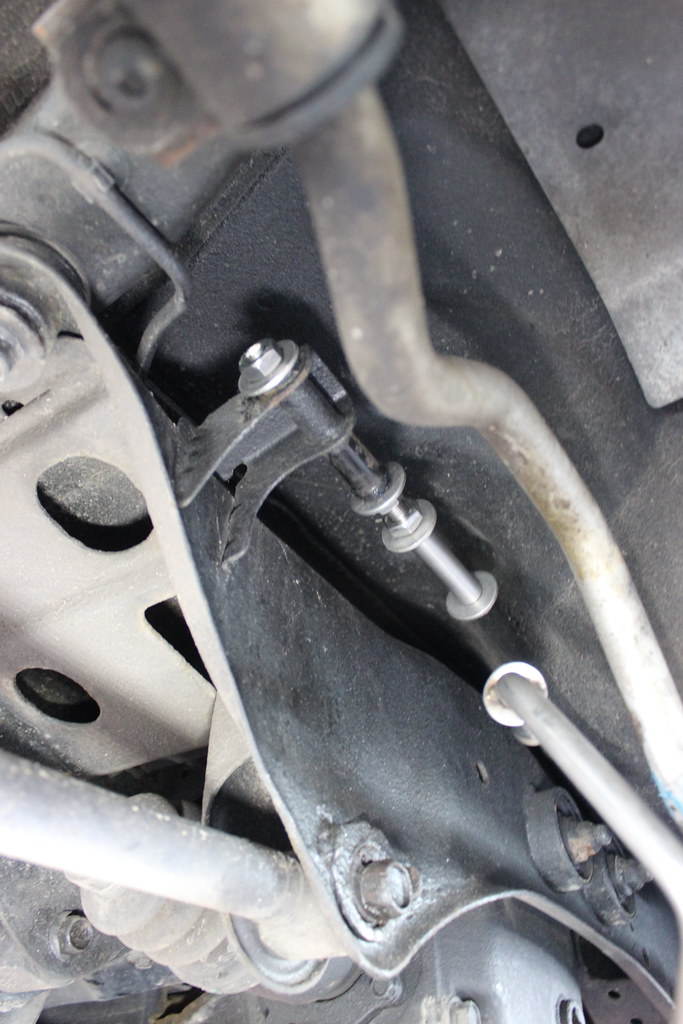
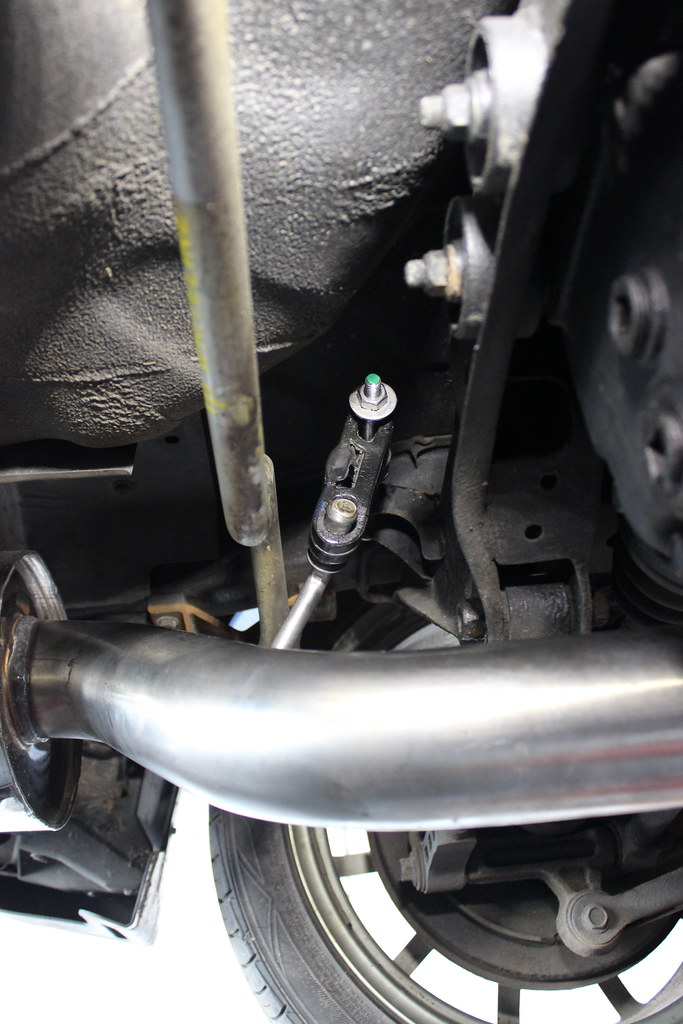
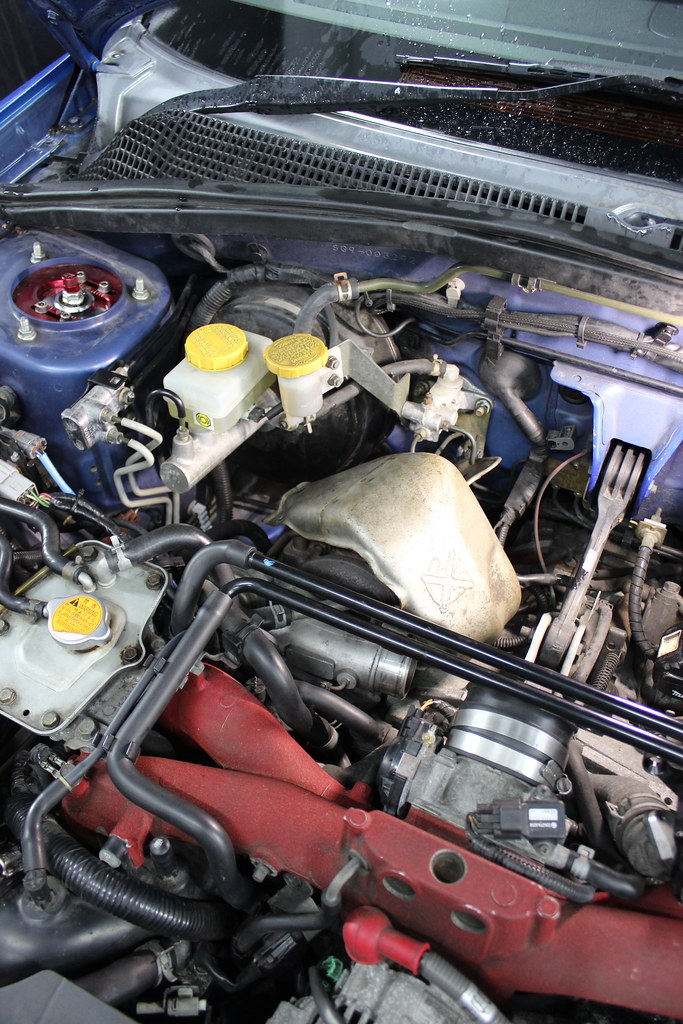
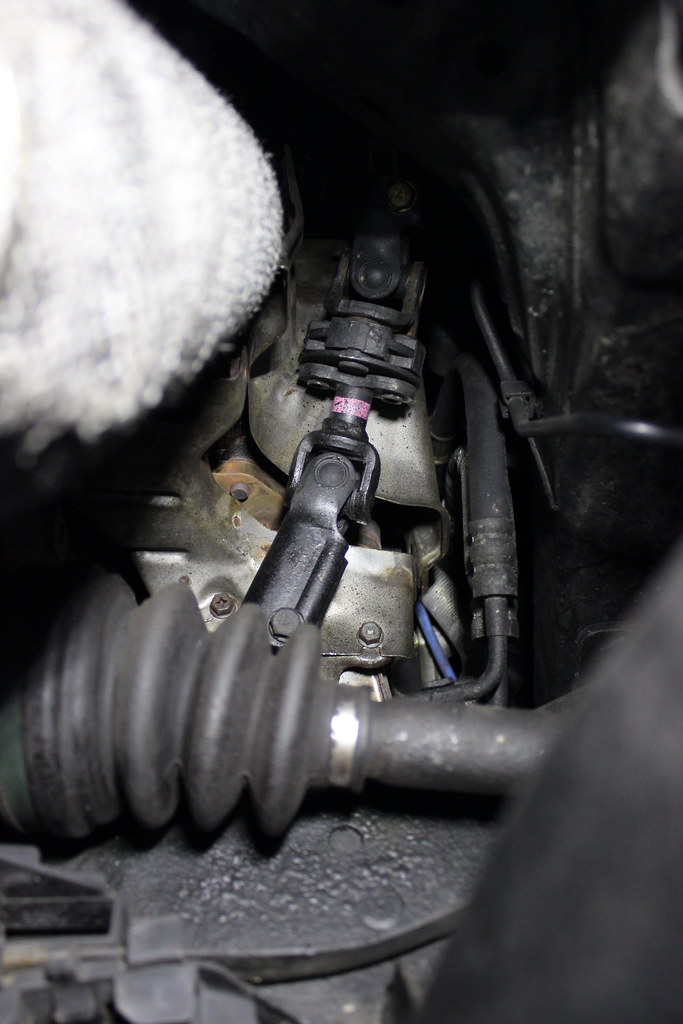
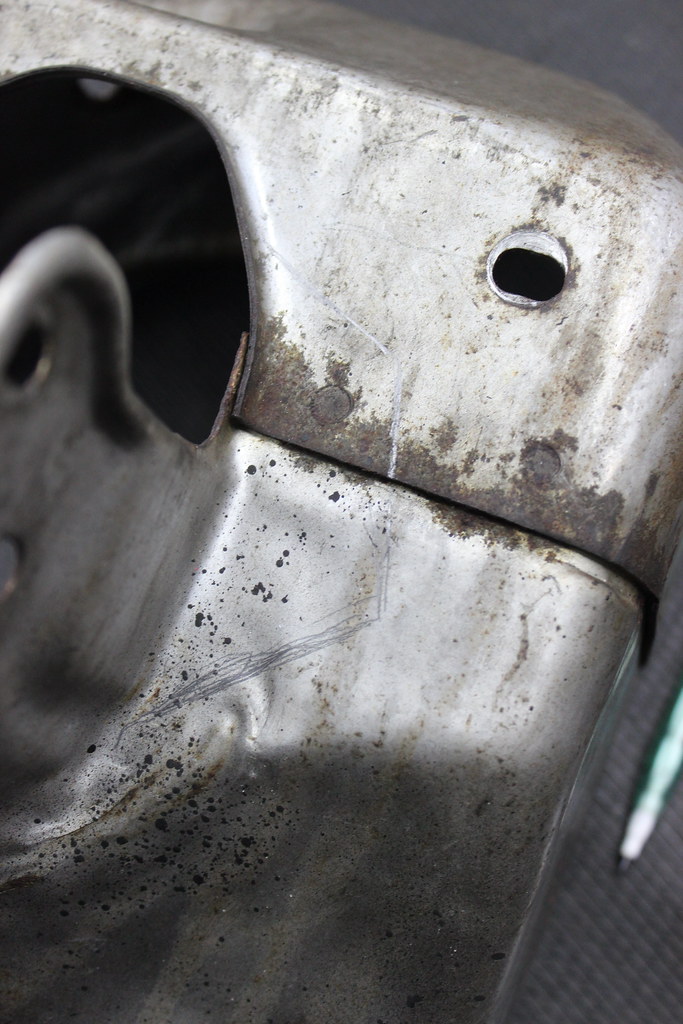
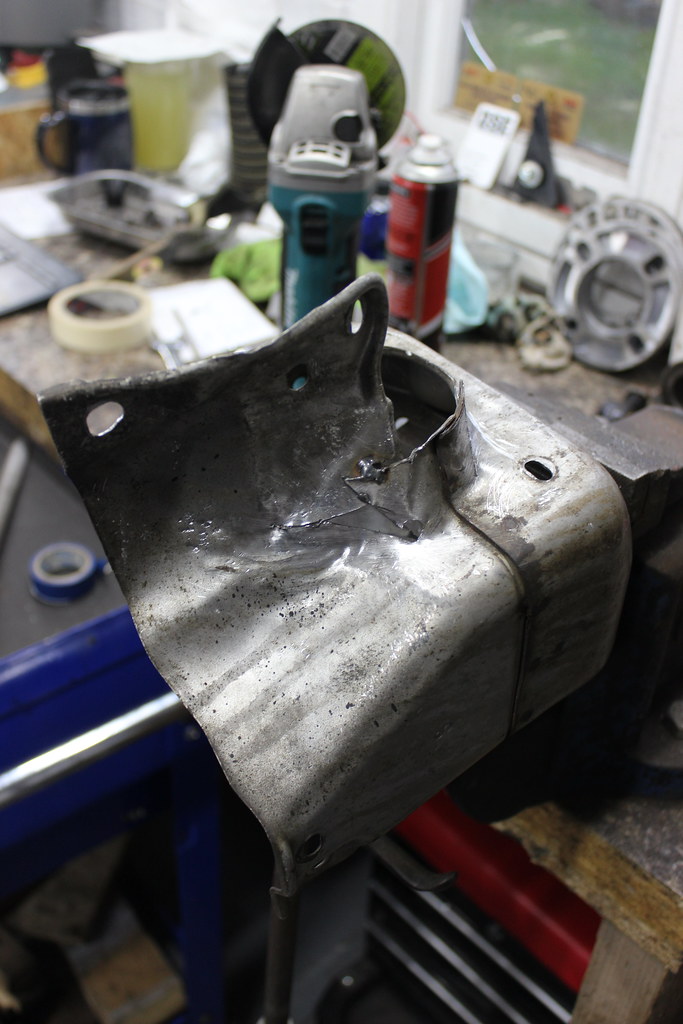
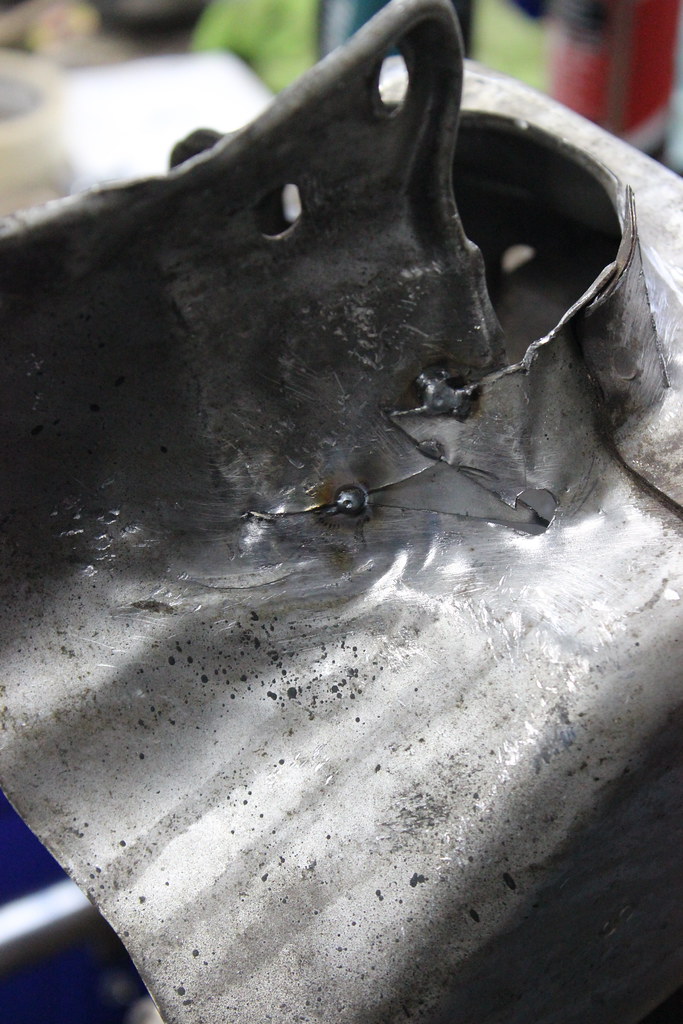
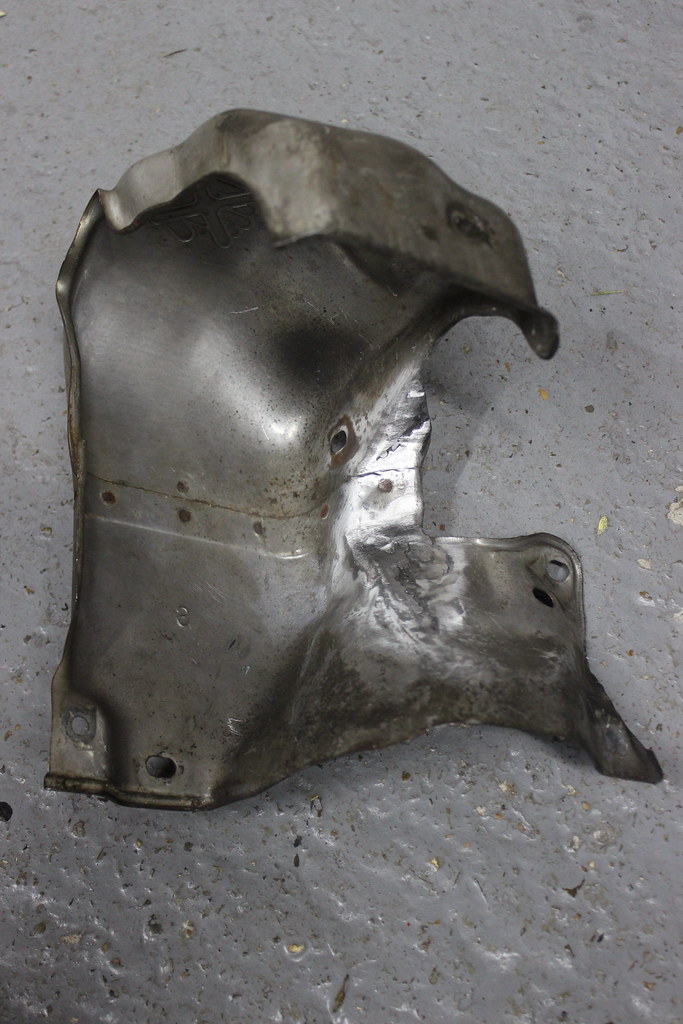
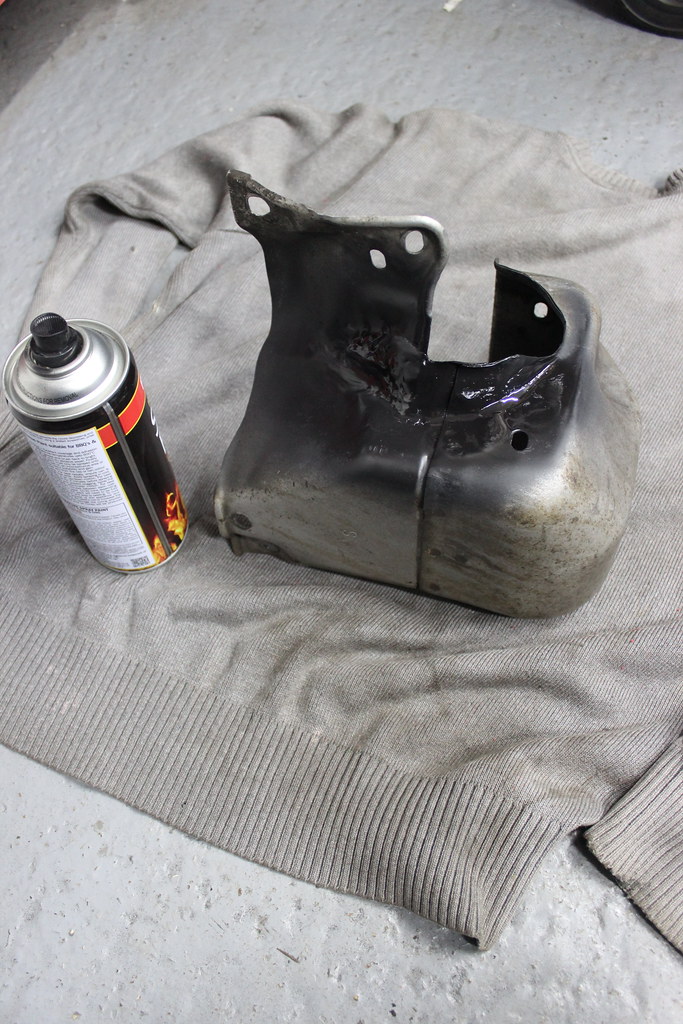
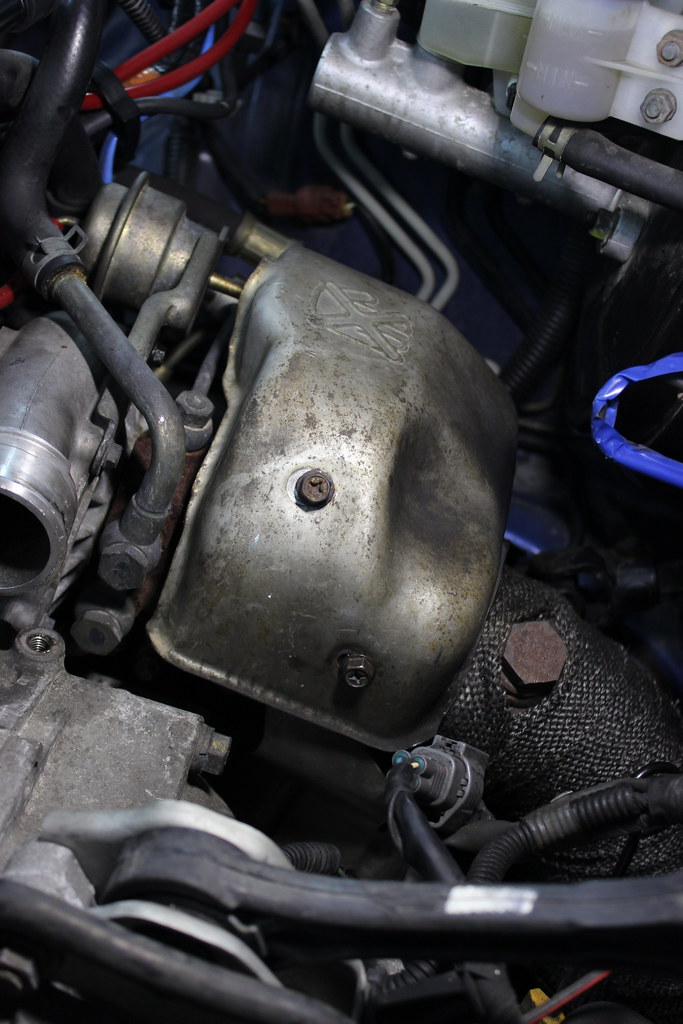
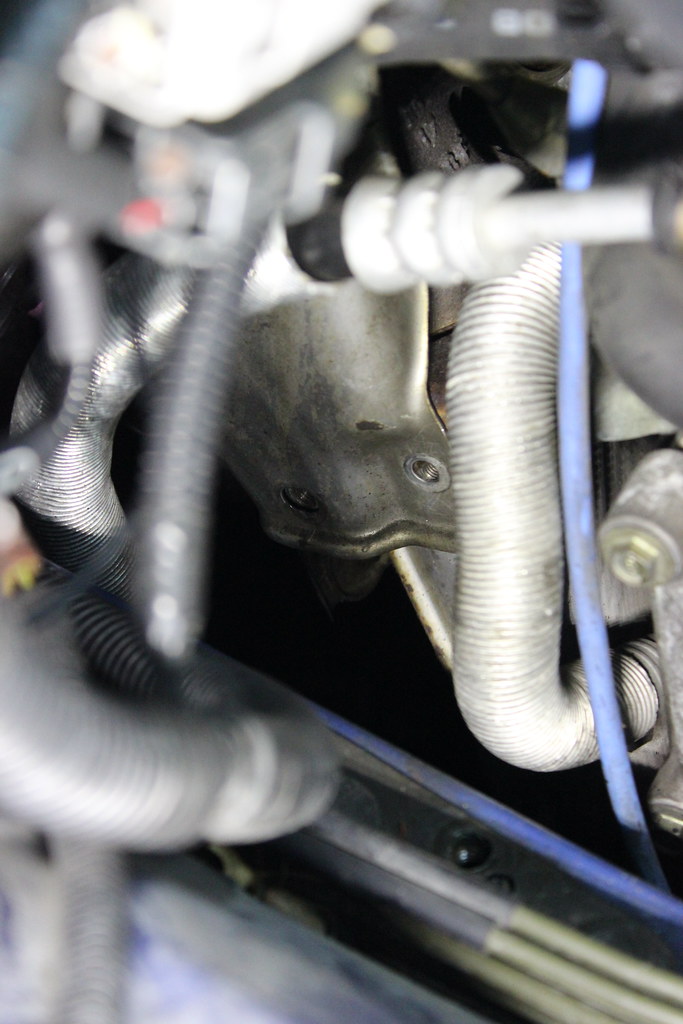
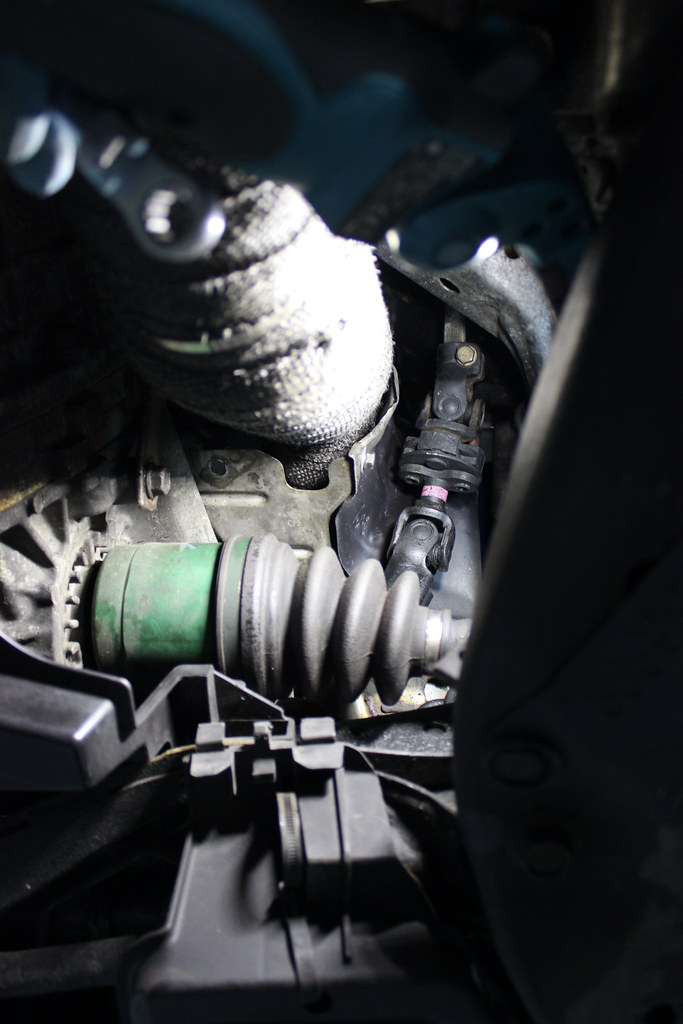
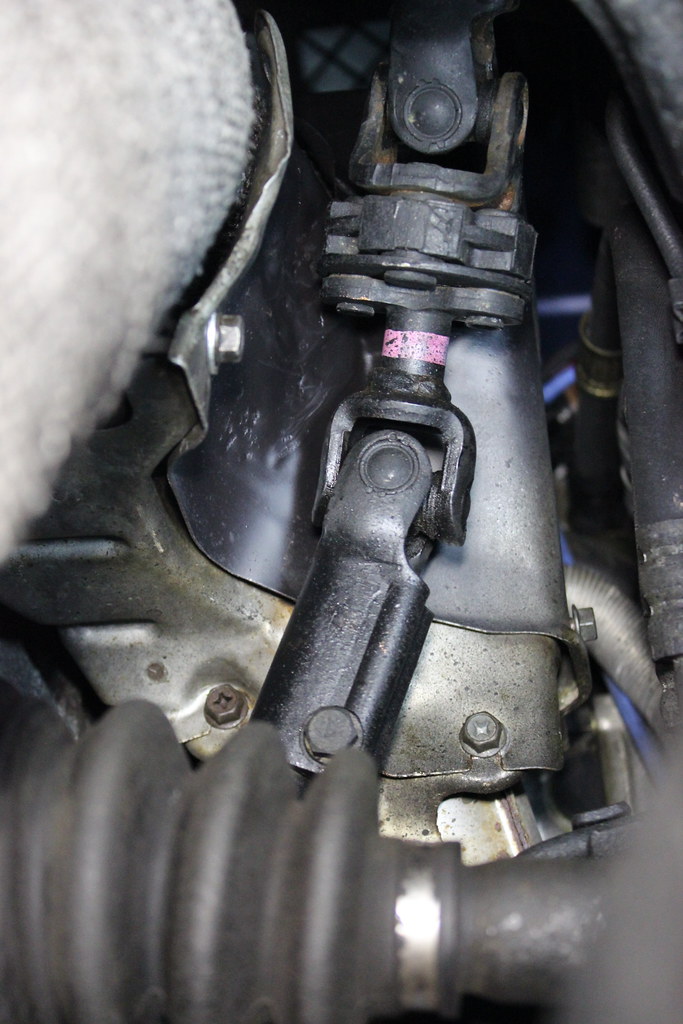
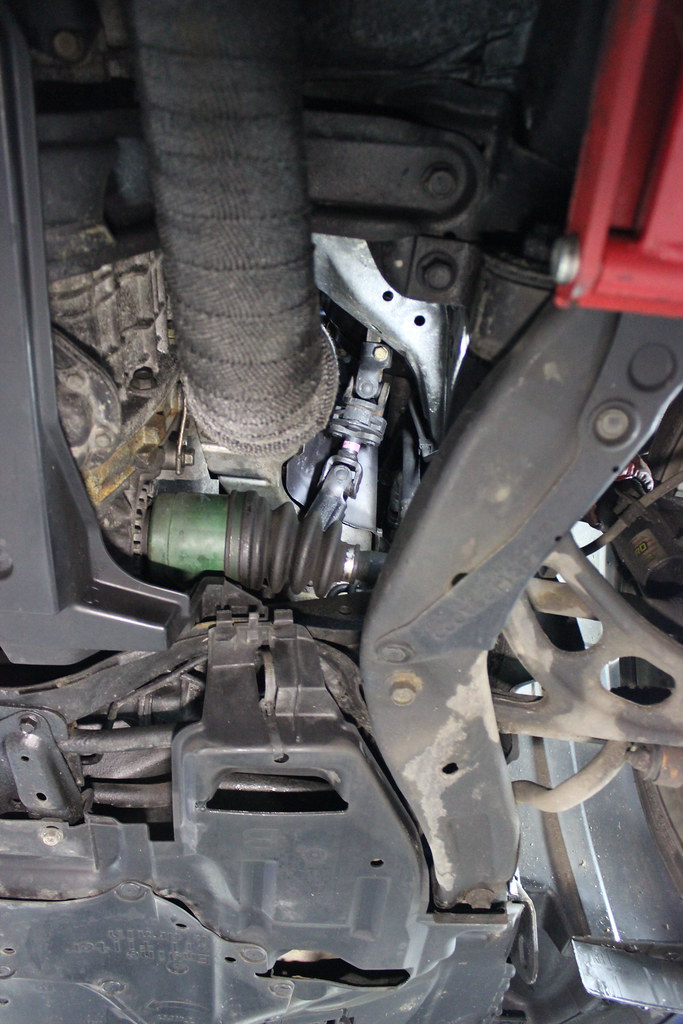
As well as wrapping the exhaust I wanted to refit the original heat shield if I could. Mainly to keep heat out of the engine bay, away from the intercooler and to protect the steering joint.


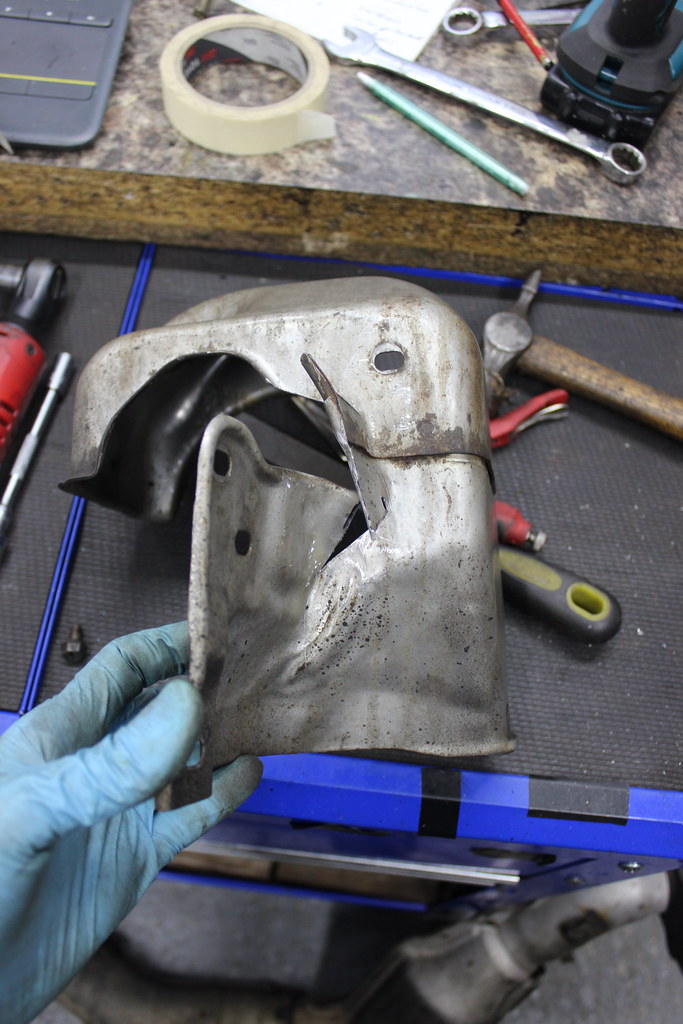
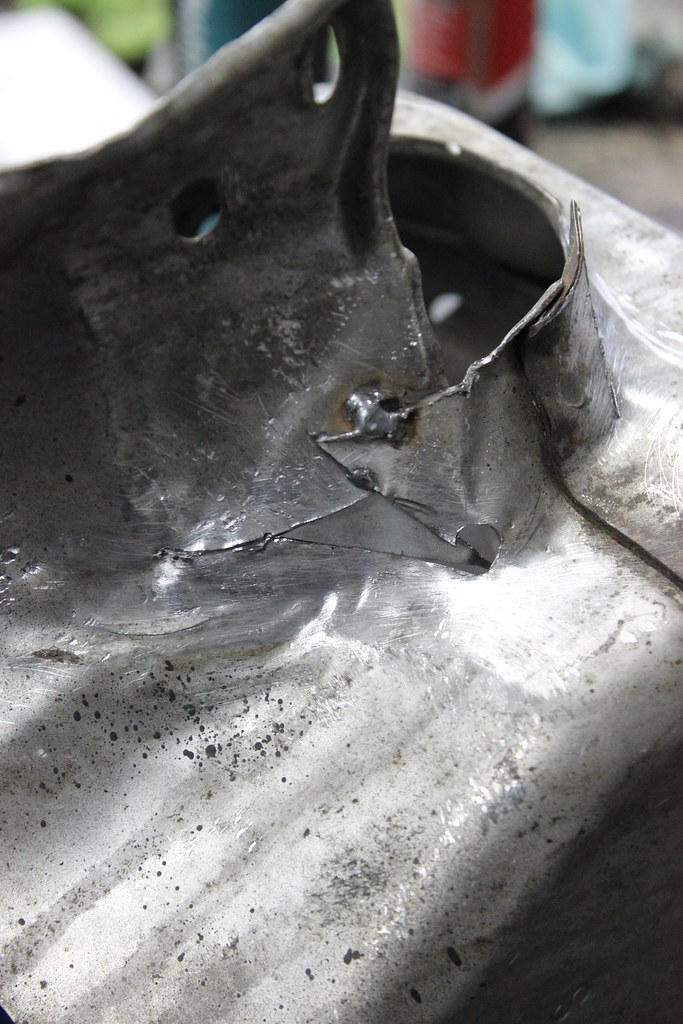
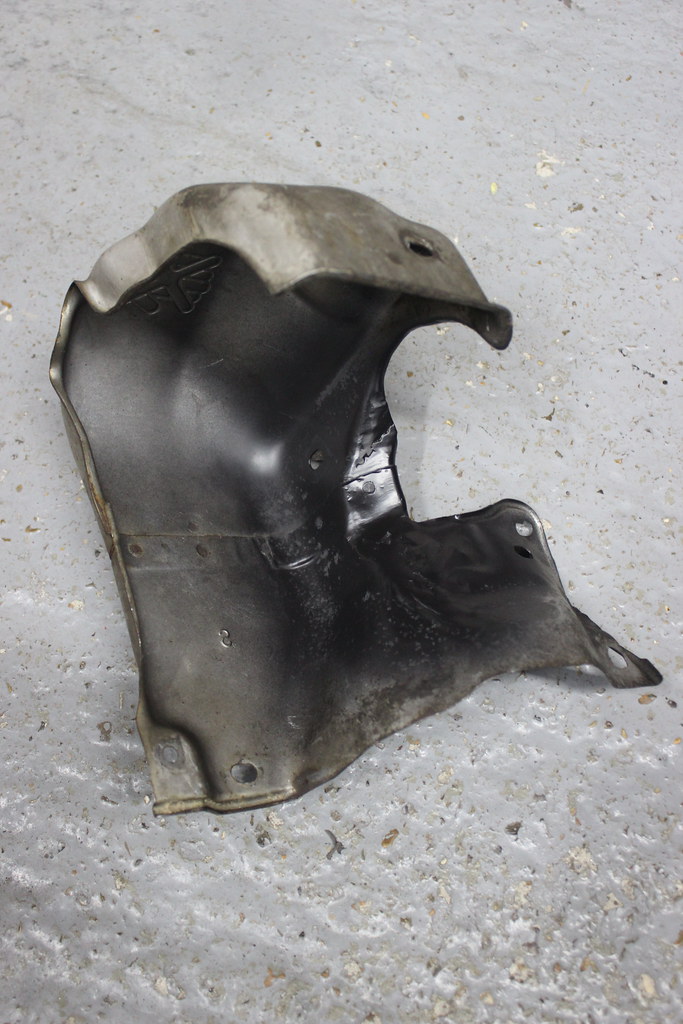
It didn’t fit but I could sort that.


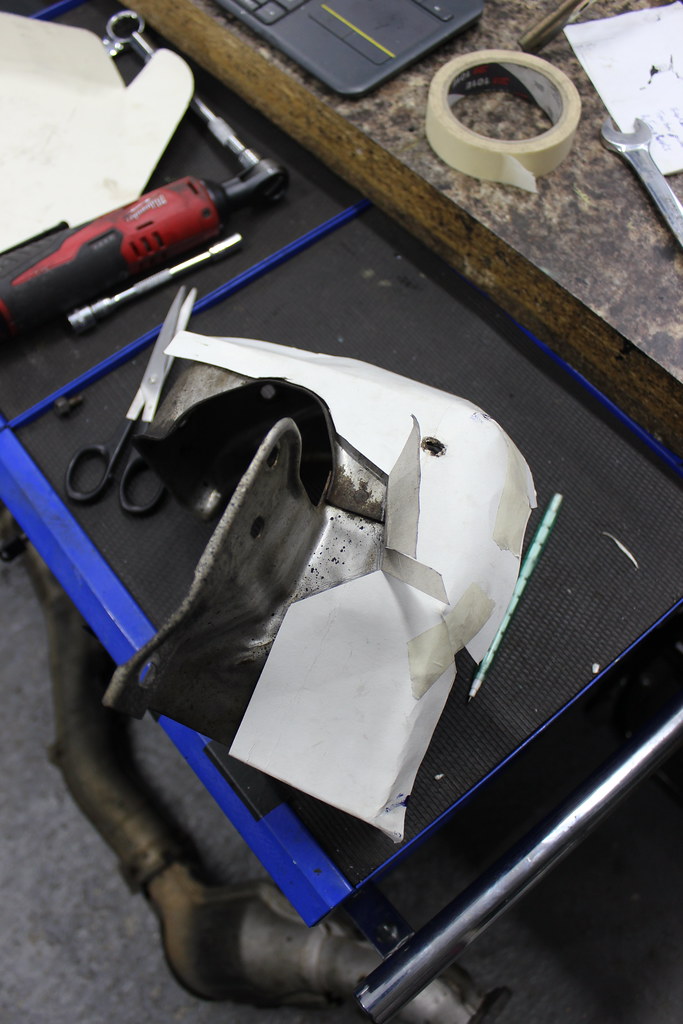

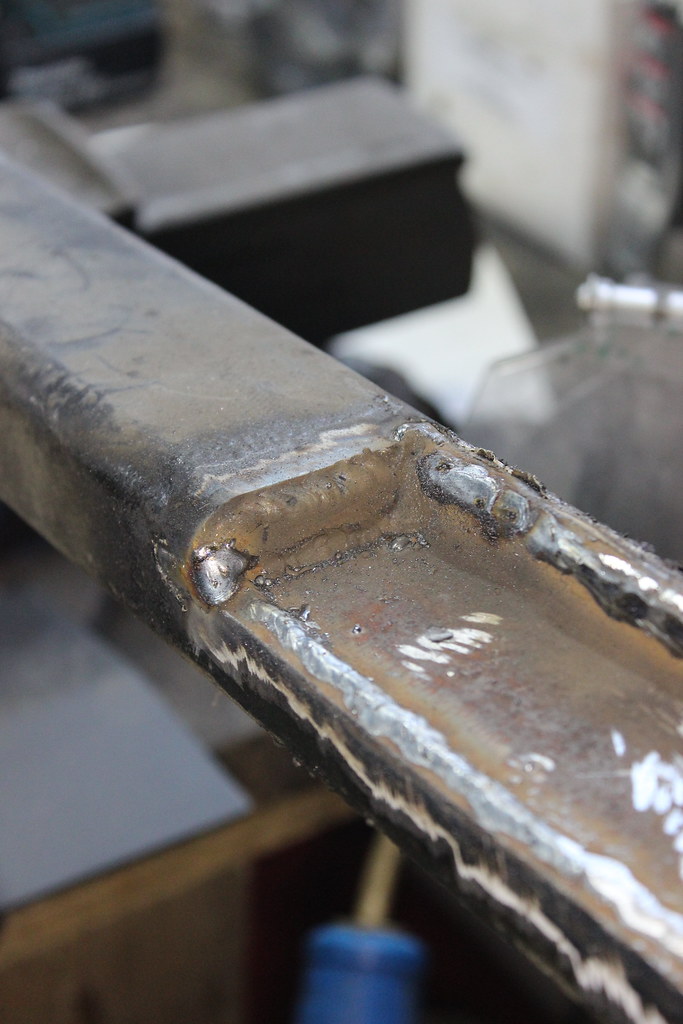
Some choppy choppy and weldy weldy.


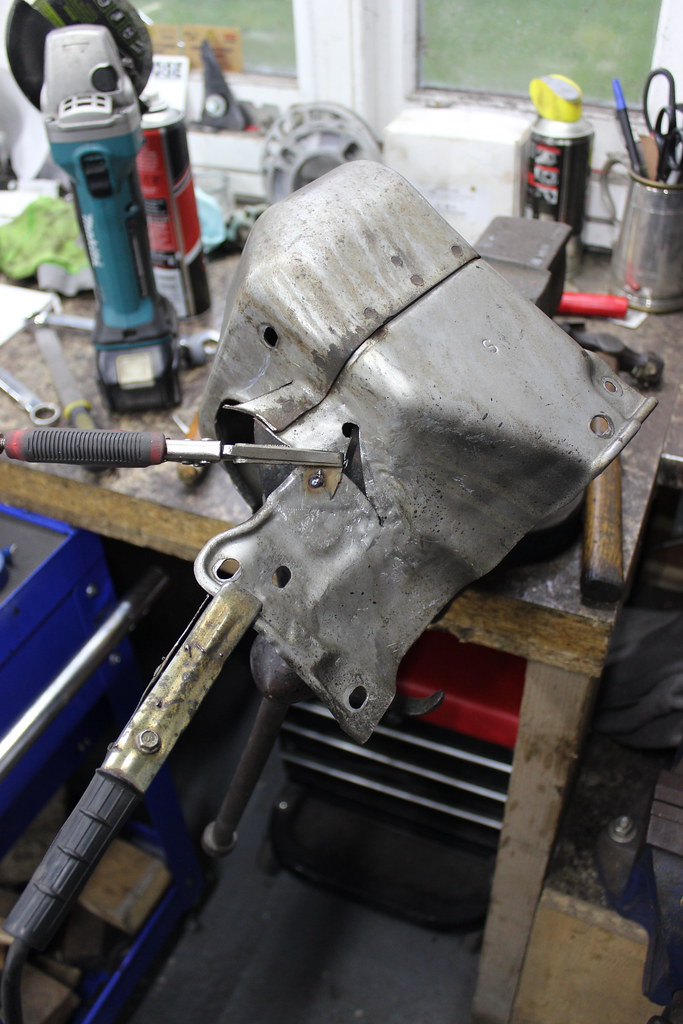
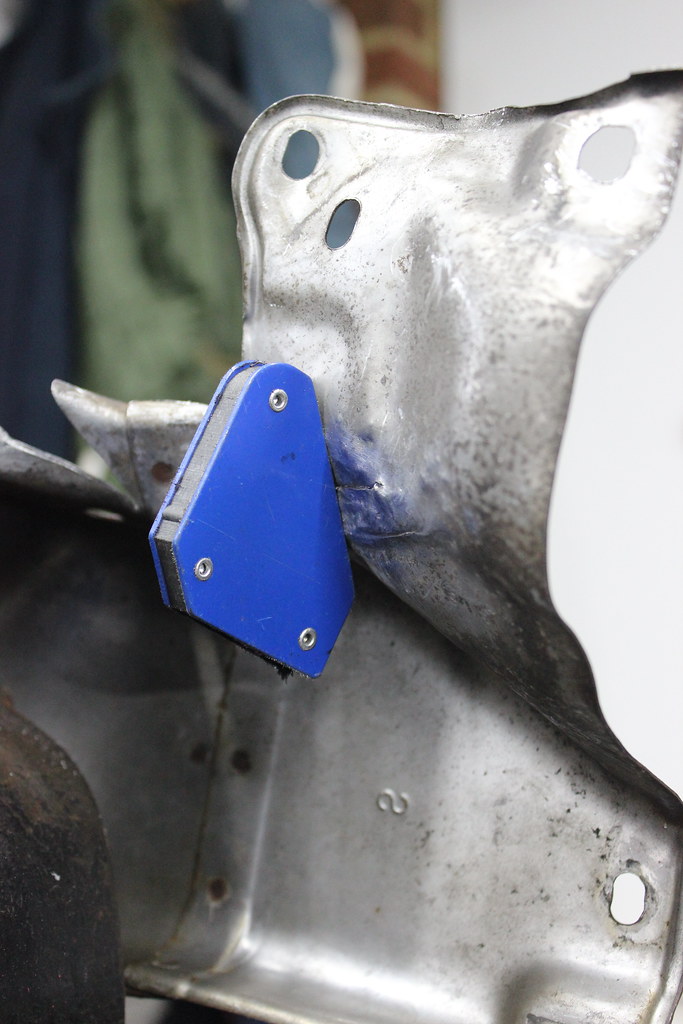
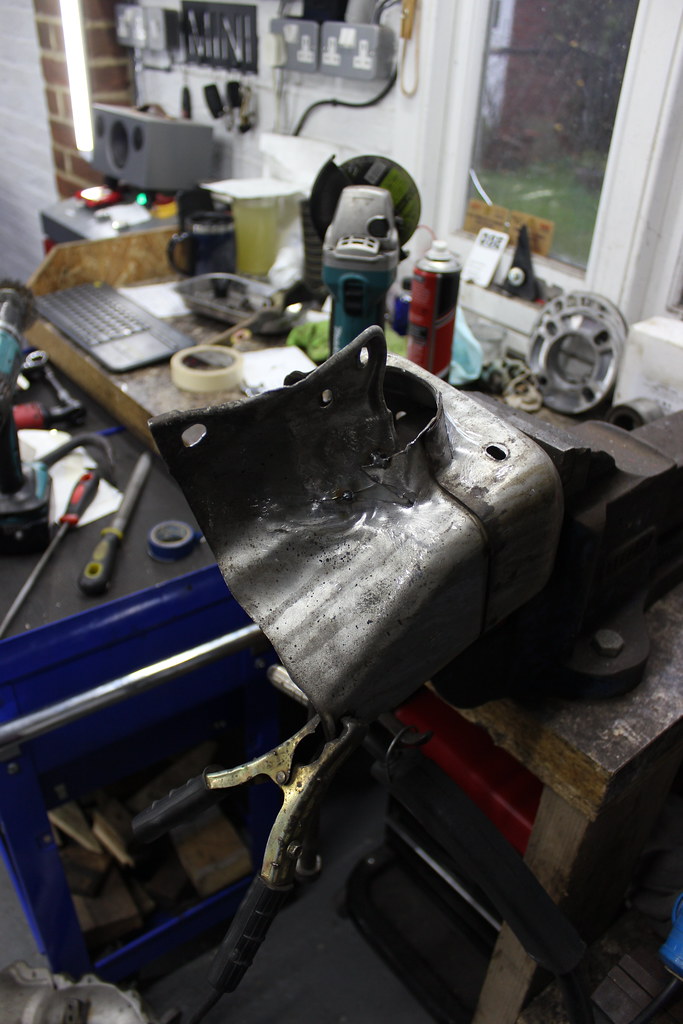
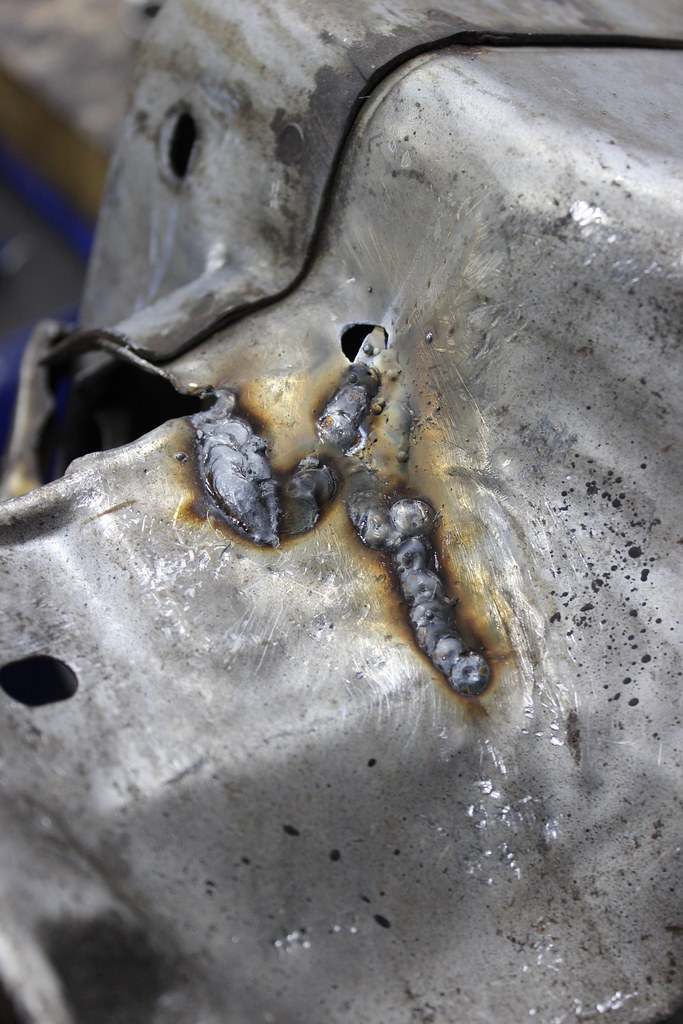


Welds all tidied up.

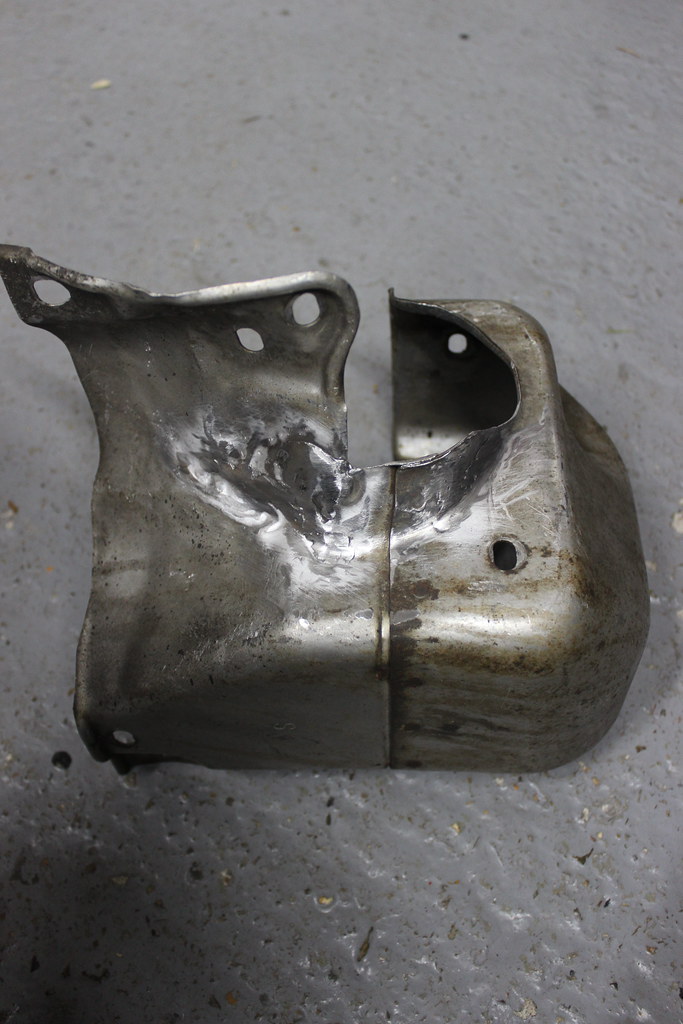

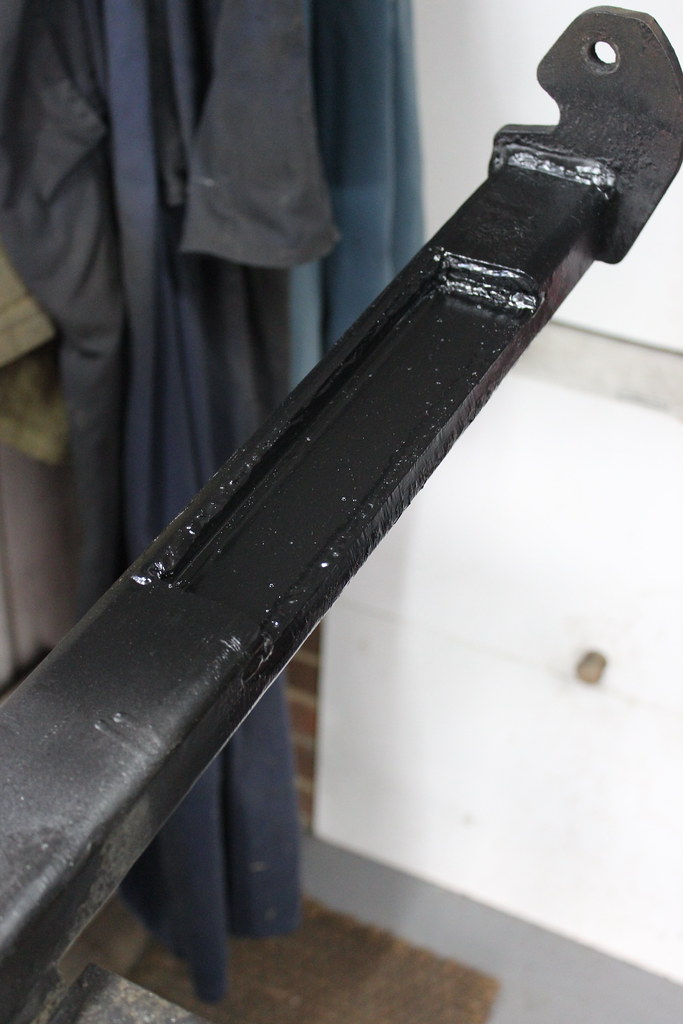
Bit of high heat black.
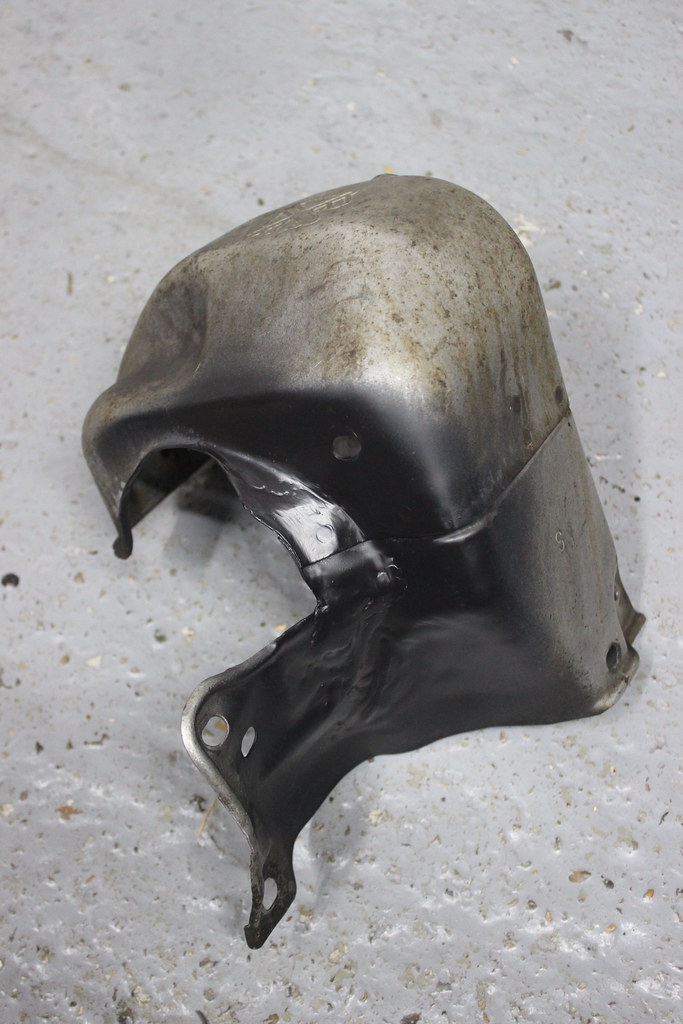

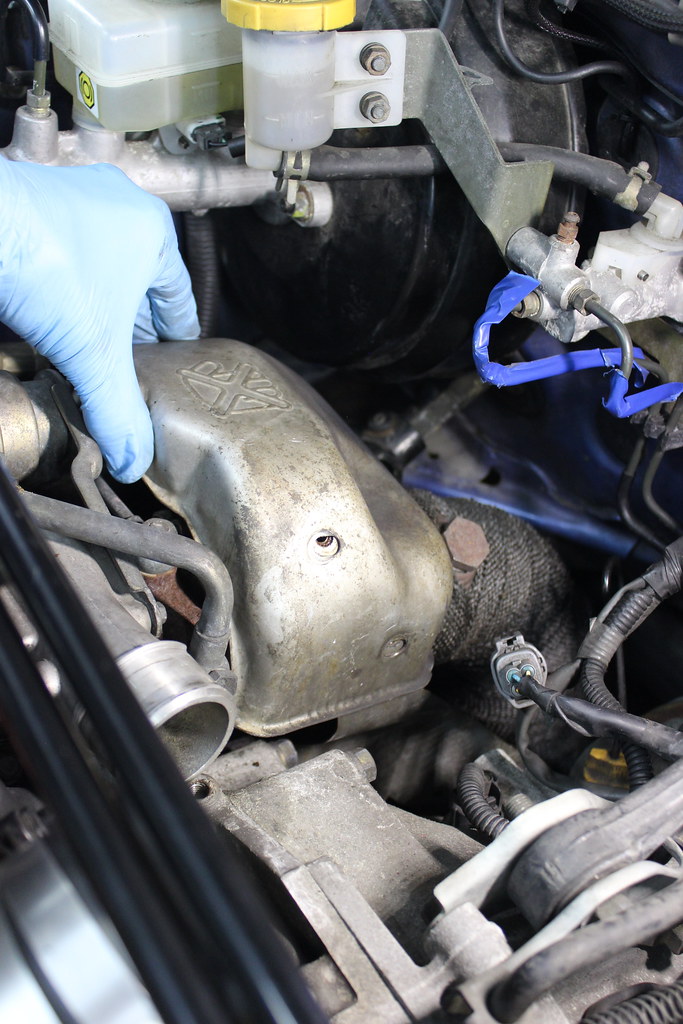

Now a perfect fit.


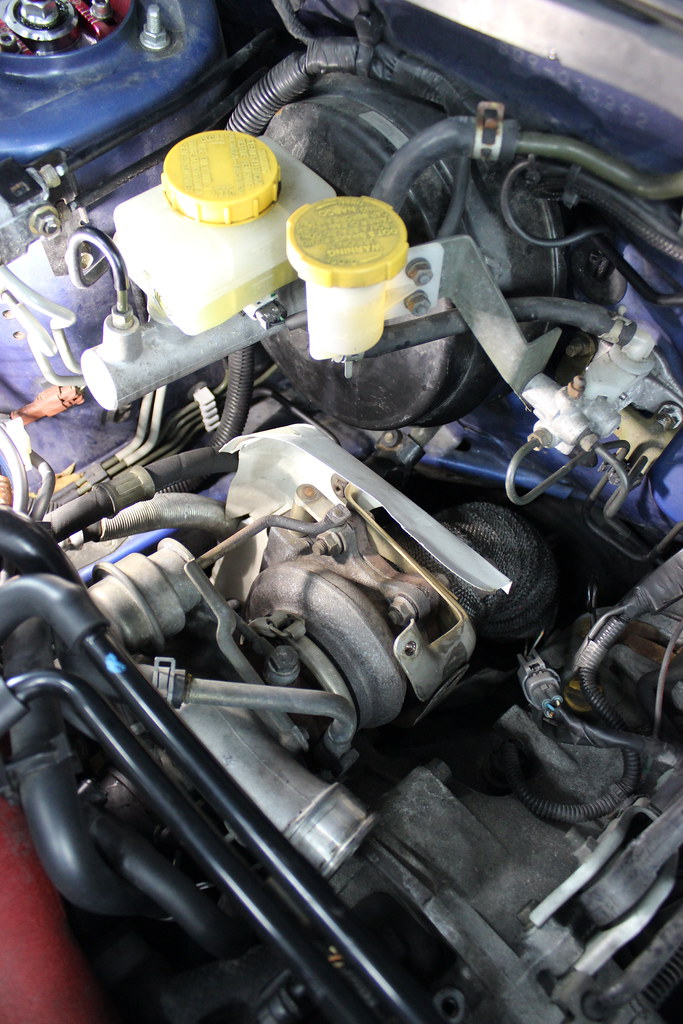
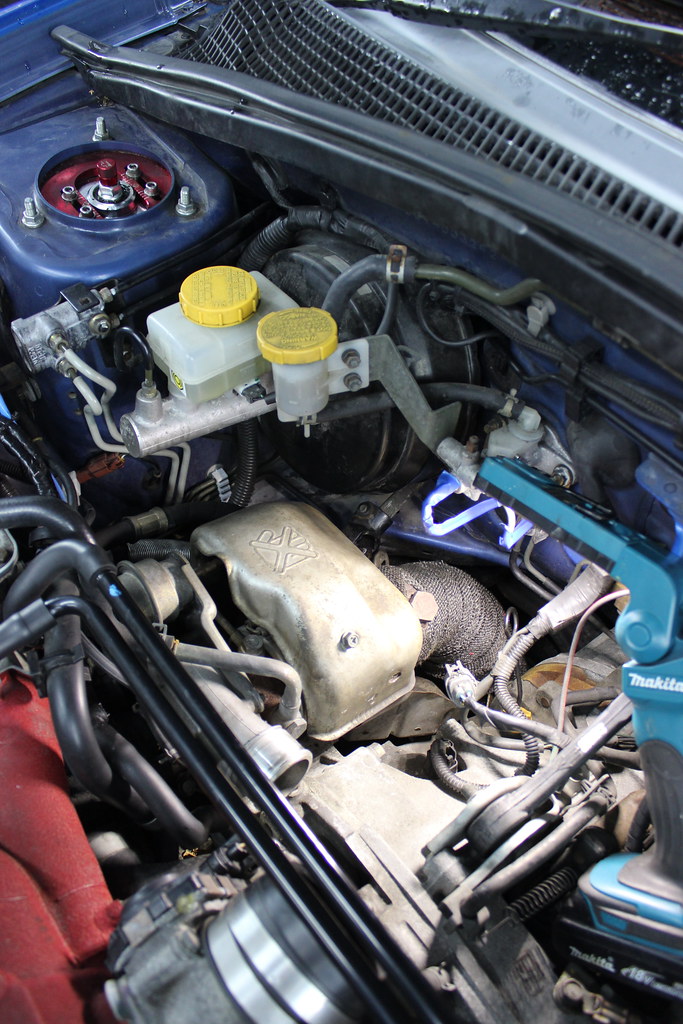
Intercooler back on.


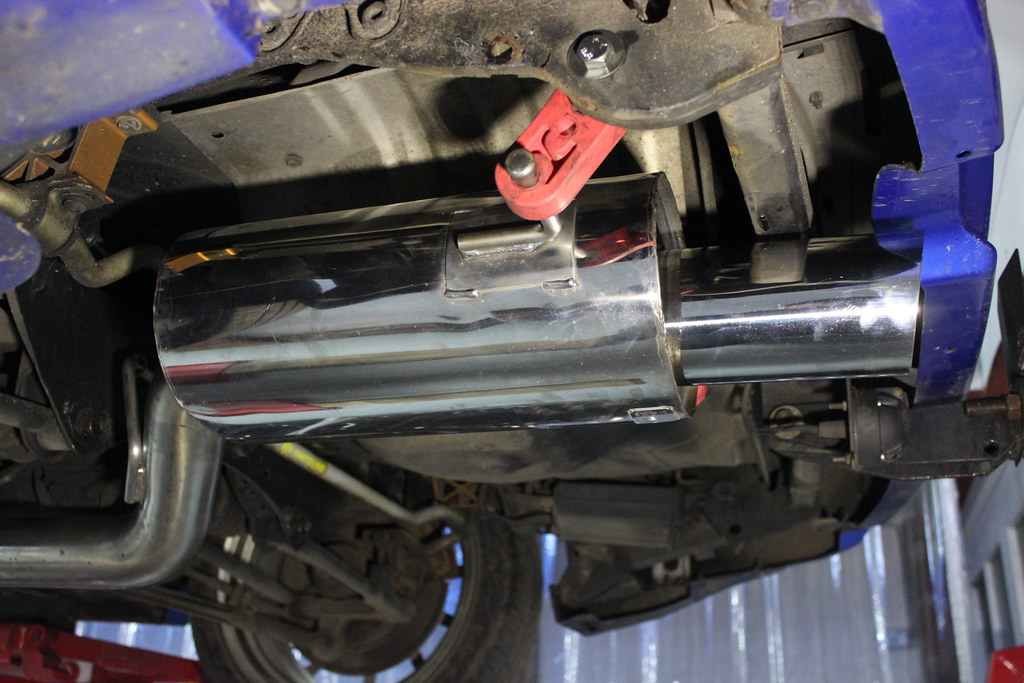
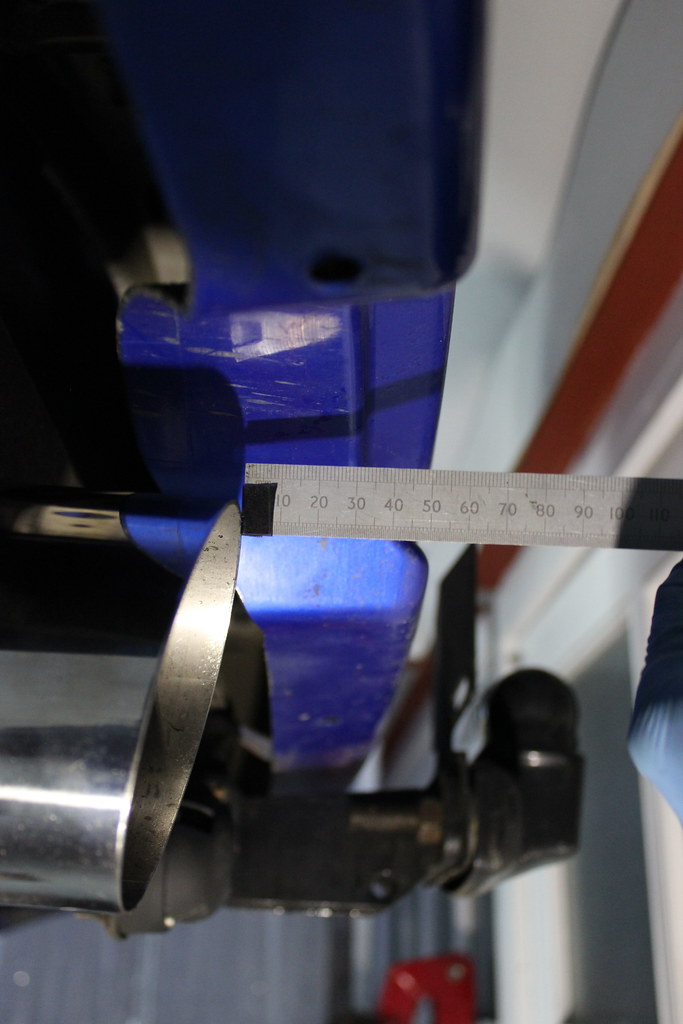
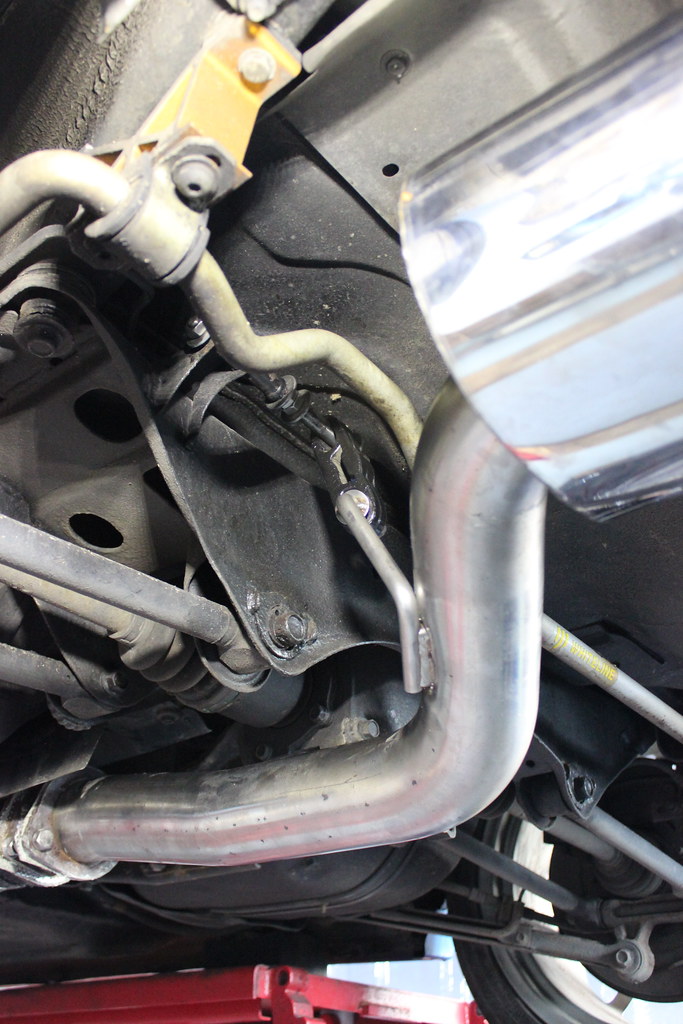
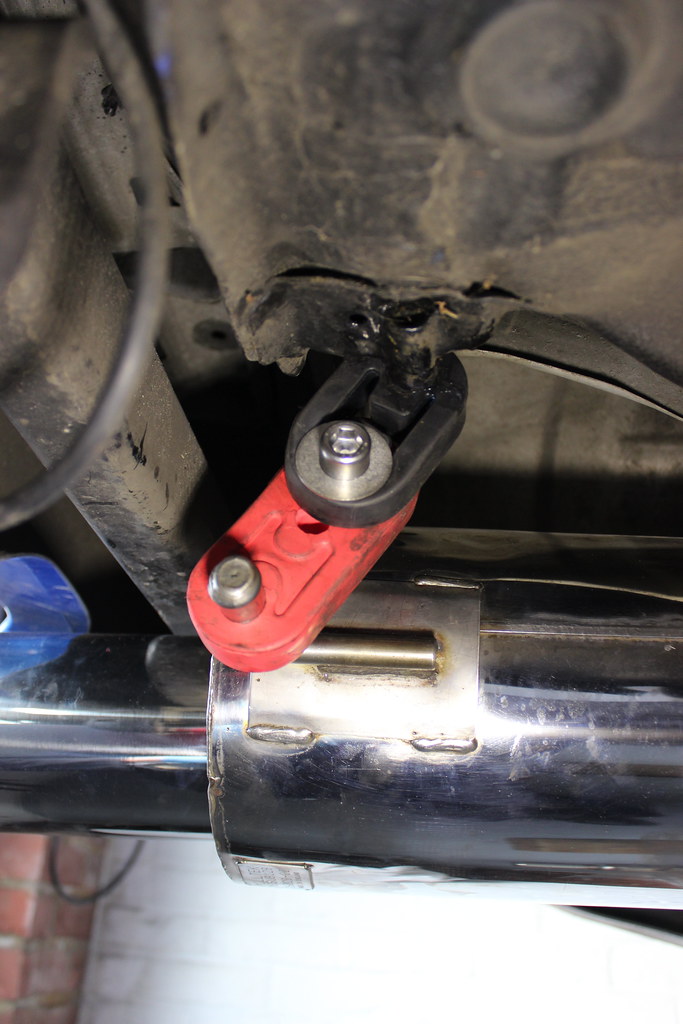
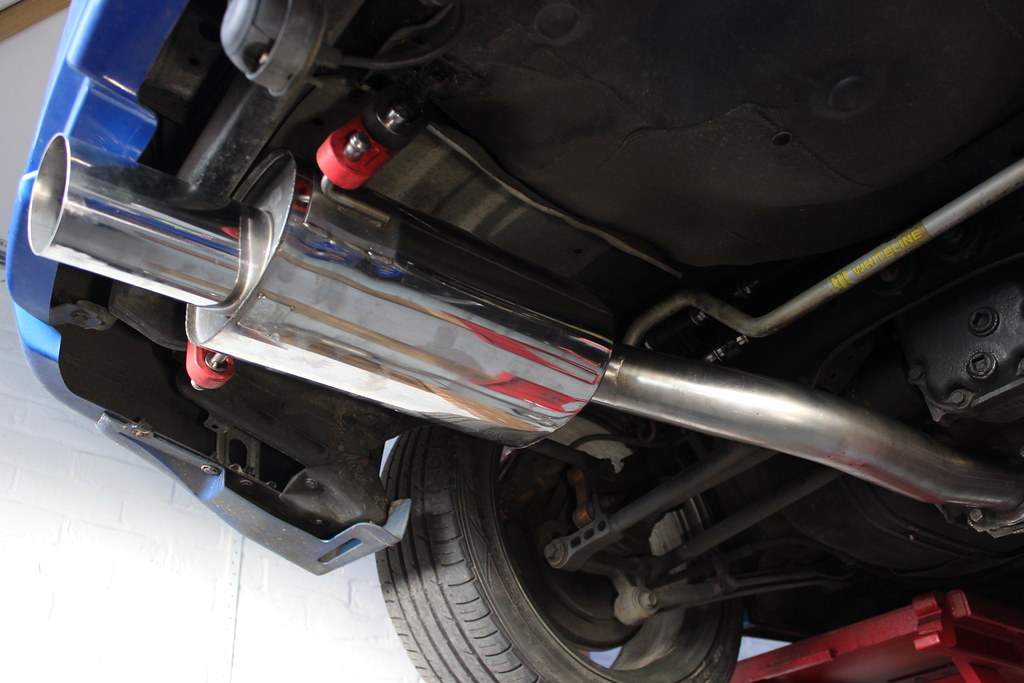
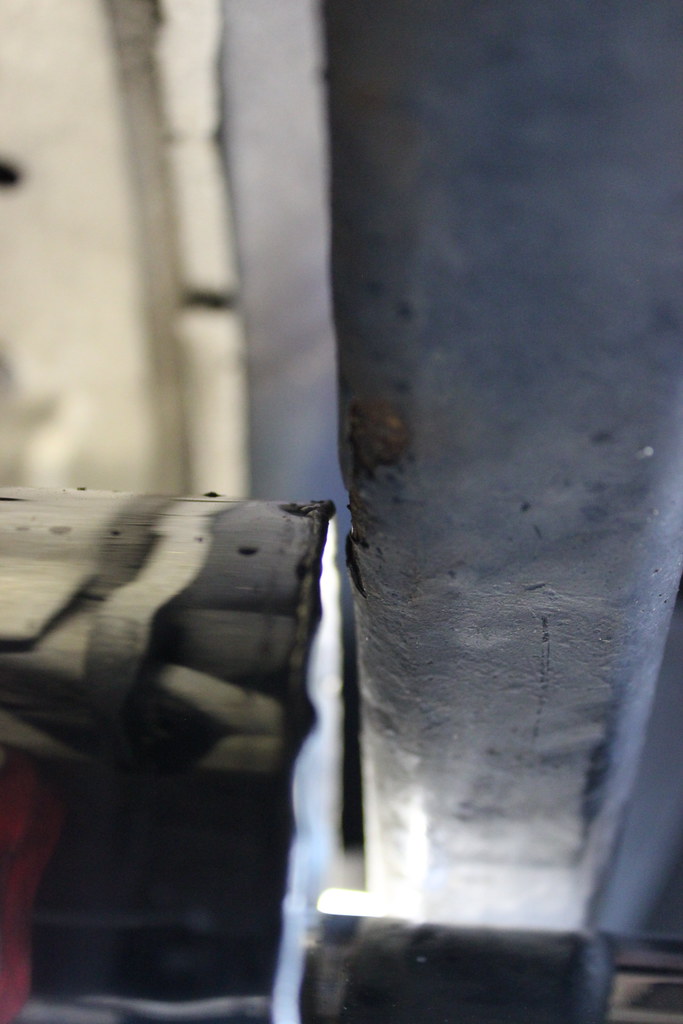
Final problem to solve. This is how close the rear silencer got to the tow bar mount once it was warmed up. Too close!


I cut a section out and welded it back in the other way round so no loss in strength just a bit of exhaust clearance gained.
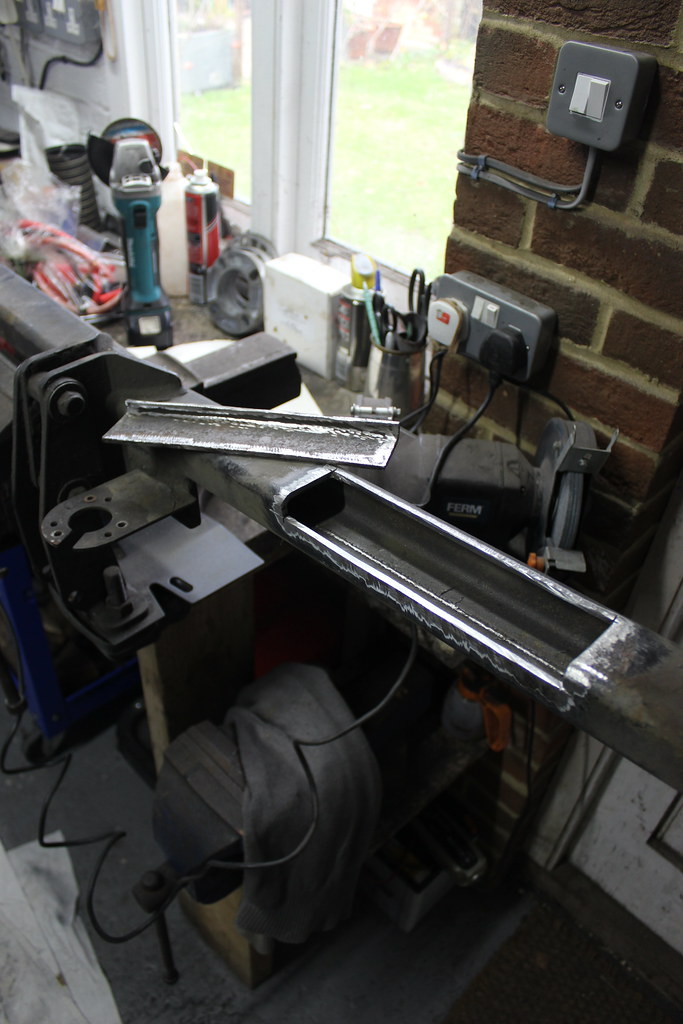


Removed section put back in place.


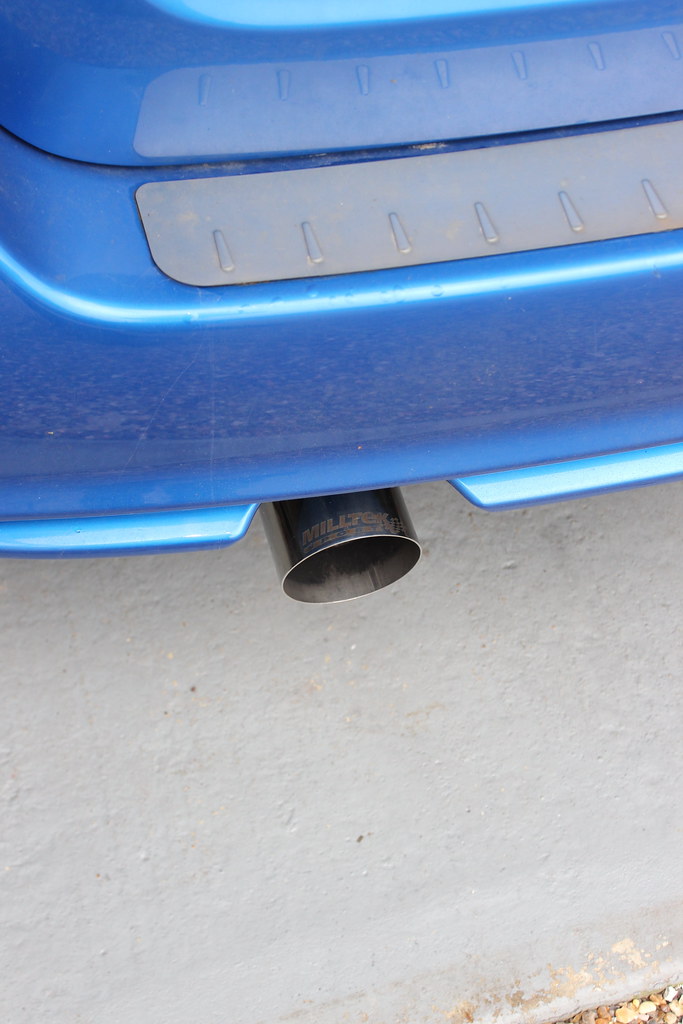
Plenty of clearance now and the job is finally done!