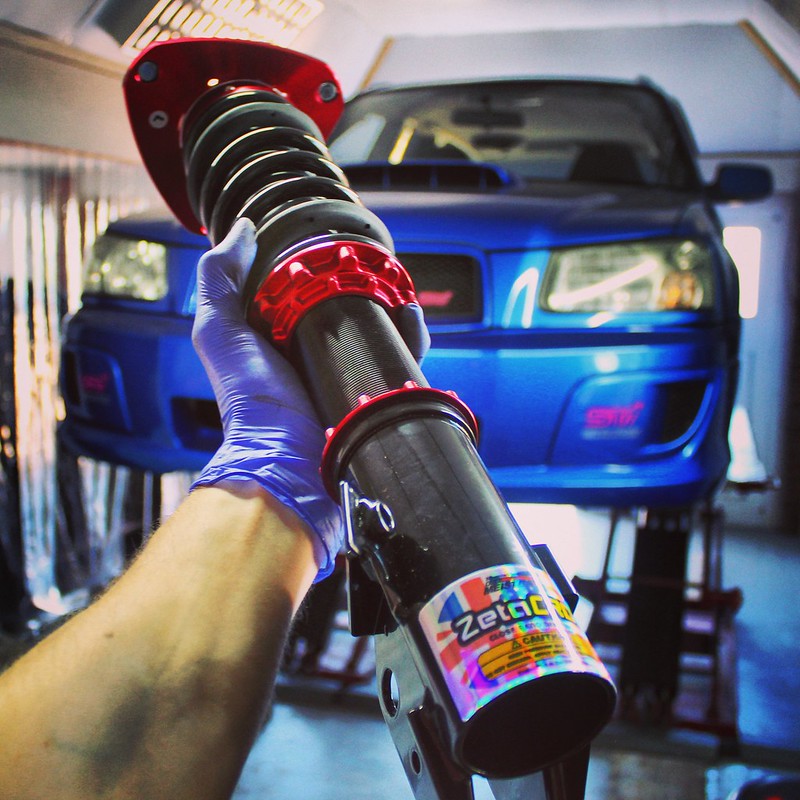
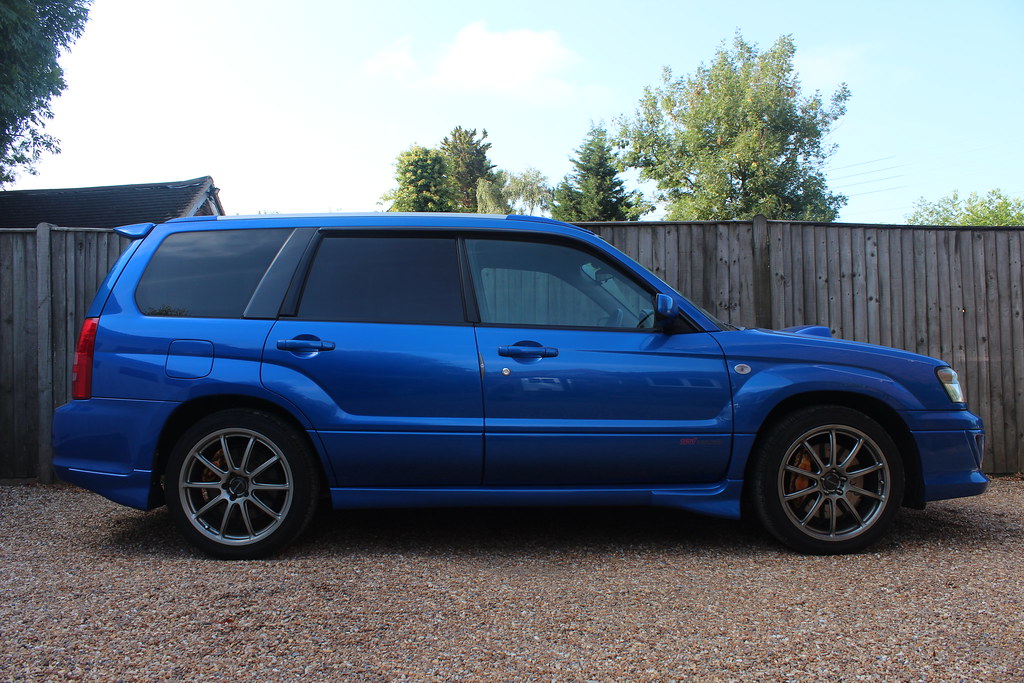
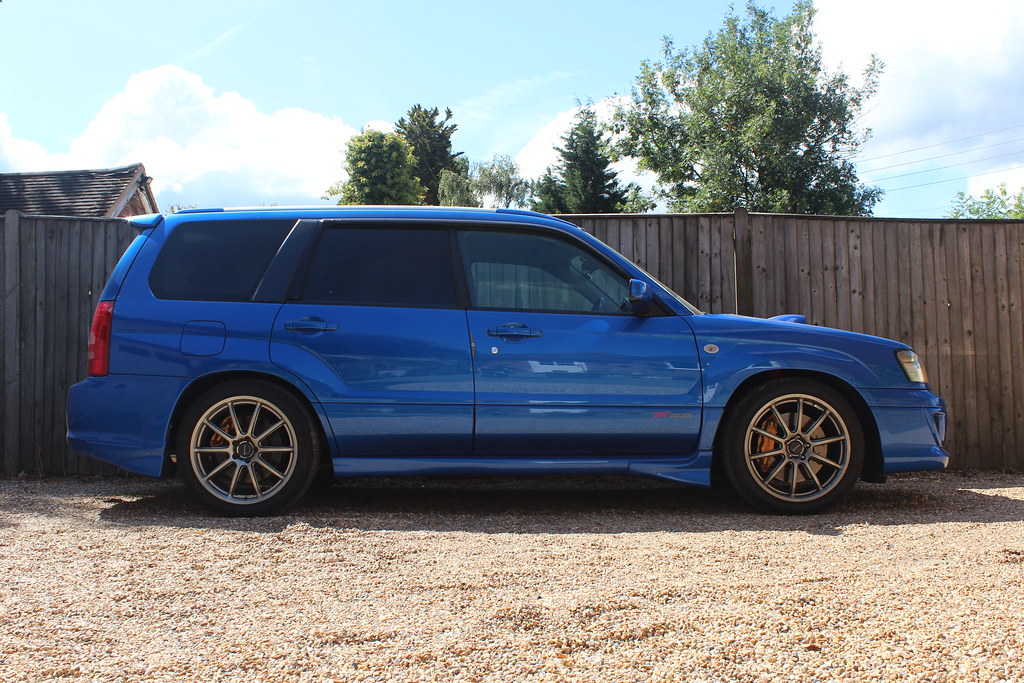
While I didn’t have a major problem with ride and handling on the OEM STI springs and inverted dampers (the stiffer rear ARB and subframe locking bolts really helped, see here and here) and I didn’t mind the STI ride height with the Prodrive GC-010E wheels either. But with the Rota Grid Drifts, the standard ride height just looked wrong and the wheels are heavier so a stiffer damper would certainly help control that extra weight.
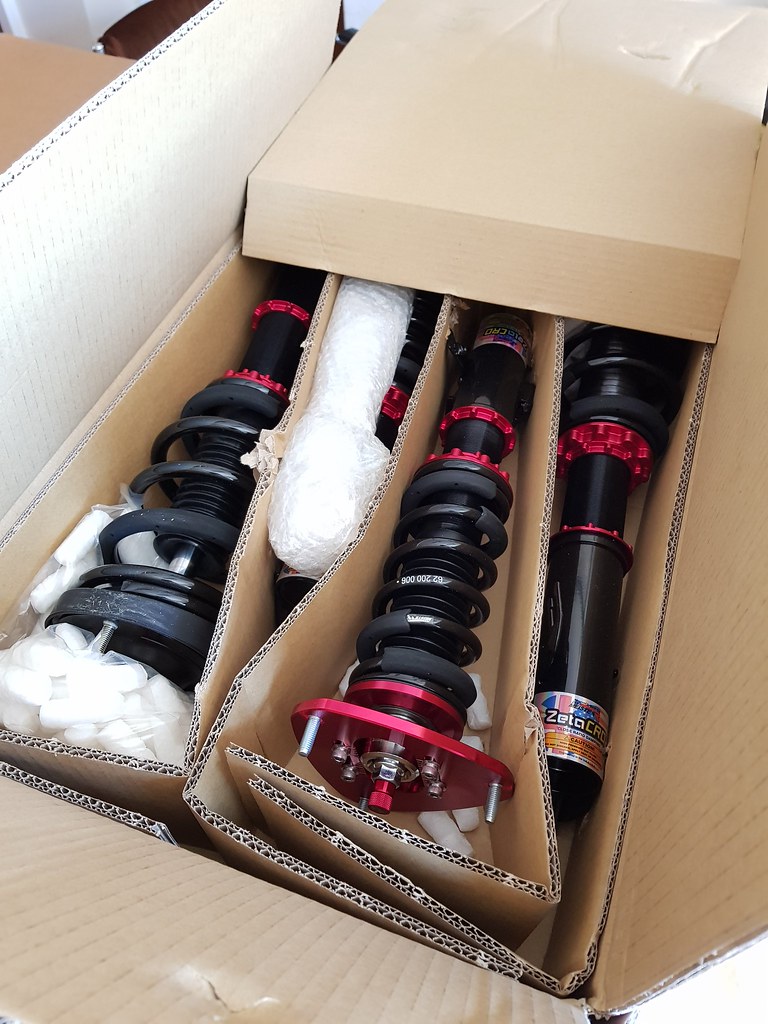
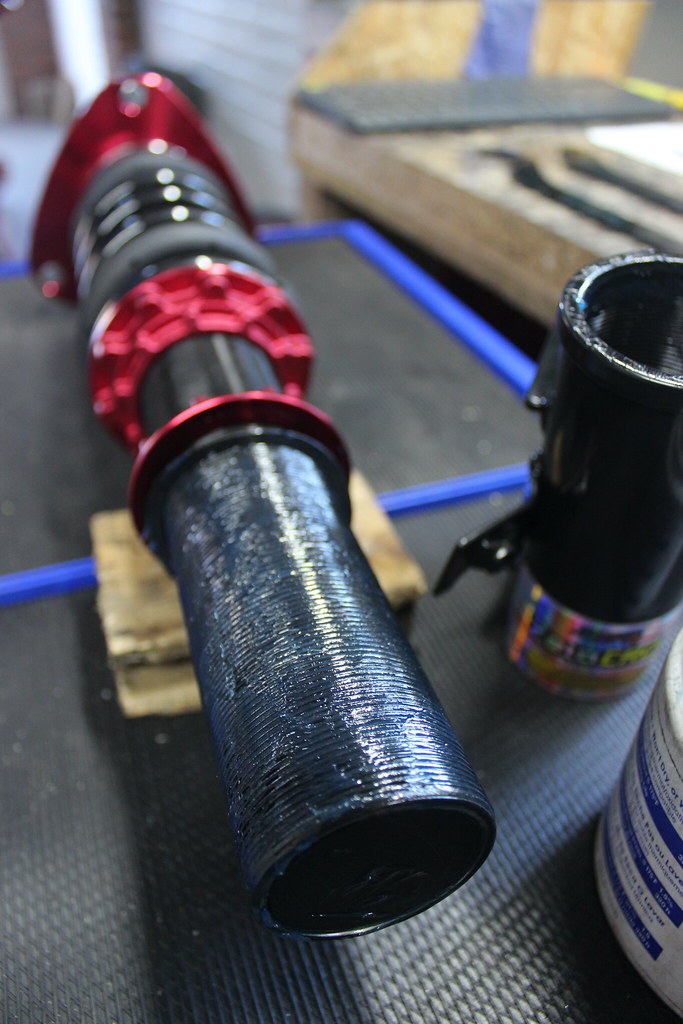
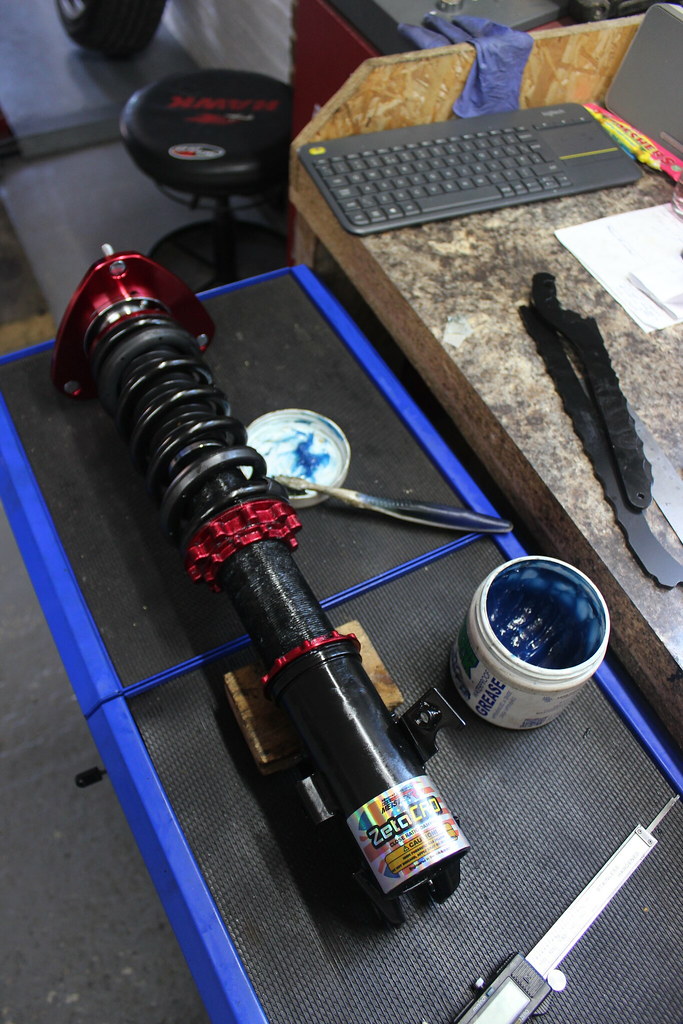
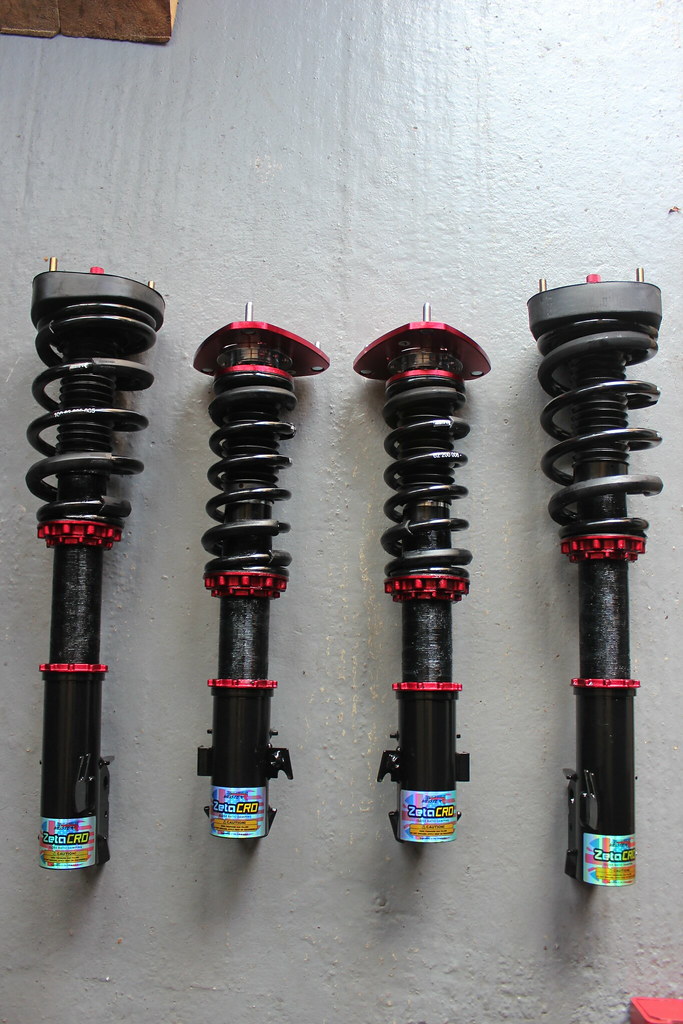
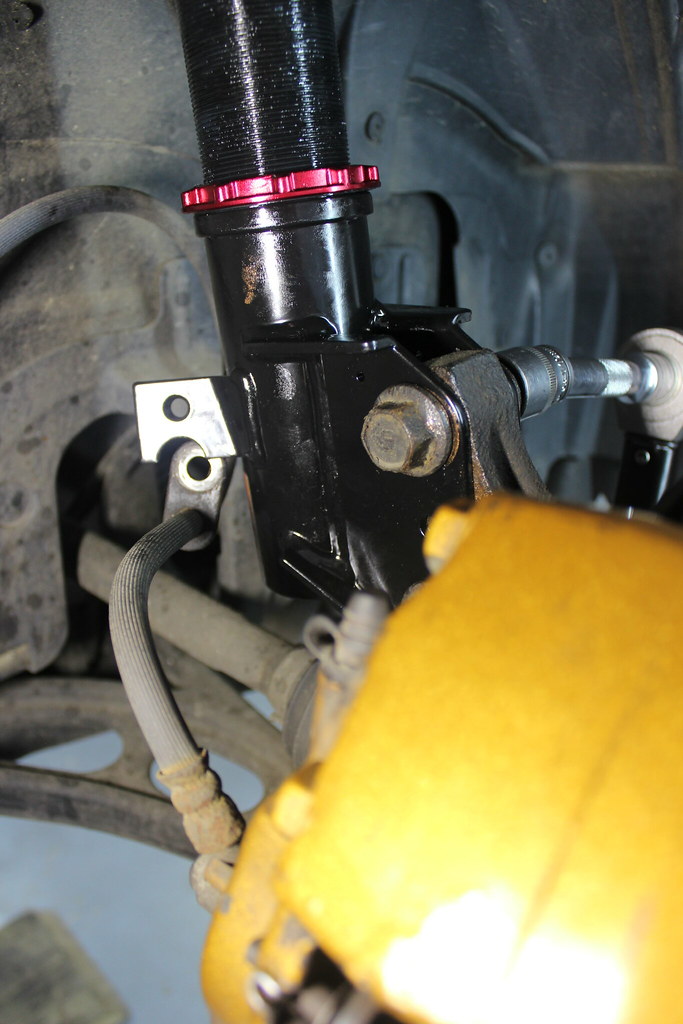
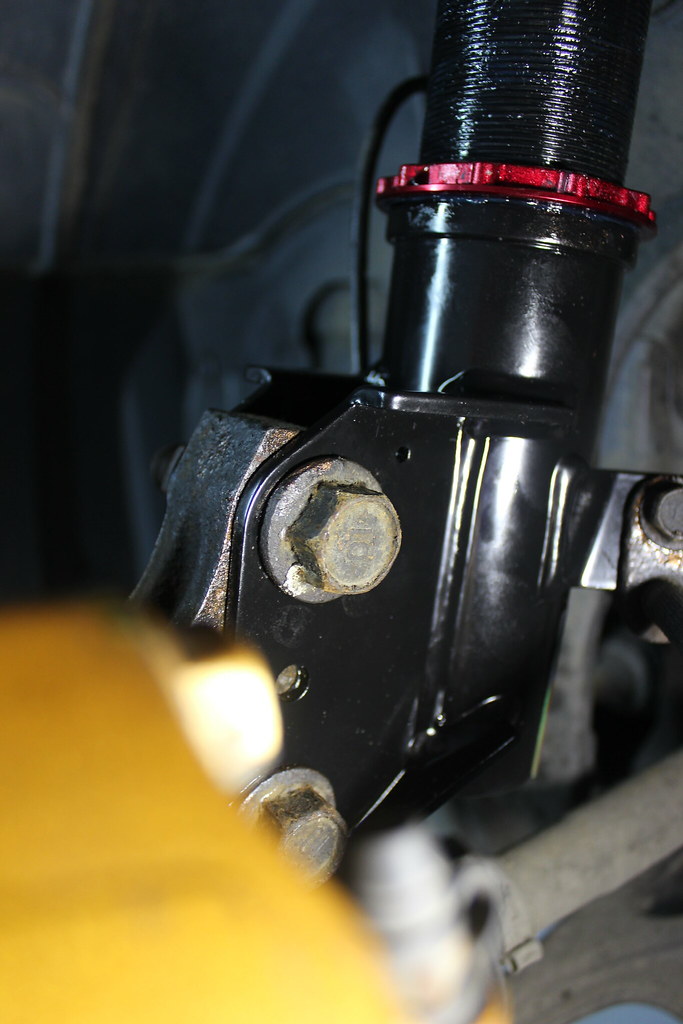
I fitted MeisterR coilovers to the Evo and I was very happy with them. I also had no issues with them so went for another set for the Forester. These are for Newage (Bug/Blobeye STI) 5 x 100 PCD Impreza fitment and fit the Forester fine.

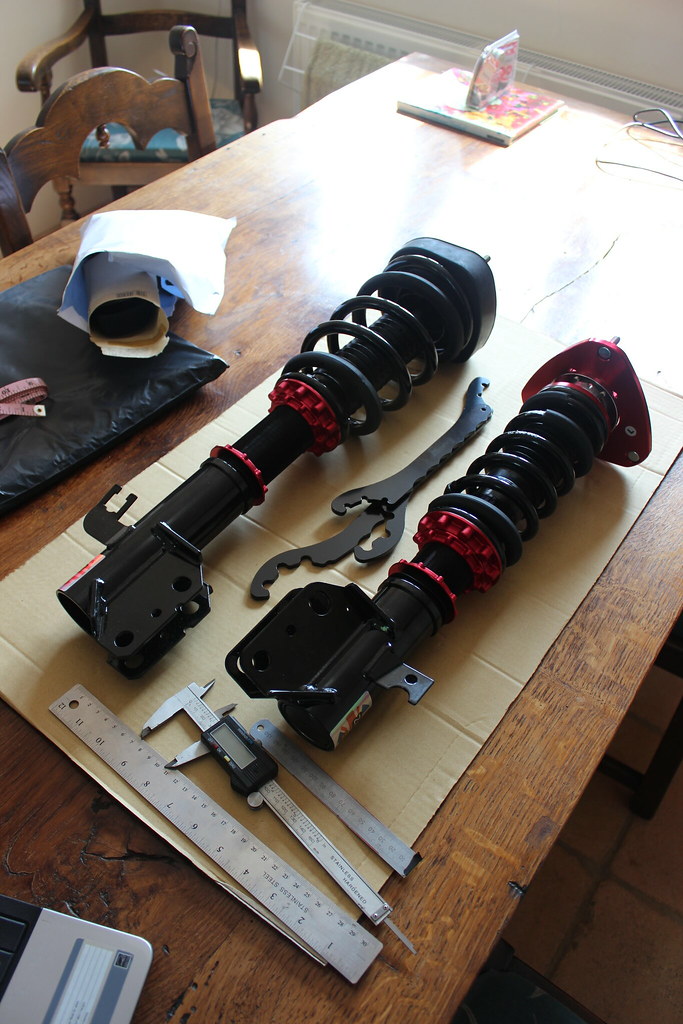
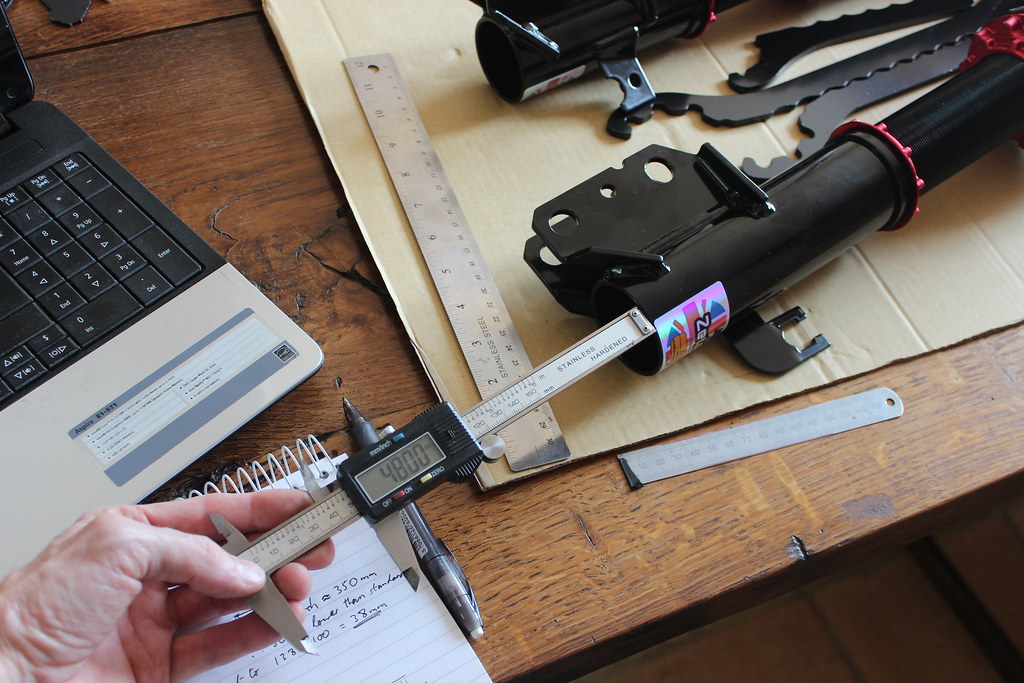
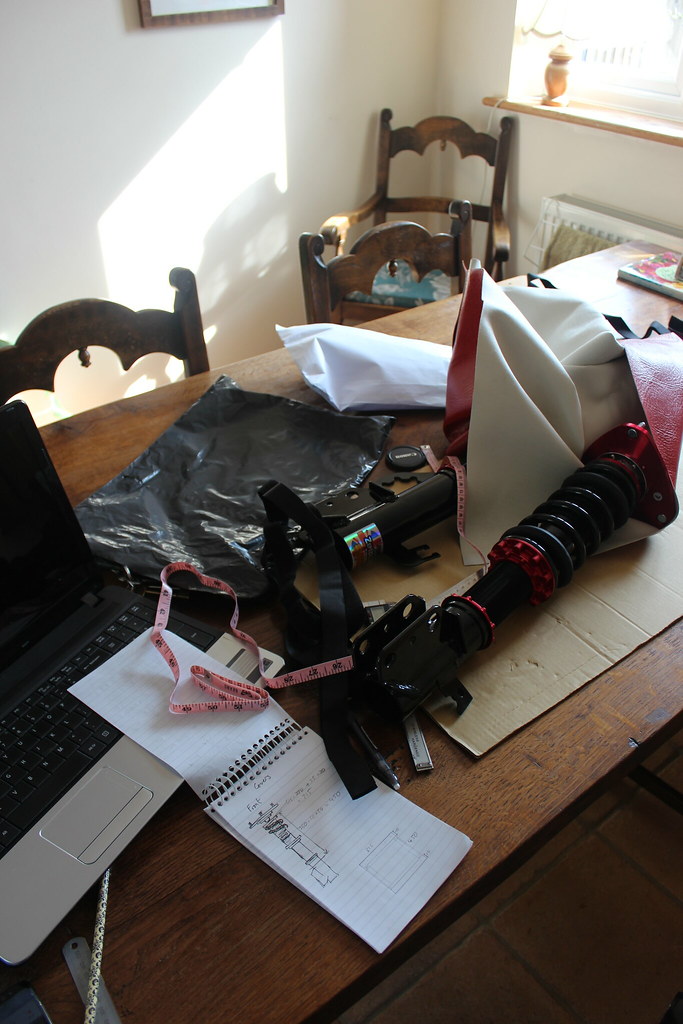
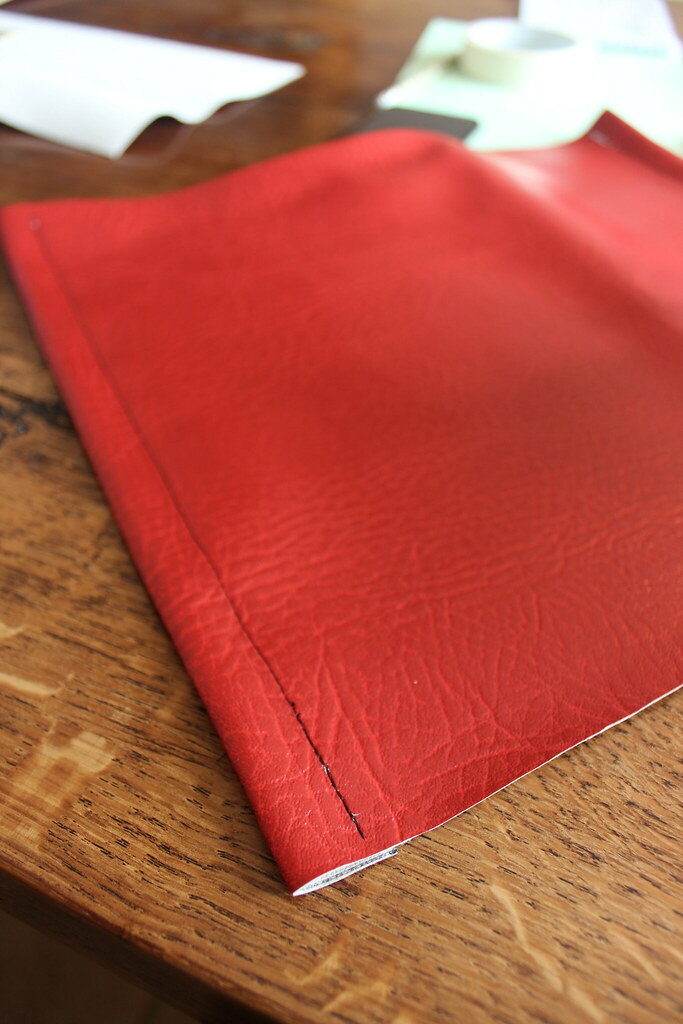
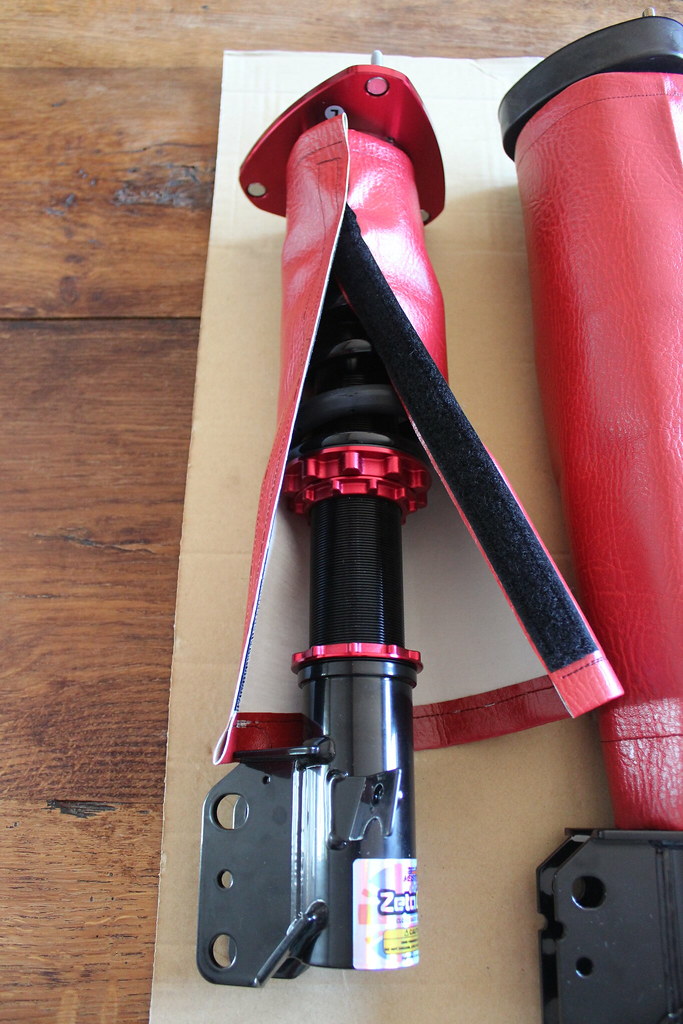
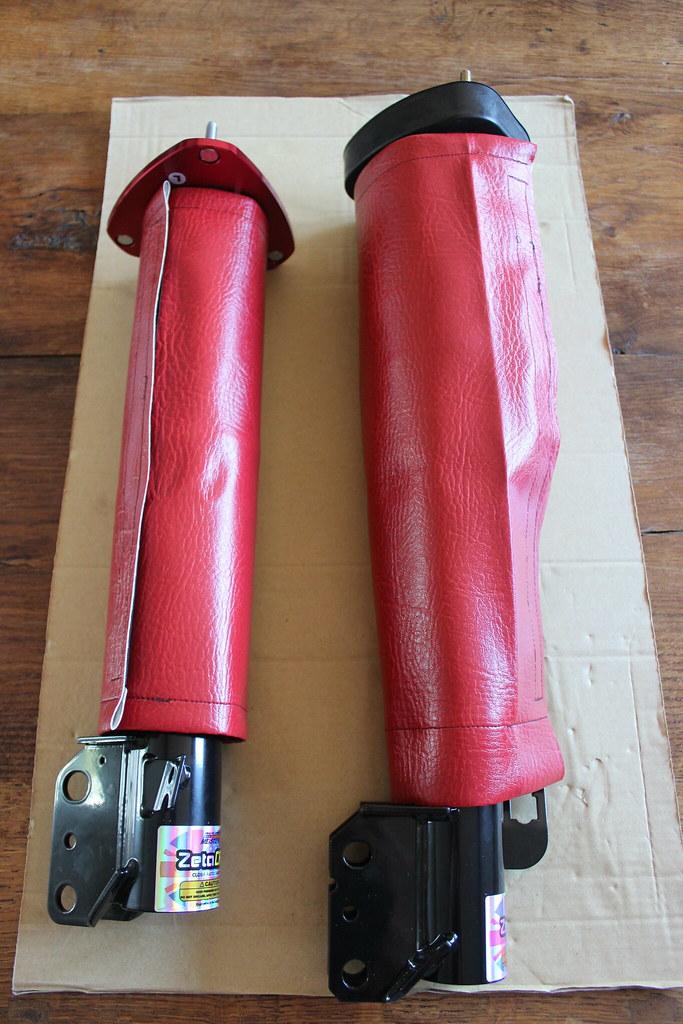
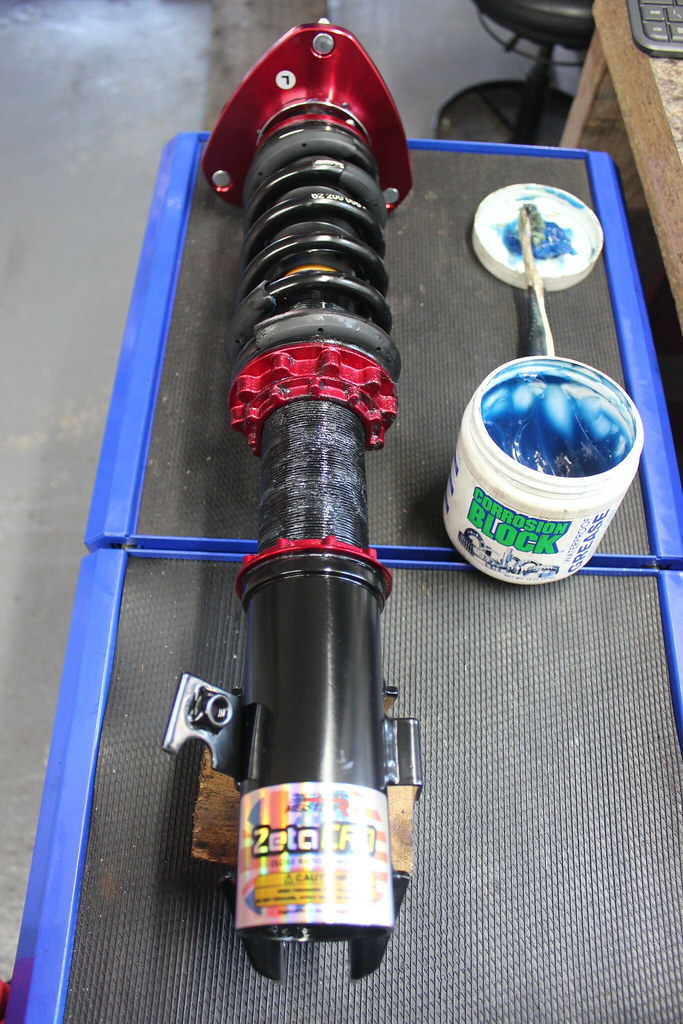
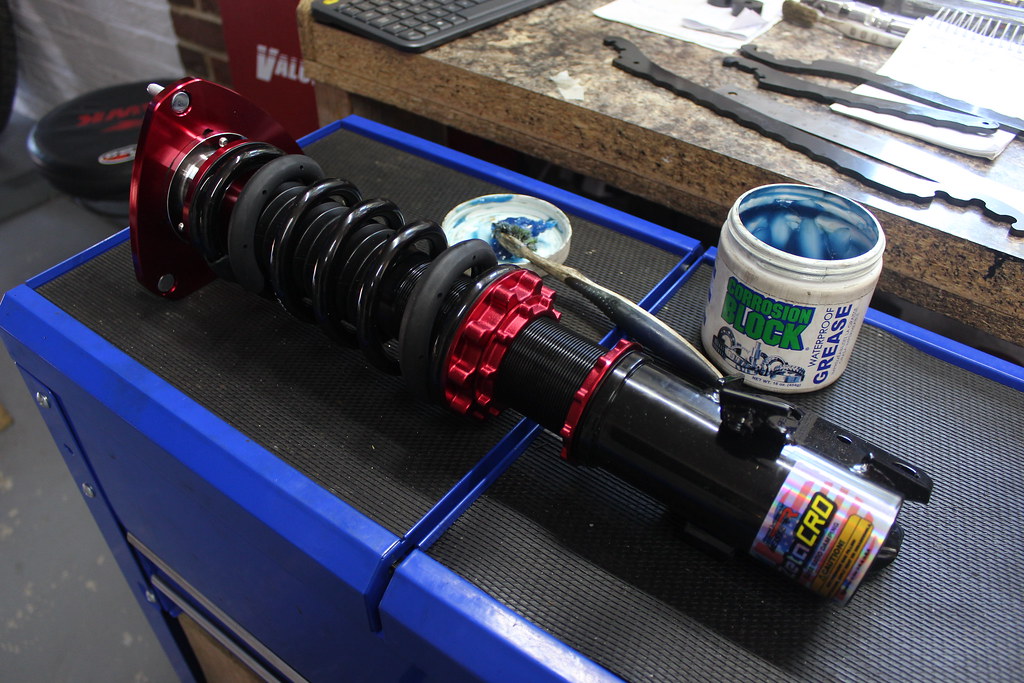
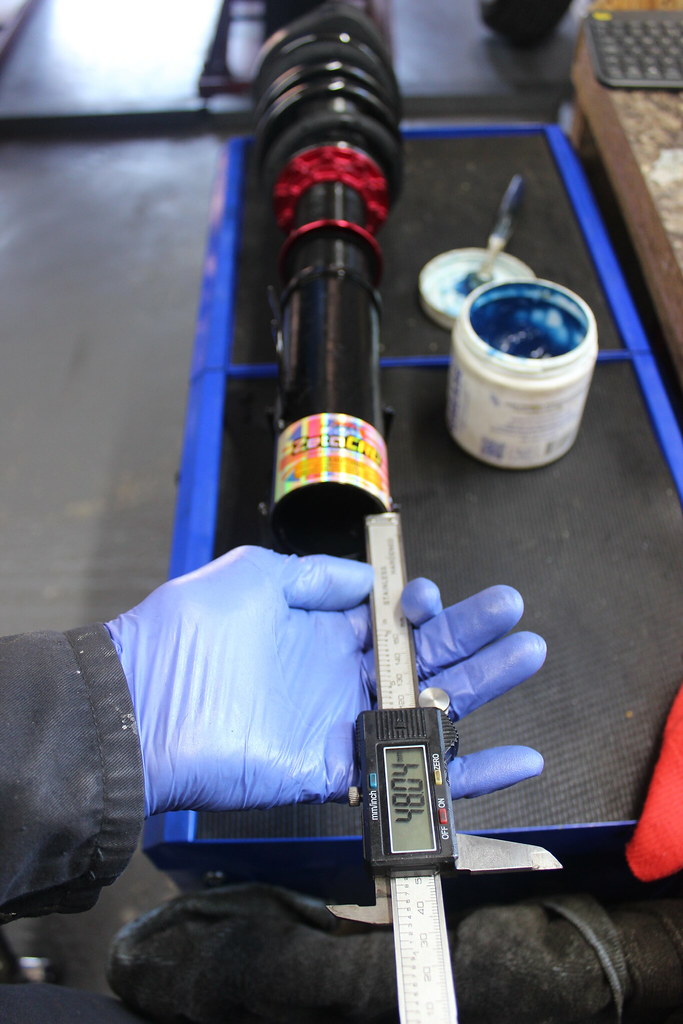
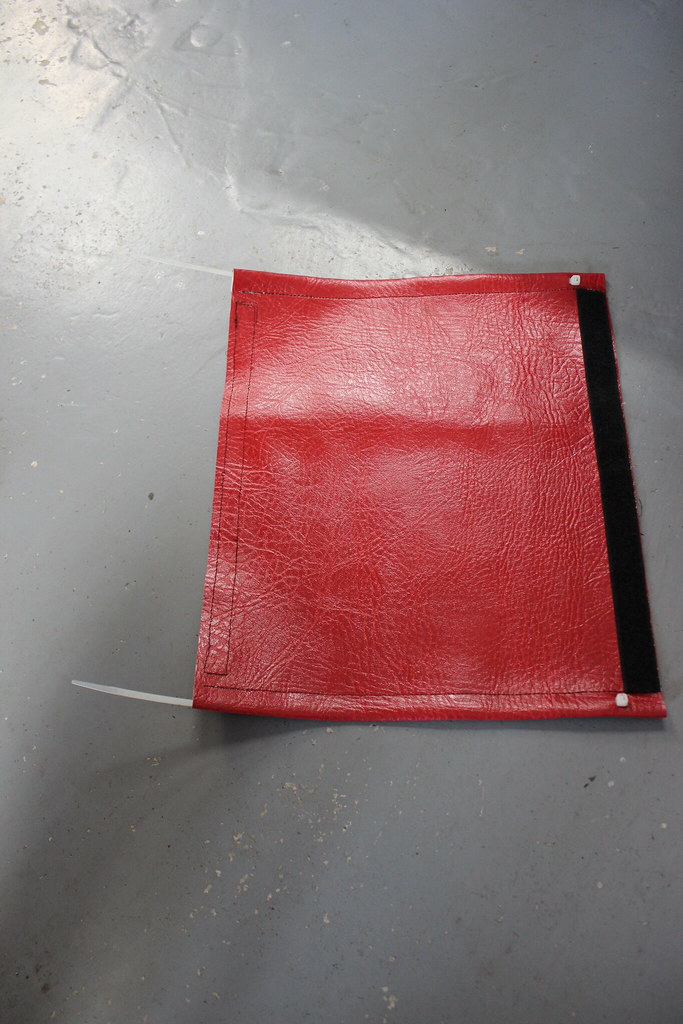
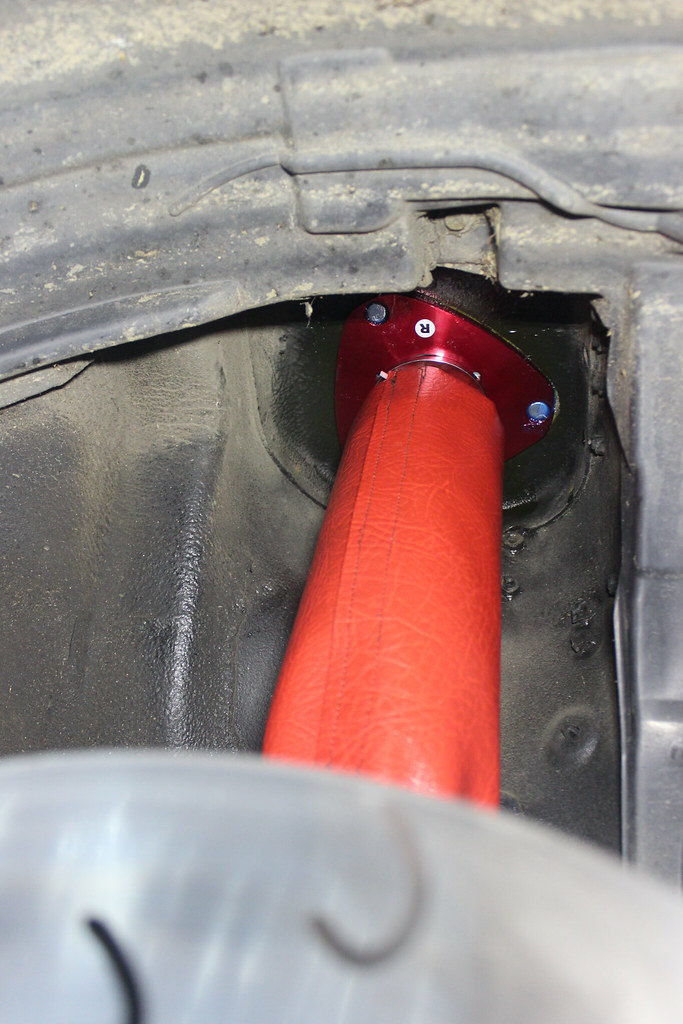
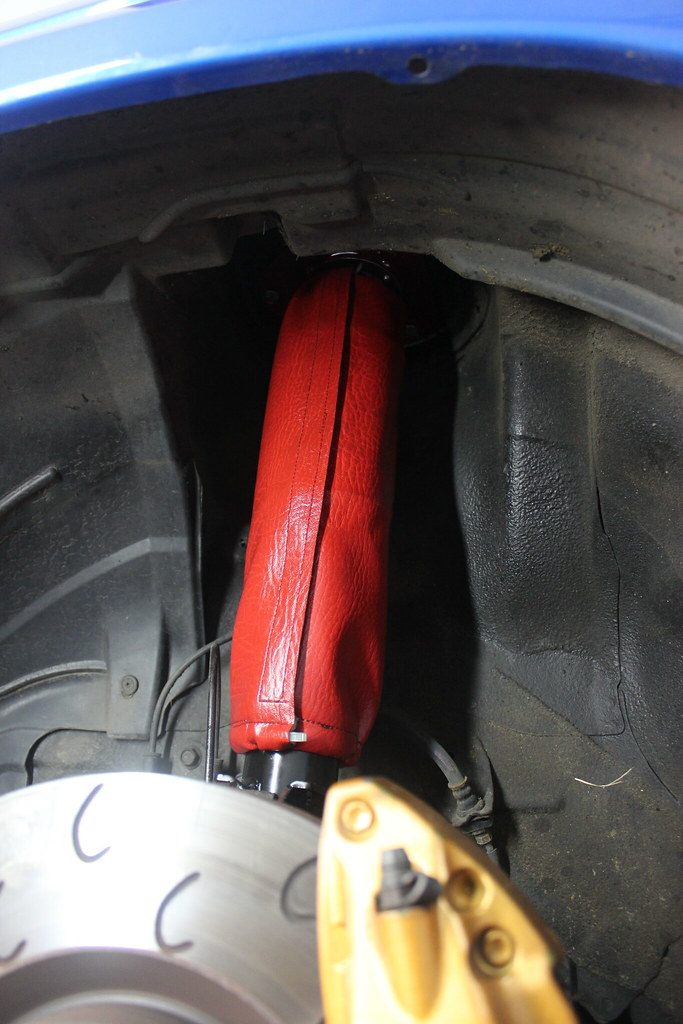
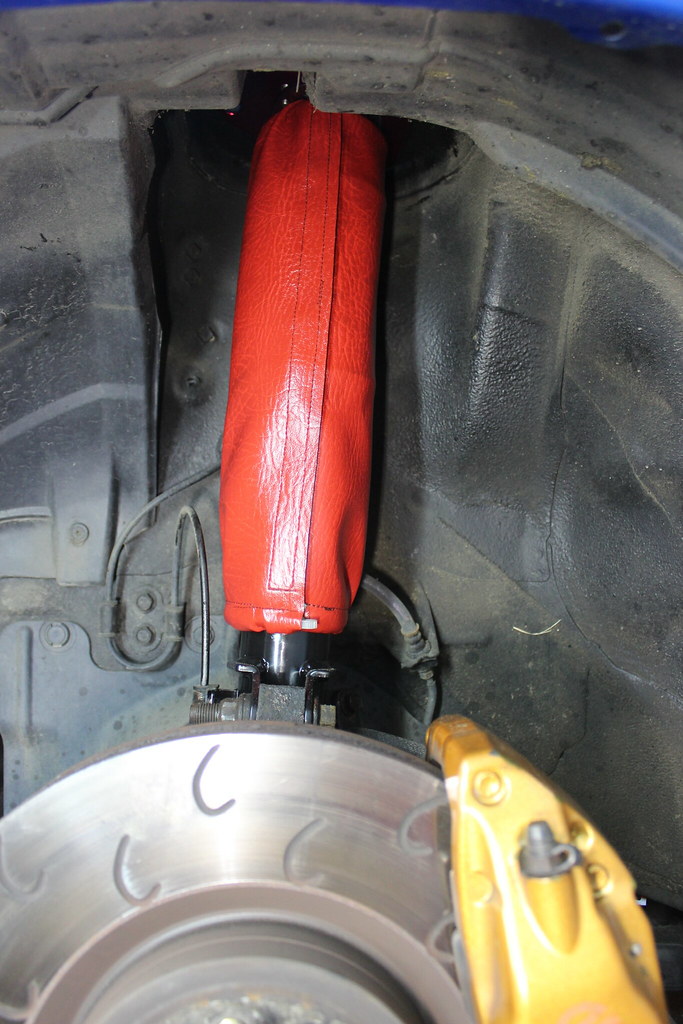
Again, as with the Evo, I made some coilover covers as it’s the best way of keeping moisture and road grime off the damper bodies and adjustment threads insuring that they can still be adjusted easily for years to come. The first thing to do was to make an educated guess at the damper lengths I’d want for the ride height I wanted. Then I could sew some made to measure covers.


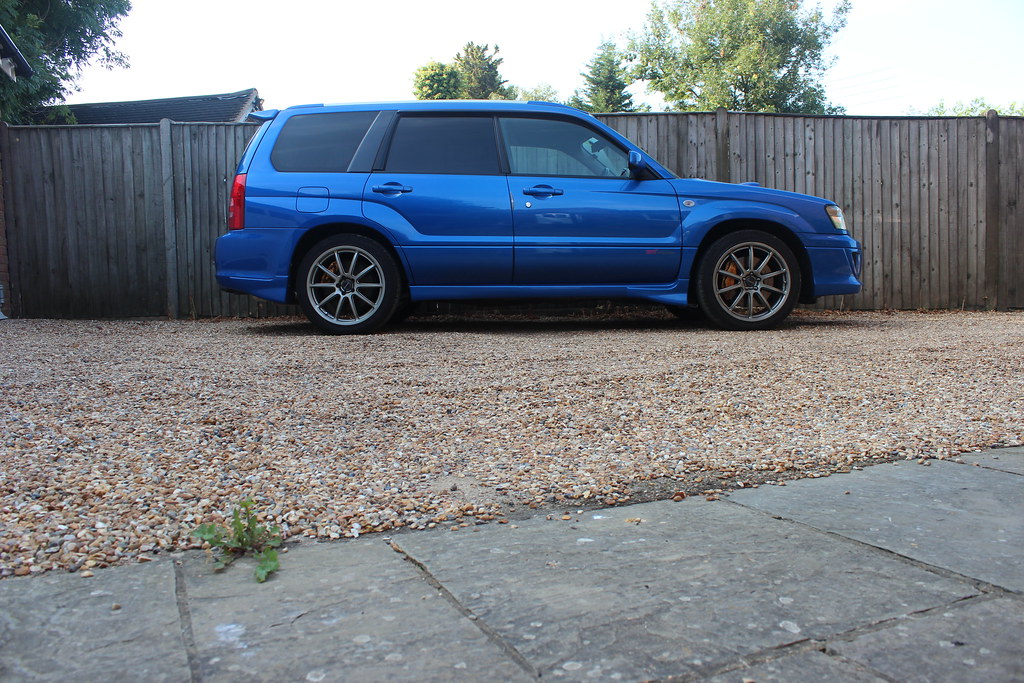
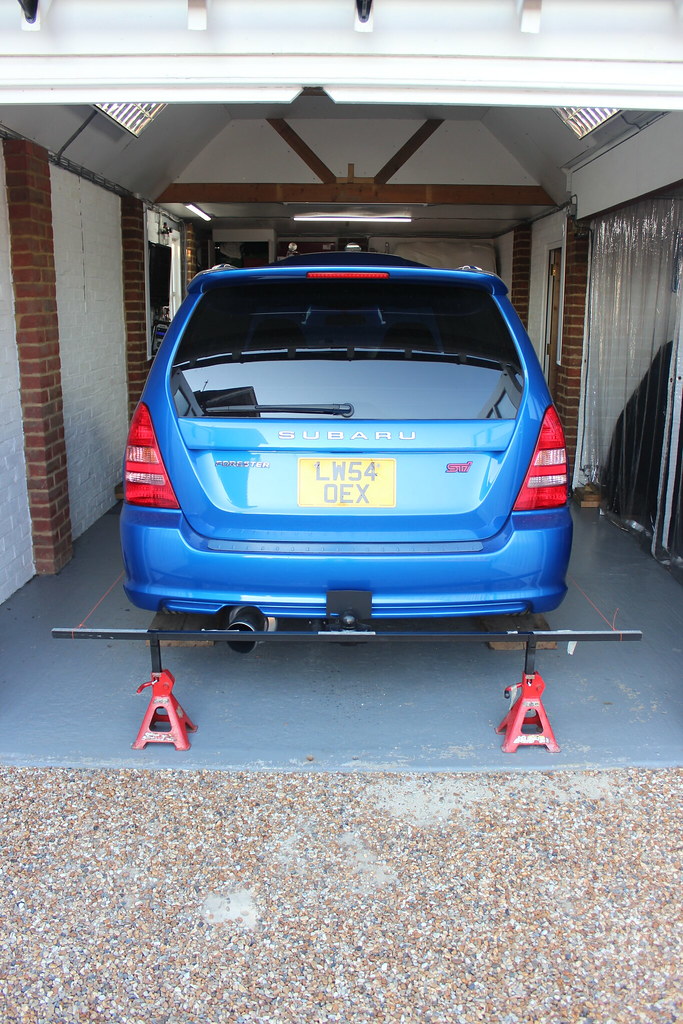
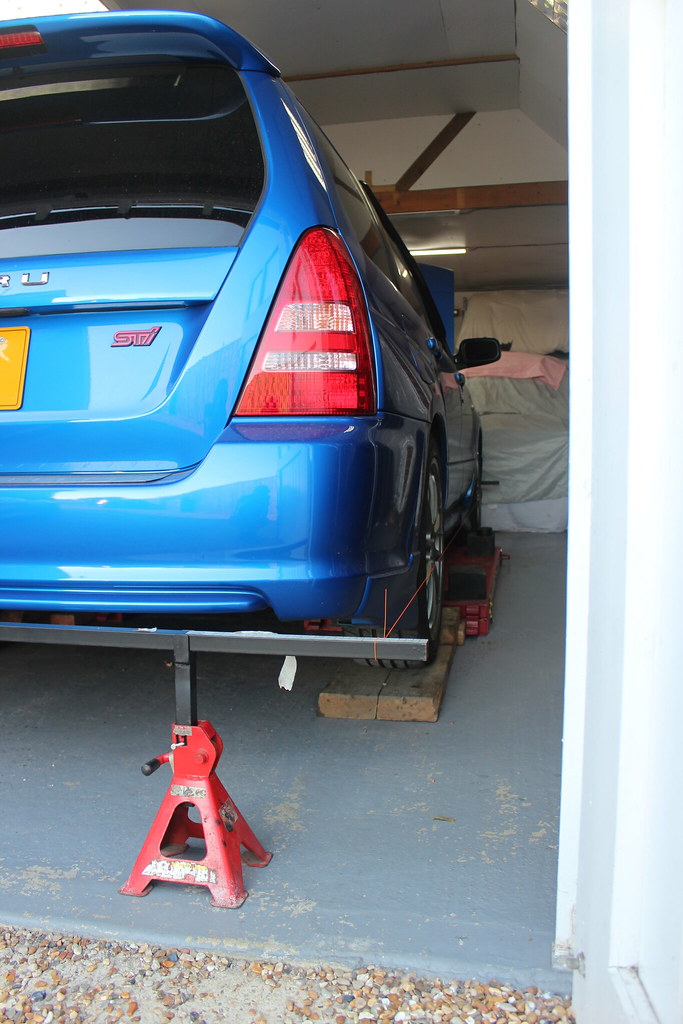
Couple of pictures of the OEM FSTI ride height.
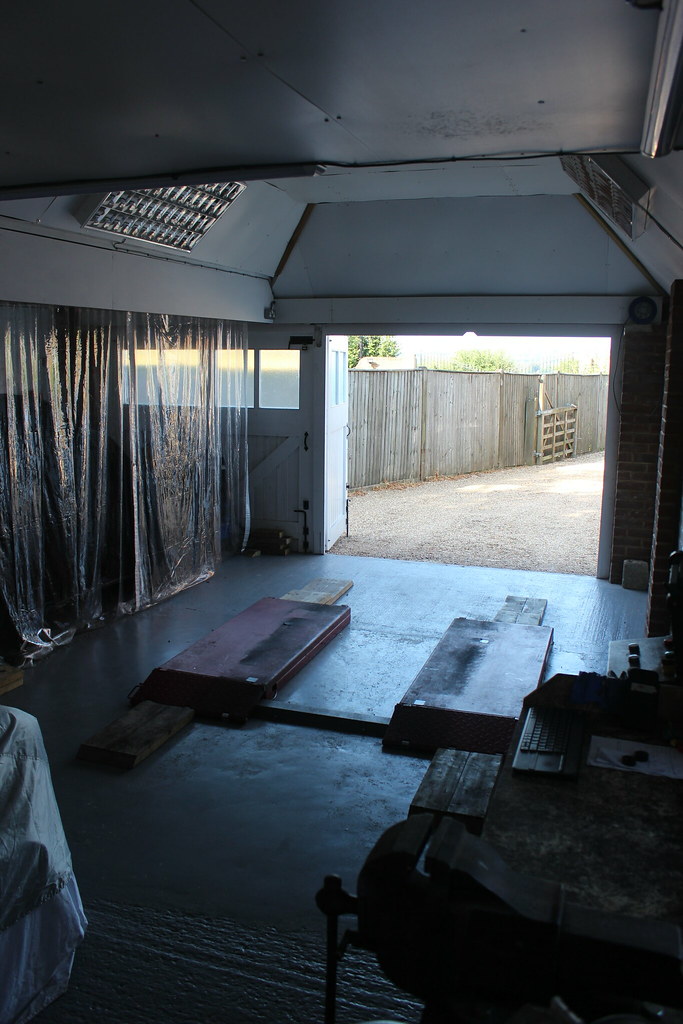
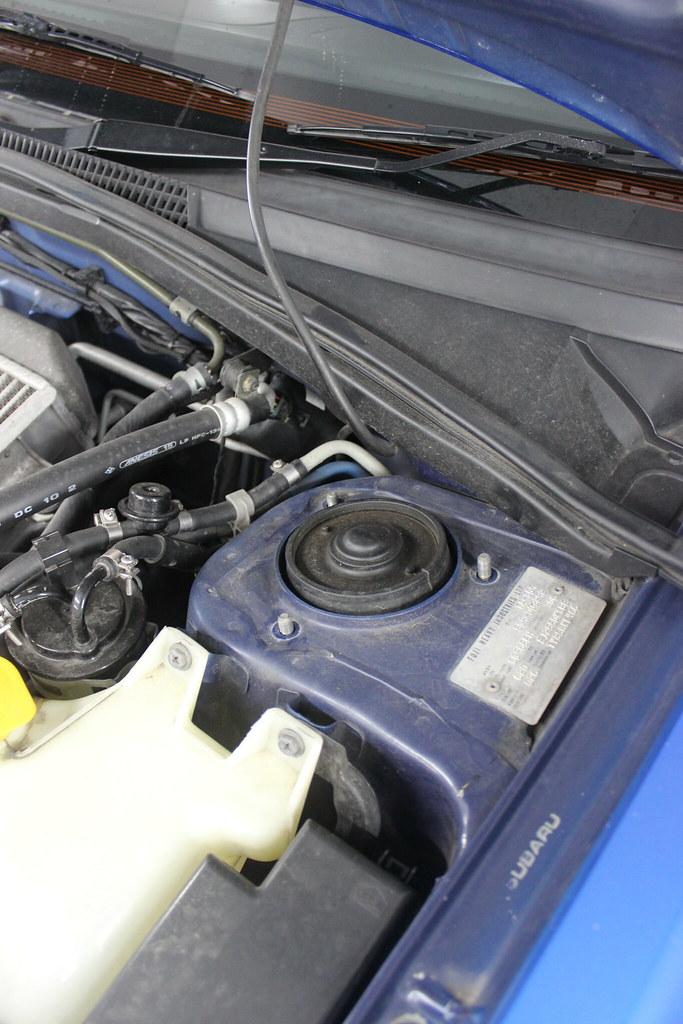
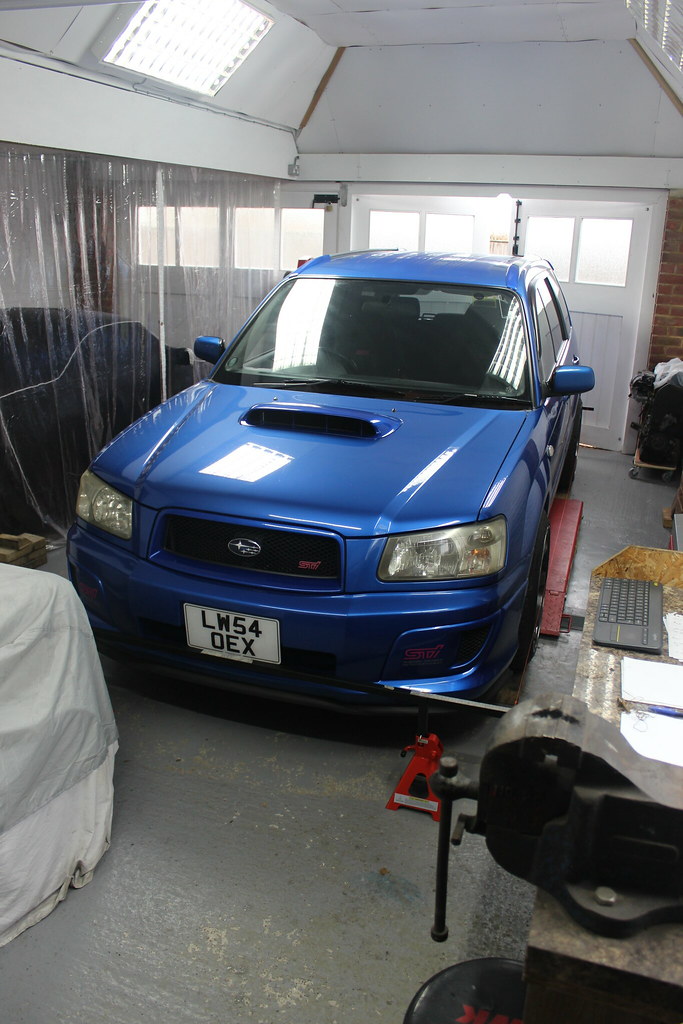
So into the garage and onto the lift with the Forester.


Some penetrating fluid on all the nuts, and…..


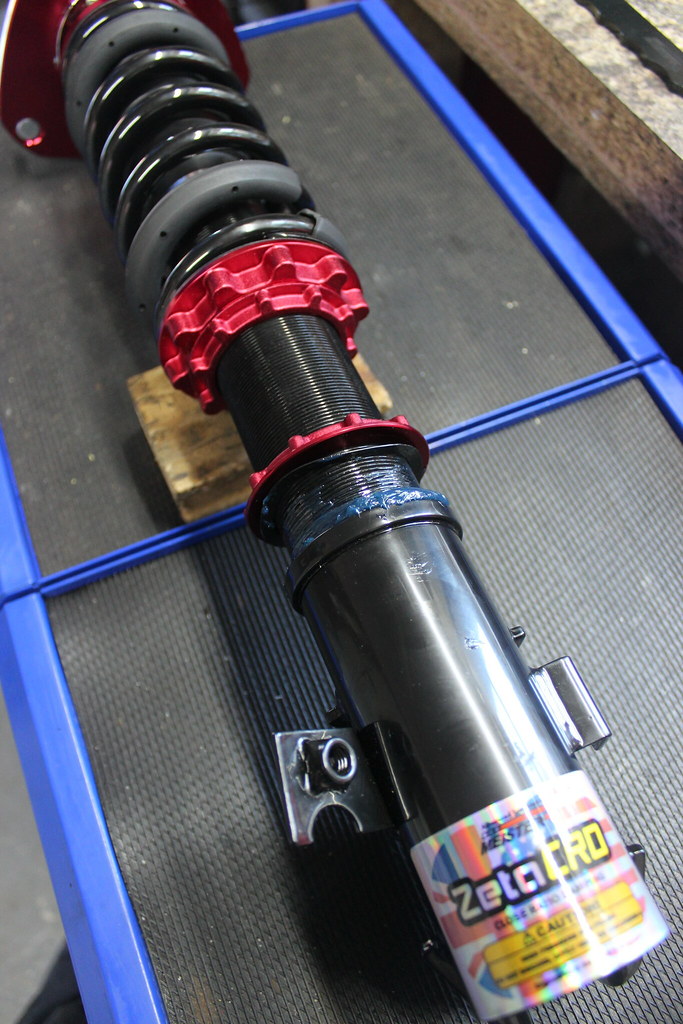
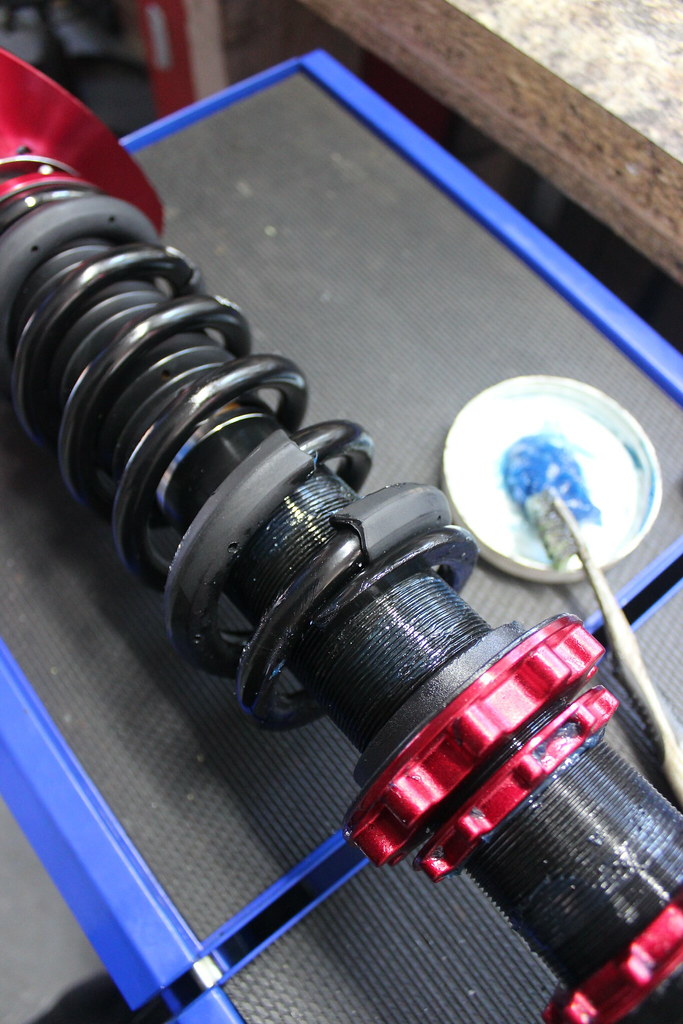
…..while that’s doing it’s thing. Some corrosion block grease on the damper body threads.


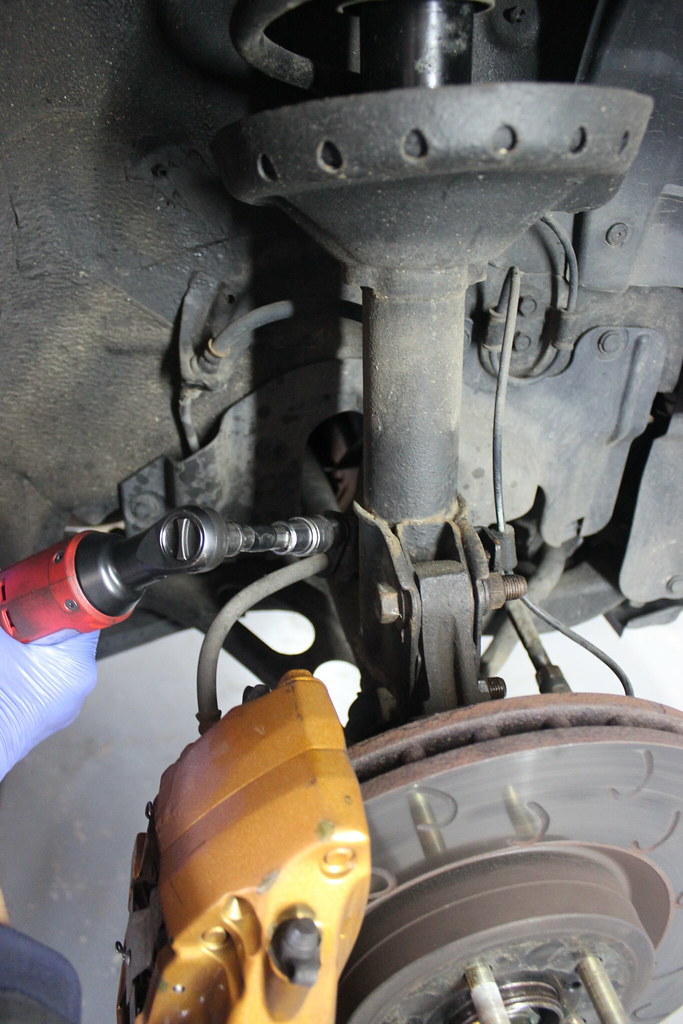
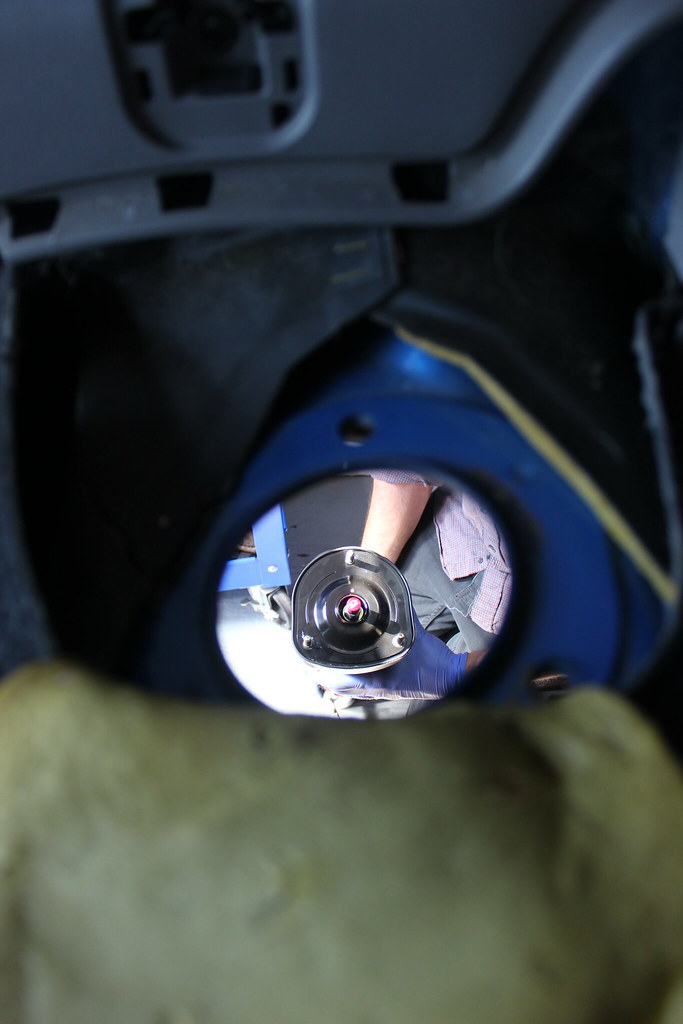
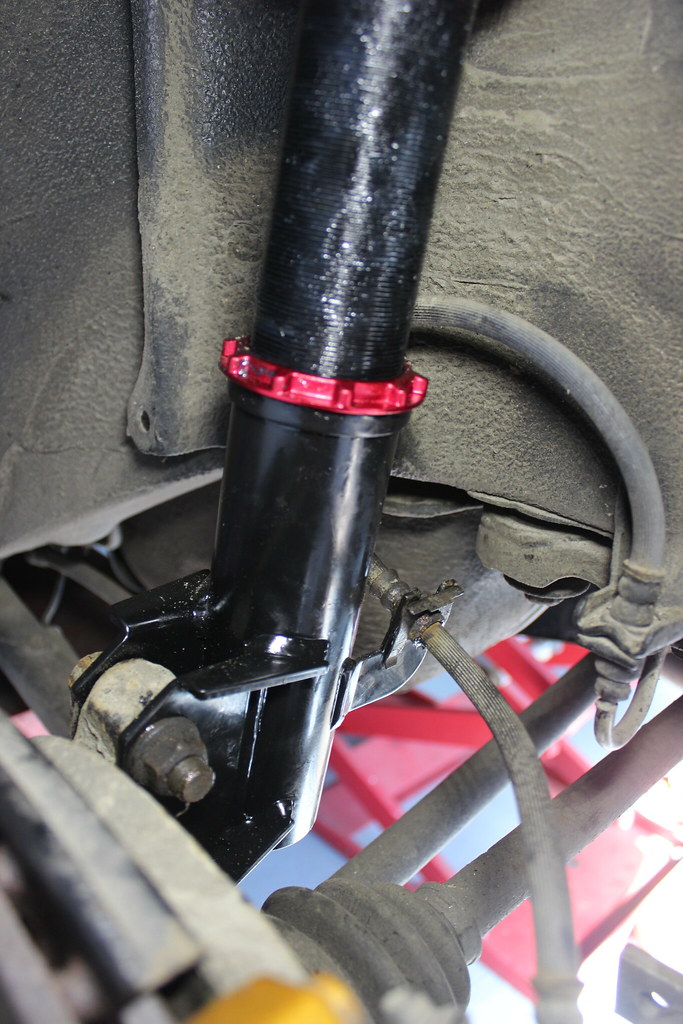
Now time to remove the original shocks.


Nice and clean up there, not a rusty wreck!

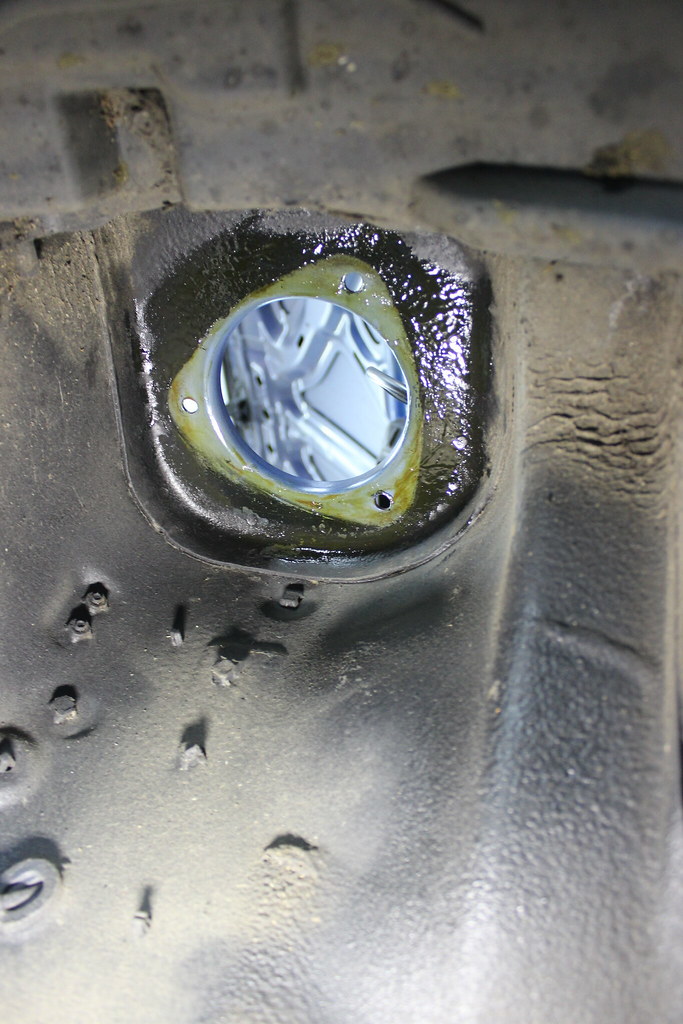
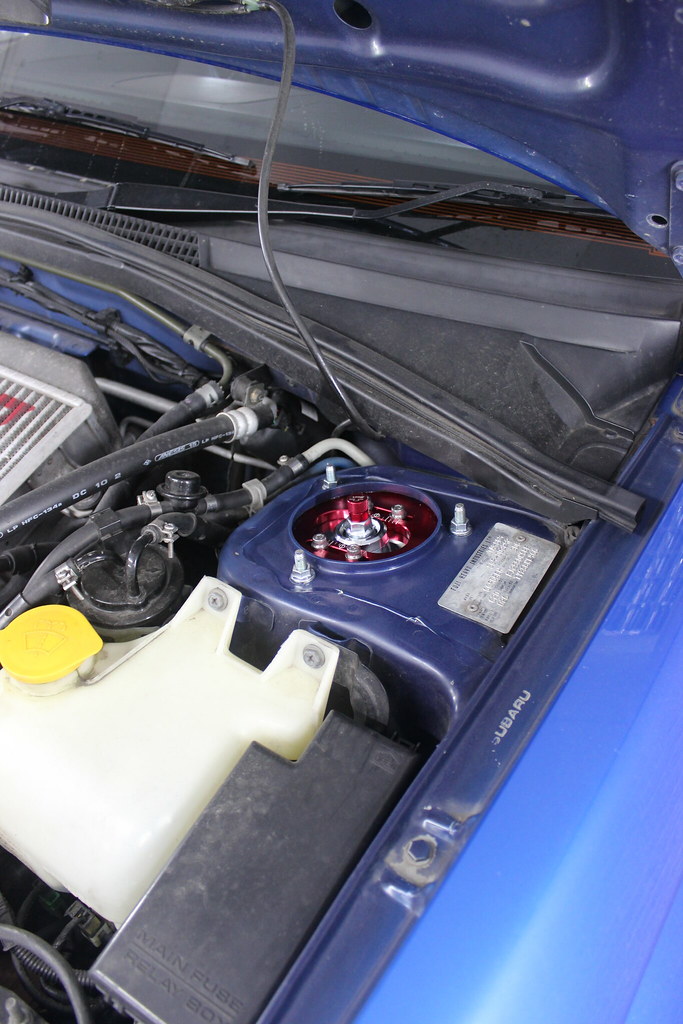
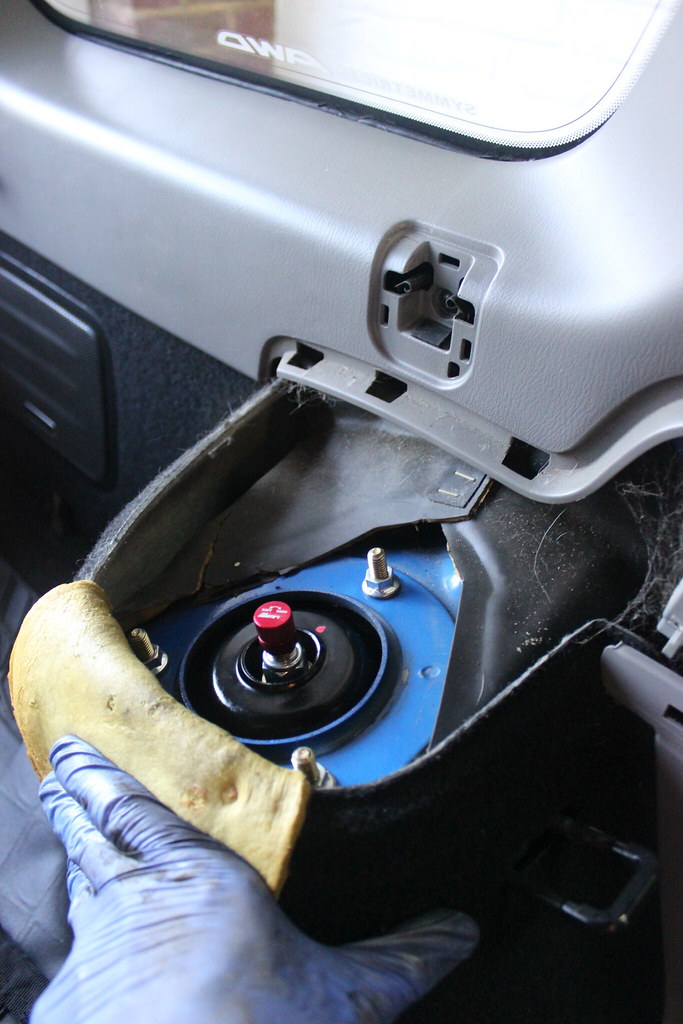
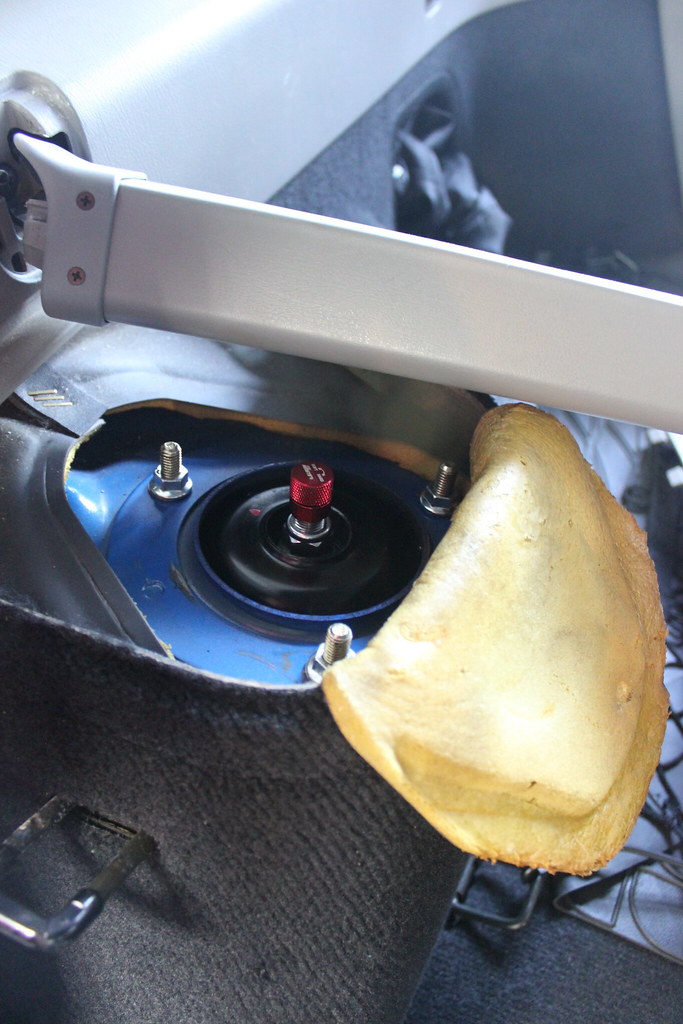
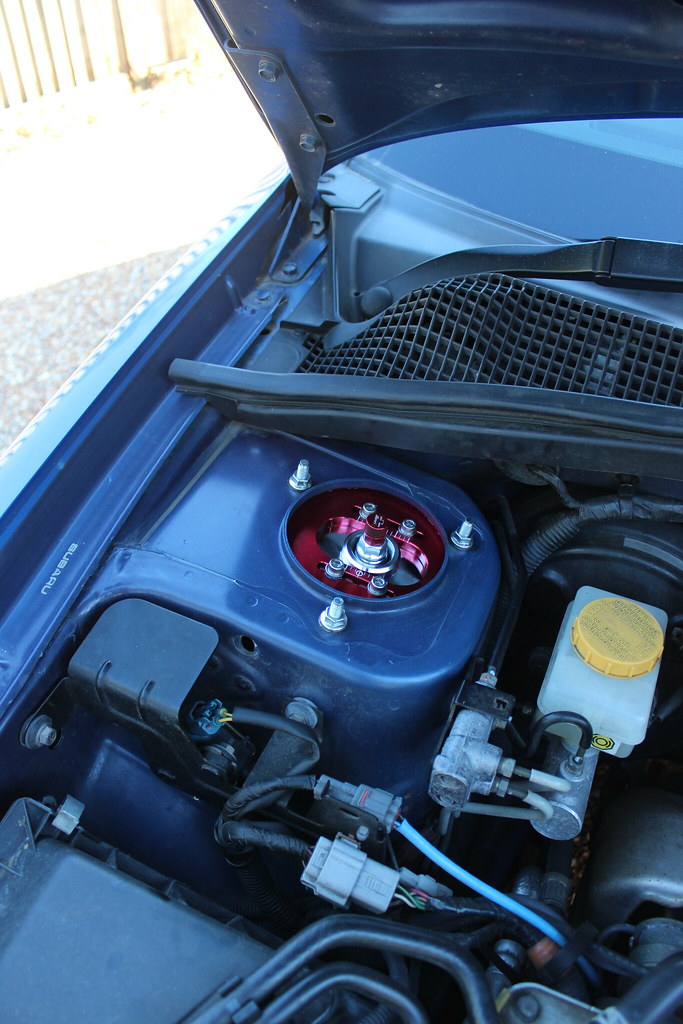
To keep it clean and prevent rust. Some wax applied to the face that the coilover top plate will fit to. Because the coilover top plate is aluminuim and the car body is steel with minimal paint here, when water and road salts get up there, galvanic corrosion will take place between the two disssimilar metals which is not what you want. Especially as what tends to happen is the aluminium slowly turns to dust and looses all strucural integrity!


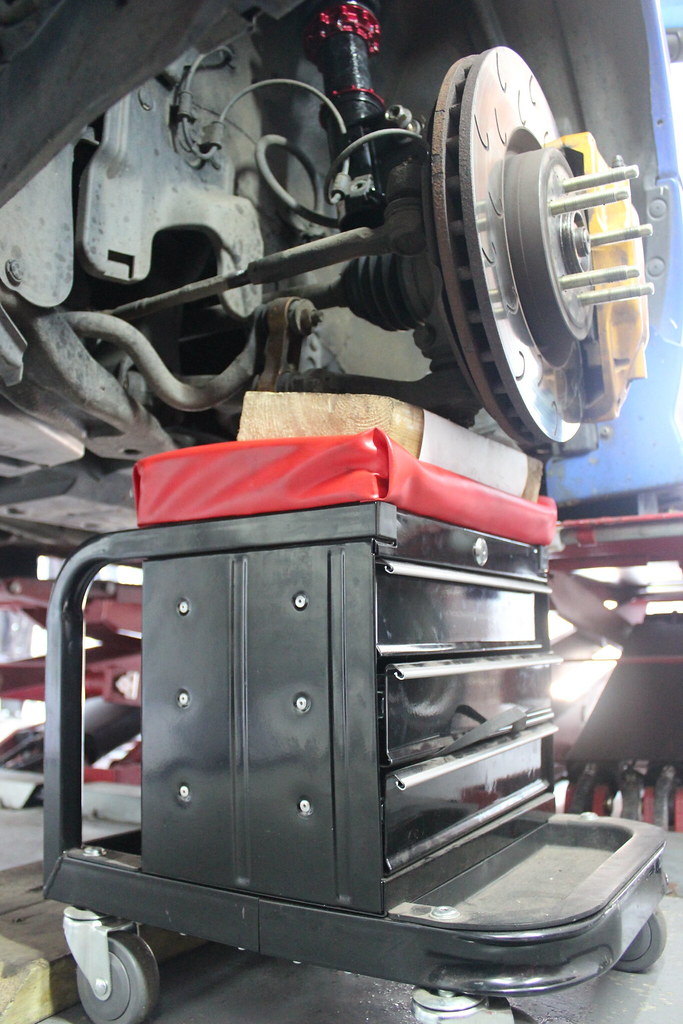
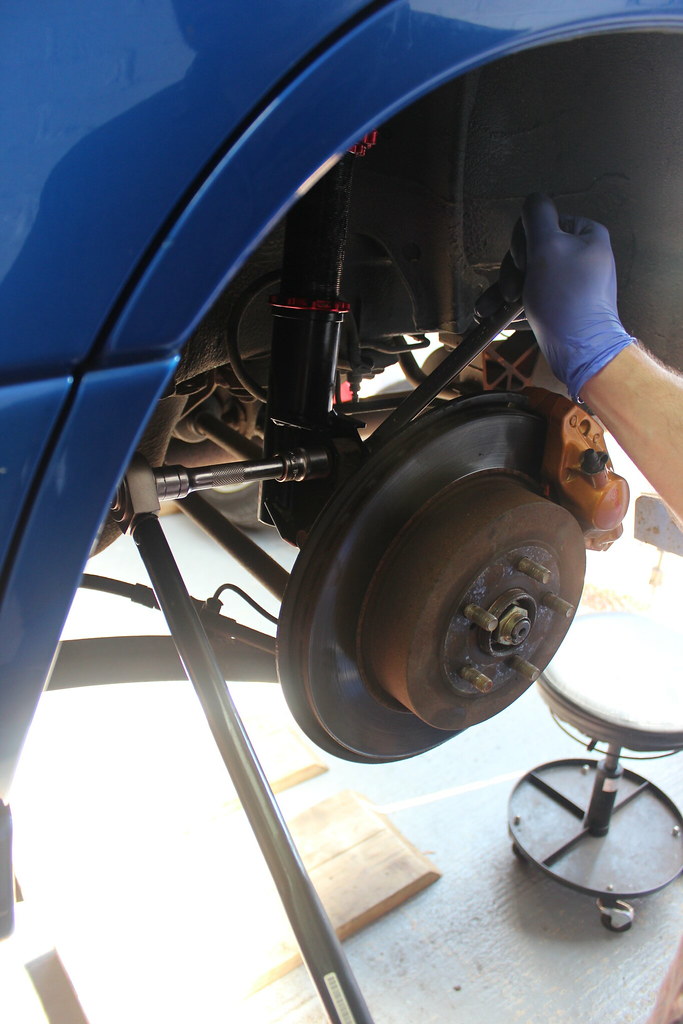
An easy way to bring the hub up to the damper.
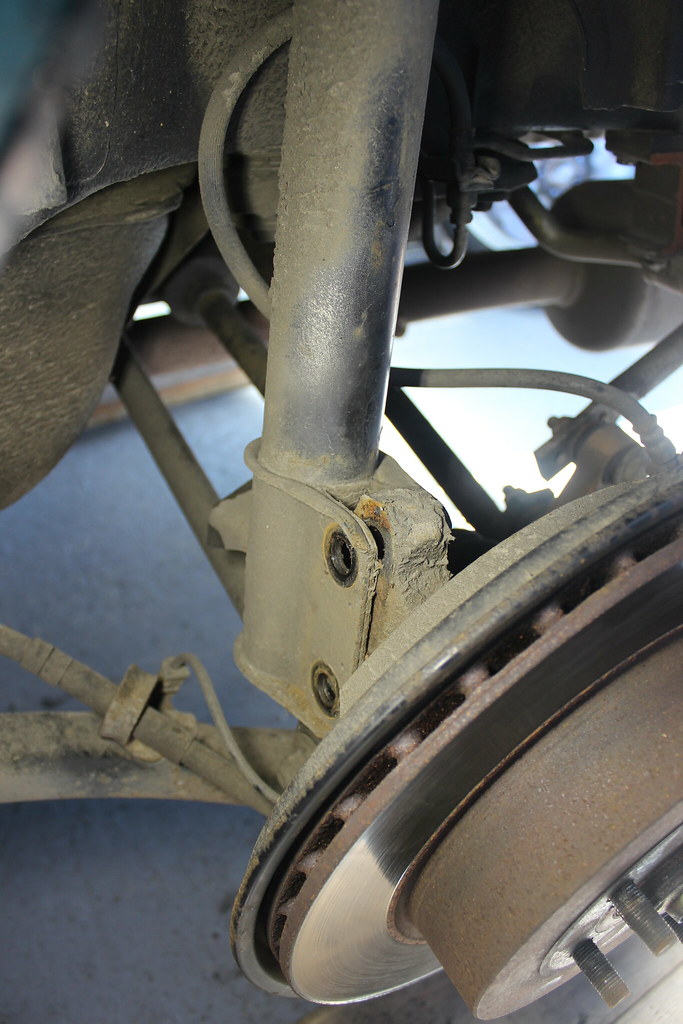
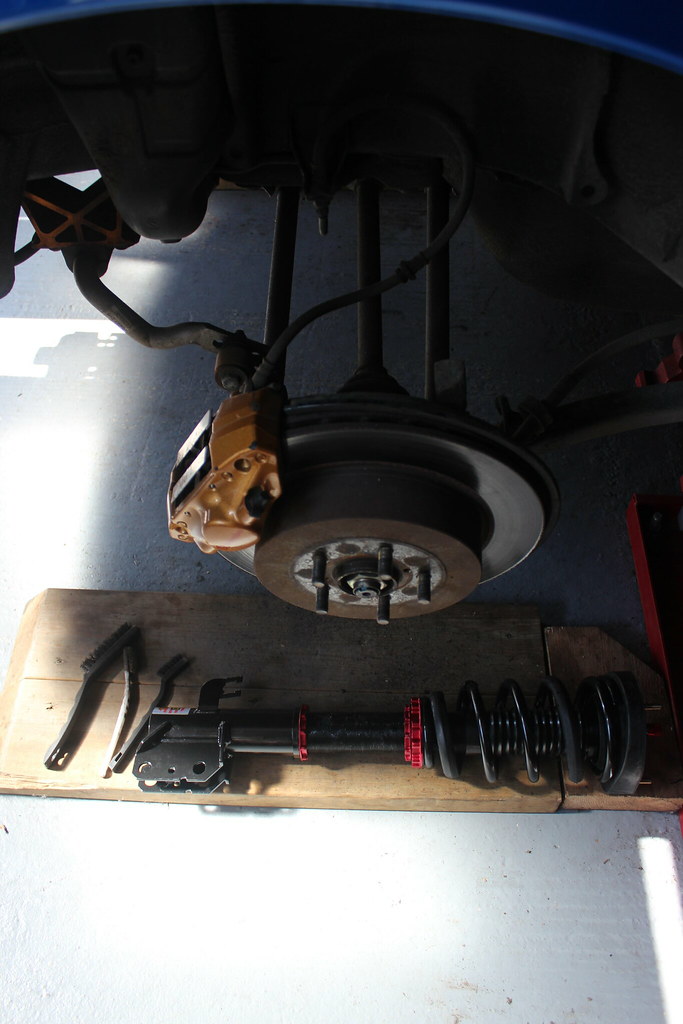
Now the rears.


My home made coilover covers going on.


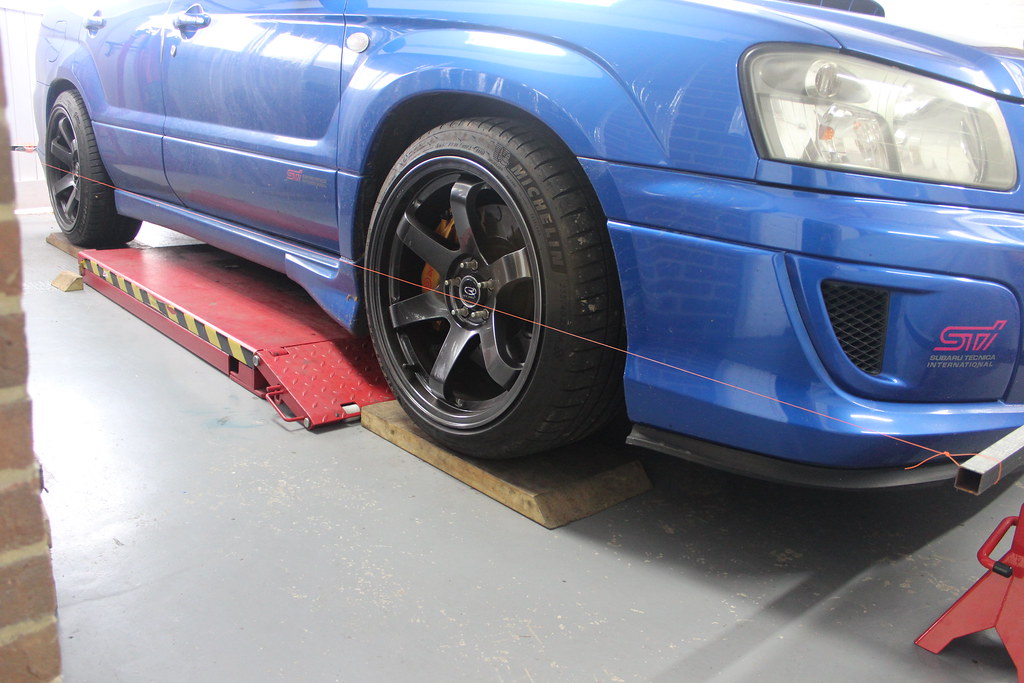
Now an initial wheel alignment.


New ride height.


Before and after.

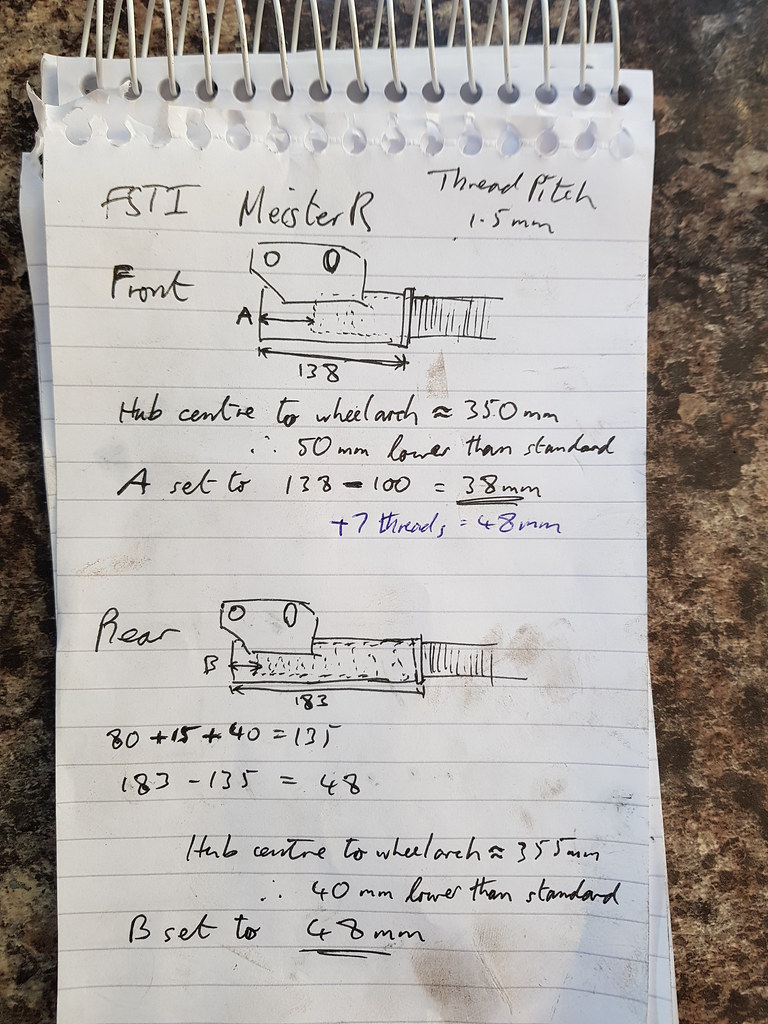
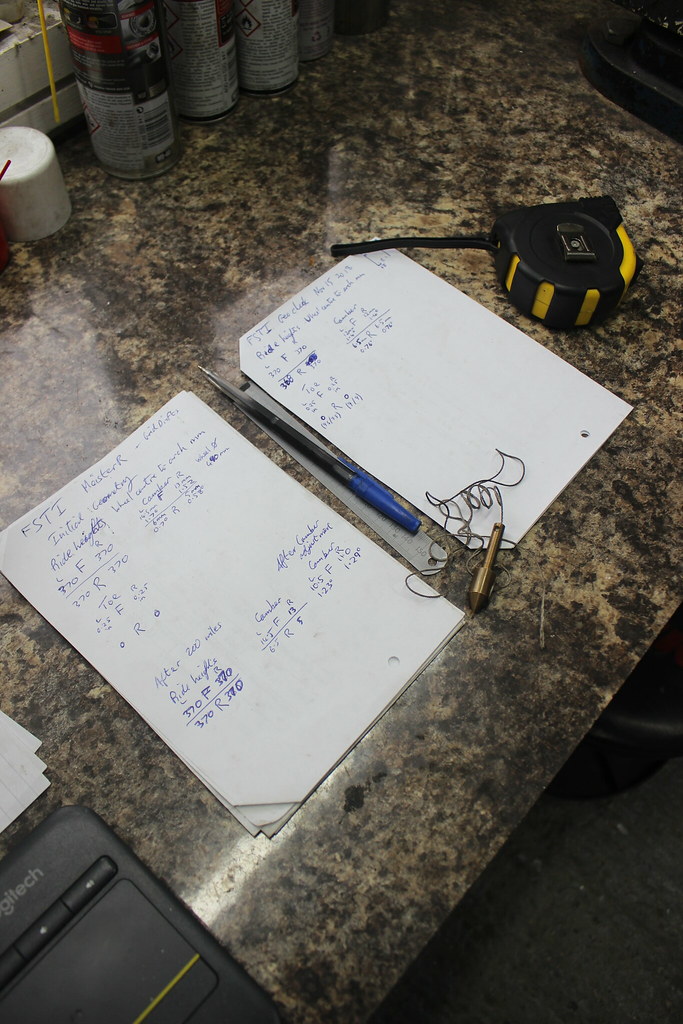
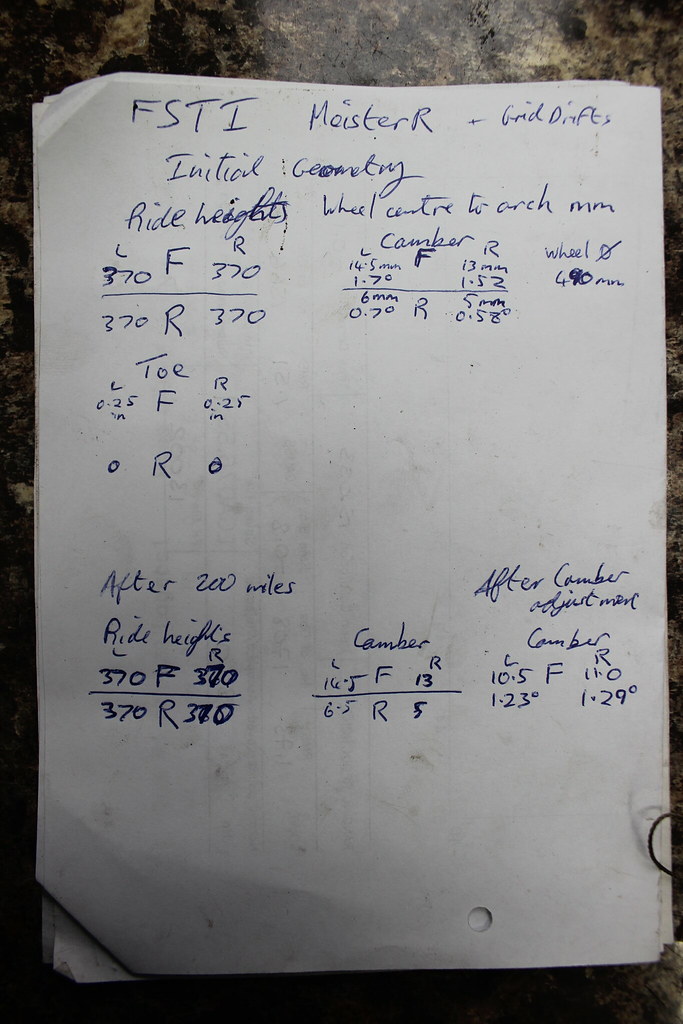
Some notes on heights and setup.


I ran it for a little while before, as I always do, getting it back in for a check on the alignment and maybe a little adjustment. This time with the Rota Grid Drifts fitted.

More notes.


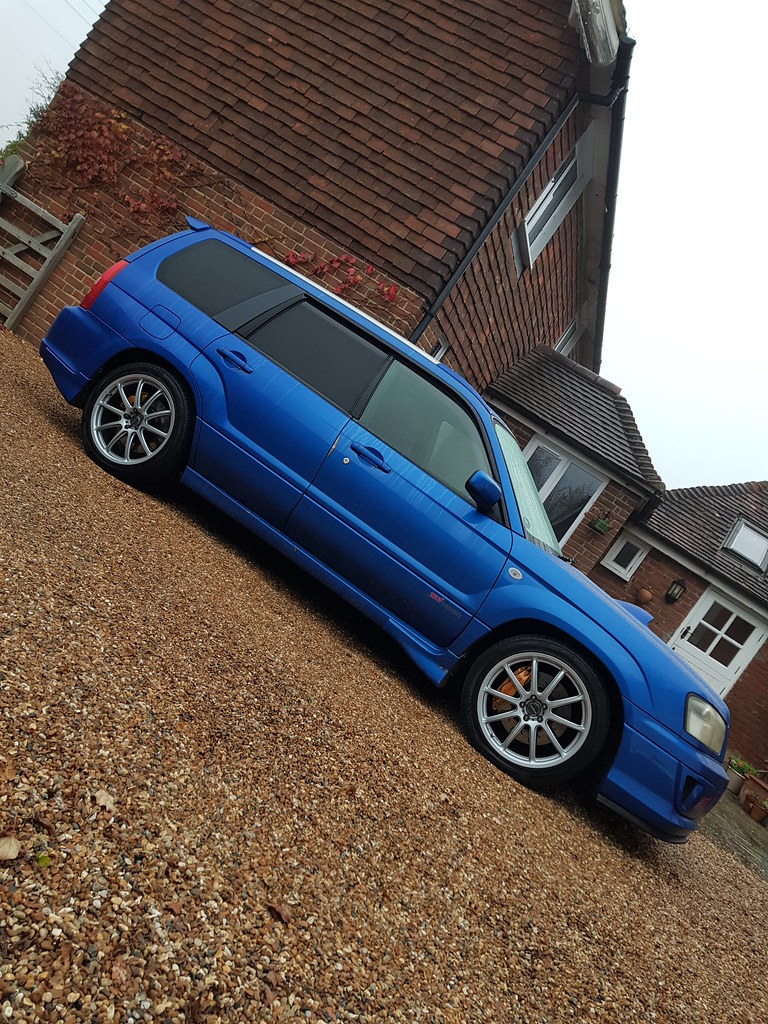
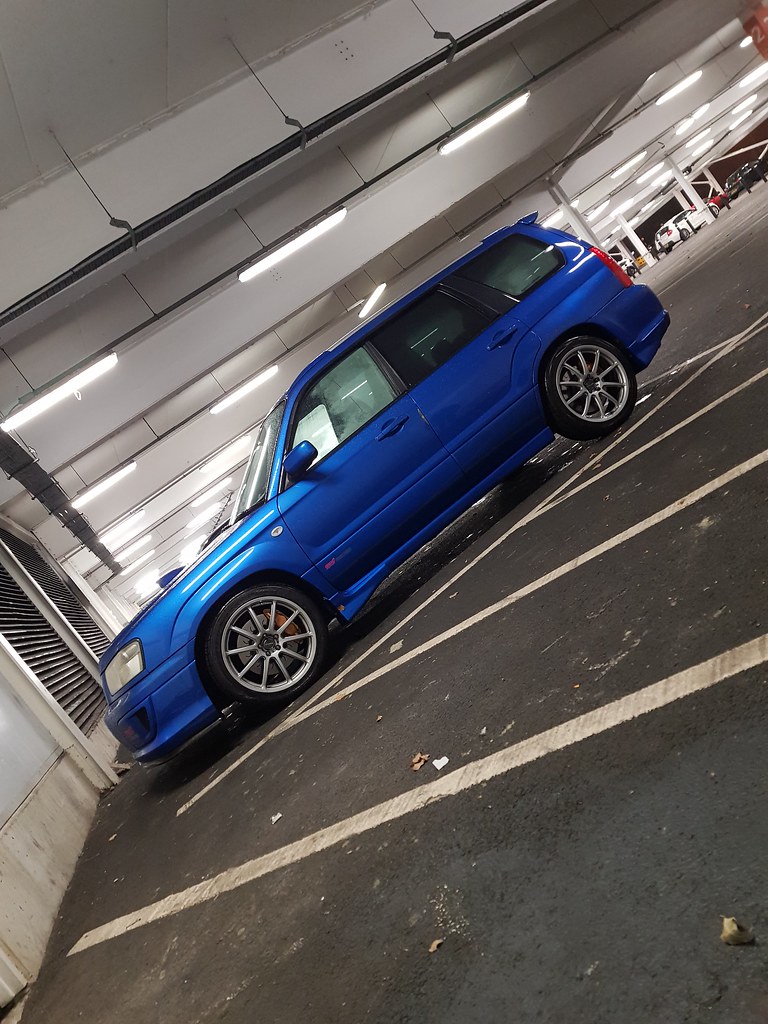
Then back on with the Prodrive wheels as it was winter and I thought I’d keep the Rota’s for summer/show season so they stay nice and fresh looking.
After some more miles I decided I wanted the front a little lower so back in the garage for some adjustement and geometry setup.


That’s it. Happy with the ride height, camber and tracking so can leave it at that now. Just got to wait for the weather to improve in spring to get the Rota Grid Drifts back on.