Having read a little about Elise wheel alignment it sounds like the best thing to do is to get as much caster angle into the front hubs as possible. More caster angle means increased weight and ‘feel’ in the steering and should increase grip at the front when cornering. The available caster adjustment on an Elise chassis isn’t huge so it’s not really possible to go too far and it won’t be a night and day difference from the alignment it had before I dismantled everything. But I may as well get everything set the best it can be.
On the Elise the caster adjustment is done by moving the upper wishbone forwards and backwards via shims that are placed either side of the wishbone bushes. Moving the wishbone like this obviously moves the upper ball joint compared to the lower ball joint, therefore changing the angle of a line drawn through the two ball joints. This line is the centre of the arc that the hub/wheel pivots around. If this line were vertical, as viewed from the side of the car, there would be 0 caster so the more off vertical the line is the more caster there is. This can be in either direction for positive or negative caster. A change in caster angle will effect a few things but one of the main reasons for adjusting it is to vary how much a wheels camber angle is increased by as steering angle is applied.
So without getting too bogged down in all that suspension theory stuff. All I needed to do here was fit the upper wishbone as far back in the available space as possible.
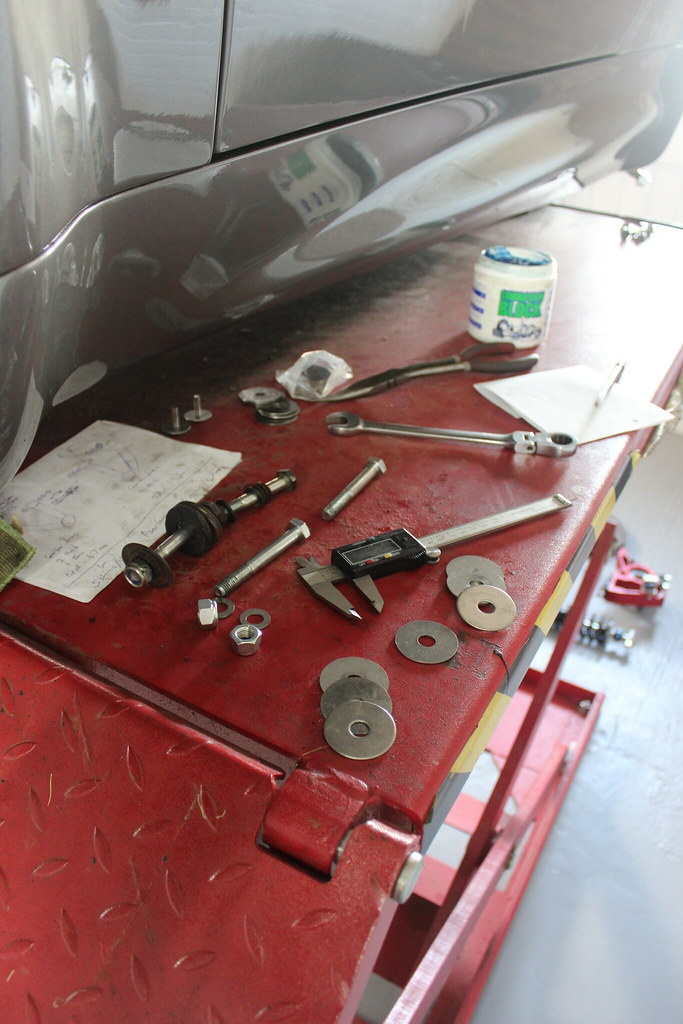
The best way to do this was offer up the wishbone between the mounting points on the chassis as far back as possible then fill all the remaining gaps with shims. I bought a selection of different thickness stainless steel shims from Elise Parts and a bag of 1.5mm thick, large M10 stainless washers. The washers varied a little in size too which was useful.
When I removed the wishbones I measured the shims and washers that were originally in place so I had something to work from at this point but in the end that didn’t really help much to be honest, especially as measuring the original ones was tricky as they had grown with rust.
So after a fair bit of fitting, removing, fitting and removing of the wishbone and fitting, removing, dropping, fitting, removing, measuring, fitting, removing etc of shims. I got a perfect arrangement of shims.
If the shims aren’t arranged correctly to fill the gaps between the bushes and suspension pickup points on the chassis then the pickup points can get deformed the when tightening up the wishbone bolts. That is something you really want to avoid especially on the aluminium Elise chassis which is why I spent quite a long time on getting this right.
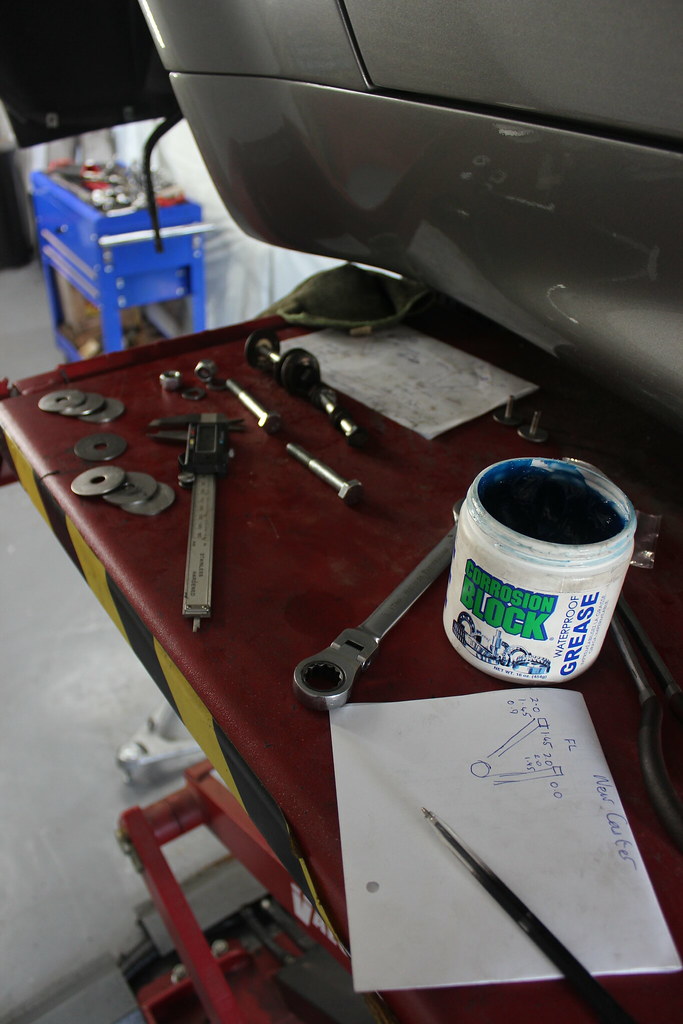
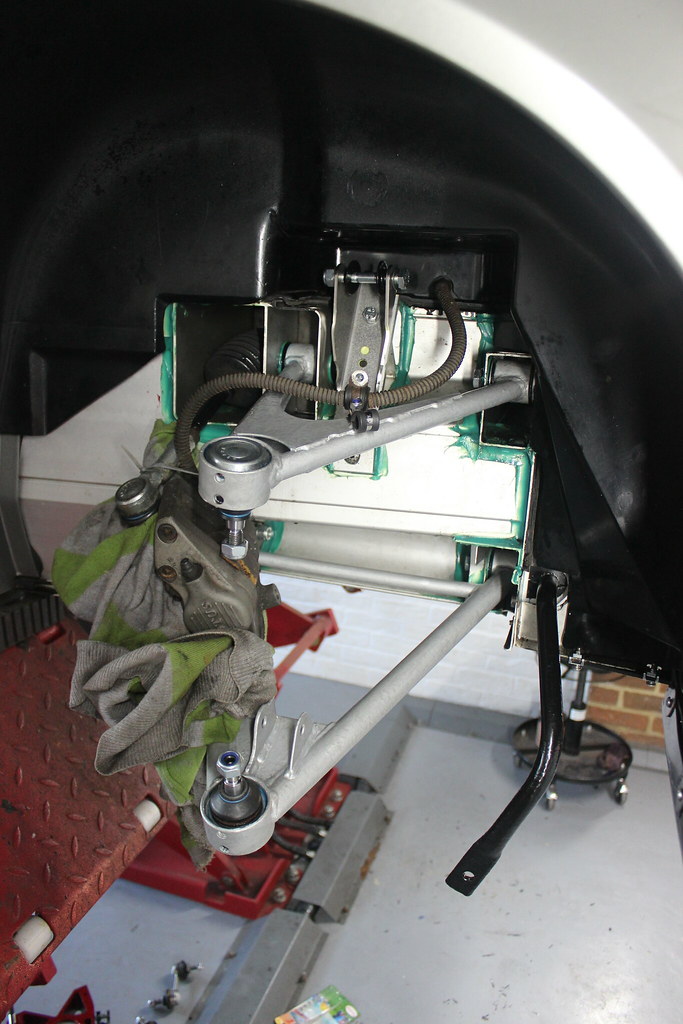
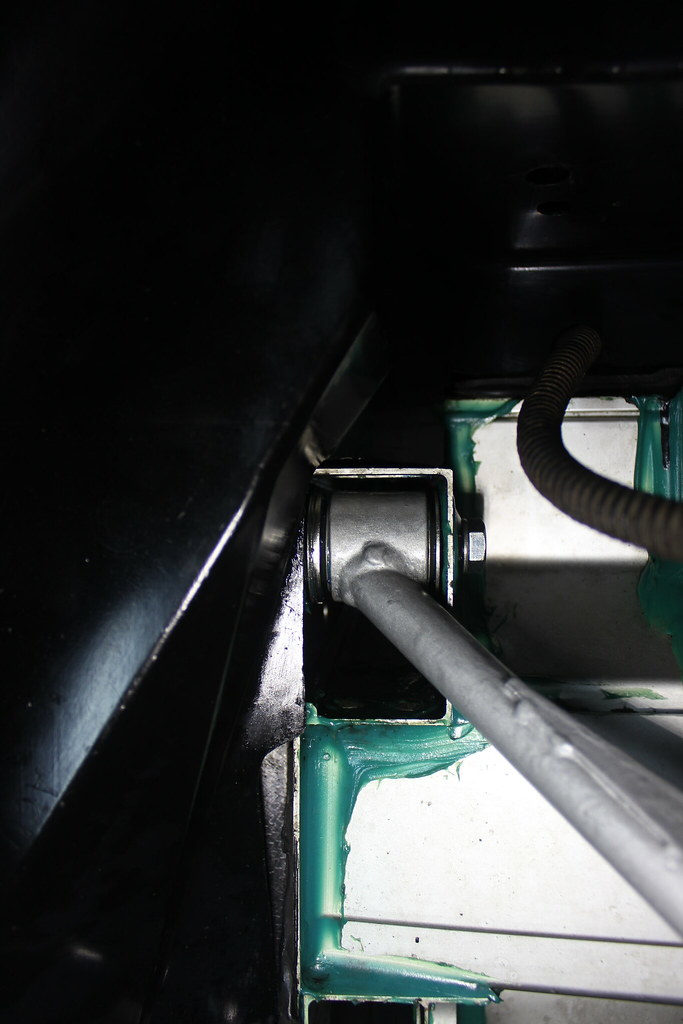
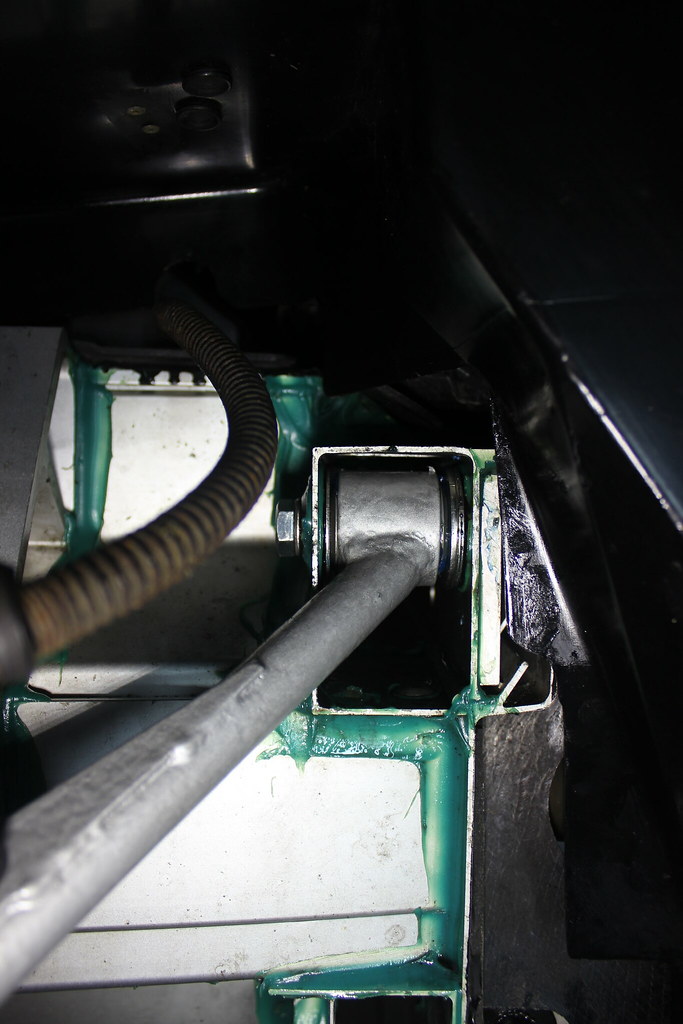
Having worked out and written down exactly what shim arrangement I wanted I could fit the upper wishbone for real, with plenty of corrosion block grease too.
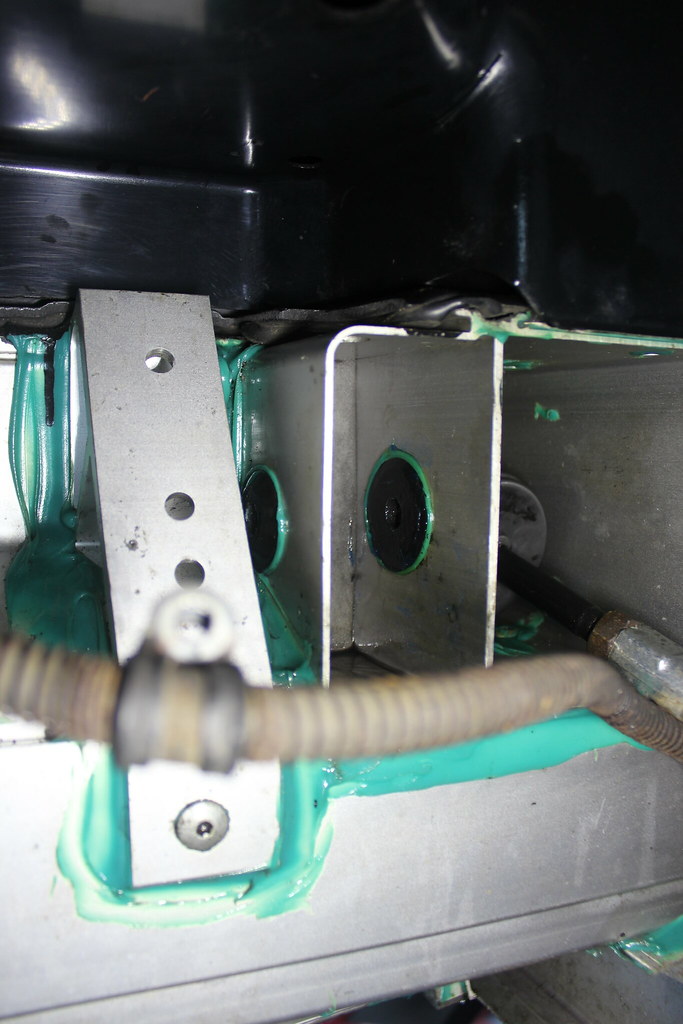
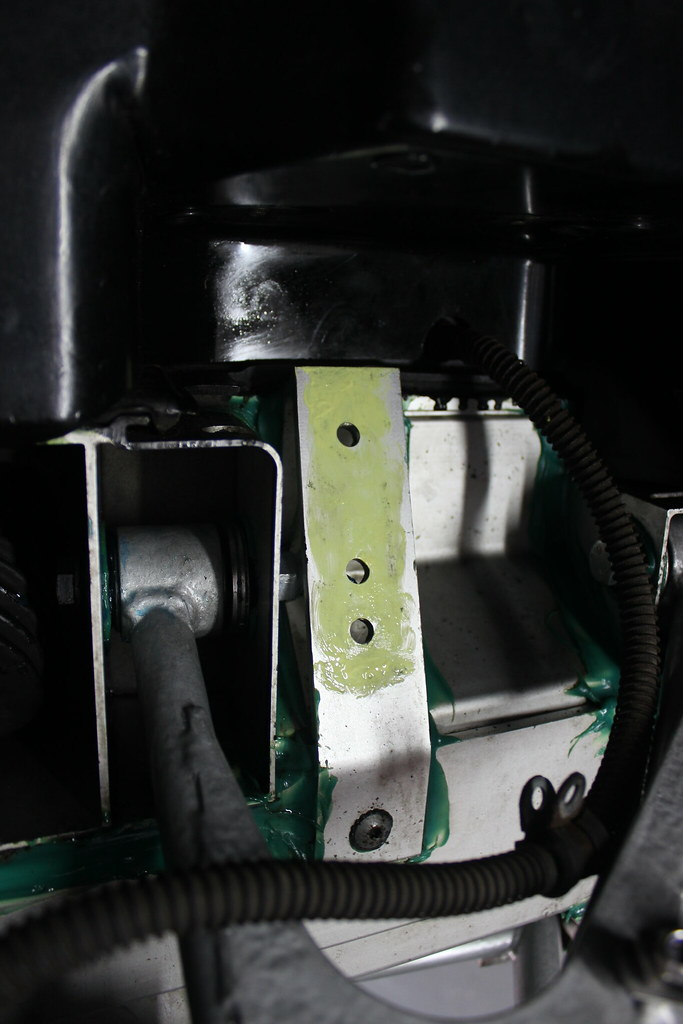
All the shims at the front, none at the rear.
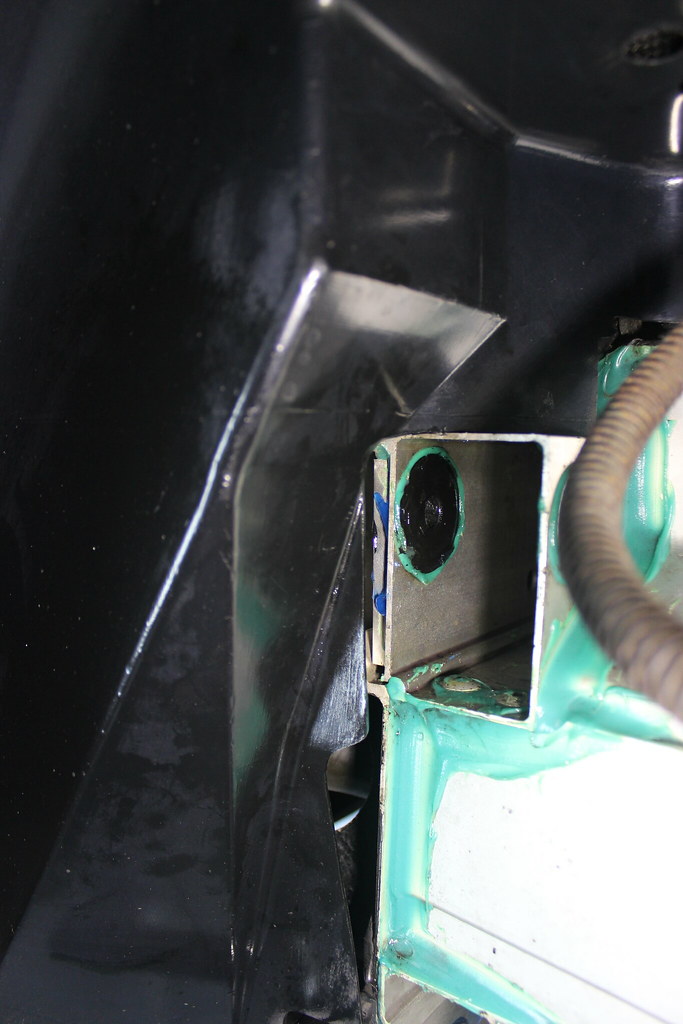
The other mounting point dictated how far back the wishbone could go meaning there was still space that needed filling both sides of this bush.
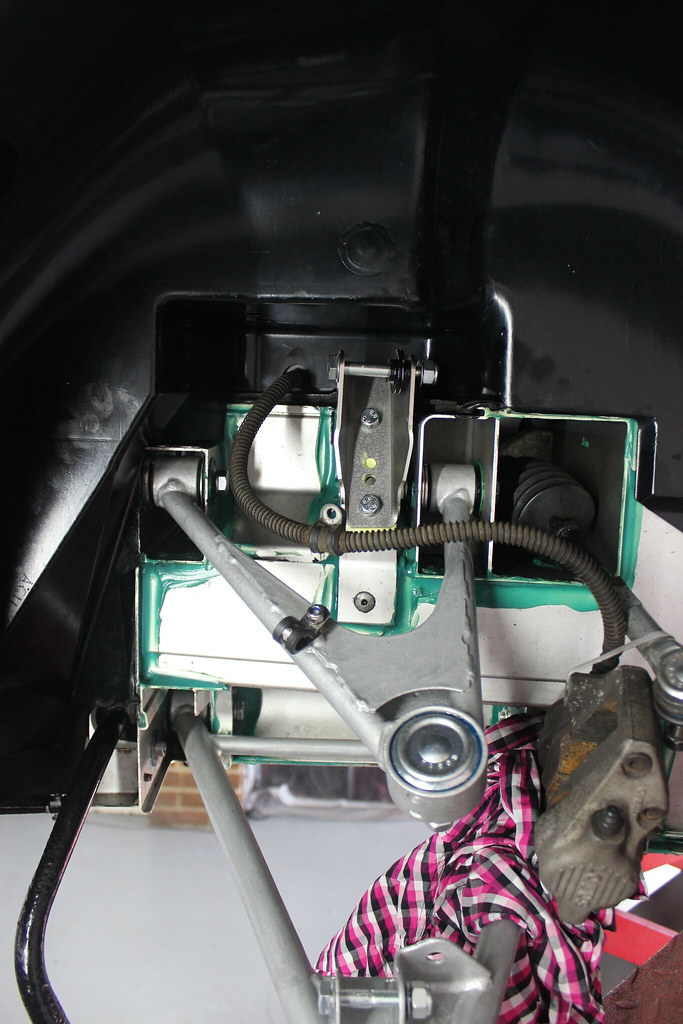
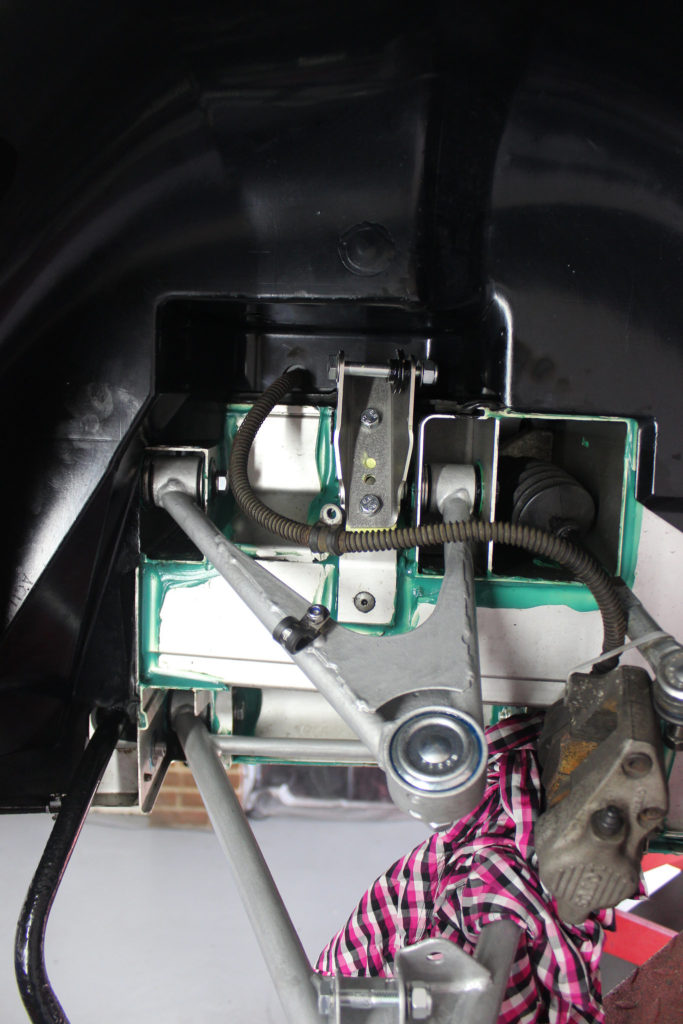
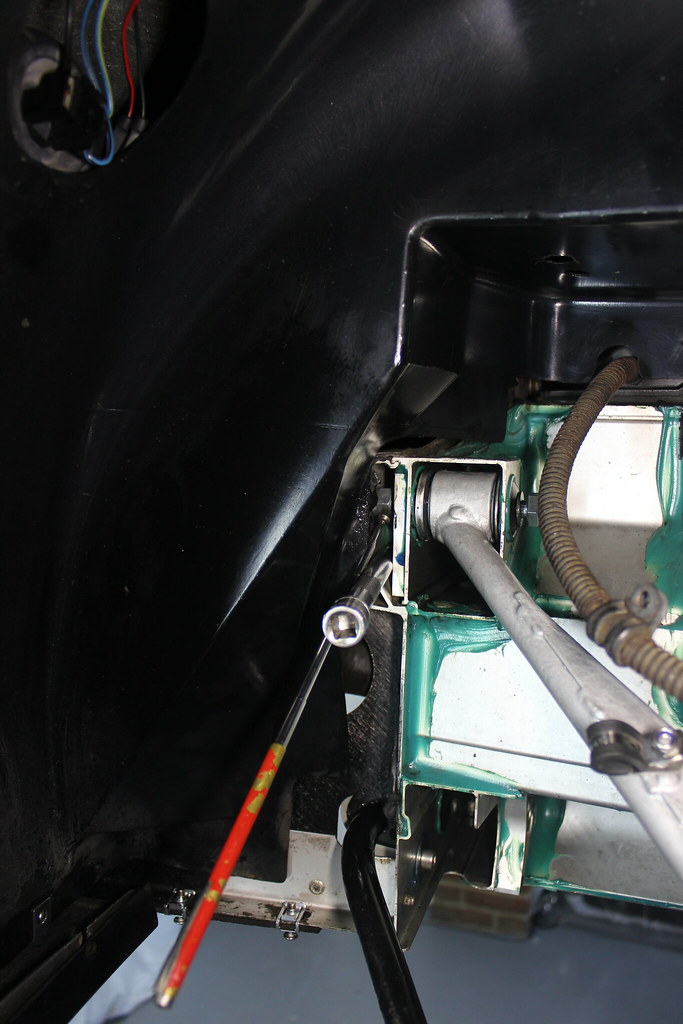
I gave up trying to remove the wheel arch liner on this side and found this the best way of getting the nut in place with the liner held out the way.
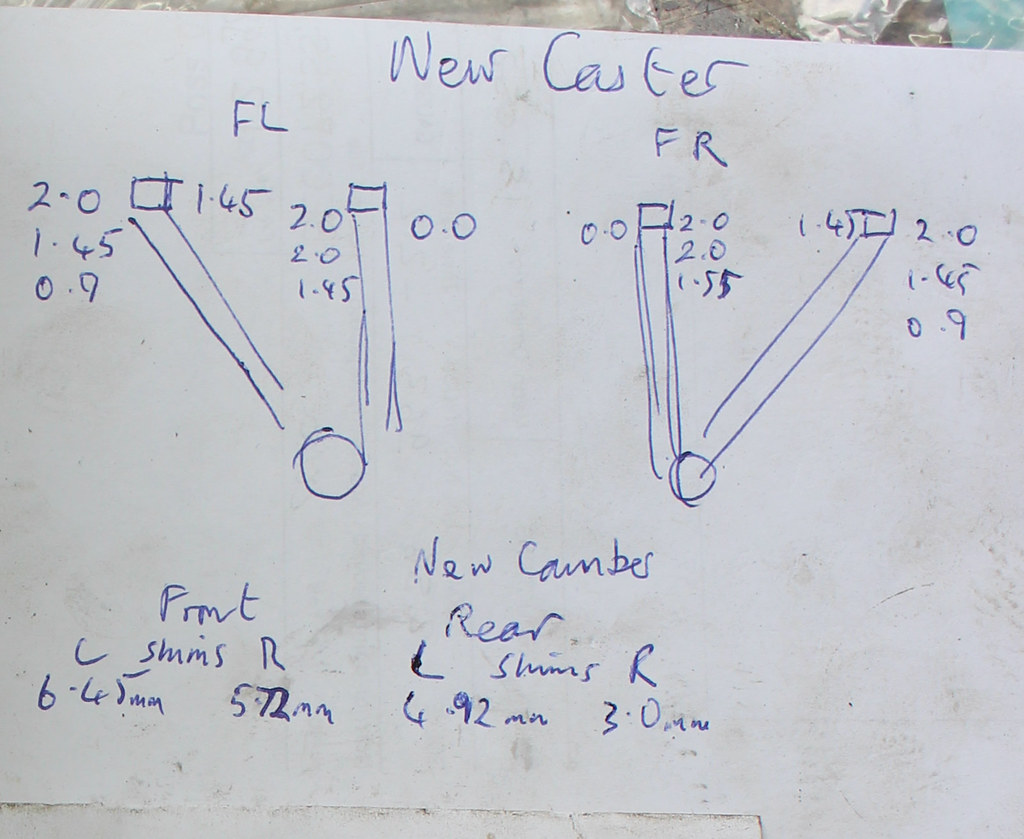
I went through the same process for the right hand side, best not to assume it’s exactly the same as the other side. But ended up with a pretty much identical arrangement of shims.
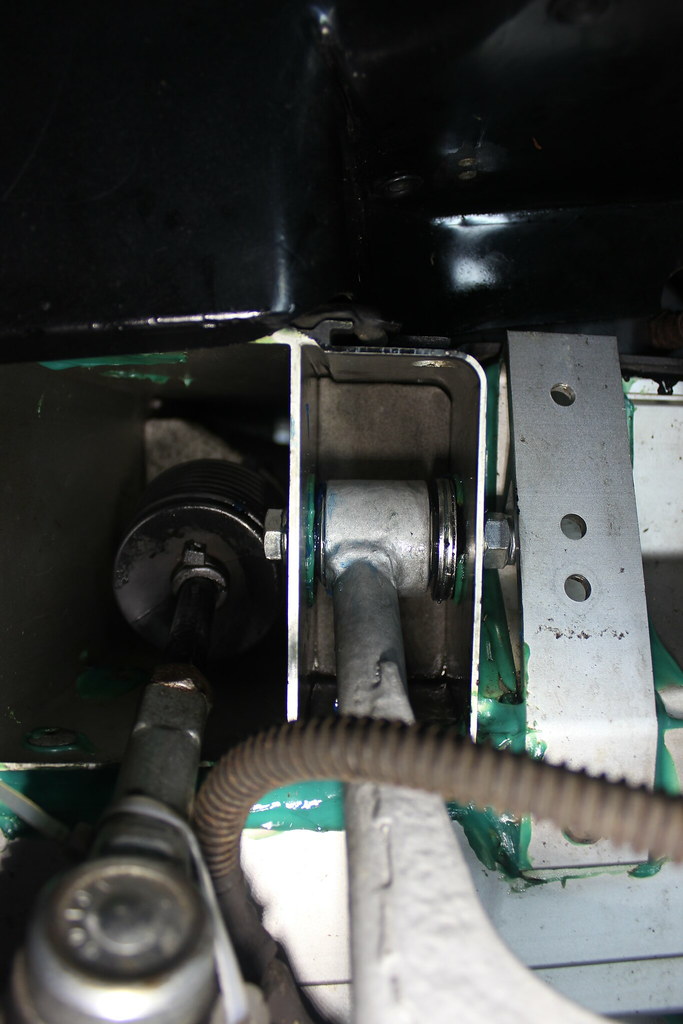
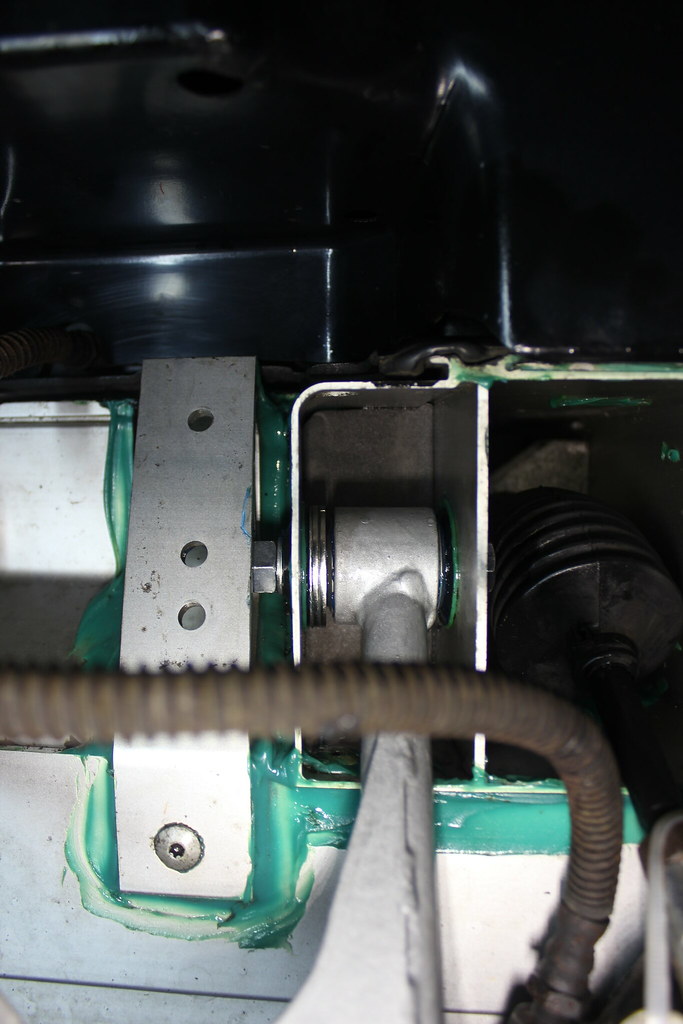
The values here are the shim thicknesses in mm and positions I fitted them. This might be a useful start point for anyone doing the same.
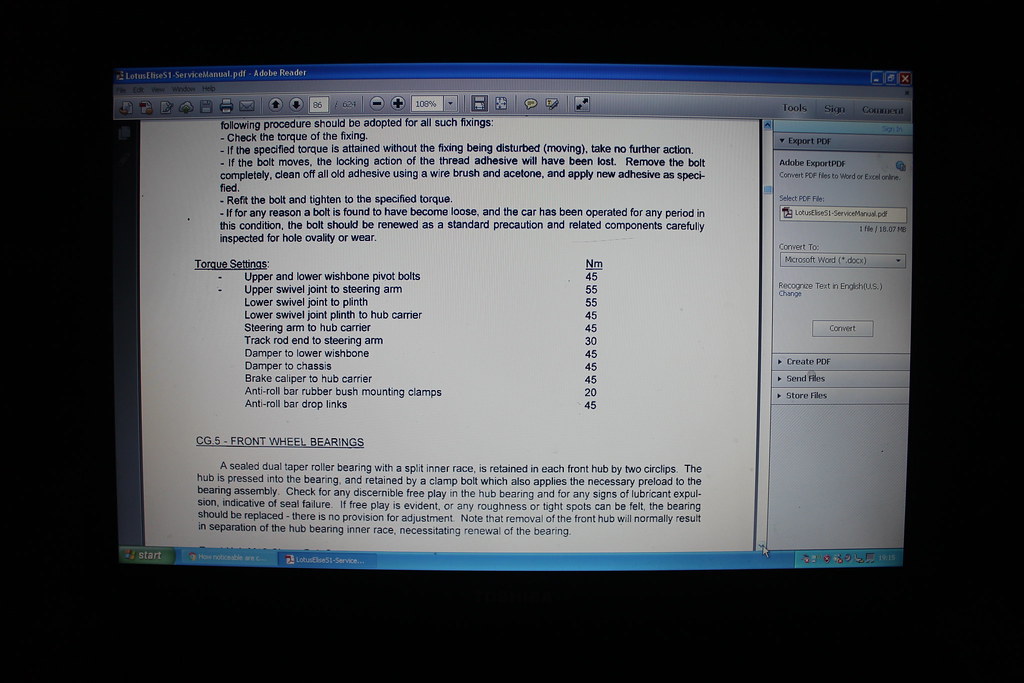
A quick search got me a list of torque settings to work from.
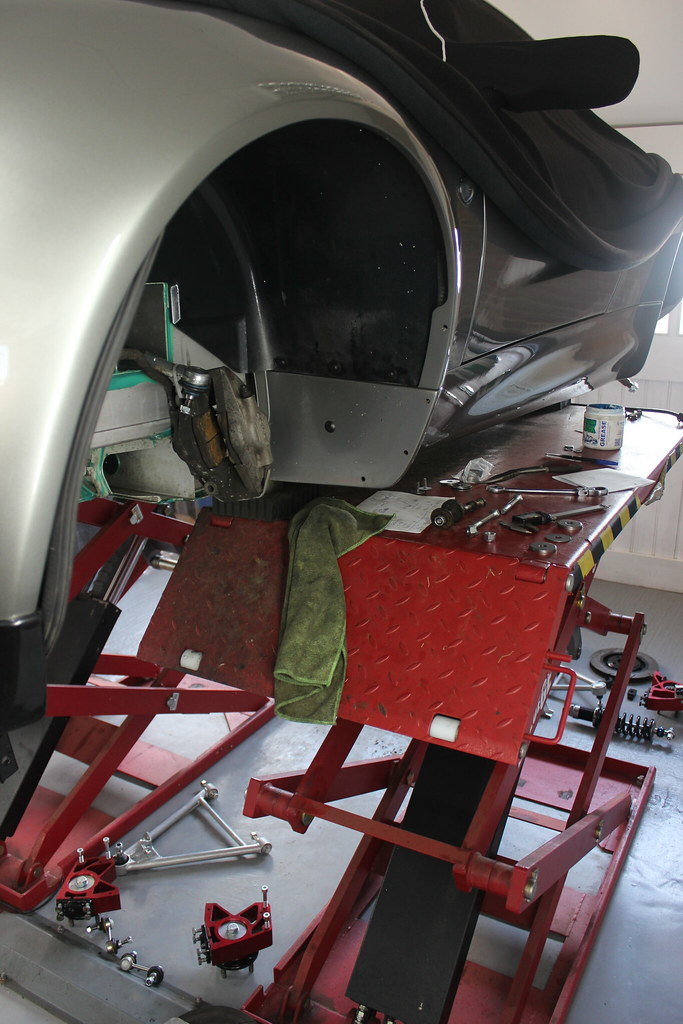
Next the lower front wishbones could go on, no shims to complicate things here.
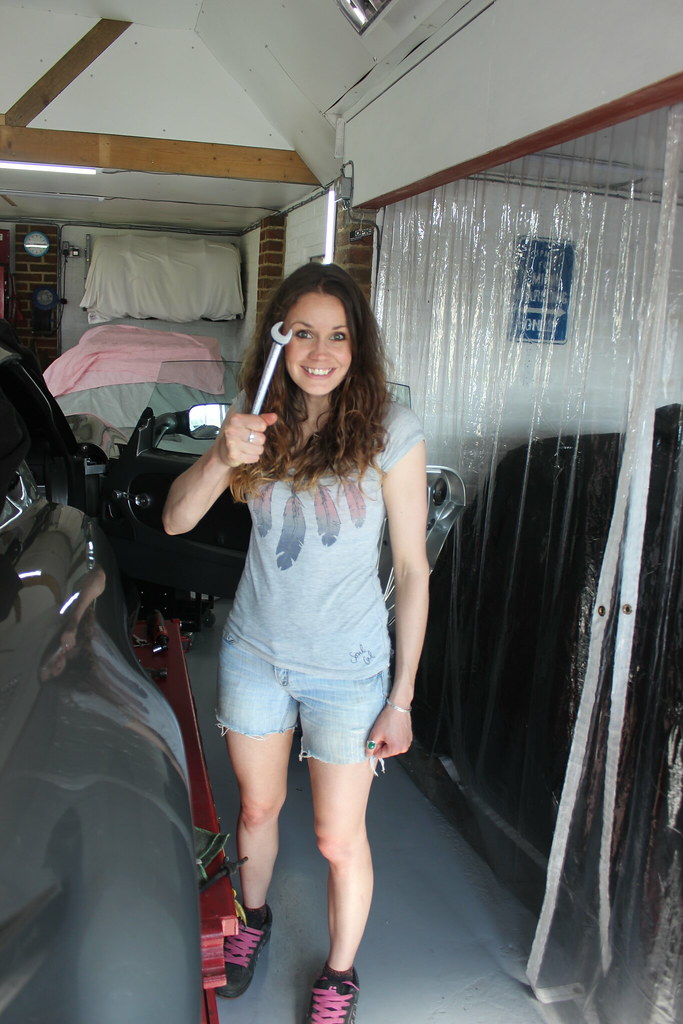
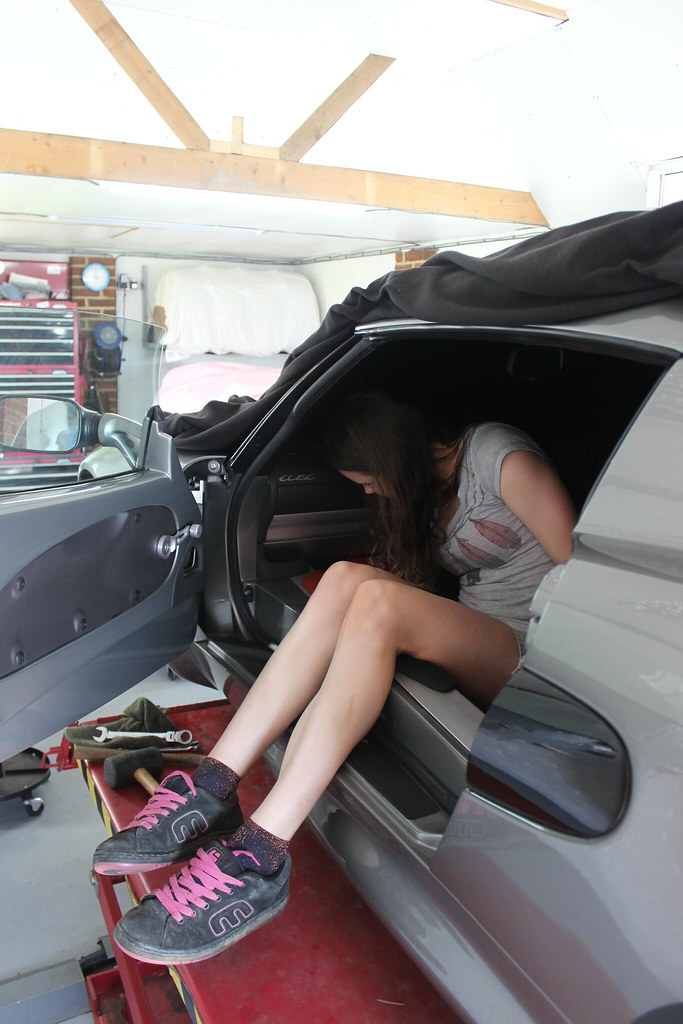
As one of the bolts goes through the floor on the inside and I don’t have arms like Mr Tickle I enlisted the help of my Glamorous Assistant again. Fortunately she knows how to operate a spanner pretty well. 🙂
Right hand side bolt in place ready to be pushed/tapped through by Jem once I have the wishbone held in position.

Bit of spannering next.

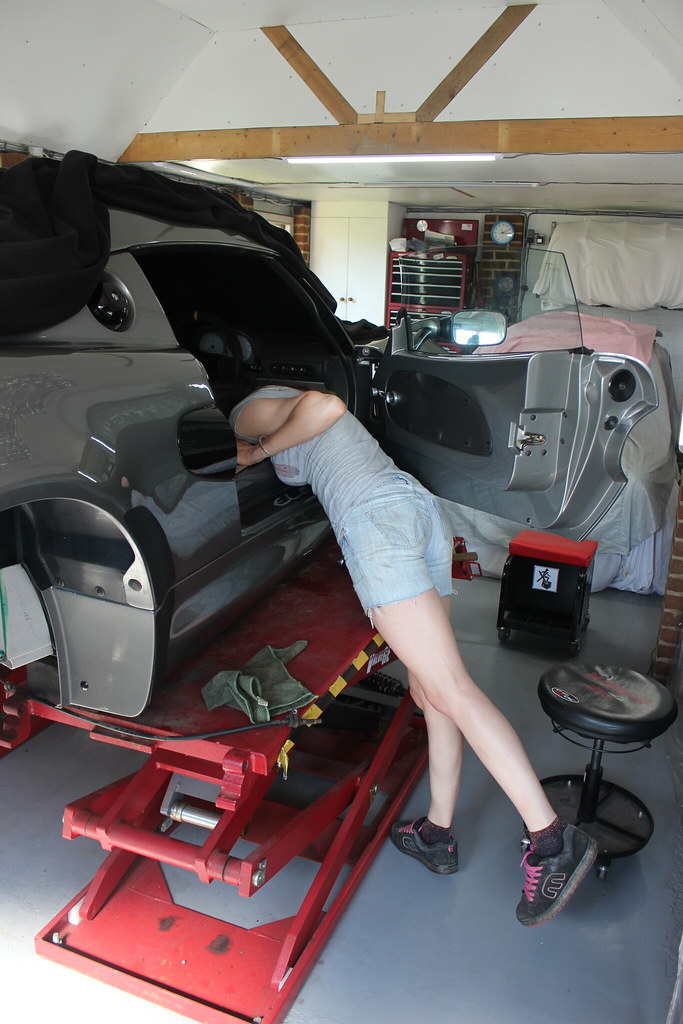
Same the other side. Not a particularly comfortable position to be in.
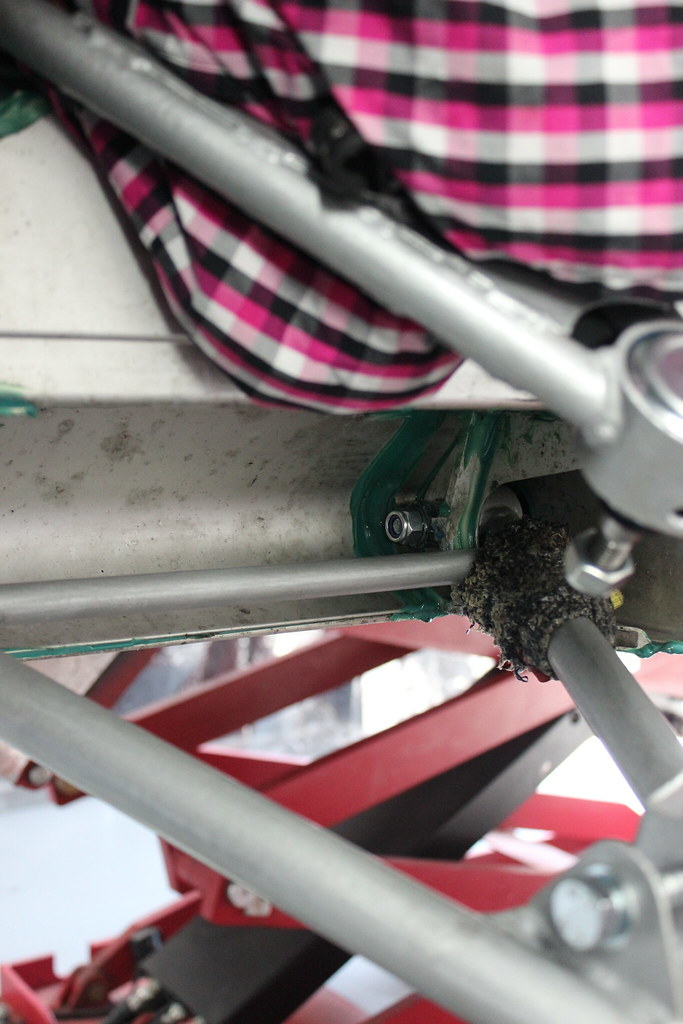
Nut on ready to be torqued up. Notice the rag/old sock I have wrapped around the wishbone, this was to protect it from dropping down onto the chassis and damaging the paint finish. No point going to all that effort to make stuff look nice only to make a mess of it now!
New Elise Parts stainless steel damper mounts to go on too, with a layer of Duralac and…
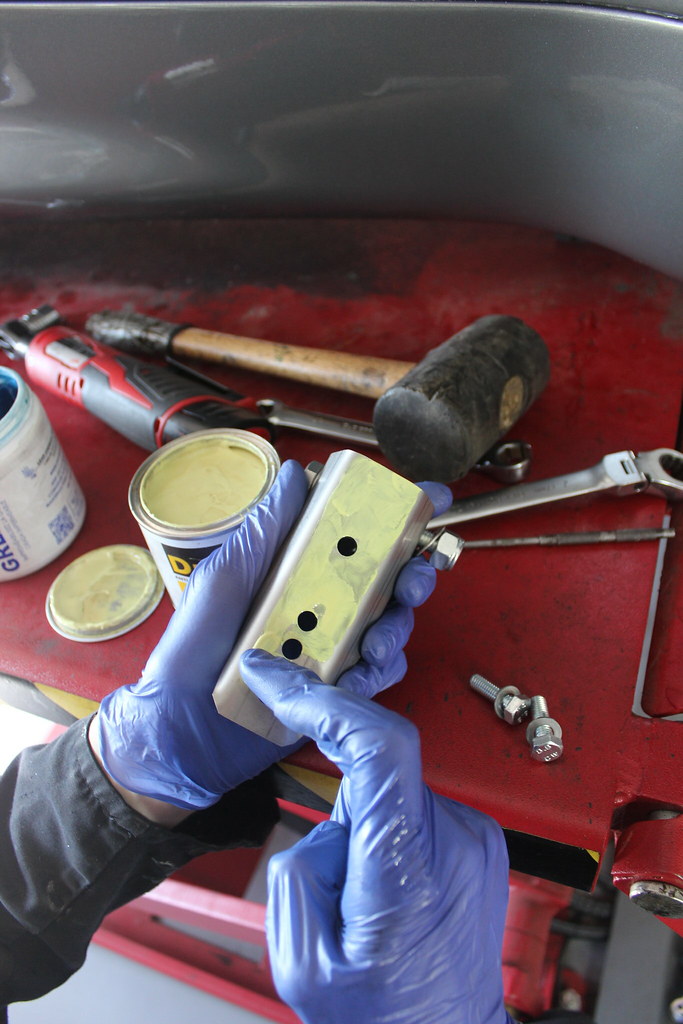
…on the chassis.
Well that’s the front wishbones and damper mounts on.