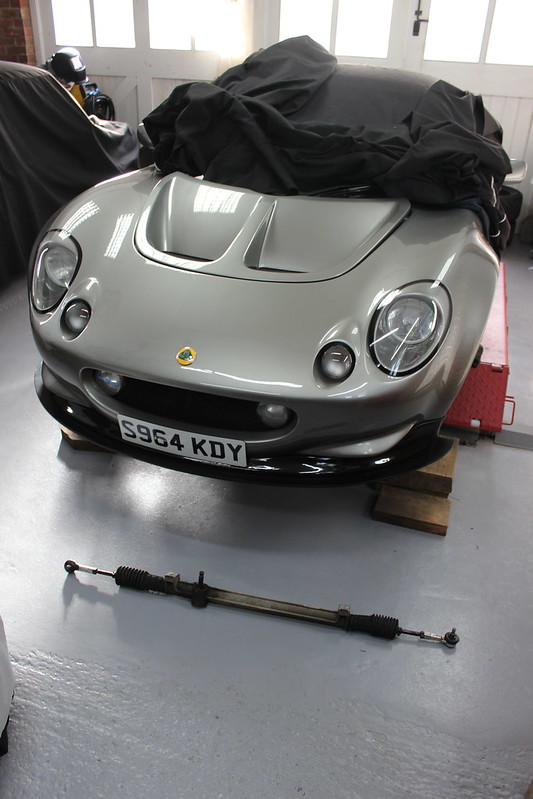
One thing I could have added to the list when doing the full suspension refresh was the inner steering rack joints. I could feel no play in them at the time I did the suspension refresh though so just kept an eye on them as I do with the whole car. During my usual end of the summer check over the whole car, before its winter hibernation, I thought I could feel very slight play in the drivers side inner rack joint. These are well known for wearing and needing the cups replacing. There’s no point waiting for it to get worse next summer when I can sort it over winter. So time to pull the rack out for a check over and replace the innner joint cups.


This rivet prevents the rack from being pulled out. It’s not important now as it was used only to hold the chassis together while the glue set. So it can be knocked off with a sharp chisel.


3mm drill bit.


No need to lap this part in so just some grease here to help movement lapping the new cup in.


No wiggle it around.


Setting the correct tension on the joint with weights hanging on the track rod.


Same again the other side.


It didn’t feel like there was any issue with the pinion preload so I didn’t change that but while the rack is off the car, may as well refresh the grease.


A good amount of grease on the joints too.


Now fight it back on the car.
But first this box section needs a clean out!


With the column connected the rack can be wound from lock to lock to check the steering wheel is centred.


Give things a clean while I’m here, I can’t help it.


Anyway, rod ends reconnected, car back on it’s wheels, quick alignment check and it’s good to go.

