A bit nervous now as it’s being built meaning we finally find out if my drawings were right.
Had a few sleepless nights worrying about a few things as the build has progressed.
When we got a start date the Mini got a clean and was parked in the back corner and covered up. I fitted a temporary partition wall to keep it and my tools safe. I got lucky and got all the wood for free as we’d just taken delivery, at work, of a new telescope dome from the states and the wooden crate needed getting rid of.


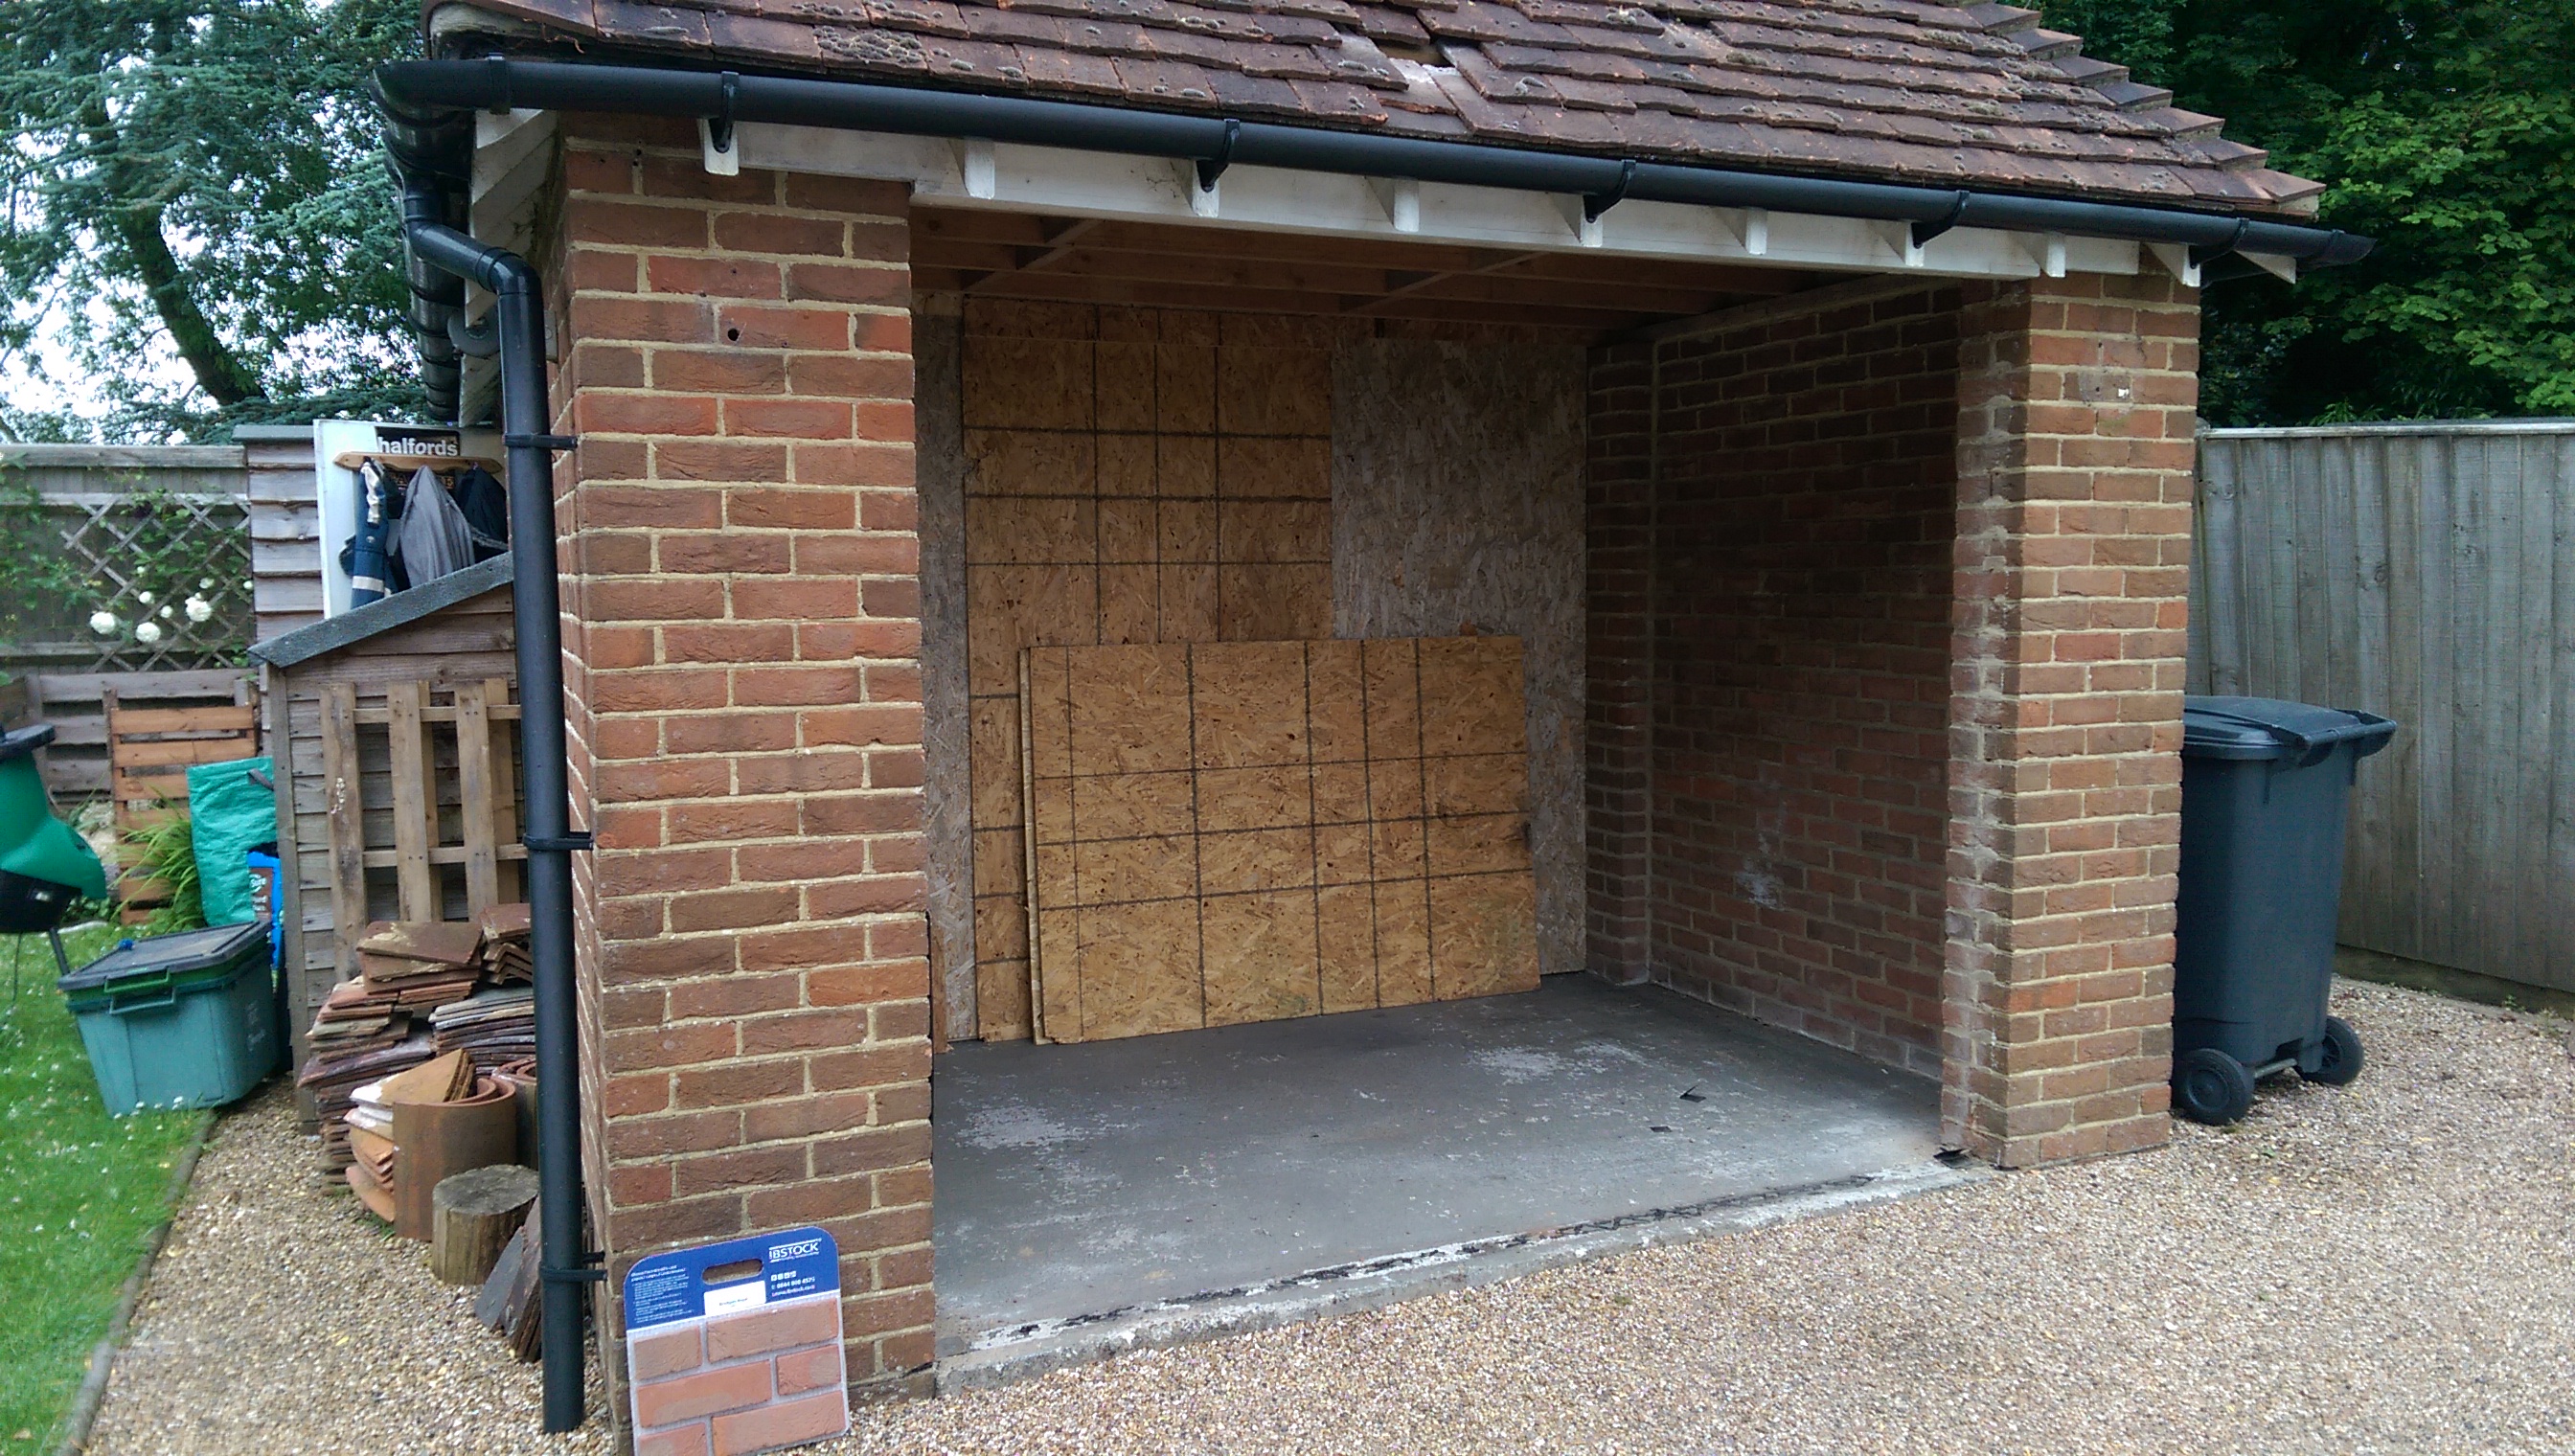
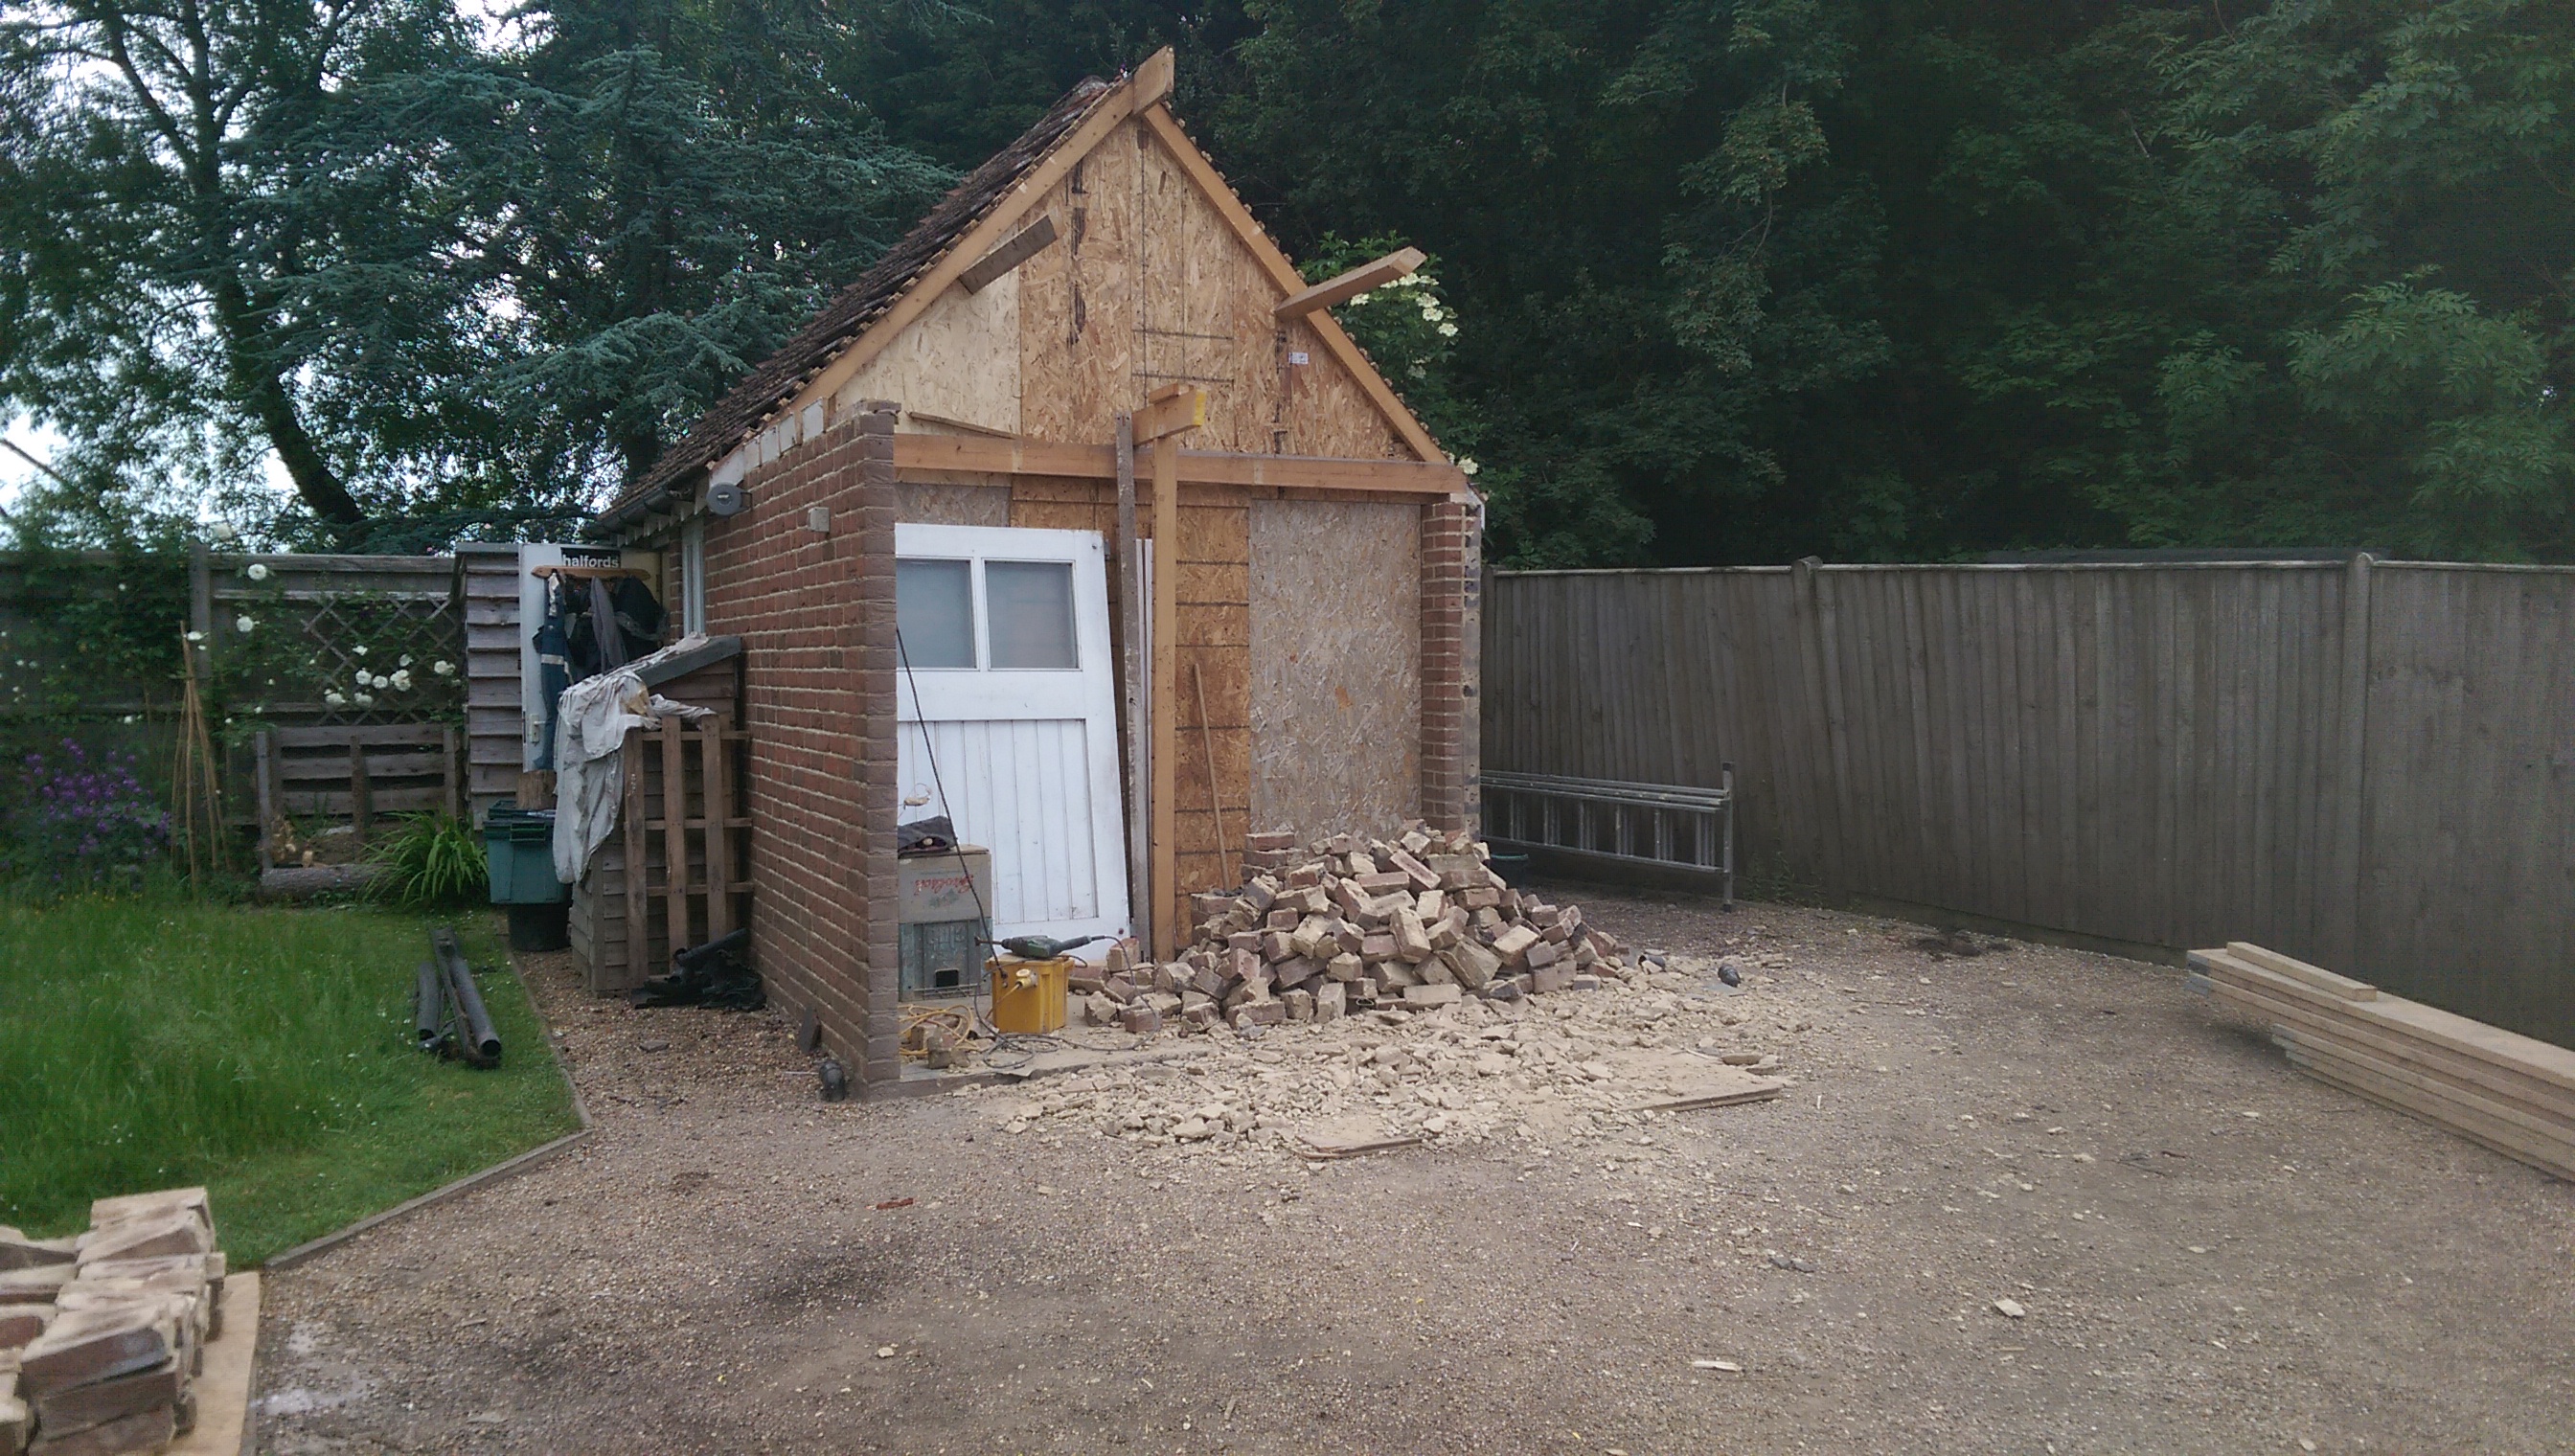
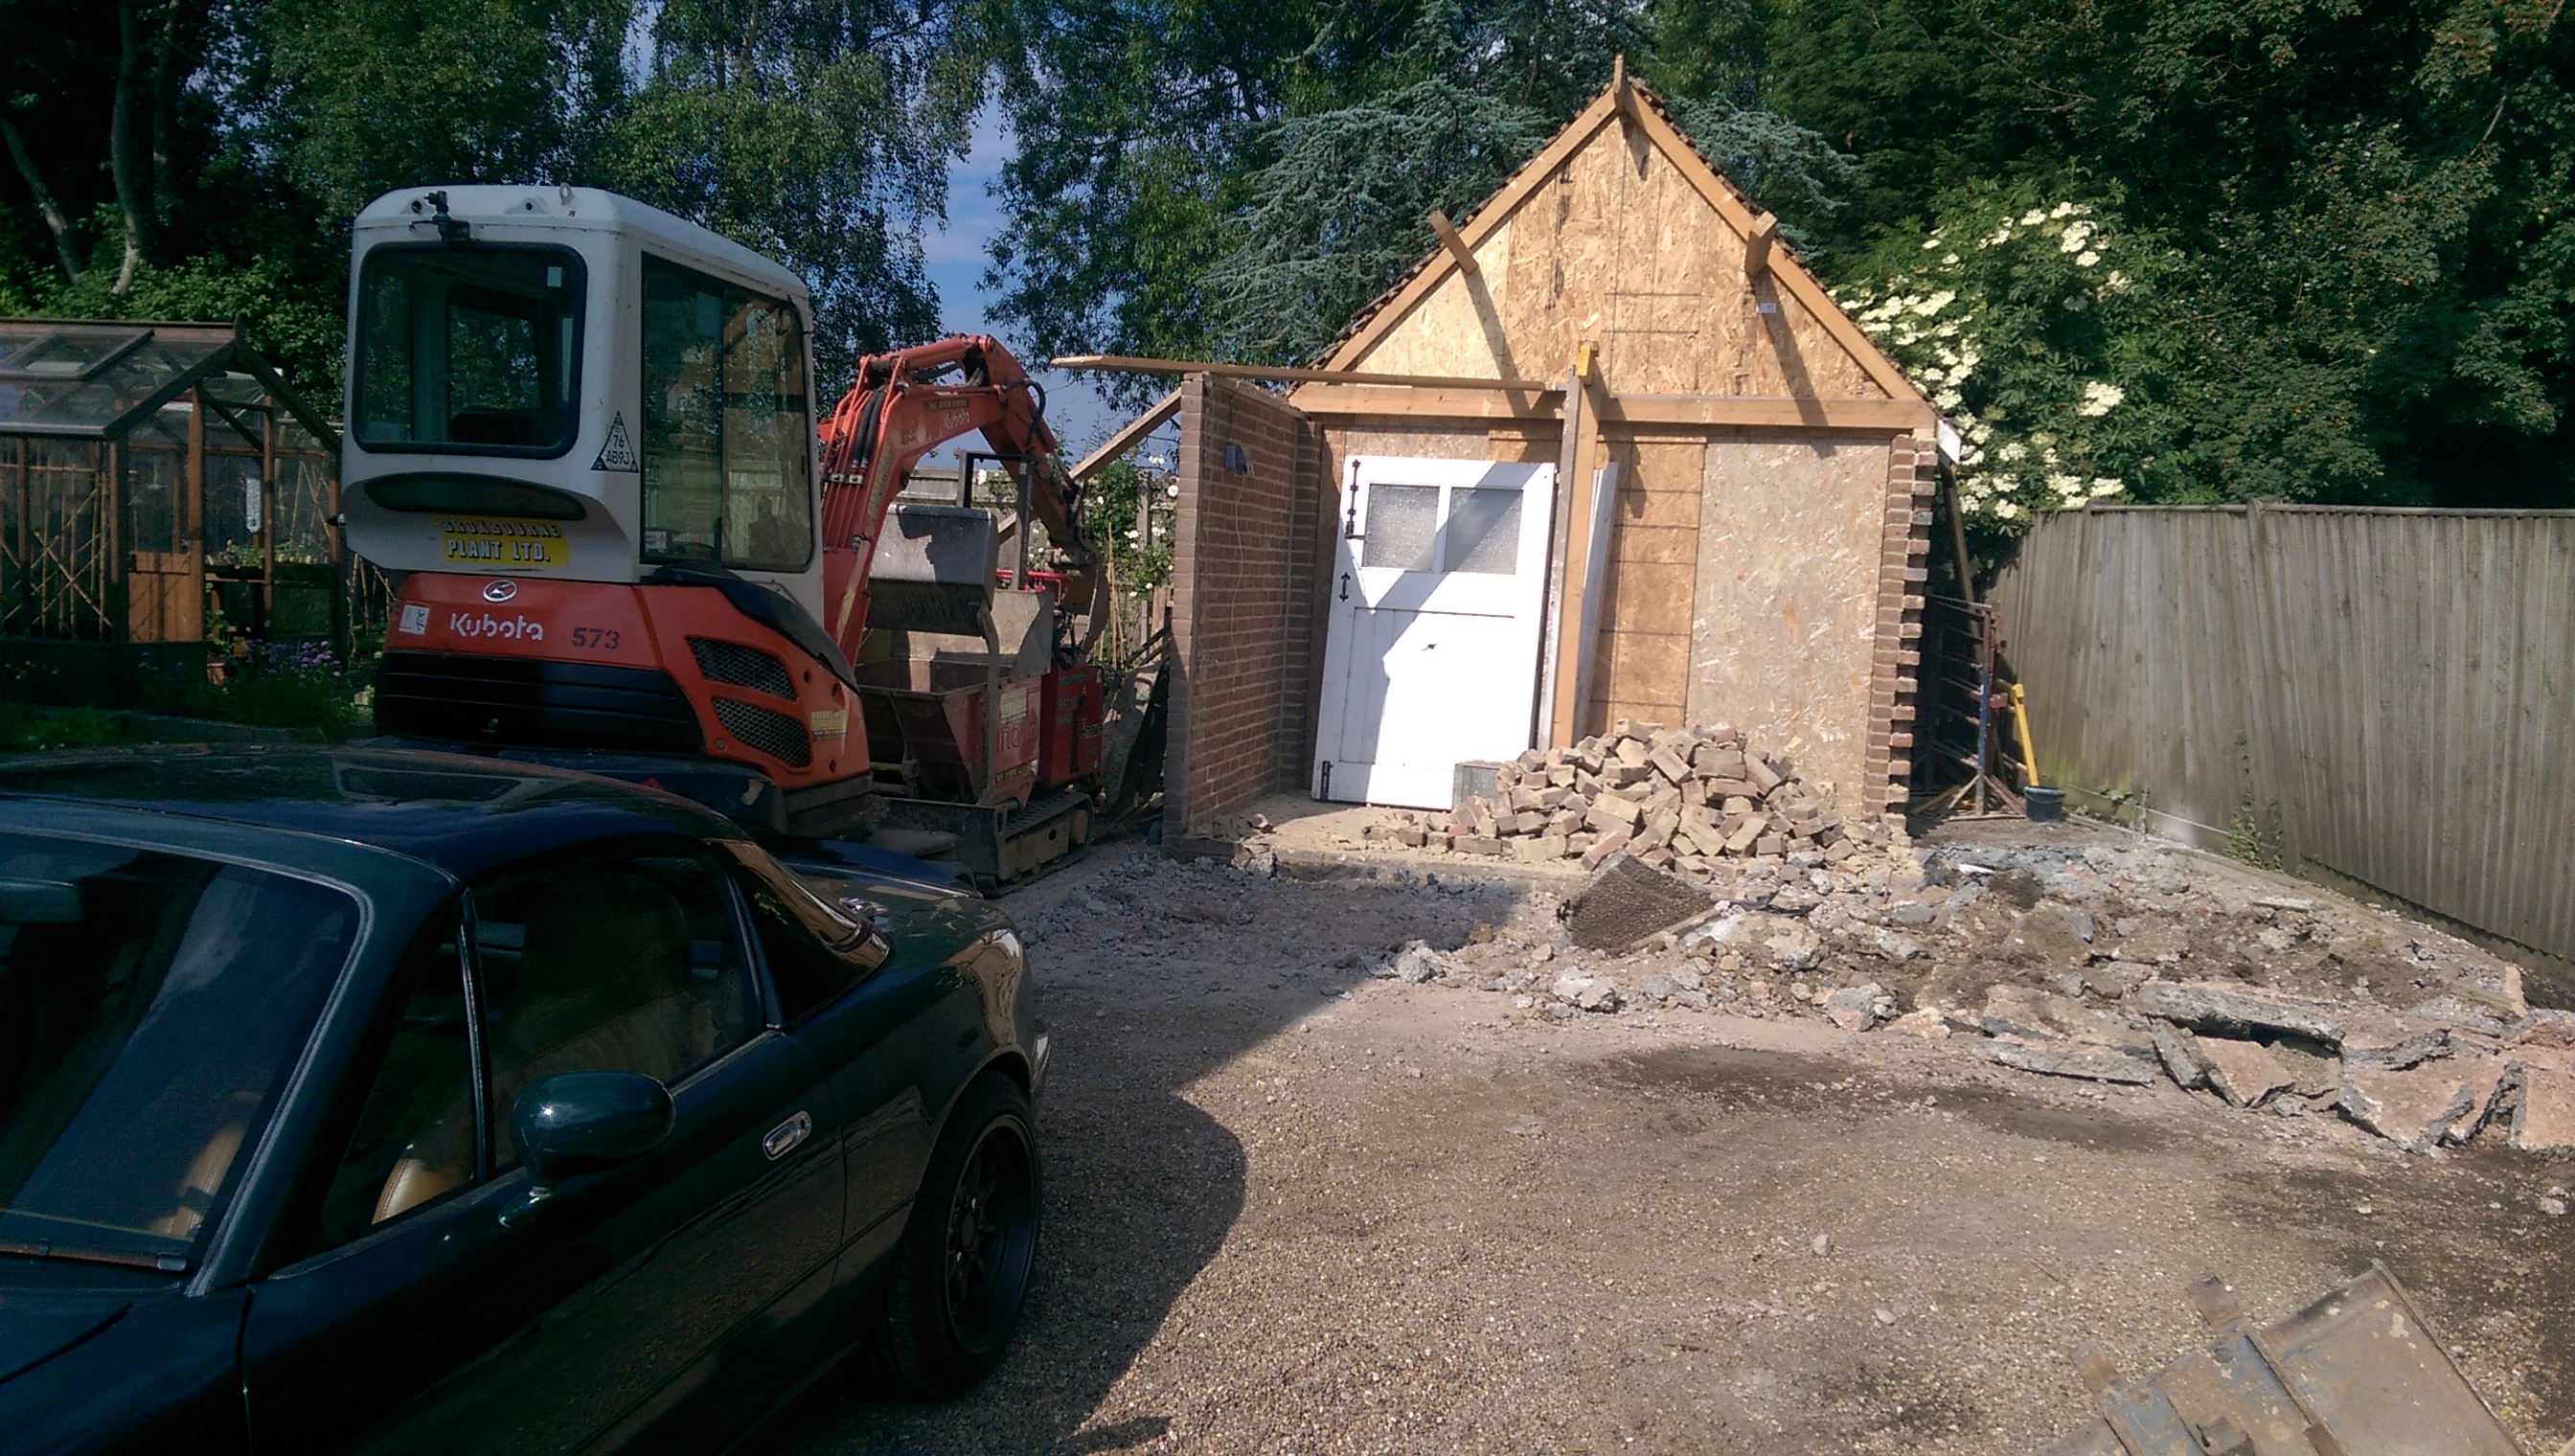
Doors removed ready for the destruction to start
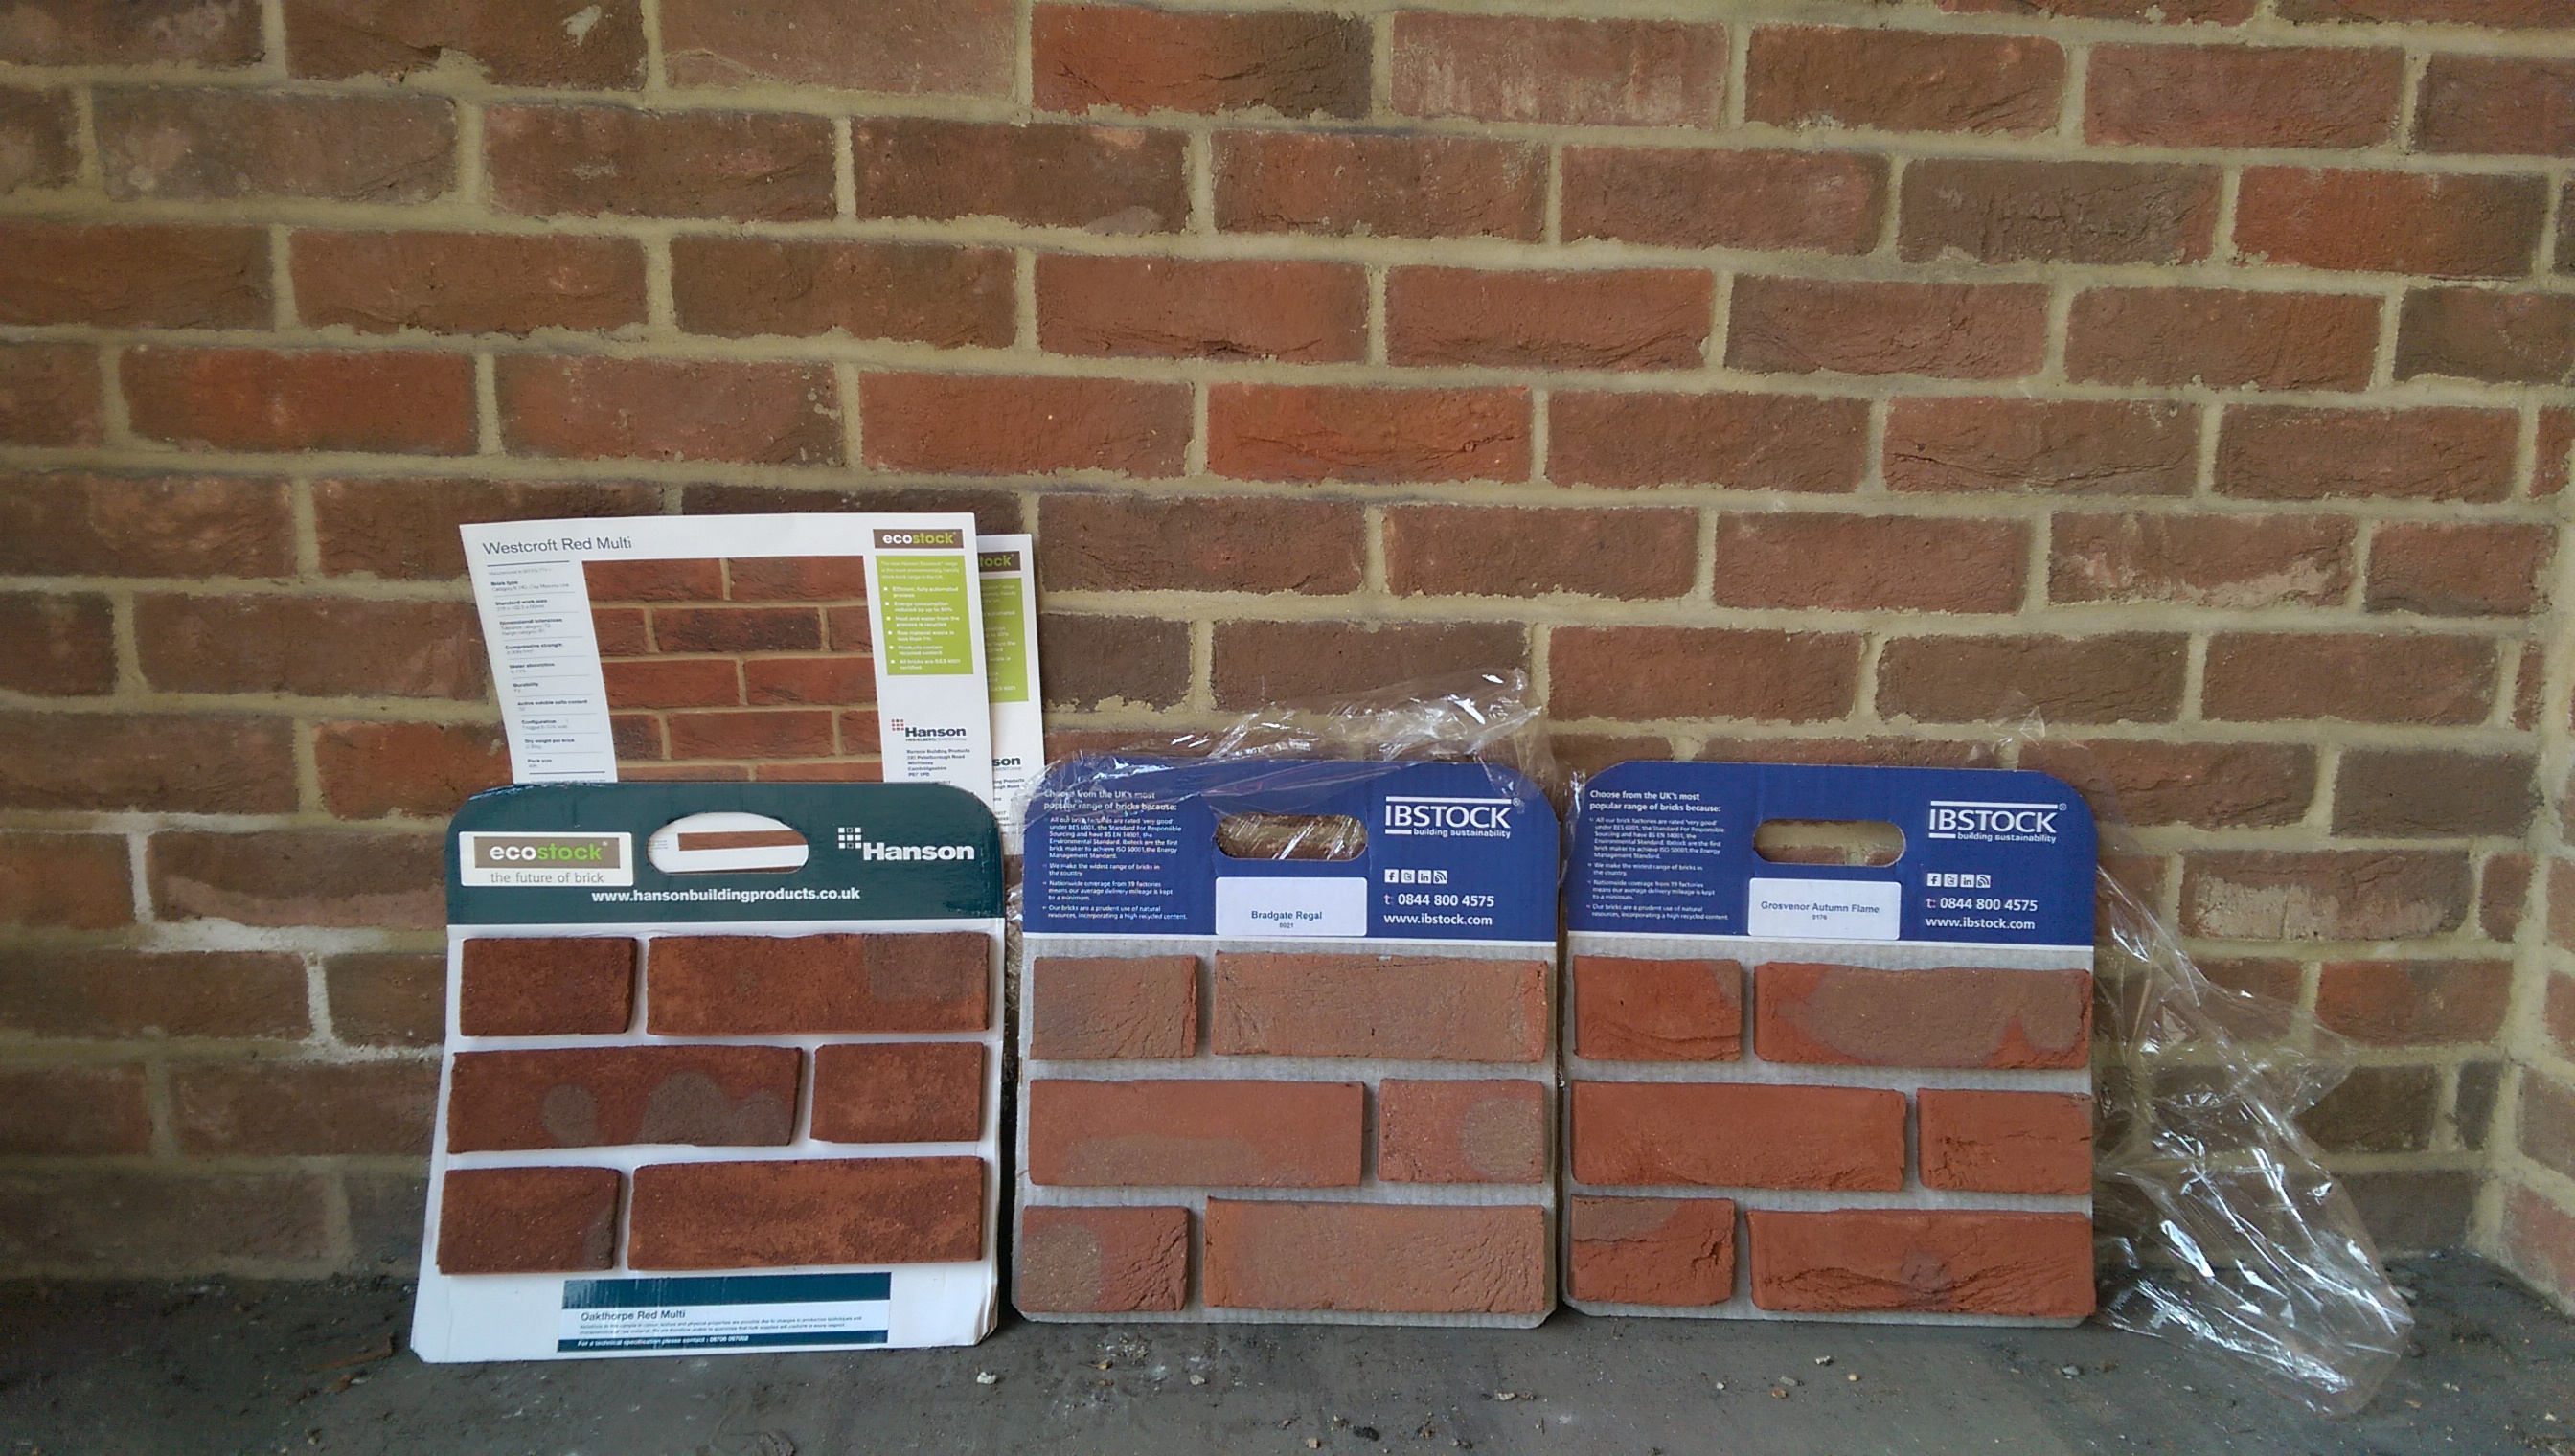
I spent ages looking for a decent brick match. Eventually a guy from Parkers came up with the best option.
Unfortunately, when we came to buy 4 pallets of them form Parkers the price worked out at a lot more than we’d estimated because they wouldn’t split pallets and wanted £250 delivery! My wife (Jem) came to the rescue after finding some on ebay. We checked our quantities and decided we could get away with ordering 1 pallet less if we saved some of the old bricks too.
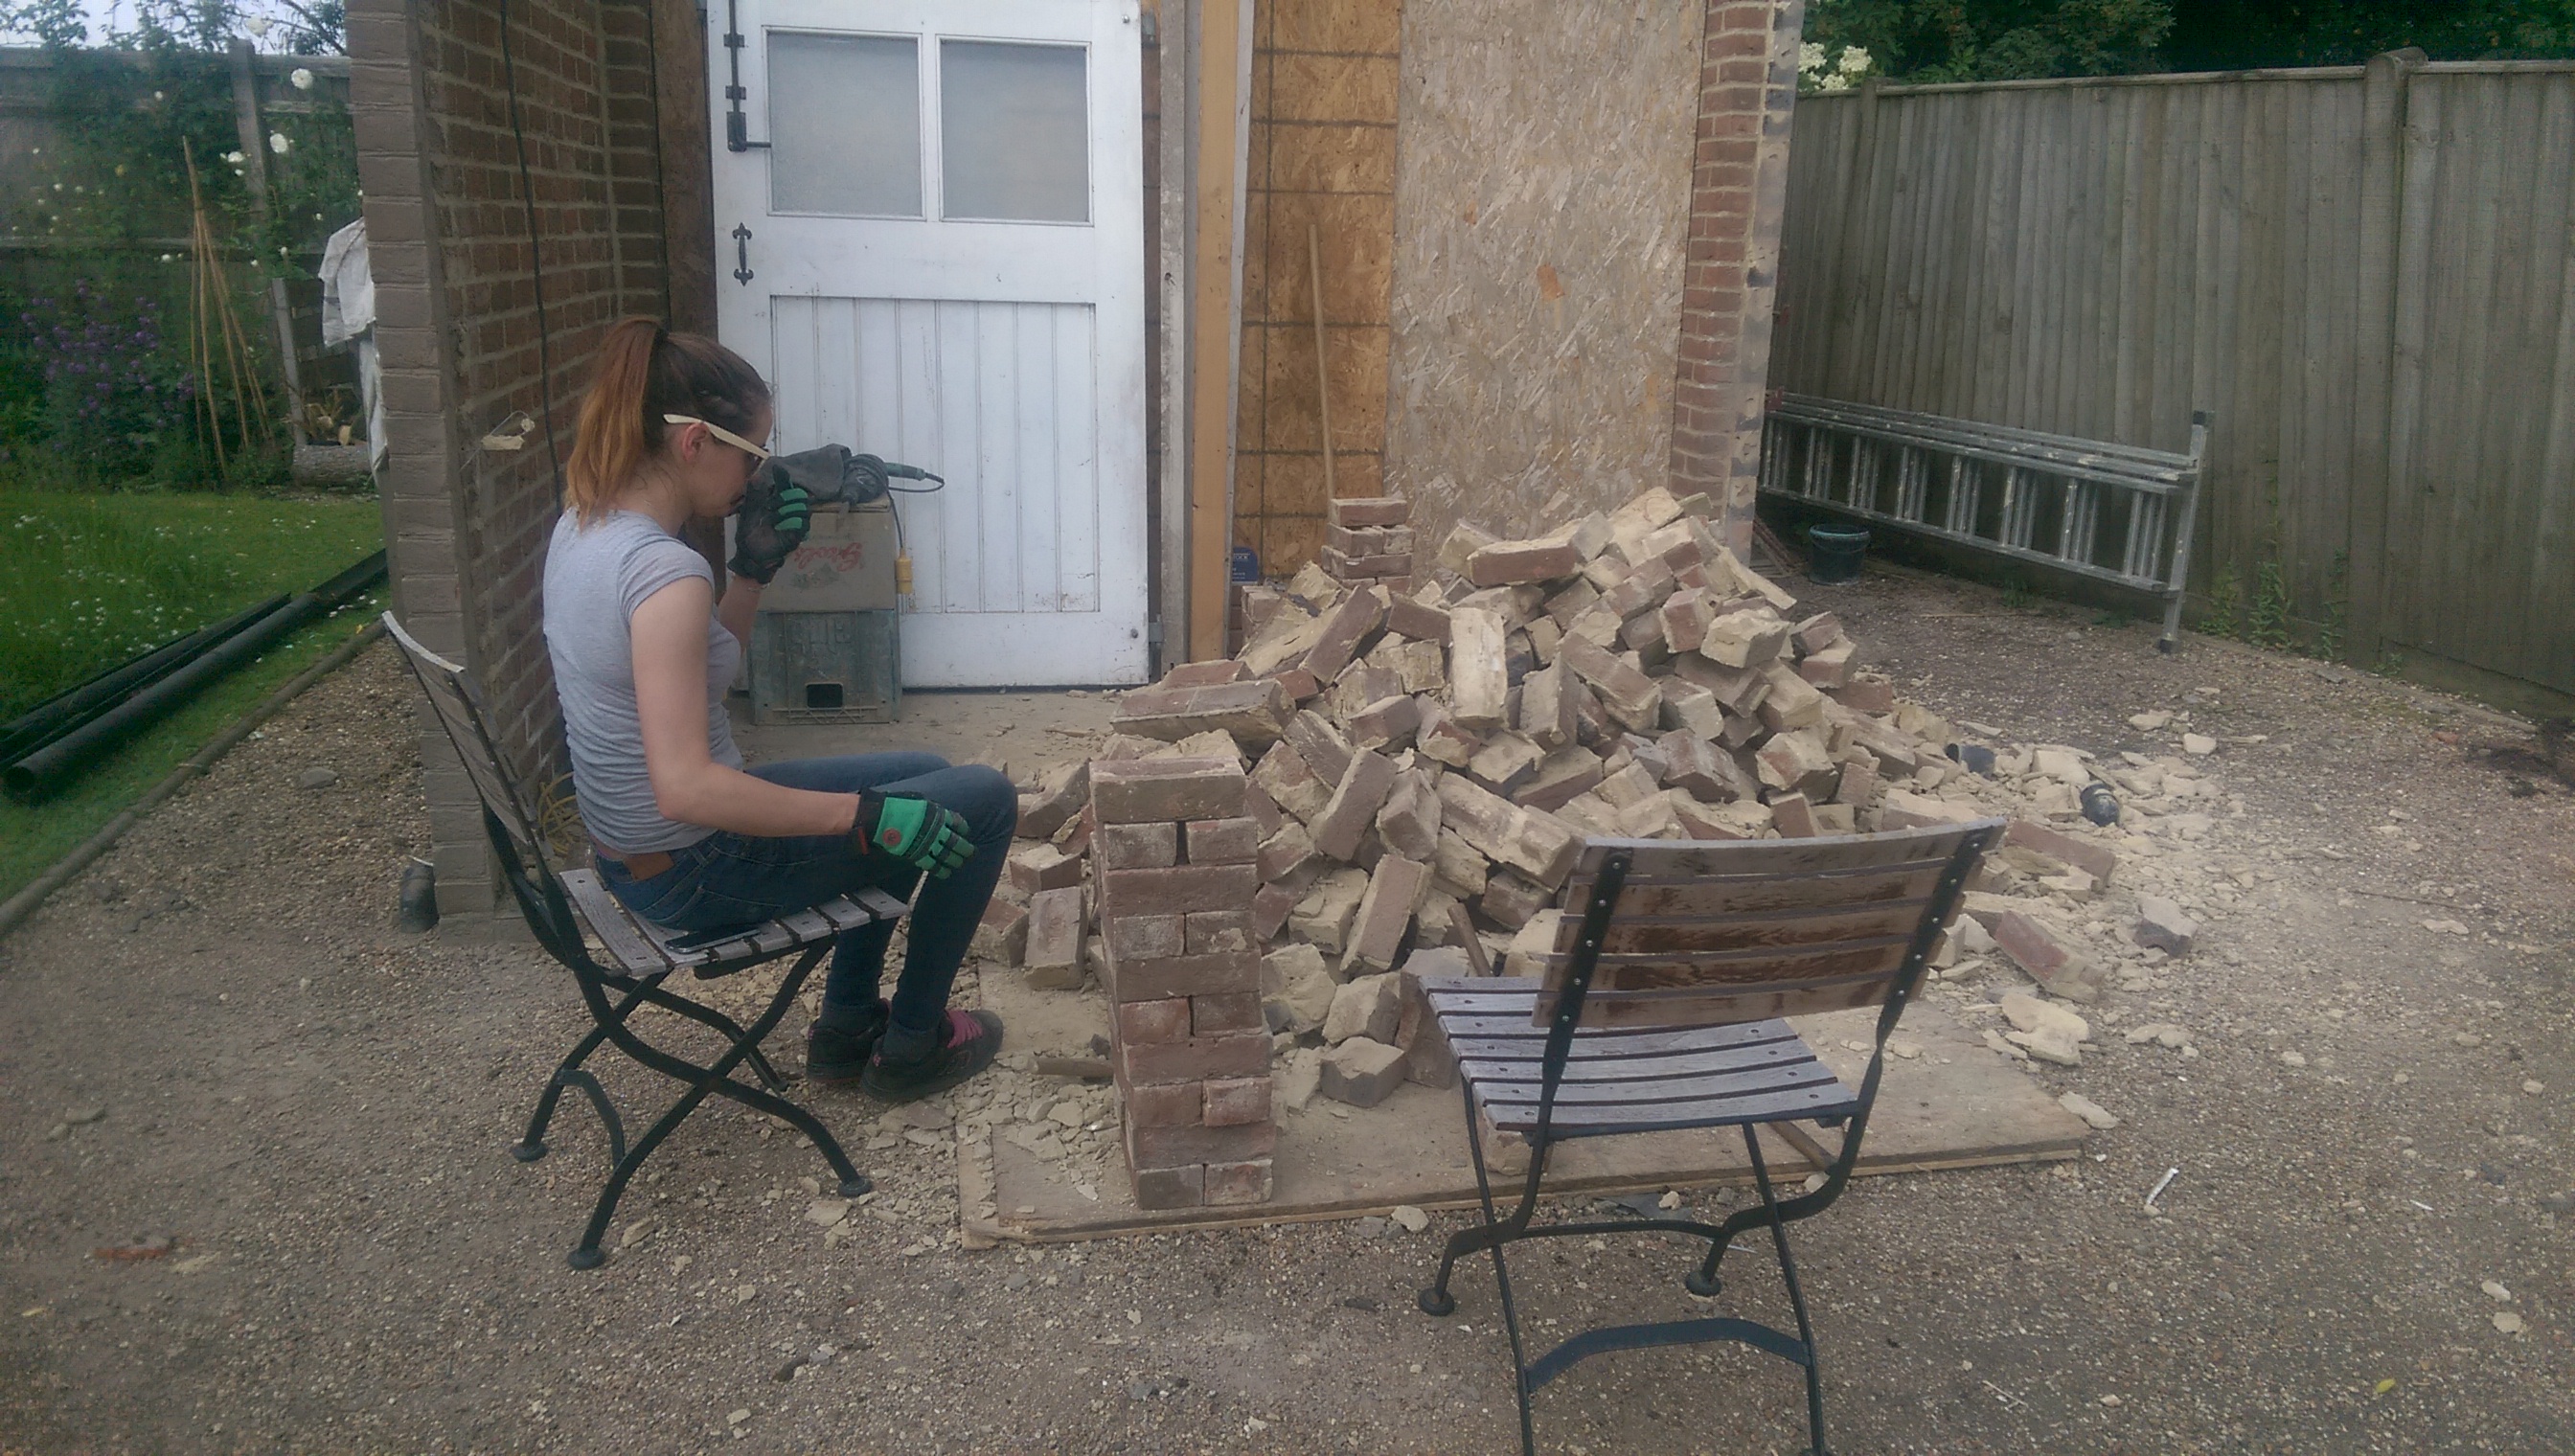
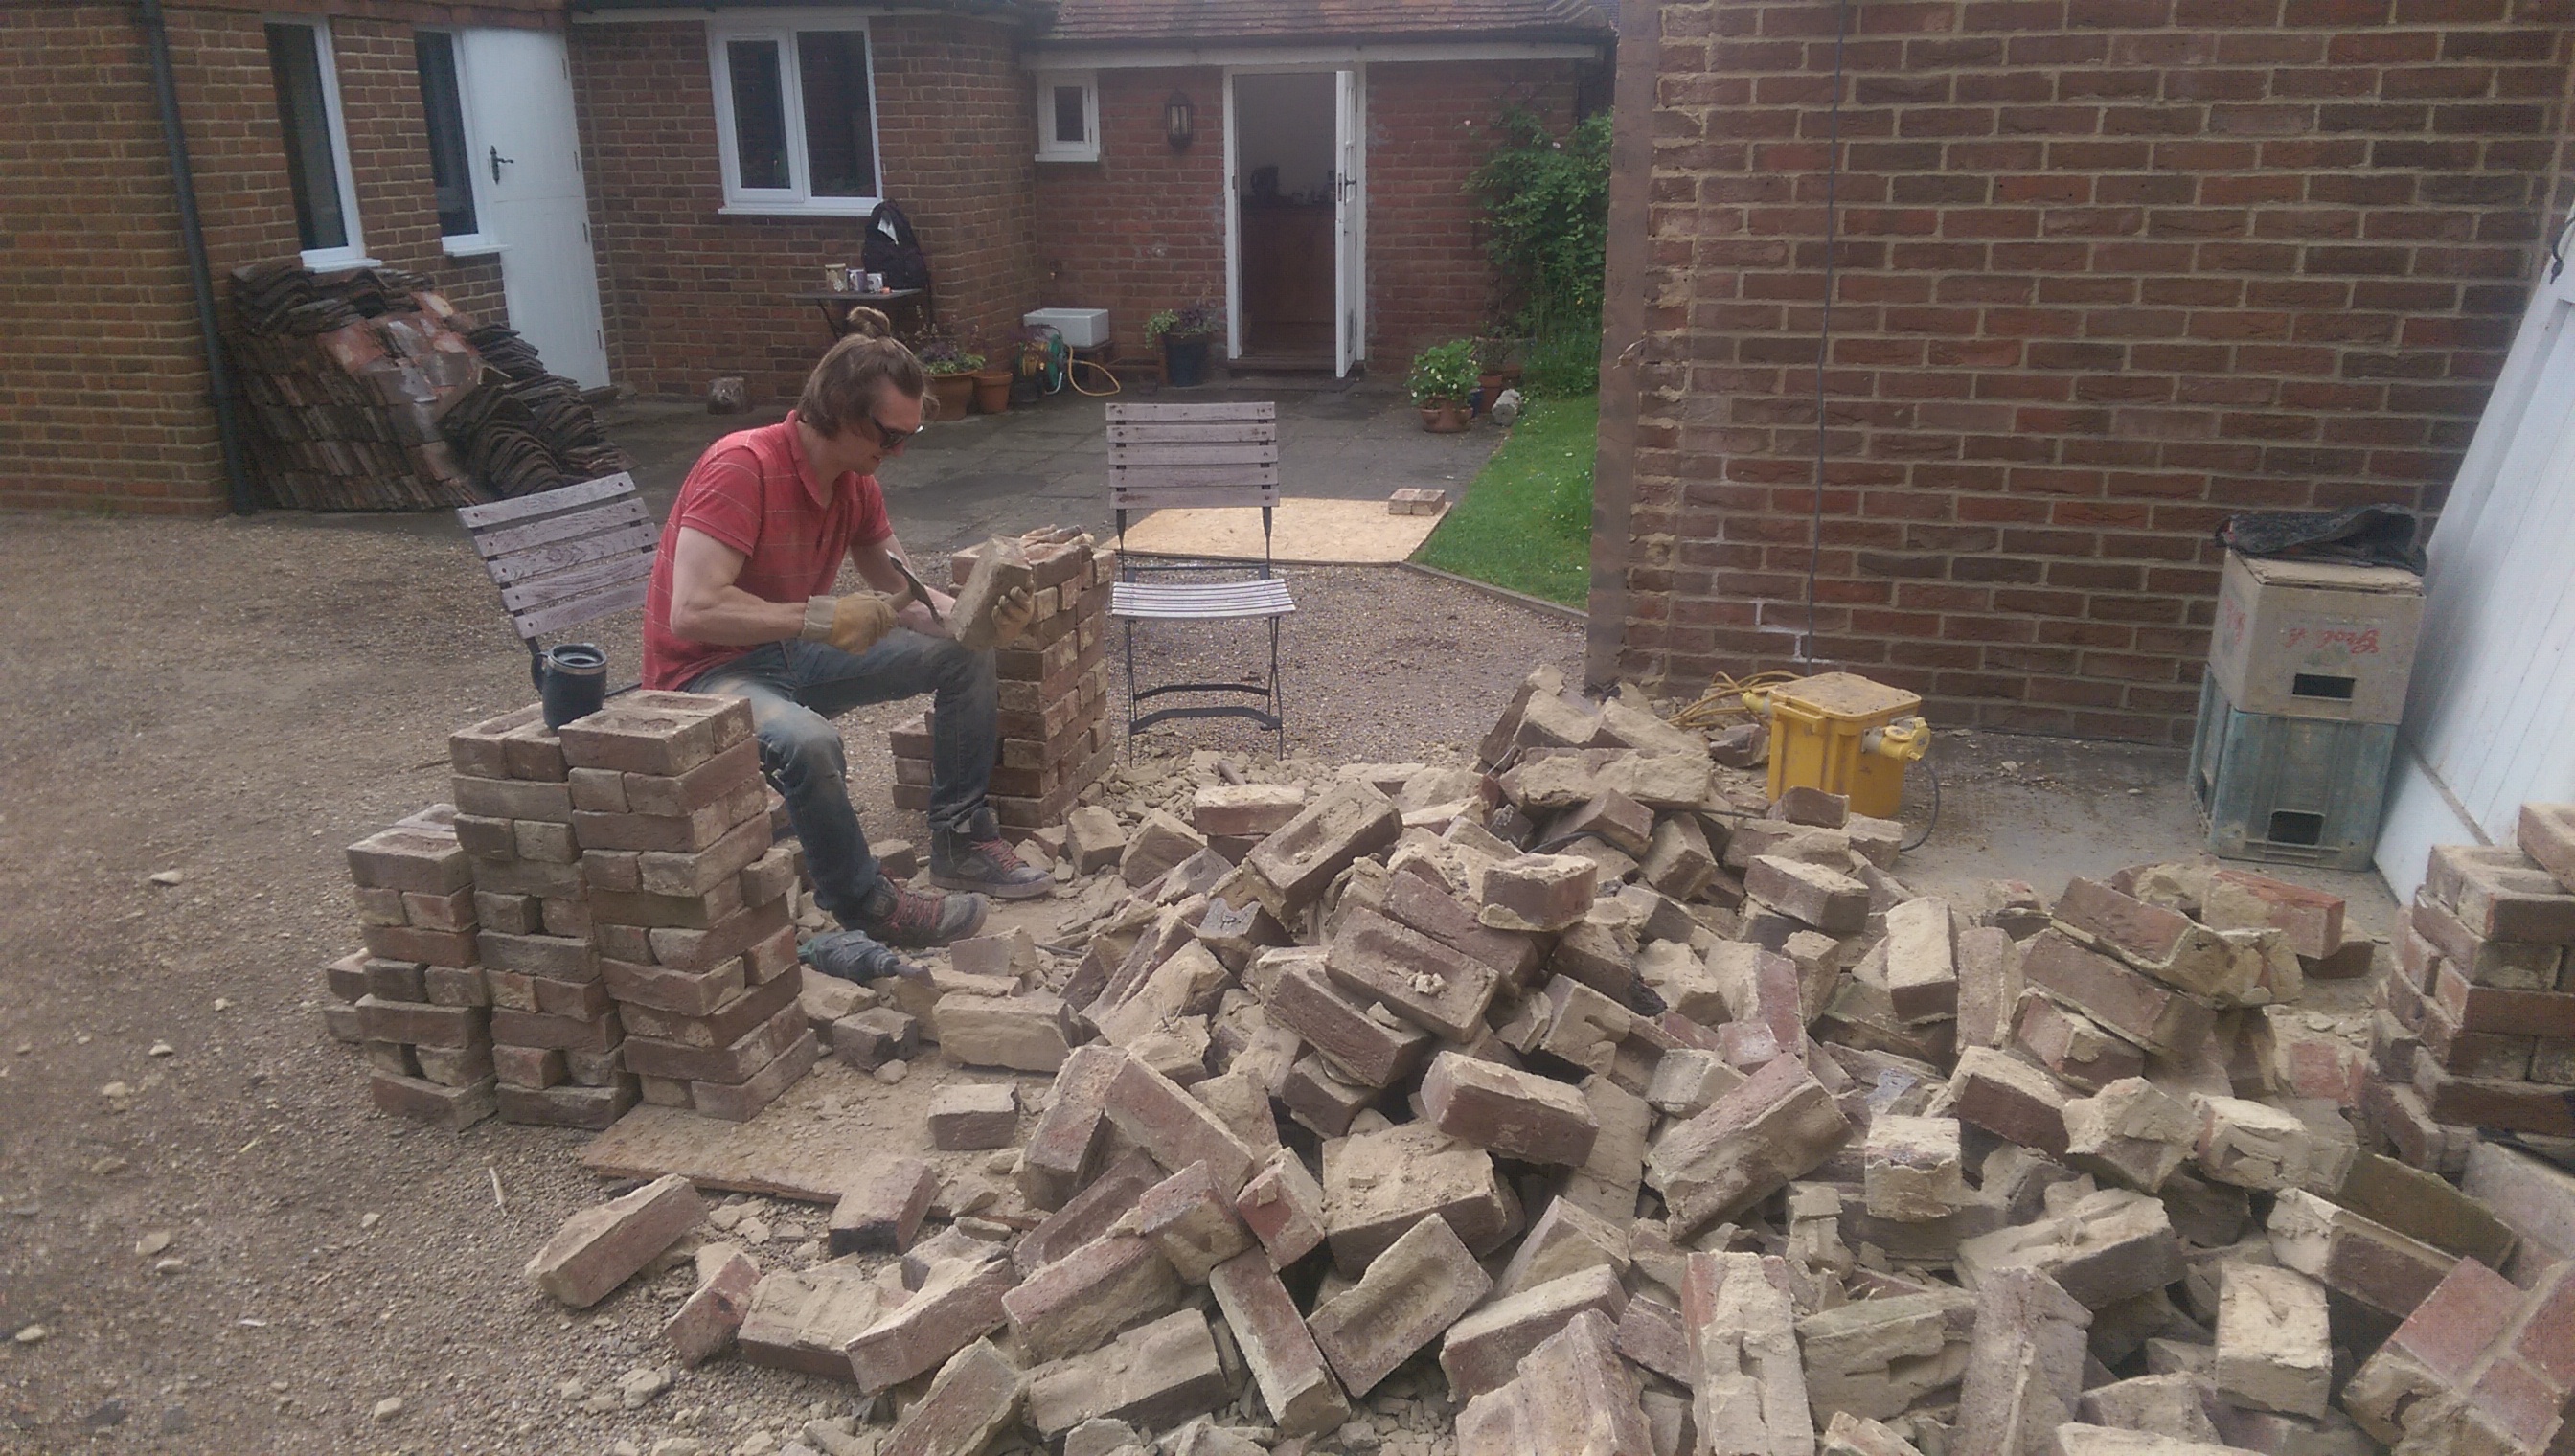
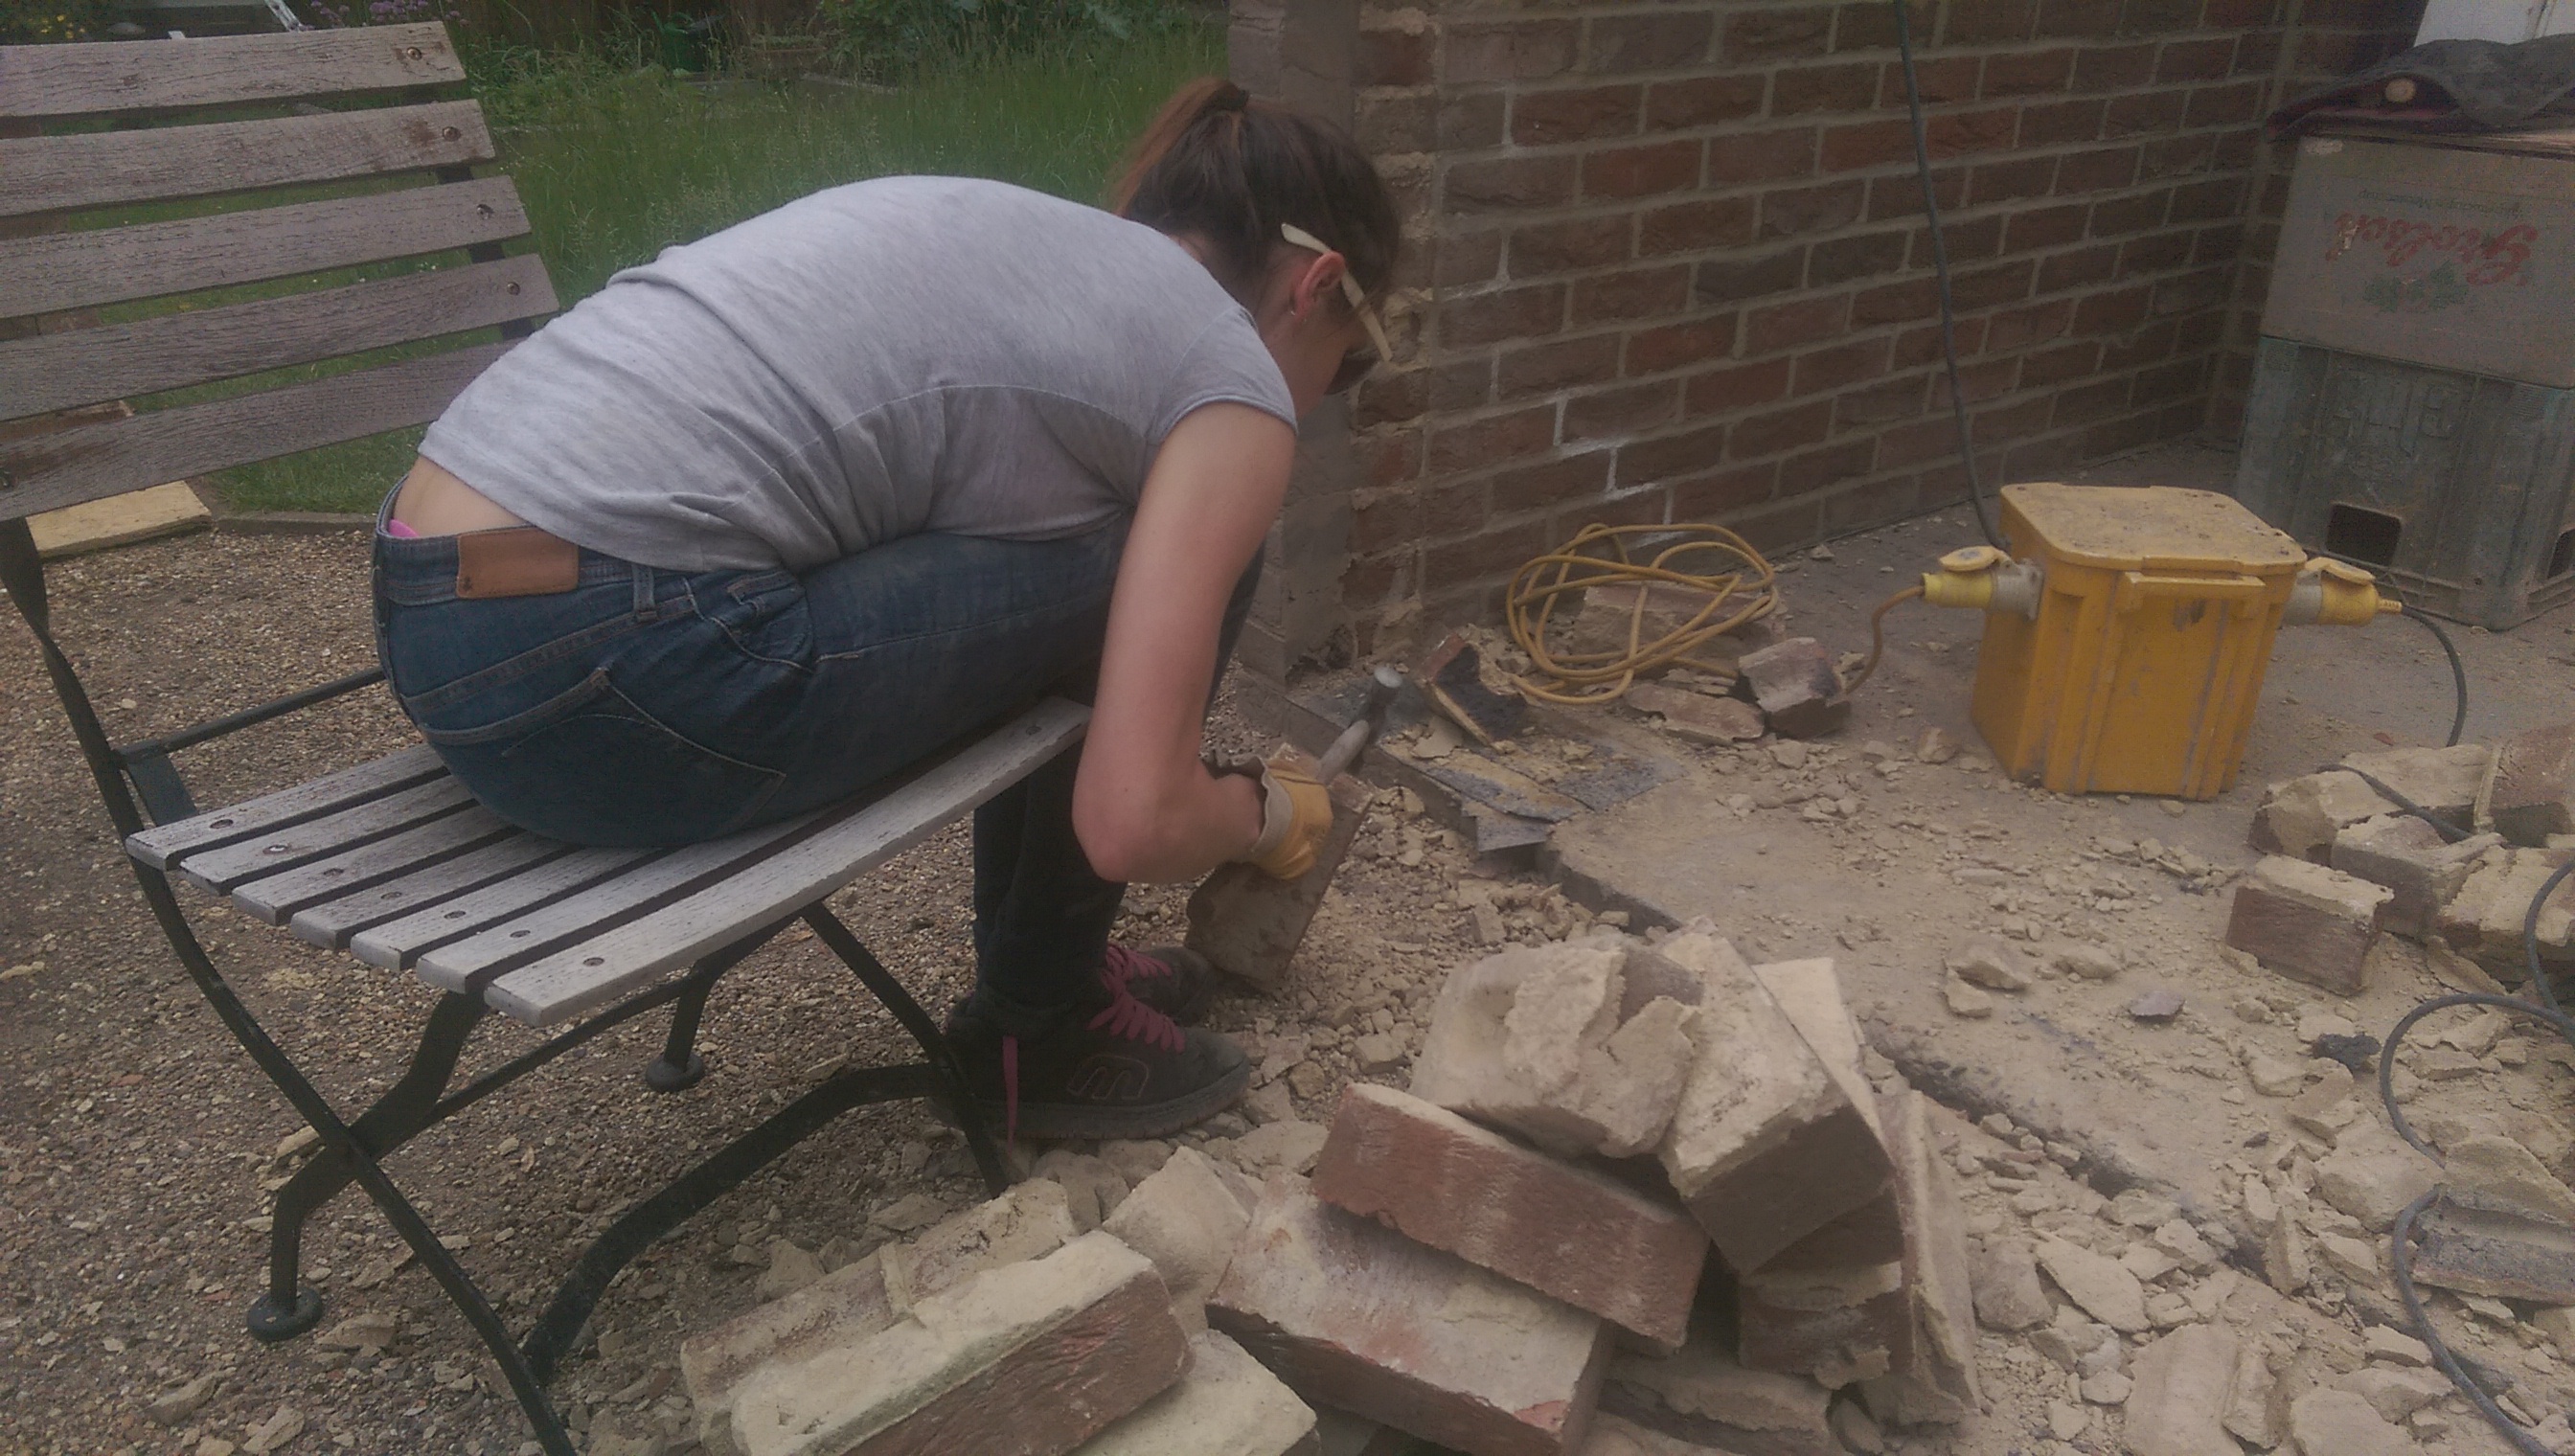
So we chipped mortar off over 200 bricks.


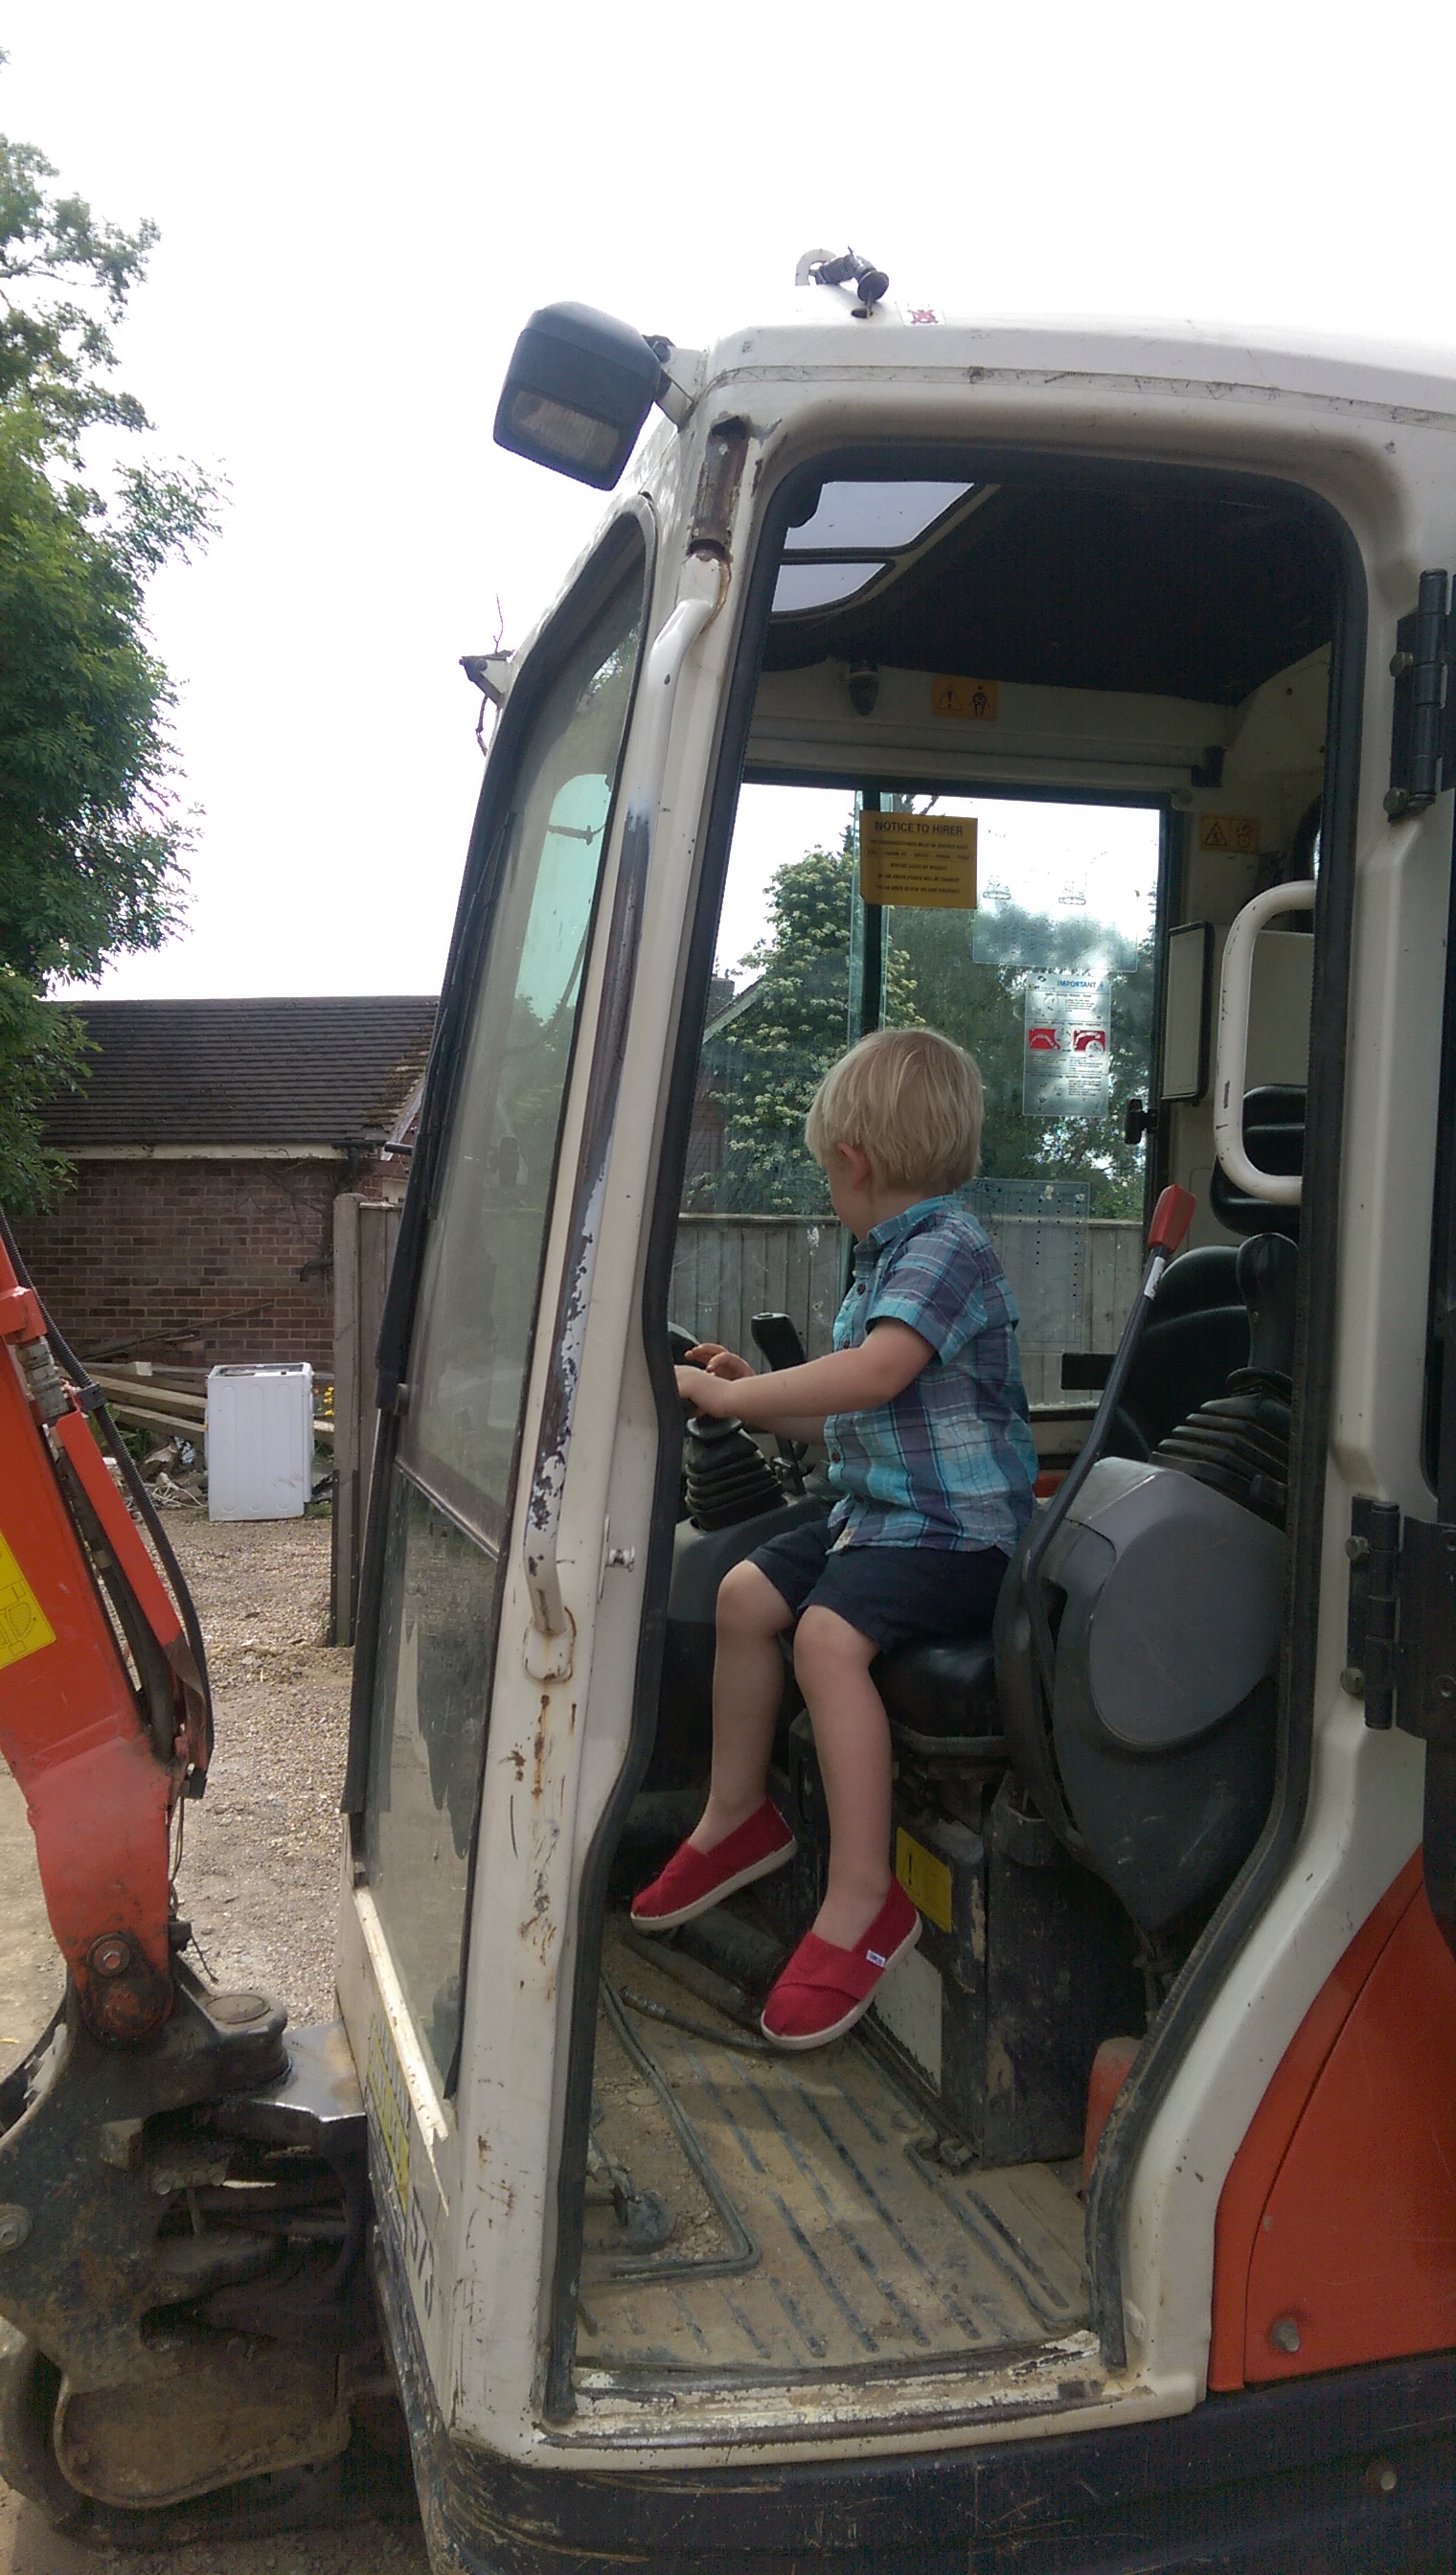
A digger, yay!

Concrete broken up. This took the guys some time, it was proper hard.
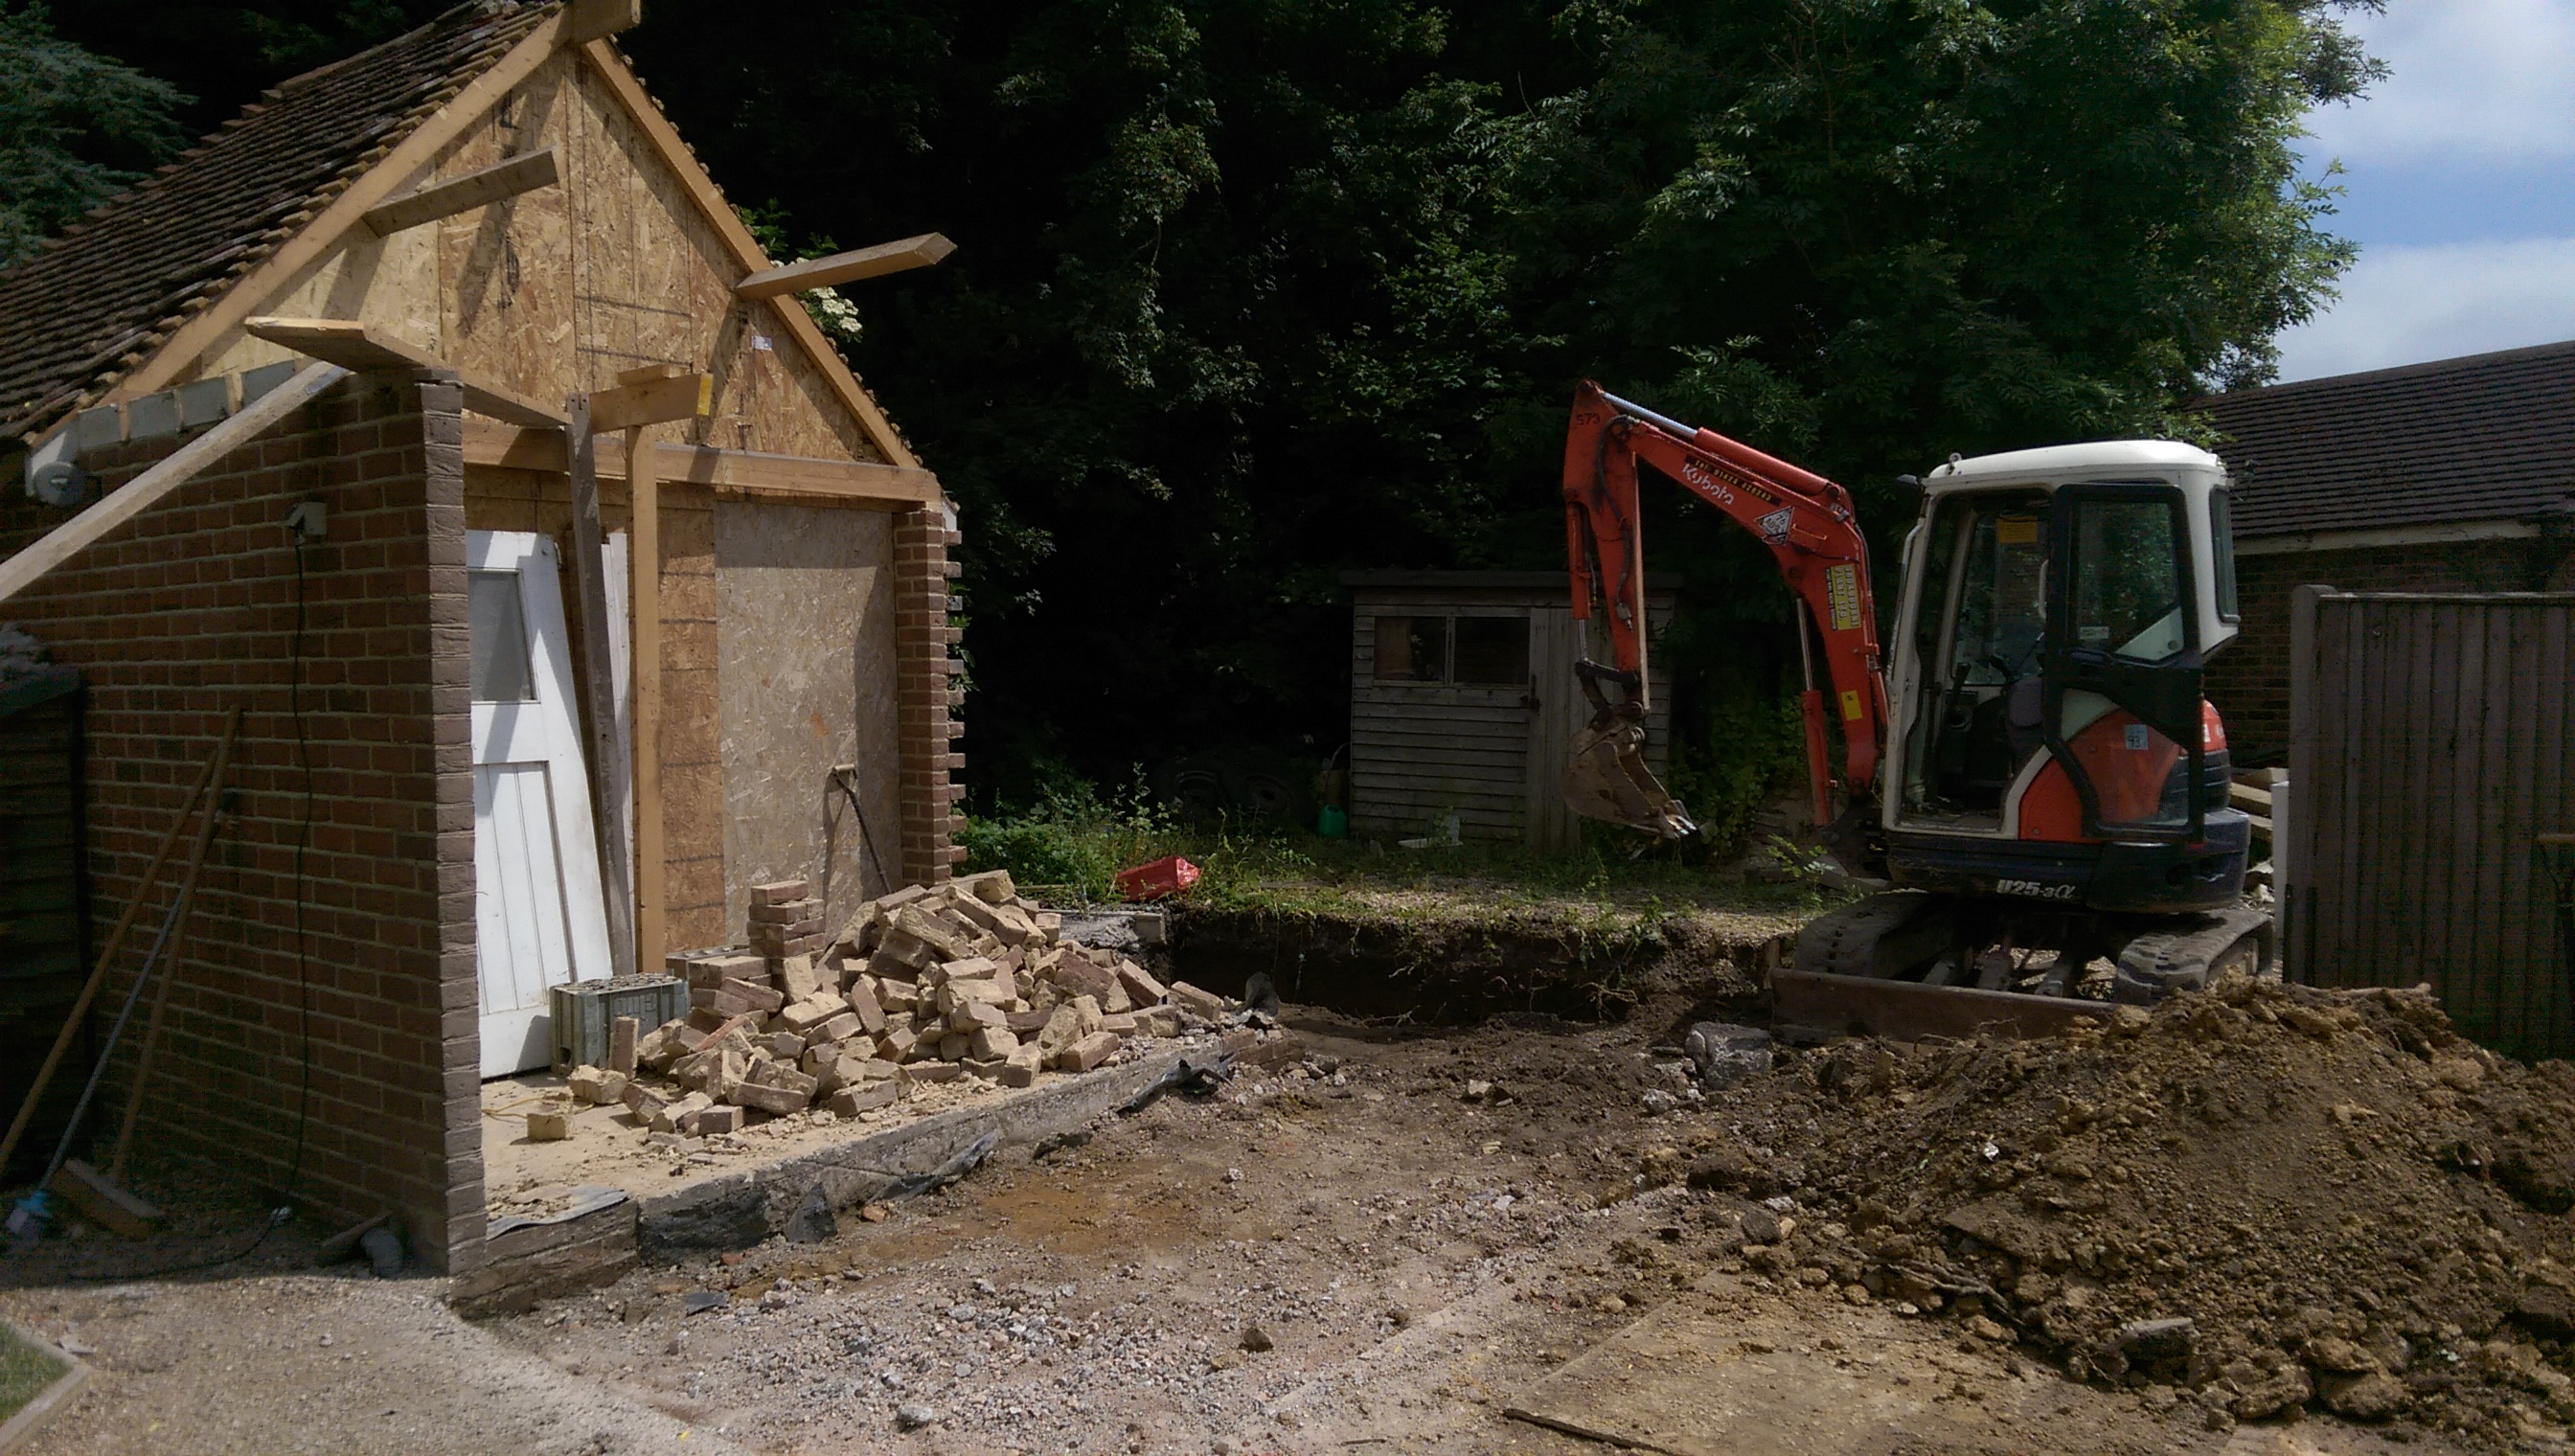
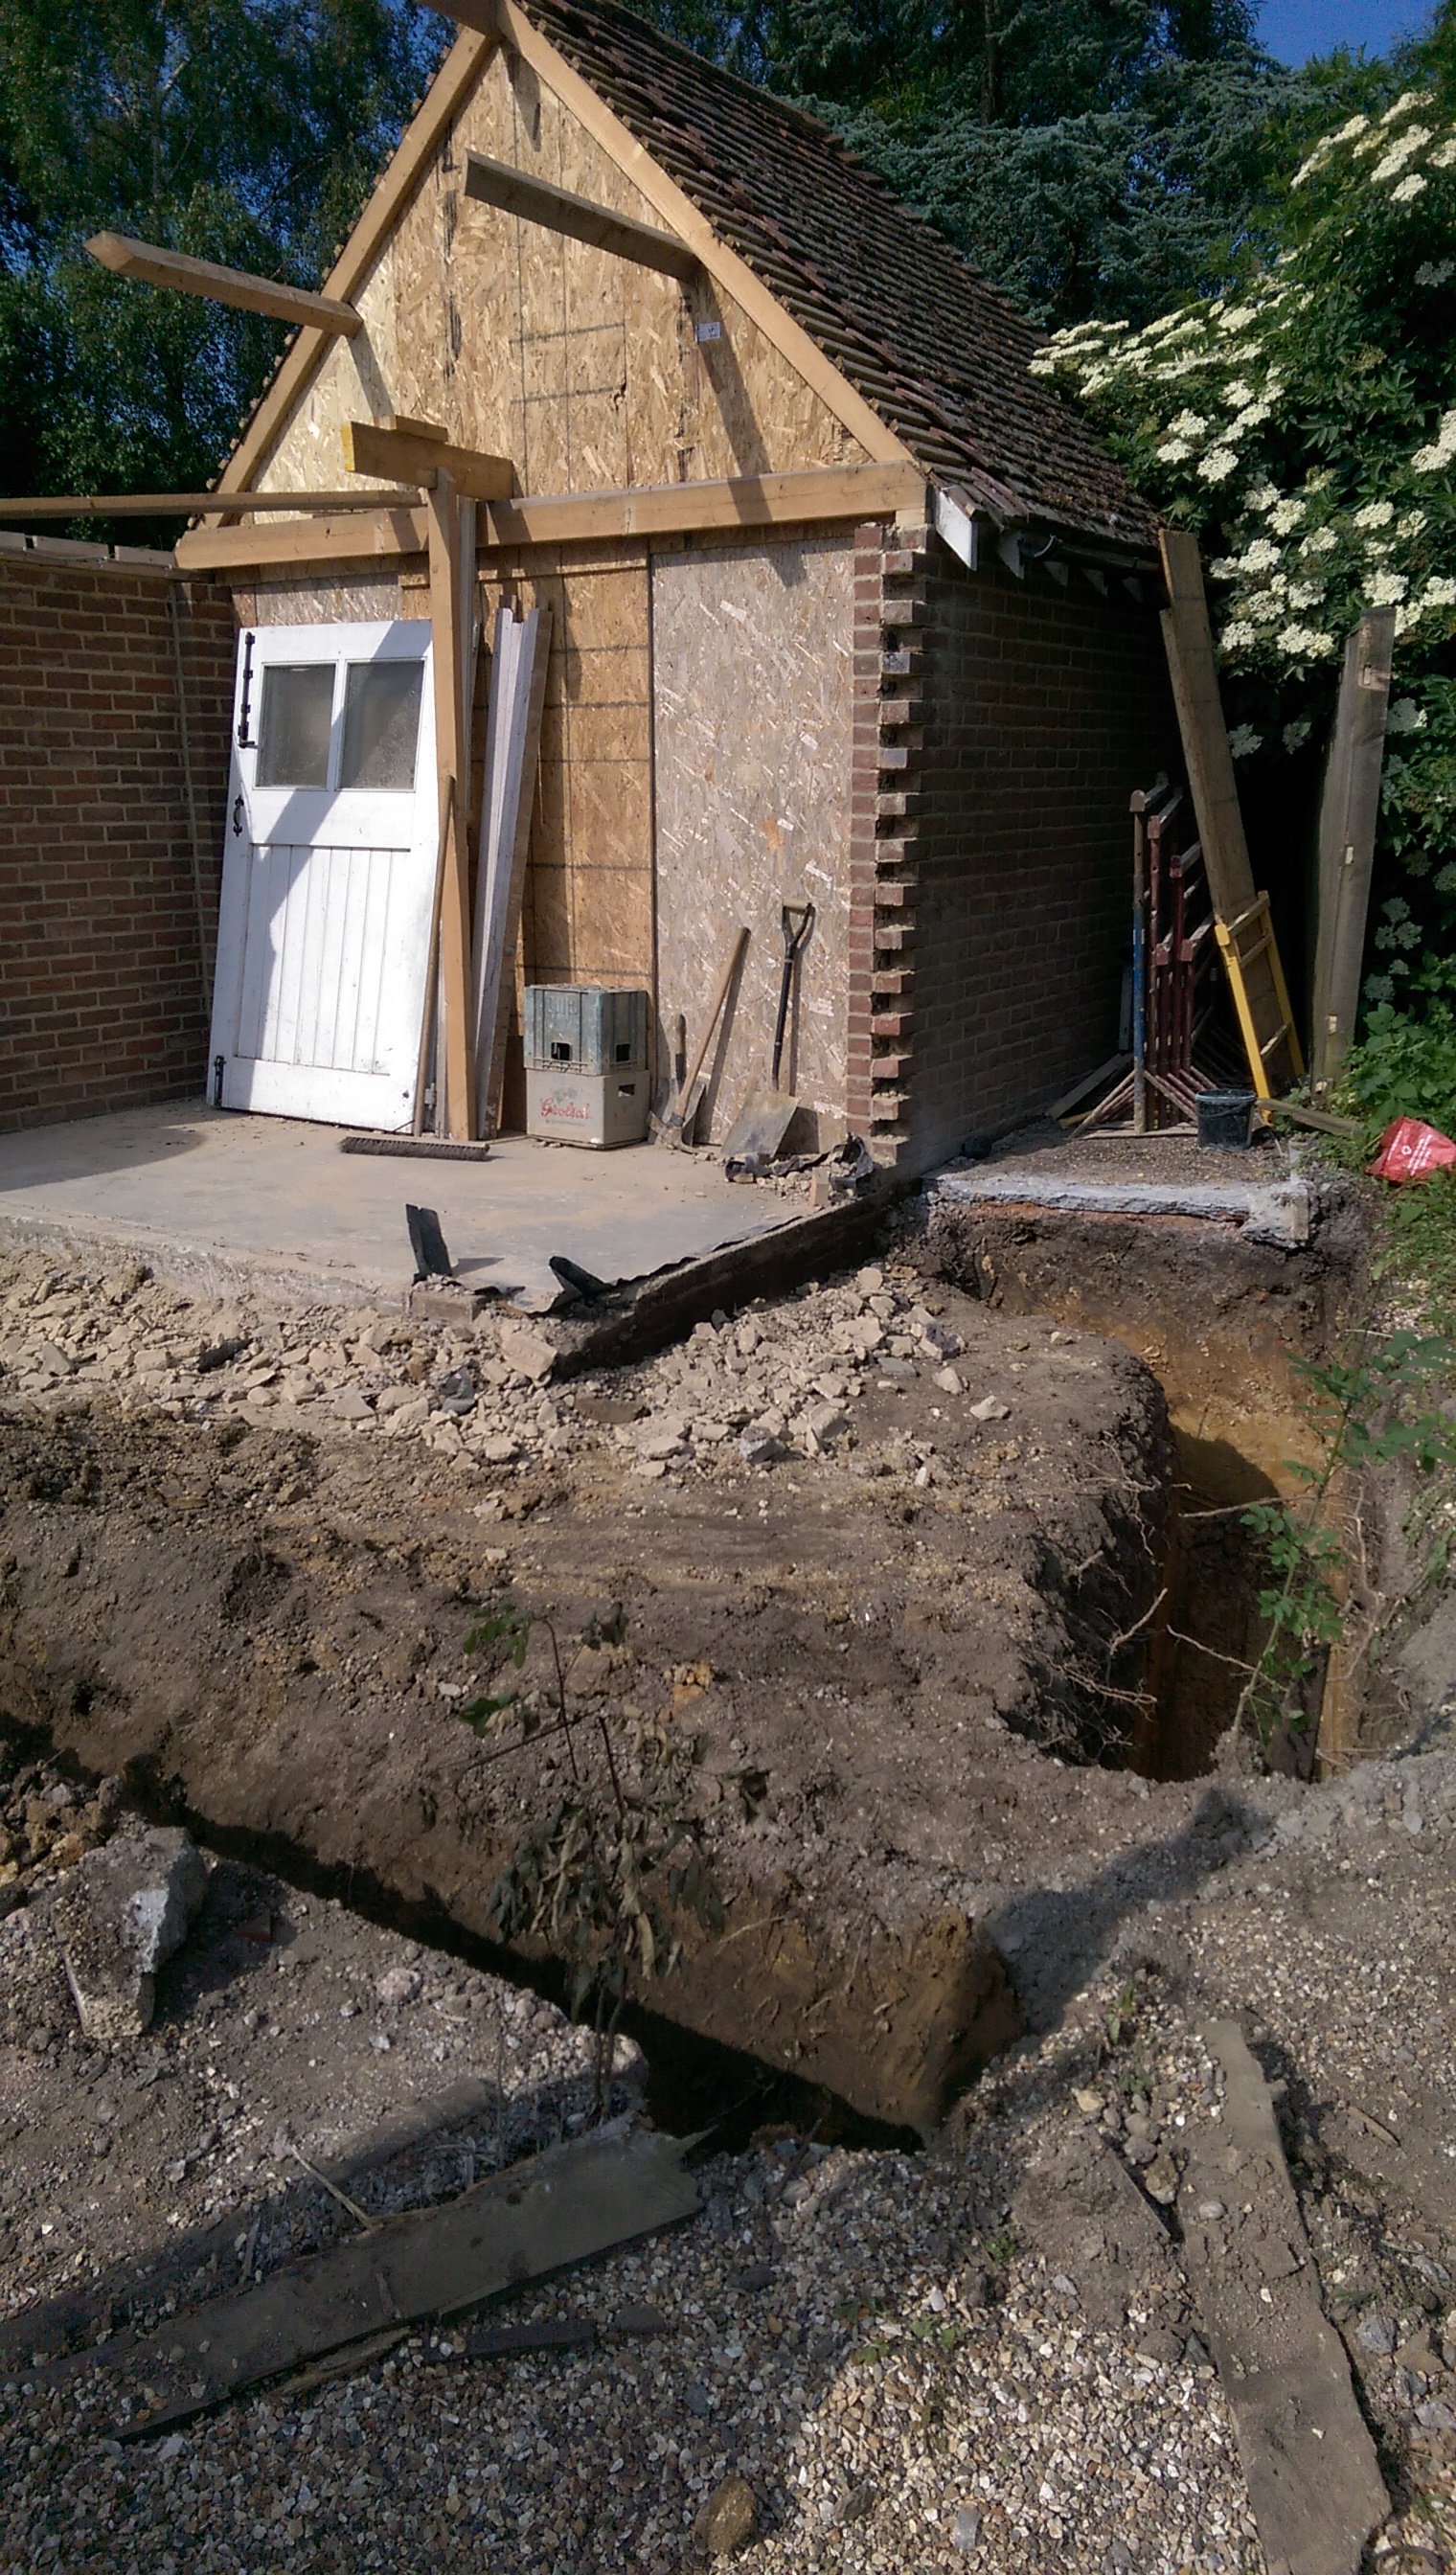
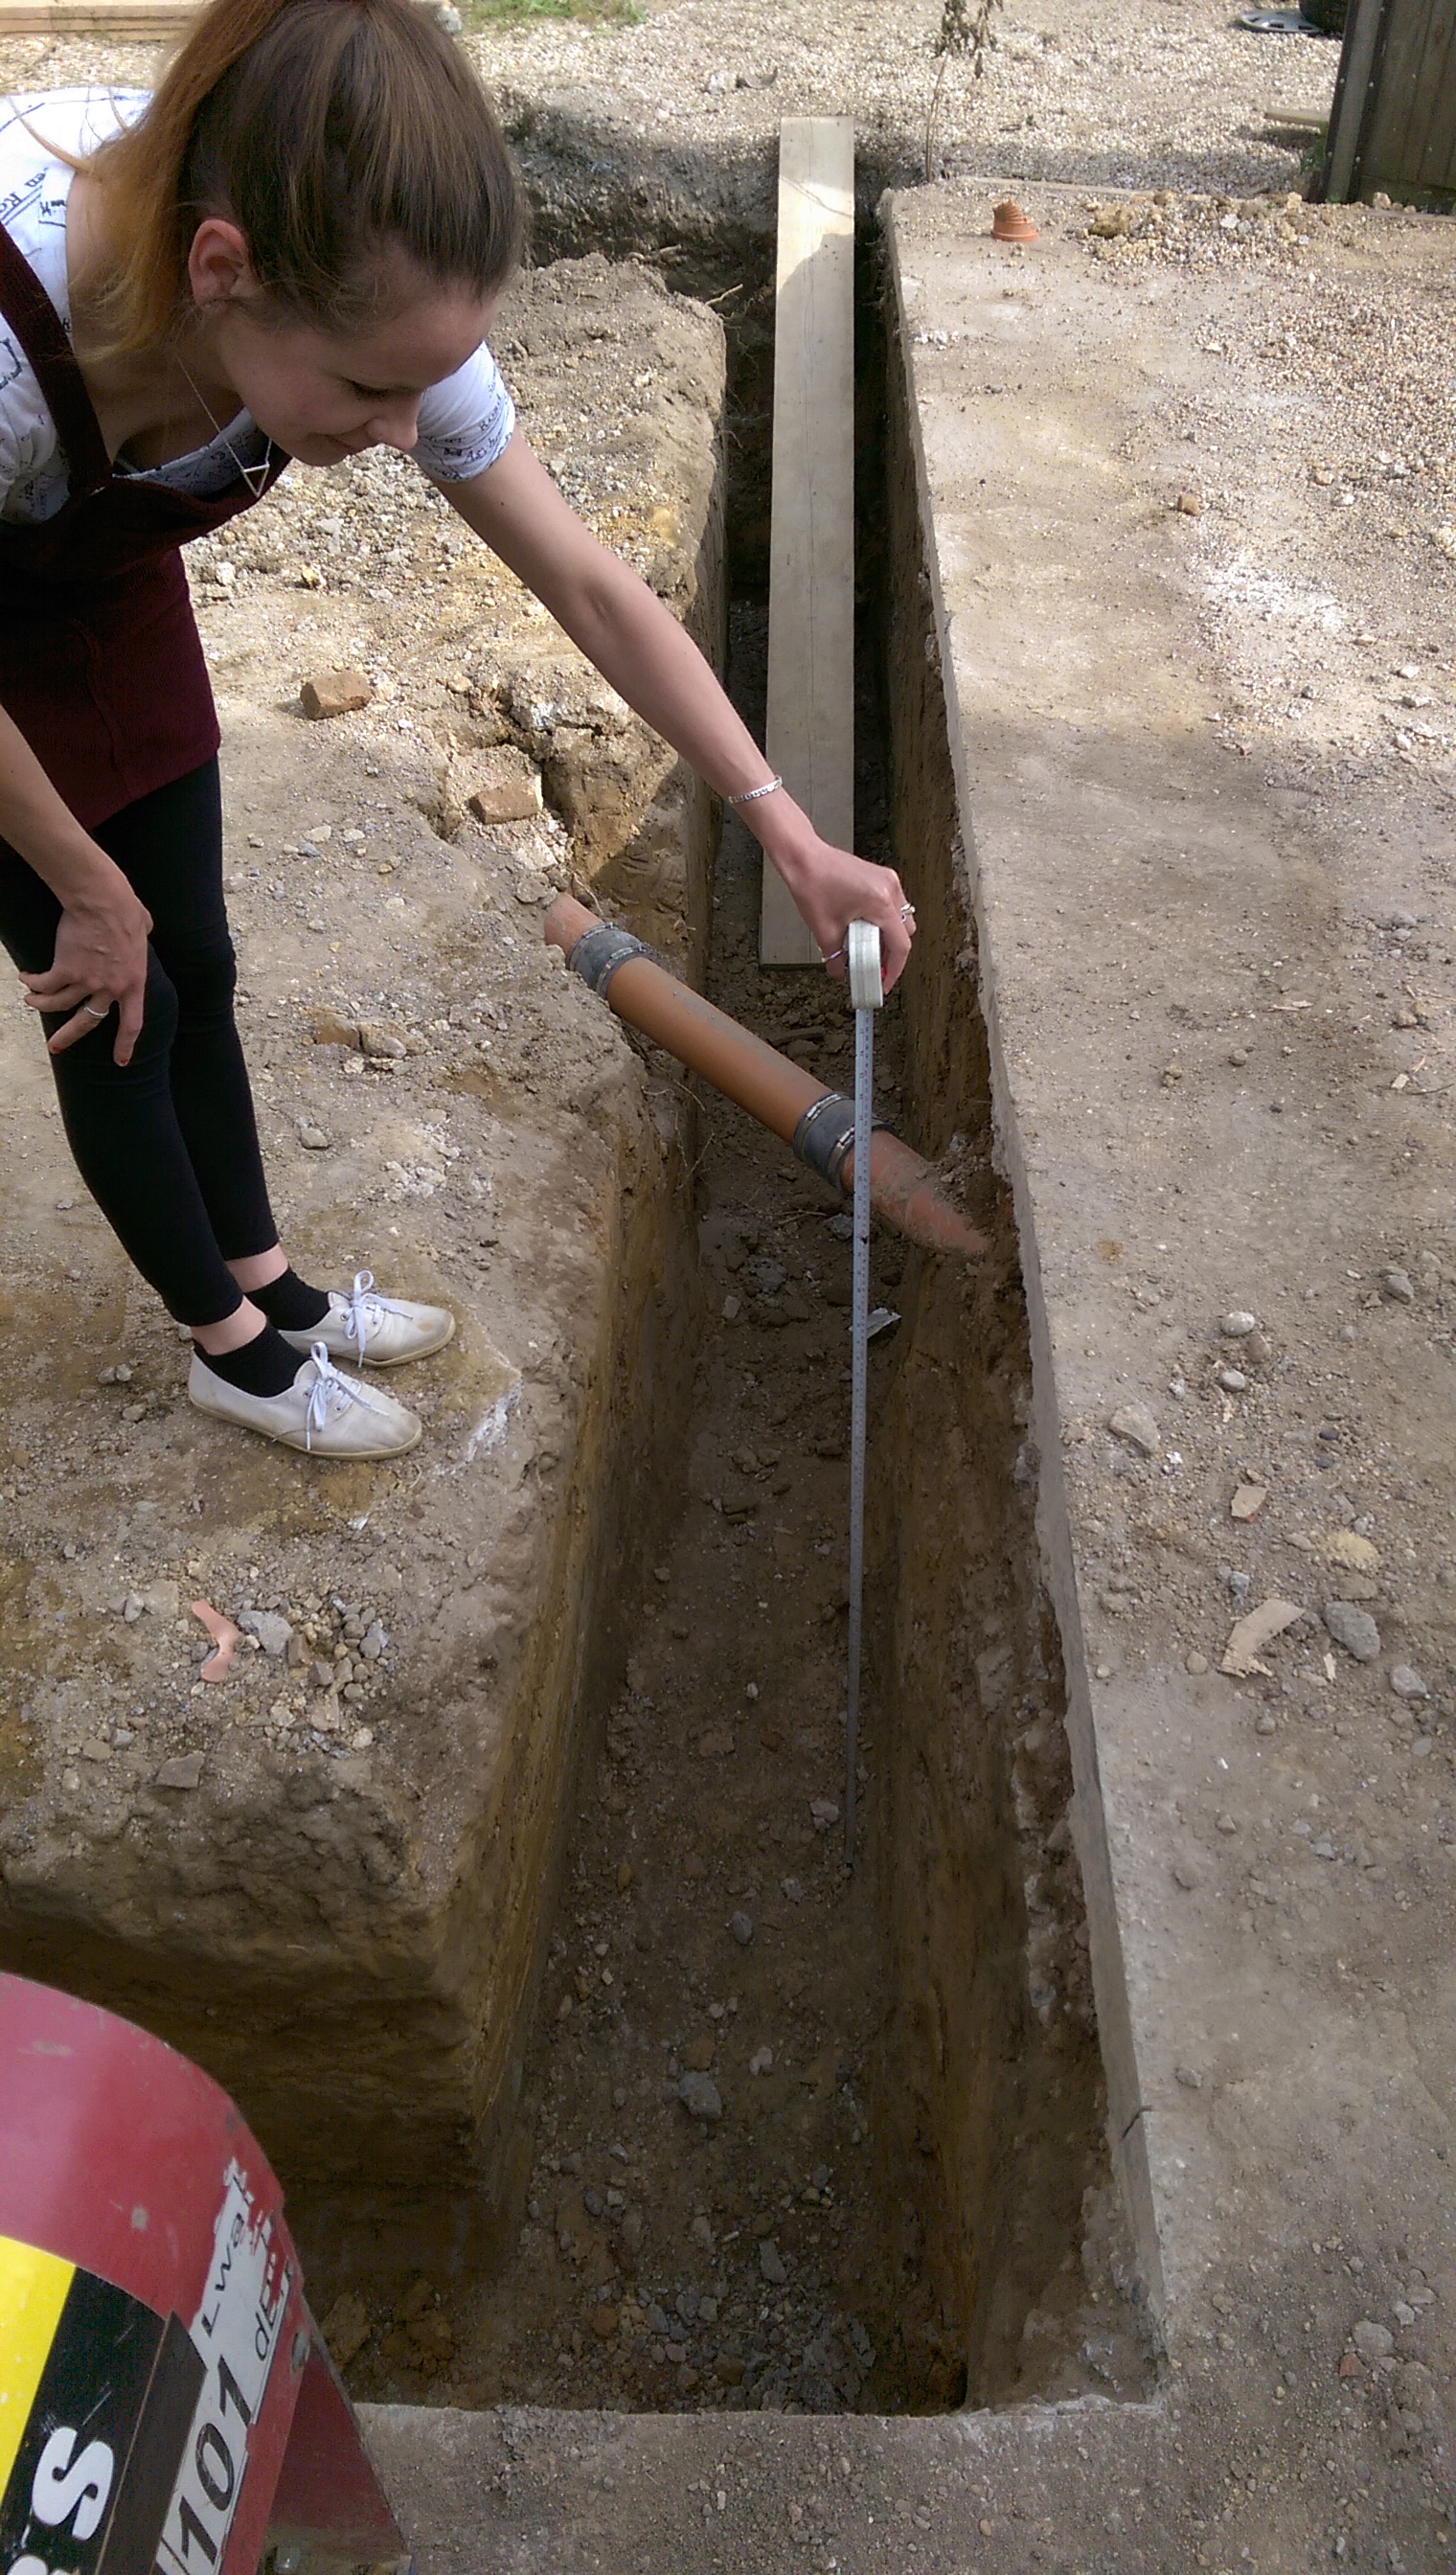
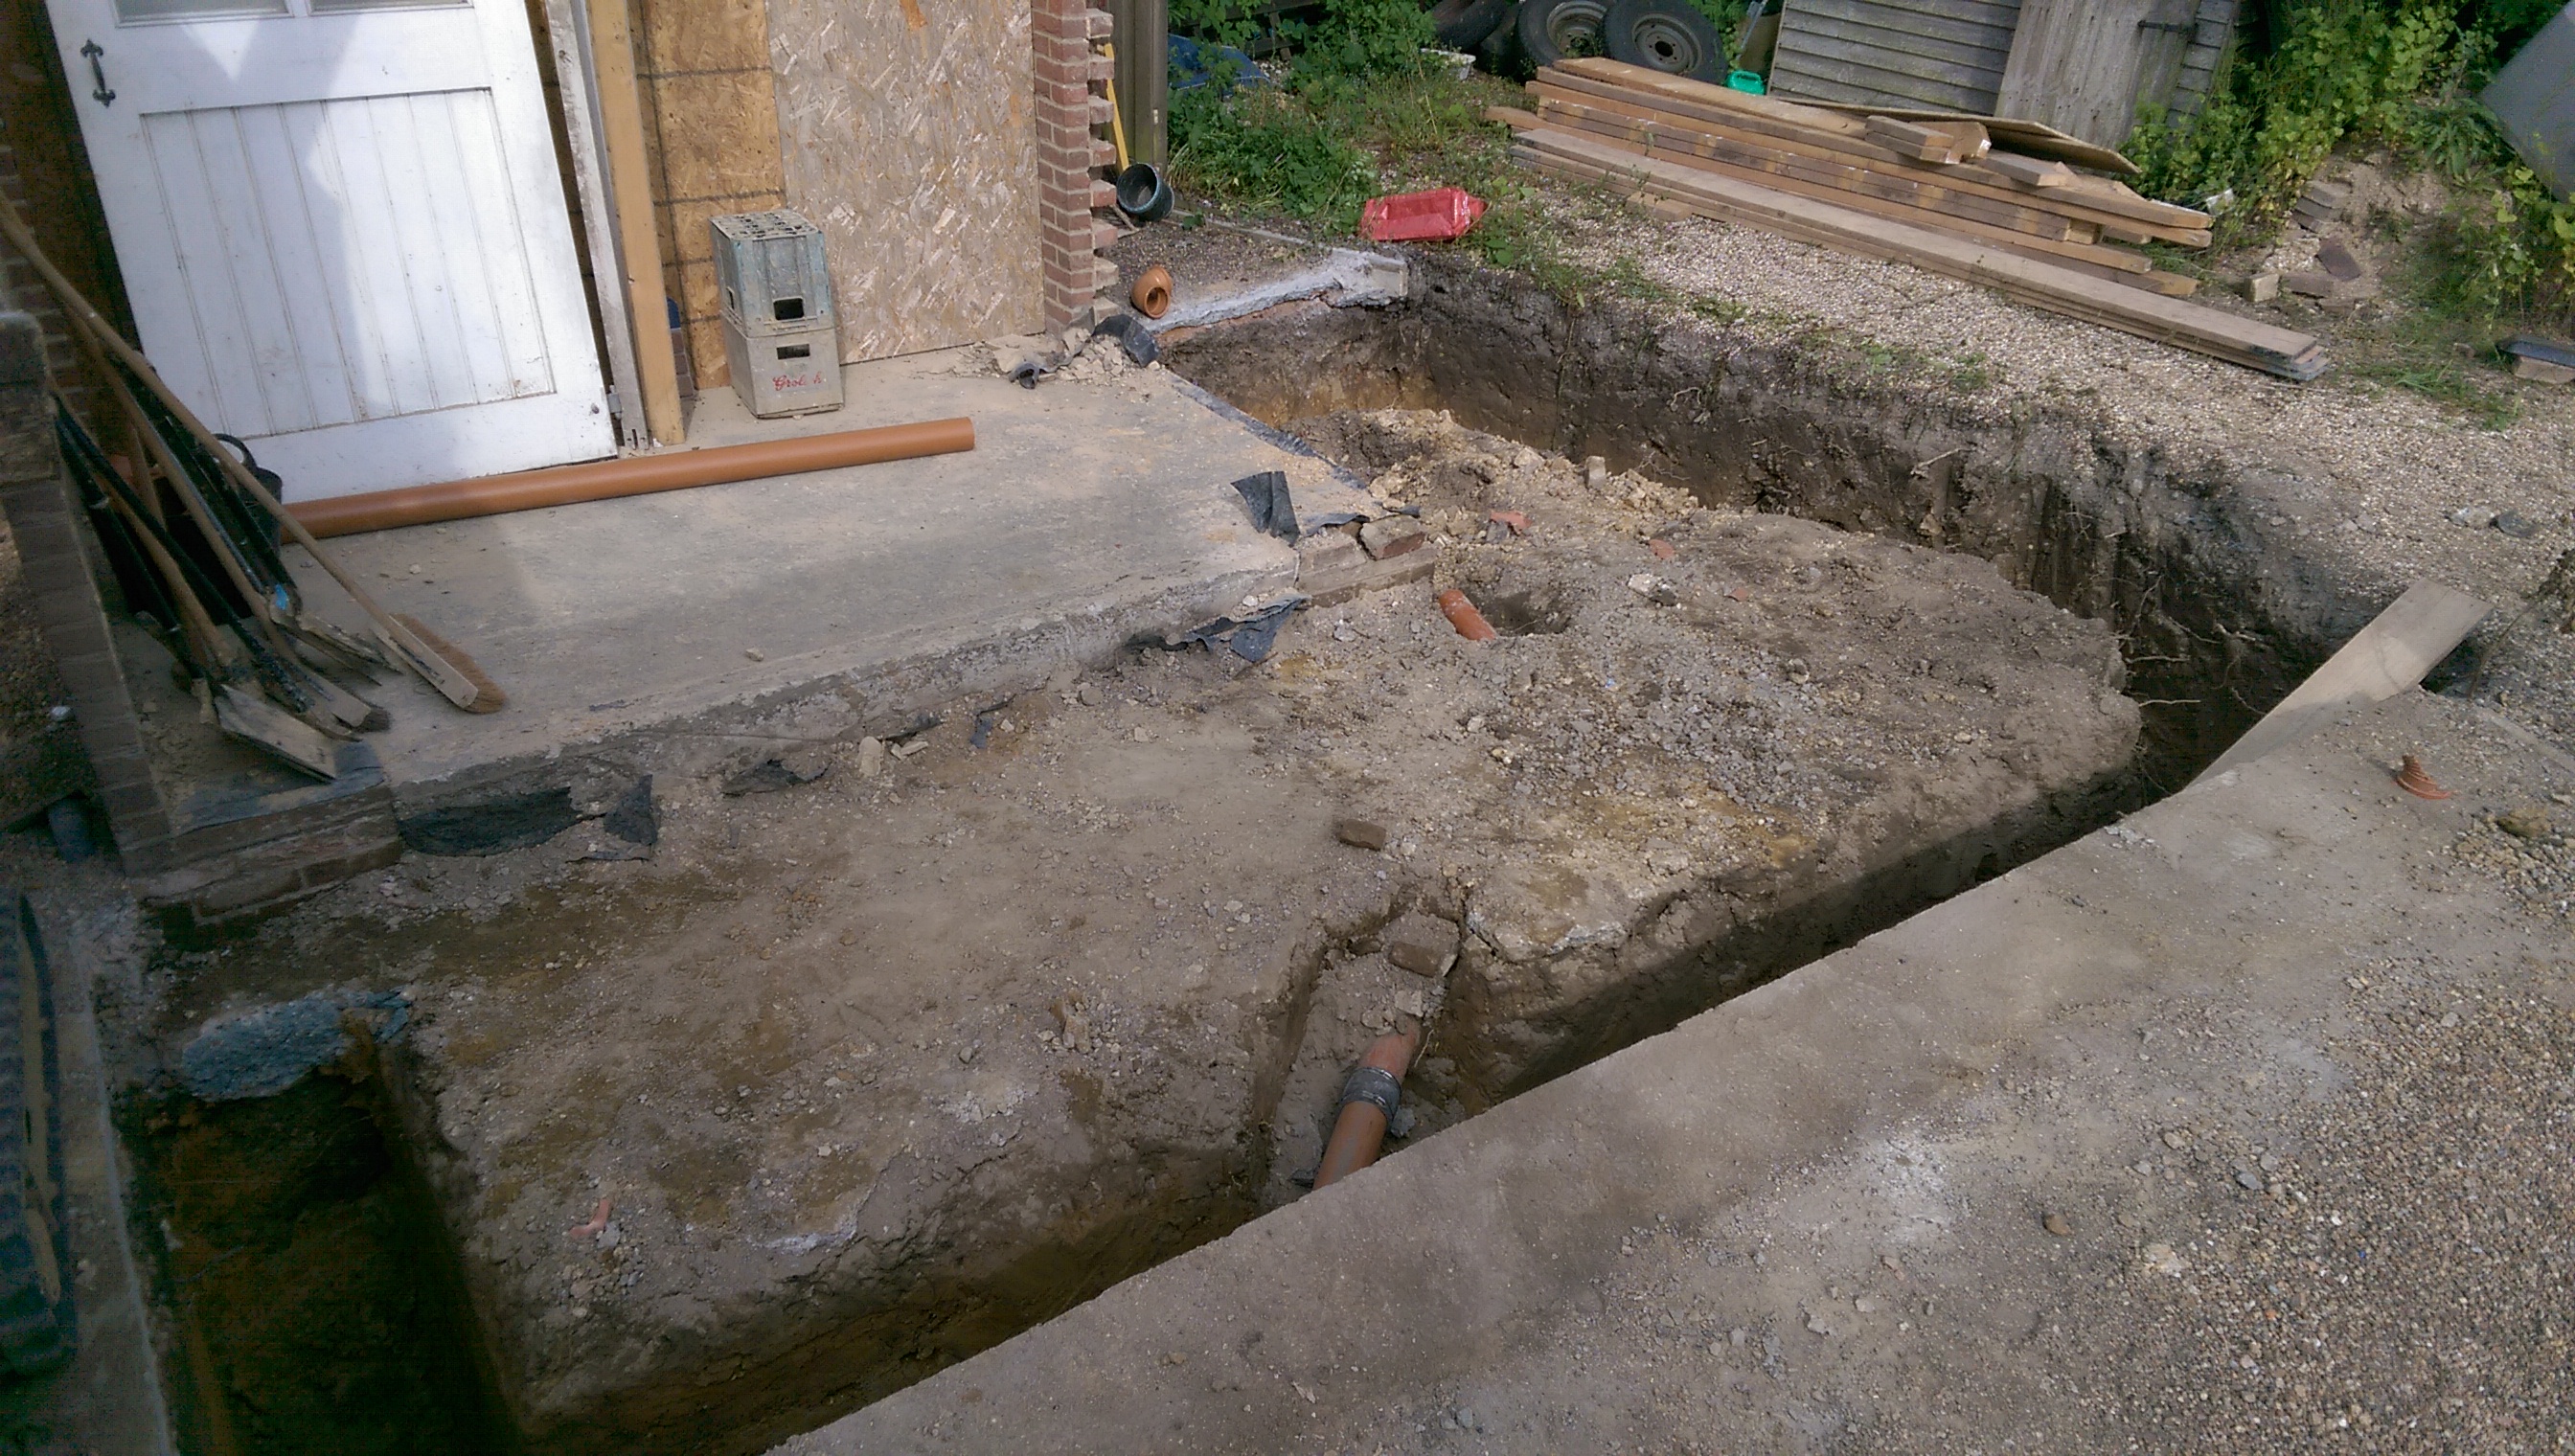
Footings being dug
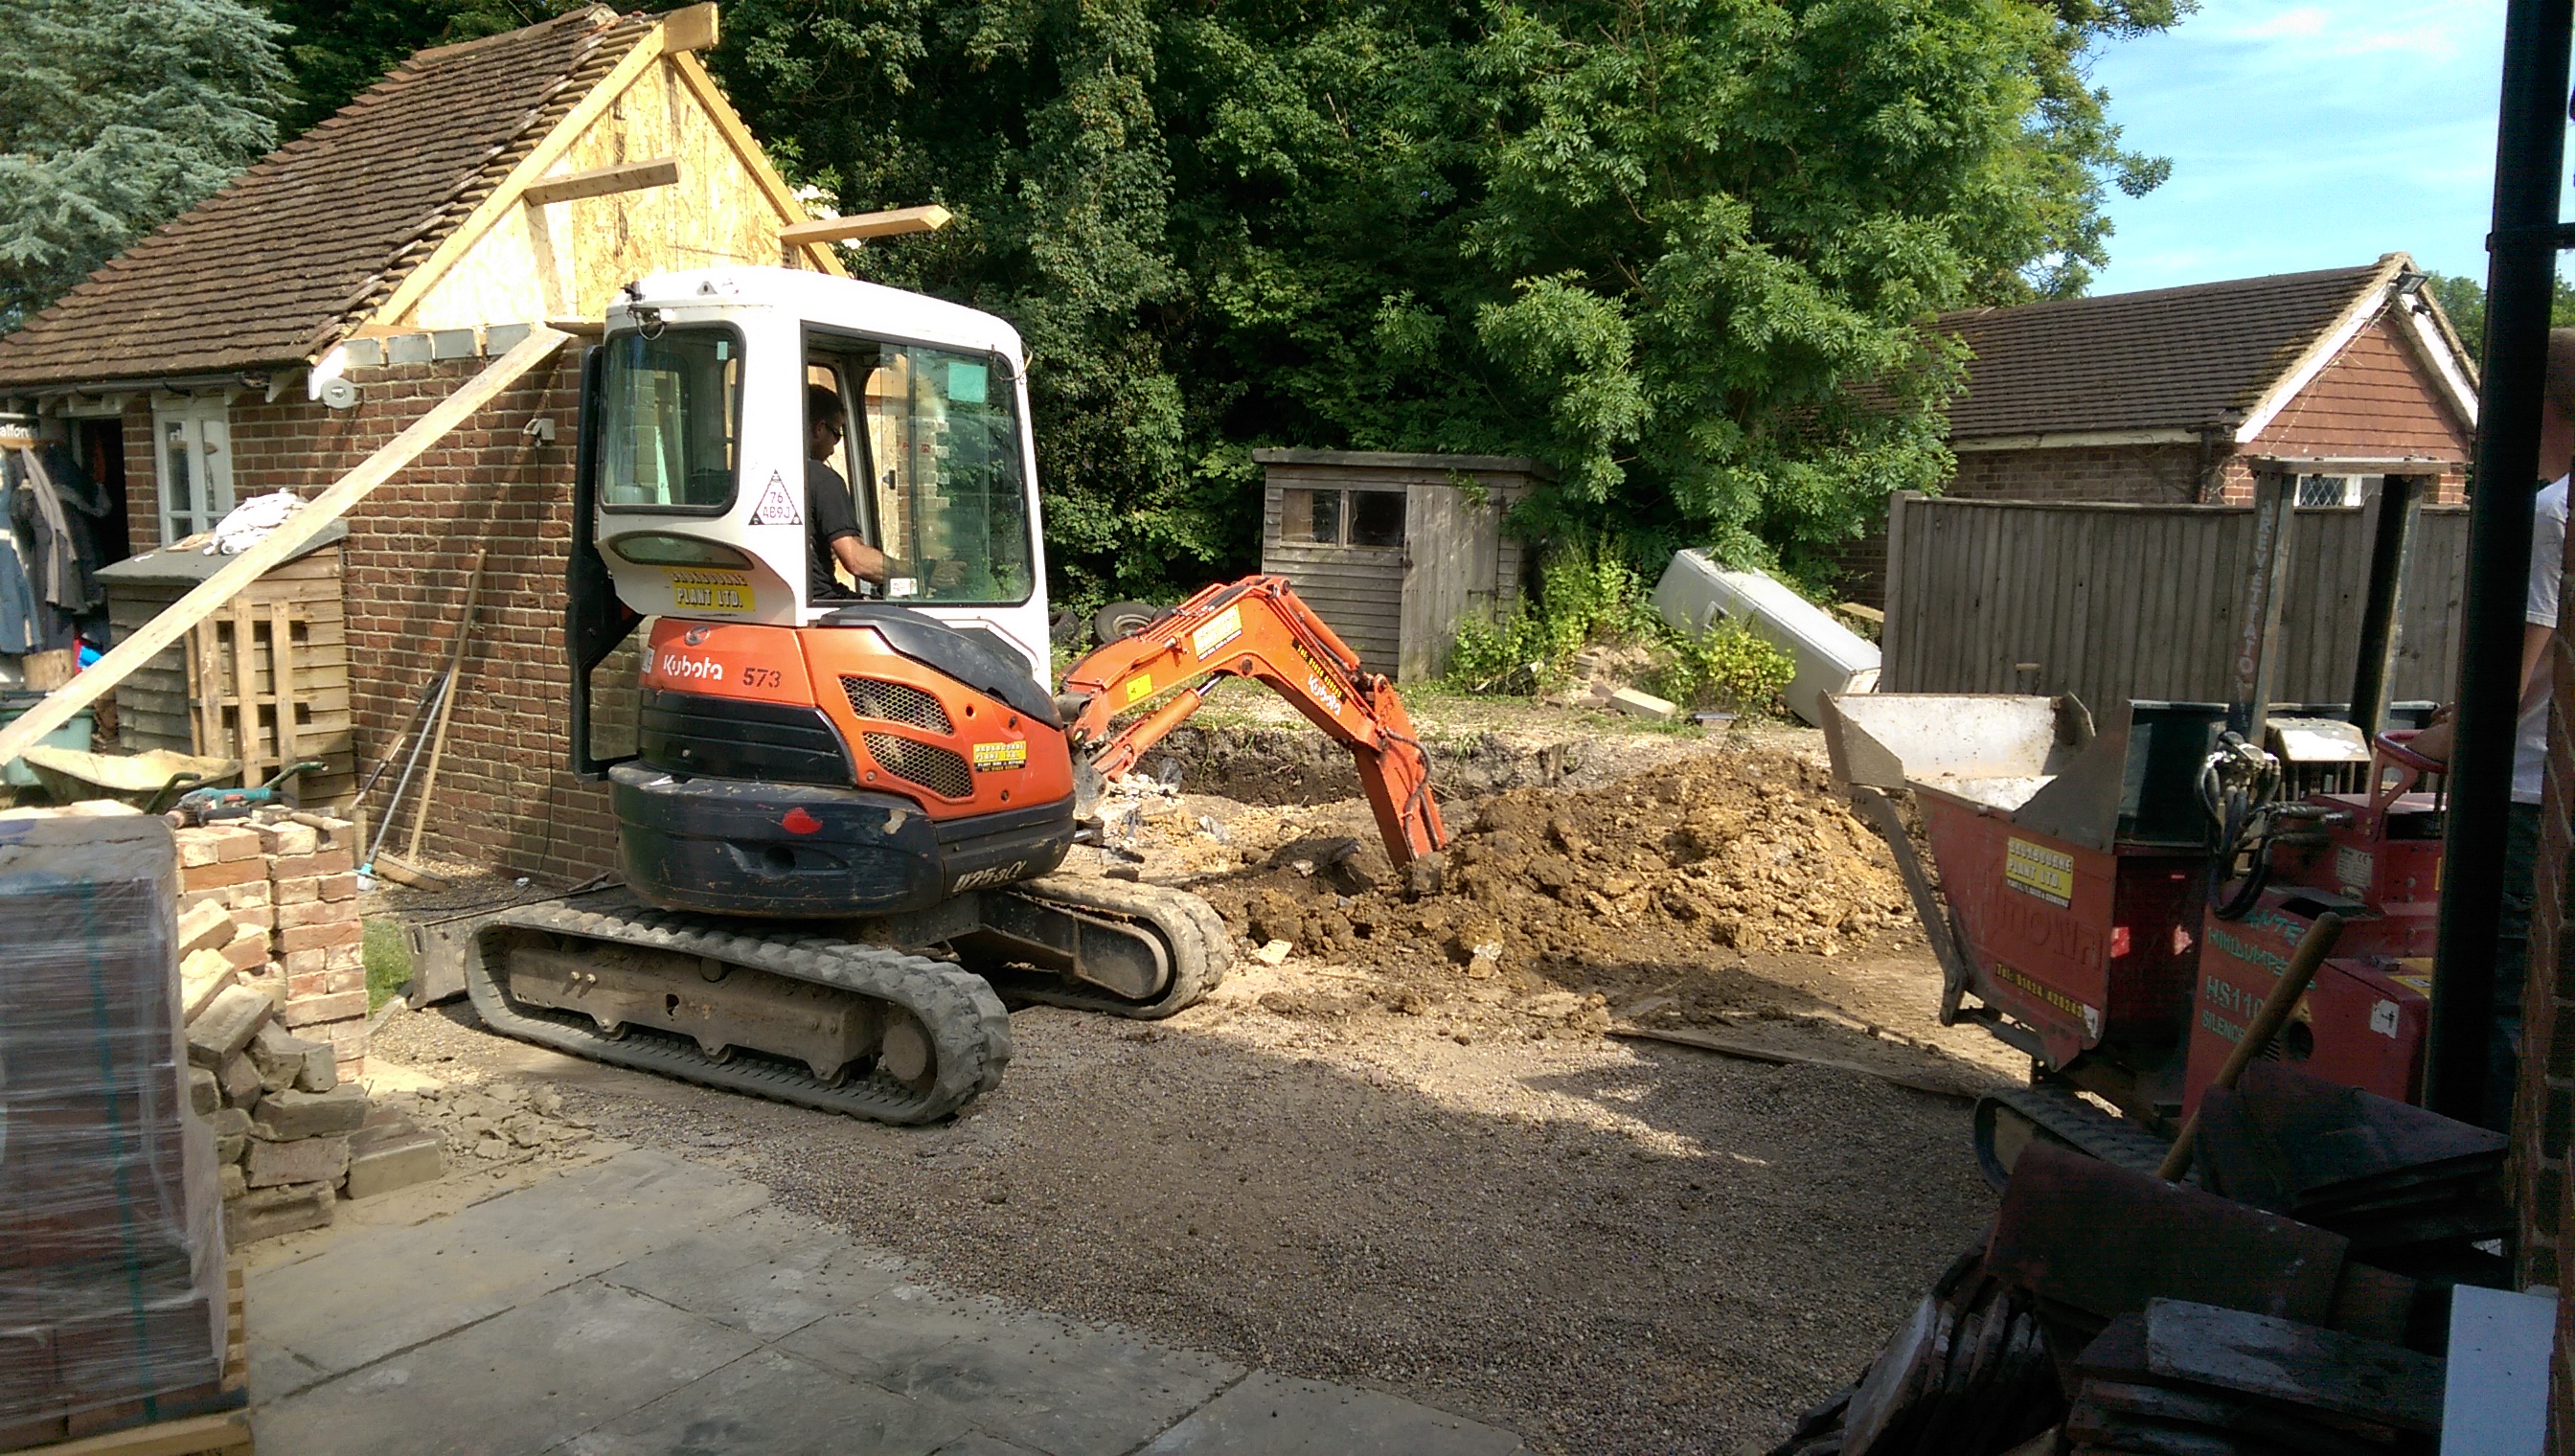


Quick check that it’s deep enough for building control to be happy.
A happy Jem. Happy cos her special Mini parking space will soon be ready.

Visitors come to look at holes in the ground.

My nephew came to check out the digger. This basically proves I have never grown up as I still want a digger to play in just as much as he does.
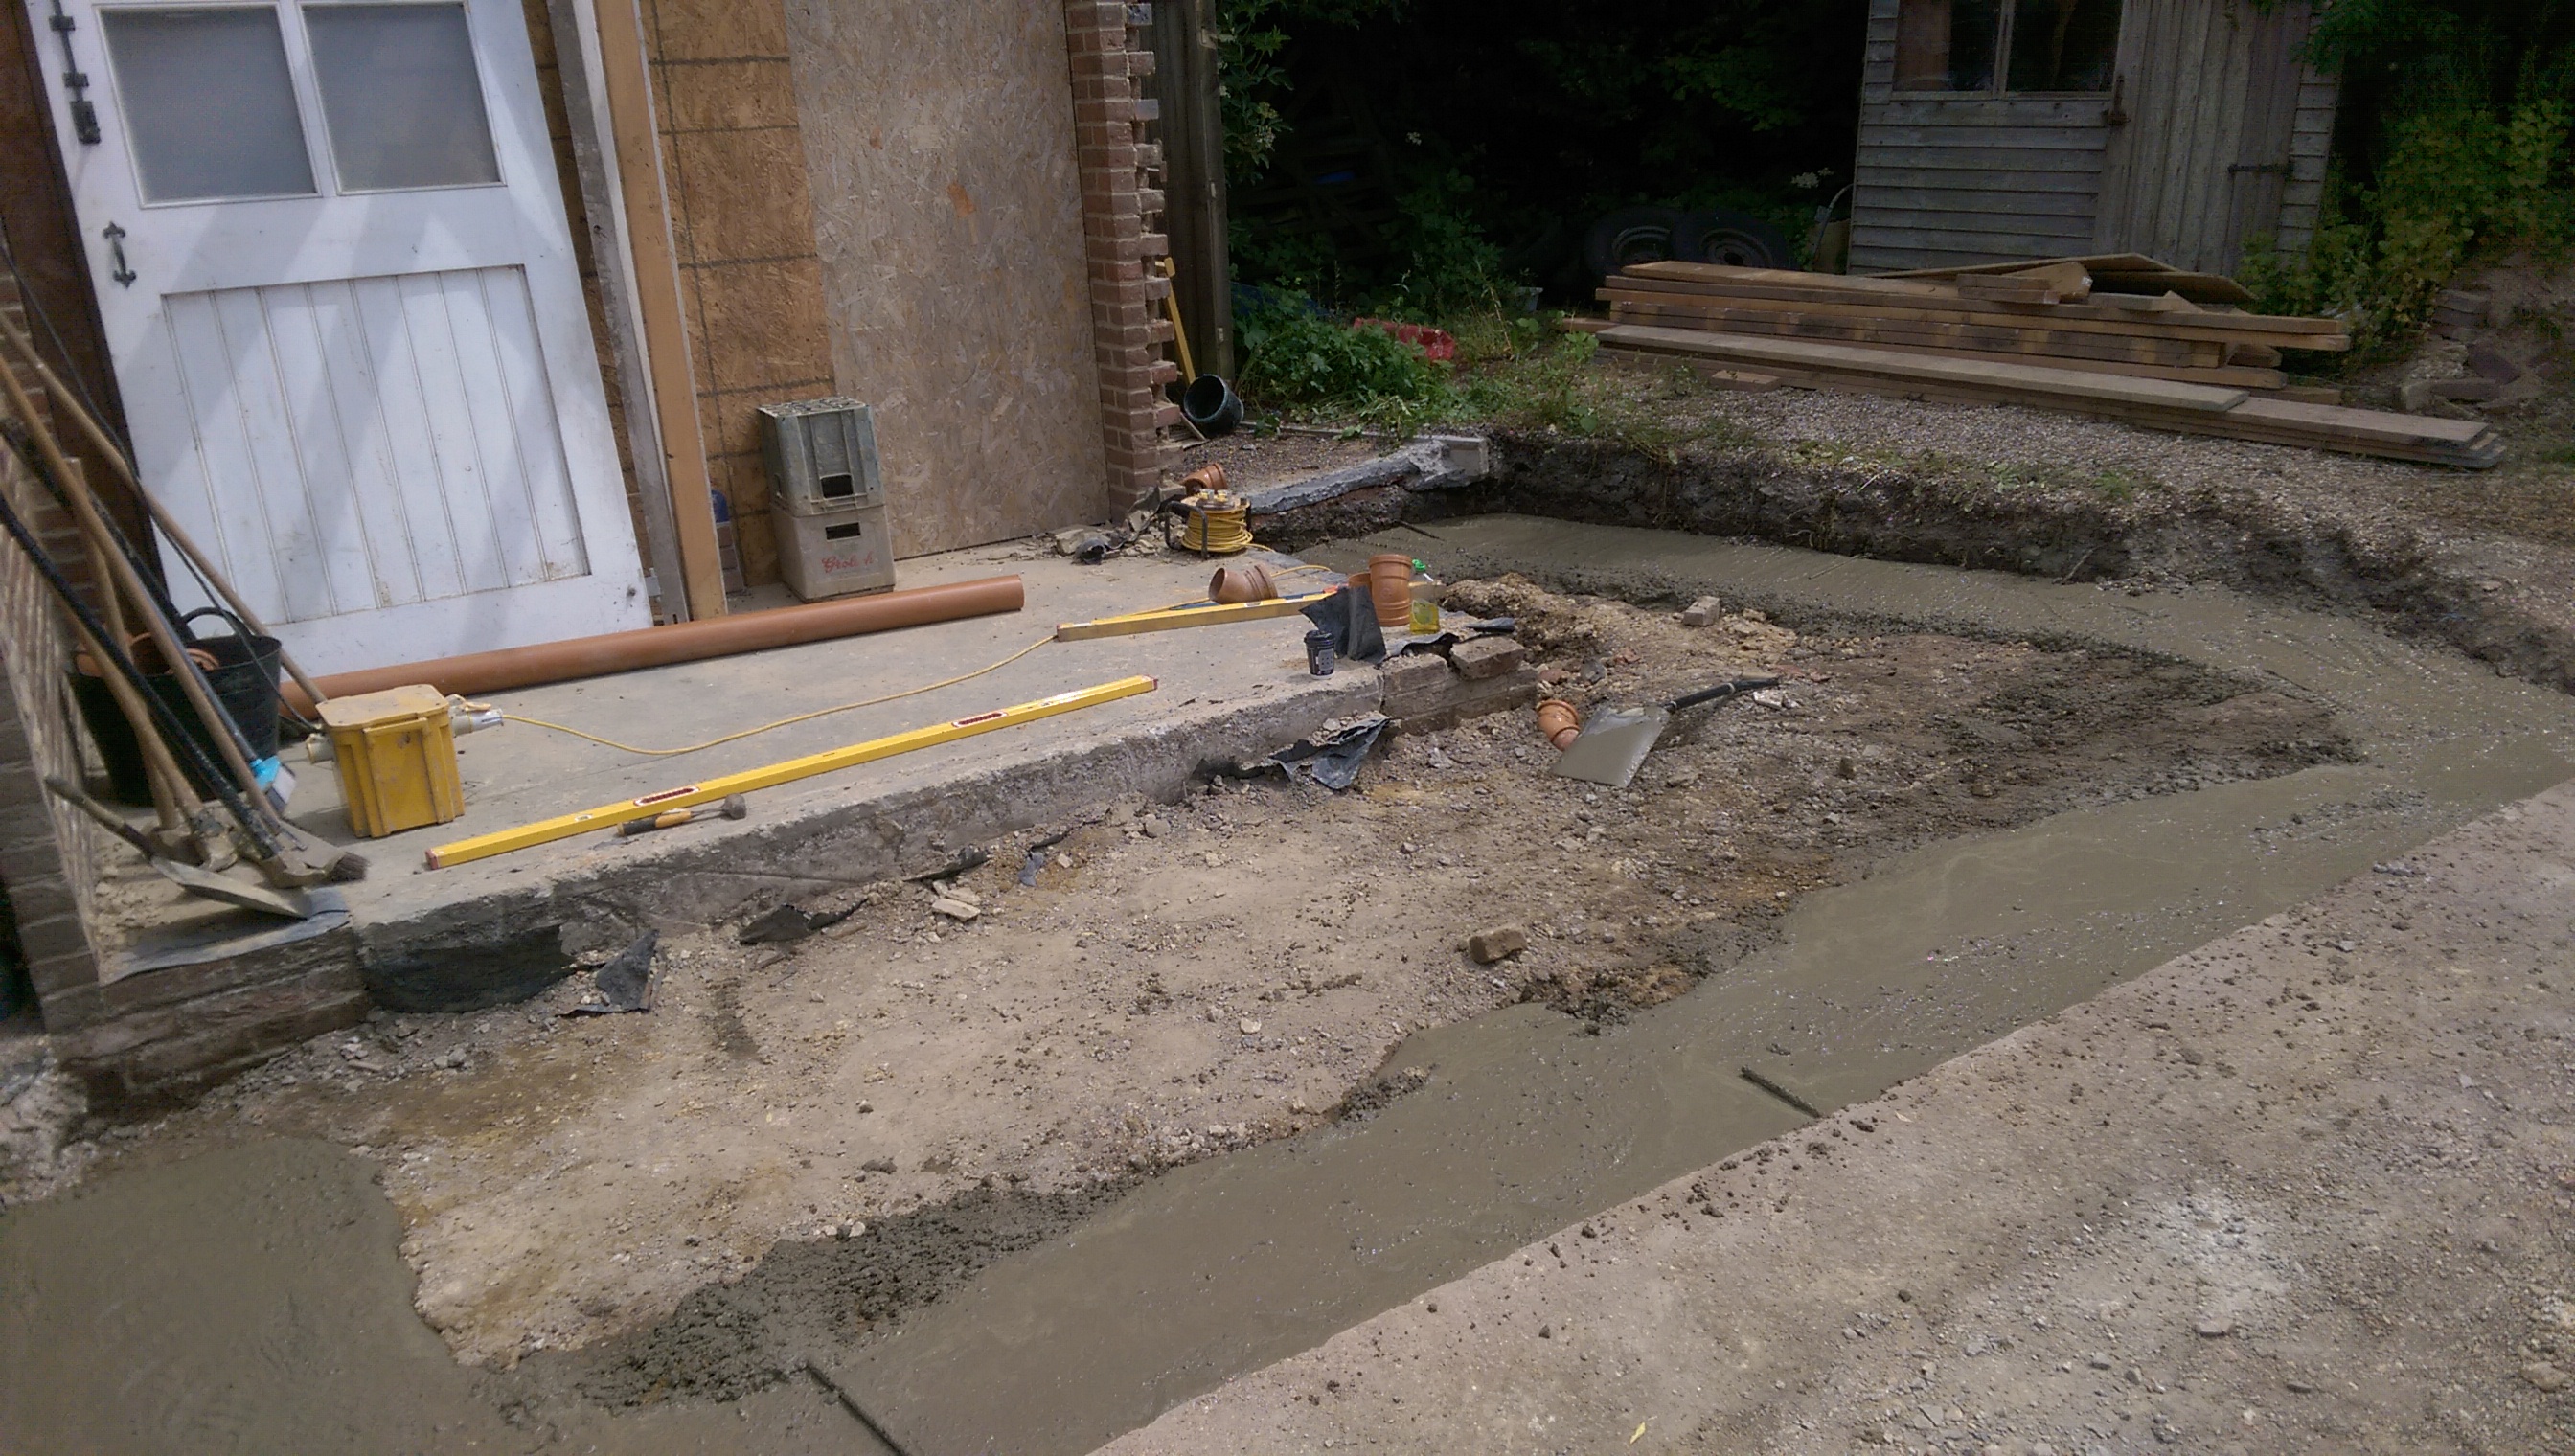
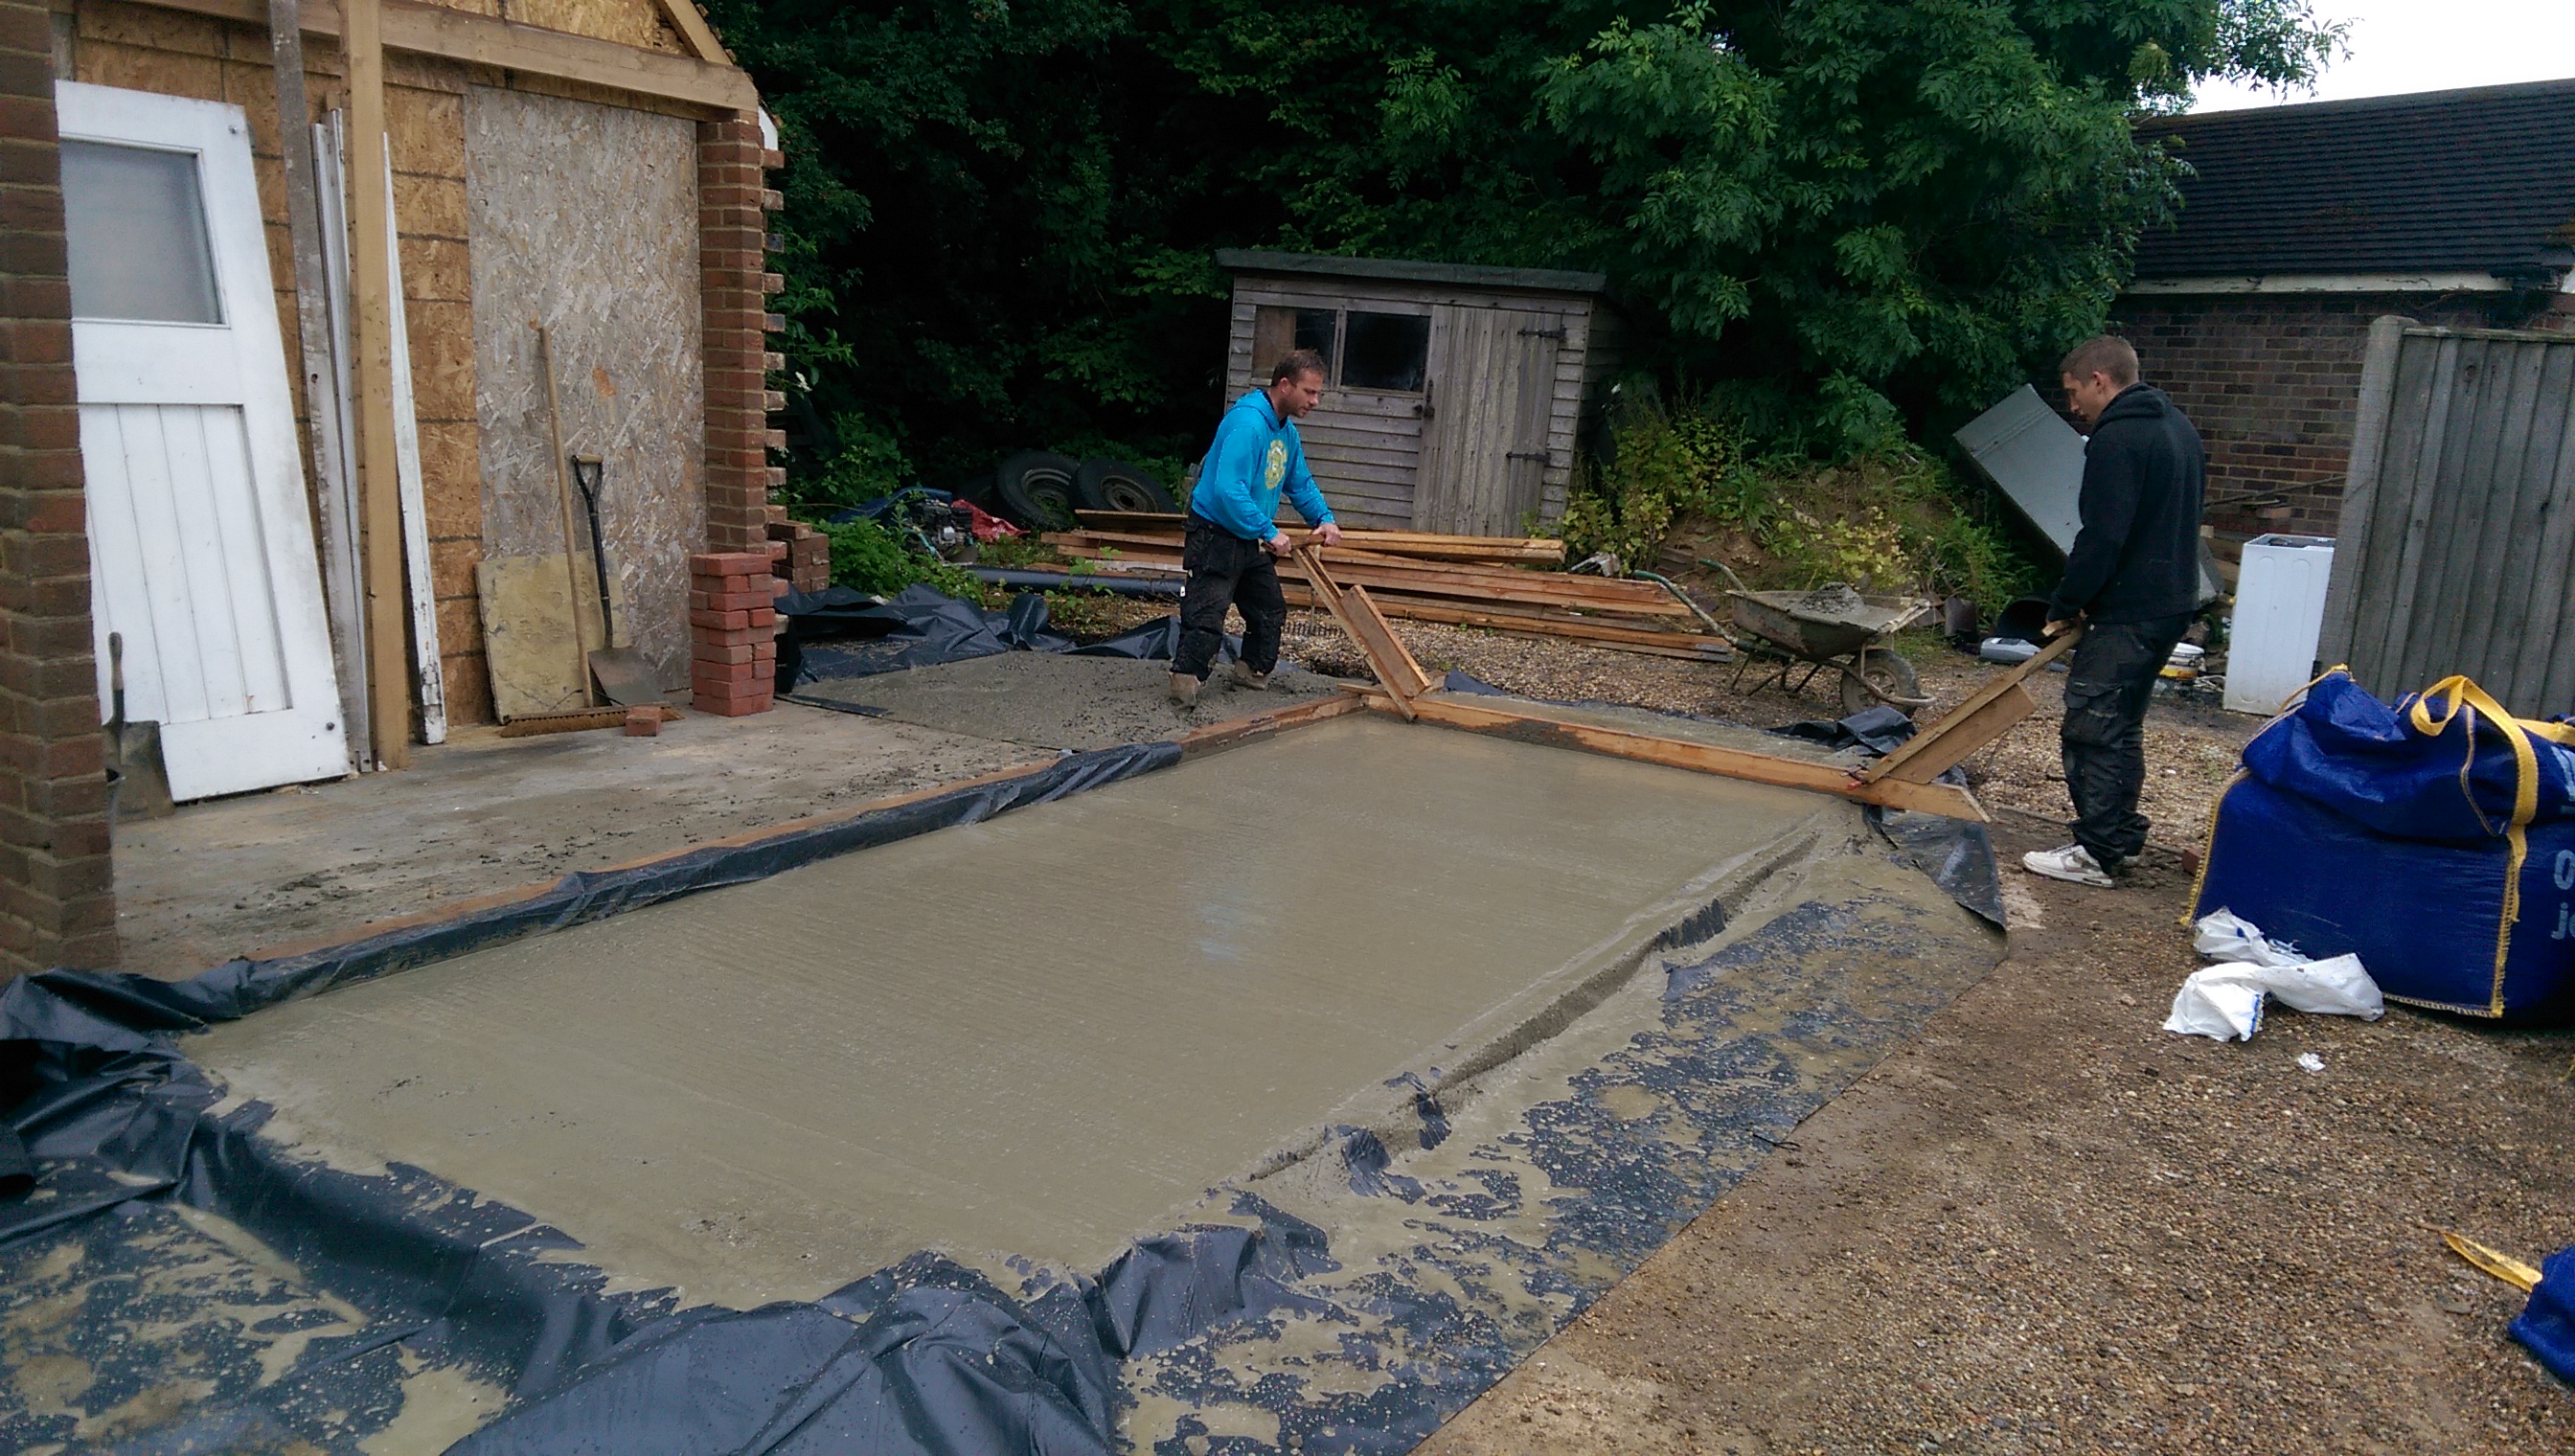
It’s concrete time!

Footings in
Making sure the back wall is as close to the boundary as possible.

Bricks up to floor level. We spent a good while checking the position of the walls up to the boundary, making sure it was just right as we’ll need every last bit of space we can get to help fit the Mini in.
More concrete. Turns out the old floor was not level but I want a properly level floor so we did the new bit level to the high point of the old floor and I will bring it up to match the new bit with a screed.

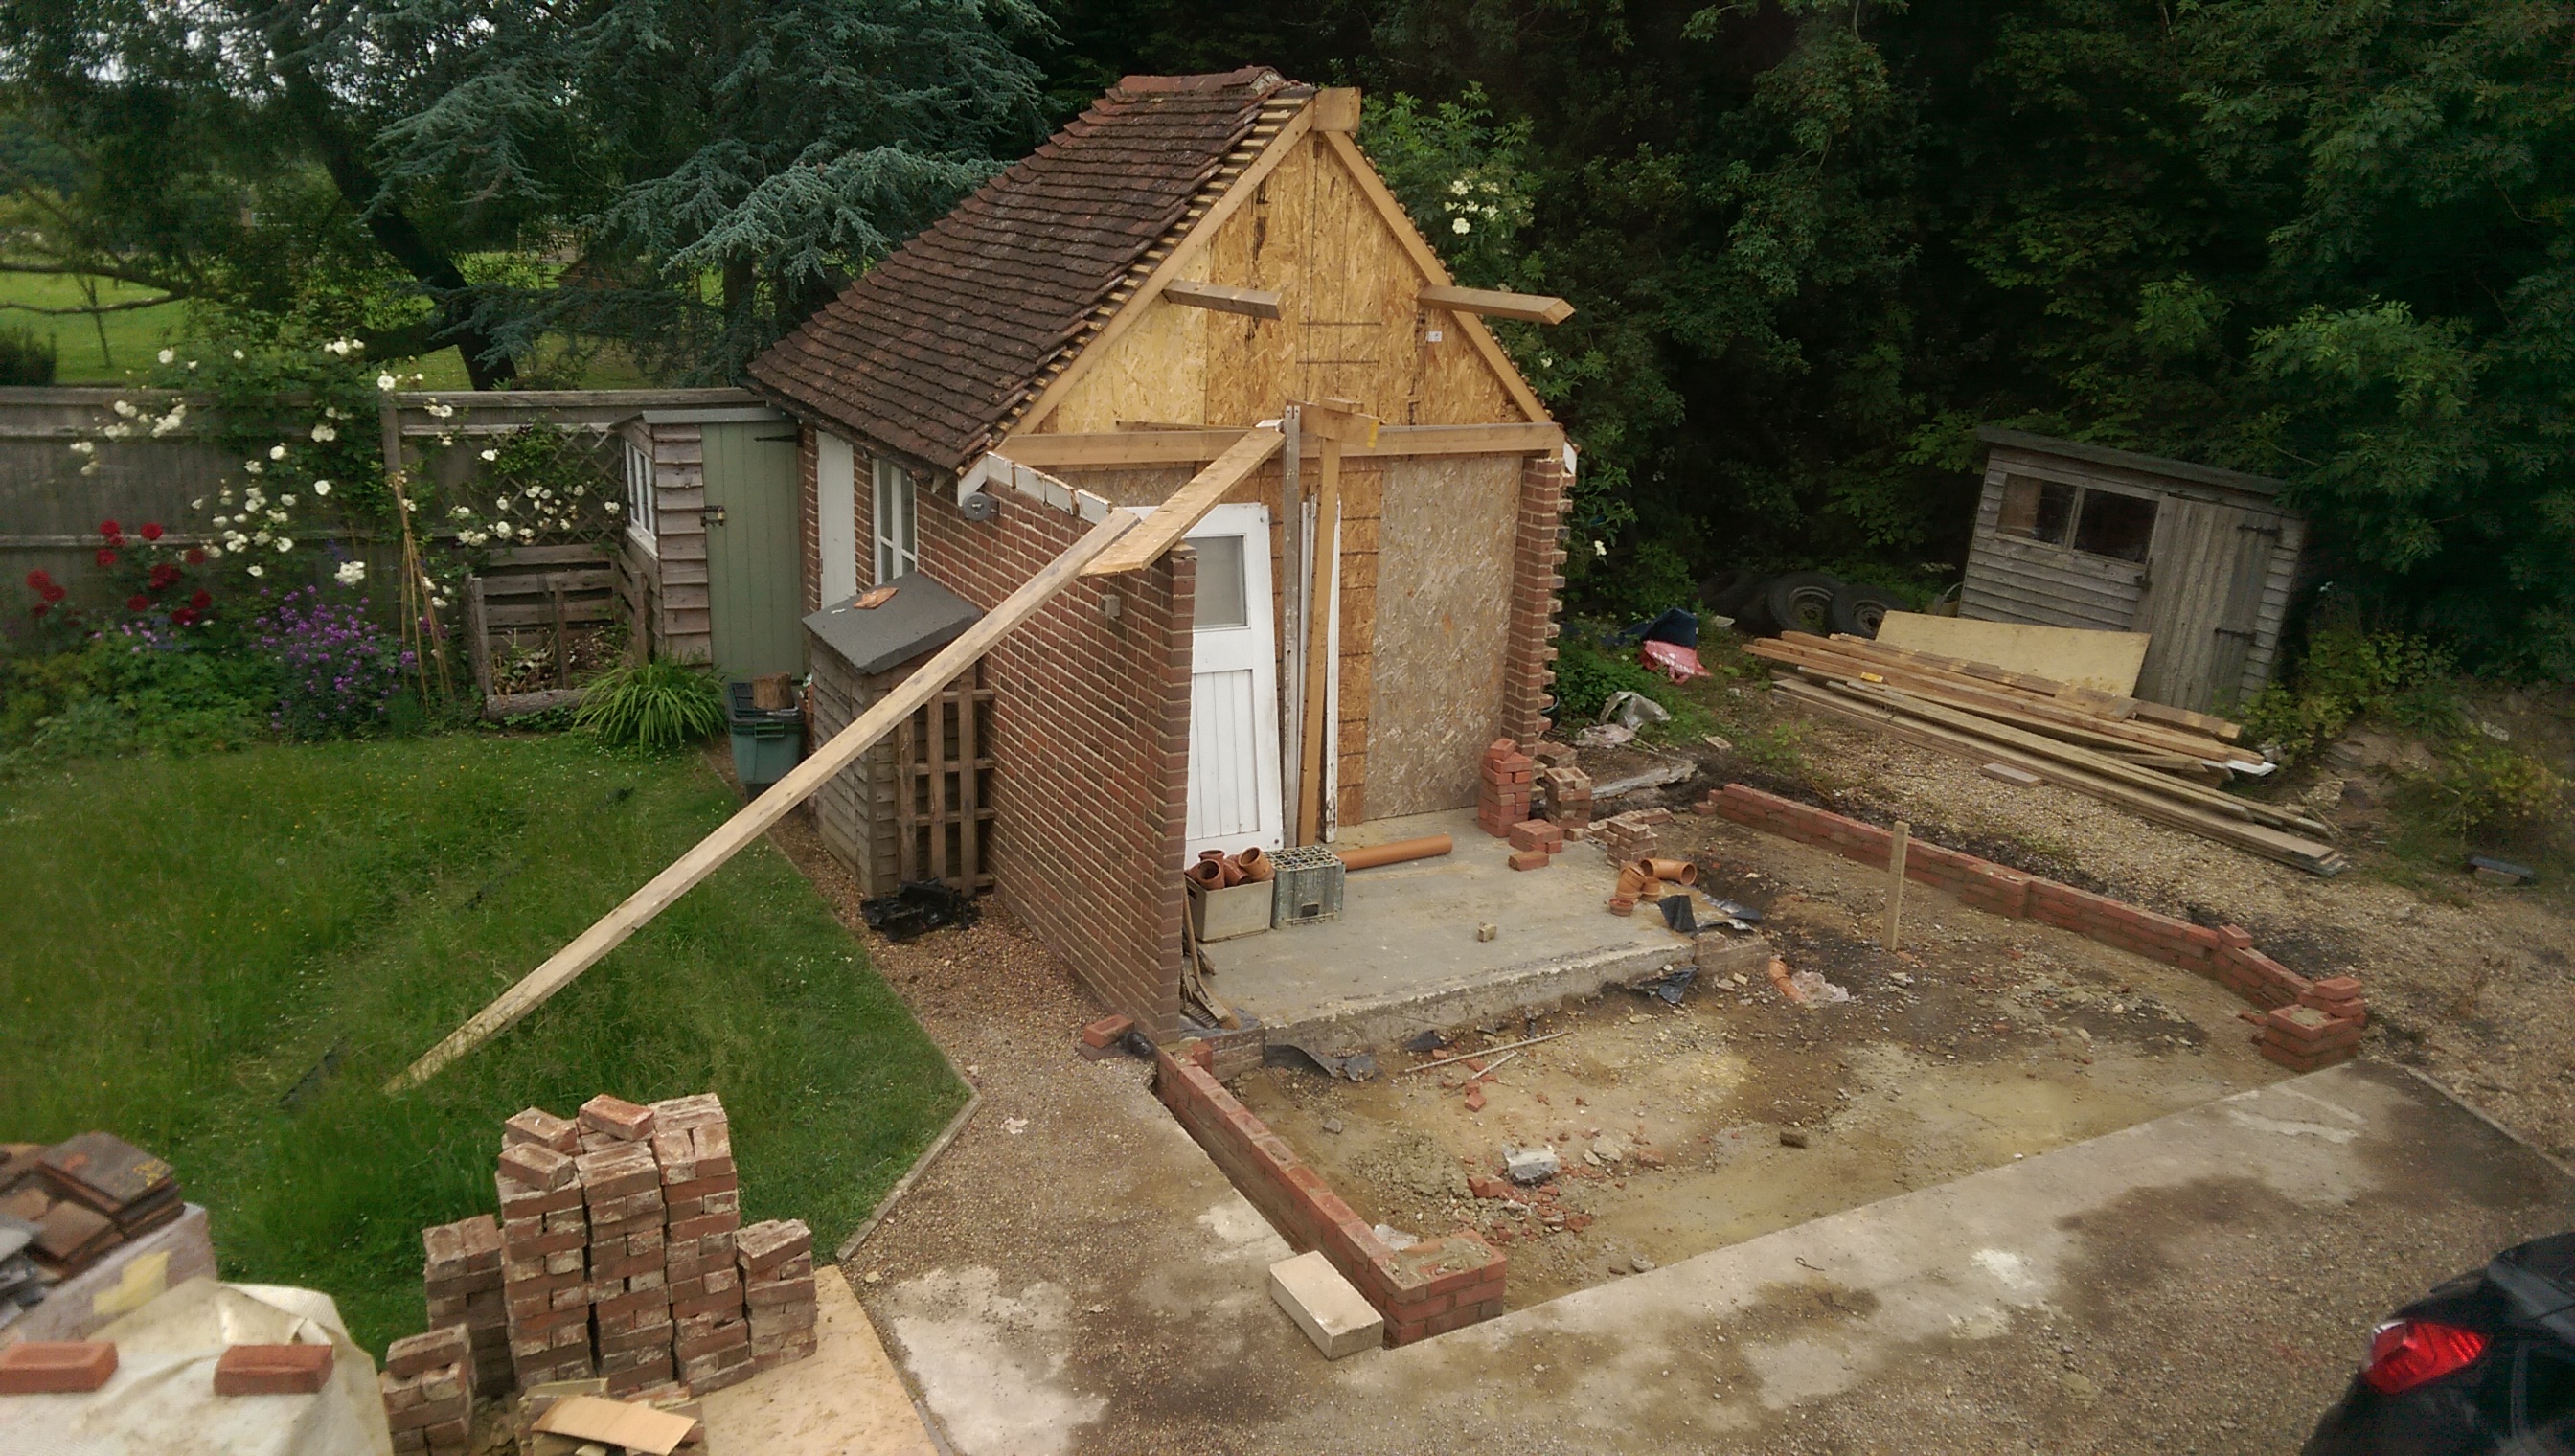
Walls!
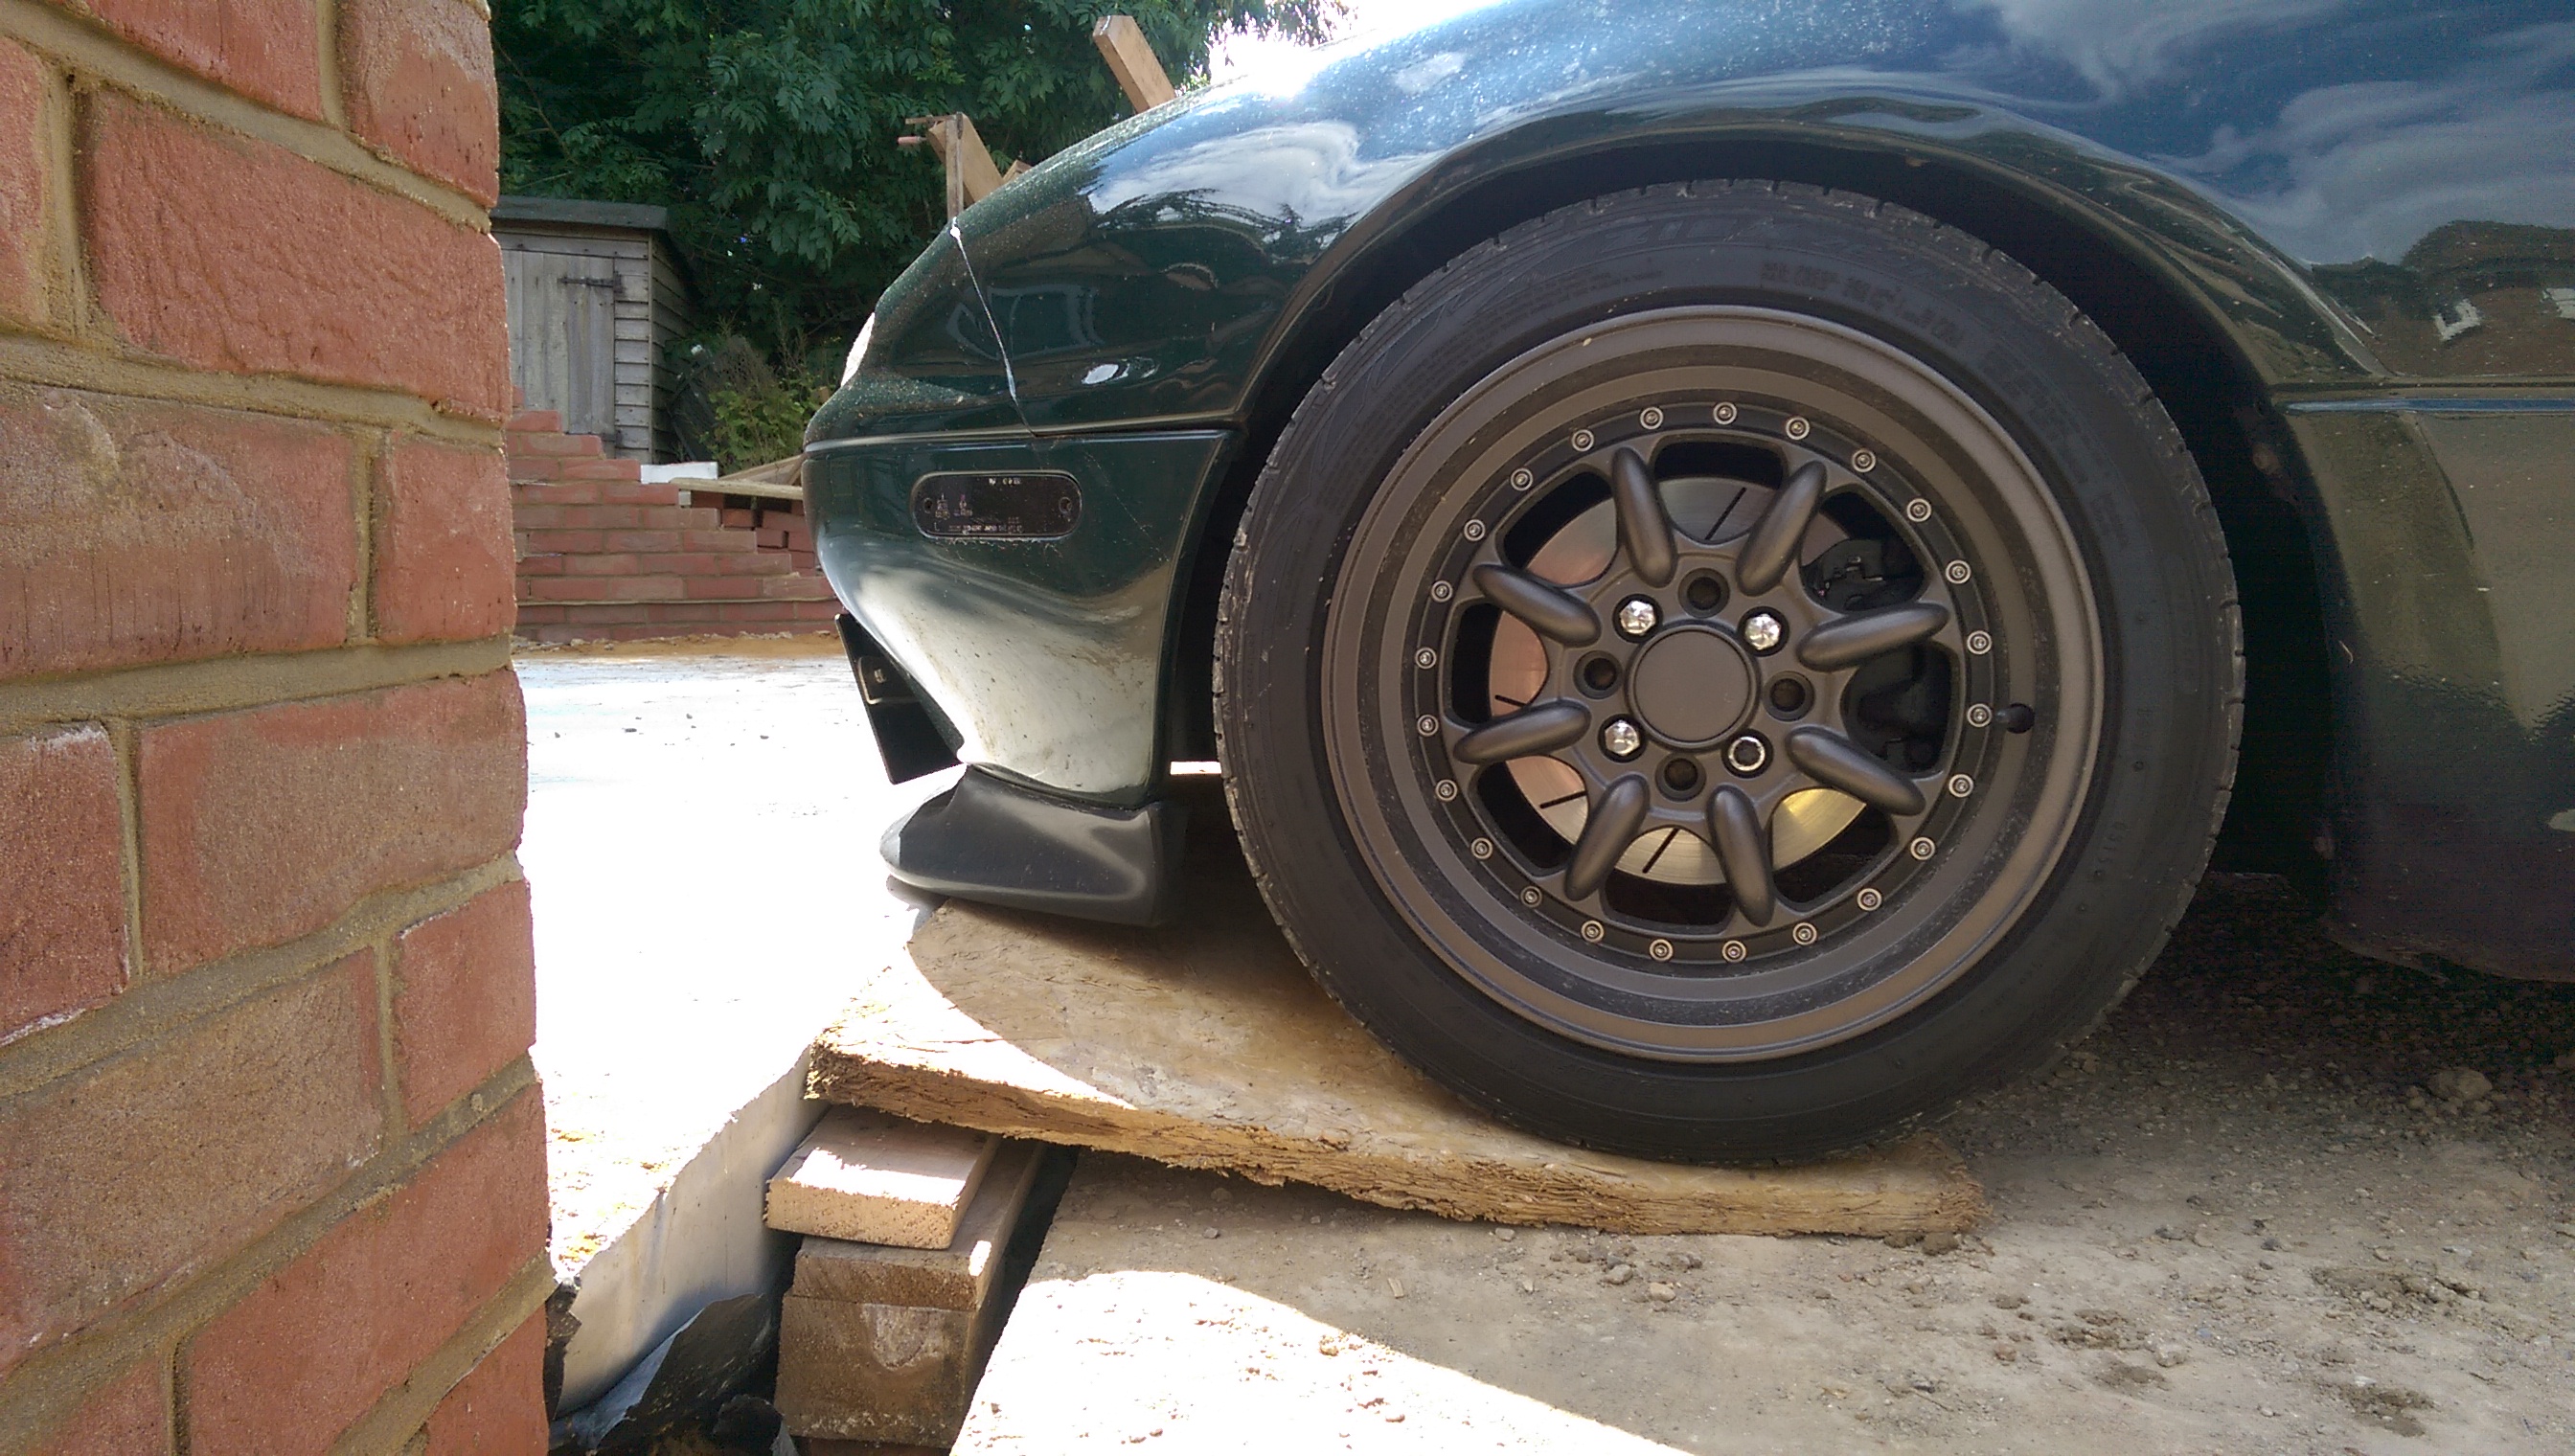
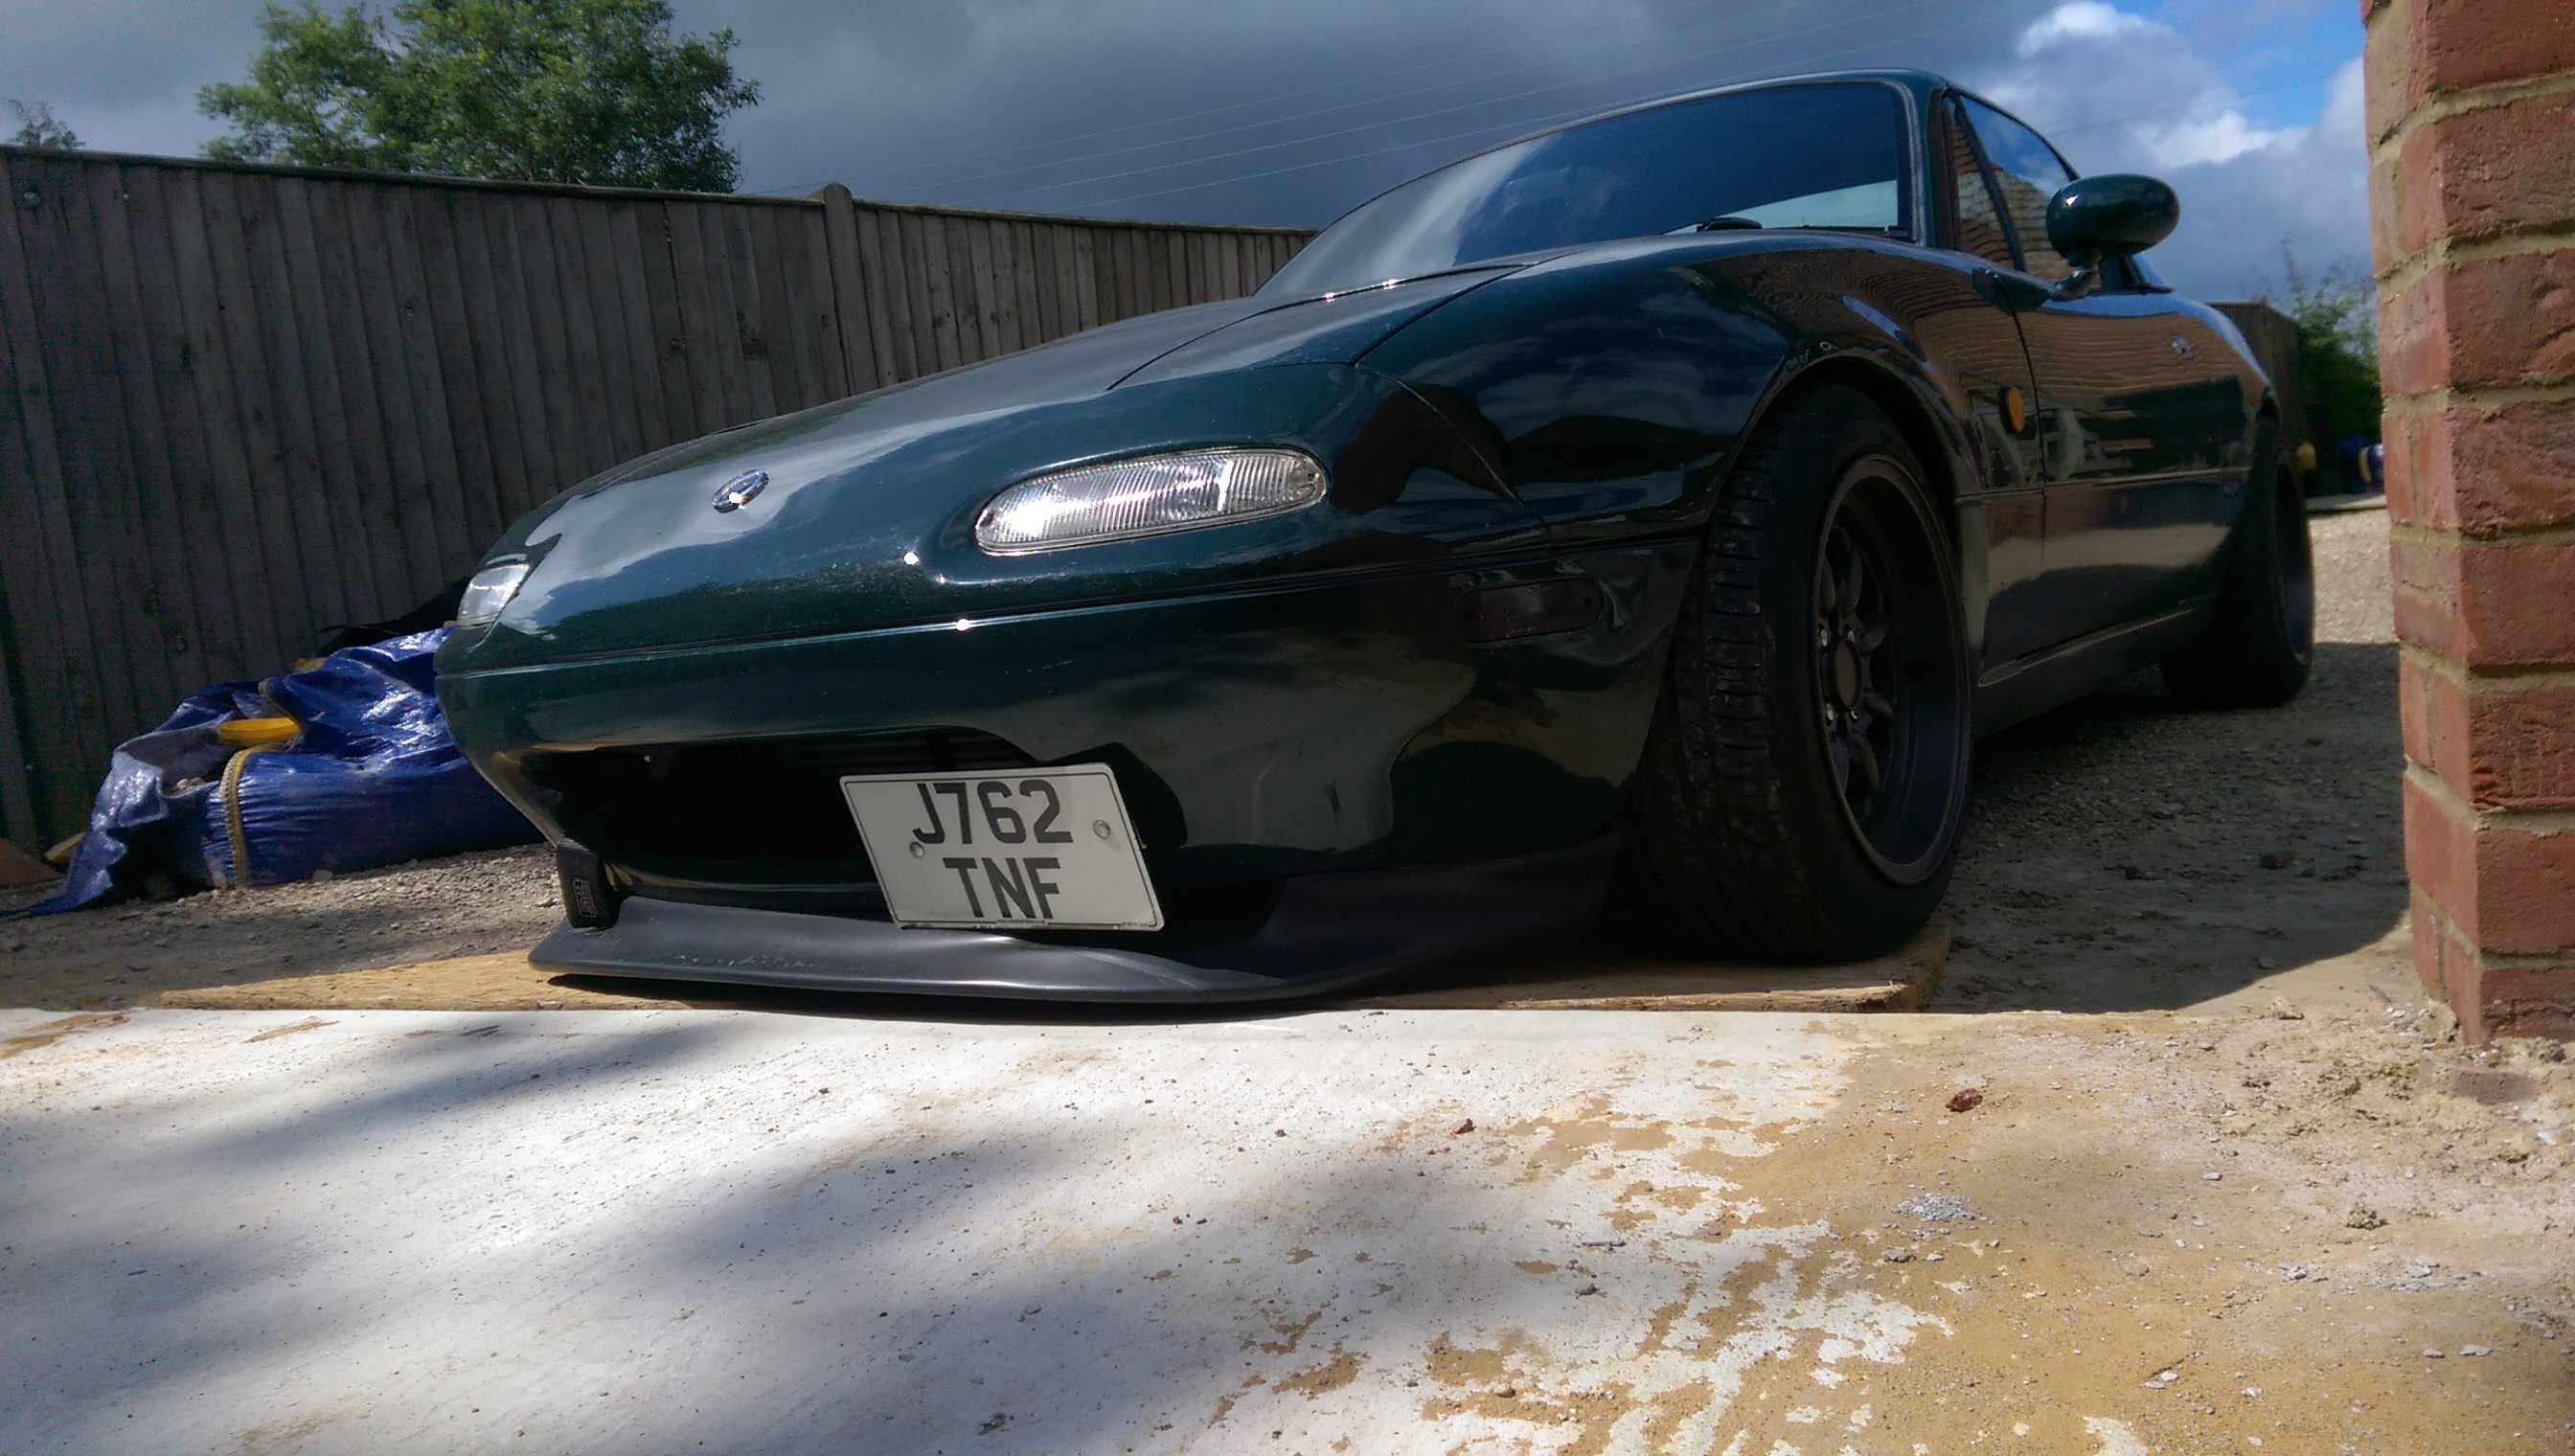
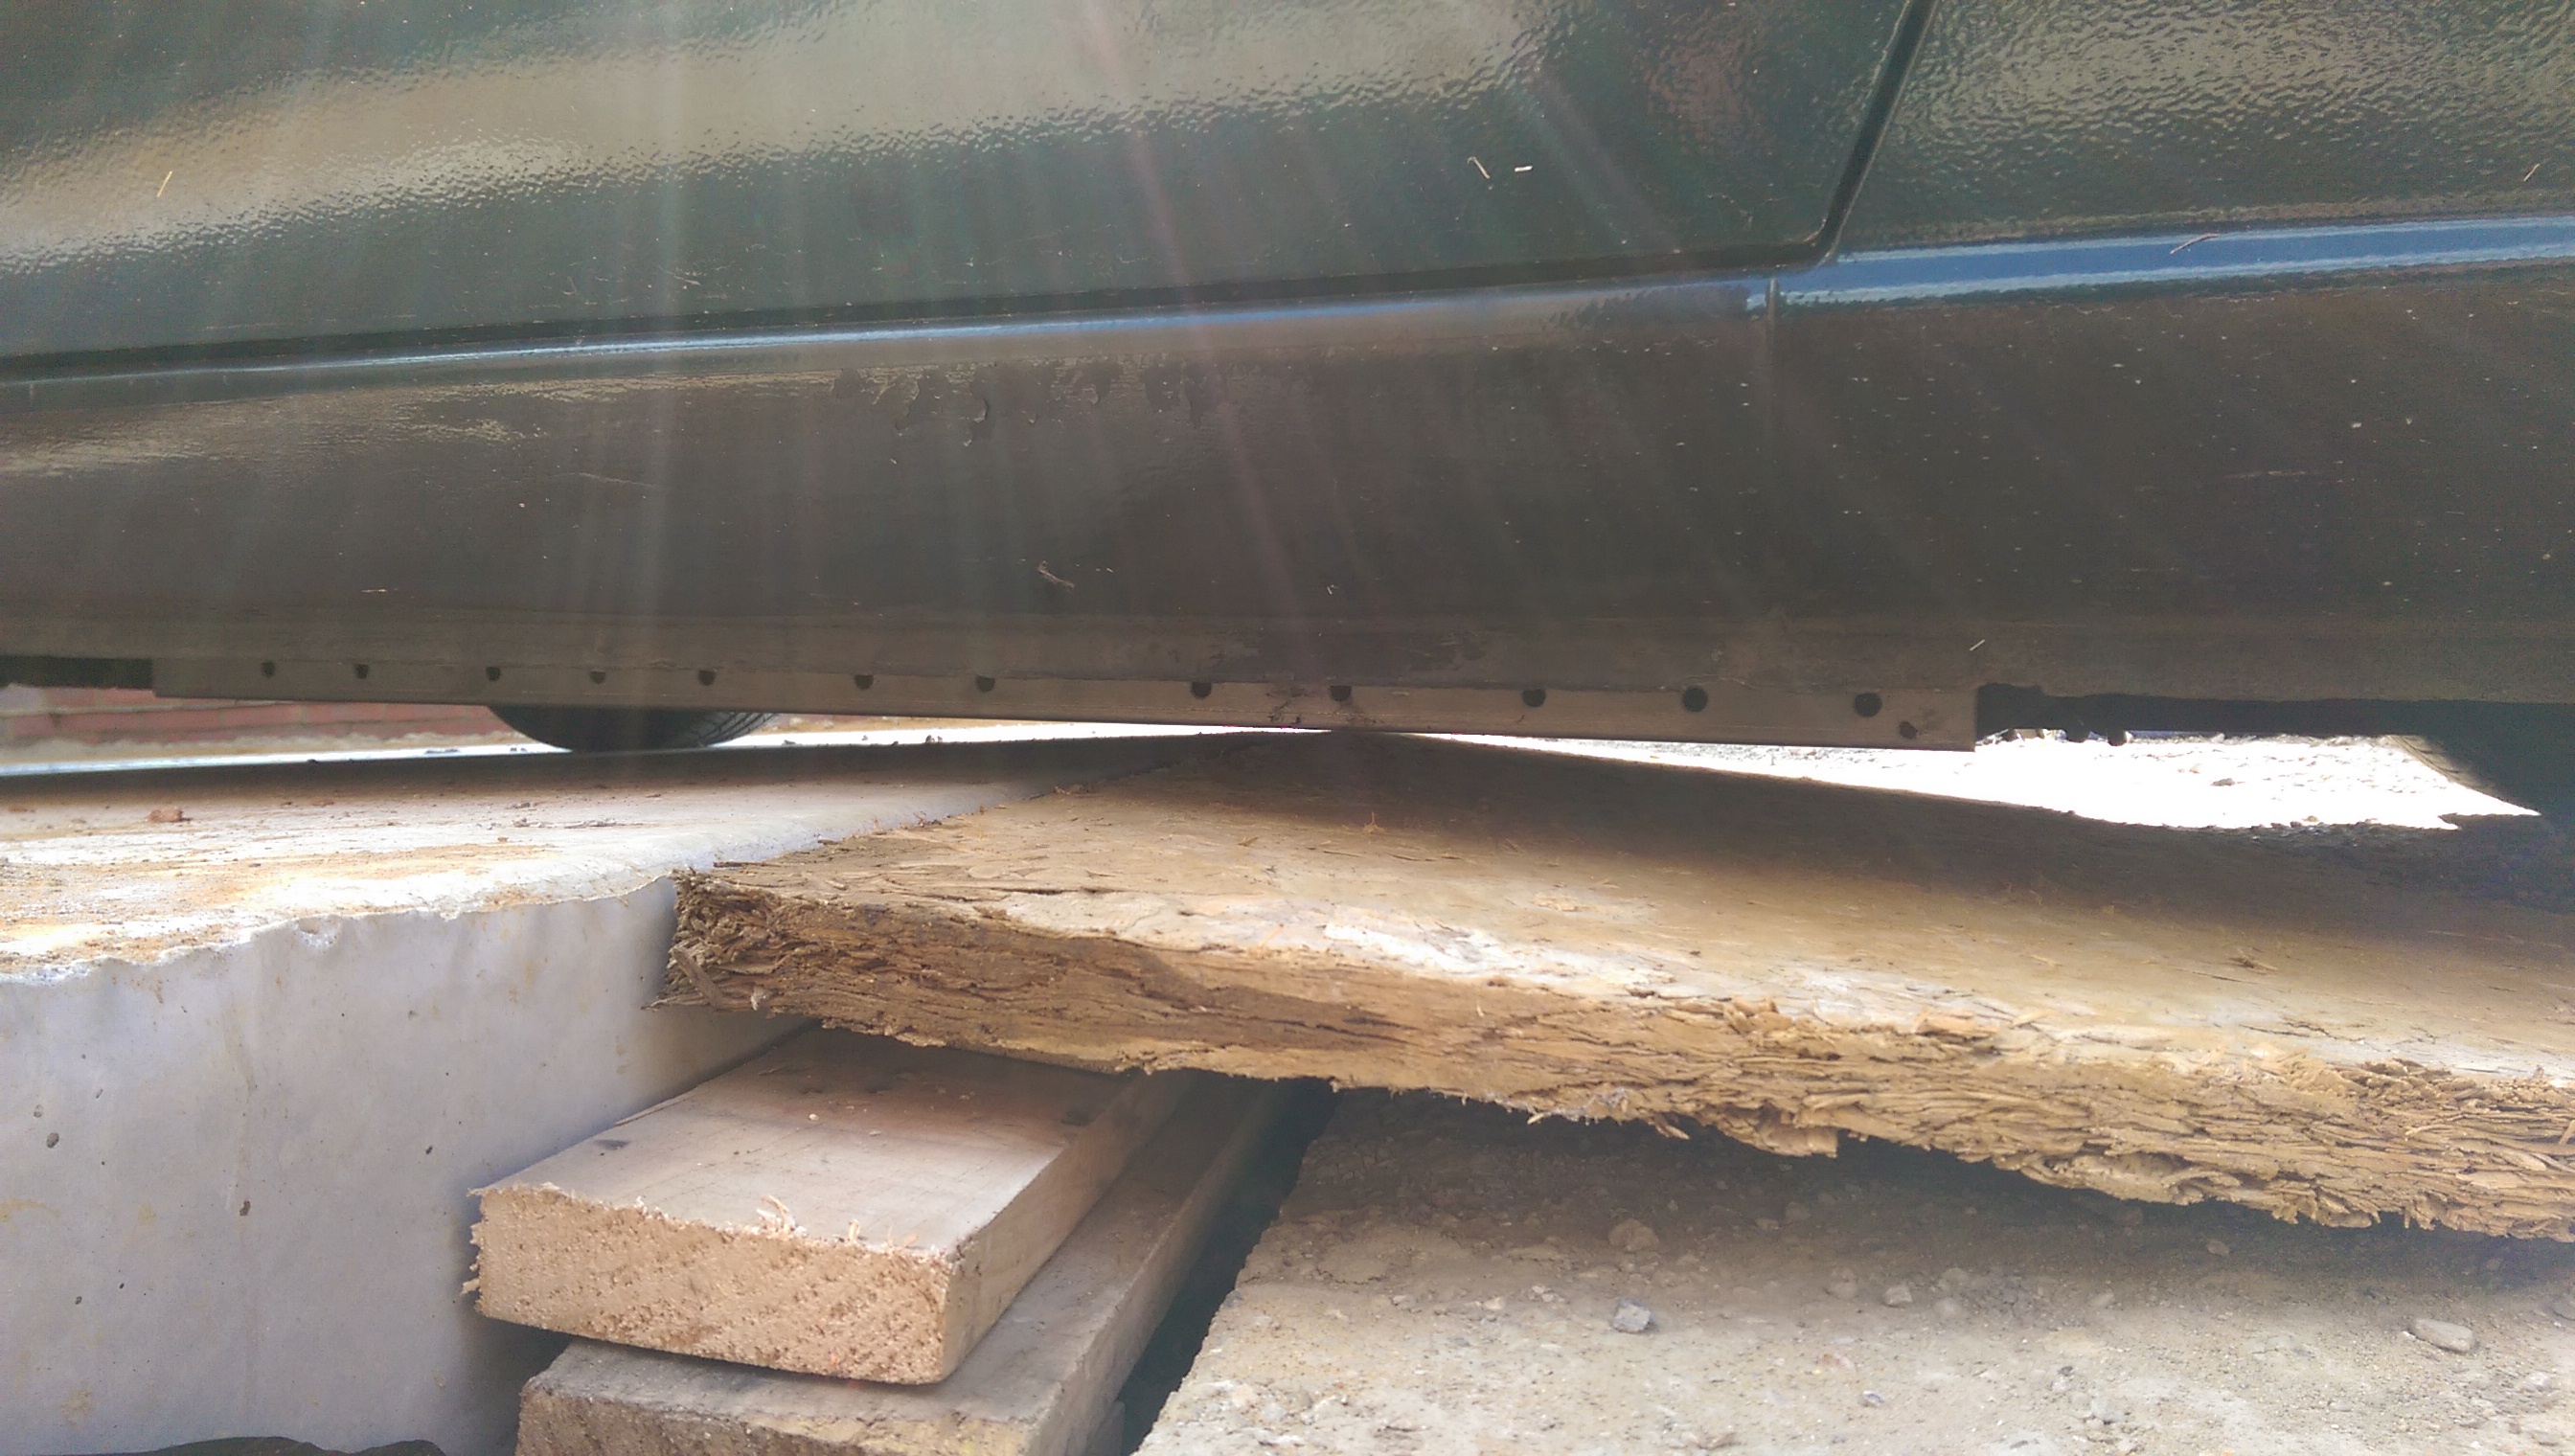
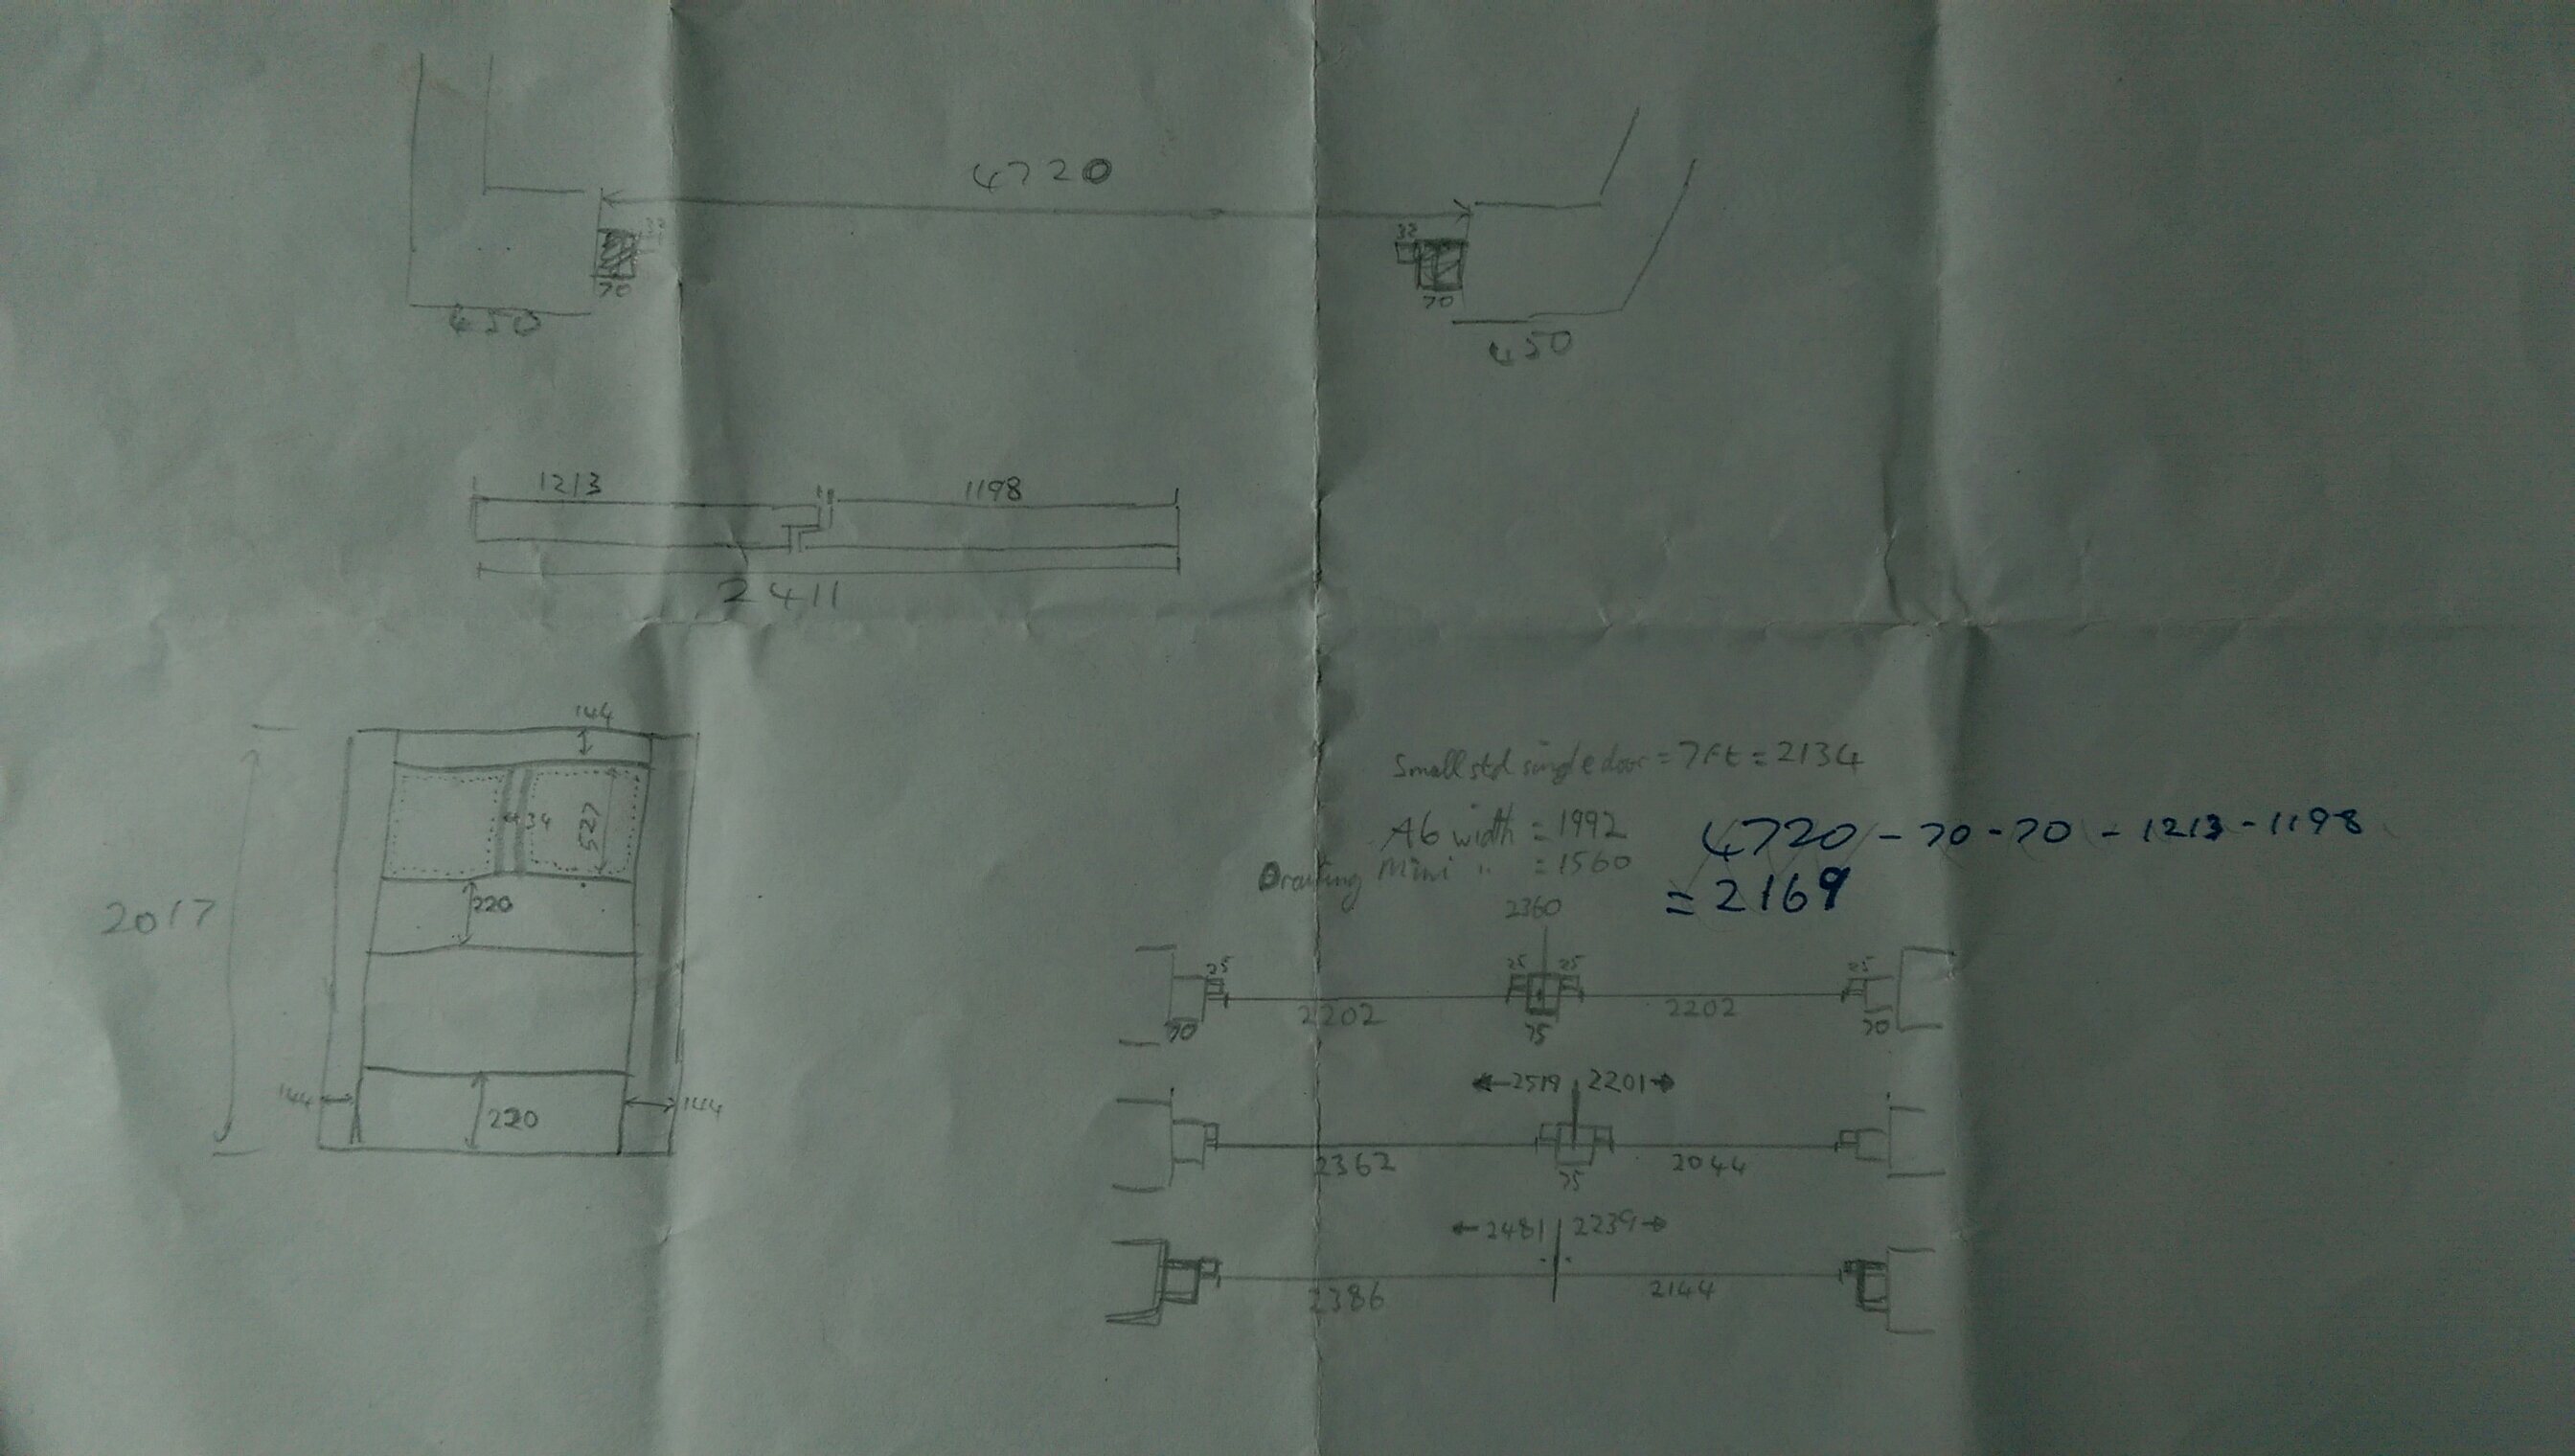
Checking what size ramp I’ll need to add.
Working out the best plan for doors
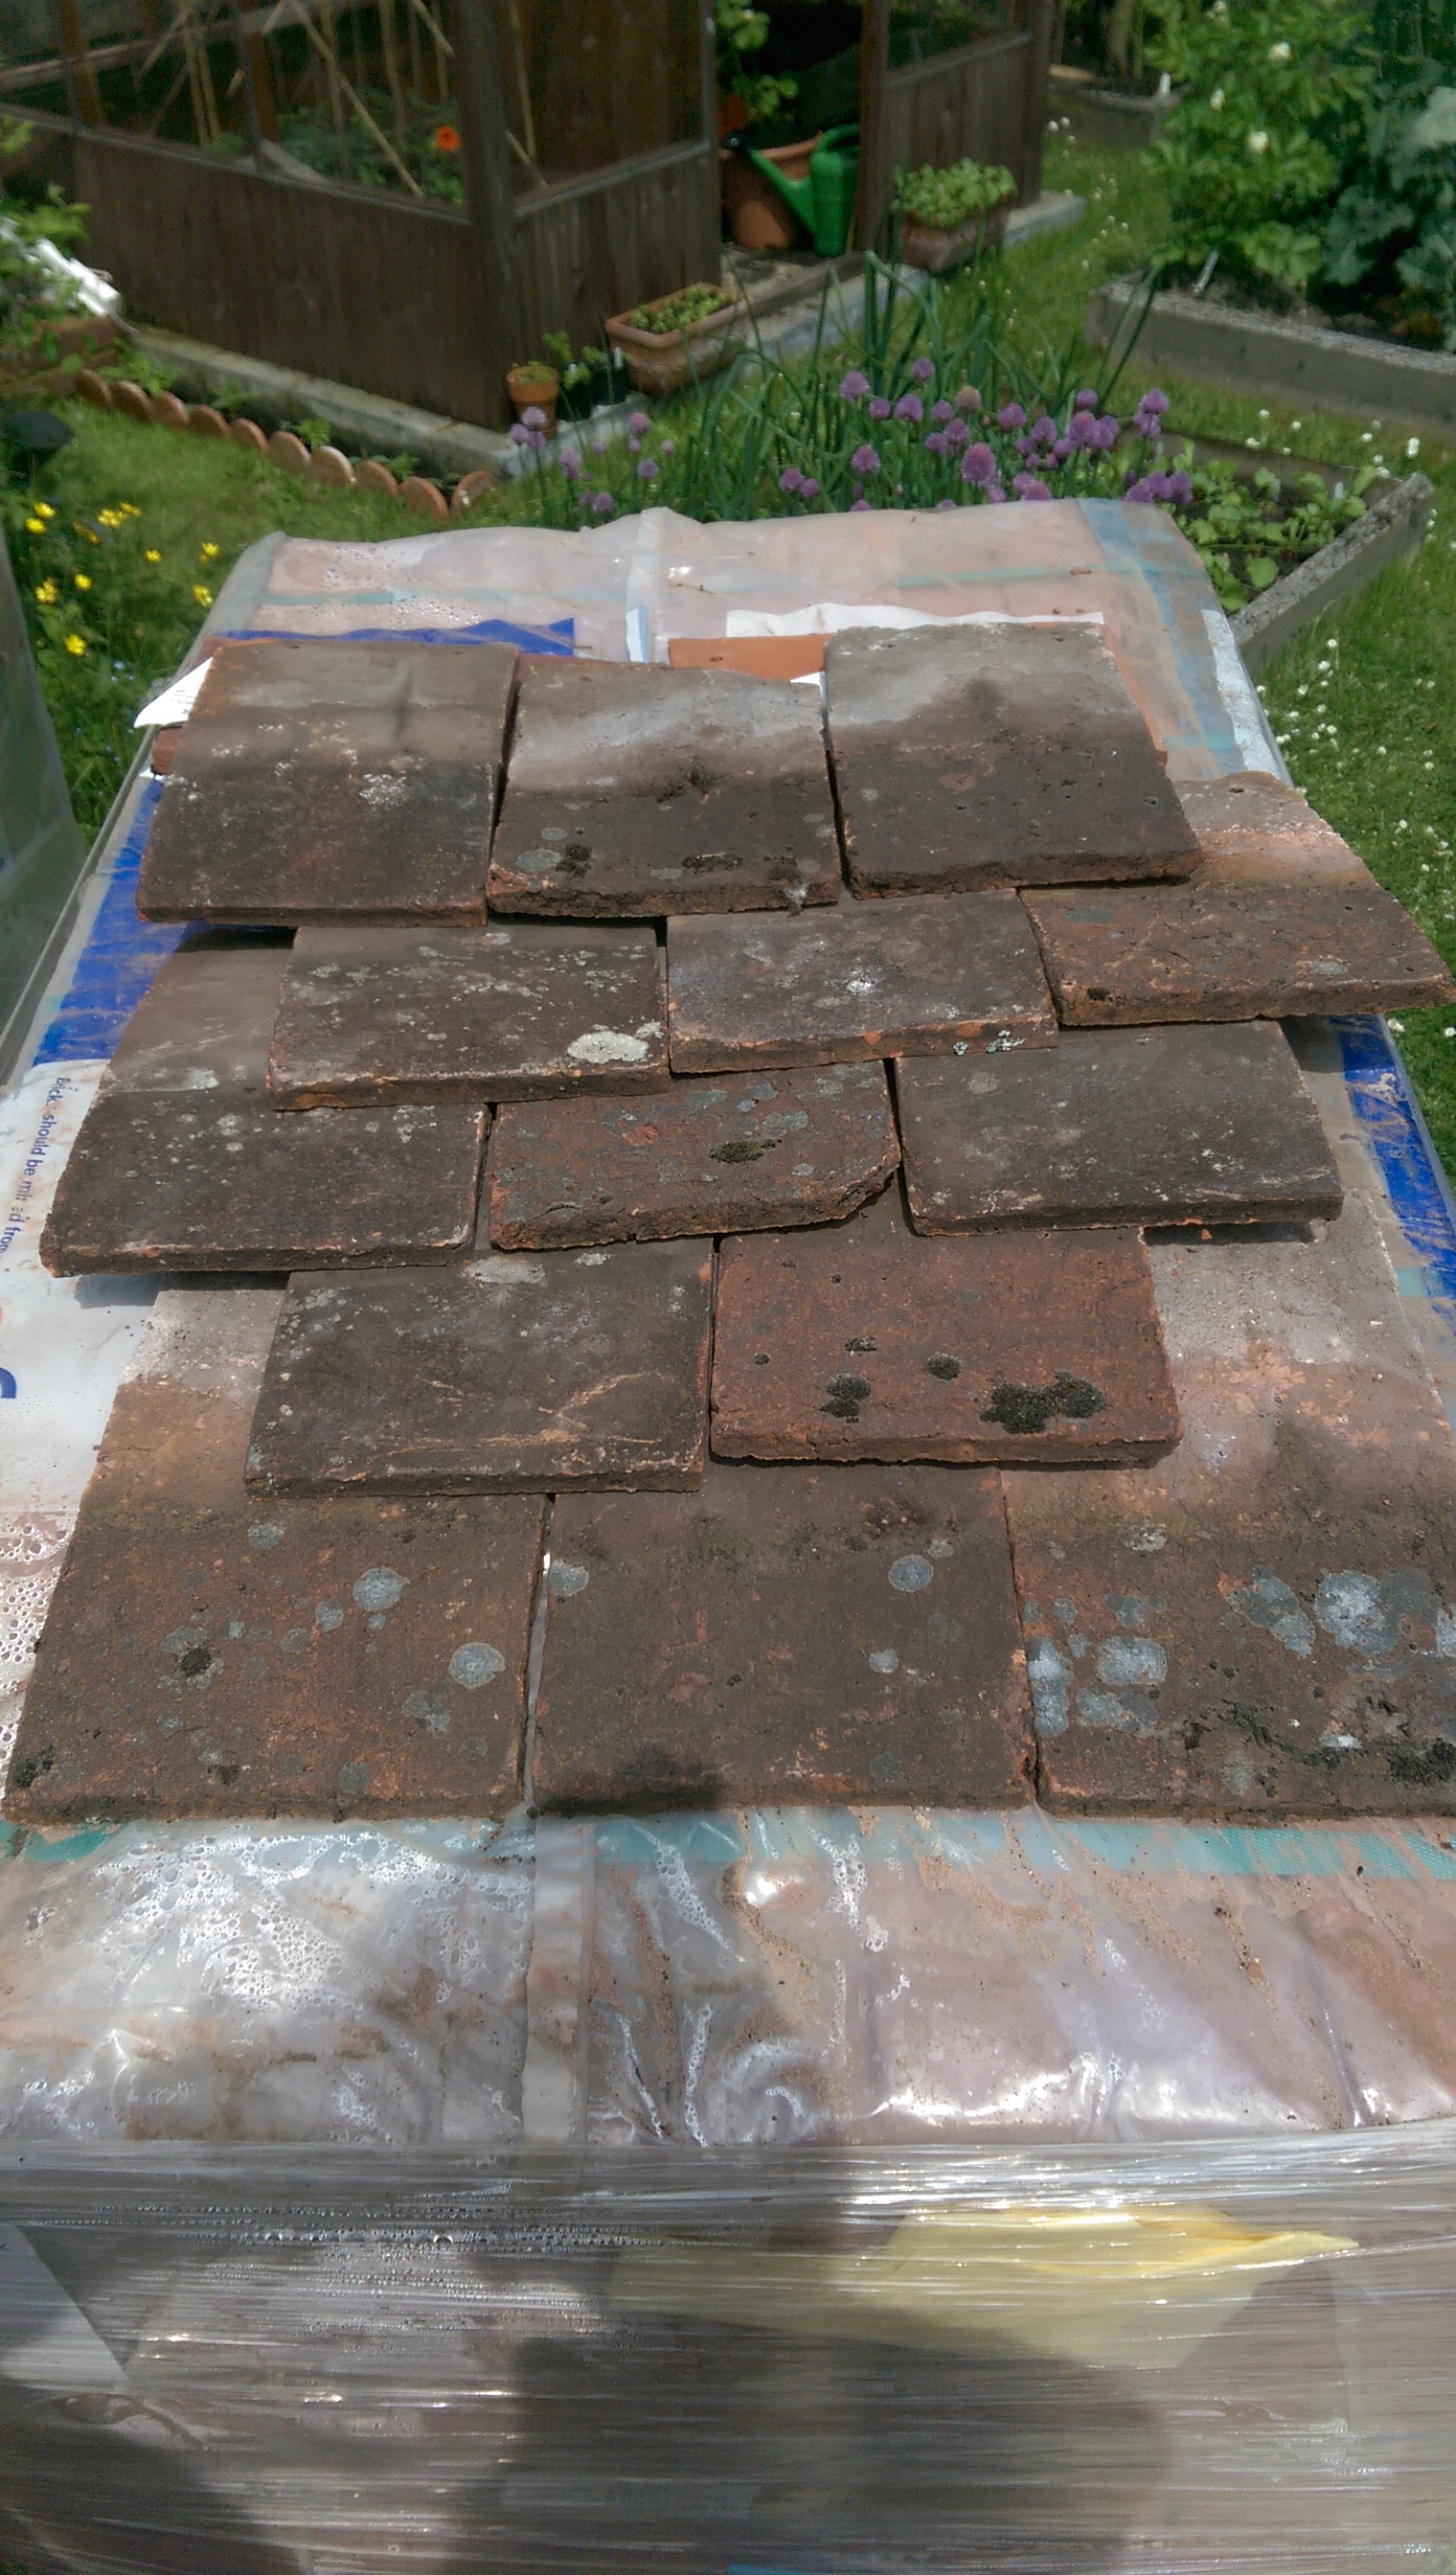
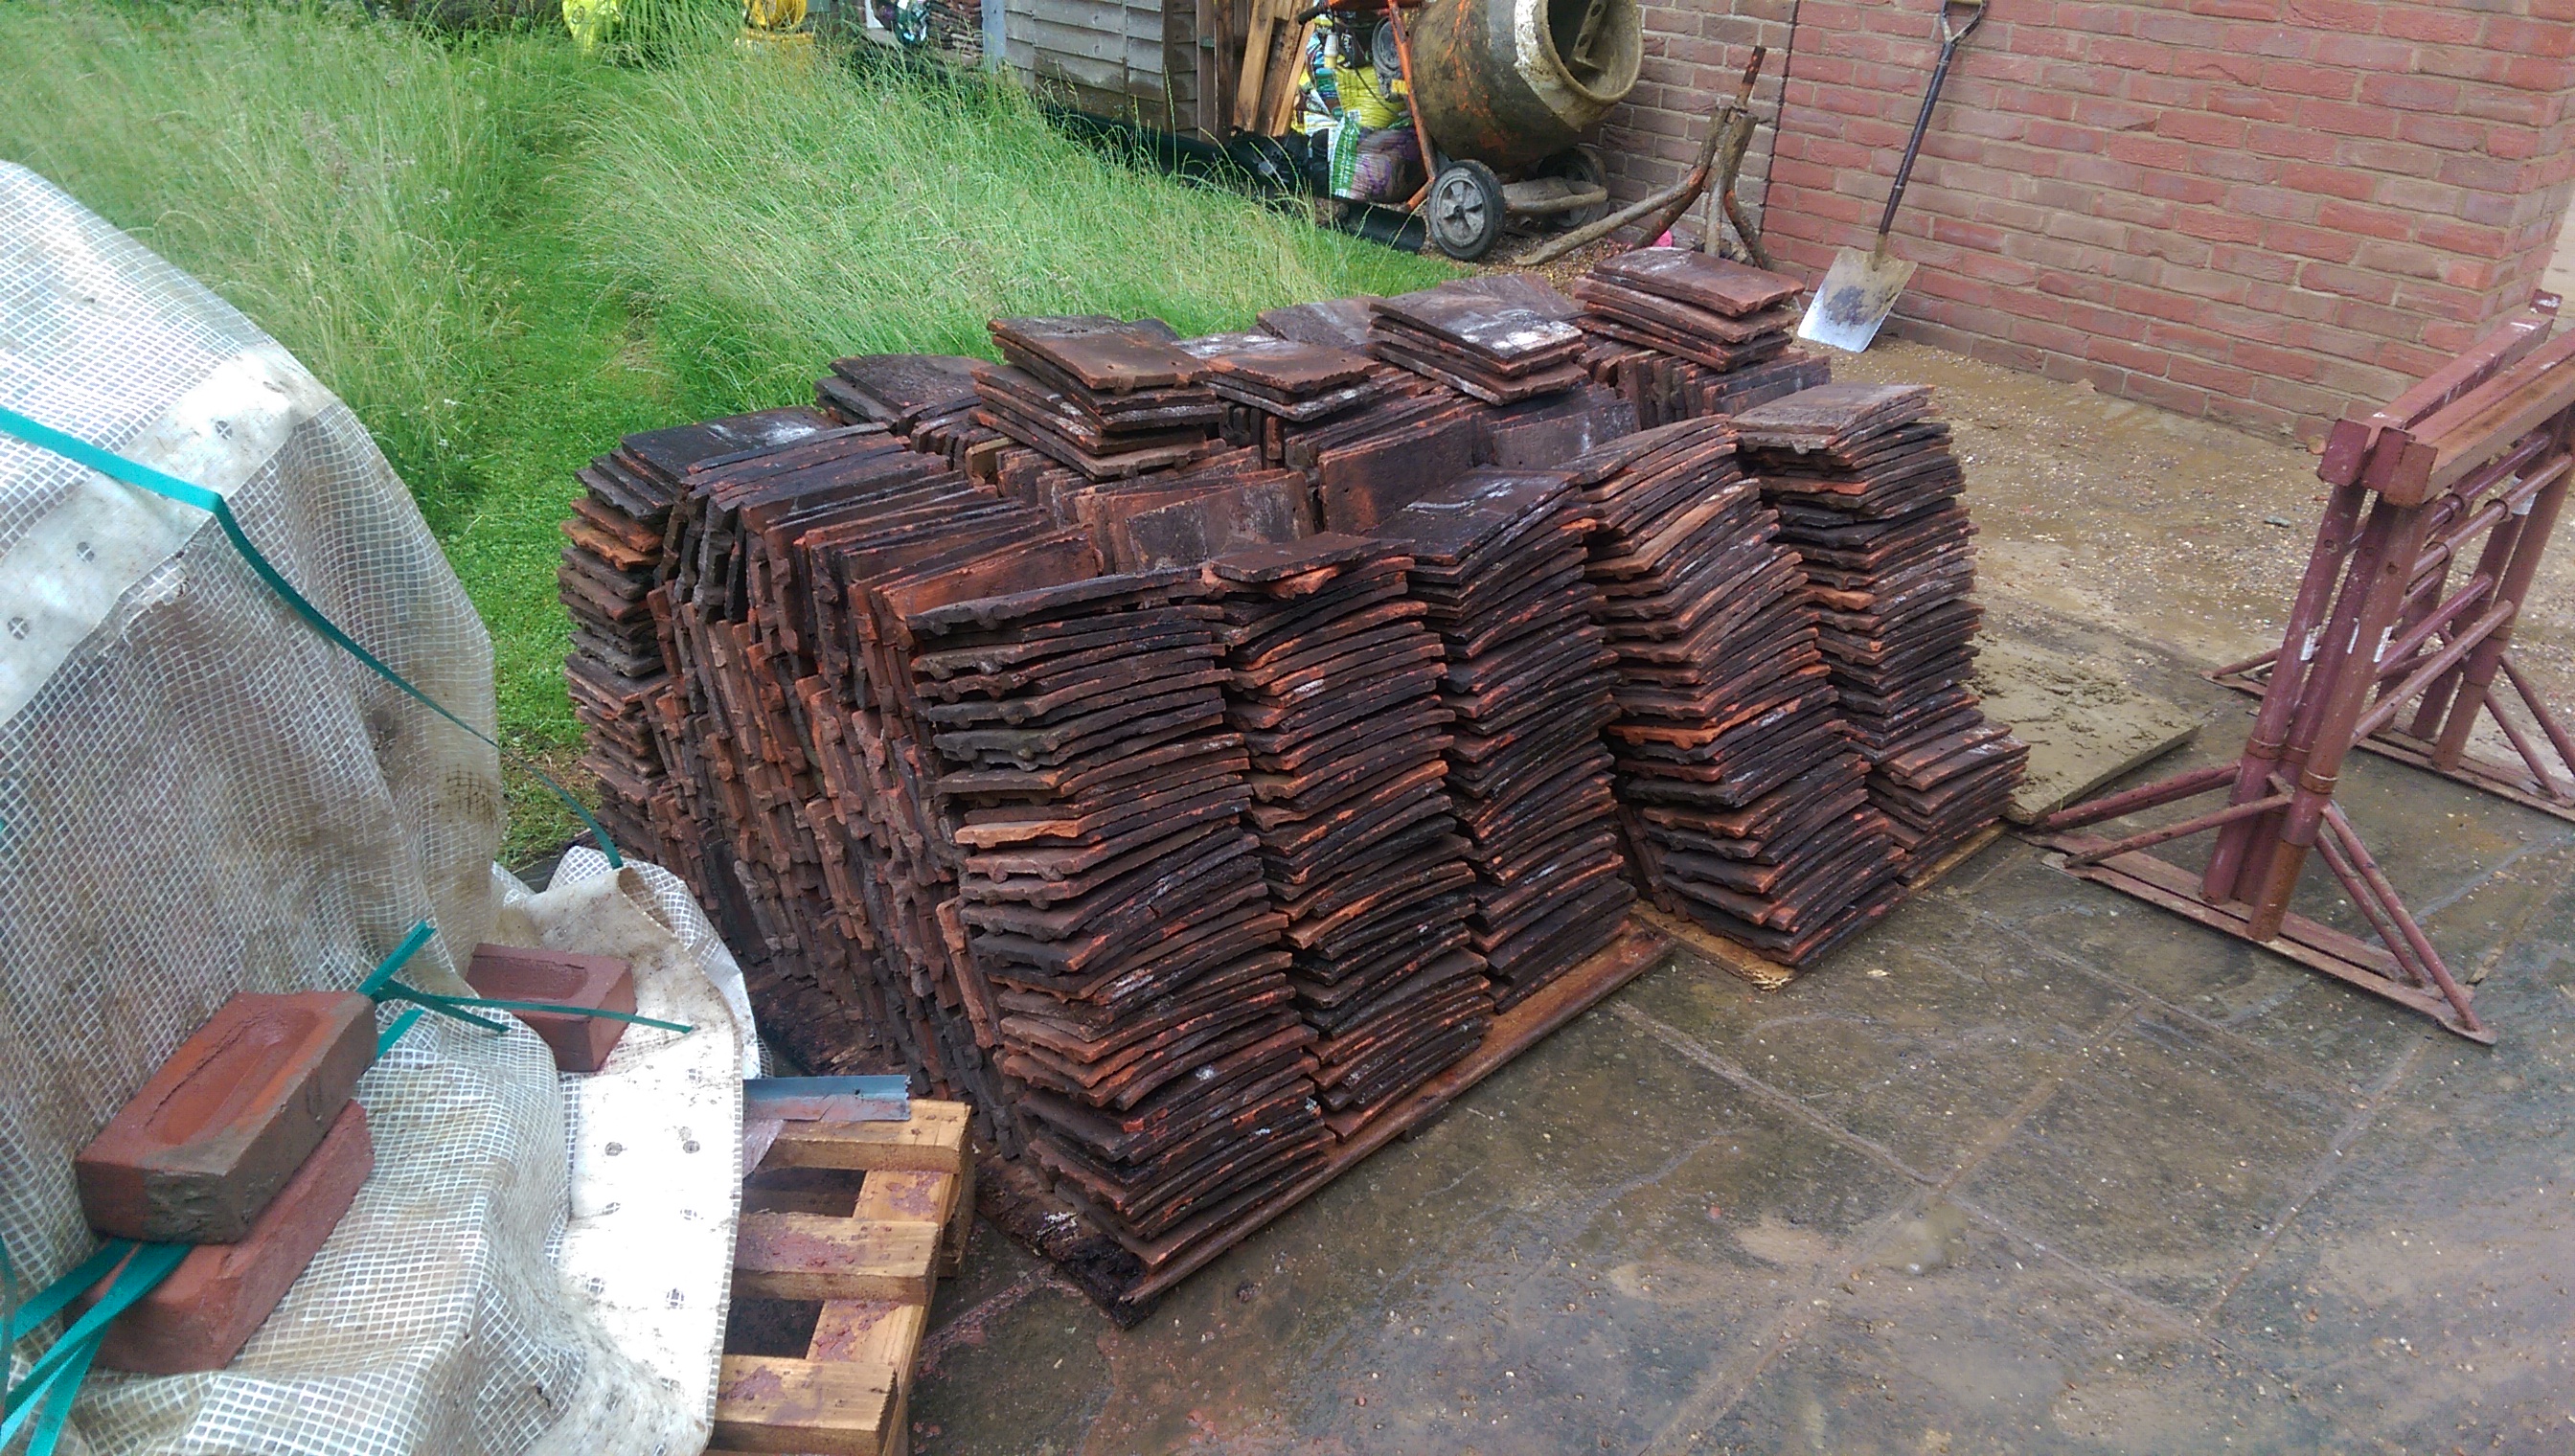
We finally found some tiles that are a good match for the original ones, from a reclamation company only an hour away and they were cheaper than any of the ‘old style’ new ones.
This is a mix of the original tiles and what we found so we’re pretty happy.
1100 tiles moved and stacked by me and Jem in the rain.
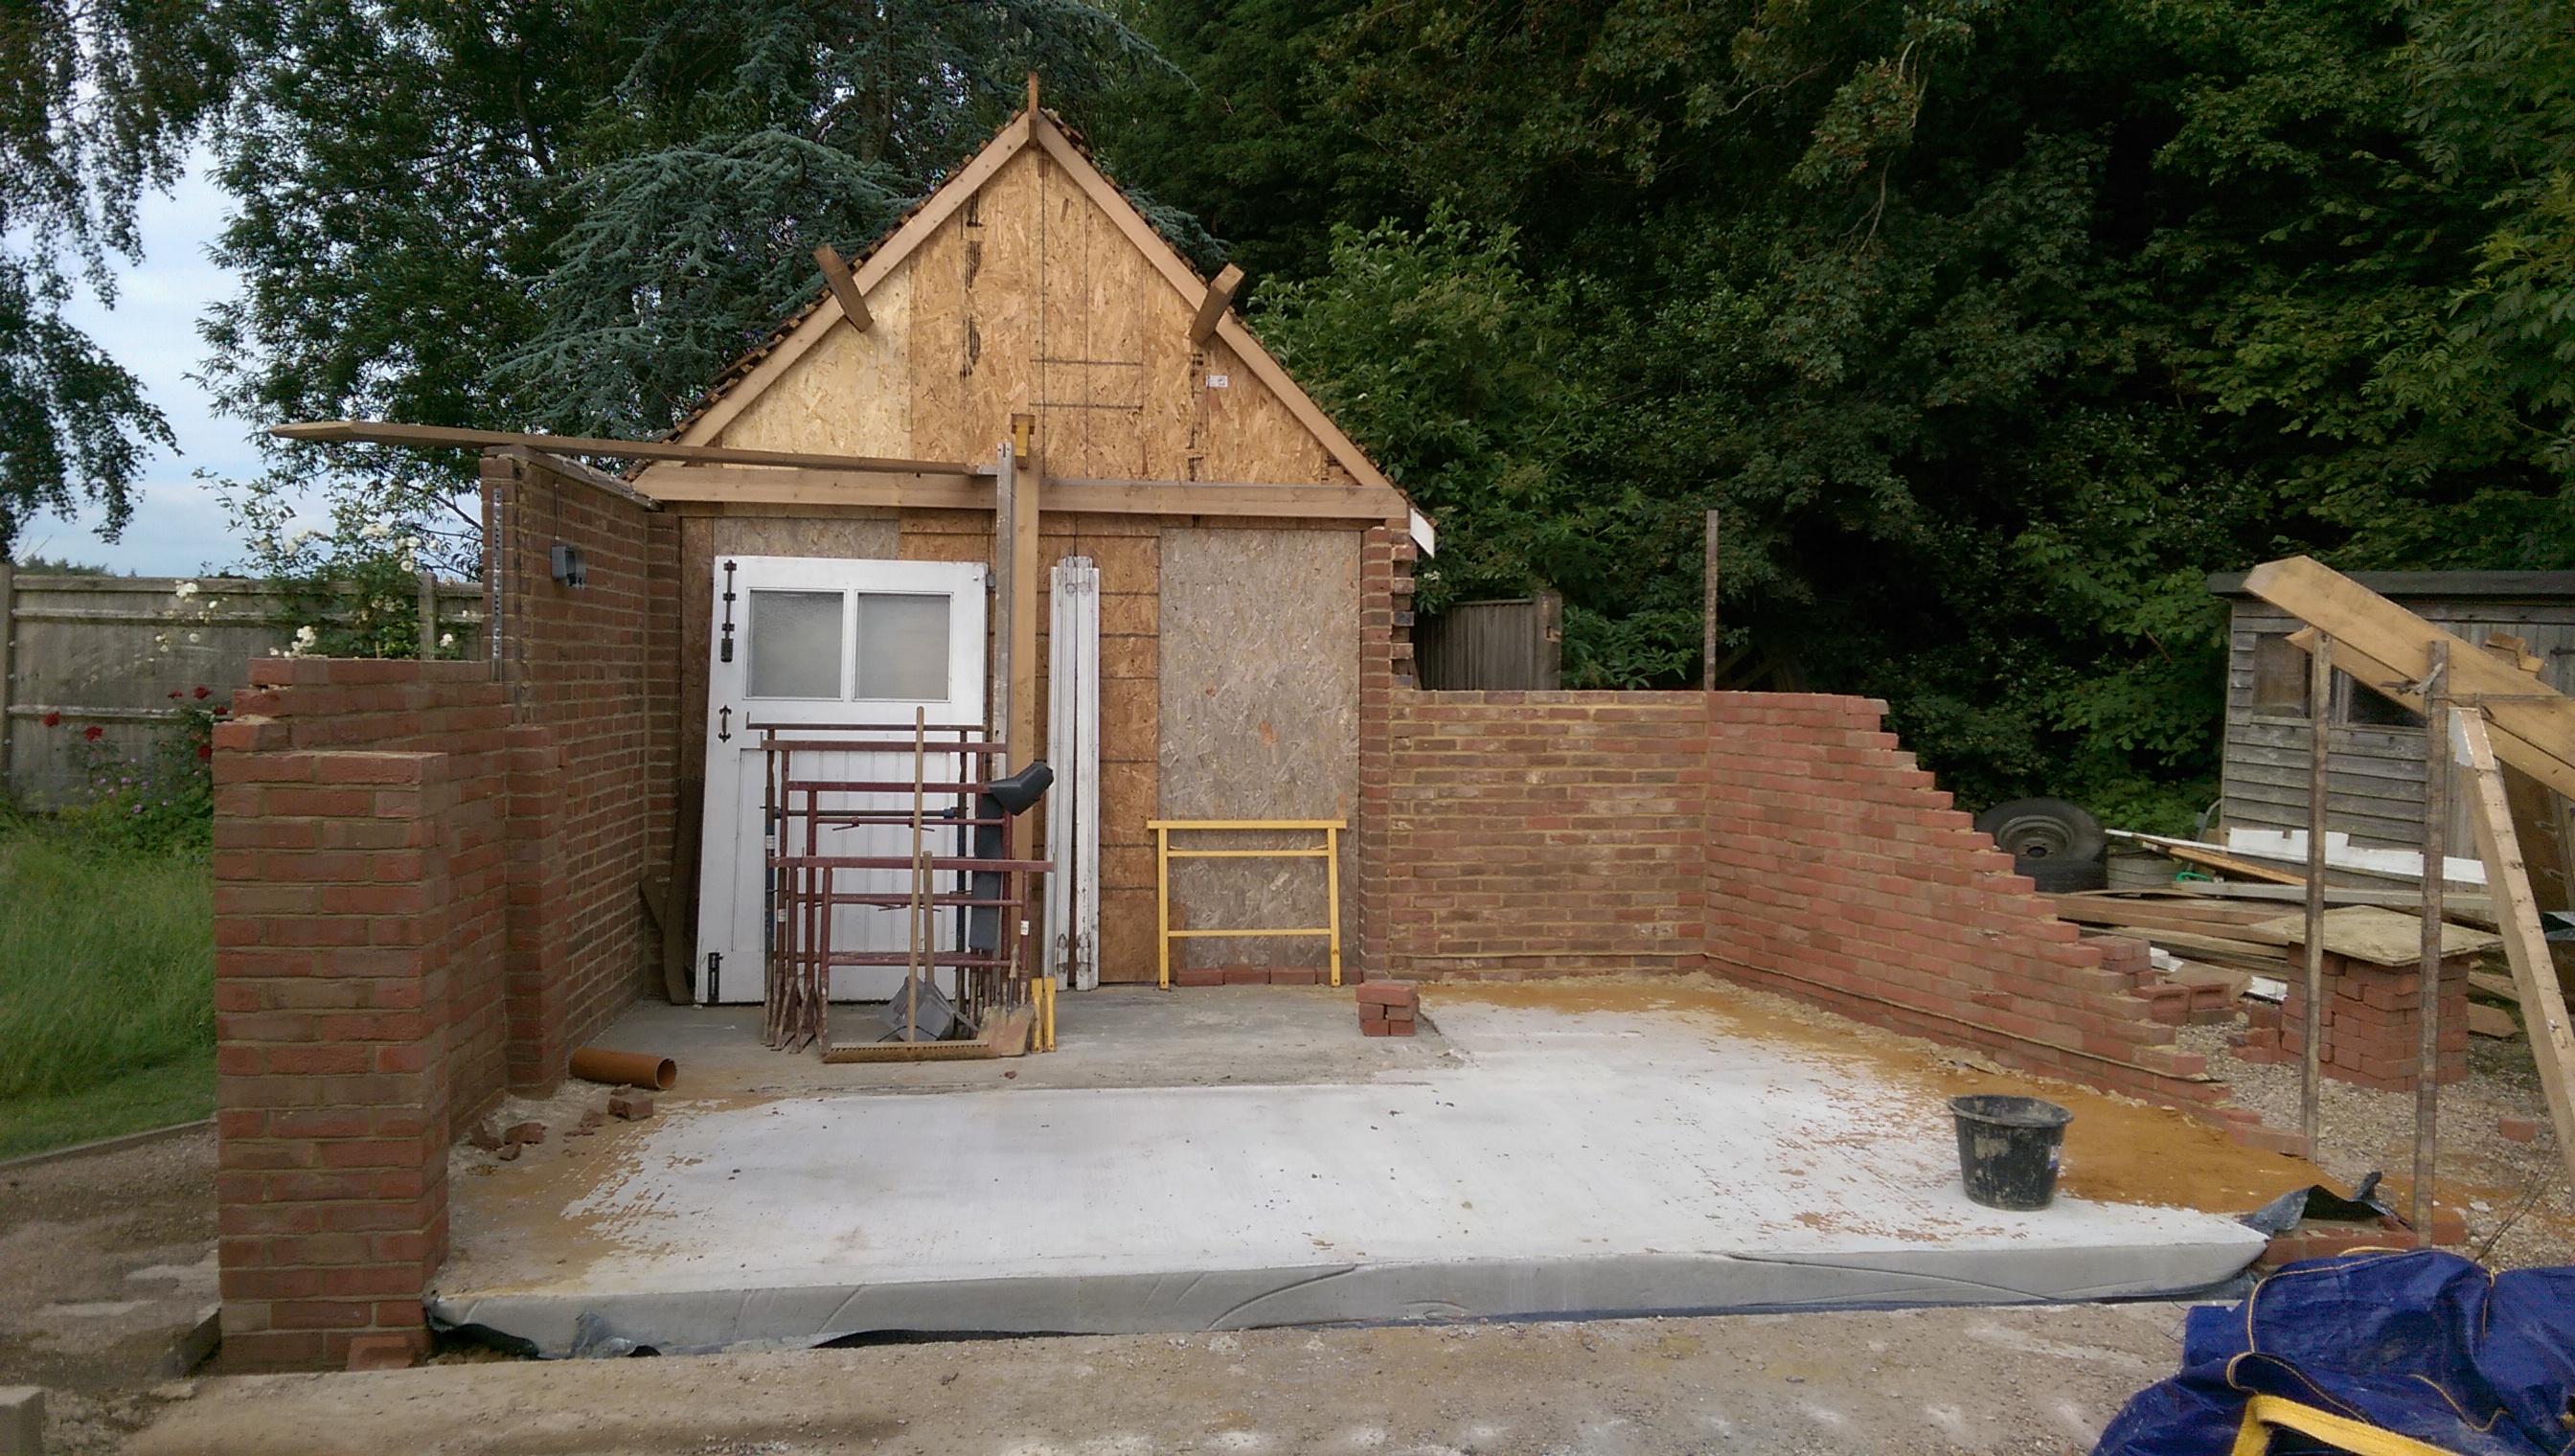
Walls finished and steels arrived. Unfortunately the guys who made the steels made a small error. Instead of adding 2 x 200mm to the door opening dimension it looks like they added 2 x 20mm. Something had to go wrong eventually. They sorted one the right size within a couple of days though.
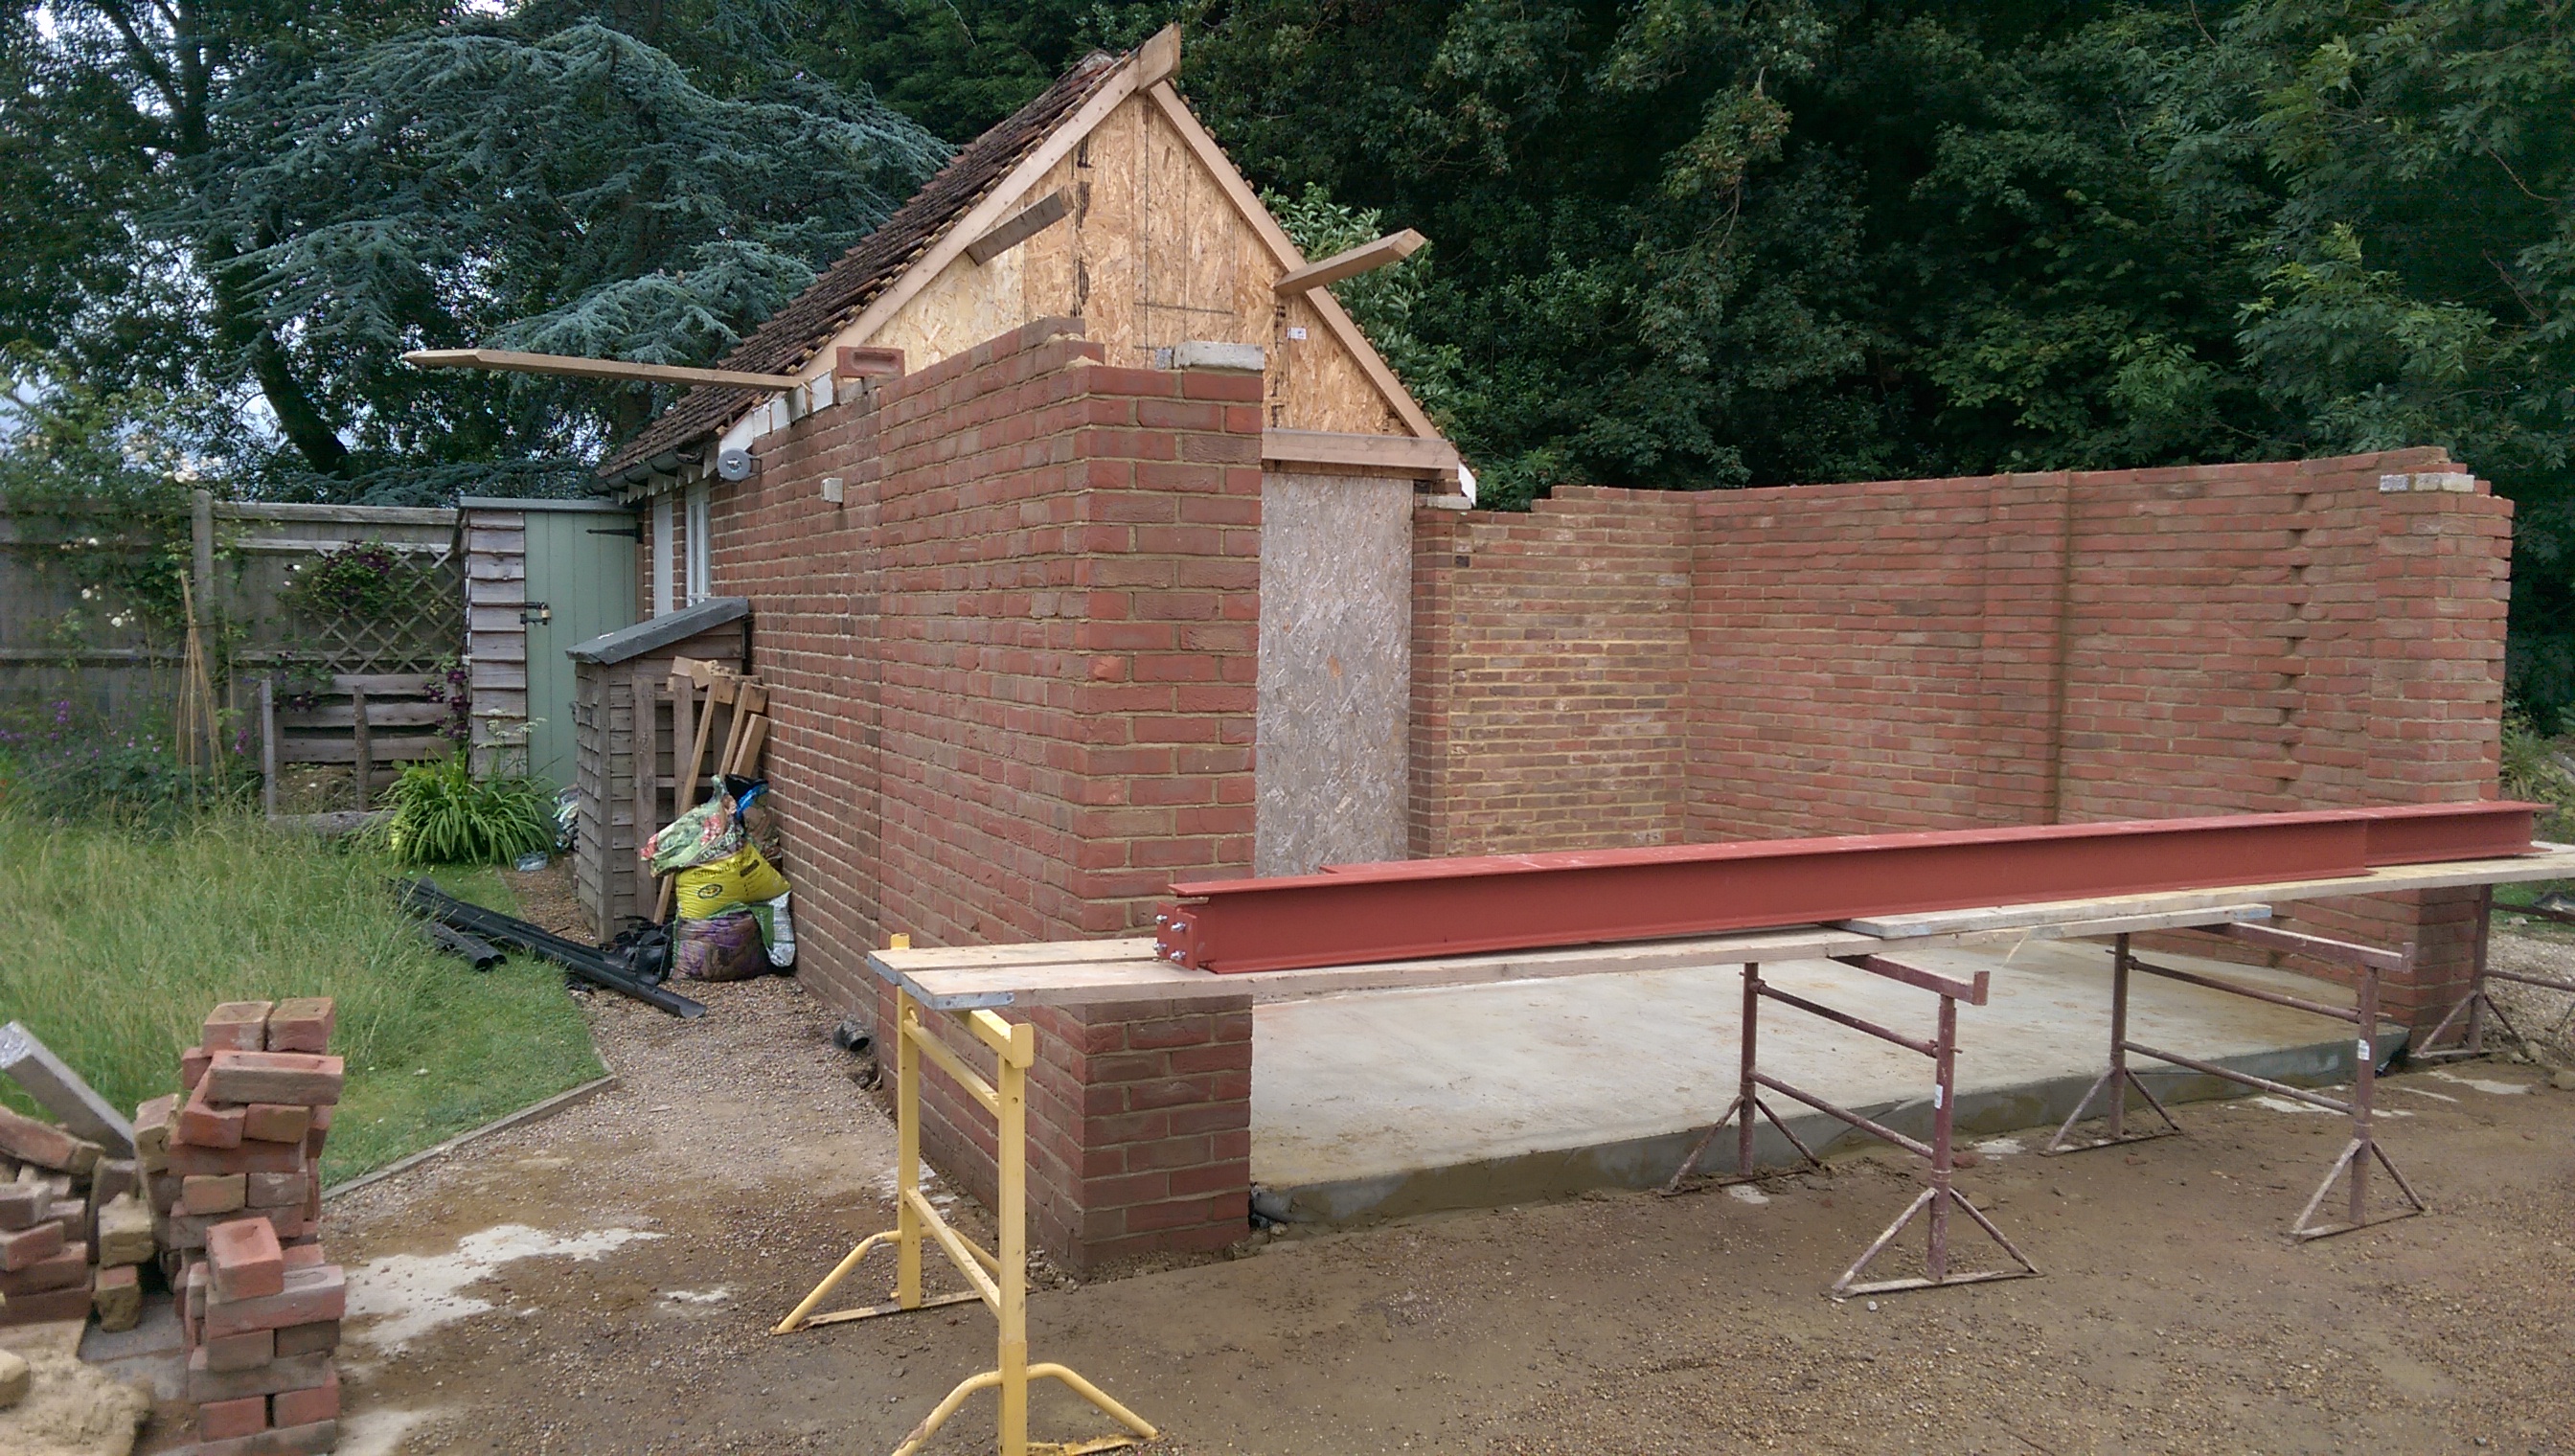
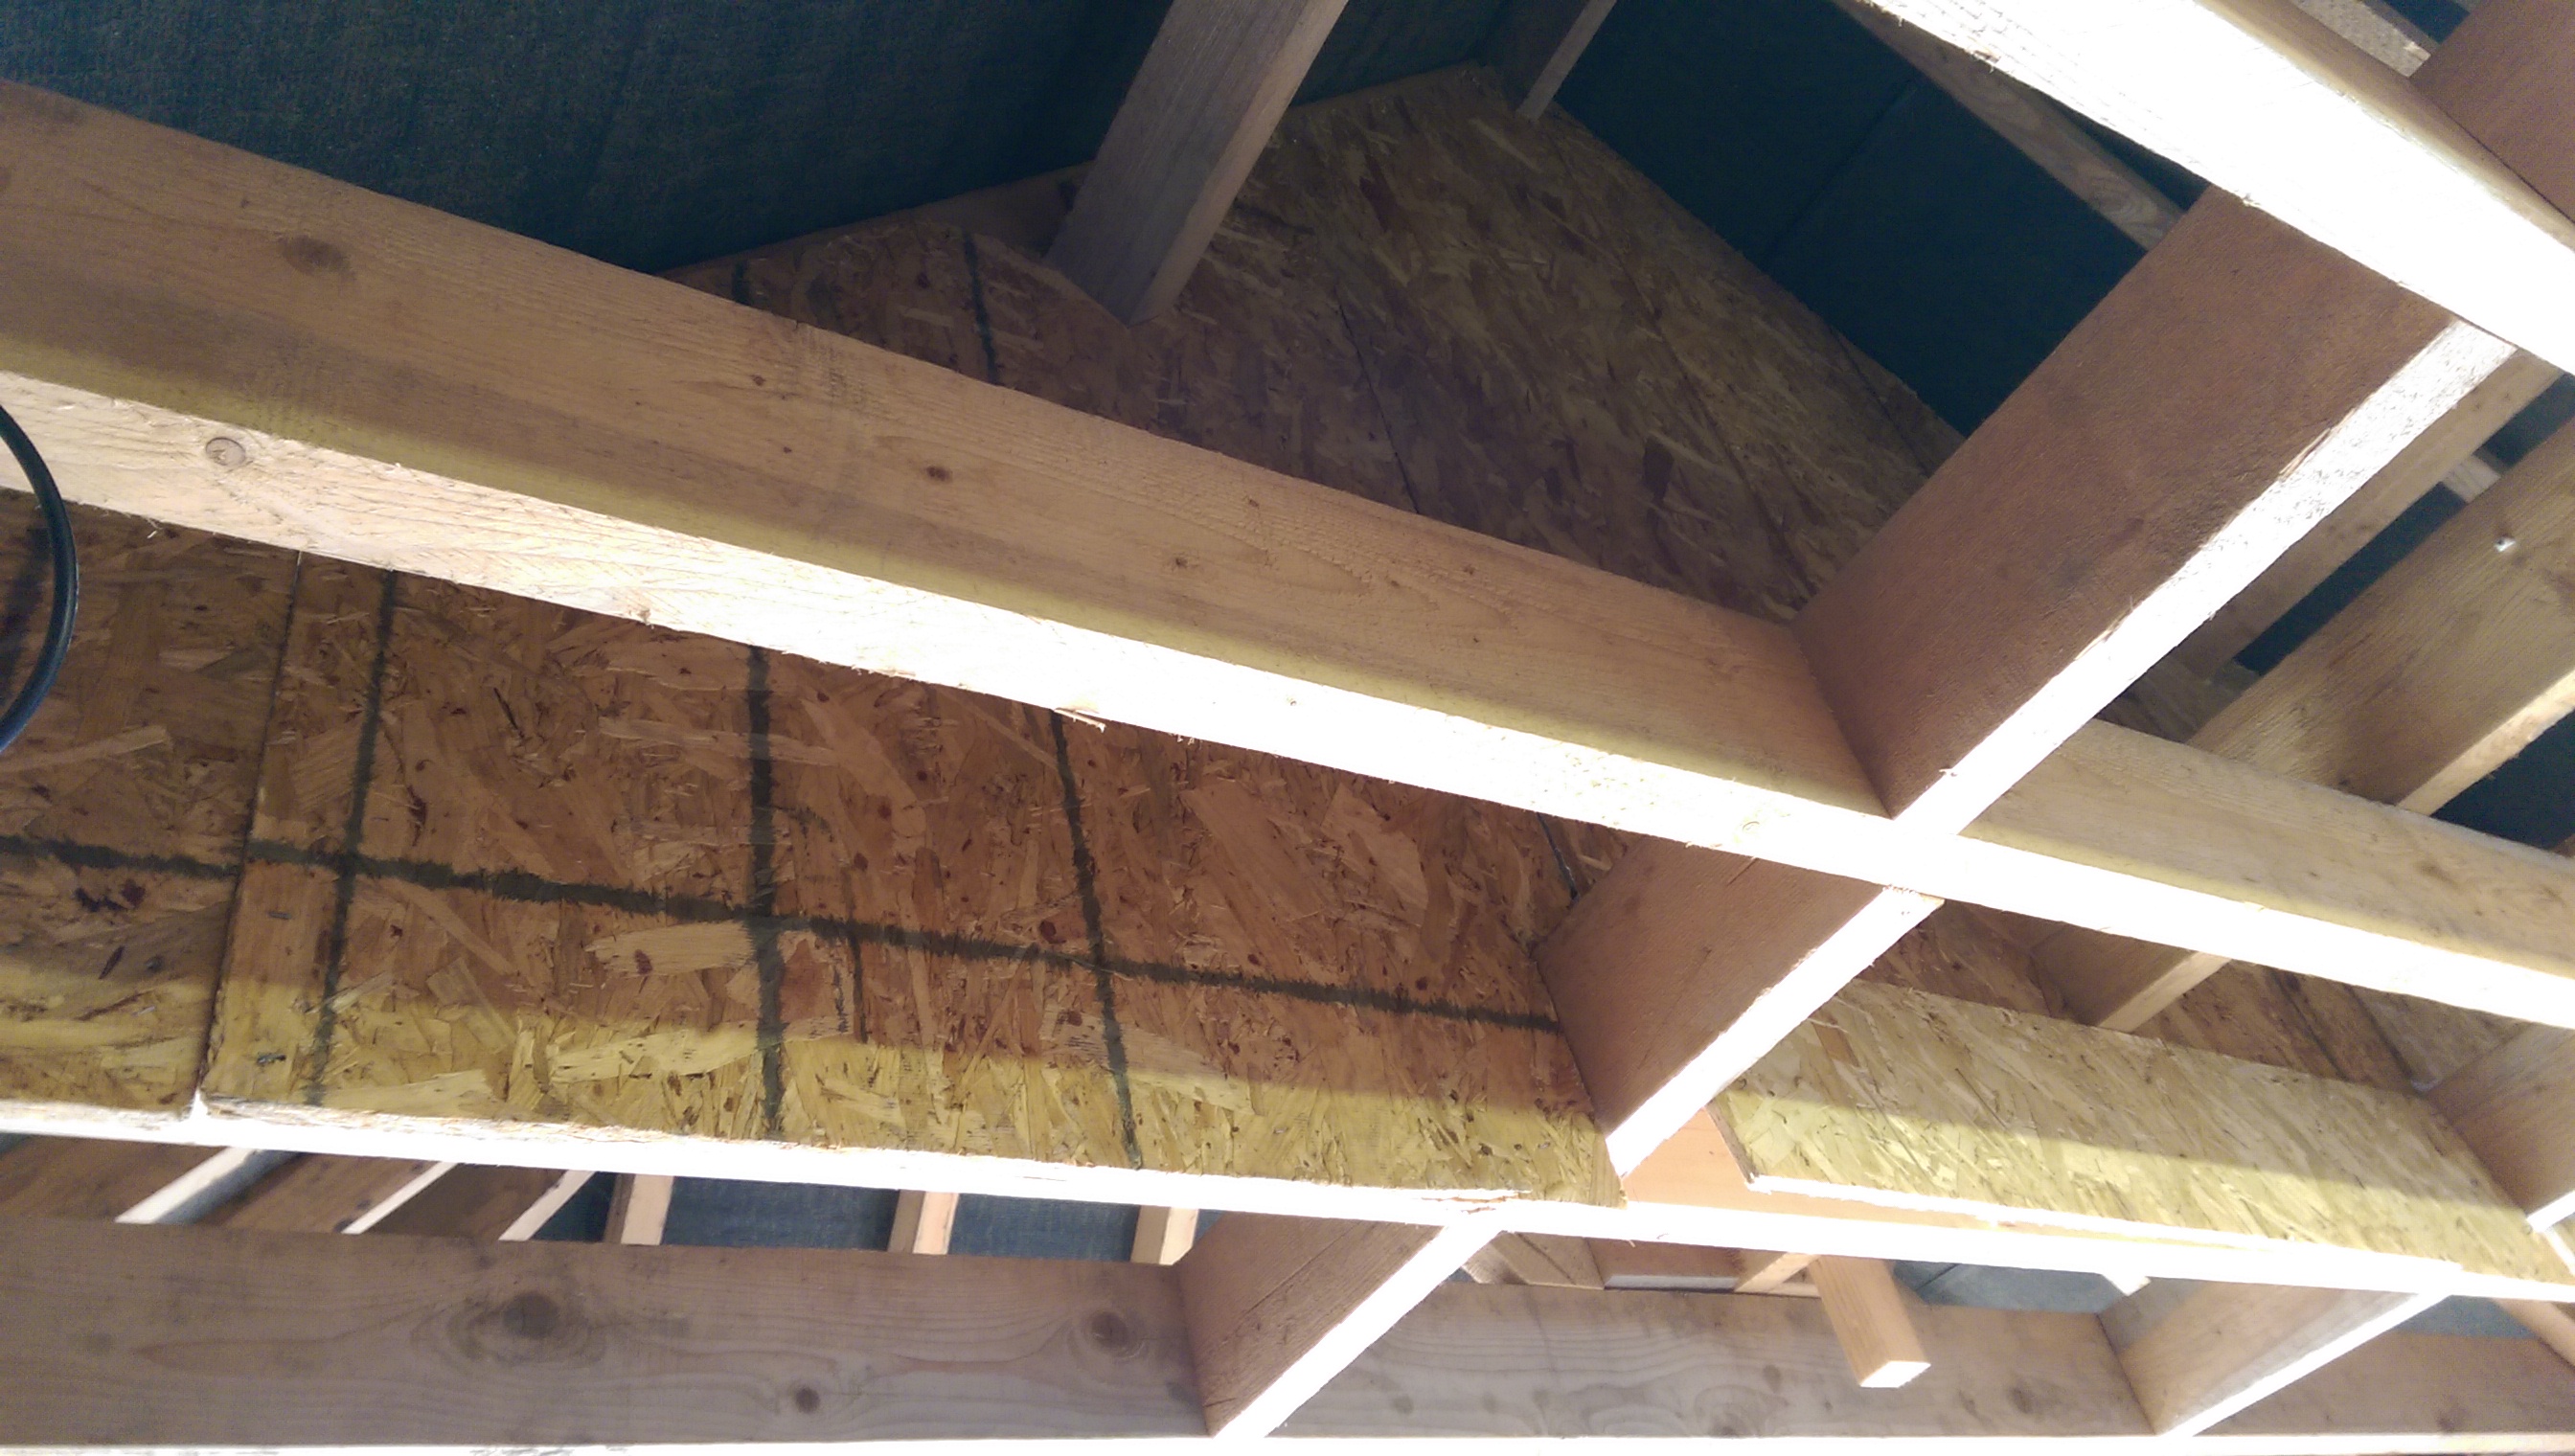
Next, the roof…..