Following on from the previous two posts about making an exhaust heat shield and wrapping the exhaust I wanted to give the alternator some protection too. The exhaust manifold is quite close to the alternator on K-Series engines. This is not a major problem with adequate heat shielding and good airflow to the alternator. The problem is the early Elise’s exhaust heat shield didn’t do a great job of protecting the alternator and with the engine being mid mounted there is hardly any airflow around the alternator so the heat from the manifold can eventually cook the regulator in the alternator.
I’m not sure if the alternator on my Elise has ever suffered that problem, there’s nothing in the extensive history to say it has been replaced but my guess is it’s not spent too much of it’s life being driven too hard either which will have helped it survive as the manifold won’t have spent too long at the highest of temperatures.
Anyhow I don’t want the alternator failing on me so I wanted to fit a decent heat shield for it. You can buy specific alternator heat shields like this one. Or perhaps the later K-Series manifold heat shields do a better job of protecting the alternator? I wanted to make something that would not just protect the alternator though, I wanted something larger that would work along side the exhaust heat shield to keep more of the heat away from the driver.
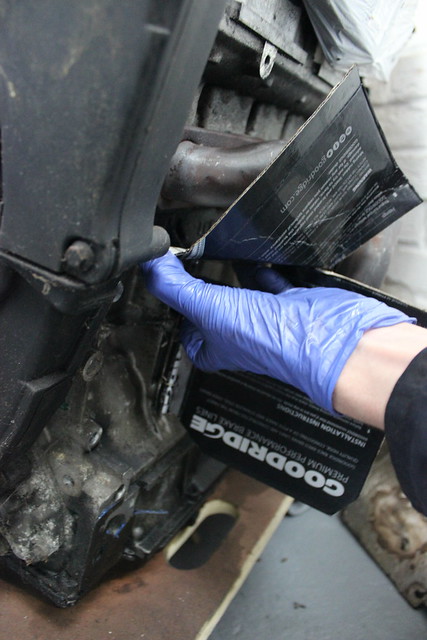
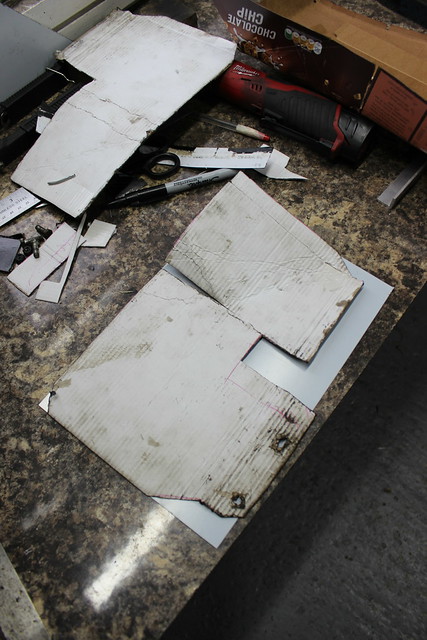
Predictably, I reached for a bit of cardboard again to come up with a design for the heat shield and arrive at a template. Helpfully I have a spare K-Series engine, that was once in my Mini, sat in the corner of the garage so no need to be working in the awkward space around the alternator on the Elise.
The cardboard template in place. I also checked it would actually fit in the space on the Elise and fitted up to the exhaust heat shield I made previously.

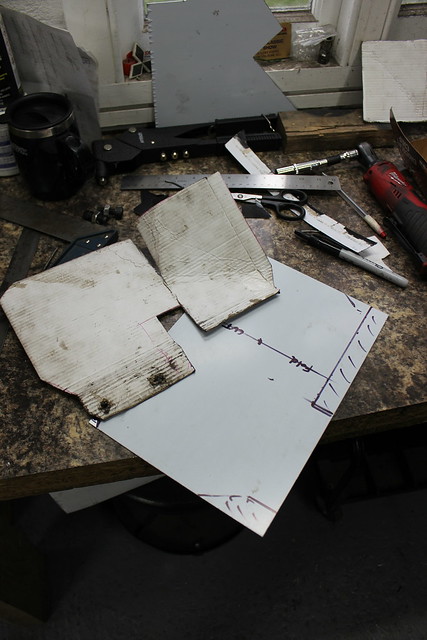
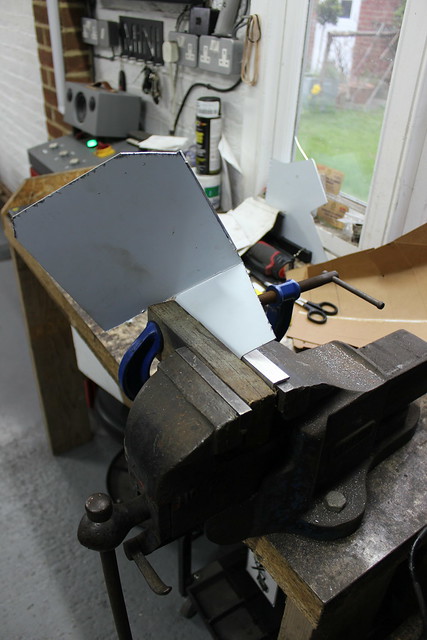
Template transferred to a sheet of 1.4mm aluminium.
Now a bit of fabrication.
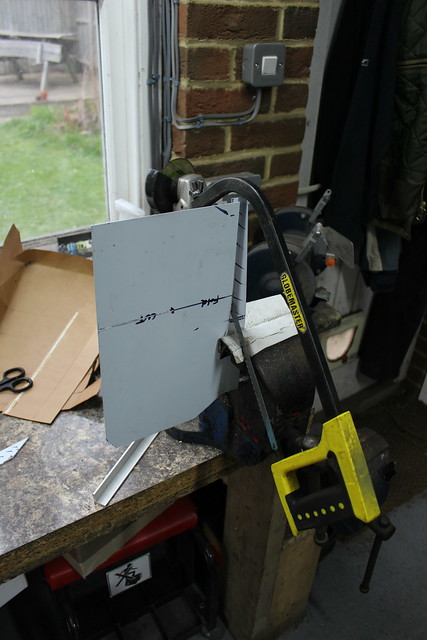
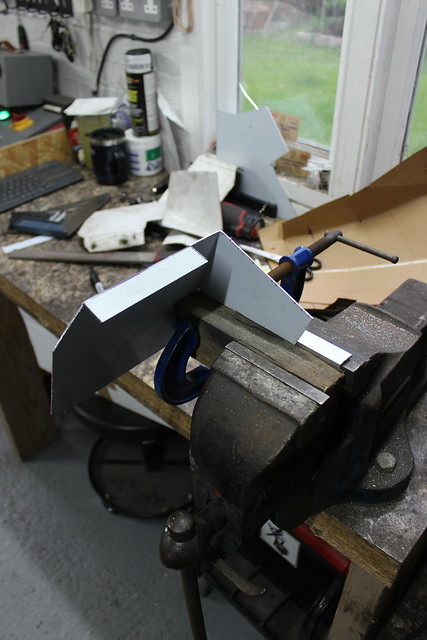
Using some 1″ ali angle and a G-clamp to make a fold.

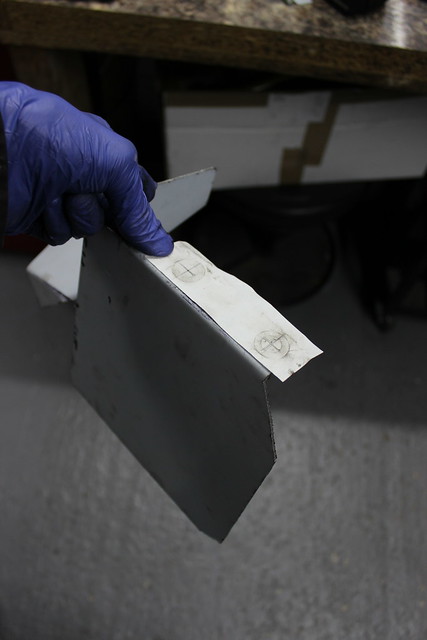
There are a couple of unused threaded holes on the engine block that are perfect to use for mounting the heat shield, I just needed to transfer the right dimension for the hole spacing to the tab I folded into the heat shield.
The best way to do that is to take a piece of paper and press it up to the holes and use a dirty finger to rub over the paper. This is the result plus centres I’ve drawn on.

This can now be transferred to the metal, centre punched and drilled.
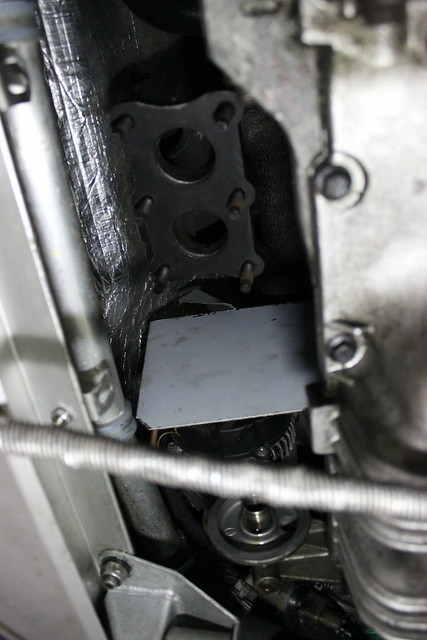
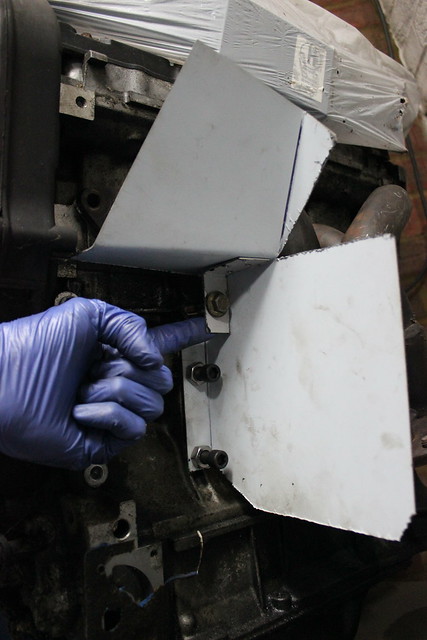
A quick test fit on the Elise to make sure I’m still on the right track.

To prevent the heat shield flapping around I wanted to add a fixing to one of the alternator bracket bolts so removed the bolt.
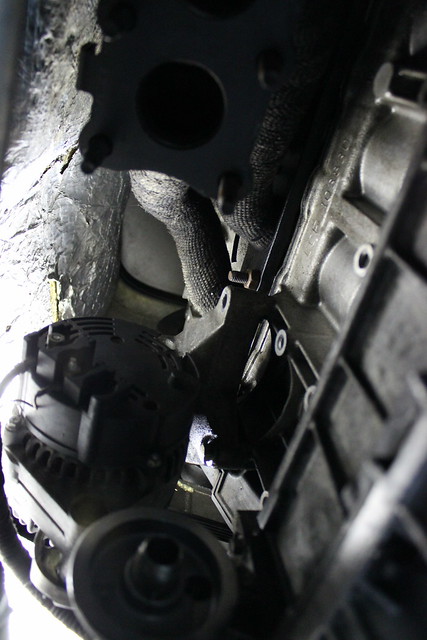
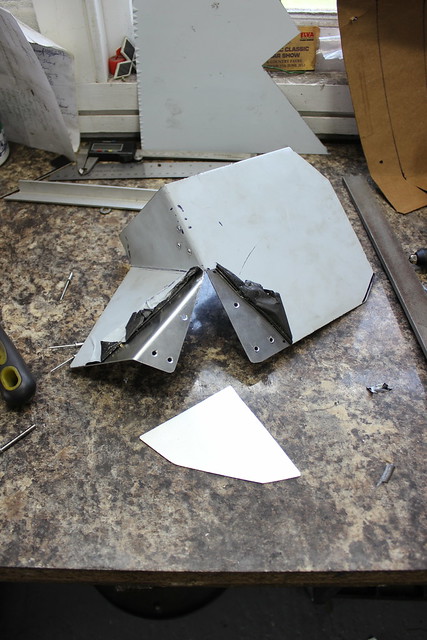
An additional tab and mock up here of how it would fit up to the alternator bracket.
Riveted in place.

Now to fill this gap.


More rivets. If I had a tig welder at the time I’d probably have just welded a section in without the need for an overlap.
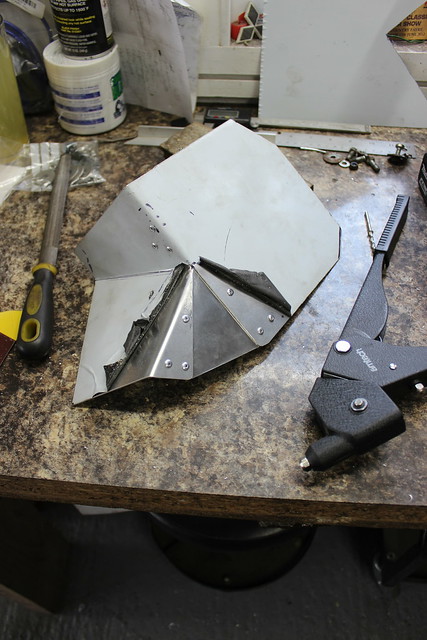
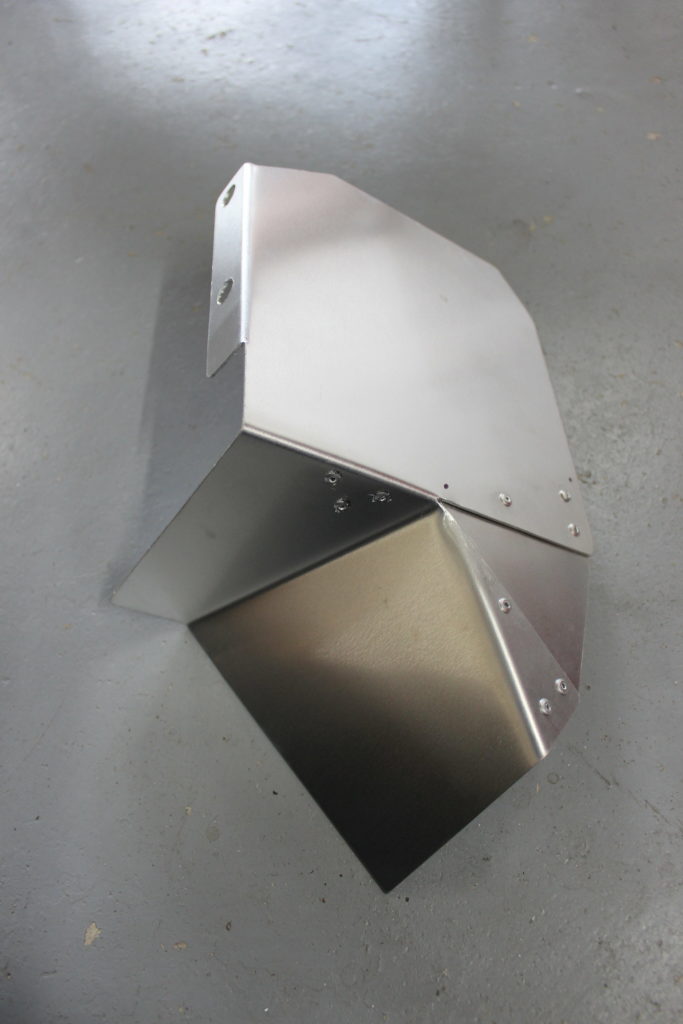
Finished.


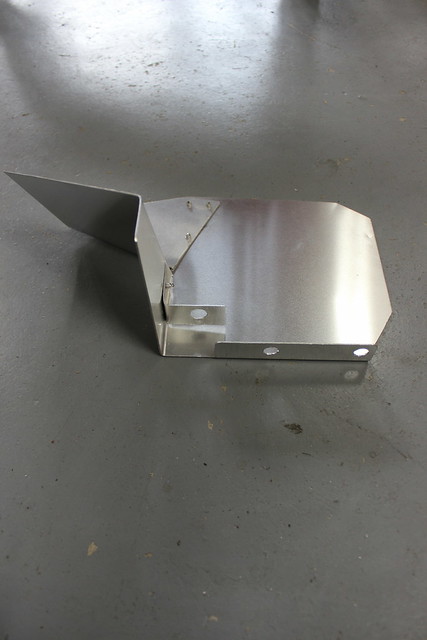


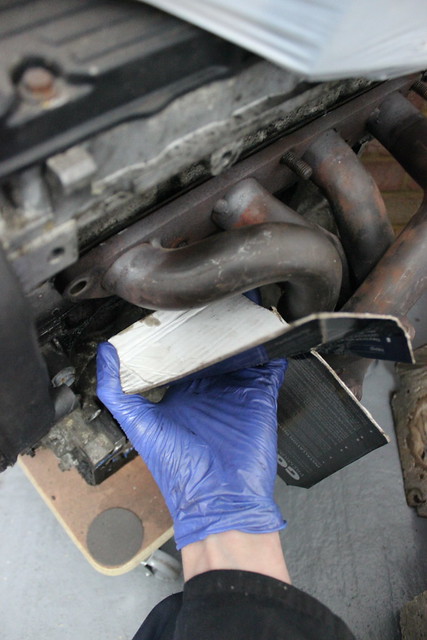
Quick check that it sits nicely on the Mini’s engine.

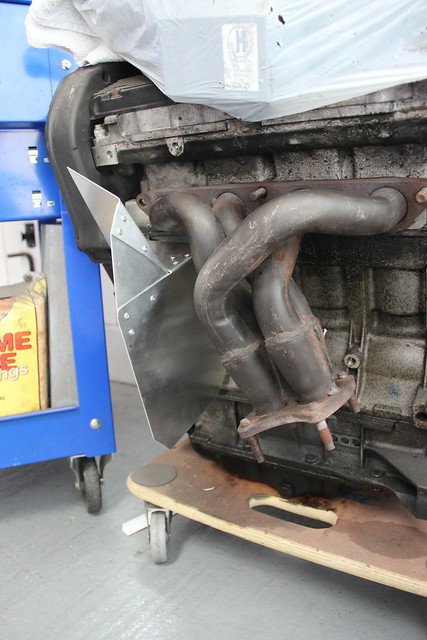


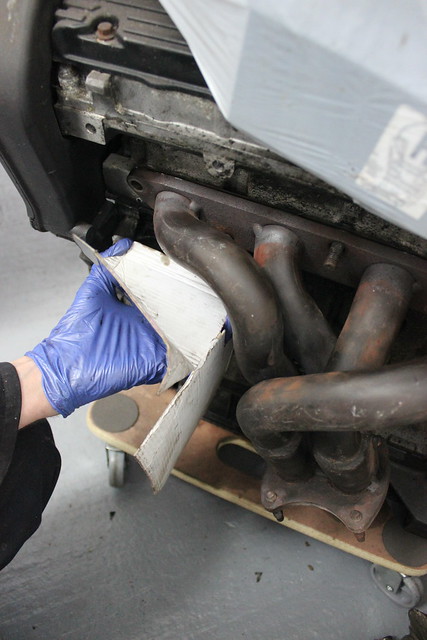
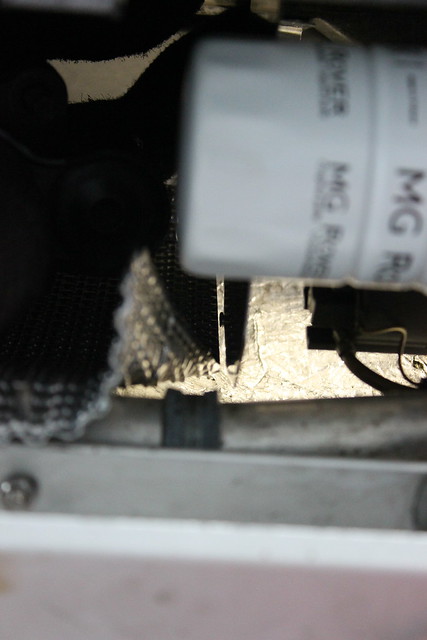
Then the final test fit on the Elise with oil filter, exhaust and other heat shield in place.
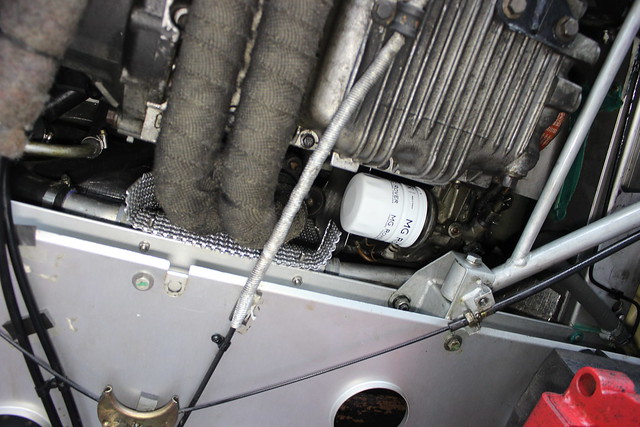
Nice and close to the other heat shield without touching. There needs to be some clearance between the two heat shields as one is fixed to the bulkhead of the car and the other fixed to the engine so they will move independently.


Now I just need to remove it all to refit everything back for the final time with new gaskets, nuts and bolts etc.