![](http://www.noisymini.com/wp-content/uploads/Elise_S1/Featured_Images/elise-itg-induction-part-2-683x1024.jpg)
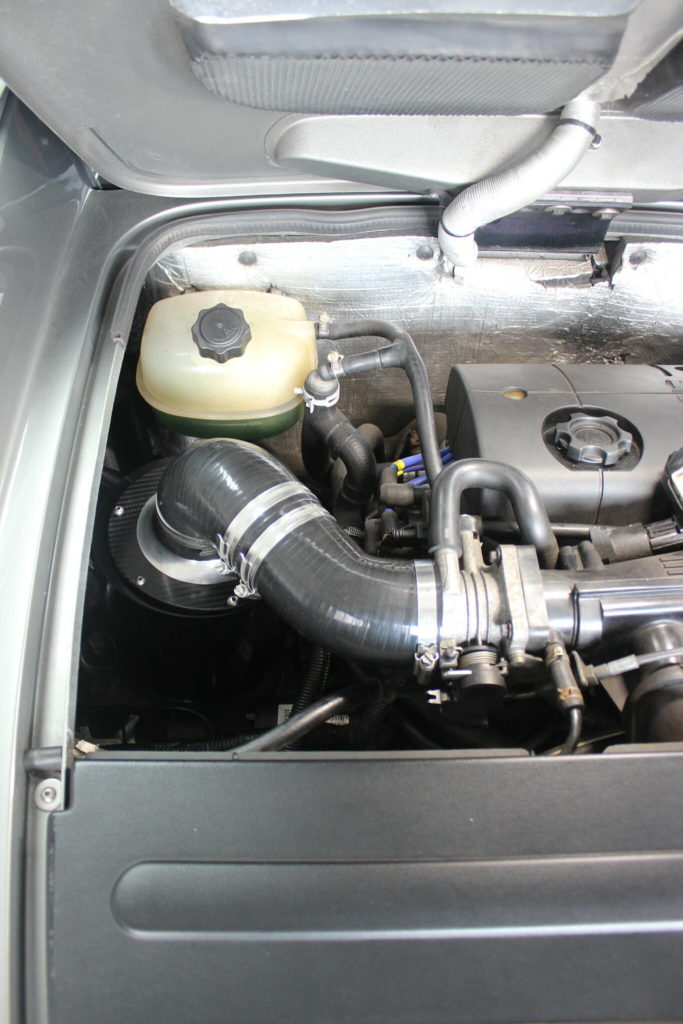
The slightly temporary induction setup I made with the ITG carbon fibre air box and filter was doing OK but I wanted to do something a bit better so I came back to it with a fresh pair of eyes and some better access.
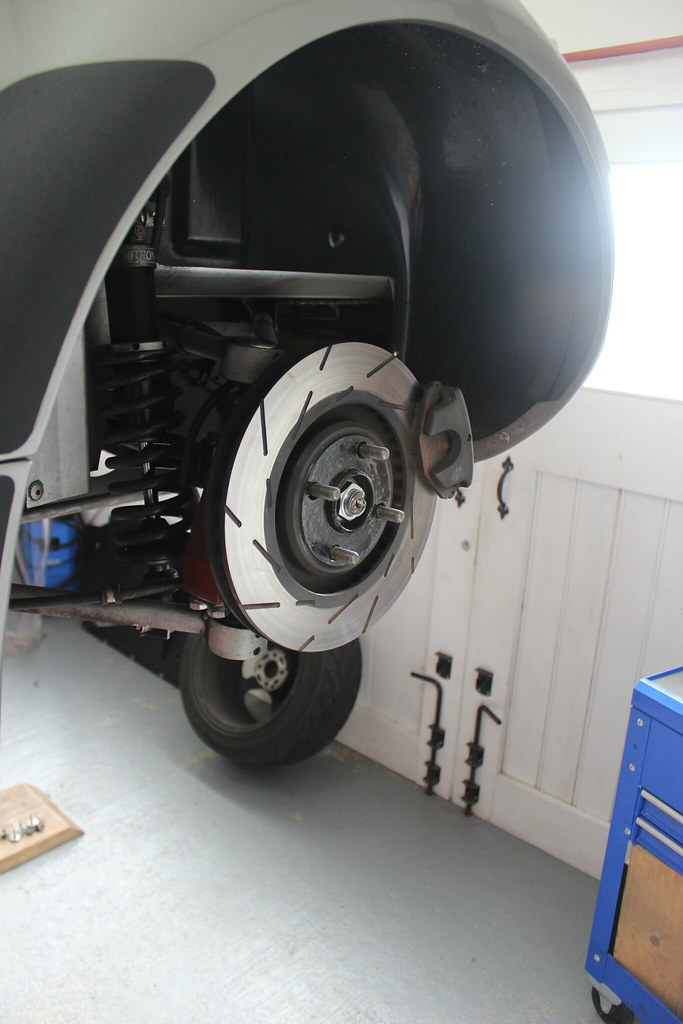
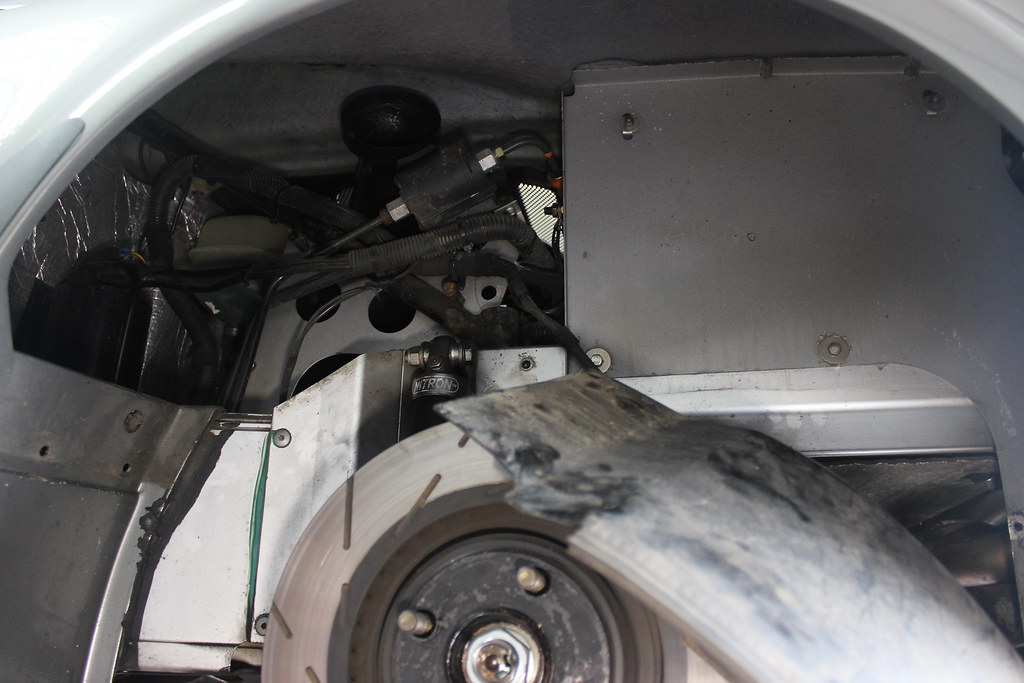
For the better access I needed to remove the wheel arch liner which, predictably, was not going to be a quick unbolting removal.
![IMG_7528](https://live.staticflickr.com/1832/44198459341_21d87f5ea4_b.jpg)
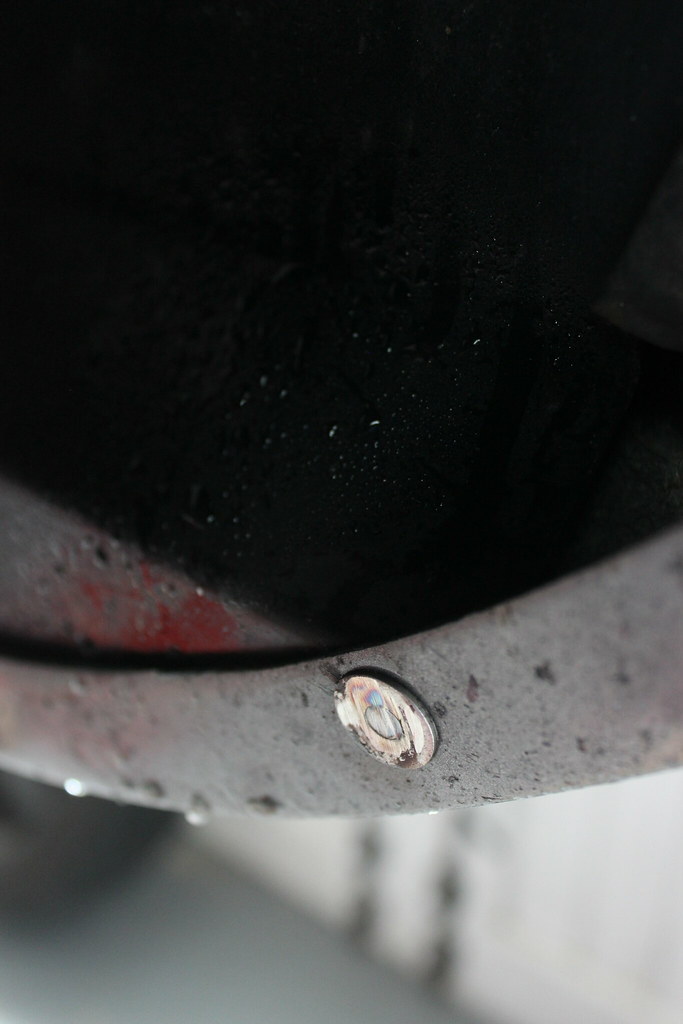
I already tried and failed to undo these bolts so I went for the cutting the heads off option instead.
![IMG_7529](https://live.staticflickr.com/1820/42390709910_6a61a02a46_b.jpg)
With this and some water to help keep the bolt cool. I also ground off just a bit at a time to prevent melting the plastic arch or bodywork.
![IMG_7530](https://live.staticflickr.com/1885/30331271768_22337c64af_b.jpg)
Just enough ground back for the bolt to pop through.
![IMG_7532](https://live.staticflickr.com/1815/43292545195_c4aacb41d0_b.jpg)
![IMG_7533](https://live.staticflickr.com/1894/42390716620_3e13c42224_b.jpg)
![IMG_7535](https://live.staticflickr.com/1885/30331275438_1c62a4acfb_b.jpg)
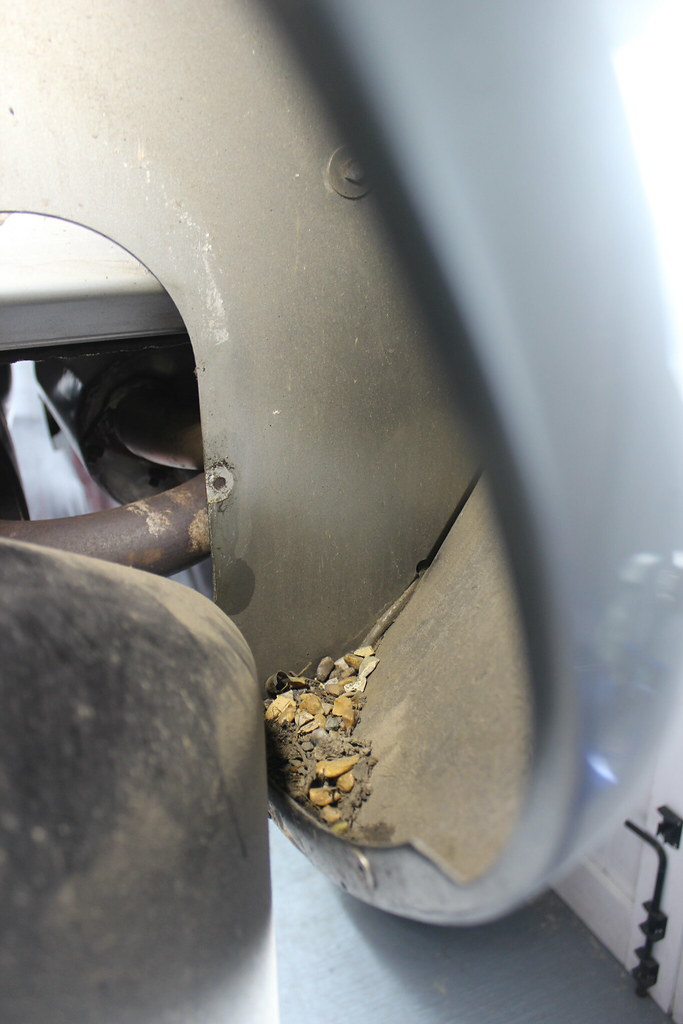
What I found behind the arch liner. A decent weight saving to be made by removing that pile!
![IMG_7539](https://live.staticflickr.com/1836/44198466281_f68daa4393_b.jpg)
The arch liner out of the way.
![IMG_7540](https://live.staticflickr.com/1881/30331280858_99c01f752b_b.jpg)
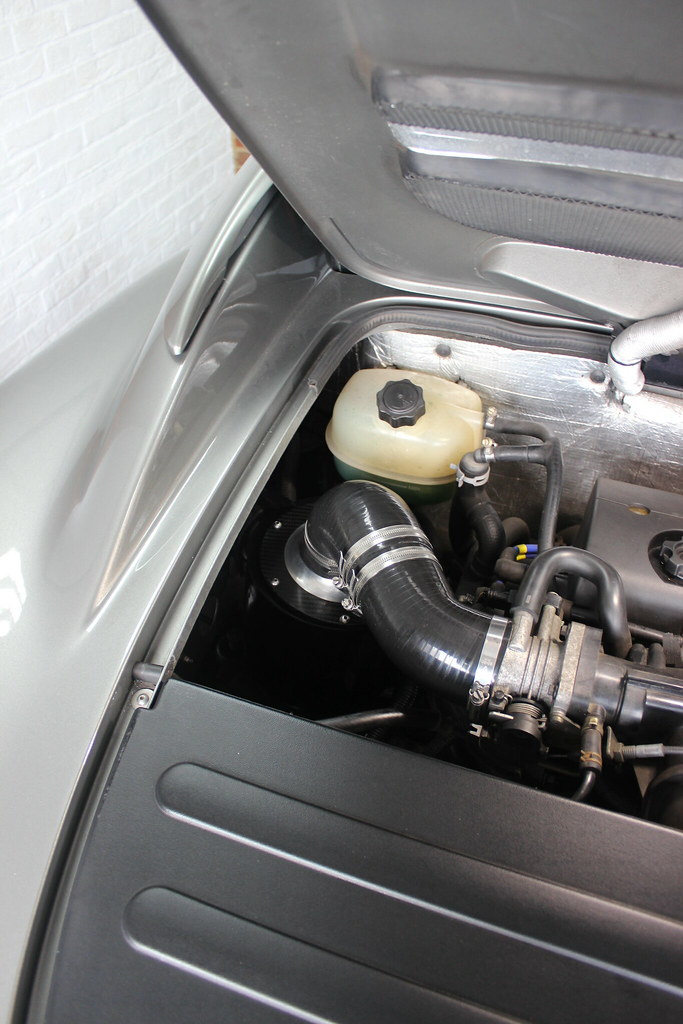
I have one of the Elise Parts cones that attaches to the inside of the side air inlet. This plastic bit needs to go, for it to fit.
![IMG_7541](https://live.staticflickr.com/1895/30331280938_8b335d62b3_b.jpg)
![IMG_7542](https://live.staticflickr.com/1847/44150288132_9cd1a992da_b.jpg)
![IMG_7543](https://live.staticflickr.com/1840/29261782357_52f8fc4e7c_b.jpg)
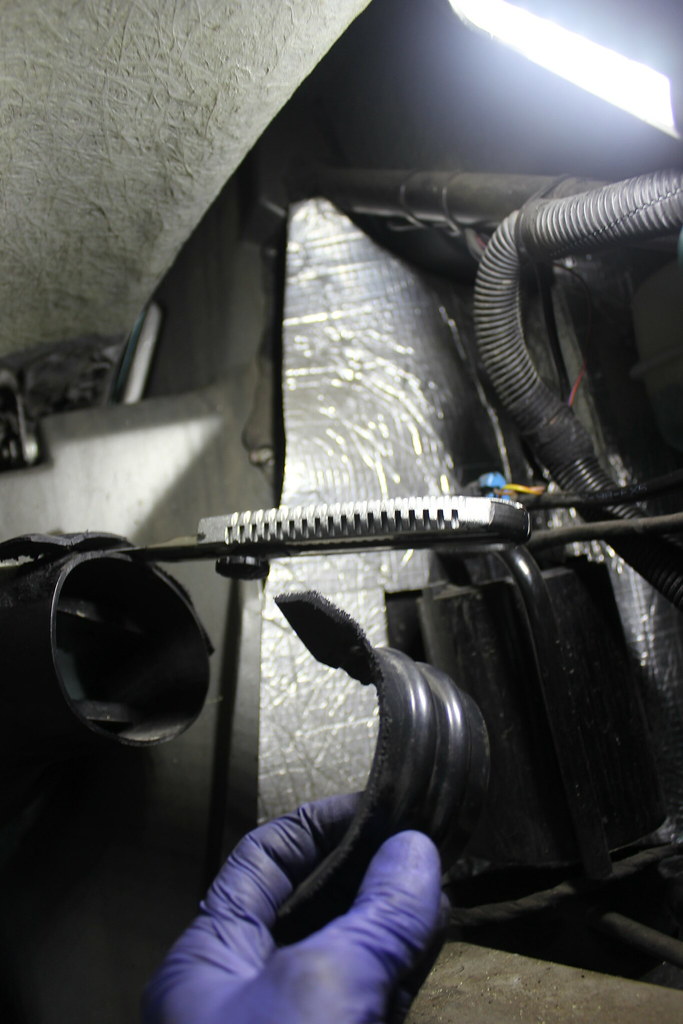
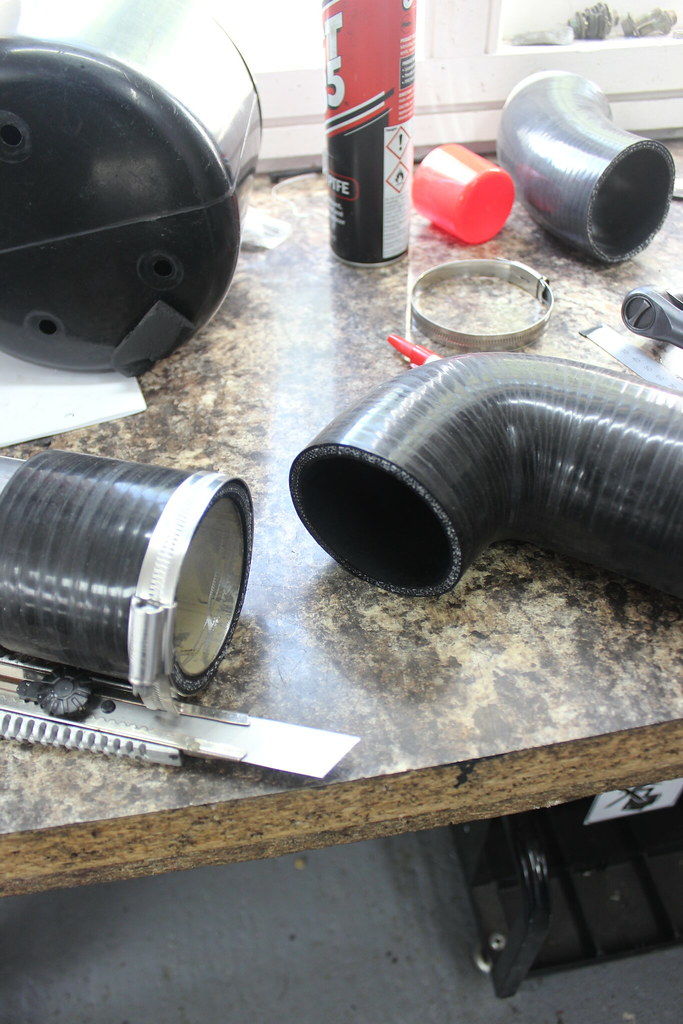
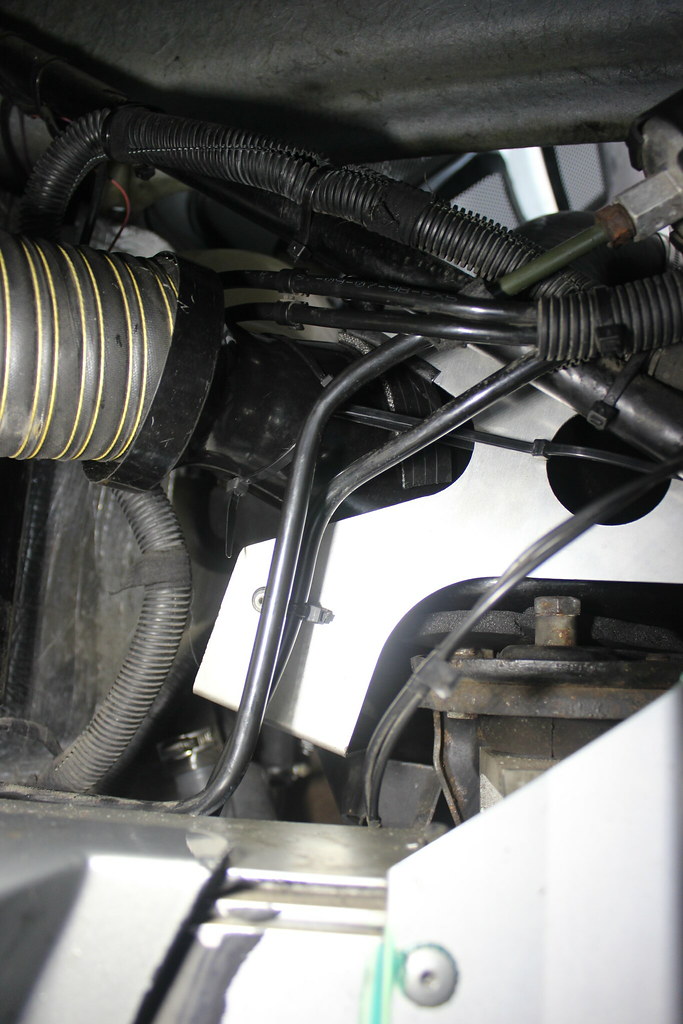
After getting all the various spare bits of hoses out again I came up with this plan.
![20180616_173344](https://live.staticflickr.com/1865/43500069394_102087b05e_b.jpg)
This way the inlet trumpet on the air box could be aimed in the direction of the side air inlet.
So what I needed was a couple of silicone bends. I ordered a 45 and a 90 degree bend.
![IMG_7568](https://live.staticflickr.com/1854/44150312532_c0f1981390_b.jpg)
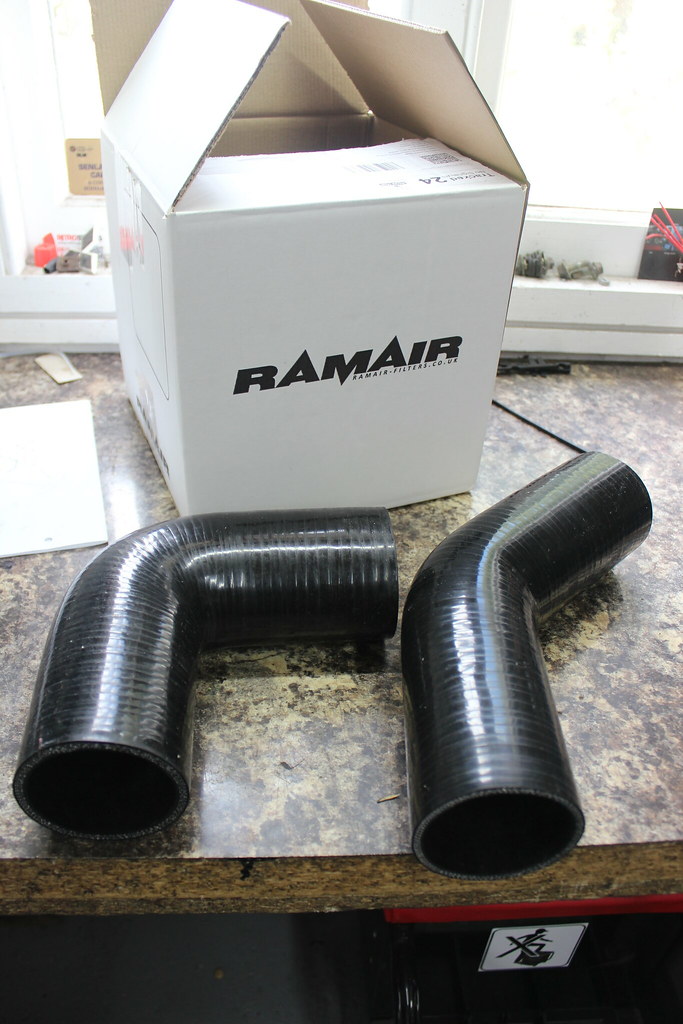
They needed some trimming down. This is the best way I’ve found for getting a neat cut on a silicone hose.
![IMG_7569](https://live.staticflickr.com/1811/44198510061_c96a94b0e1_b.jpg)
Some pipe, about the right diameter, with a good flat edge placed inside the hose and a hose clamp round the outside both lined up to where you want to make the cut. Then a good sharp knife run carefully round.
![IMG_7570](https://live.staticflickr.com/1899/43292577195_e4a19363ca_b.jpg)
![IMG_7571](https://live.staticflickr.com/1813/29261801877_f8c73a9736_b.jpg)
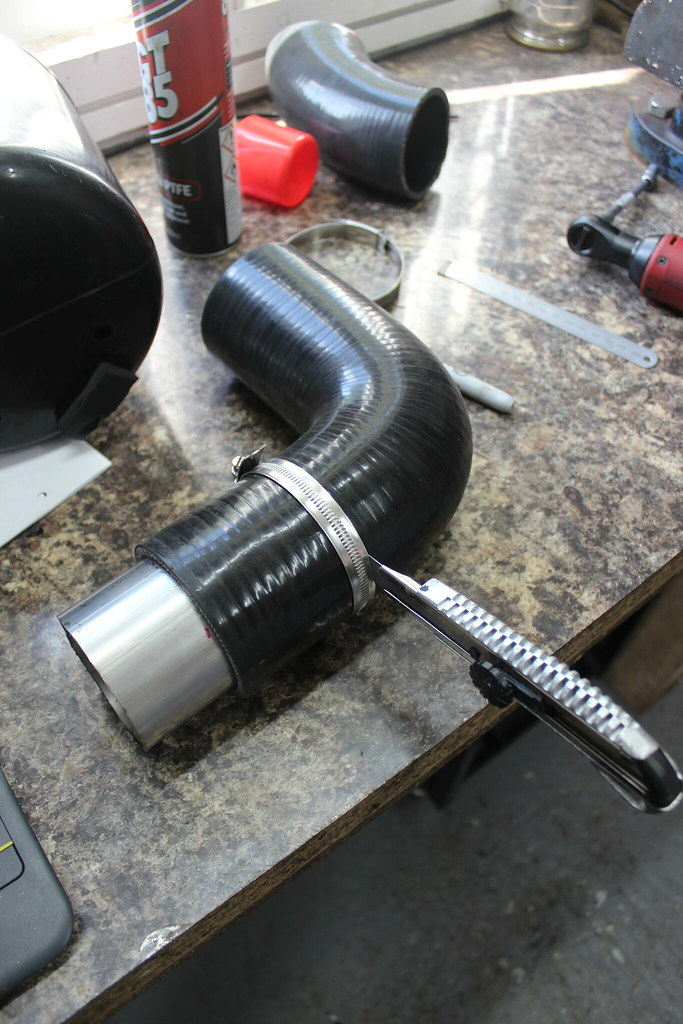
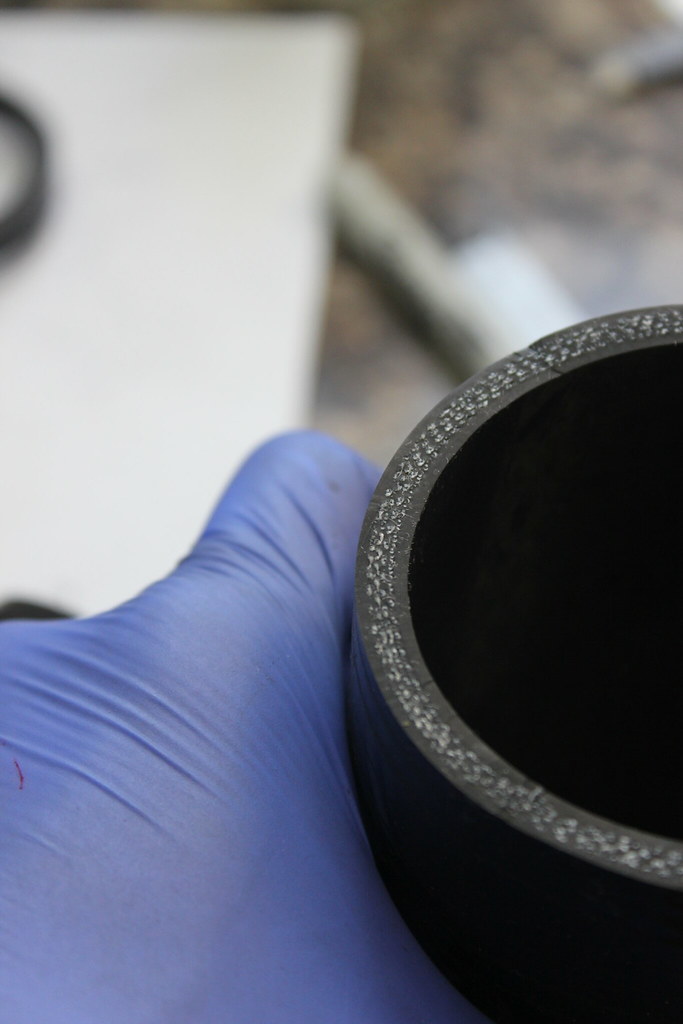
This usually results in a nice clean cut.
![IMG_7575](https://live.staticflickr.com/1871/29261802817_763ba15296_b.jpg)
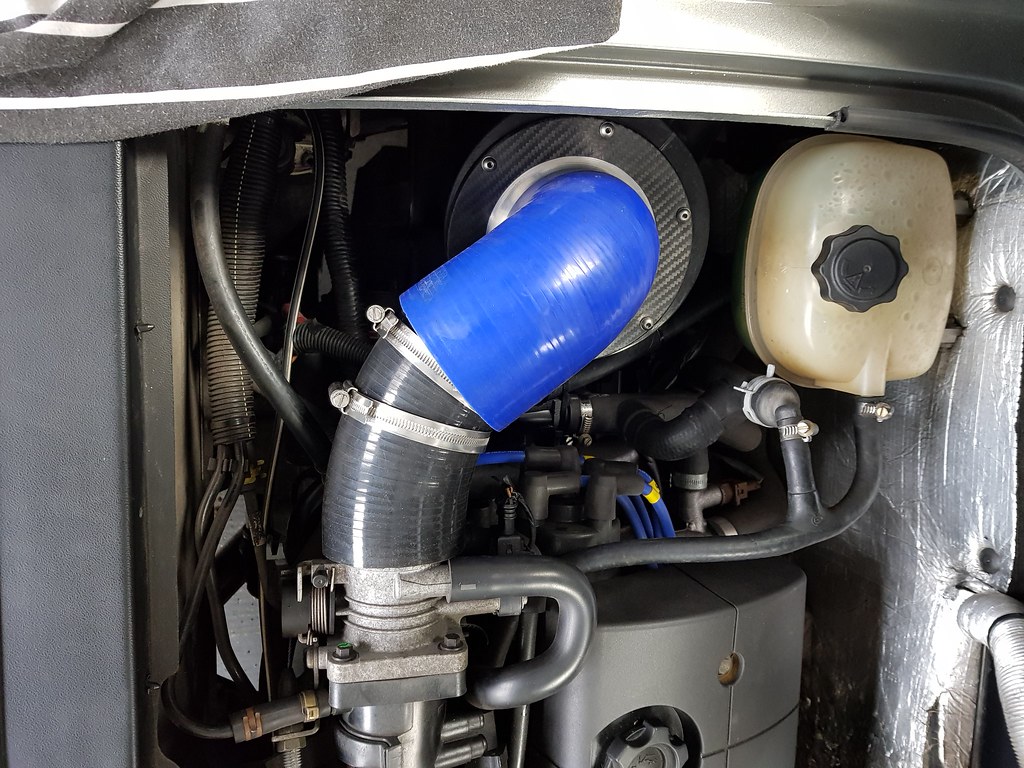
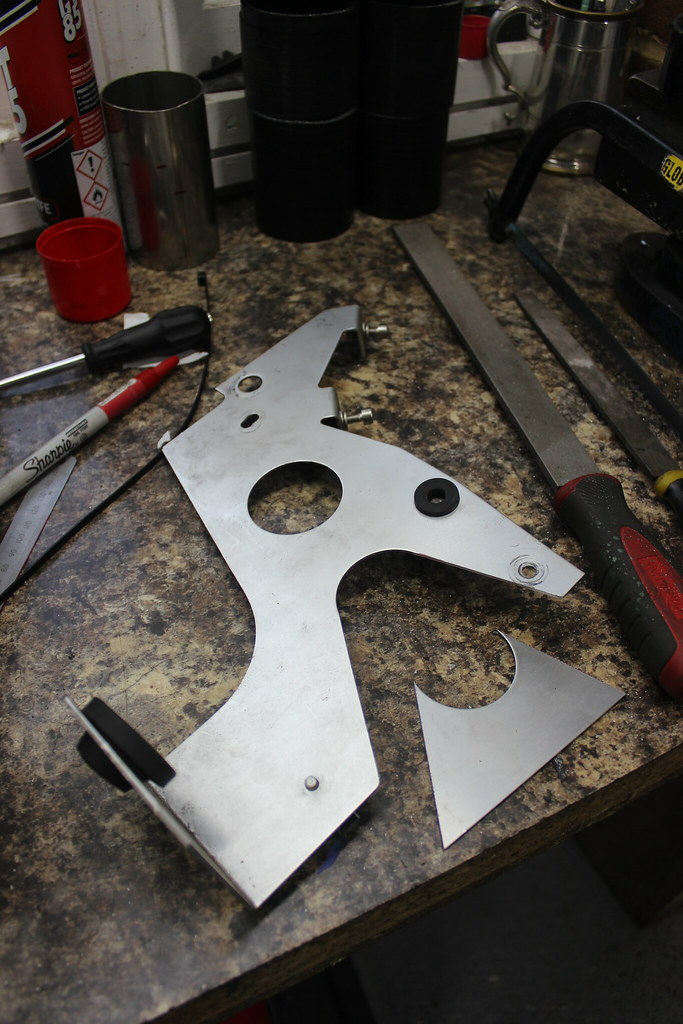
To get the ITG air box and inlet trumpet where I wanted it I had to remove the original air box bracket. The problem is this also holds the fuel filter so it had to go back in some form plus I always prefer to make modifications that are reversible if at all possible. So I just removed a section of the bracket meaning it could be refitted for the fuel filter and the original air box and filter could be refitted if I or anyone else wanted to in the future.
![IMG_7576](https://live.staticflickr.com/1879/44198513091_487ab8abe6_b.jpg)
![IMG_7577](https://live.staticflickr.com/1865/29261804007_2811656e3e_b.jpg)
![IMG_7579](https://live.staticflickr.com/1885/42390771830_7120c1a00f_b.jpg)
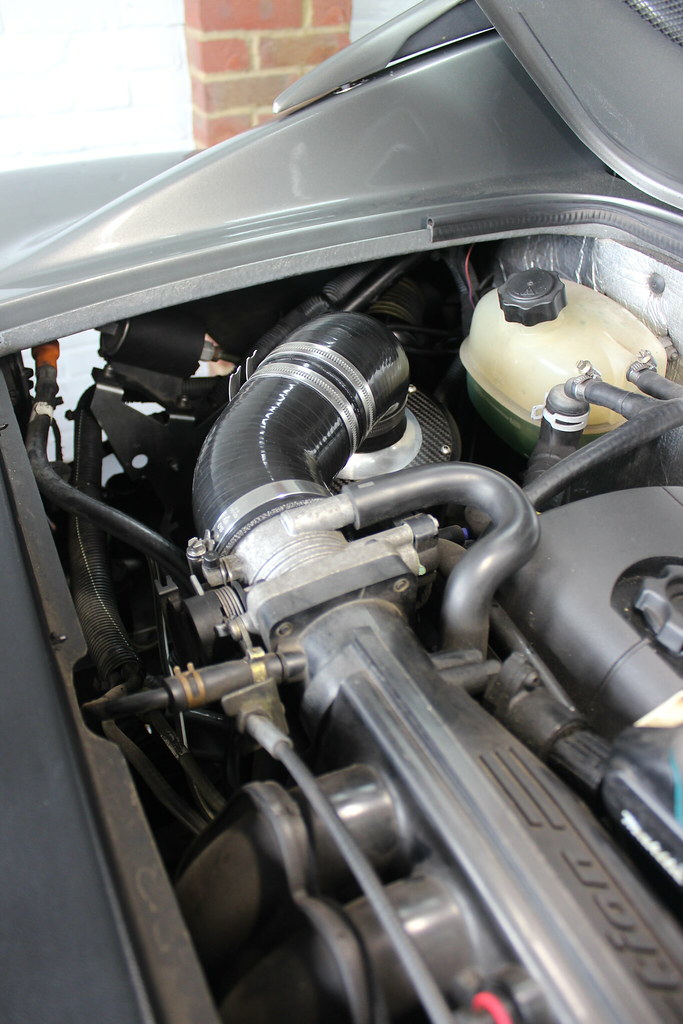
The inlet trumpet can now fit through the gap.
![IMG_7587](https://live.staticflickr.com/1895/42390777400_13b4337b36_b.jpg)
![IMG_7593](https://live.staticflickr.com/1849/43292584235_21e4ba6b65_b.jpg)
![IMG_7586](https://live.staticflickr.com/1865/42390776760_cabff95dde_b.jpg)
![IMG_7583](https://live.staticflickr.com/1893/30331328368_c19de9e997_b.jpg)
![IMG_7581](https://live.staticflickr.com/1856/29261805157_aa0de2923c_b.jpg)
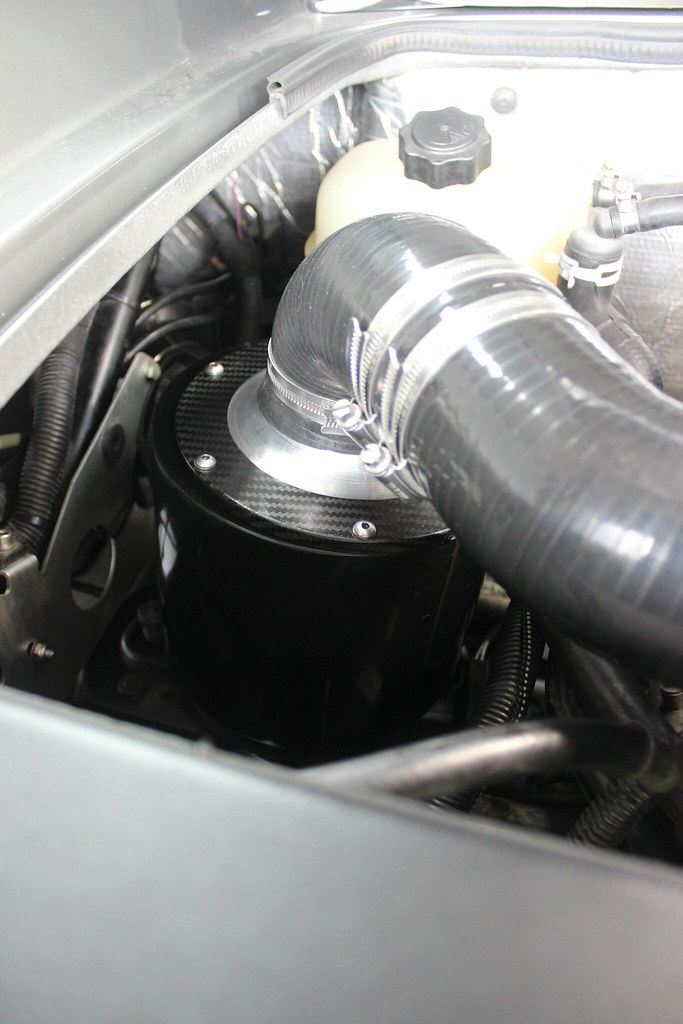
Fairly happy with the fit though it’s all quite tight. Should be fine but I’ll keep an eye on it as I do with most things.
![IMG_7590](https://live.staticflickr.com/1860/44150324702_671ff82c4e_b.jpg)
![IMG_7592](https://live.staticflickr.com/1860/44198523581_e8f16256d1_b.jpg)
![IMG_7589](https://live.staticflickr.com/1813/44150323682_8f0cdfefe0_b.jpg)
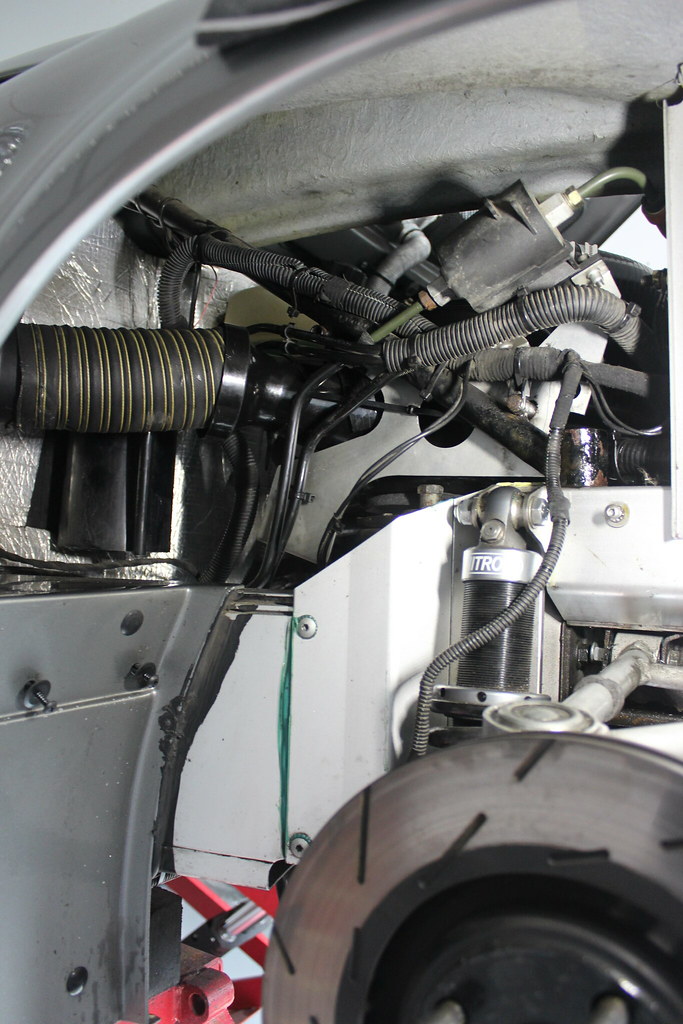
Arch liner back in and wheel back on. Time for some more driving.
![IMG_7595](https://live.staticflickr.com/1832/42390794810_d70106f932_b.jpg)