First Time on the Lift for a Mechanical Inspection
The Elise had been given all the necessary servicing during it’s lifetime so far with some decent upgrades too. But I think it’s fair to say that servicing work carried out, particularly during the last two owners time, was driven purely by MOT and recommended intervals. In my experience this approach can mean a number of faults go unnoticed that may need attention and as far as MOT’s go things can sometimes need to get fairly bad before they get picked up as a failure.
So with that in mind, the Elise now being at a ripe old age of 20, having covered 53k miles plus I am particularity fussy about any kind of play in suspension, it was inevitable I would find a few things I felt the need to deal with. Also the first time I heard it start up I was pretty sure I could hear an exhaust leak so that would need looking at if nothing else.
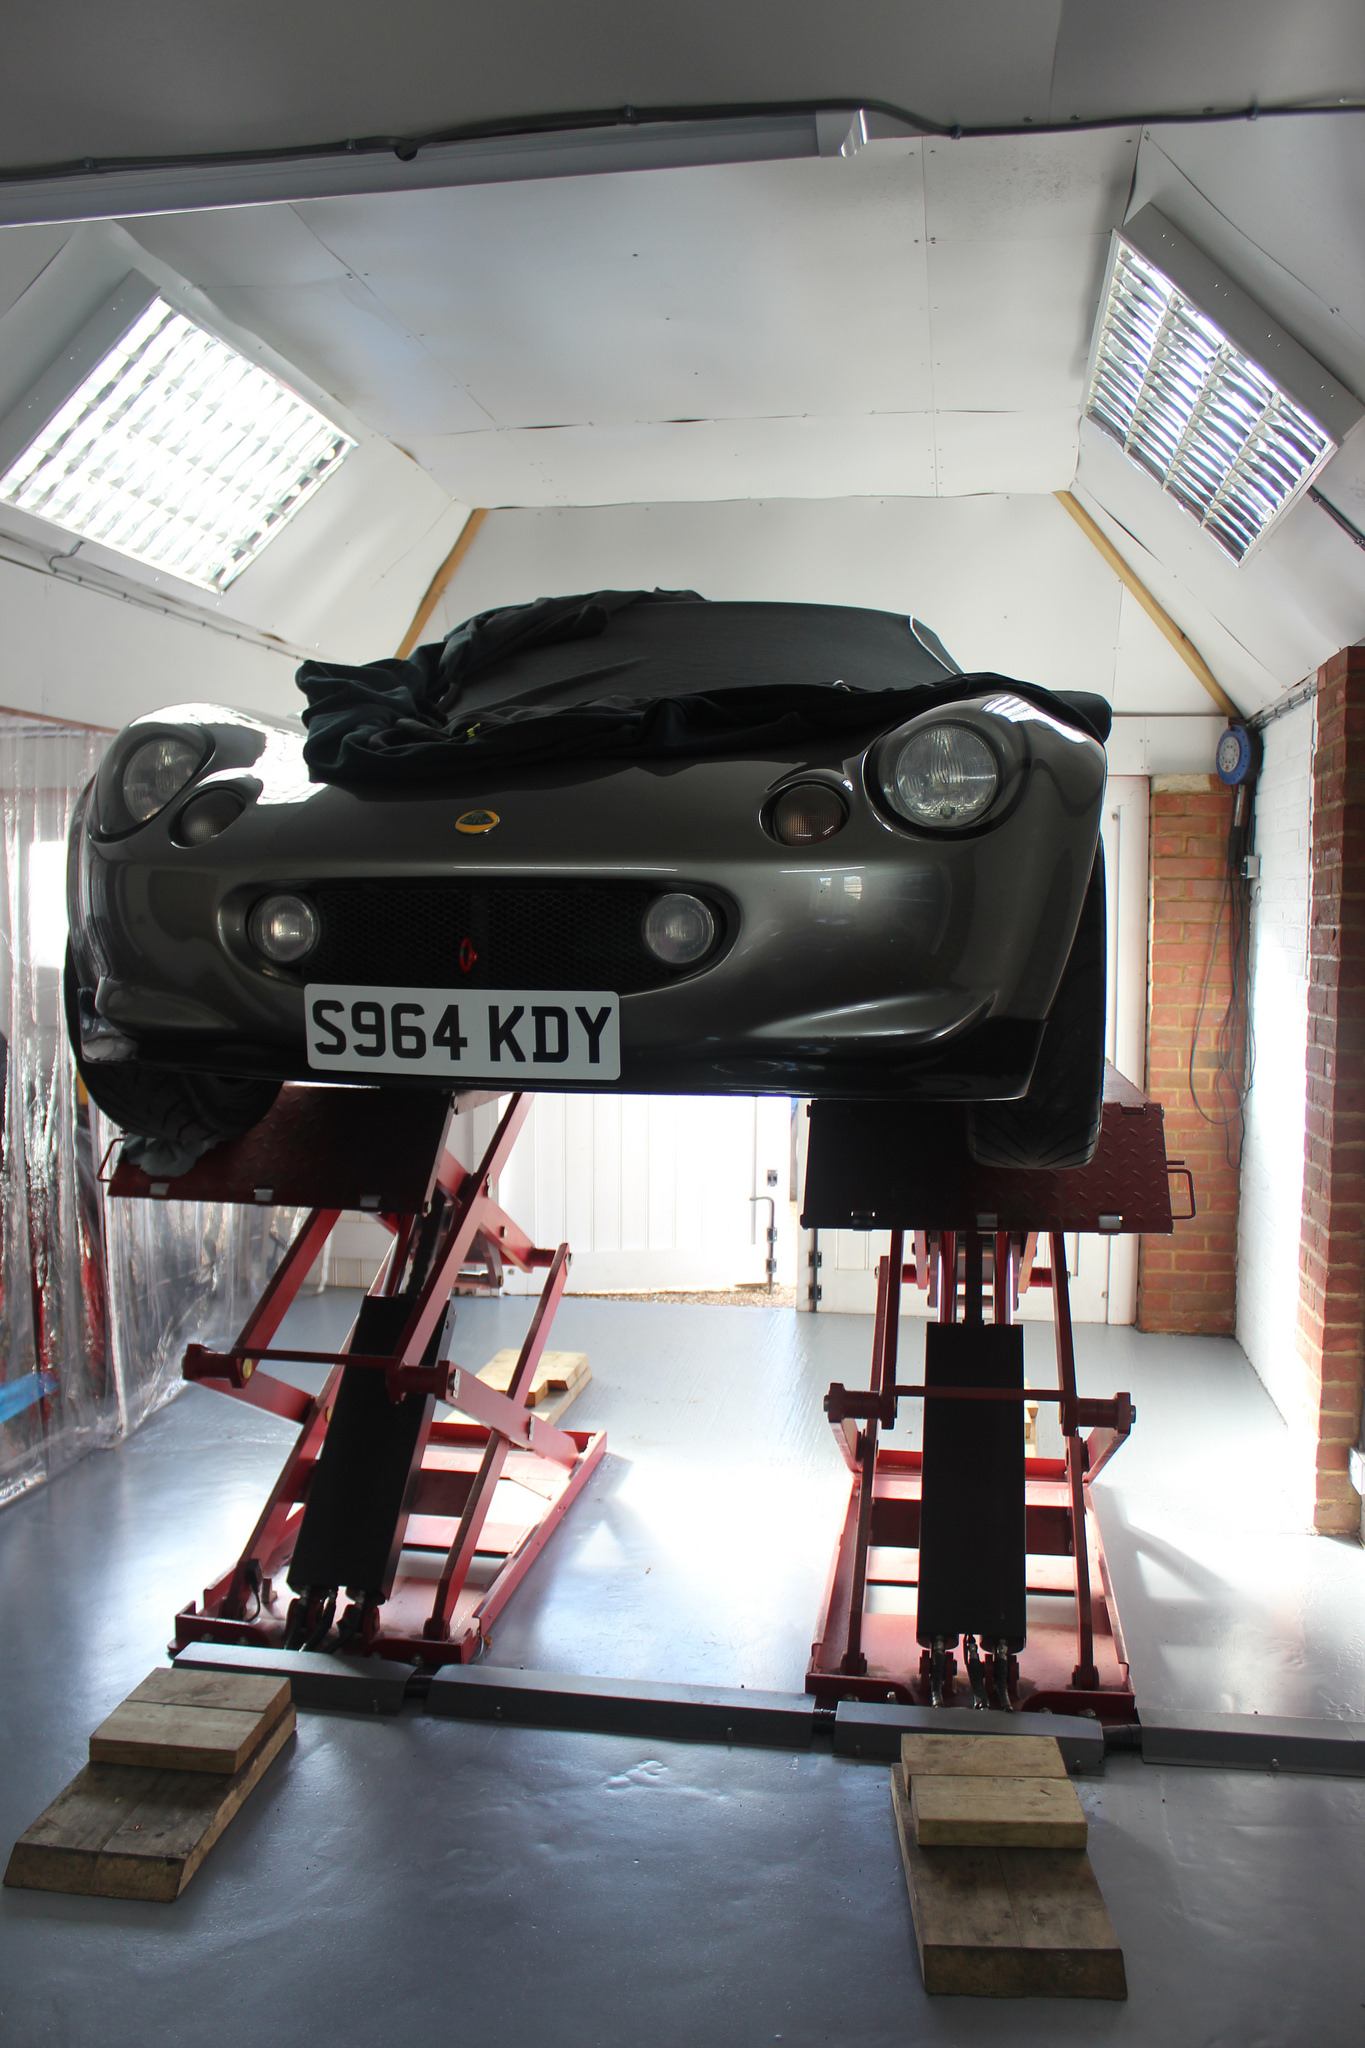
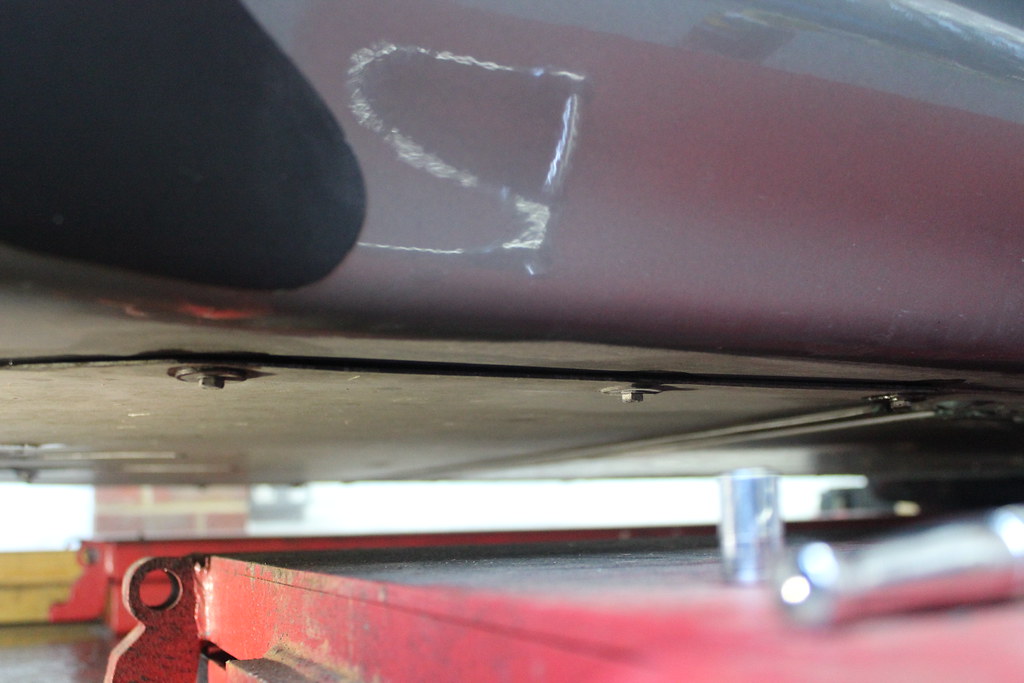
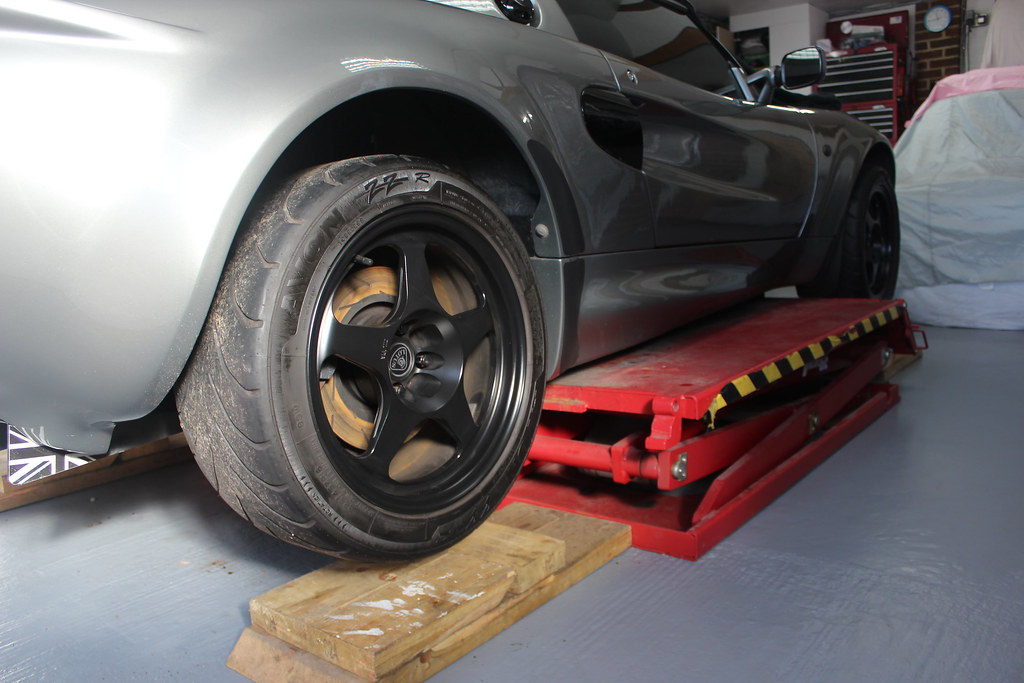
First thing I had to get right though was getting it on the lift with the blocks in the right place. This would be much easier with a two post lift where the arms can be moved around to exactly where they need to be. With the scissor lift I have the car needs to be positioned over the two platforms so that the jacking points of the car are above the platforms while also having enough room for the wheels to droop without touching the platforms, particularly the front where I want to be able to steer the wheels lock to lock. The relatively short wheelbase of the Elise meant this was made easier by removing the rear ramps from the lift as I do when lifting the Minis. I’d already had a look into where the jacking points are but I had a quick double check to be sure as I’ve seen pictures of the result of people getting it wrong. I was not going to be one of those people!
Undertray had to come off to access the rear most jacking points.
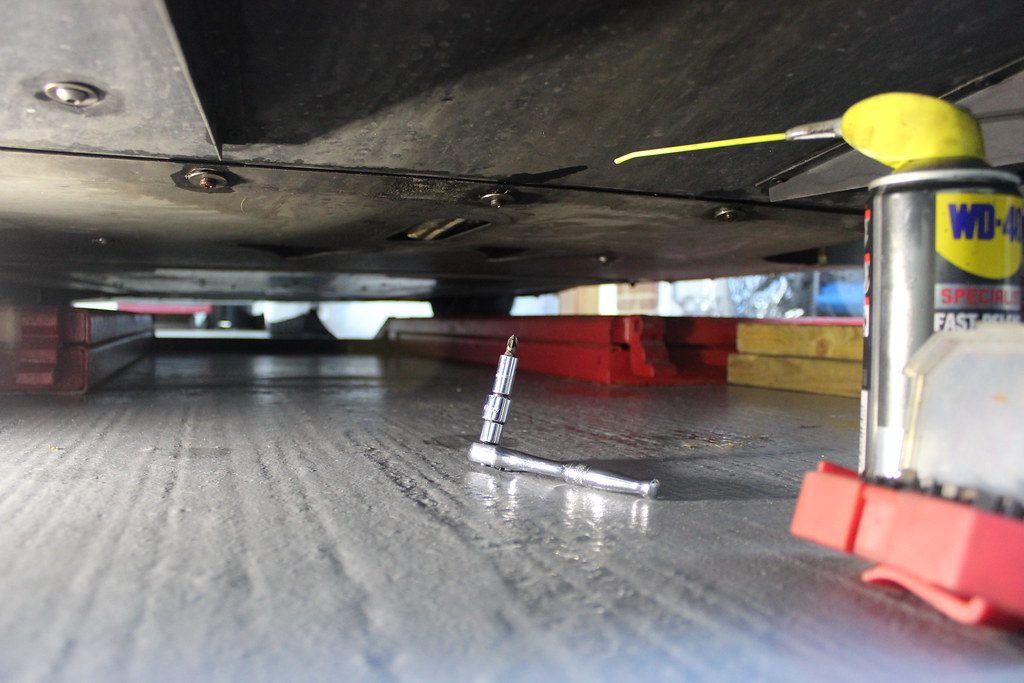
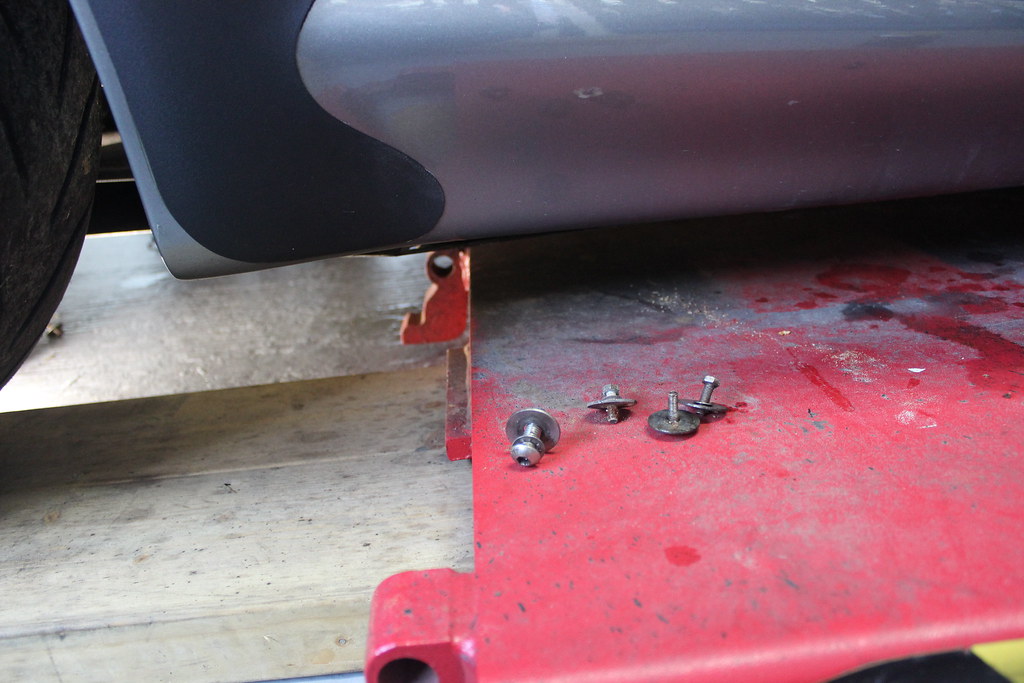
This sped things up a bit.
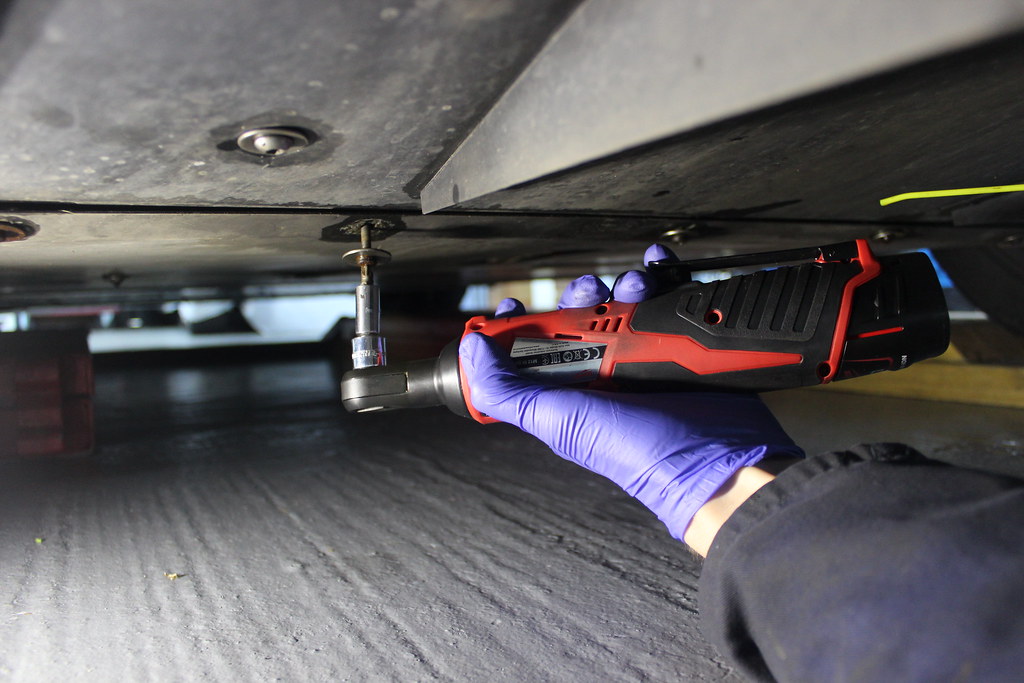
More bolts to remove.
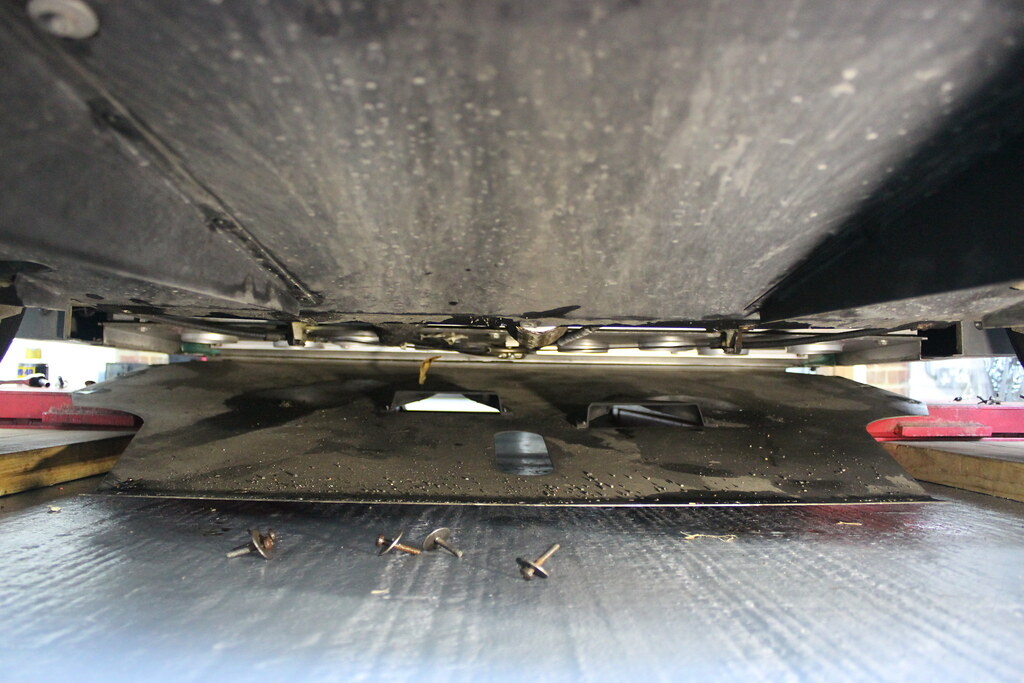
Undertray coming off.
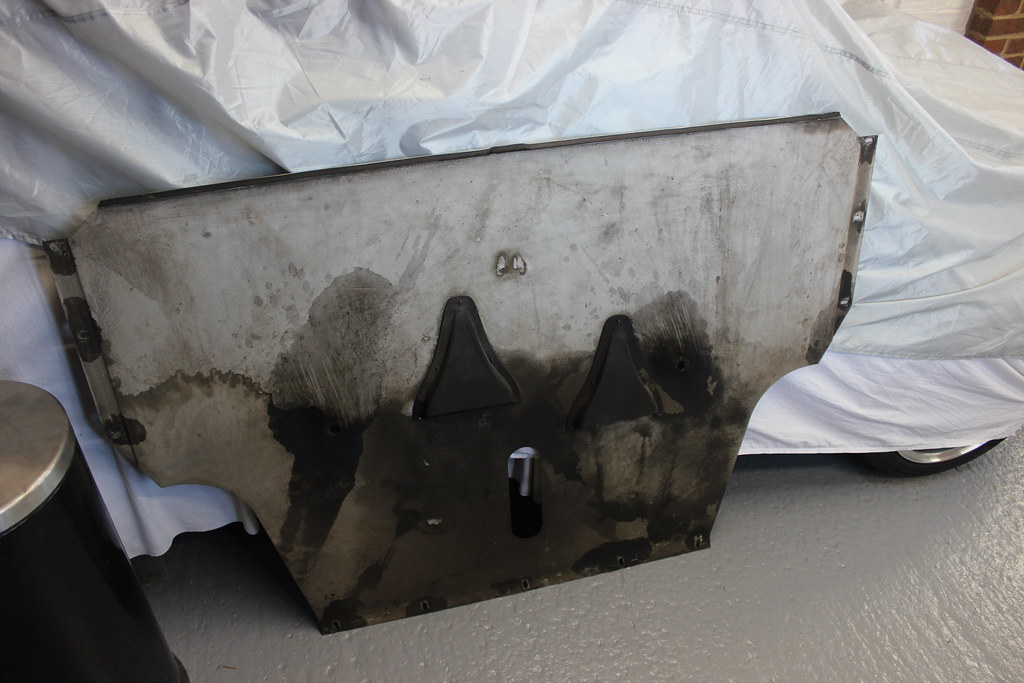
Well this is definitely going to get a clean at some point.
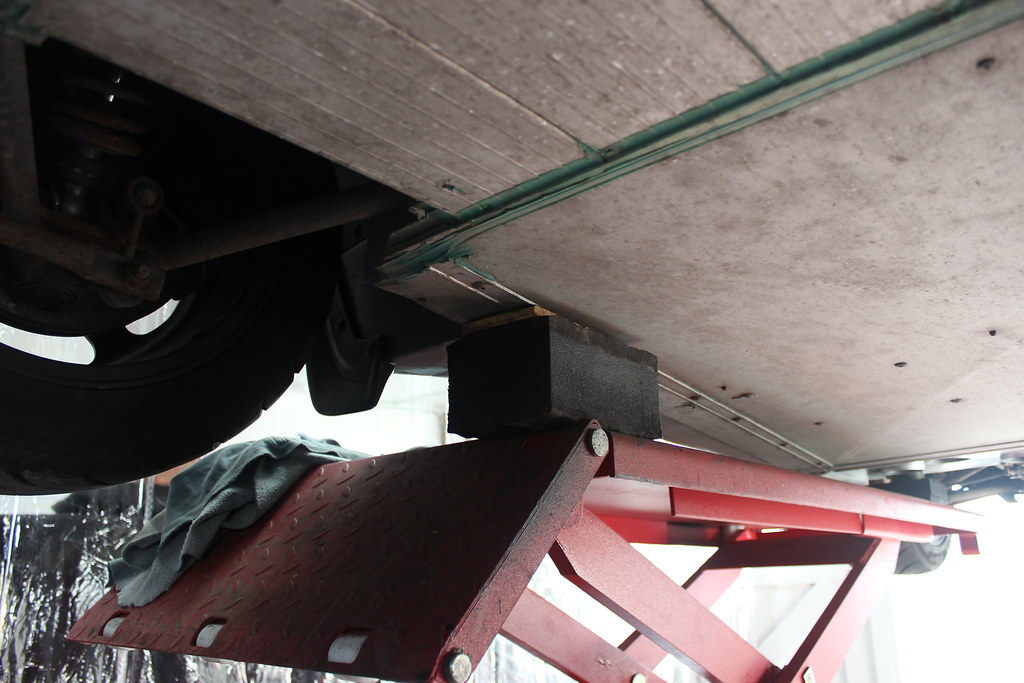
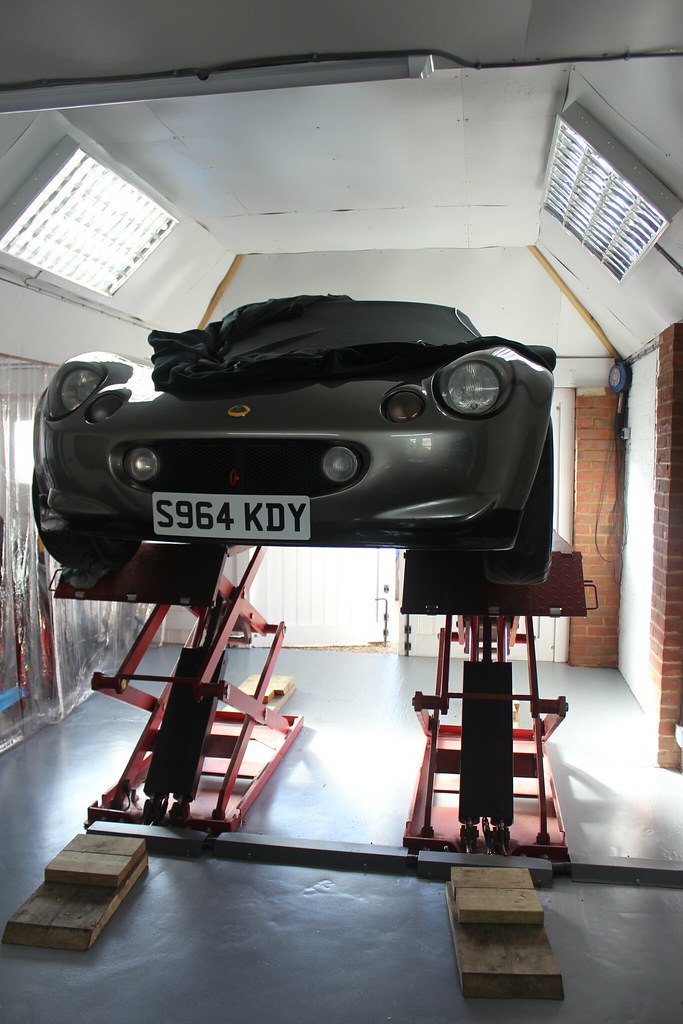
Blocks in place, Elise up!
Front blocks
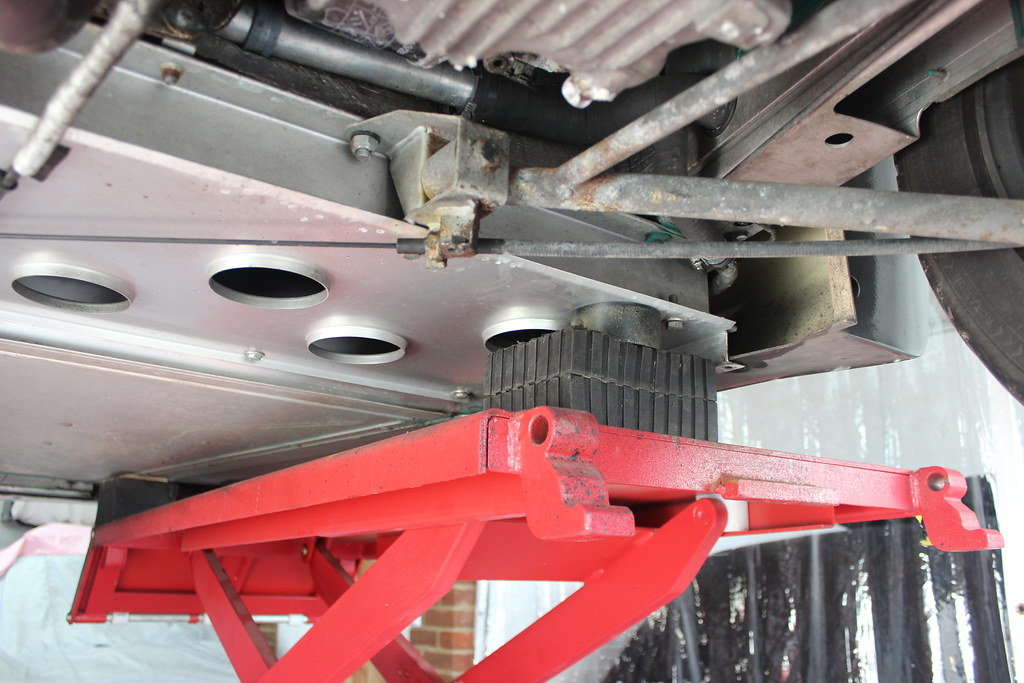
Rear blocks
That’s the original arrangement of blocks I came up with but I’ve lifted it a load more times now and use a slightly different arrangement.
Now I can get started on the inspection…..
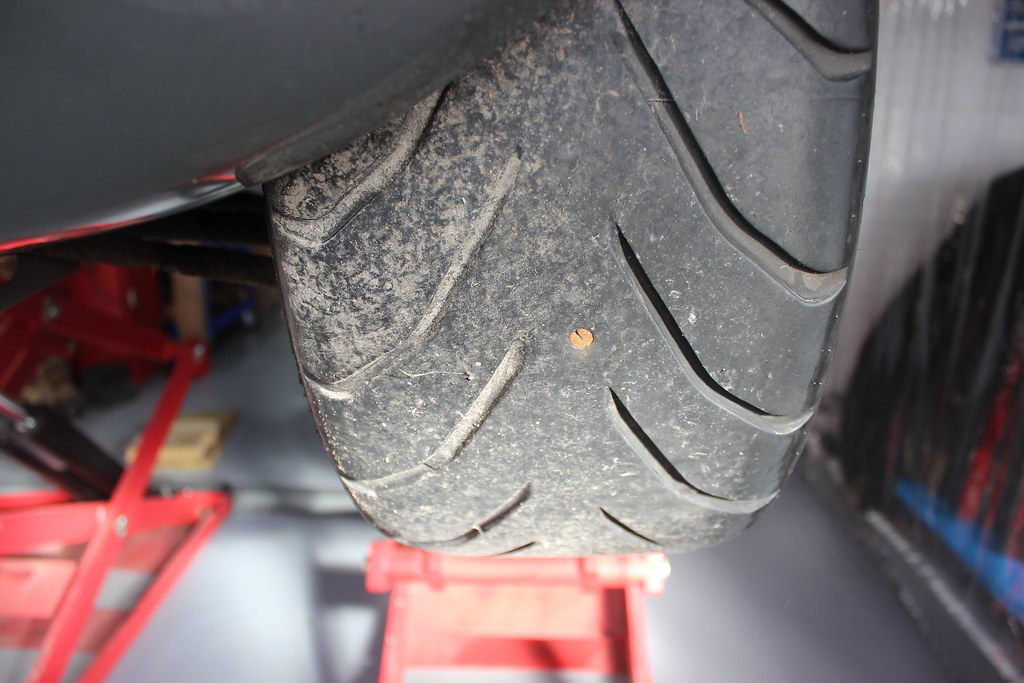
Well here’s the first thing on the list. At least it’s right in the middle of the tyre which is the best place for getting a good repair.
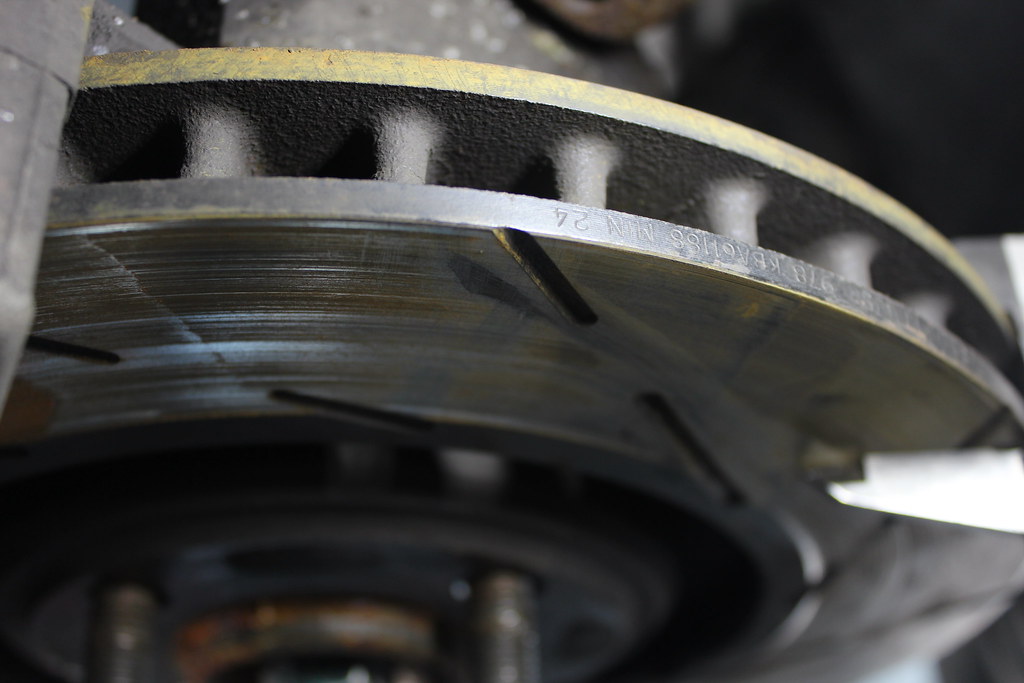
Quick check of all the brake pad and disc thicknesses. The pads all have loads left, the minimum thickness stamped on all the discs is 24mm which can just about be seen here.
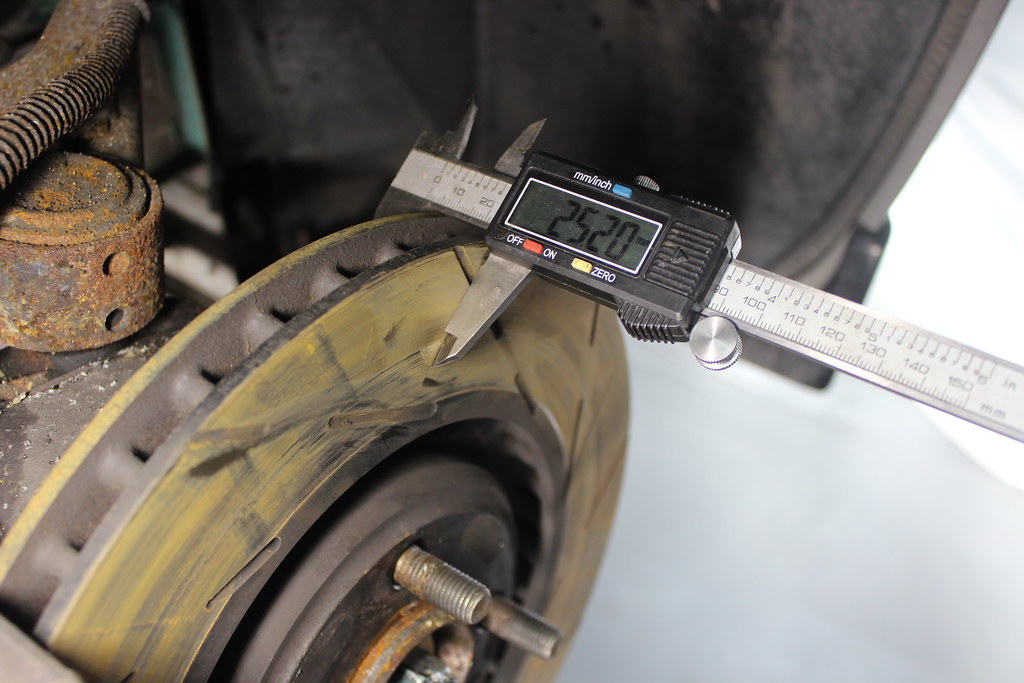
Front: 25.2mm
Rear: 25.8mm
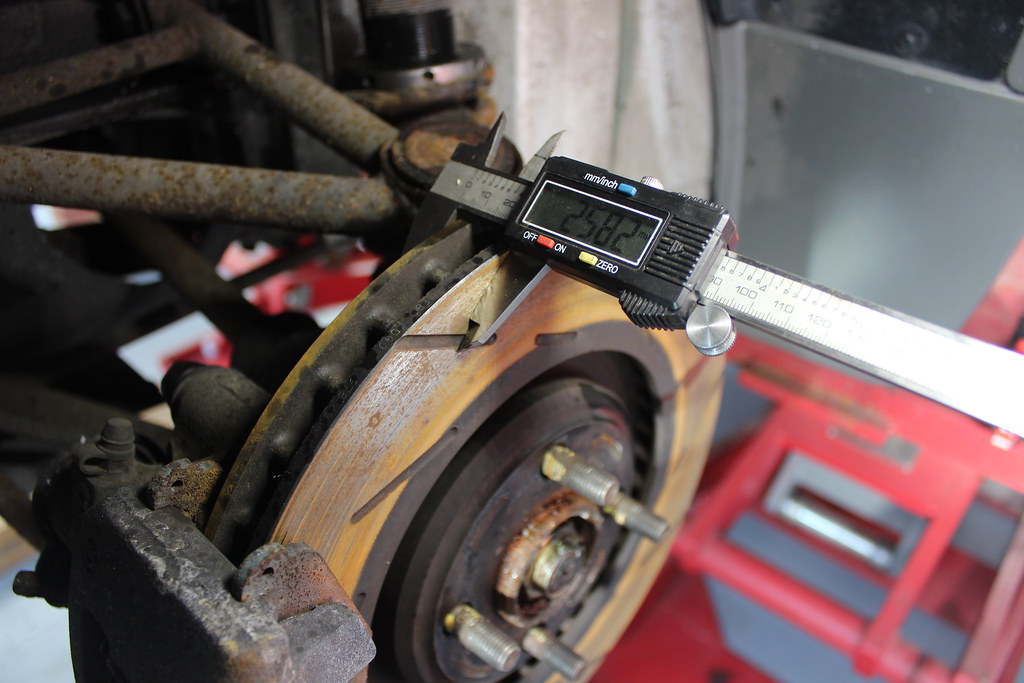
So no need to be changing them.
Diffuser off too so I can get a good look underneath.

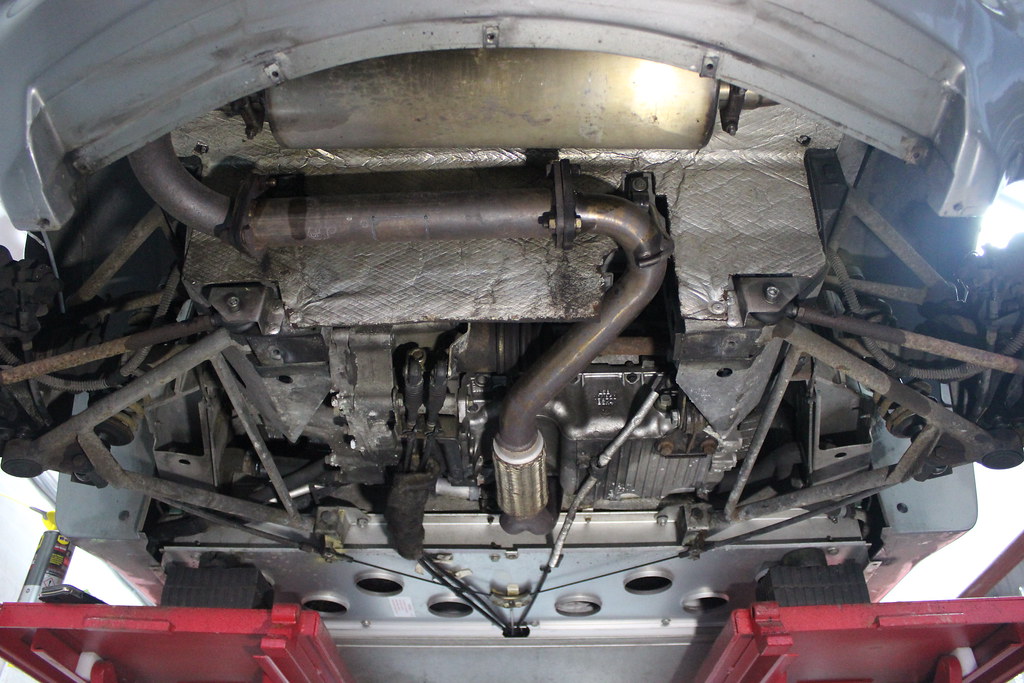
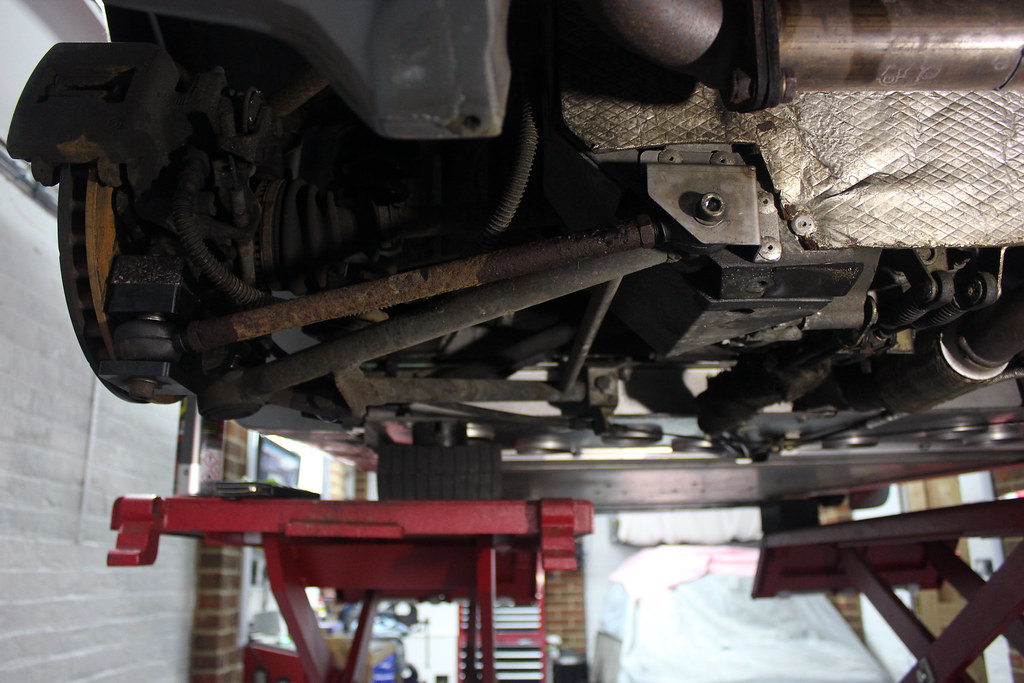
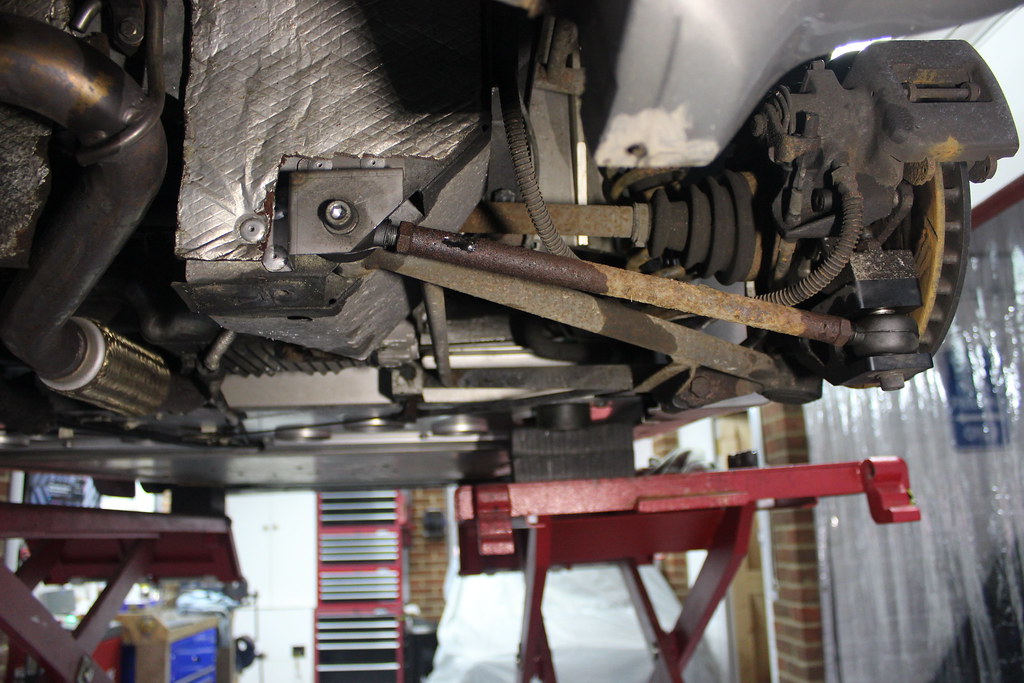
Rods in the Elise Parts tow link kit looking a bit rusty. Plus I could feel a small amount of play in one of the joints on both sides. Not something I can ignore. This was not brought up on the last MOT though it did list play in one of the rear wheel bearings as an advisory. I could not feel any play in the bearing so I assume the toe link play was misdiagnosed by the MOT tester.
Some play in the gear linkage so I will sort that out.
The underside looks much like any other that’s had mostly basic maintenance. Wishbones have surface rust but nothing bad at all and everything else is just generally grubby and old looking. Nothing too unexpected really.
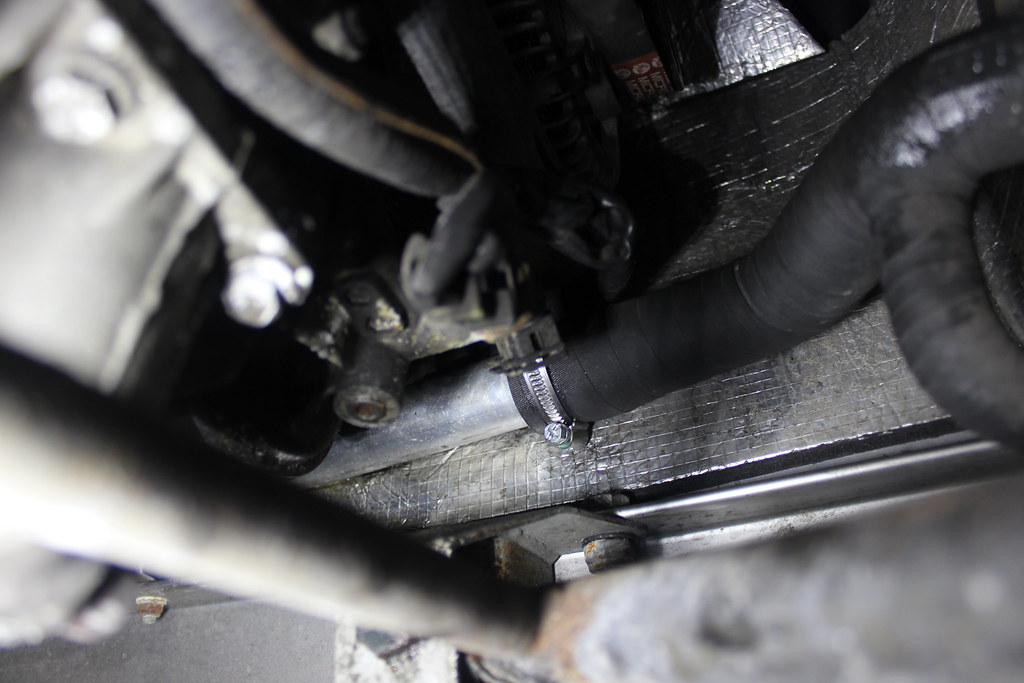
One thing I spotted right away was a broken hose clamp which I’m very pleased did not cause the hose to come off during my drive home. Especially given the propensity for the K-series to throw a head gasket if overheated. Also the coolant would have ended up all over the rear tyre!
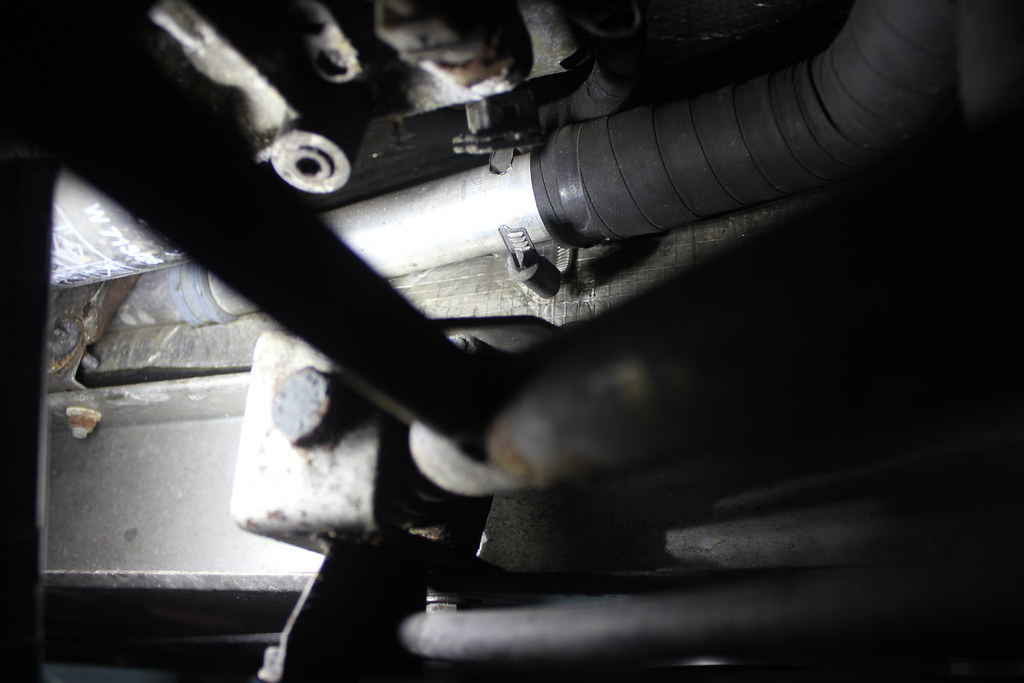
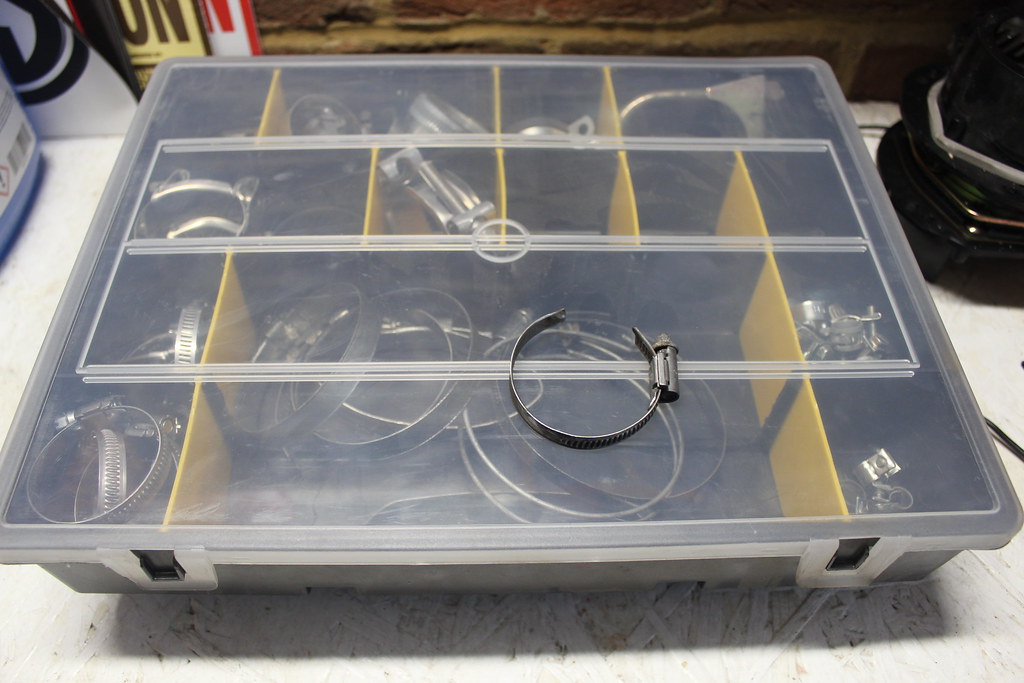
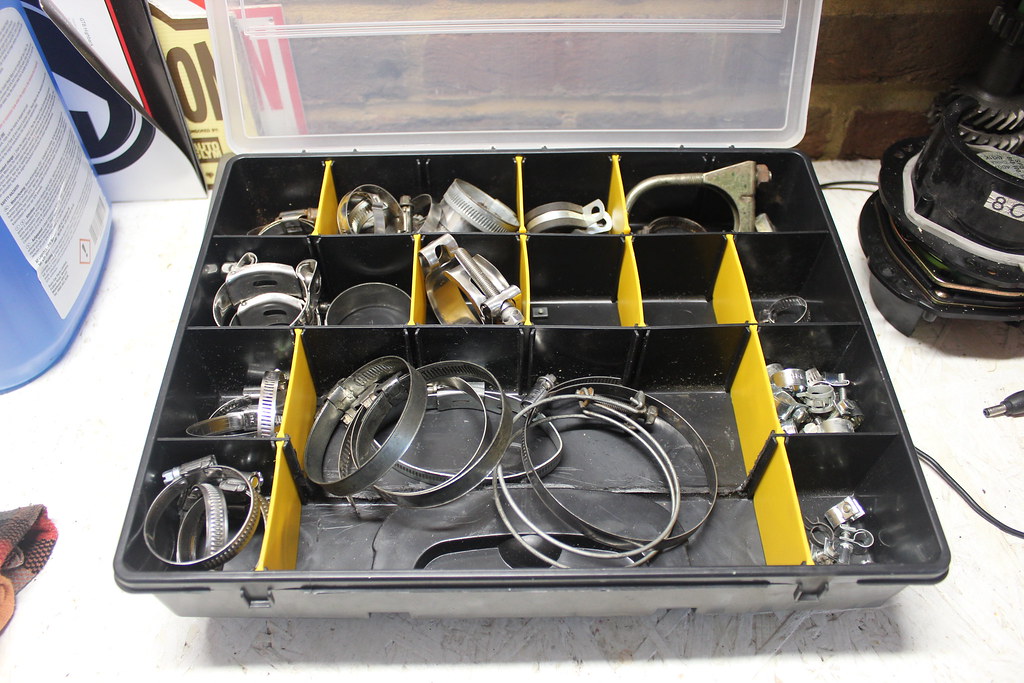
Easily dealt with though.
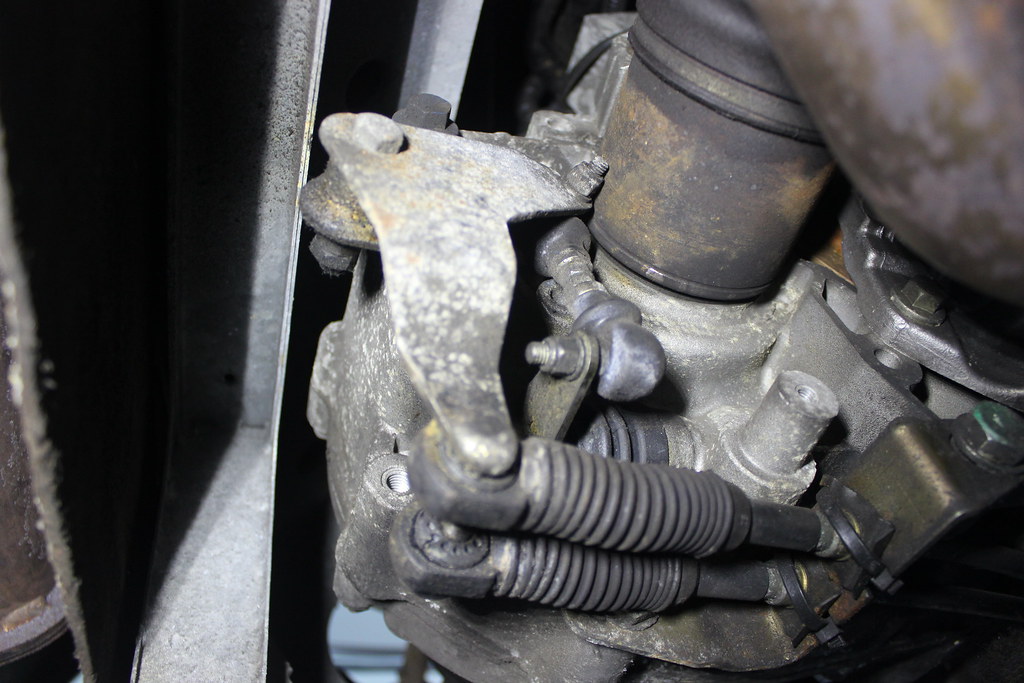
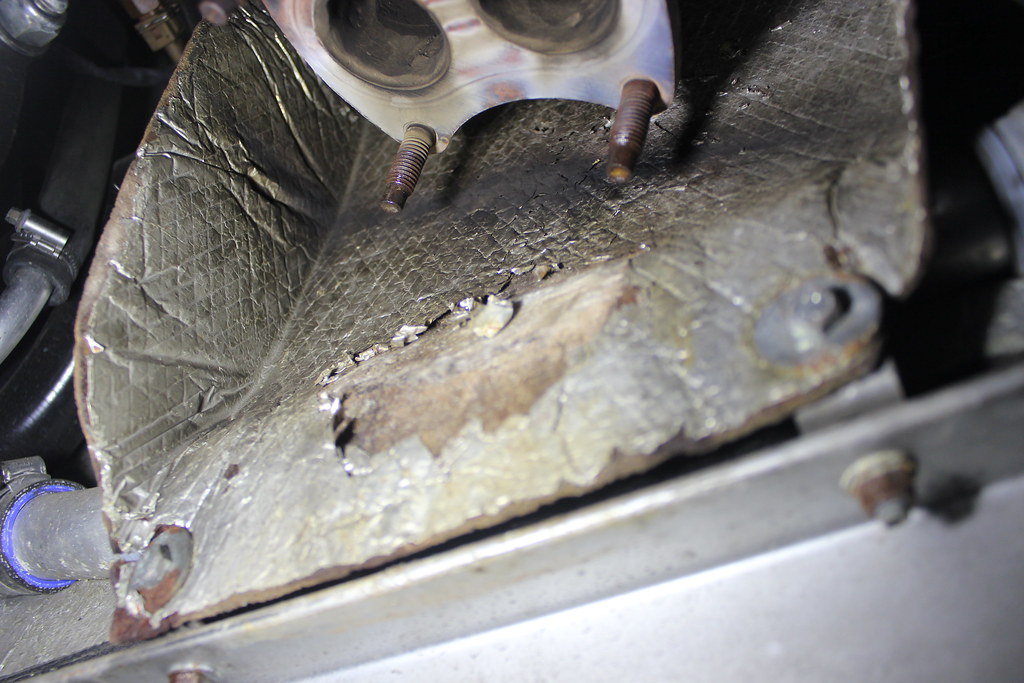
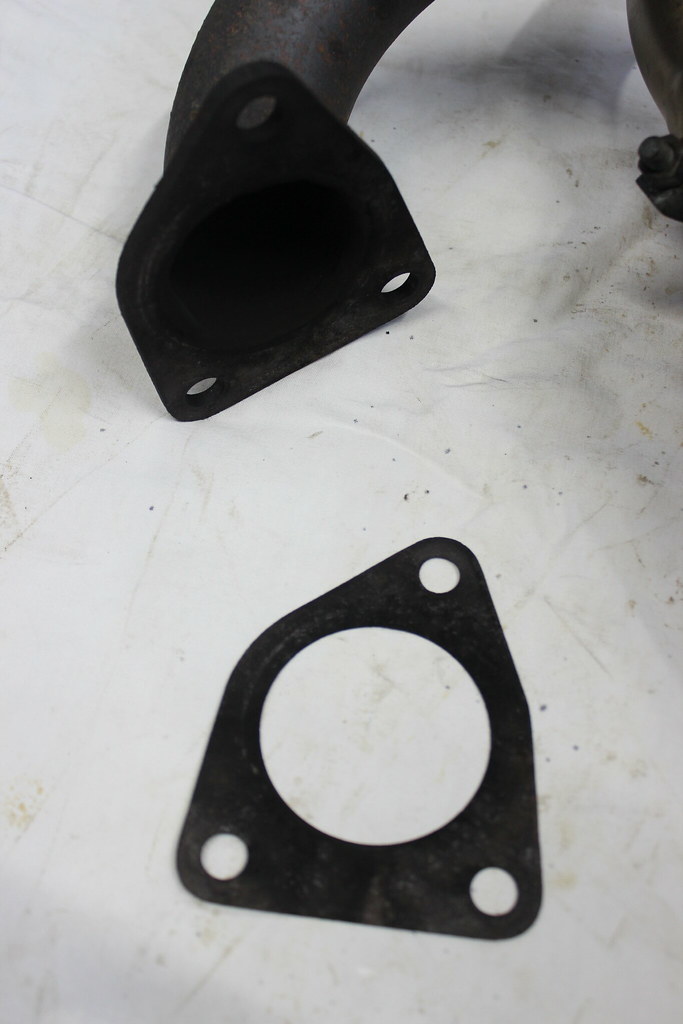
The next thing to deal with was the exhaust. I knew I could hear a leak and sure enough every joint from the manifold to downpipe joint and onwards was leaking. You can just about see the black mark on the heat shield where it’s been leaking at the manifold to downpipe joint here.

Also visible on the gasket here.
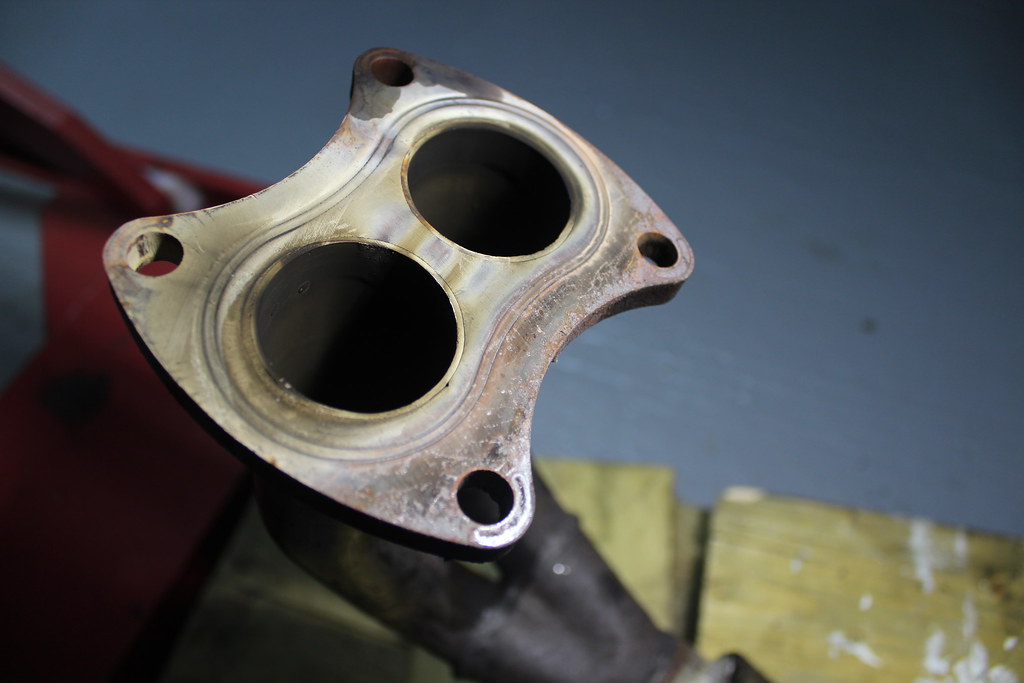
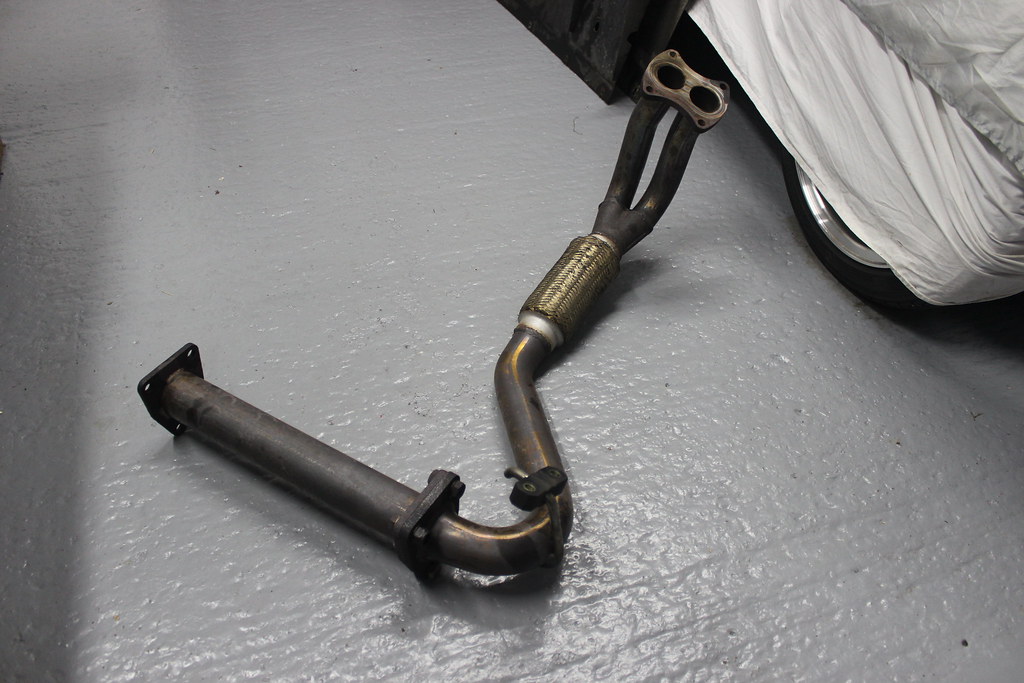
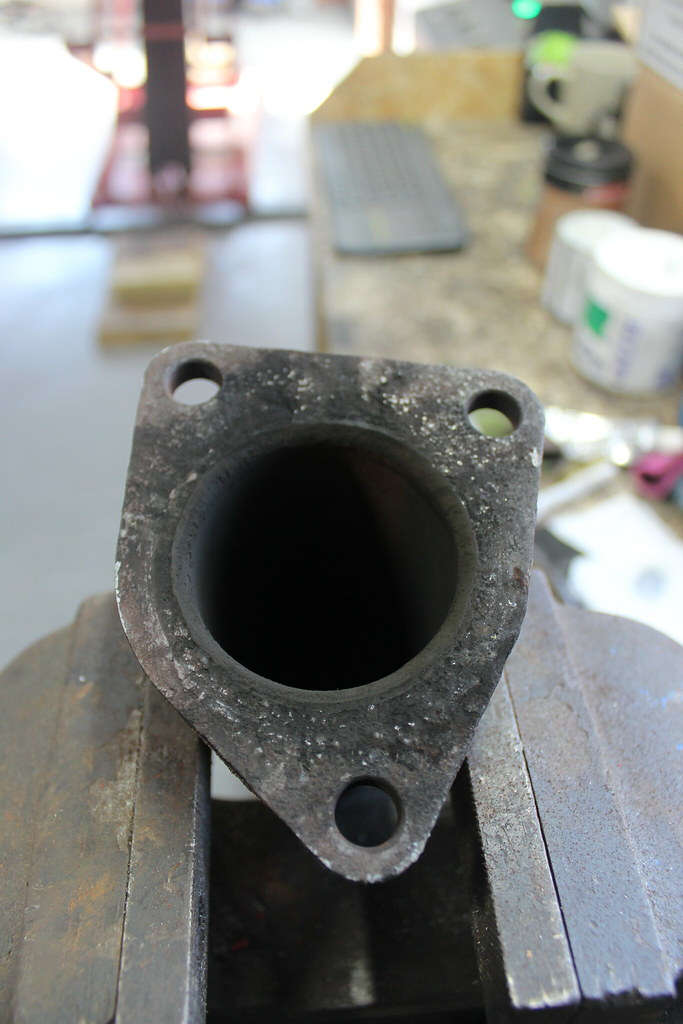
And with the downpipe removed the sooty black line around the join is very clear.
With the exhaust system removed I could see how badly it had been leaking.
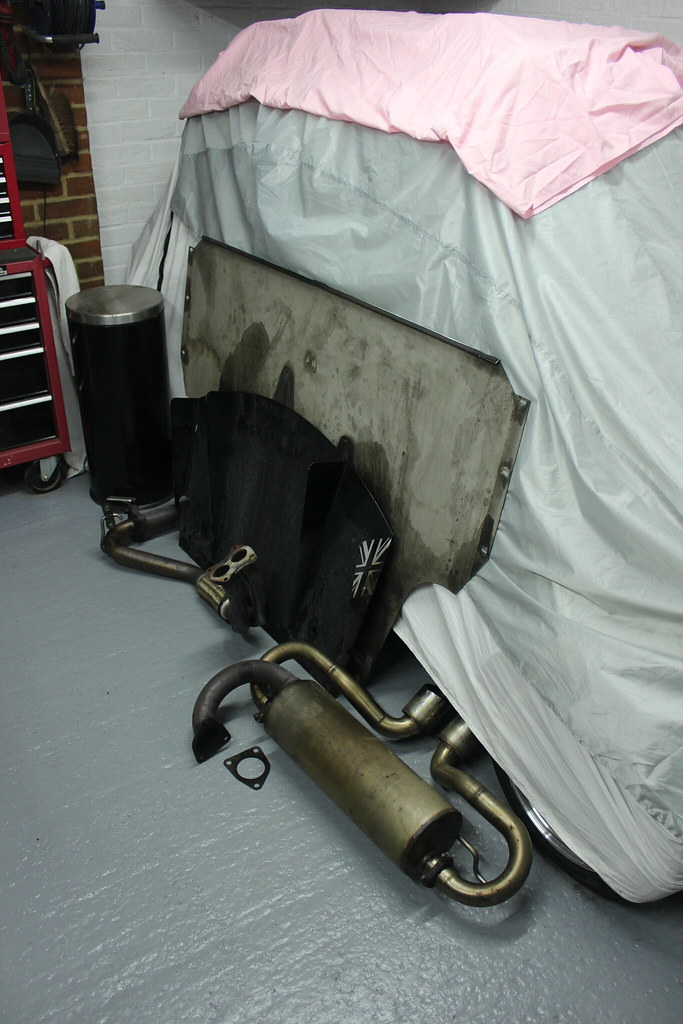
No wonder it sounded a bit farty.

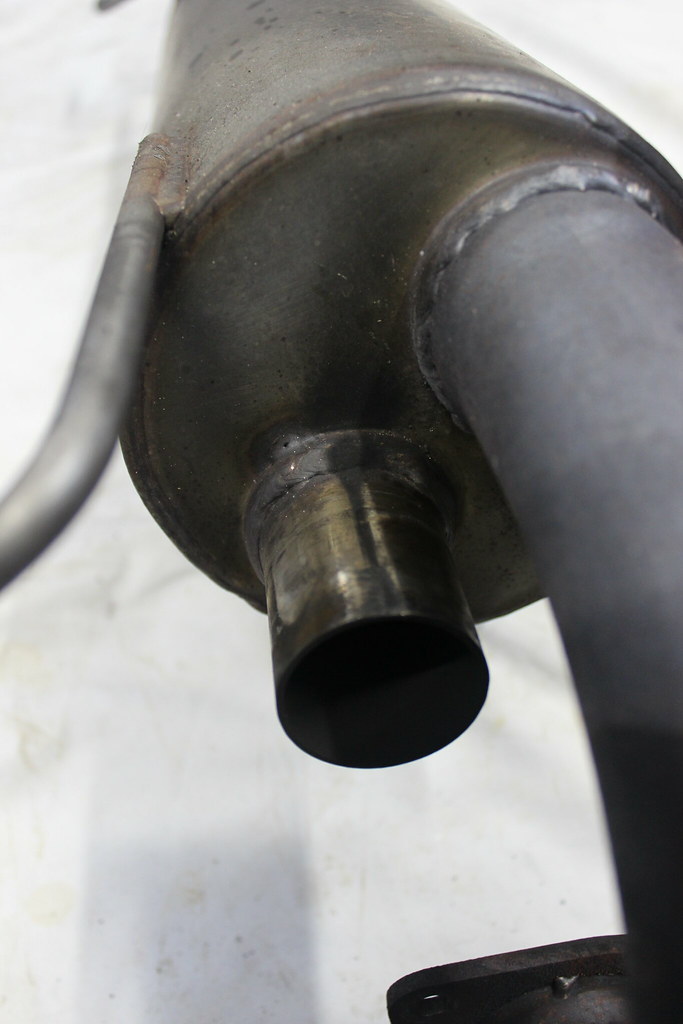
Even both pipes out of the silencer were leaking a bit.
I also gave the front suspension a good look over. I found some play in both track rod ends and the lower left ball joint. Plus the left wheel bearing didn’t feel great. Though there was no movement in it, it wasn’t spinning as freely as I’d like. I removed the large bolt through the bearing/drive flange and found it pretty filthy/greasy behind the large washer so I gave it all a good clean and managed to force a load of fresh grease past the seal, into the bearing then it felt fine and span quite freely. Replacing the bearing is obviously the long term fix here but I didn’t want to get into that just yet as I wanted to get it back on it’s wheels in a state I was reasonably happy with so I could actually drive it. I also realised, quite soon after getting underneath the car, that a full suspension refresh would be something I’d be wanting to do and that would mean new bearings all round.
Having been round the car and found the first list of things I wanted to get sorted before driving it some more, I put together a shopping list for a bunch of parts and got them ordered.
In the mean time I thought the exhaust could do with a good clean and polish while it was off the car…..