After completing the suspension refresh the Elise needed a full wheel alignment. I set the toe and camber all round and got the ride height about where I wanted it then drove the Elise a bit before going round and checking/adjusting any alignment settings plus double checking various nuts and bolts. So as I was happy with the setup the final thing to do was check and adjust the corner weights.
I had a search for proper corner weight scales and the cheapest I could find a set for was around £1000. I guess I could have bought some but that’s a fair bit to spend on something that will get very little use. Once I’ve set up a car that’s pretty much it, I’m not changing springs and setups every weekend like a race car.
So I looked at alternatives. I had been here before as a long time ago I set the corner weights on my classic Mini using some very cheap bathroom scales from Argos. I got 6 sets, 2 for each front wheel and one each for the rear. The Mini was lighter than the Elise so the max 120kg of each scale was just enough. Though I’m sure they didn’t give me the measurement some proper scales would, they certainly helped as it was quite a long way off to start with and the trouble I was having with one wheel wheel always losing traction was greatly improved.
Things are different now, I have a bit more spare cash and there are relatively inexpensive digital scales available that weren’t back then.
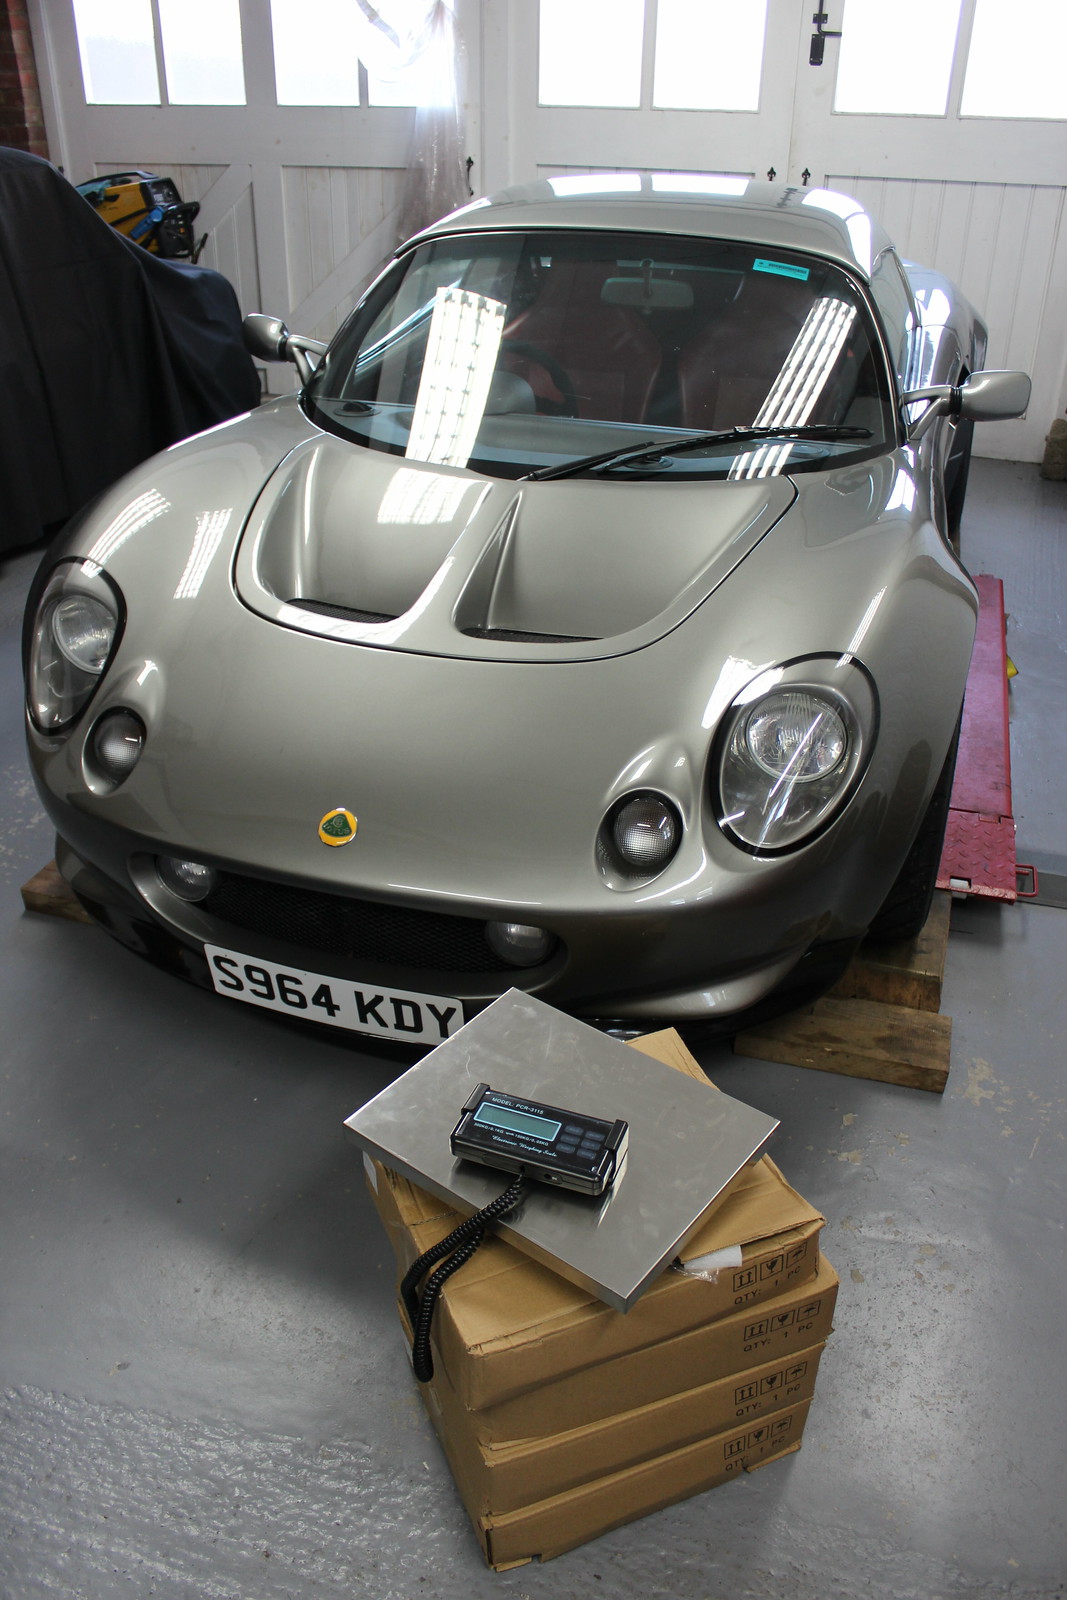
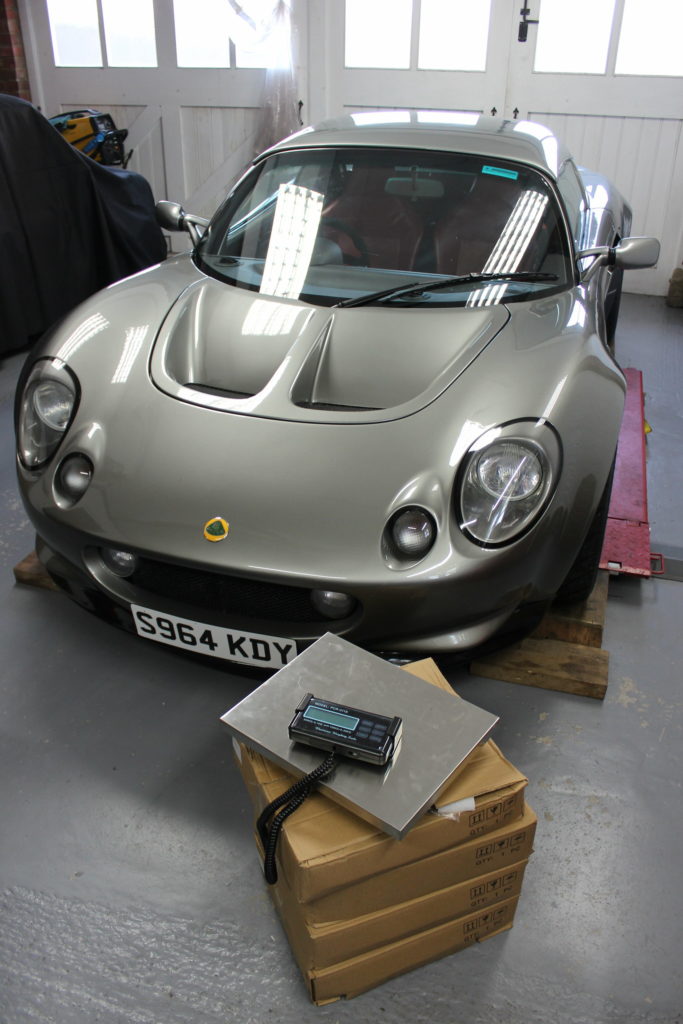
So I bought some eBay specials. They have a max load of 300kg per scale and cost £30 each. So I have myself a set of corner weight scales for only £120. Cheap!

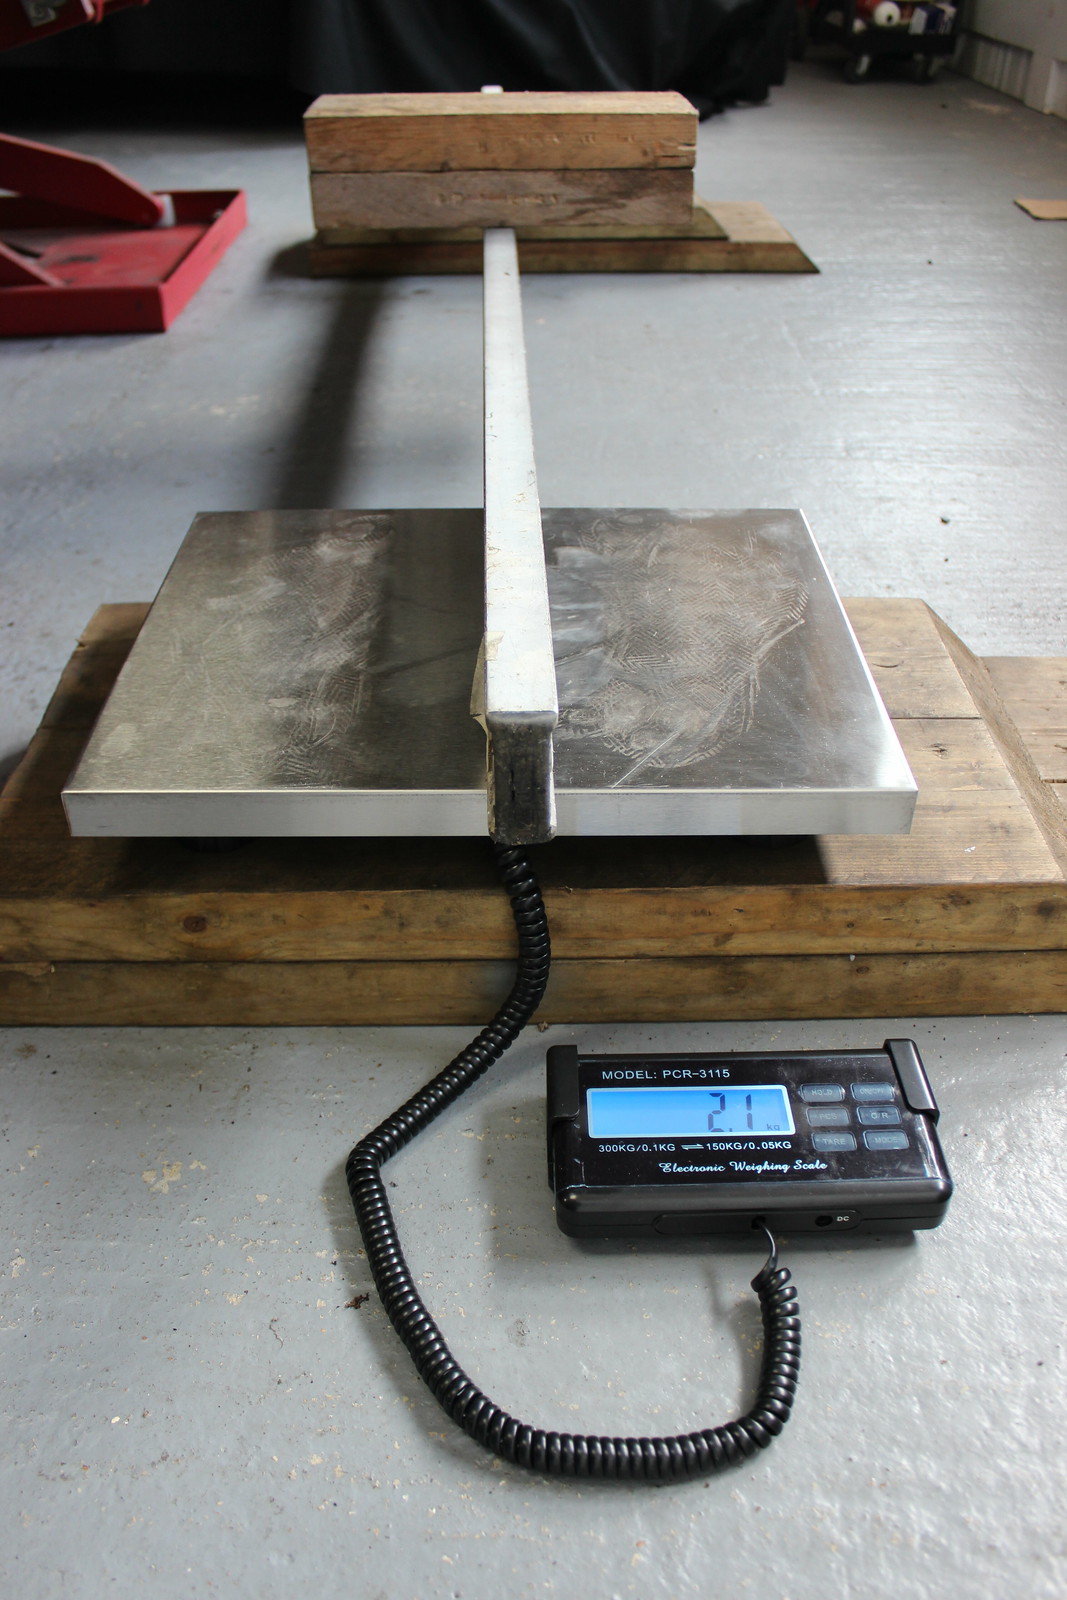
Given their price I spent some time checking that they all gave the same reading with some different weights which they all did so no reason not to trust them with a car dropped on them.

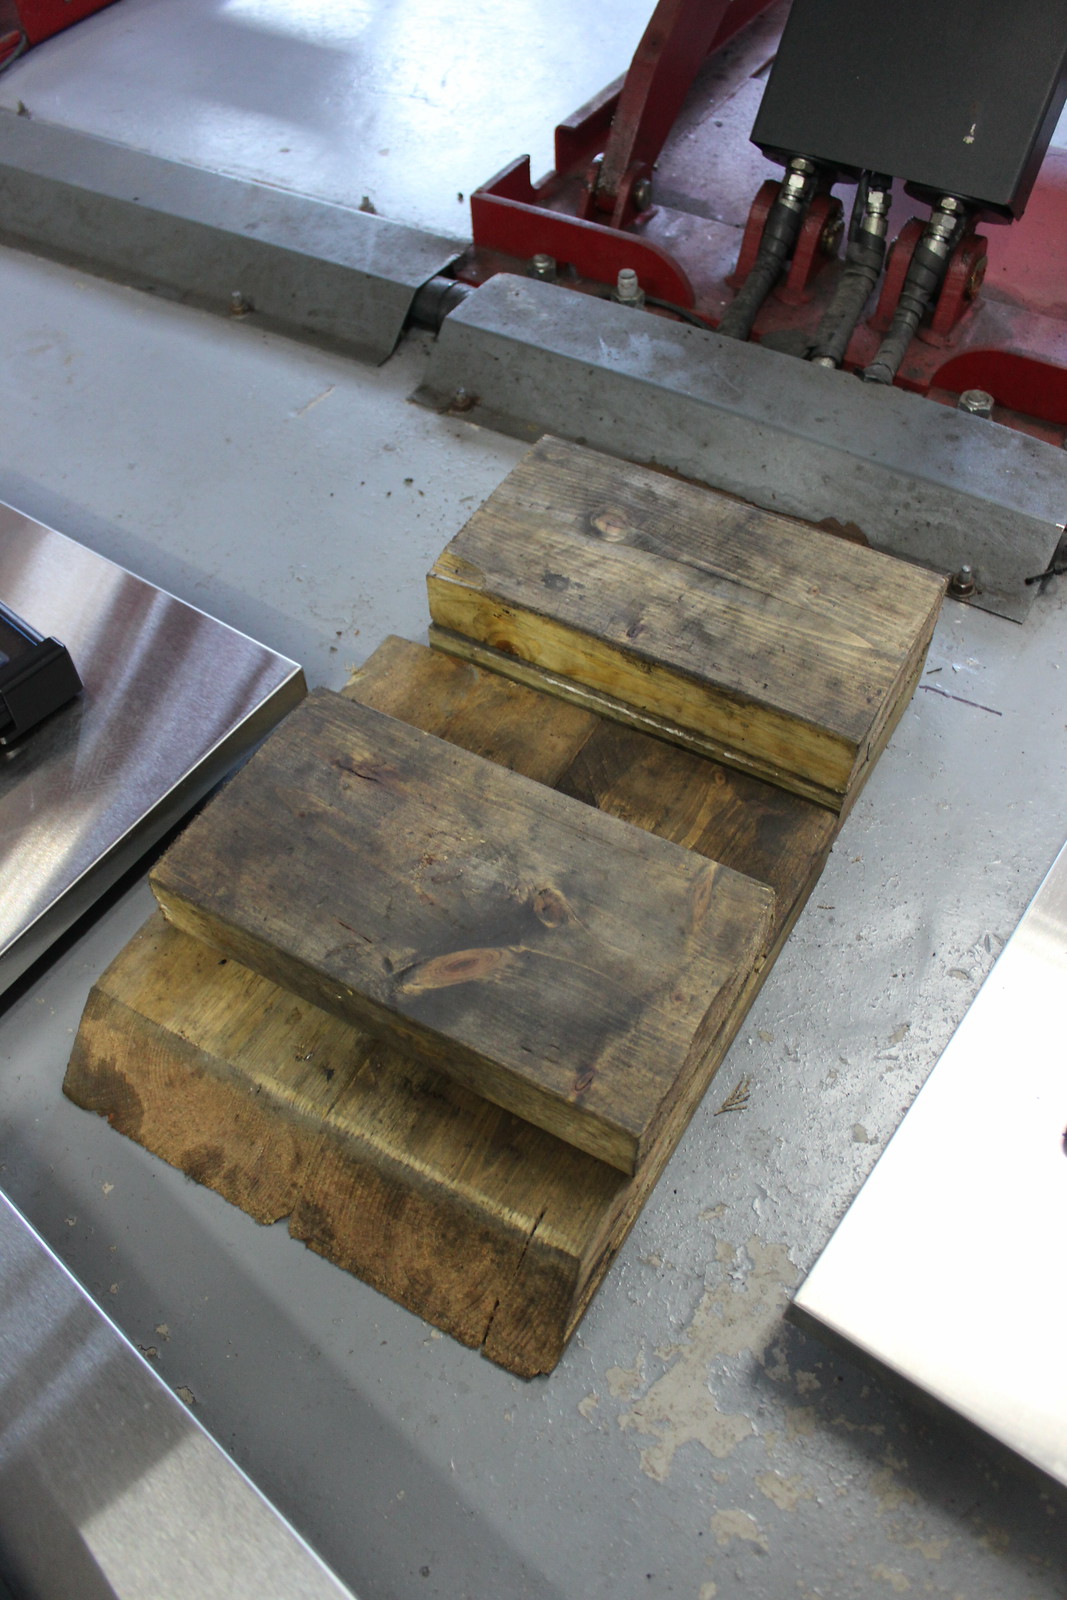
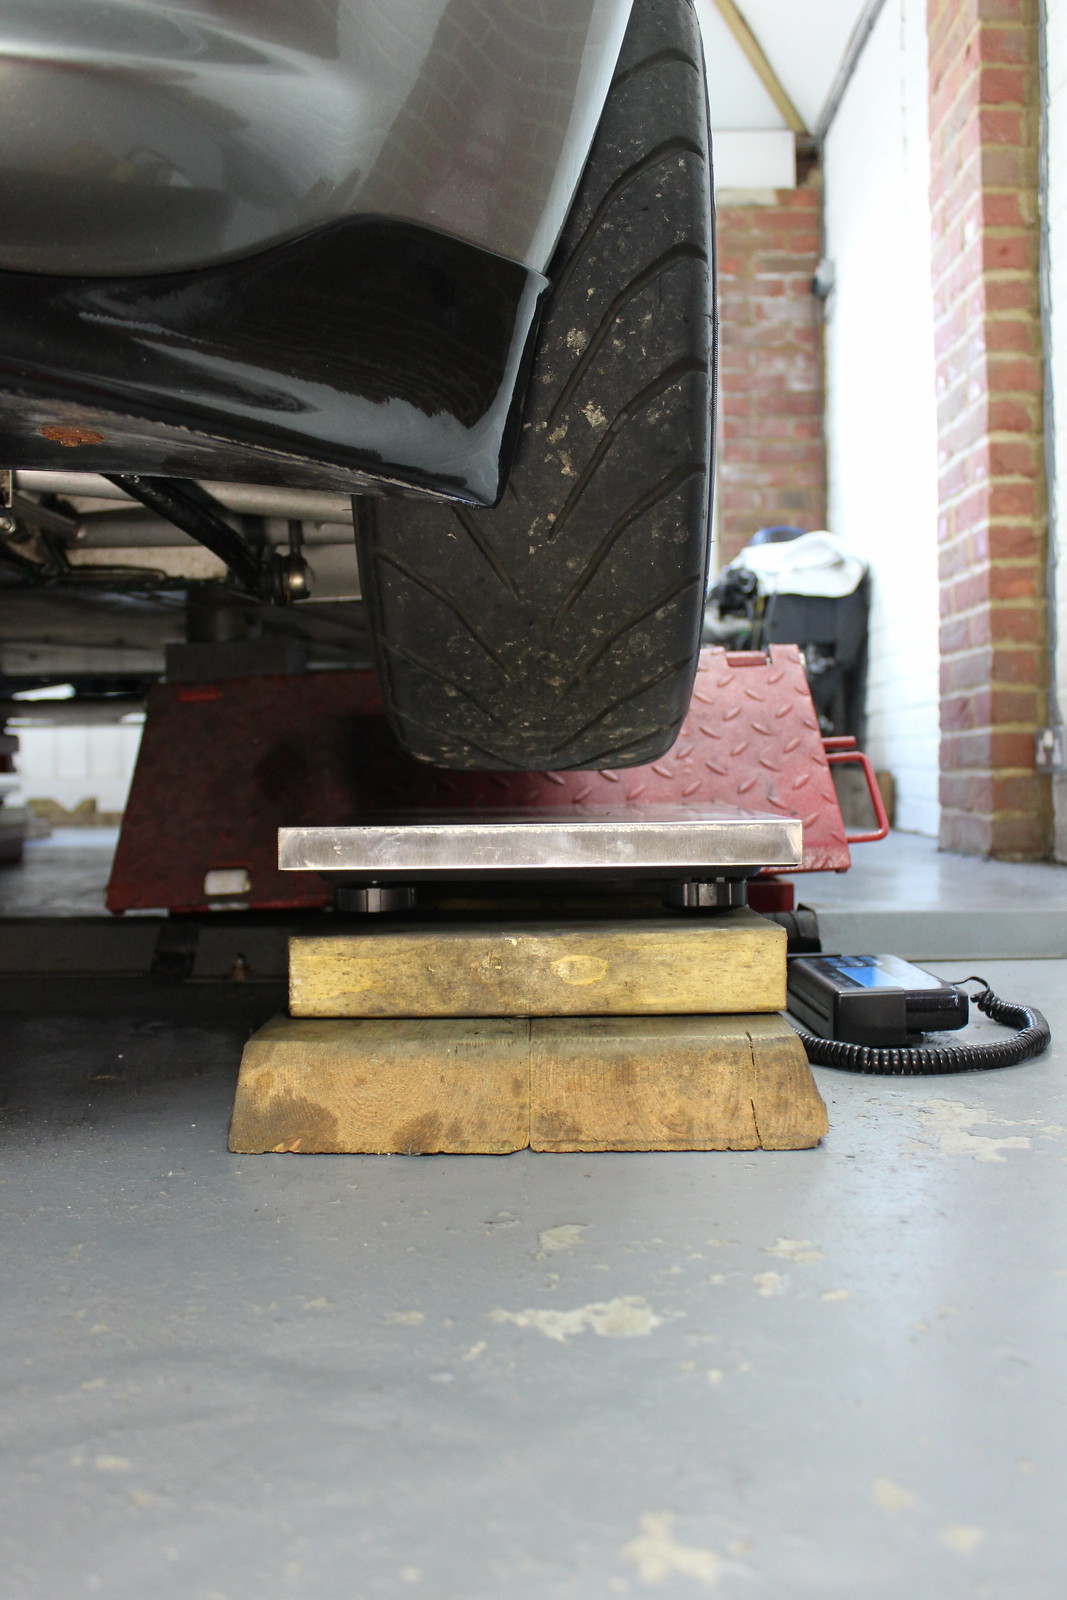
Obviously it’s important to have the scales all set on a level floor at the same height all round. They have adjustable feet which helped get them just right but my garage floor is level anyway.
Always best to check though so I got my big level out.
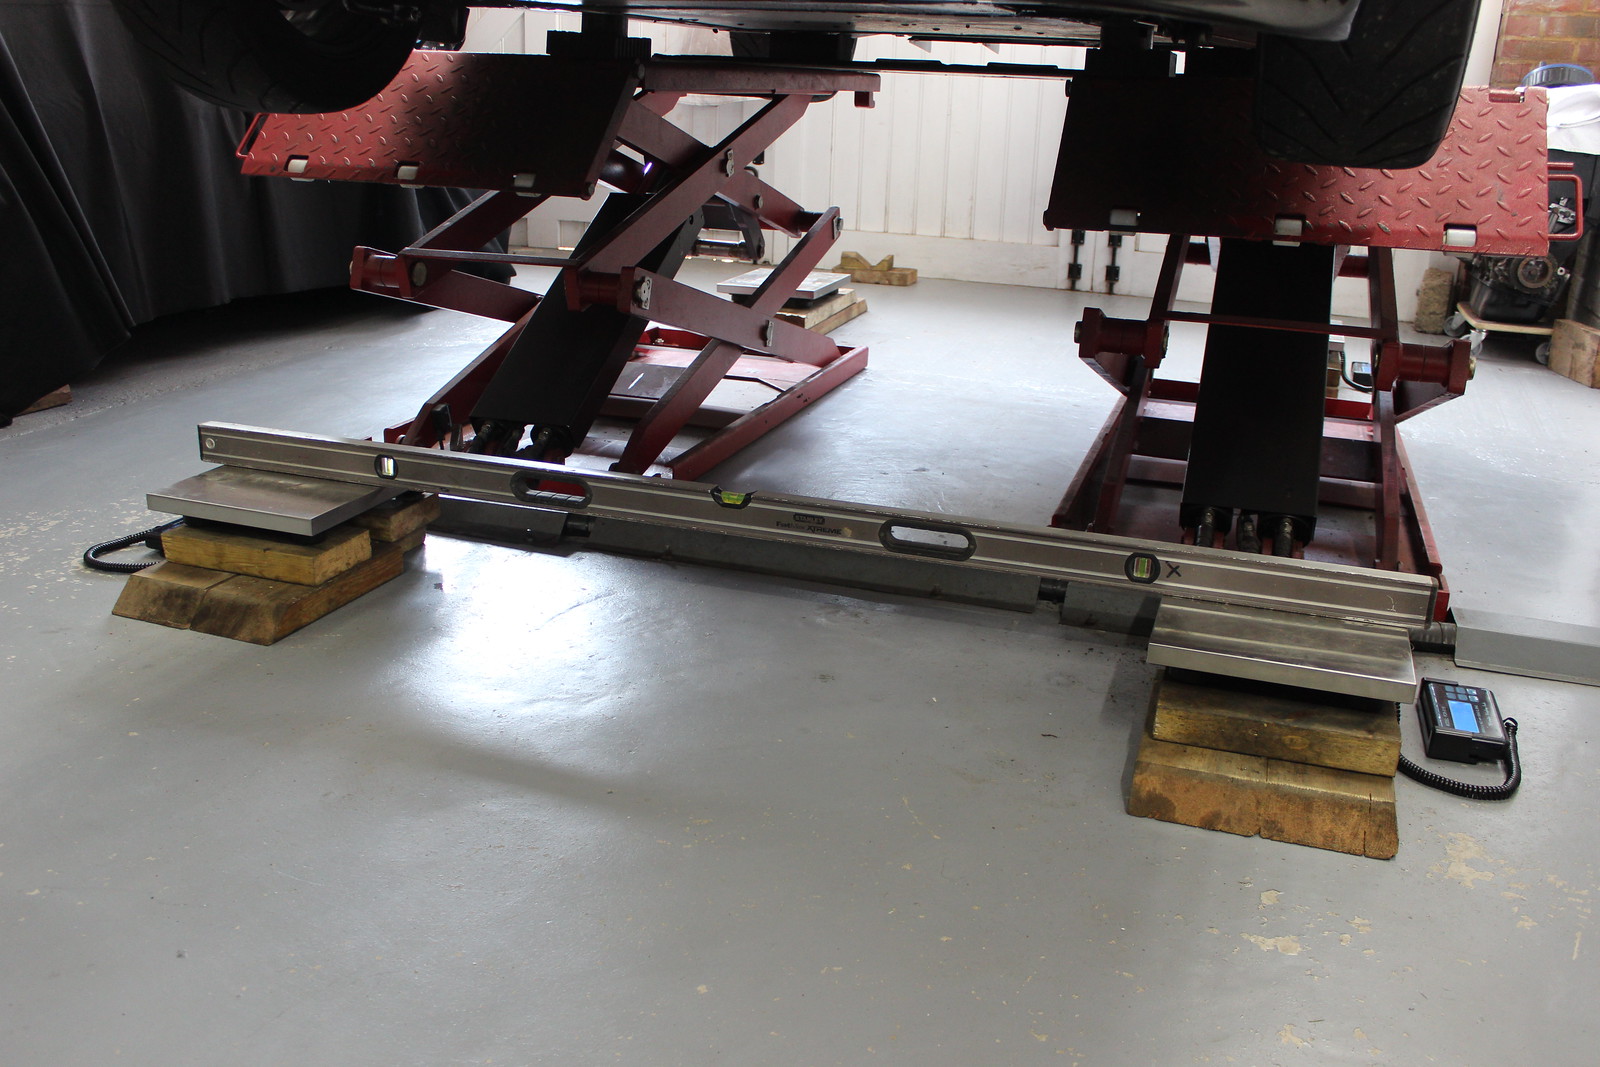
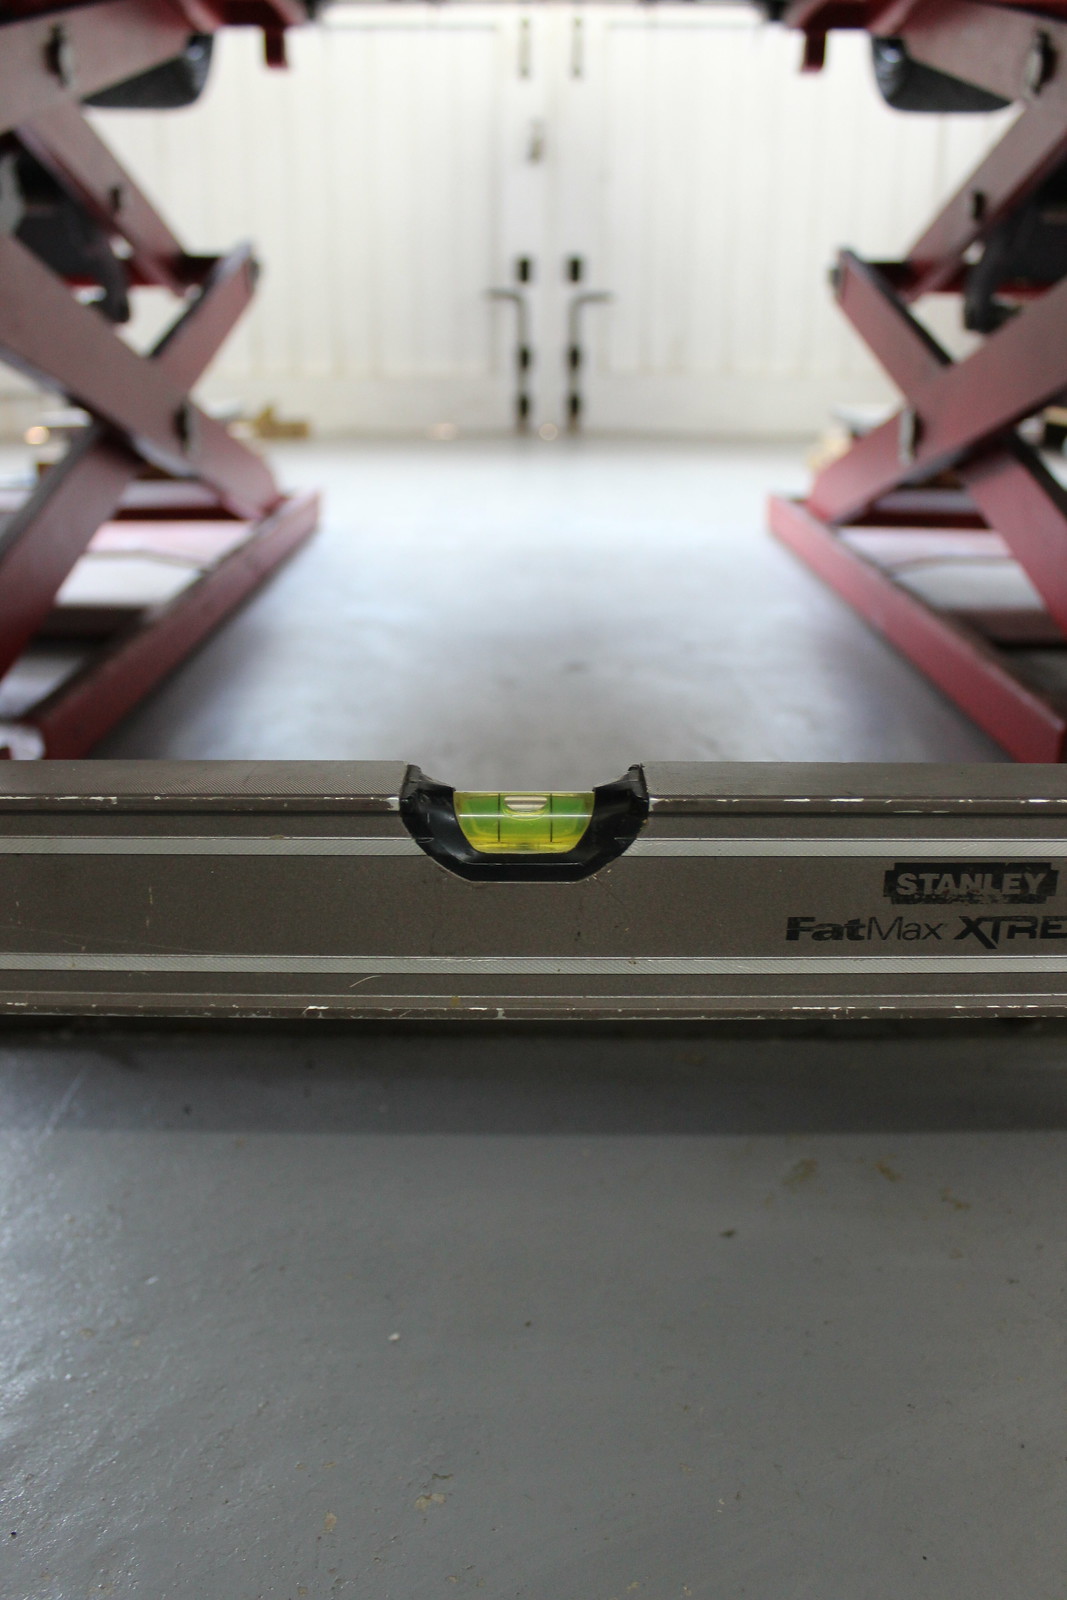
Spot on!

A weight placed in the centre of the level just to see if the scales still agreed.


Same again at the rear.
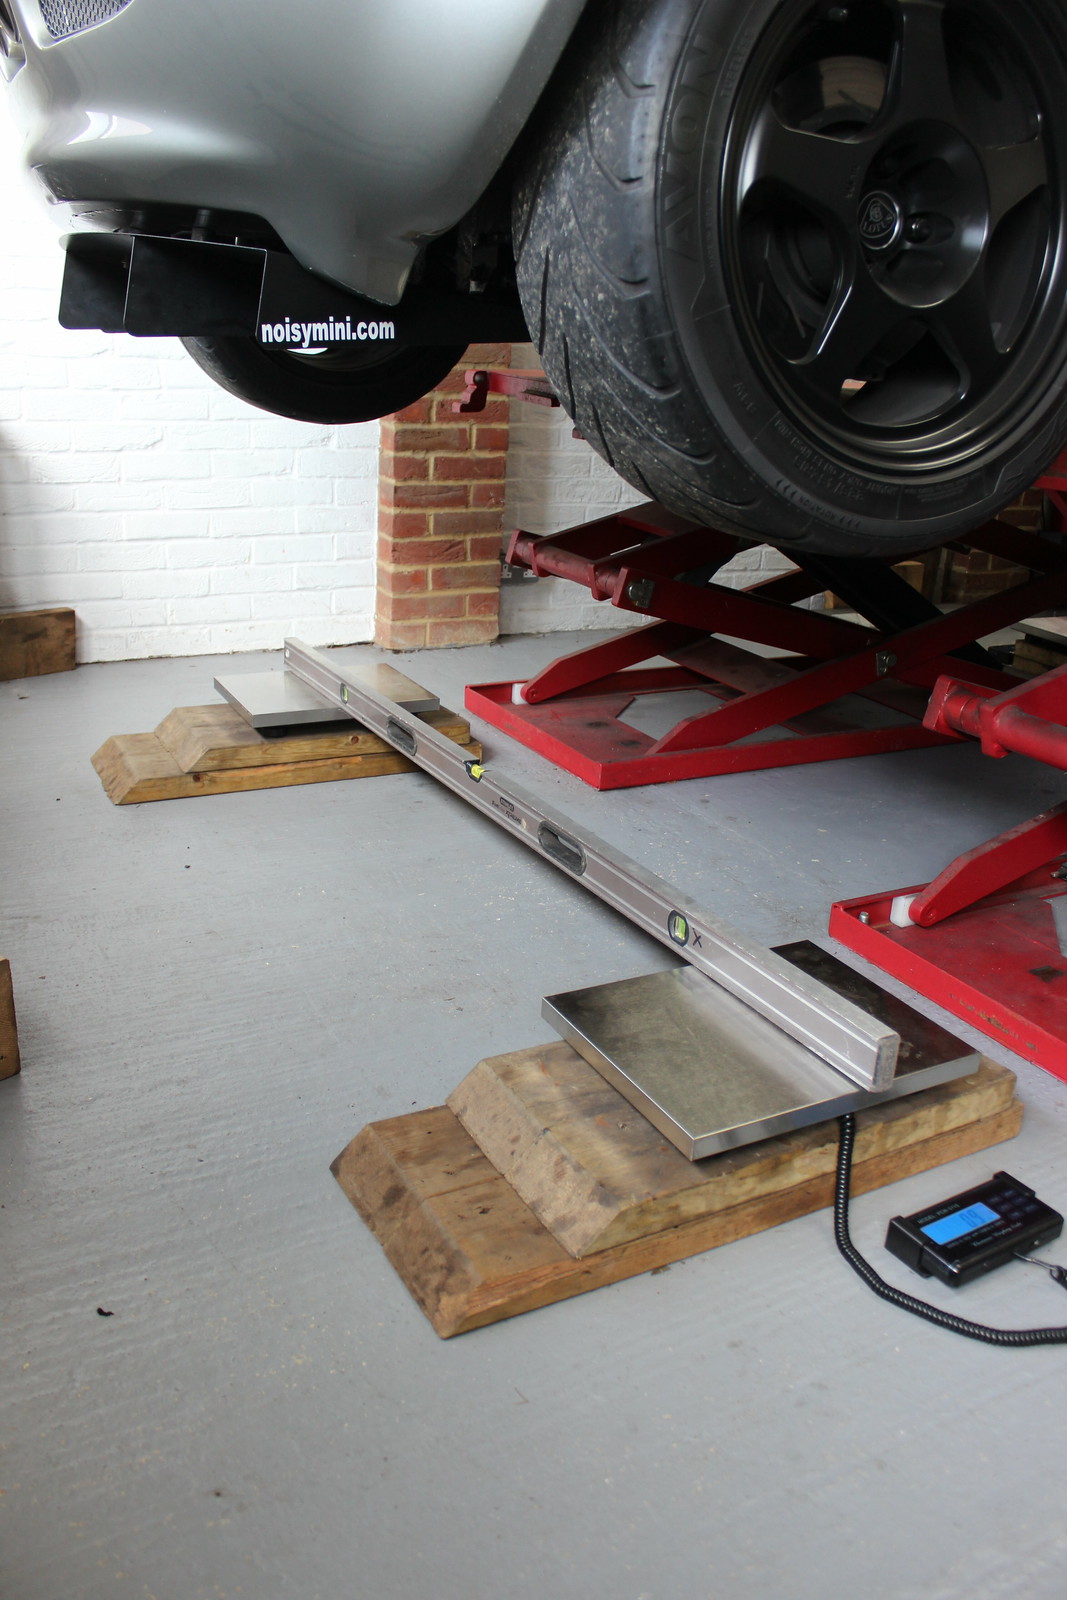


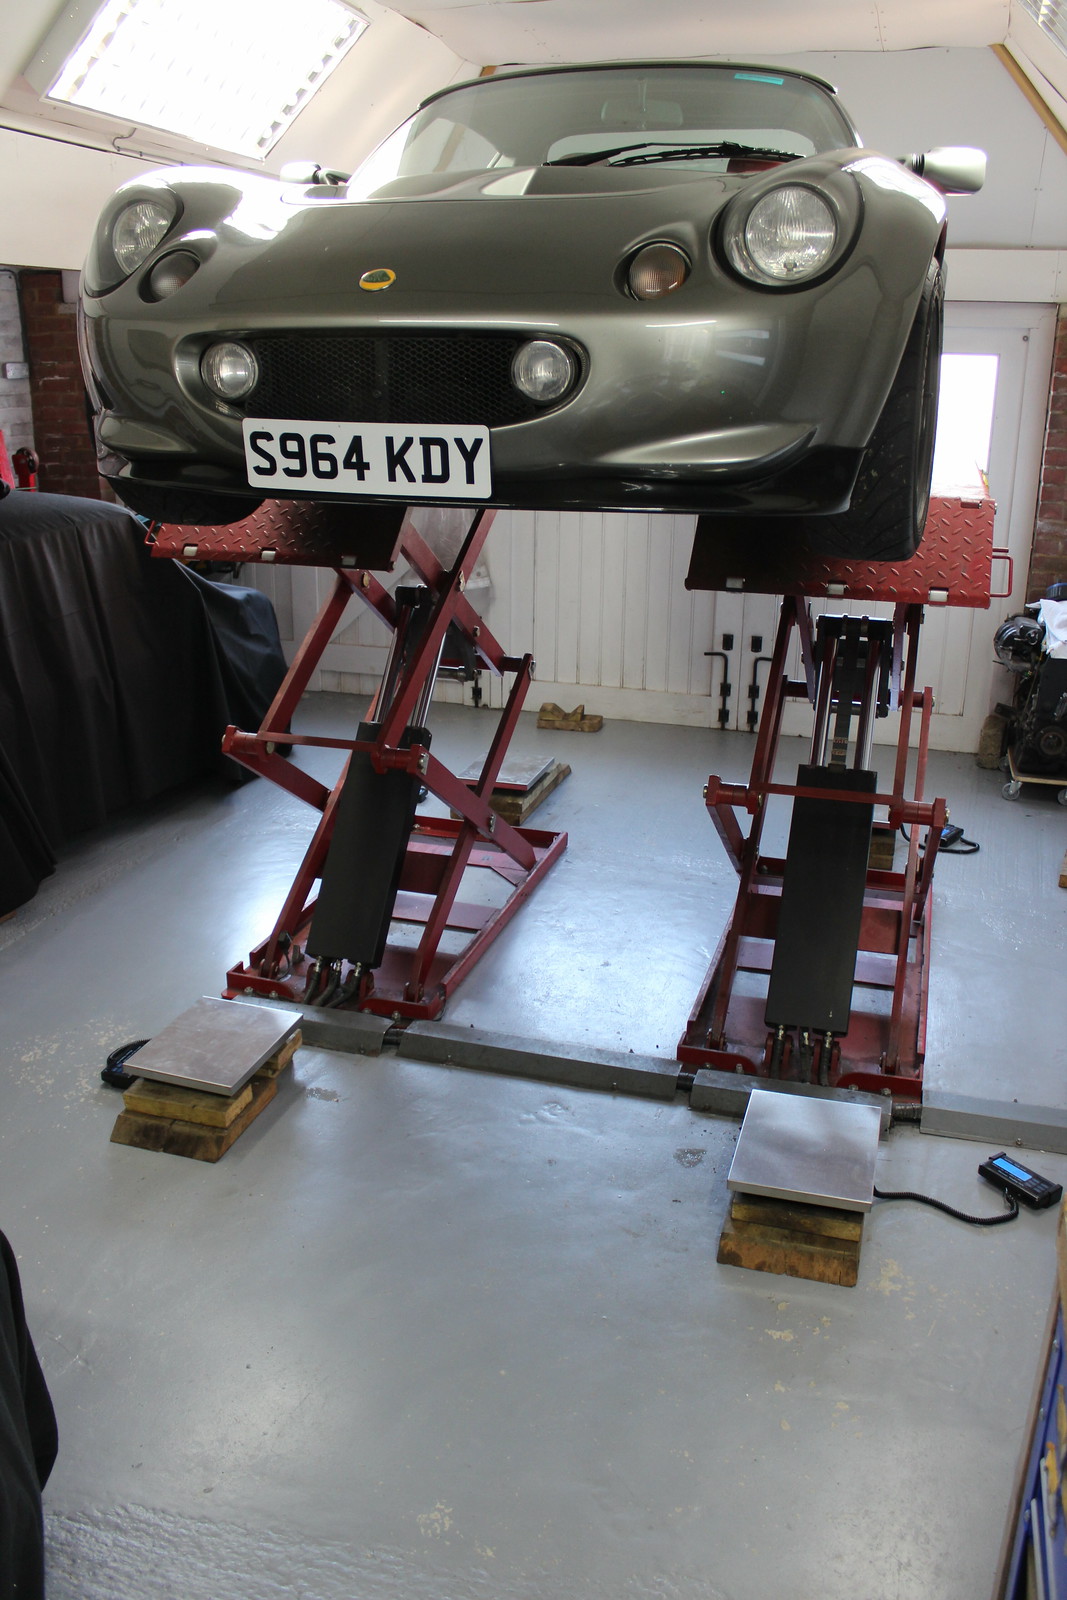
All looks good so time to drop the car down onto the scales and see how they cope.

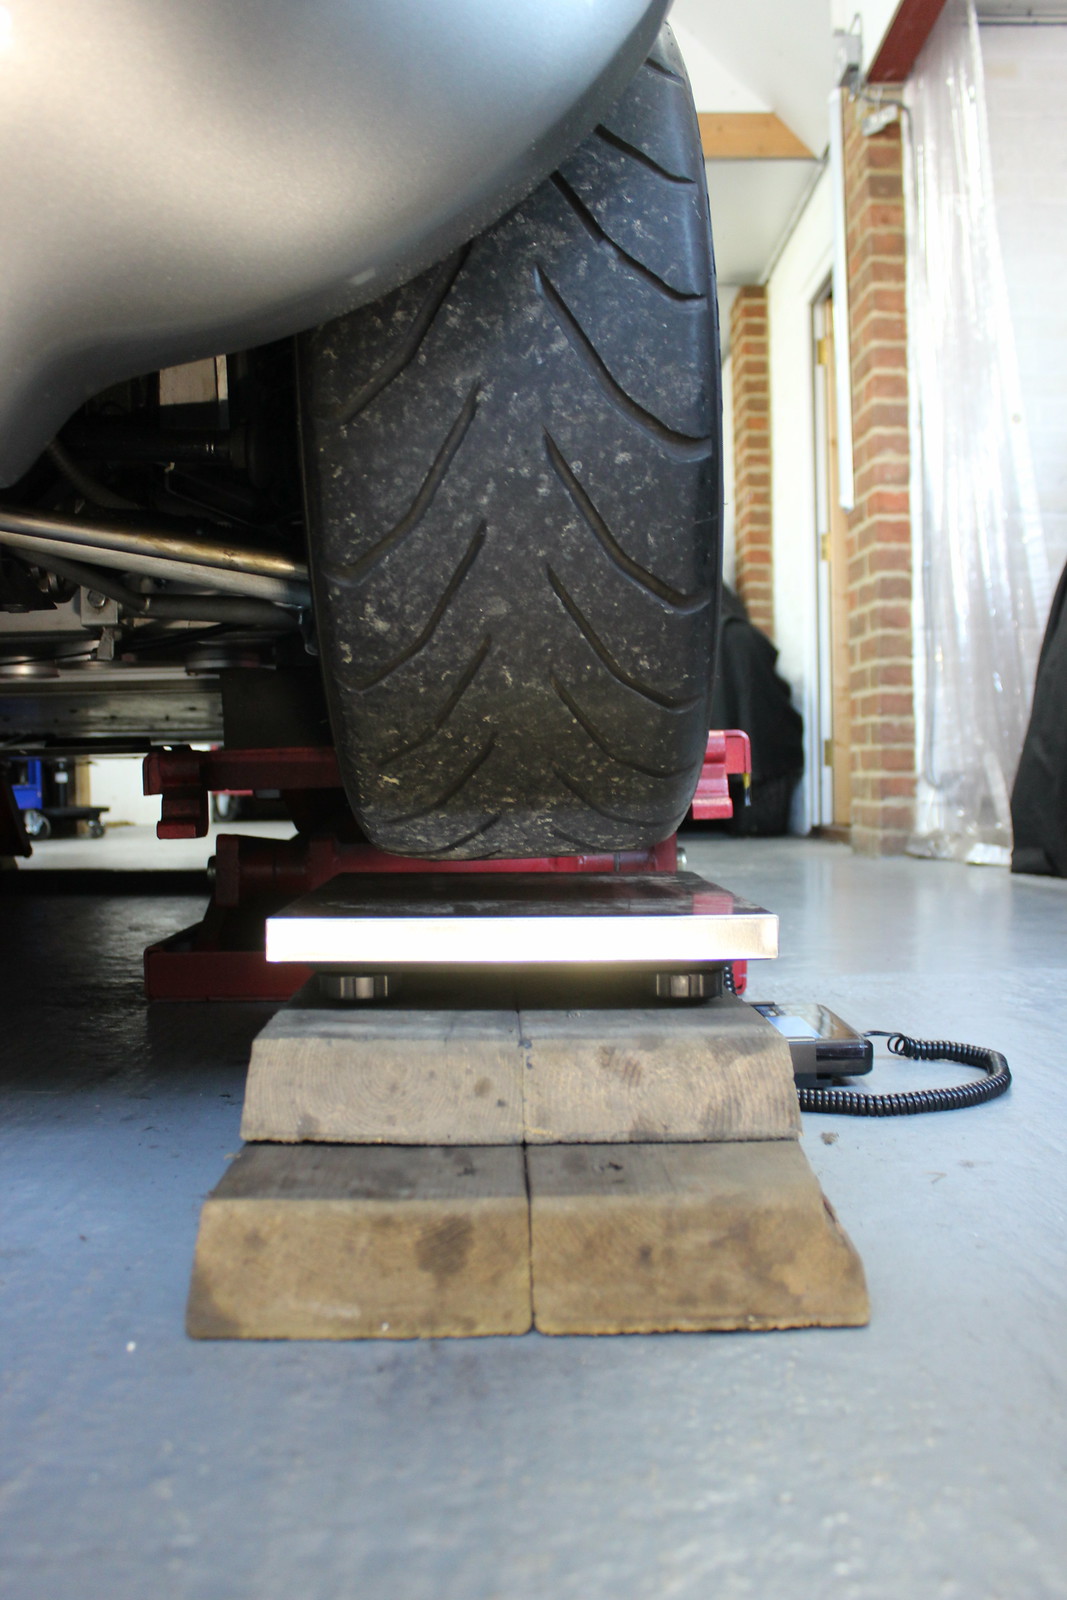

With the Elise sat on the scales I carefully rocked it back and forth to get it settled properly. I also made a tool to fit the holes in the Nitron spring seats.

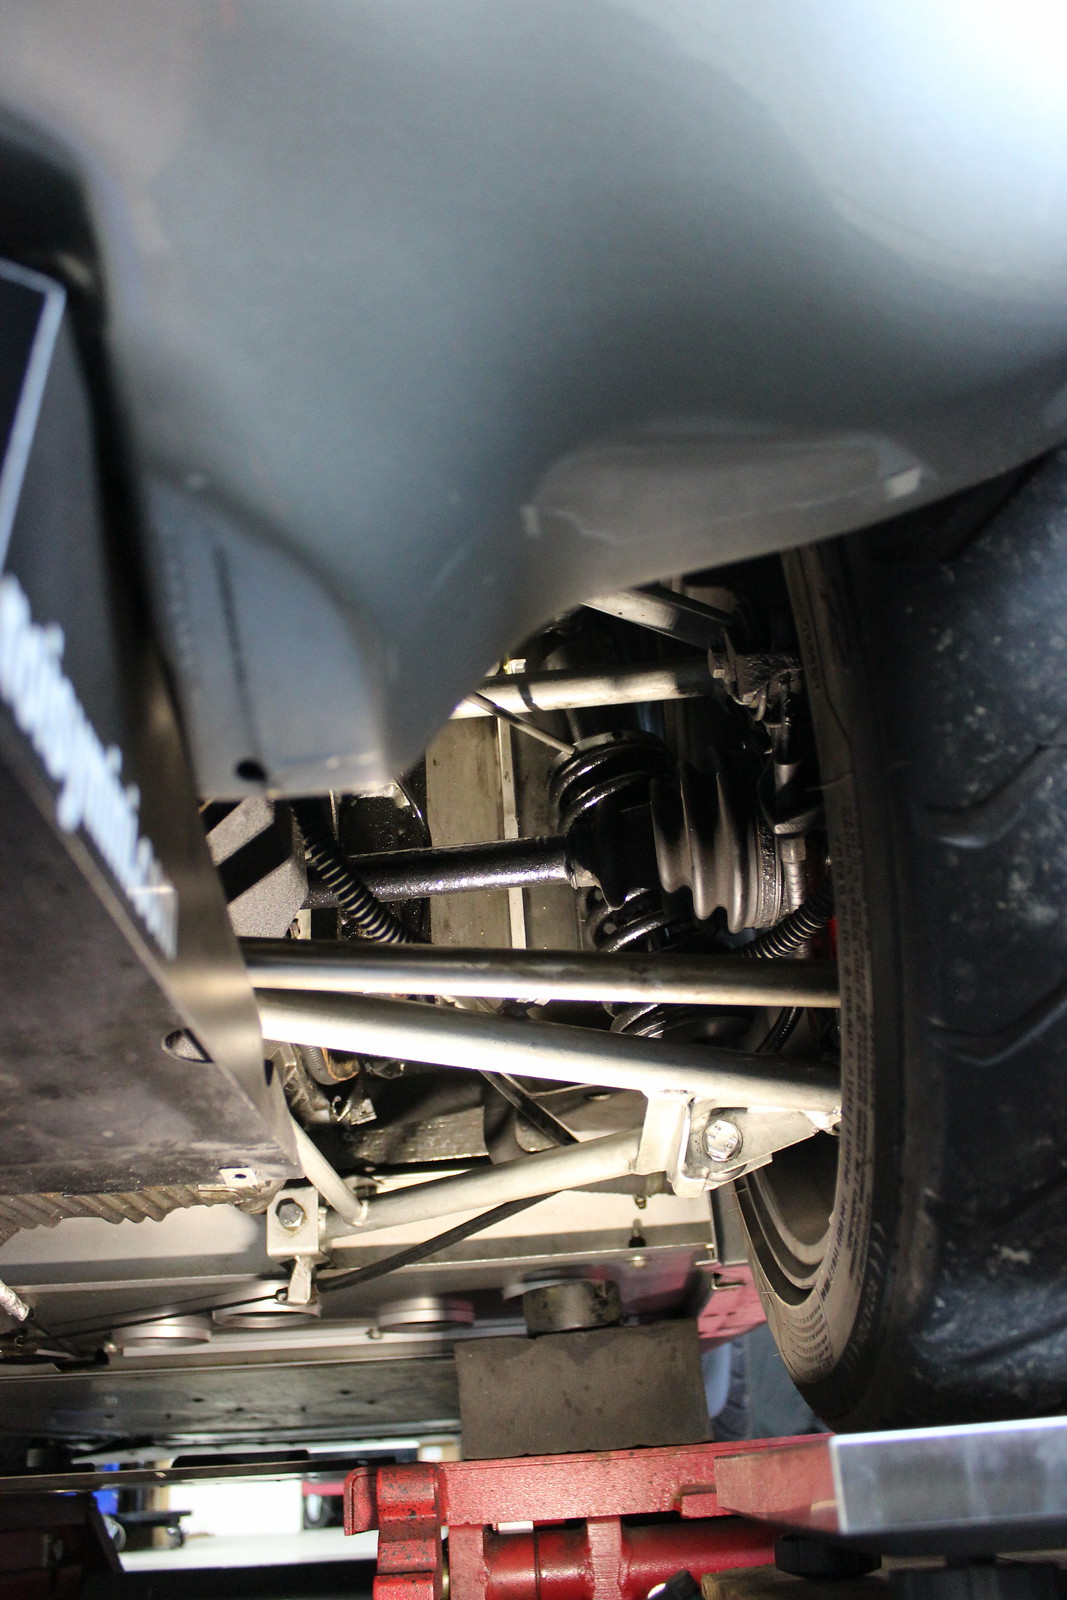
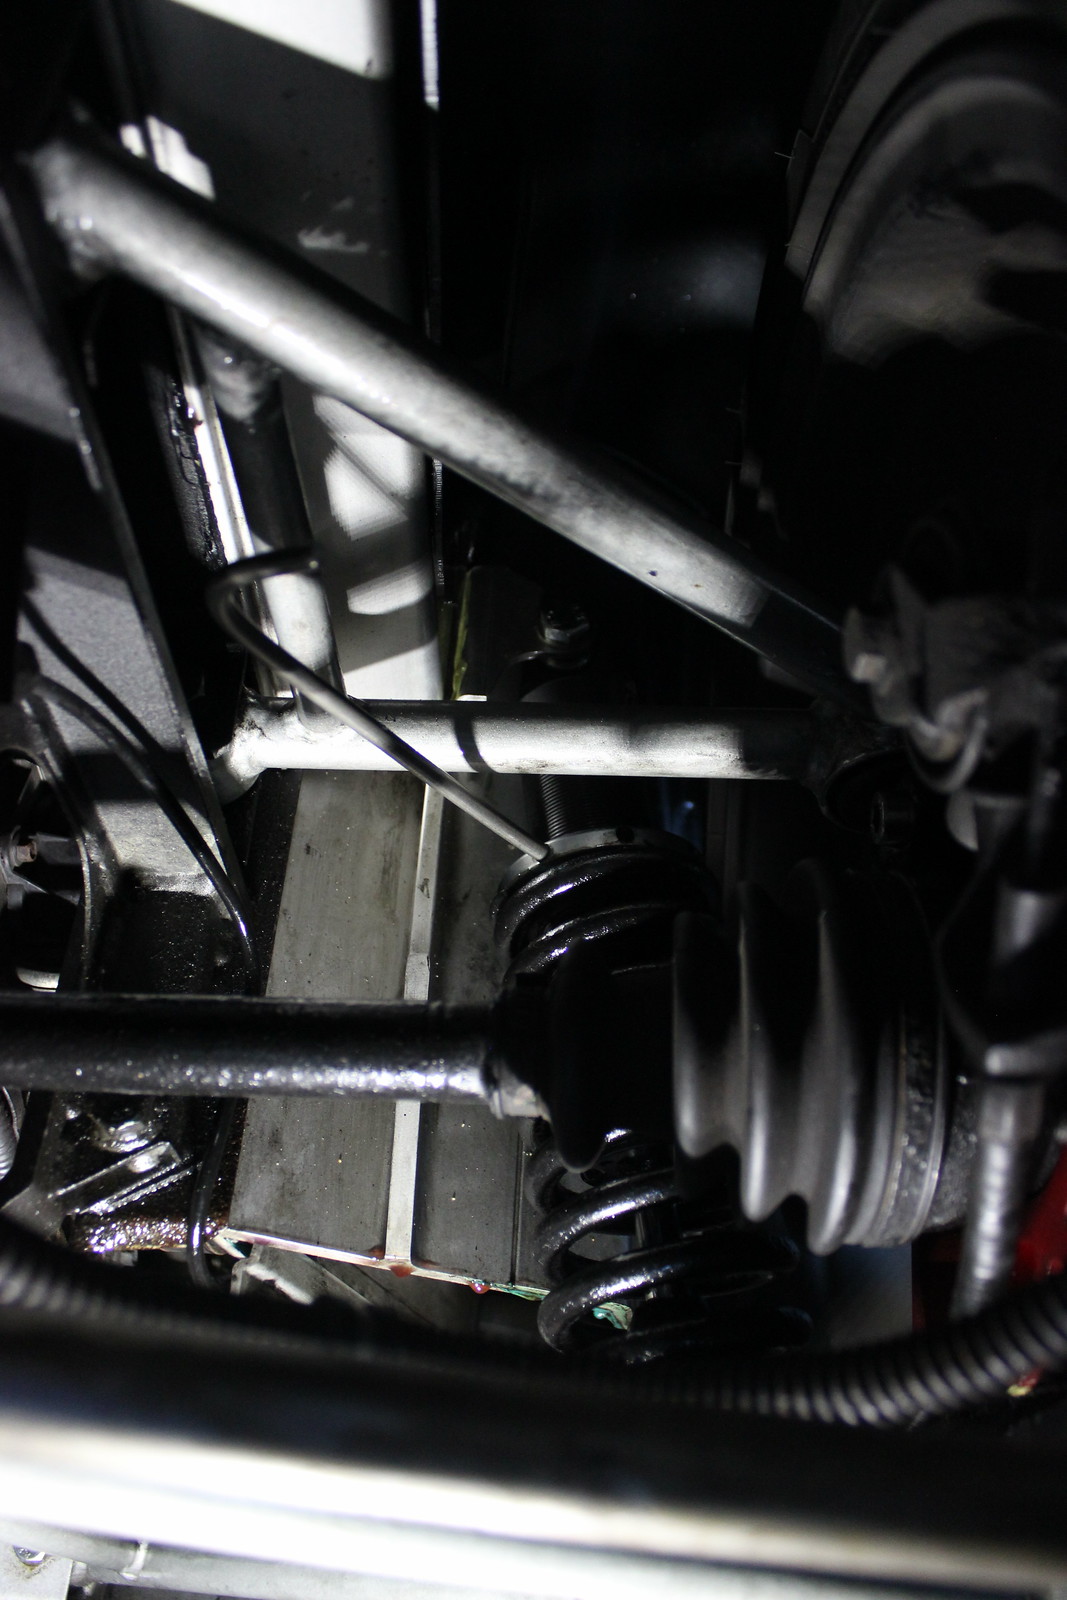

Before making any adjustments it’s important to make sure all tyre pressures are correct, adjustable dampers are set to their softest setting and anti roll bars are disconnected. Also, as with ride height, this is usually done with the driver or equivalent ballast in the drivers seat. Though there are some who prefer to set the corner weights with no driver. Personally I’m not too bothered either way I’m just an ordinary driver only driving this car on the road. I just want to know that, after the full suspension refresh, the corner weights aren’t way off. I did do some experiments with and without a driver and with and without the ARB connected. The variation wasn’t massive in the former and the latter I saw no difference at all though that will surely be because the front ride height side to side is identical. If there were any real difference side to side like my classic Mini with a K-Series hanging out over one corner, then the ARB would start to have an effect. In this case an adjustable drop link should be used anyway so after the ride height and corner weights are set the ARB can be fitted with no pretension when the car is static.
To make adjustments to the corner weights all that needs to be done is for the spring seats to be wound in or out in just the same way you would to adjust the ride height. The important difference is that you don’t actually want to change the ride height. So when making an adjustment to one corner the same adjustment needs to be made to the opposite corner to balance out the first corners adjustment. This way the ride height remains the same with only the load/pretension on the springs being effected.
What you’re trying to achieve or at least aim for is a 50/50 cross balance. That means the sum of the weights on the LF and RR is equal to the sum of the RF and LR. All the time keeping the ride height where you want it. (This is where I made the mistake of getting stuck in before thinking and reading about it properly. I was most probably doing this after a night shift spent stood next to a telescope followed by almost no sleep. That’s when I usually do something silly!)
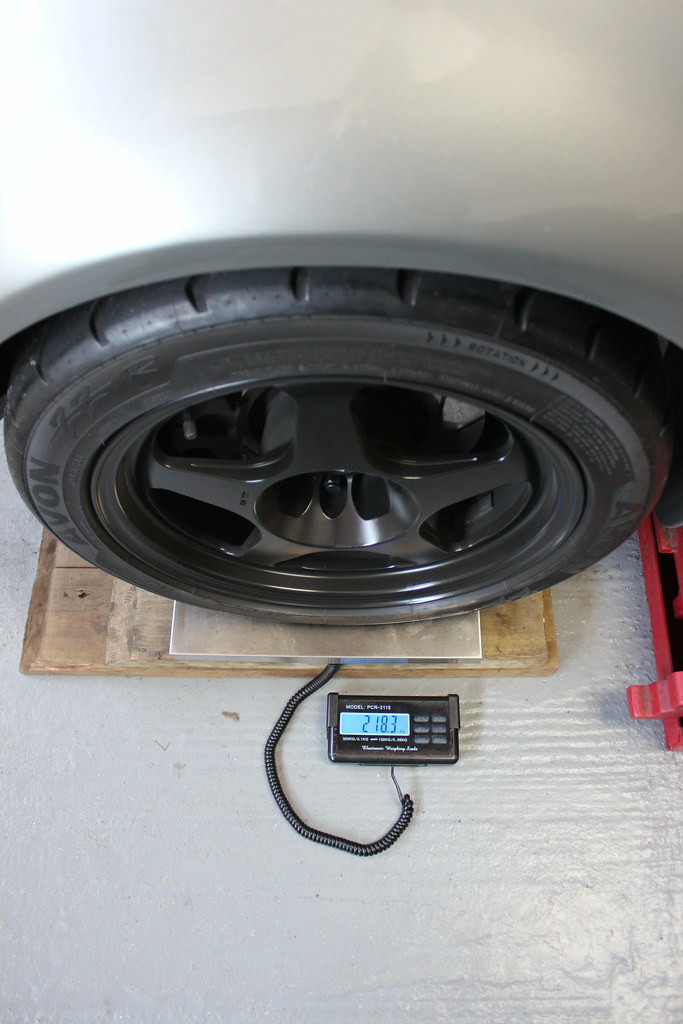
Below are some images of the weight values on each corner at some point through the process, probably when I was doing it wrong.


Anyhow, after doing it wrong for a bit I wanted to double check my ride heights without the complication of lift platforms under the car. So I went to my Dads garage which is a good flat, level floor.


This is a tool that came as part of a job lot of tools I bought at auction when buying furniture for our house a few years ago. The triangular pointed part slides in and out so is perfect for taking a measurement of the ride height of the chassis to then measure against a rule.
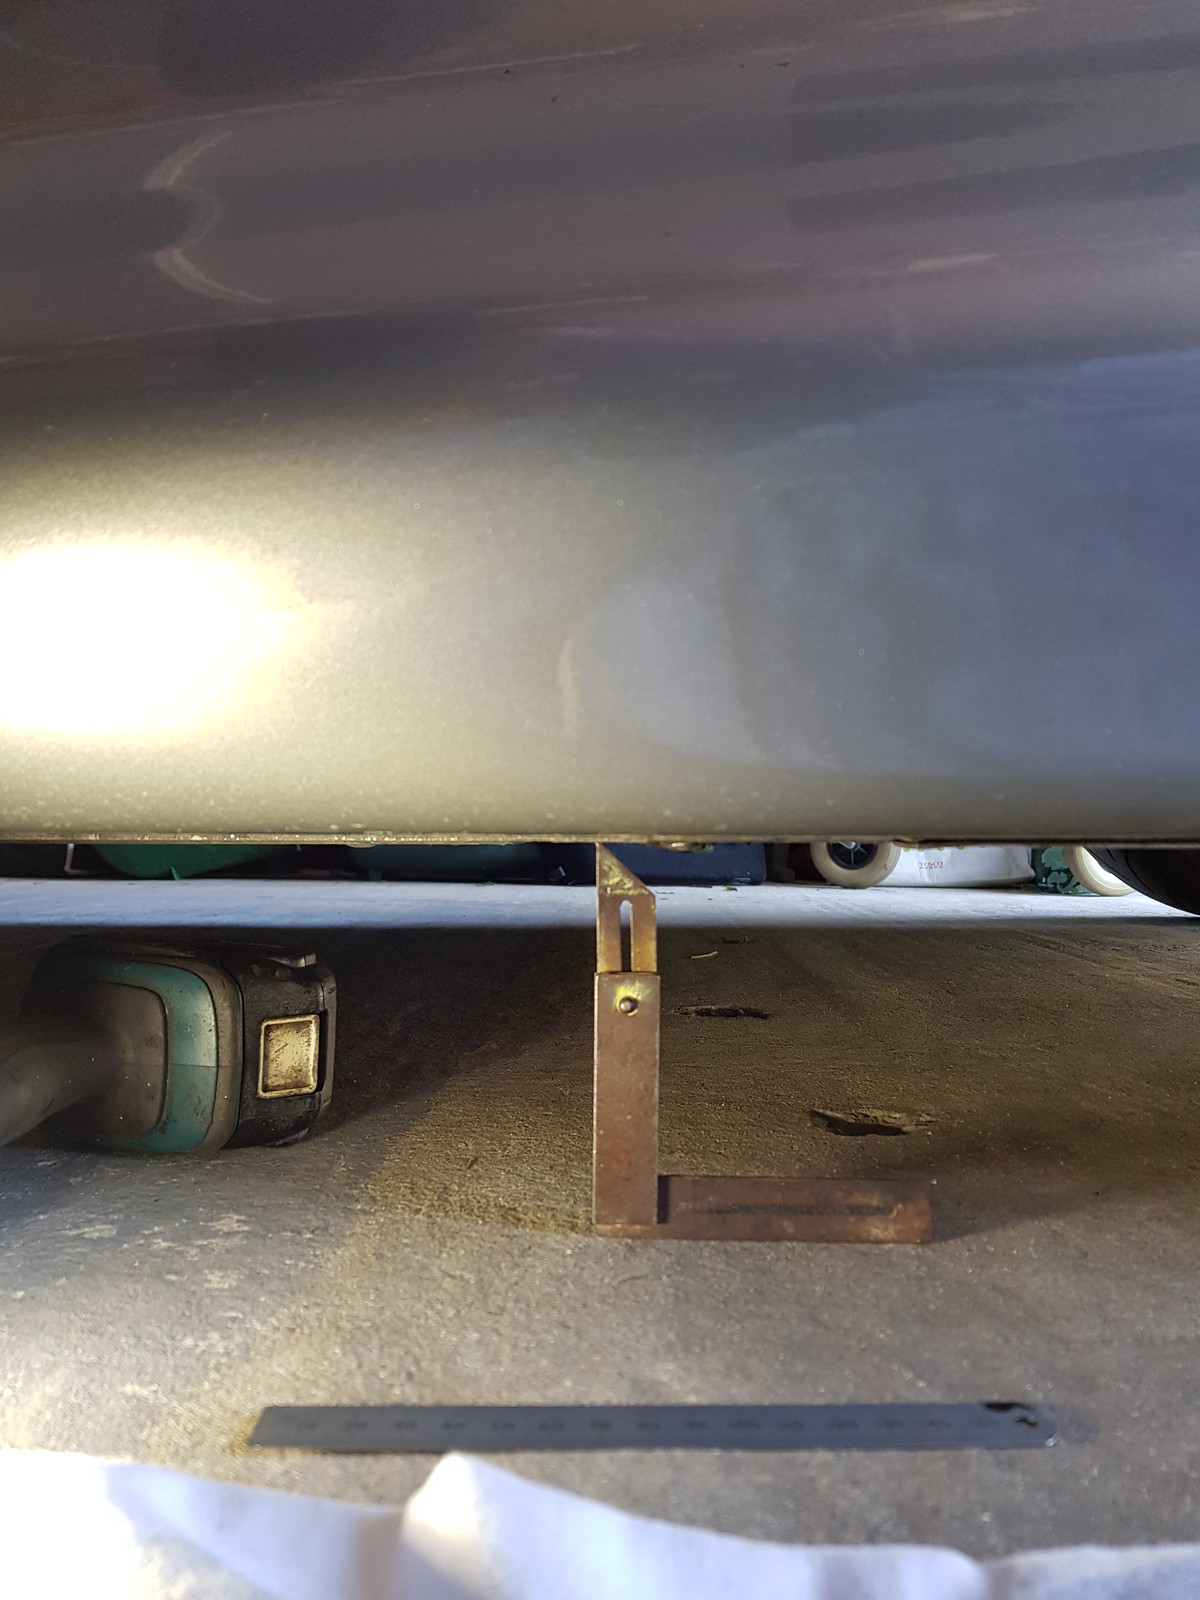
I also wanted to keep an eye on the clearance on the front splitter. I use the Elise for work journeys occasionally which means negotiating some speed bumps. I measured the height of the worst one and it’s about 90mm so, as it’s the lowest point, I need to keep the front splitter higher than that.

I was happy with the ride heights despite being worried I’d screwed them up. (Fortunately I had kept a record of exactly what adjustments I’d made to each corner so I could go right back to where I started if I got my knickers in a twist.)
So back home with the Elise after taking the long route :-). Then back in the garage for comparison of the ride height against what I’d measured in my Dads garage so this could be used to correct any ‘error’ when measuring above the lift platforms. Then onto the scales again with the ARB disconnected and some ‘ballast’. Don’t tell her I called her that!
Below are my notes of what I did. They might not make much sense but they do to me after I’ve stared at them for a while.
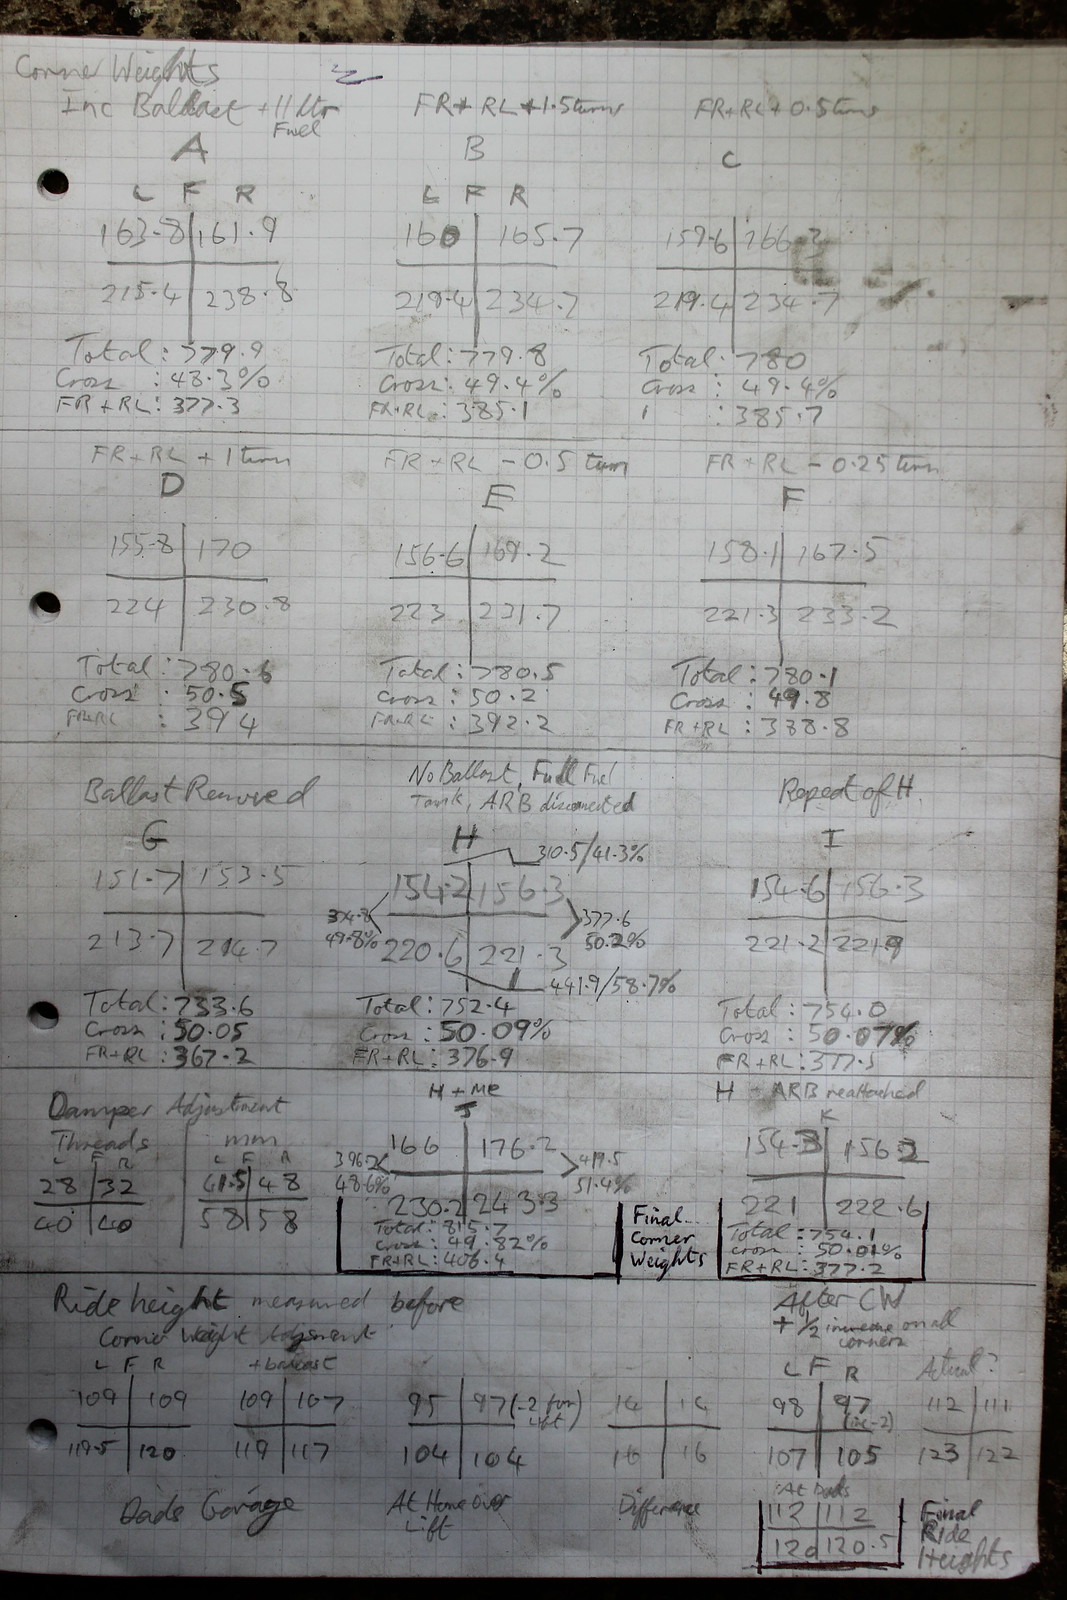
I eventually ended up with ride heights of about 110mm at the front and 120mm at the rear. Having the rear set 10mm higher is what seems to be recommended by most for an Elise and going any less than 110 at the lowest point for a road car, certainly in the UK, is probably a bad idea.
Corner weight wise I ended up with a cross balance of 49.82% with a full tank of fuel and me in the drivers seat. Without a driver the cross balance is 50.09%. So with or without me it’s hovering either side of the perfect 50% by 0.1-0.2% Not going to complain about that. As I already mentioned and the results above show I found no difference with or without the ARB connected so no need for me to add an adjustable drop link.
The total weight with a full fuel tank (no driver) was 753Kg. So about as you’d expect for a pretty standard S1 Elise. Out of interest with the 140bhp the engine is producing this equates to a power to weight ratio of 186bhp per tonne. Not much by today’s standards but enough to make good progress and not get into trouble too easily.
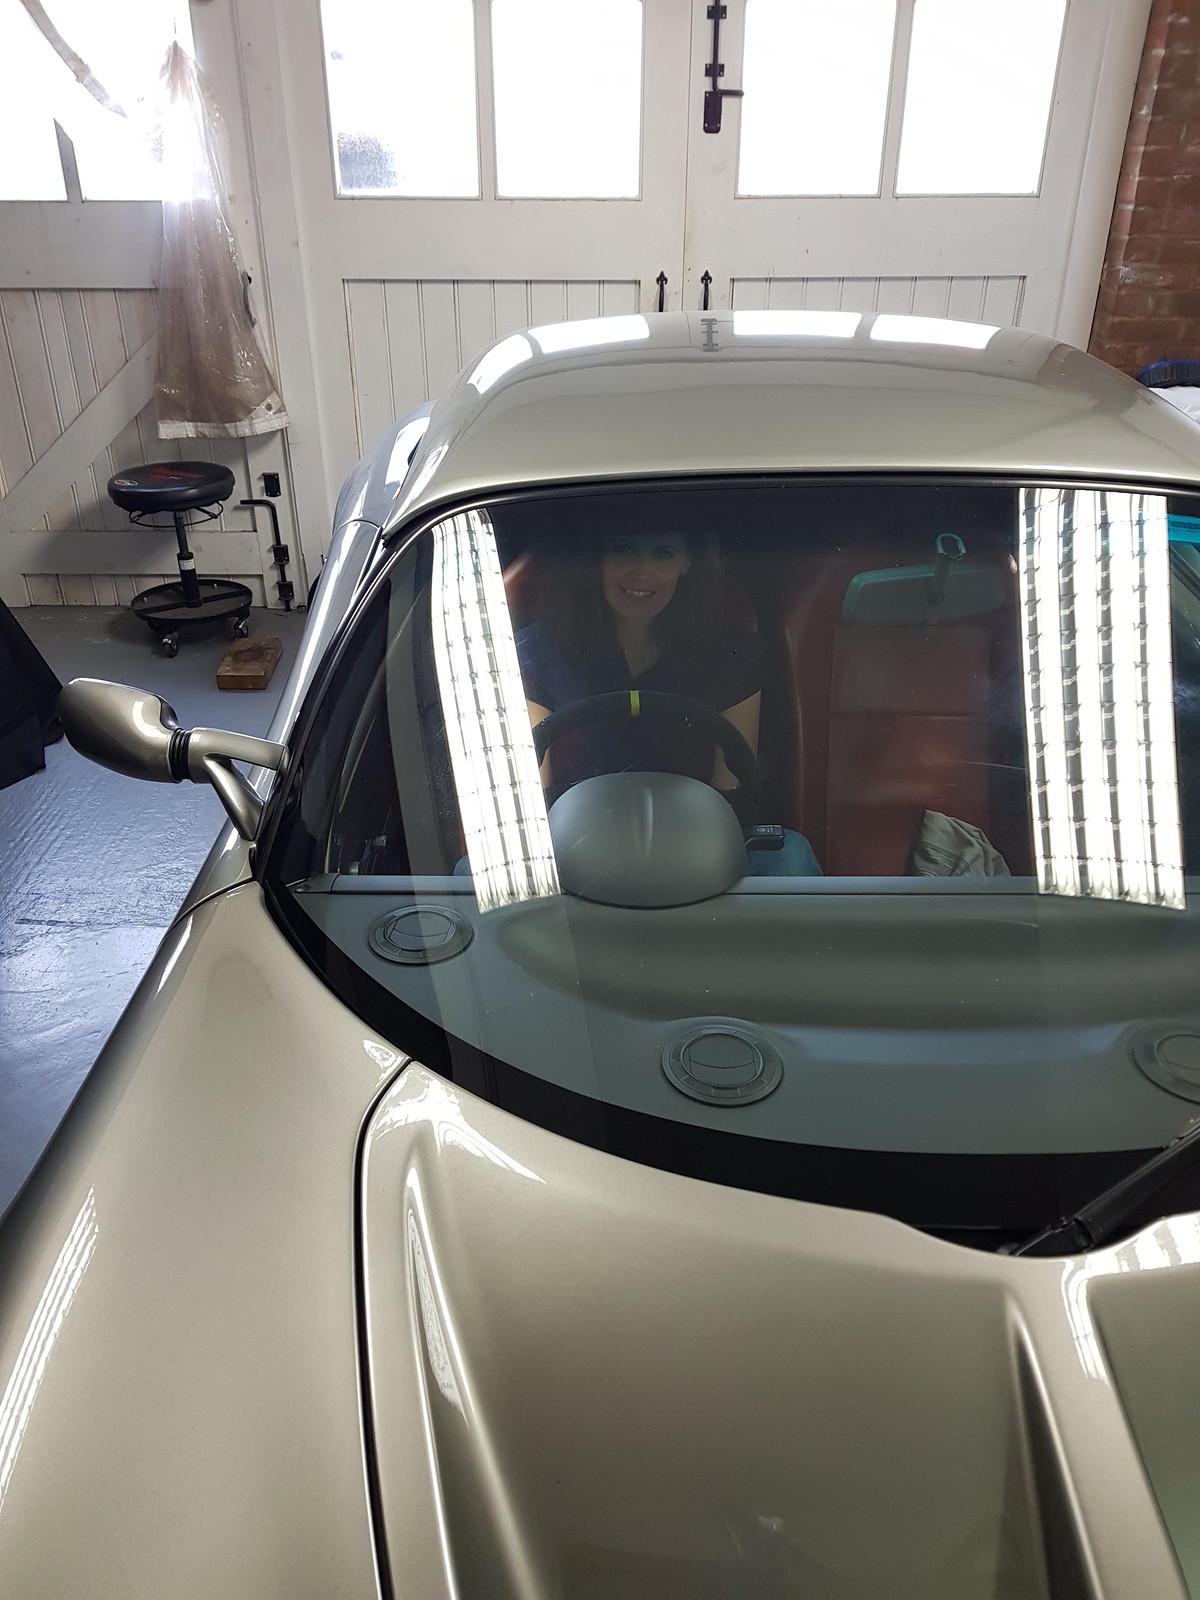
A couple of pictures of how it sat once finished.
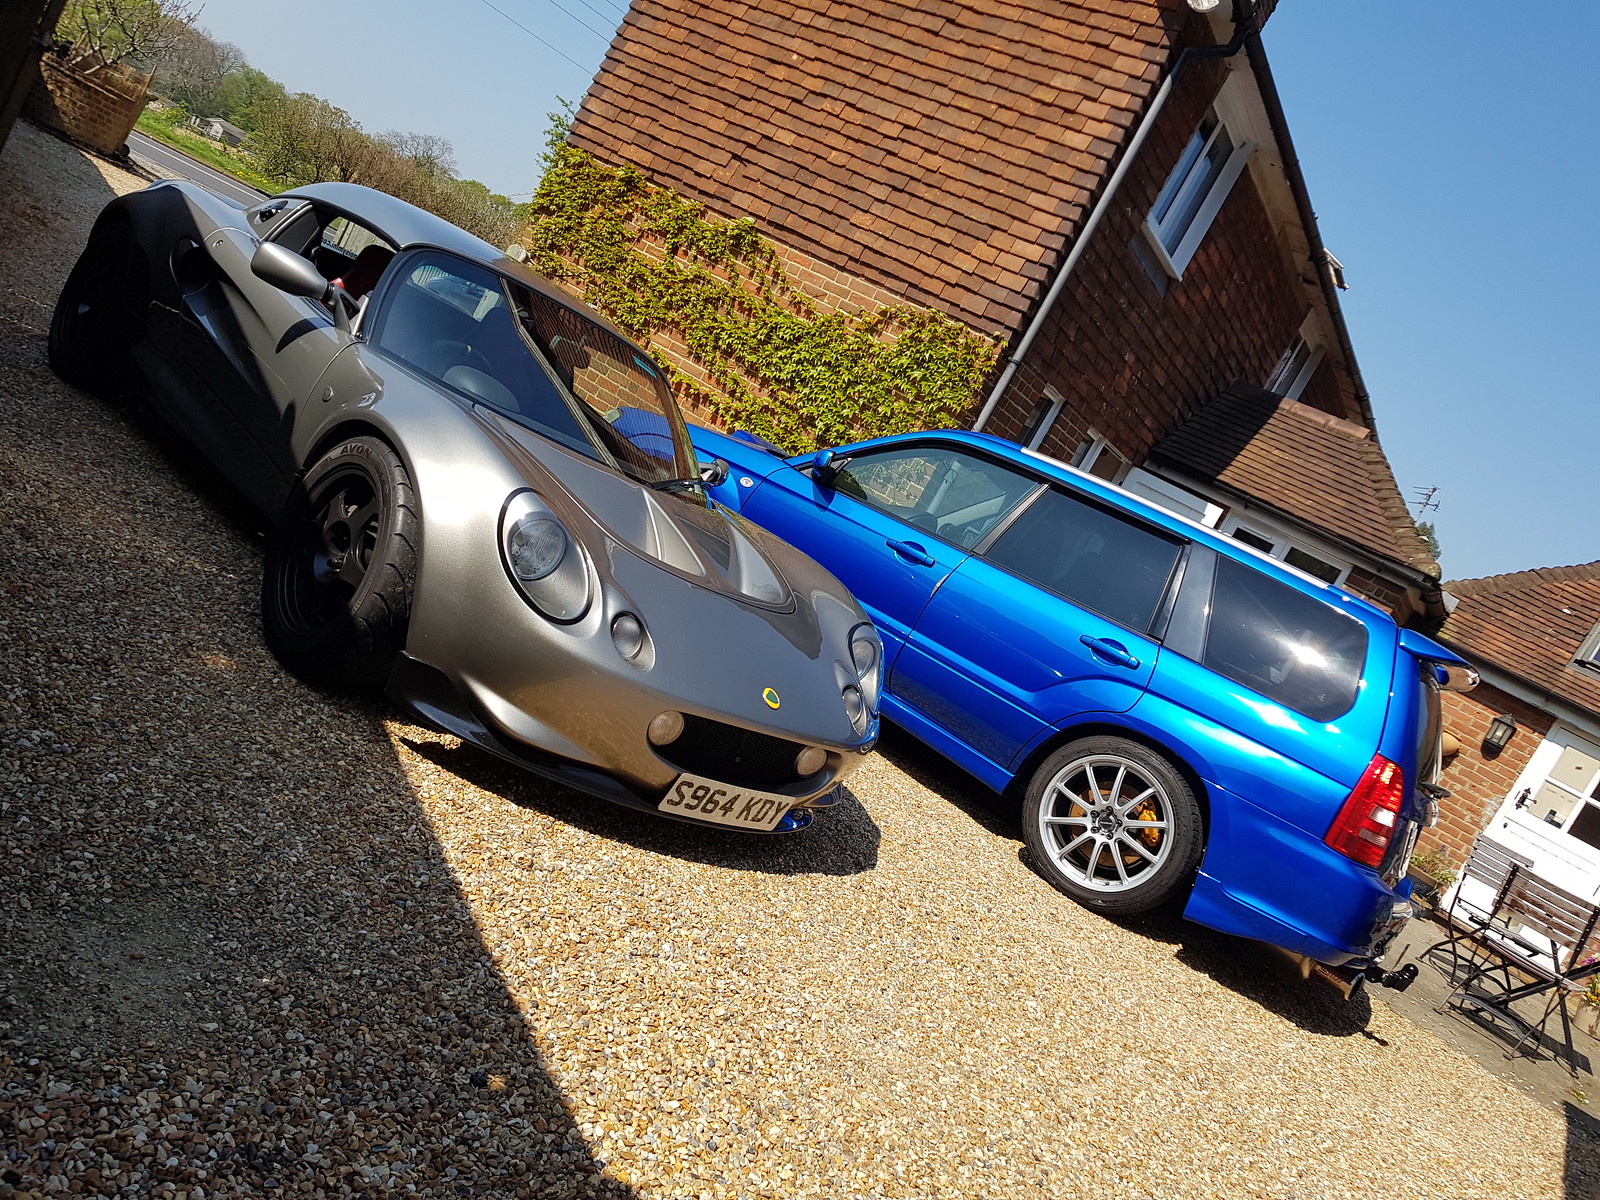
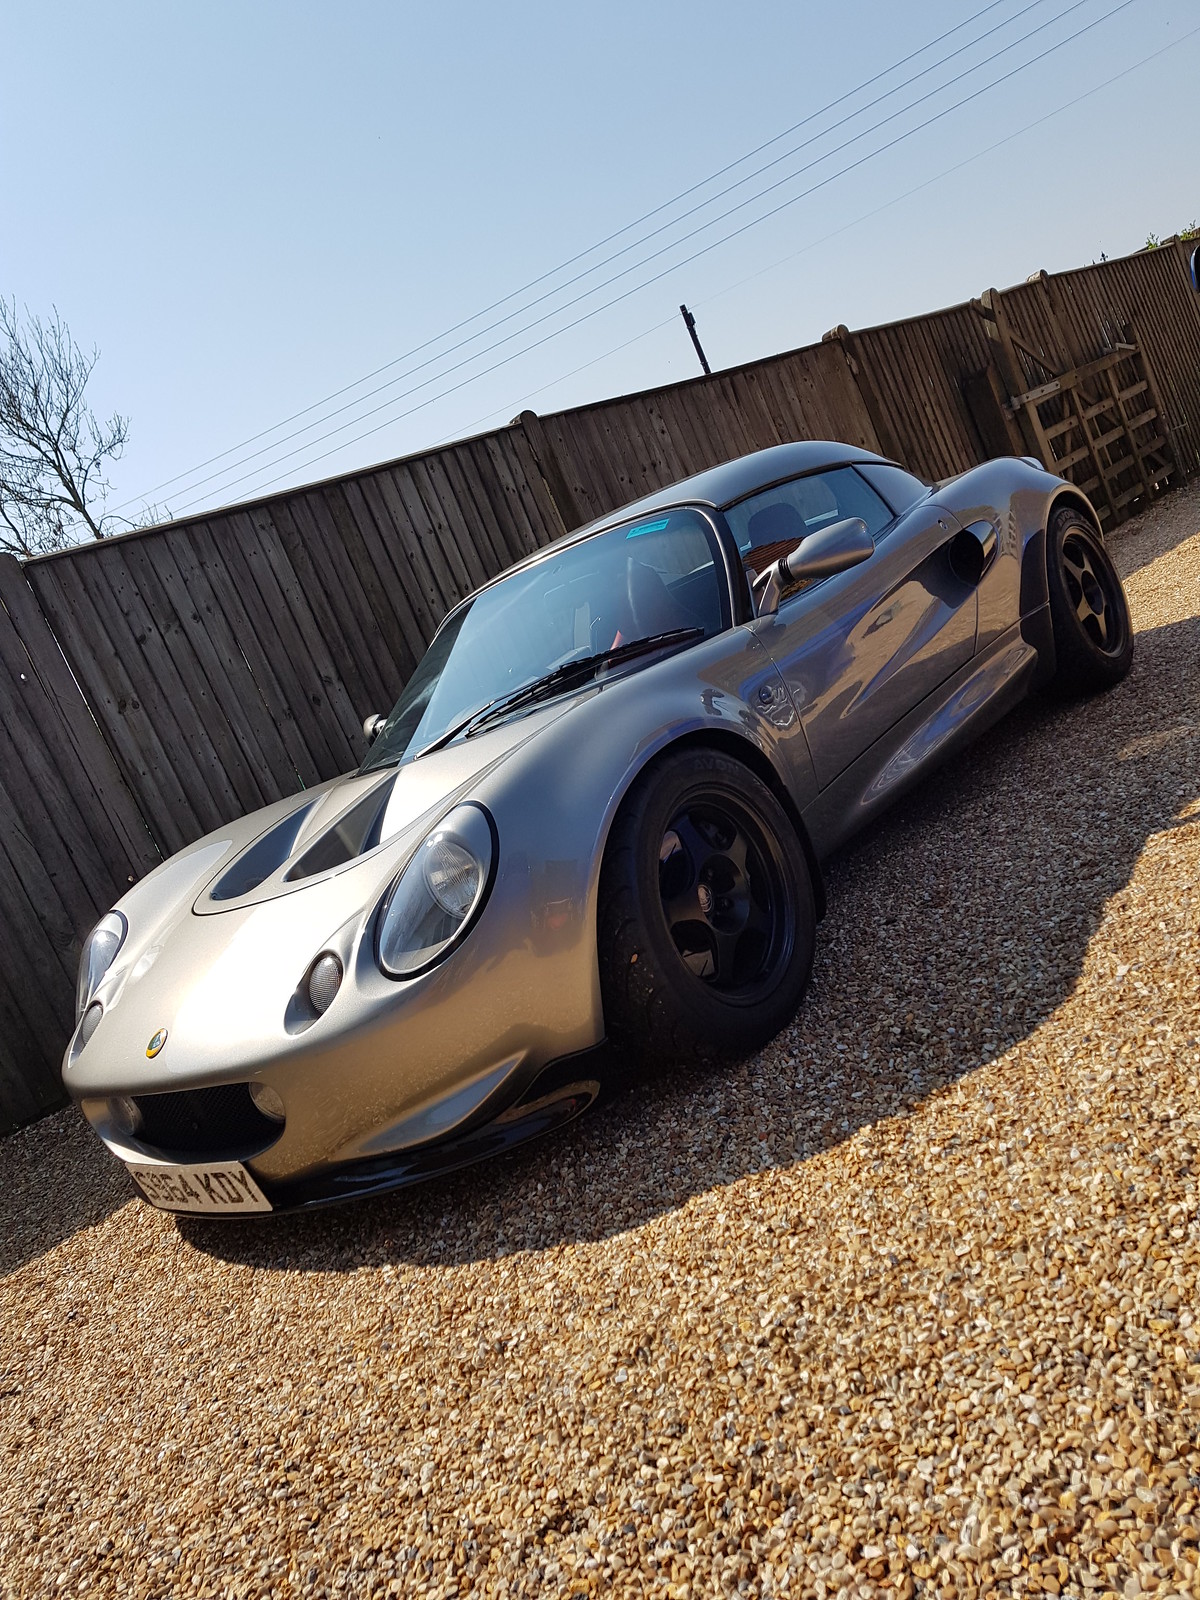
It certainly drives very well now though it drove well even before I started the suspension refresh, it’s just a bit better now and I know everything is setup right which makes me happy.