(First posted on MX5 nutz forum in February 2016)
I know power isn’t everything but I’m finding 115bhp minus the horses that have escaped over the last 25 years a bit slow for my liking so I though’t I’d have a go at doing something about it. The only trouble is whatever I do has to be on the cheap as I told myself I wasn’t going to spend on this car!
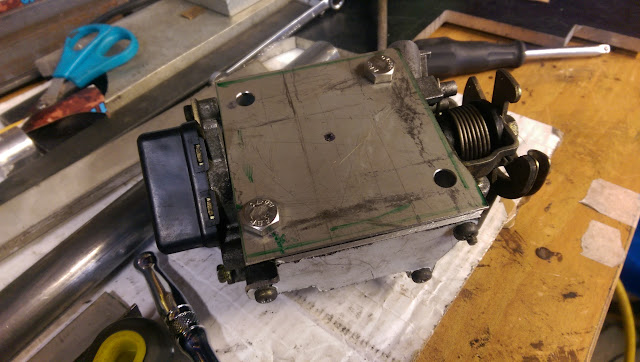
Fortunately I already had an Eaton M45 off a Mini that I bought years ago for way way cheaper than they seem to sell for nowadays. I’ve also never owned a supercharged car before so here goes…..
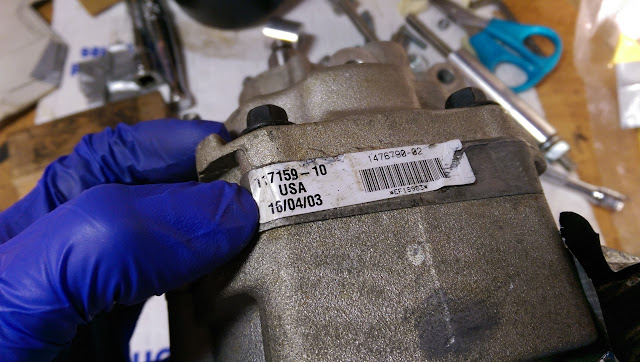
This was supposedly delivery mileage off a car that had an upgrade package fitted and that seems to be true enough from the lack of dirt or wear.

Before getting anywhere near the car I did a lot of reading and looking at pictures of other peoples home brew SC builds and the kits available so I had an idea what I was getting myself into. The more I read the more I realised it was going to be a bit more work than I’d imagined as I decided it would be best to go for an intercooled, twin throttle body setup. I’m certainly not the first to have a go at a home brew SC build though, meaning there’s quite a bit of info and help out there so I figured I’d give it a go.
I want to be able to use the car the whole time through this build so I need to do as much as possible off the car or in a way the will allow the car to be quickly and easily put back to normal. It’s not going to be off the road for months while this drags on and on if I encounter problems.
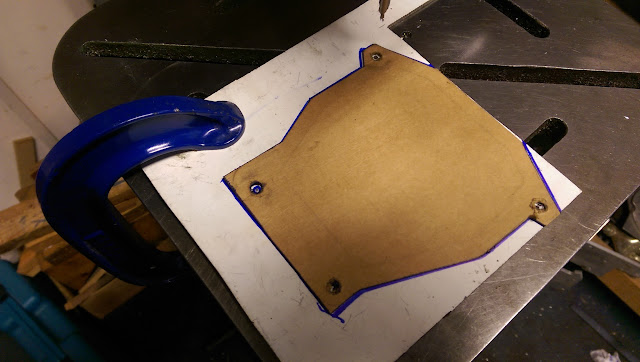
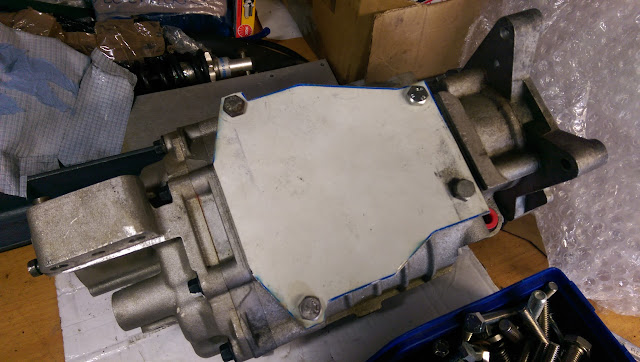
To keep costs down wherever possible I will ‘forage’ for metal and parts out of what I already have so I found some sheet and got started on making the inlet/outlets for the SC and 2nd TB.
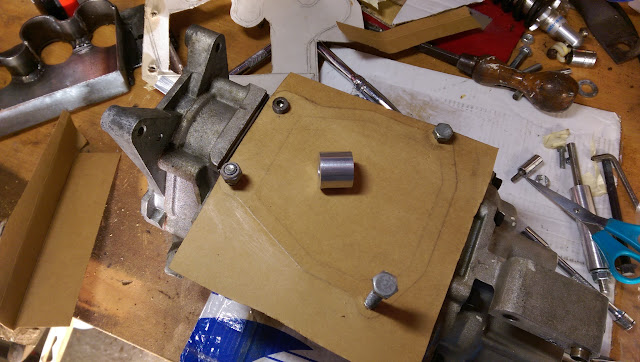
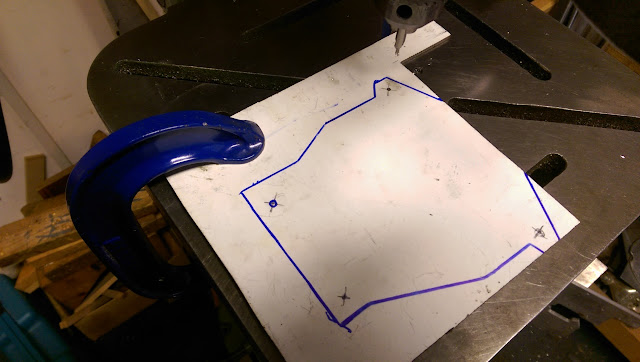
Some CAD.


Two of the overlaps trimmed out.
All overlaps trimmed out ready for welding
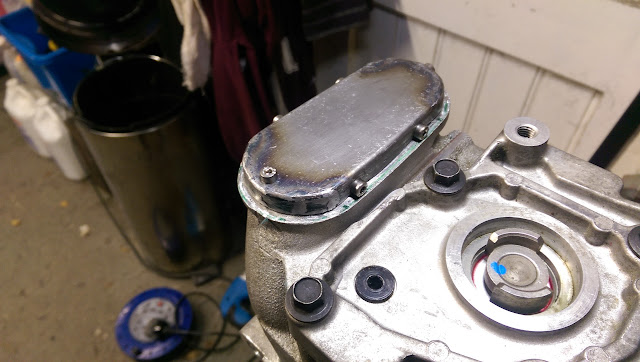
Welded and ground down.
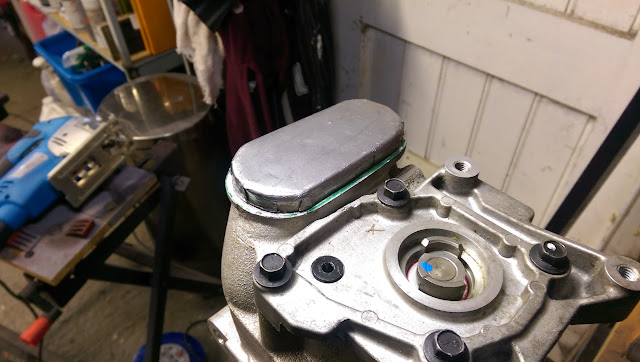
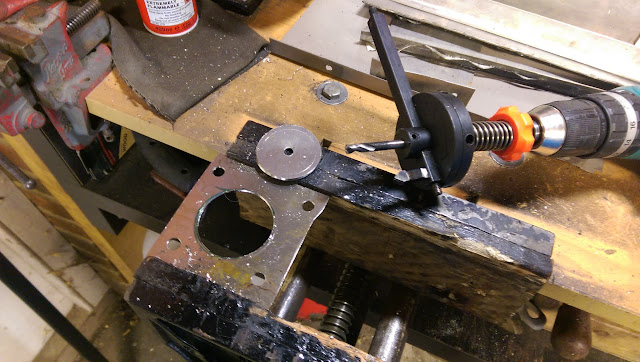
Time to drill and tap some holes, this should catch the swarf
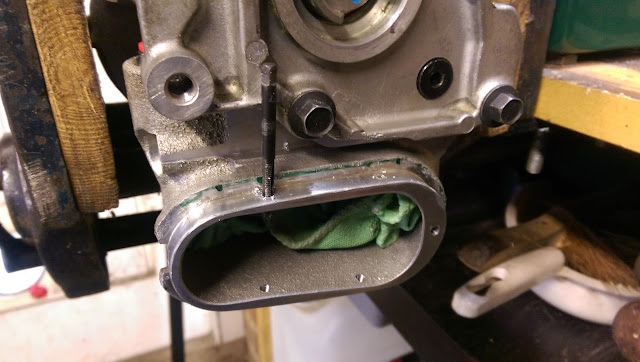

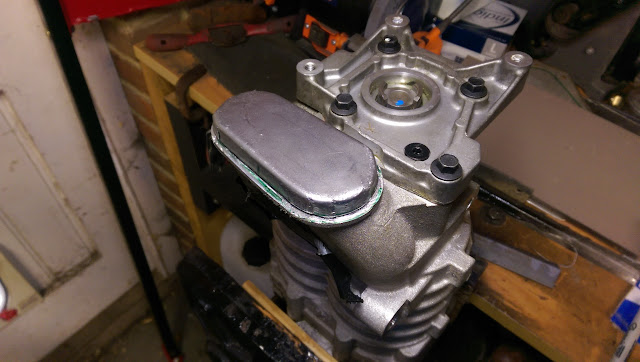
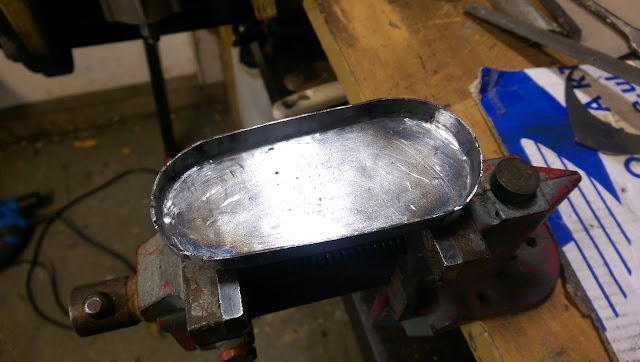
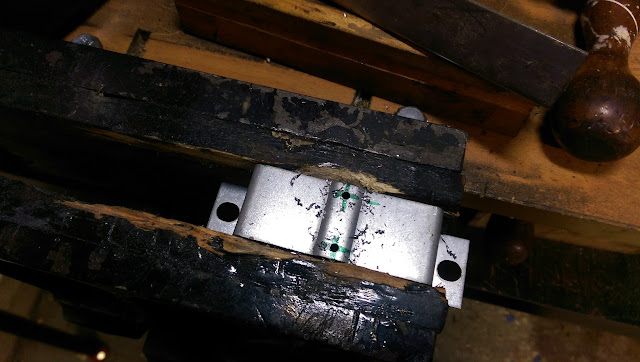
The inlet plate took such a long time to make but I’m happy it’ll work ok.
A standard 1.6 TB for cheap off ebay

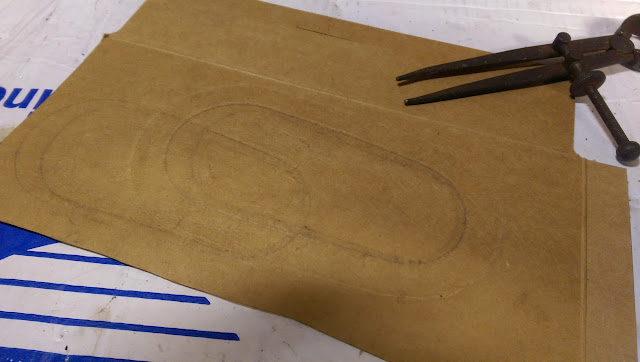
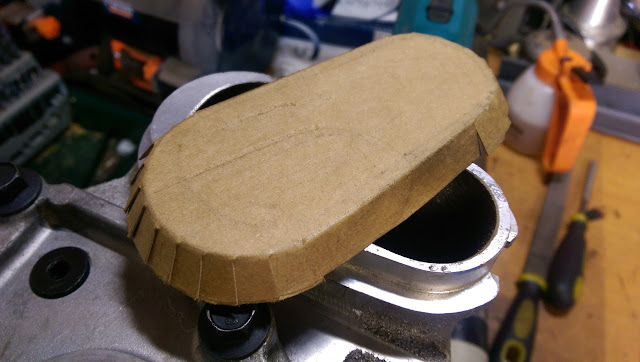
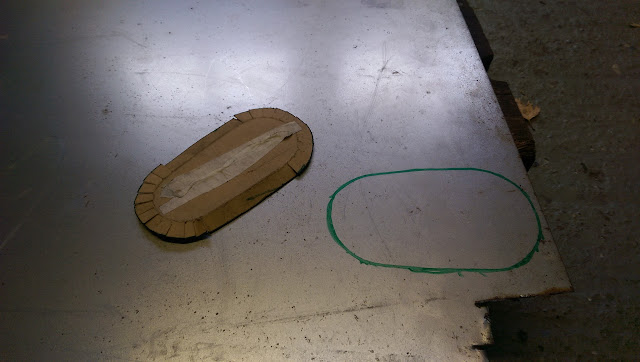
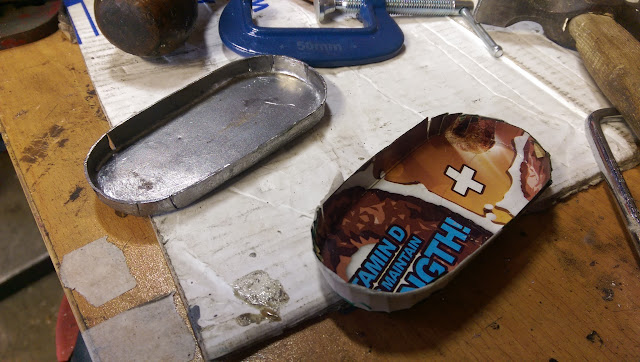
Can’t go wrong with a bit of Cardboard Aided Design.
Cut from a bit of scrap stainless plate I had kicking around
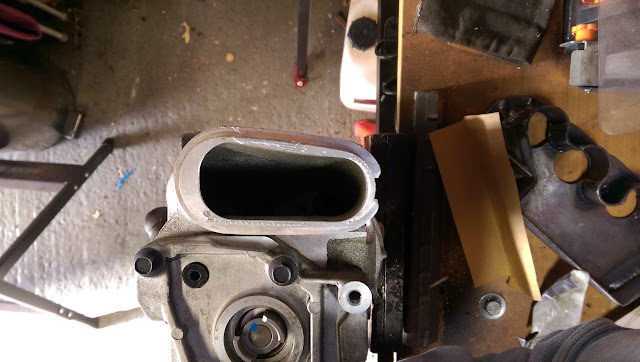
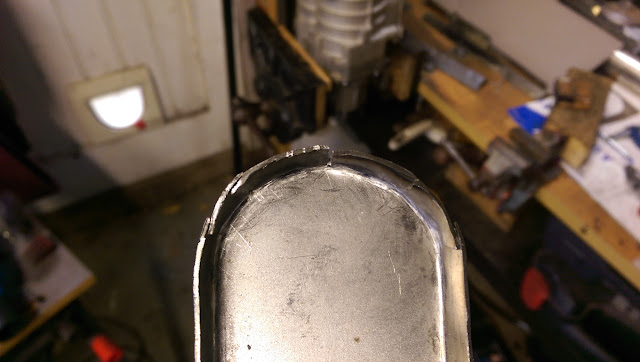
Now cut a hole in it. I cut it a bit small though. 
3 inch stainless exhaust off a Cobra that a mate gave me years ago. Perfect for the SC outlet I reckon.
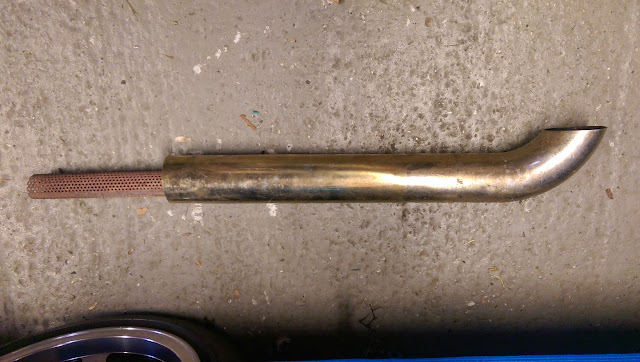
After a clean up with the wire jobbie on the angle grinder.

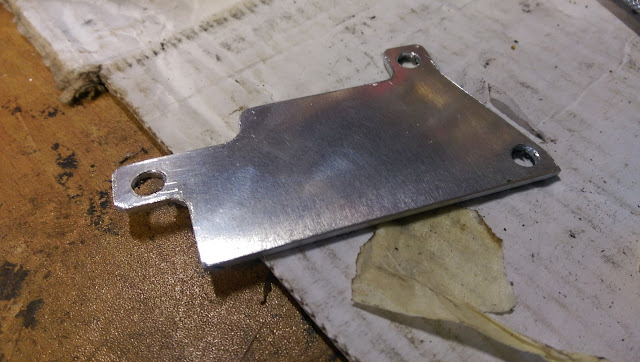
I found an adjustable fuel pressure regulator that I think was on my Mini once. Anyhow it was going spare so searched through some scrap for a bracket.

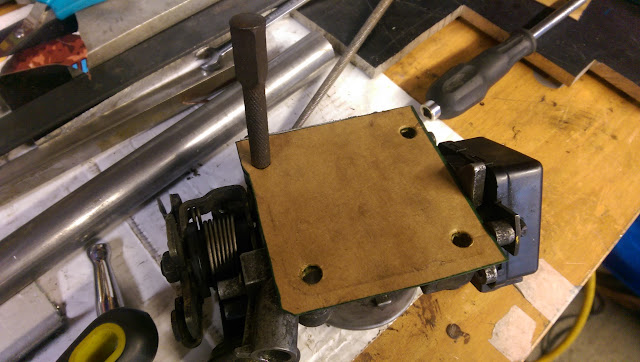
Found this. Drilled holes and cut it down.
AFPR on
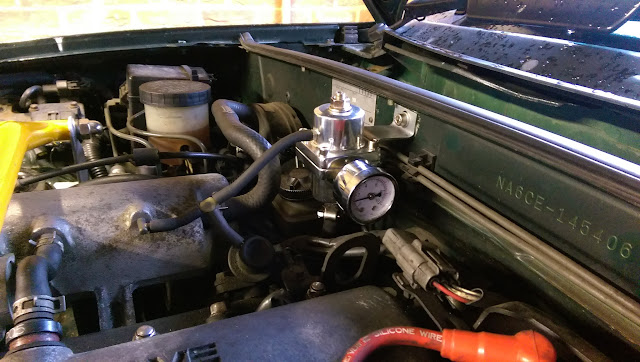
I couldn’t be bothered to remove the original FPR, at least for now, so I just doubled up with this as it will just hold more pressure and override the oem one.