
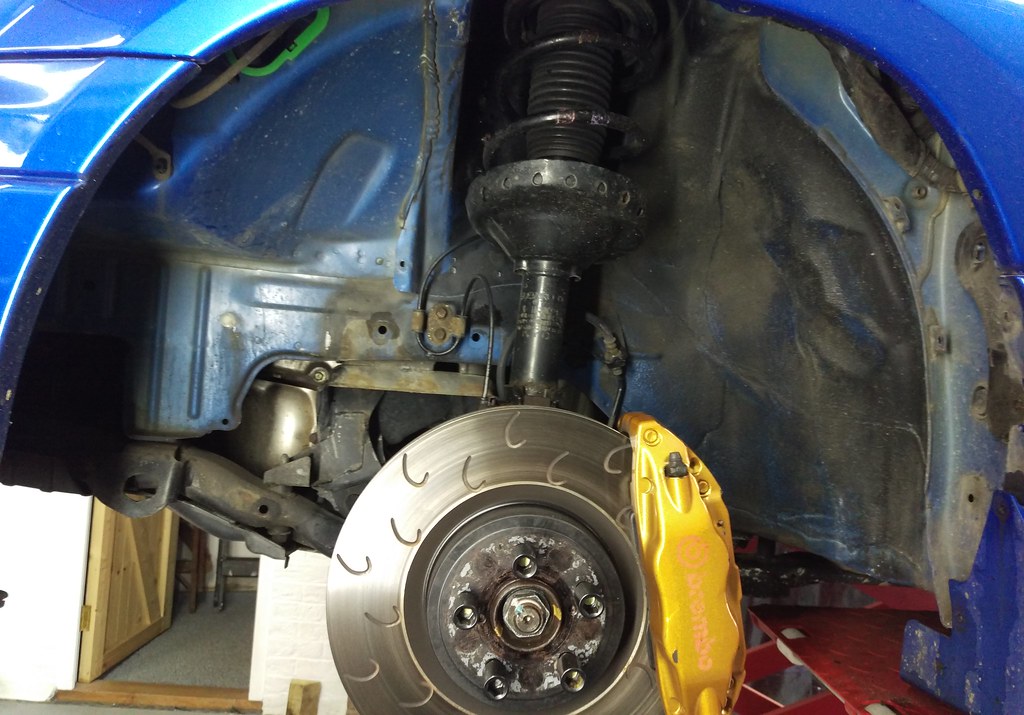
After thoroughly cleaning the underside anywhere I could with a pressure washer and allowing everything to dry out. Now it was time to get the car up on the lift and start removing any plastic trims and some suspension parts that would make the job of spraying the protective coatings easier and more effective.
This also gave me the chance to find any areas of trapped/hidden dirt or moisture that needed dealing with before applying coatings.
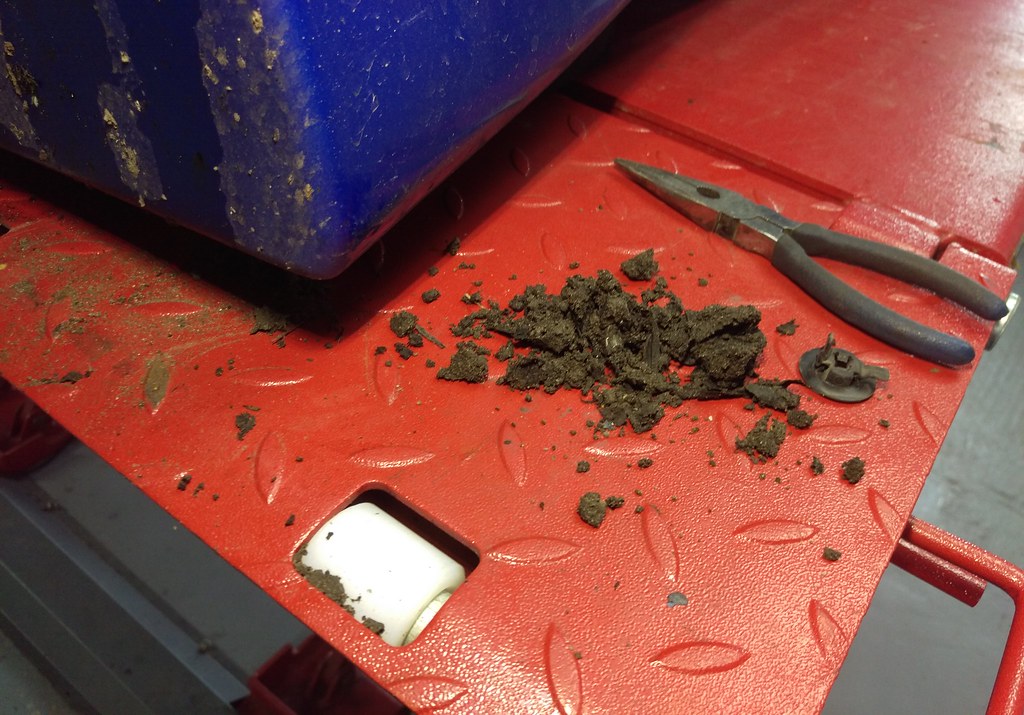
This cheap set of trim removal tools were very useful here as there are quite a few of those plastic trim fittings which tend not to want to come out or just break.
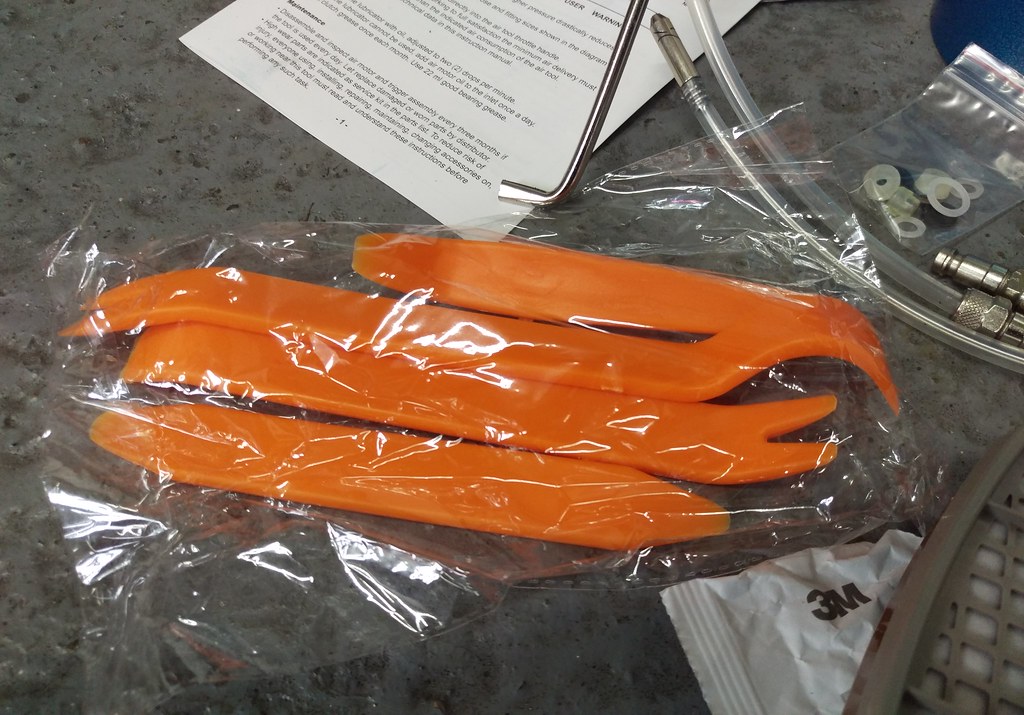
These kind of things that hold the under tray and wheel arch liners on.
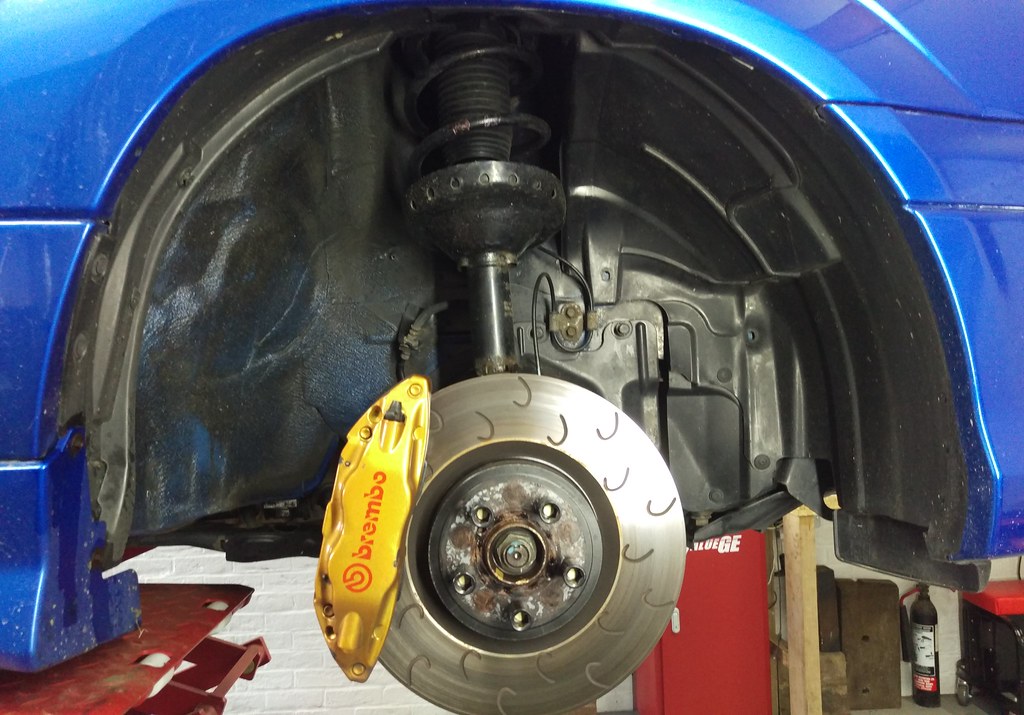
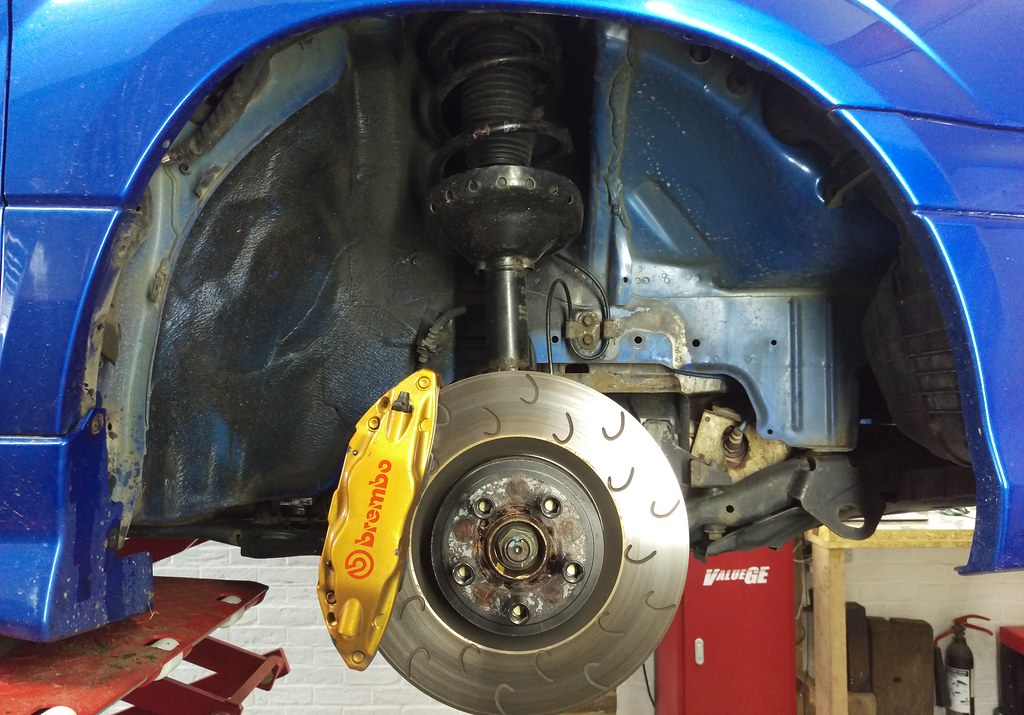
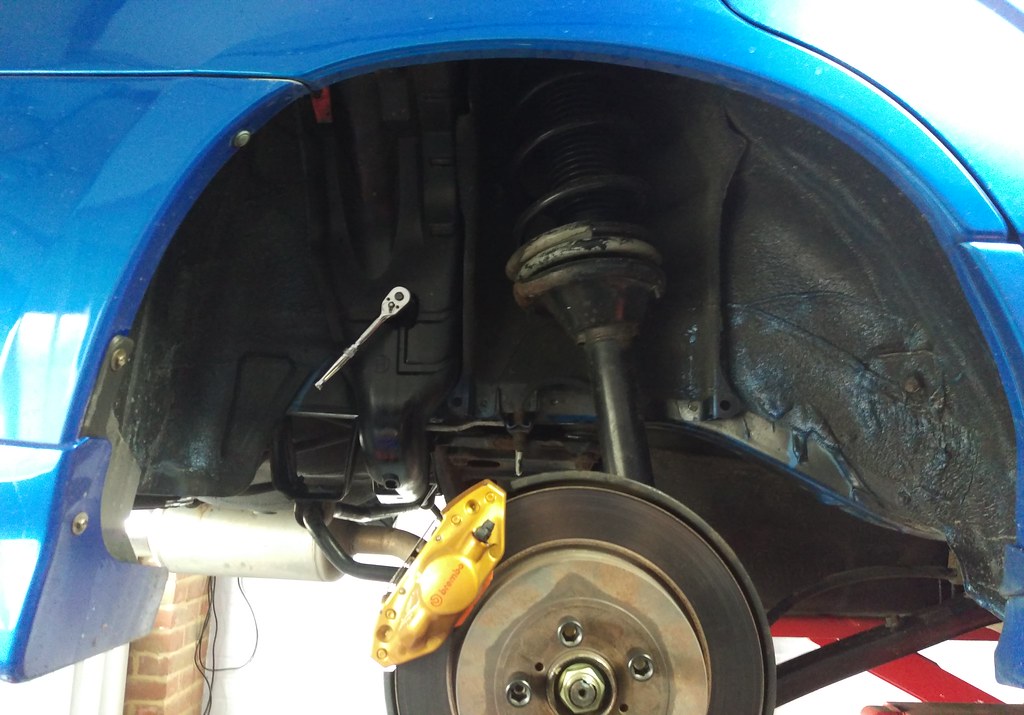
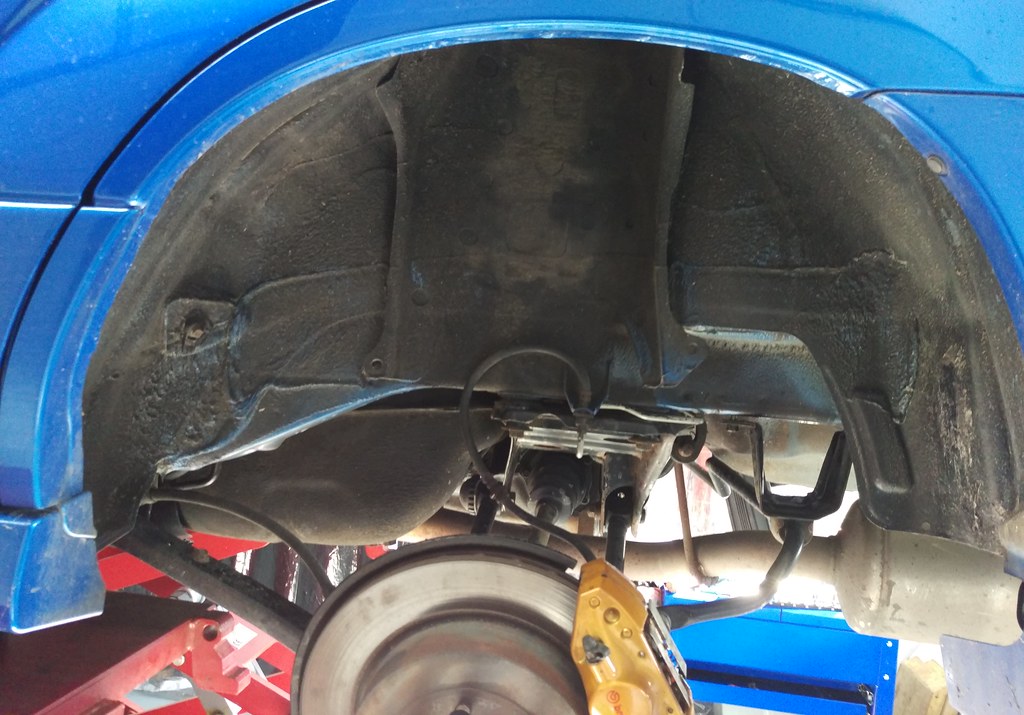
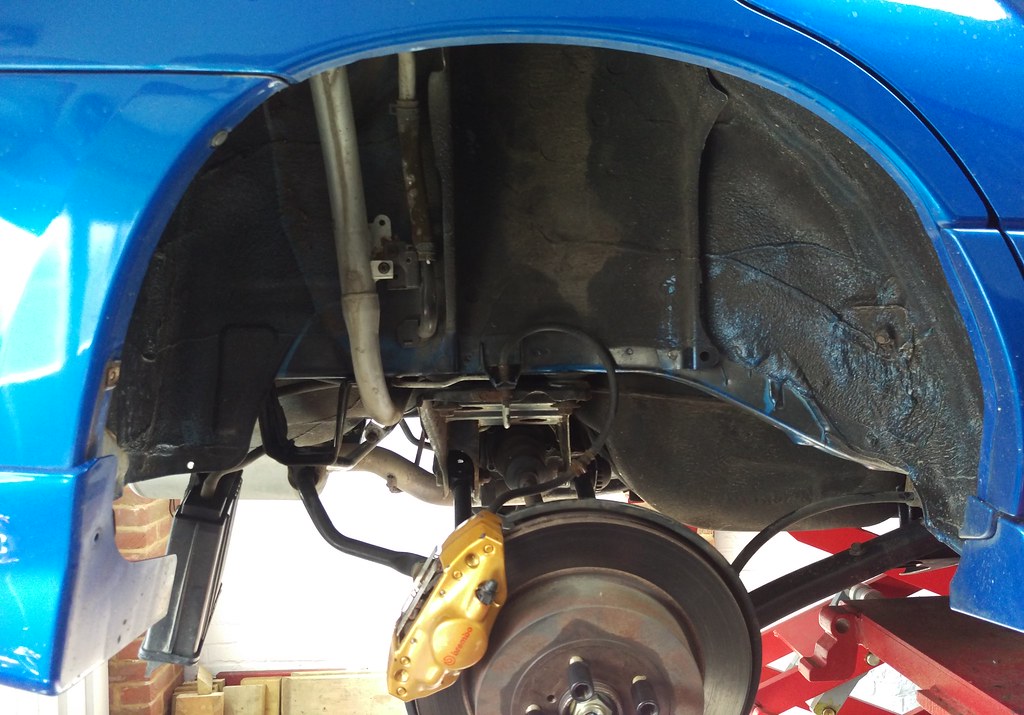
I removed the various bits of plastic in the wheel arches that would cover areas I want to apply protection to.
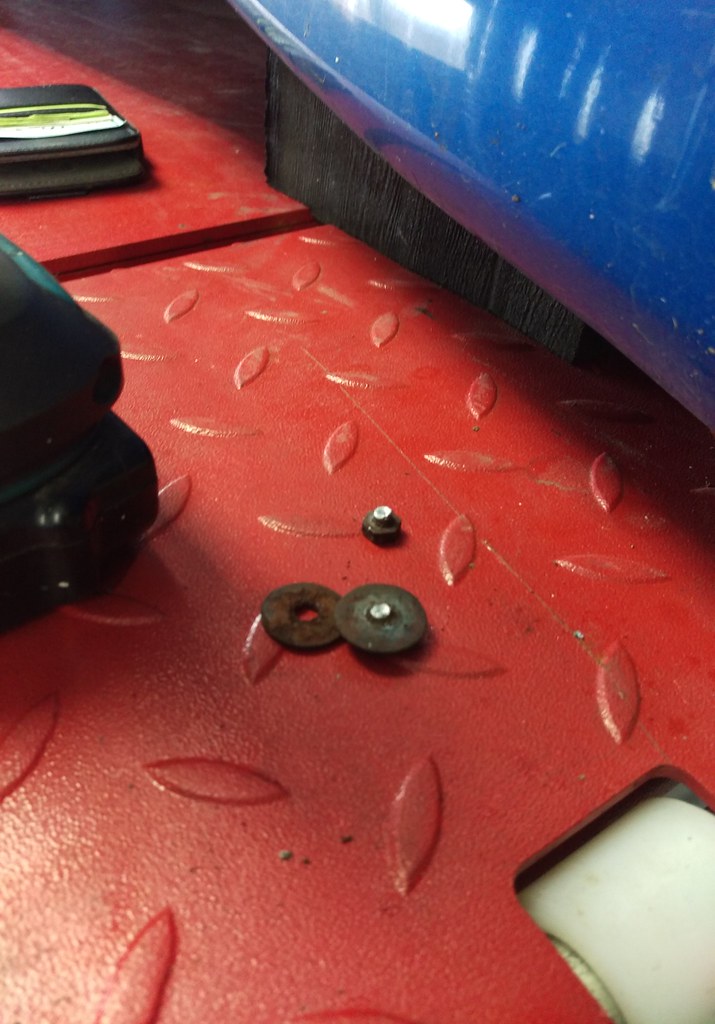
The first bolt I tried to undo snapped. Great!
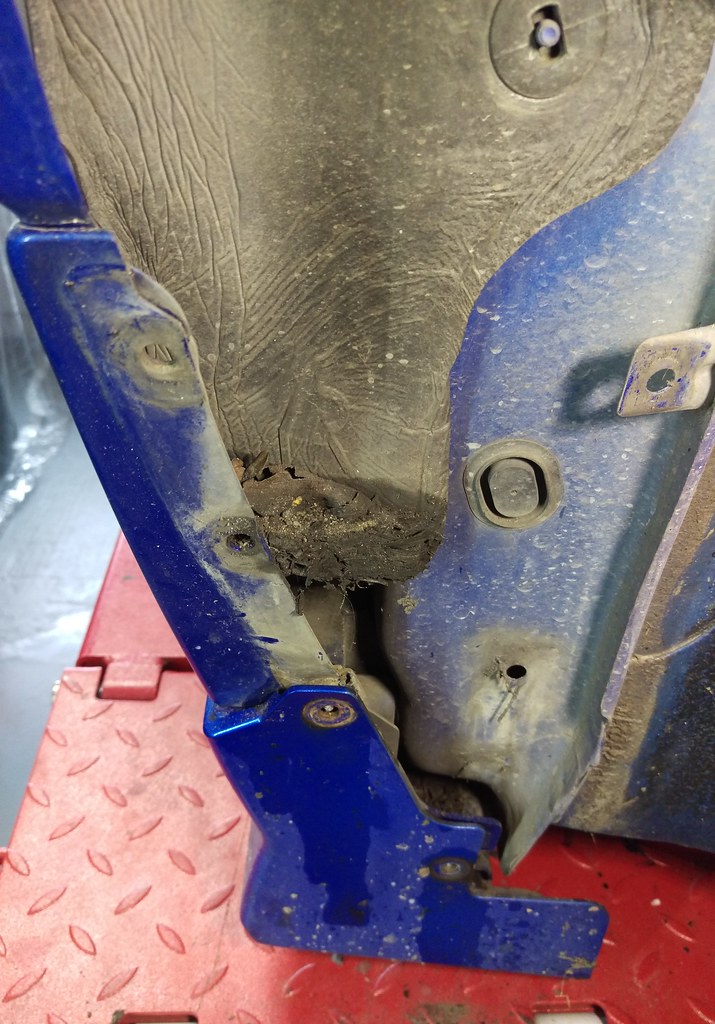
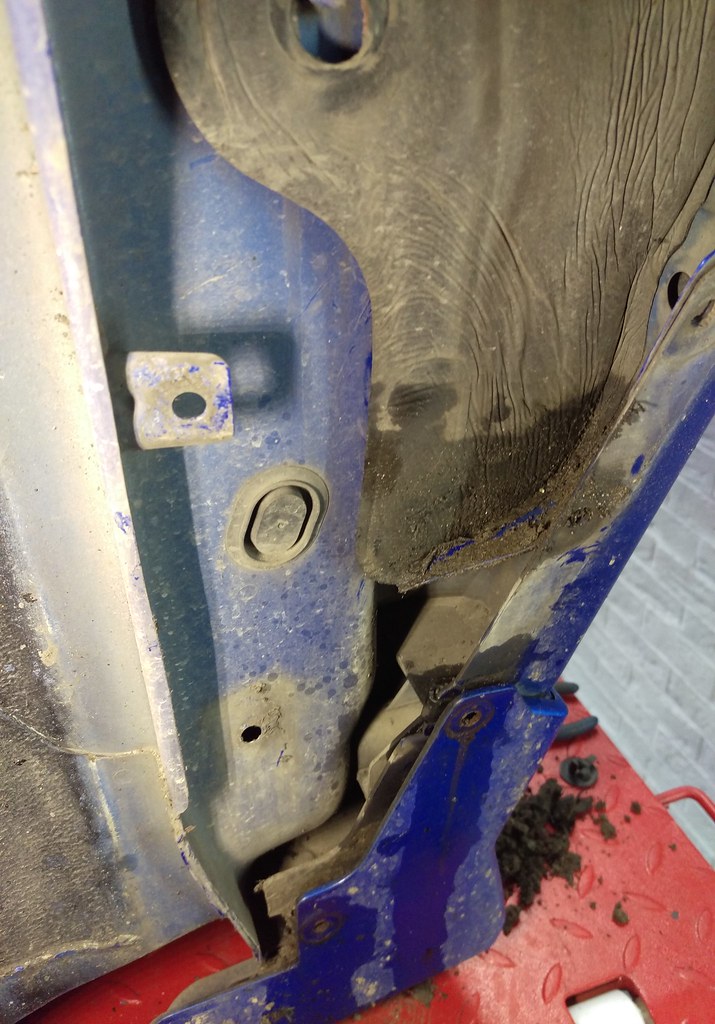
With the arch liner removed I found a nice collection of trapped dirt and moisture to remove and clean around. This was useful as it gave me a good idea of an area that would certainly benefit from some protection as it will be impossible to stop this build up of dirt in the long term.
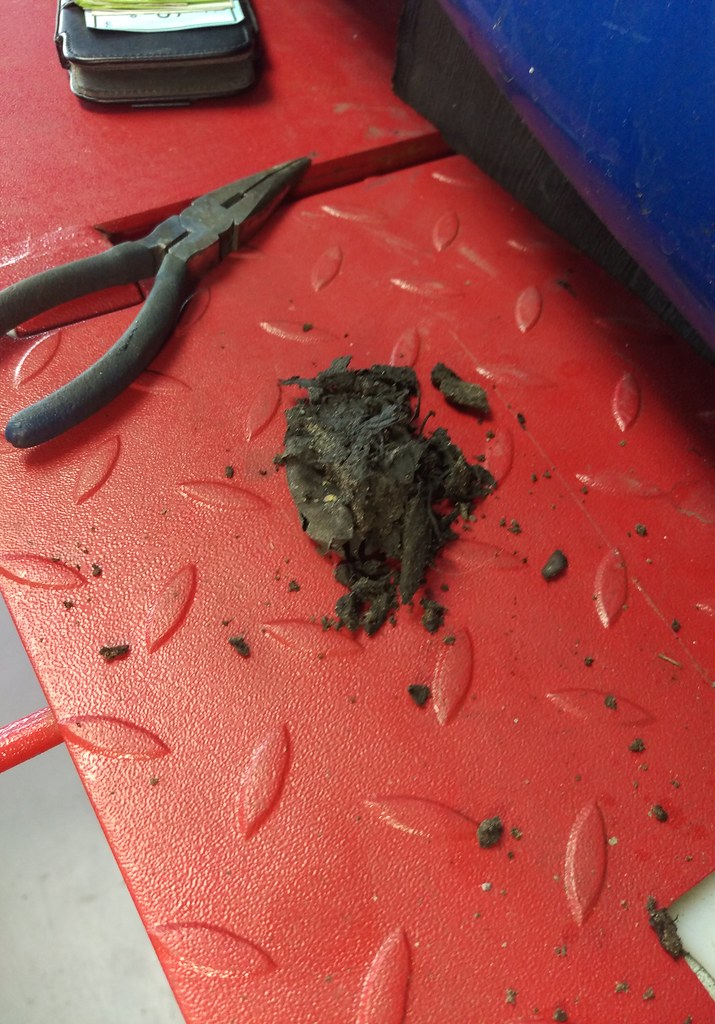
What I removed.
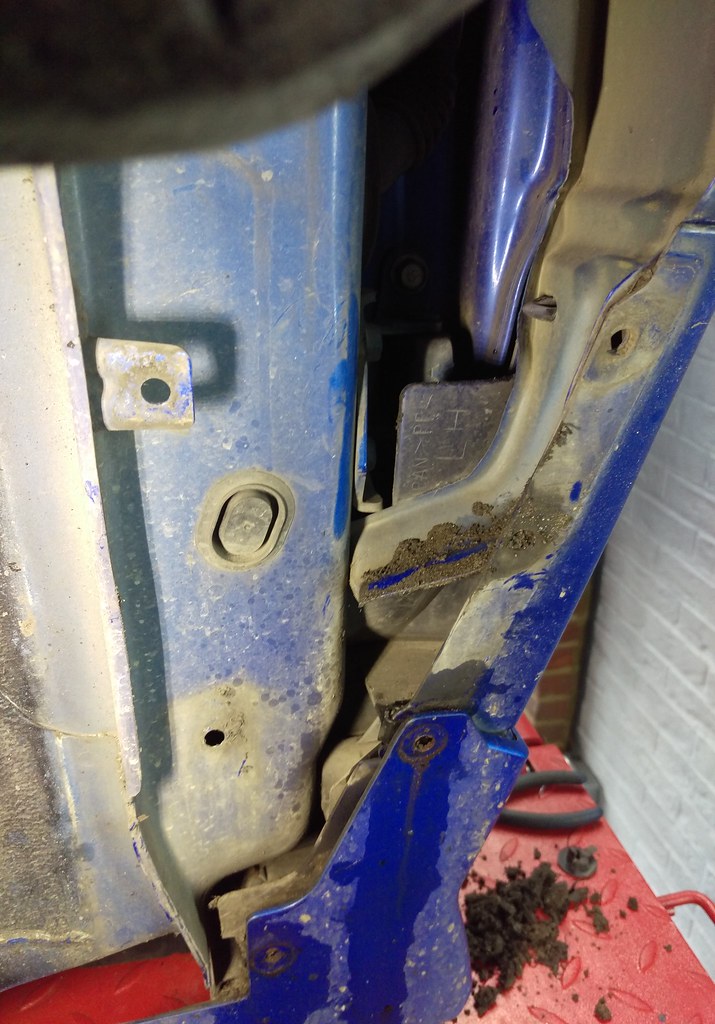
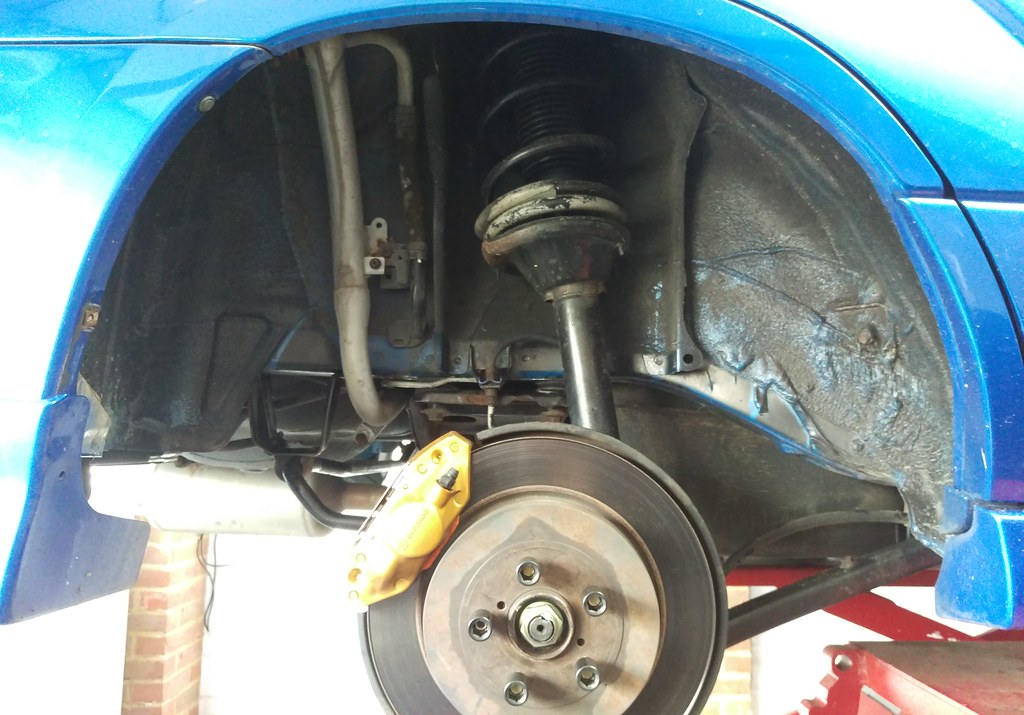
This area got a good wash down before and coatings were applied…..
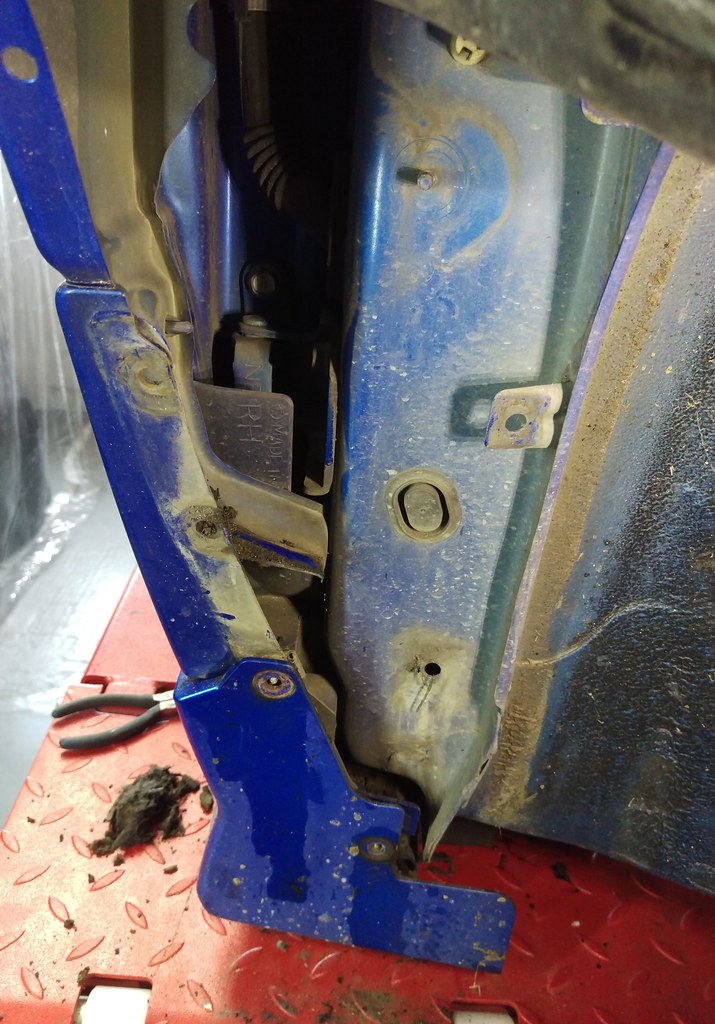
…as did the other newly exposed areas once the arch liner was removed.
Same the other side.
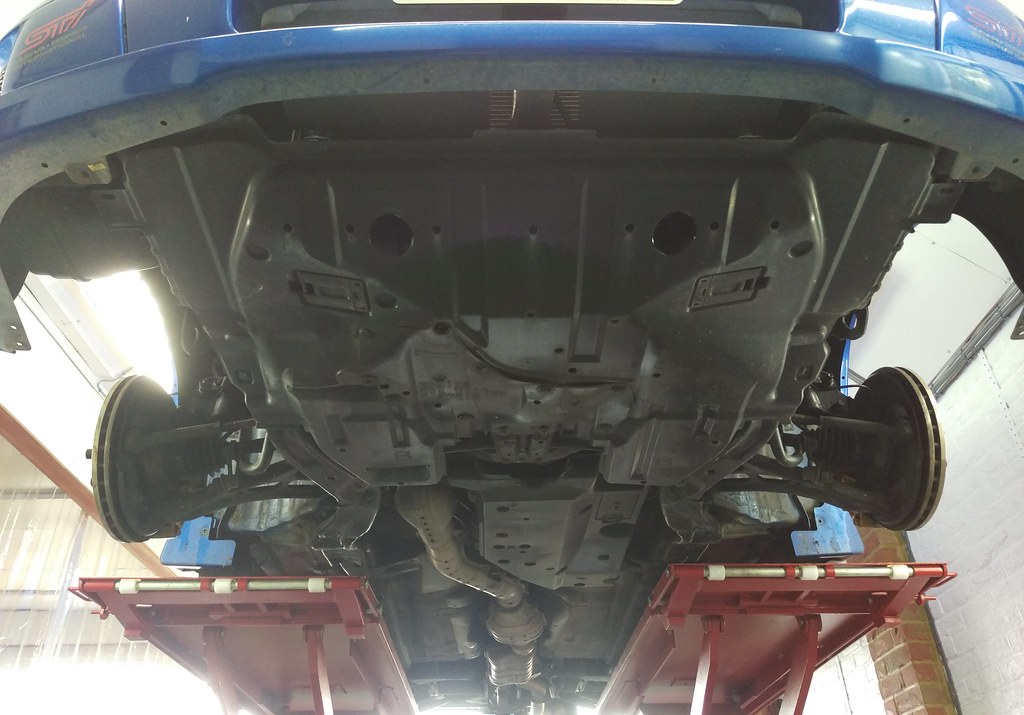
Undertray off.
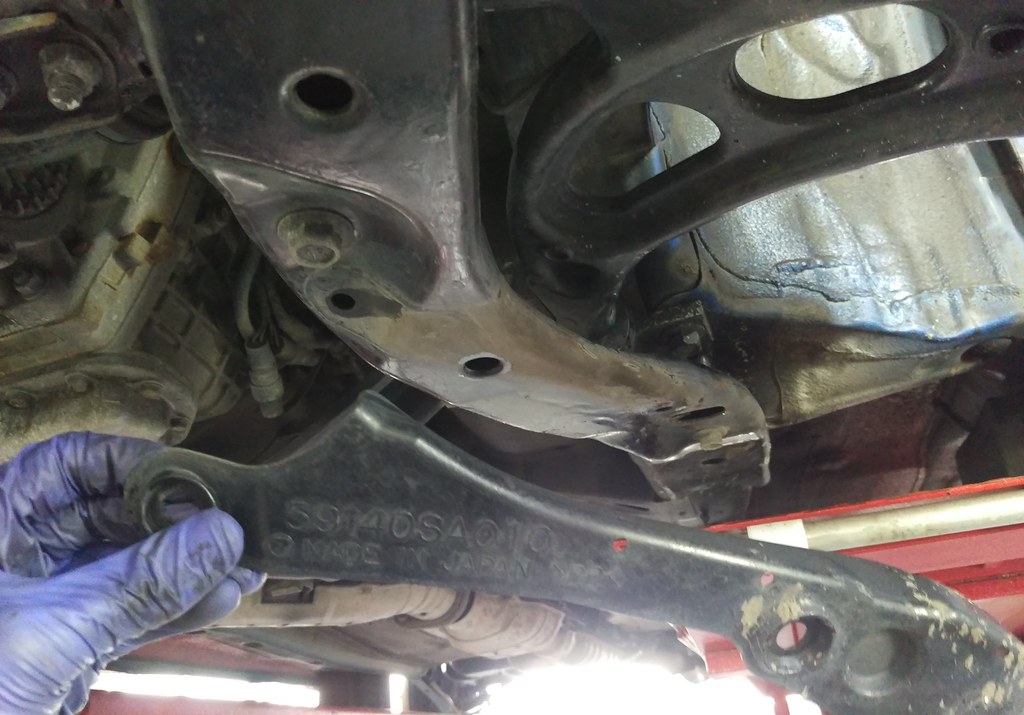
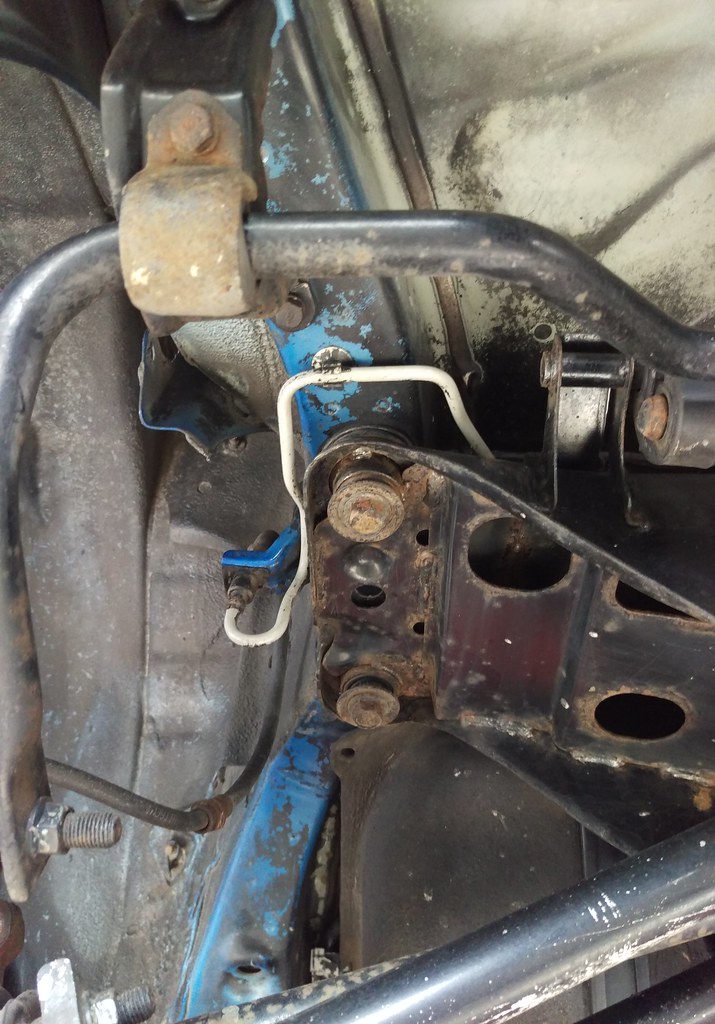
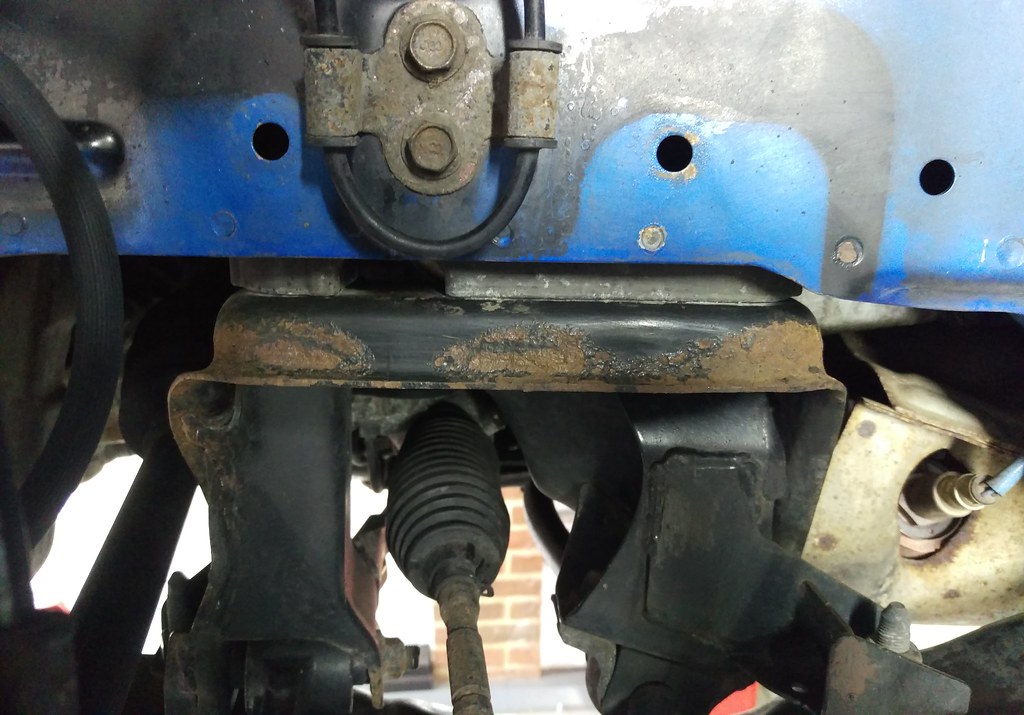
The front subframe has a couple of bits of plastic trim fitted that I guess are to protect it from stone chips which is great but they are also probably pretty good at trapping dirt and moisture against the subframe in the winter. So I removed them to clean and coat the subframe behind them before refitting later on.

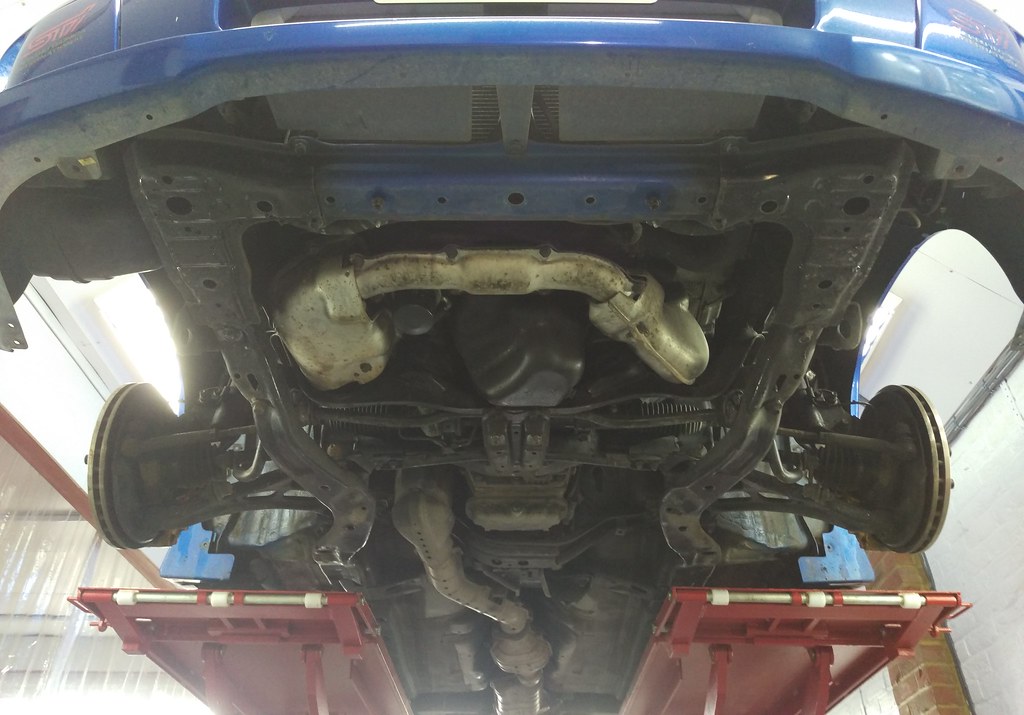
On to the rear end.
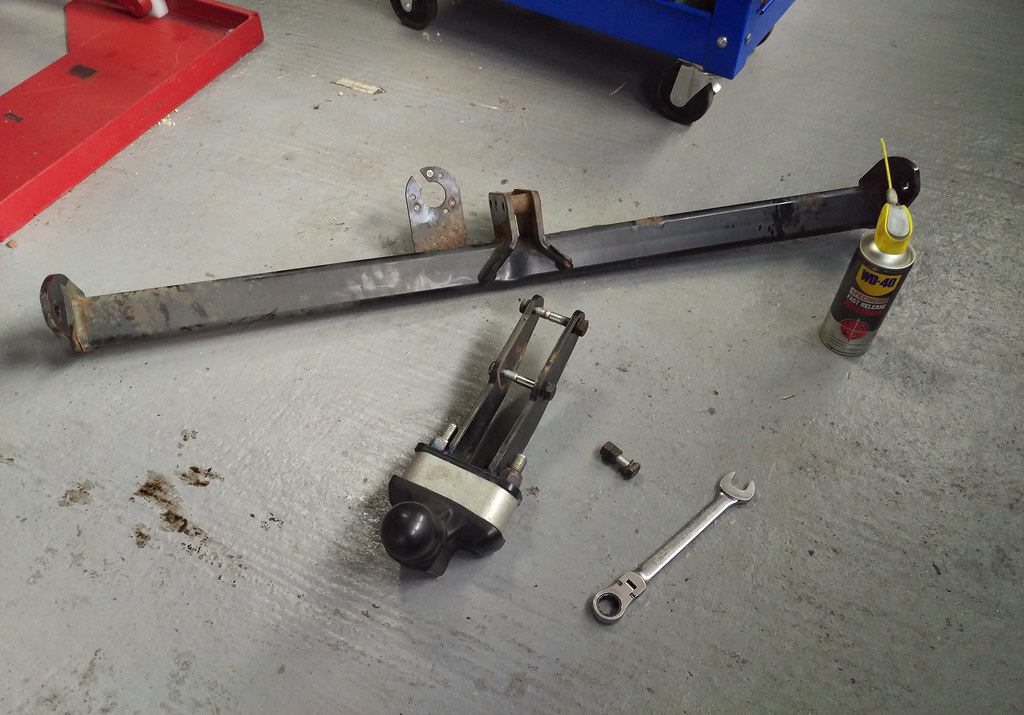
It was obviously going to aid access with the tow bar removed so off it came.
The previous owner had fitted the tow bar to take a bike rack (hence the big ali spacer block). This was a bonus for me as I wanted a tow bar for the few occasions I might want to tow a trailer. But, despite the tow bar only being on the car for a year or so it’s powder coating was failing already and rust seems to breed rust so it would also get stripped down and repainted before being refitted.
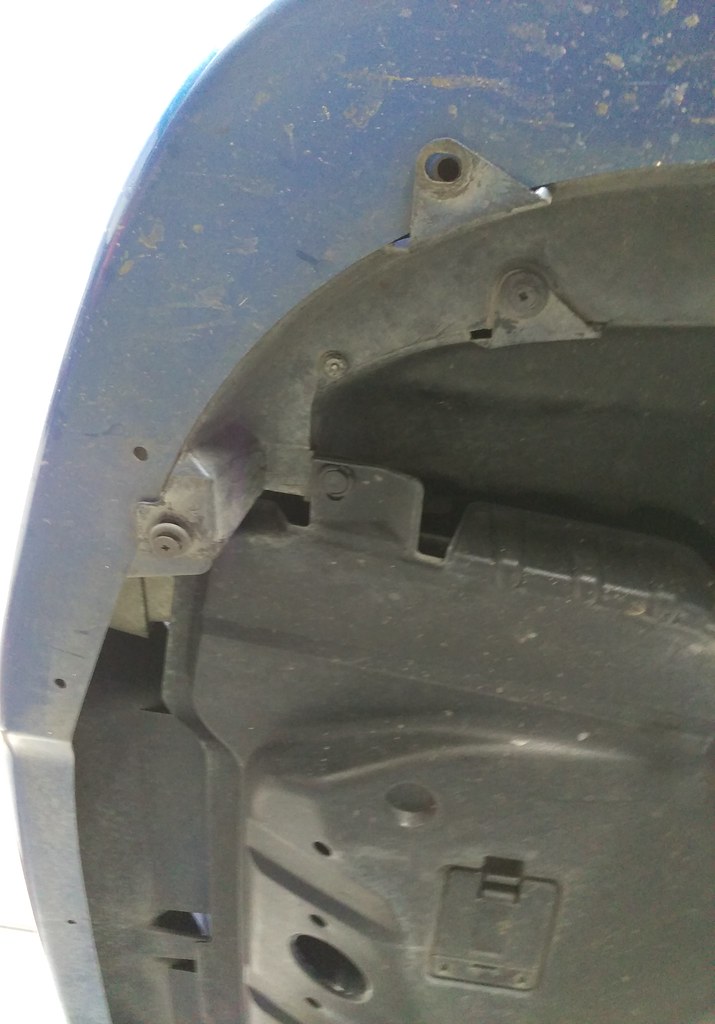
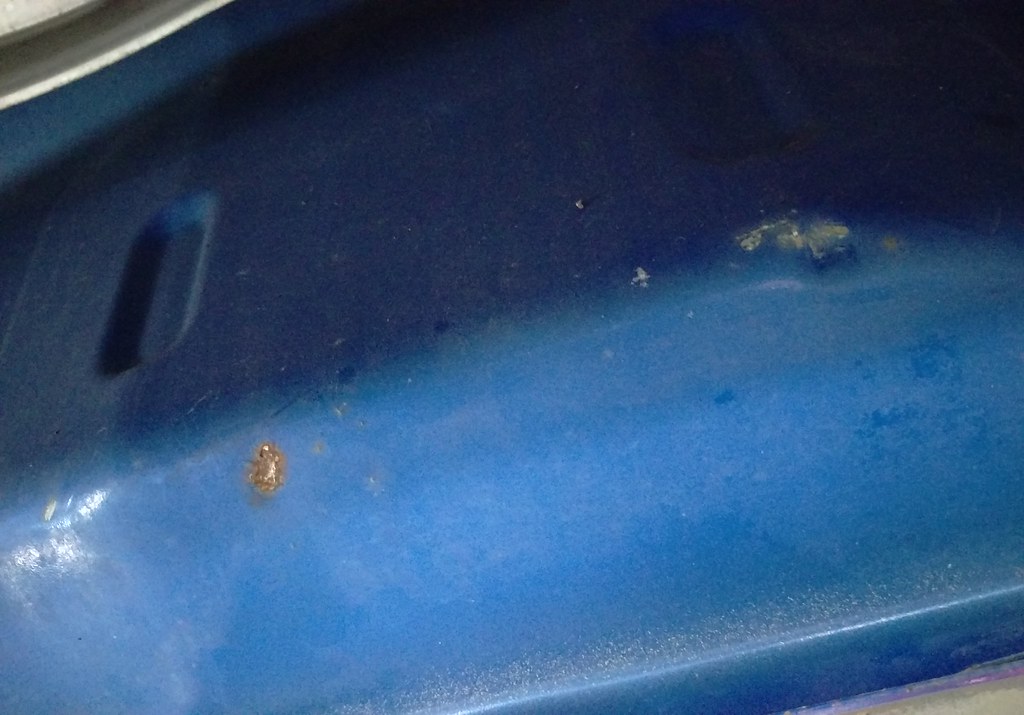
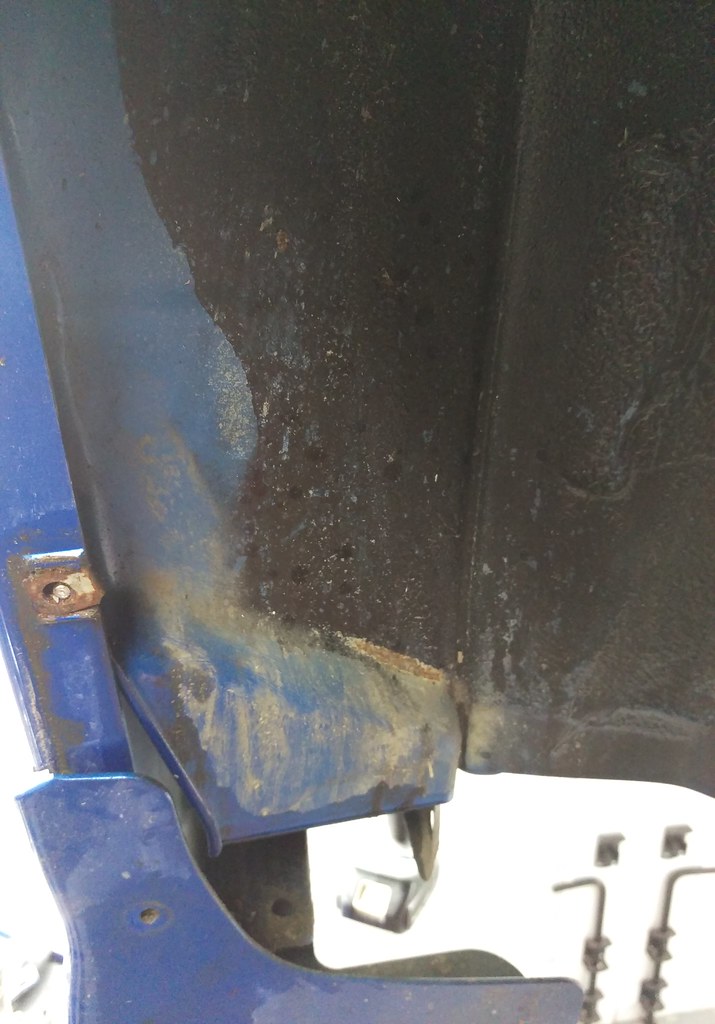
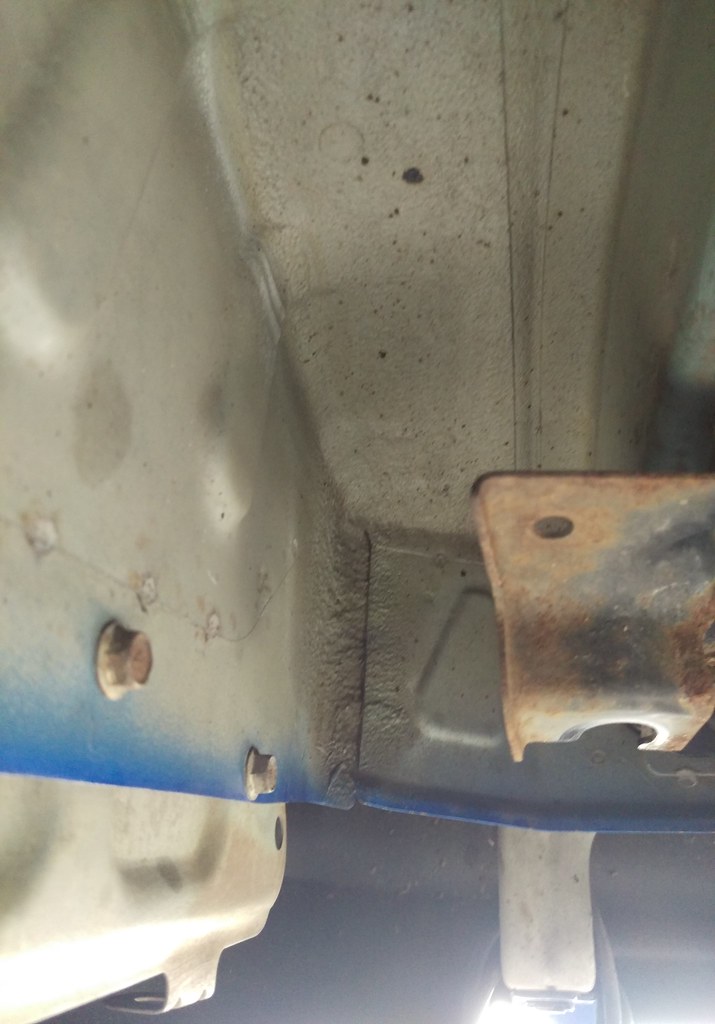
Removing the towbar also exposed the poor fit it had to the car causing is to touch the boot floor and damage some paint. This is exactly the kind of thing that, when left untreated, will end up as a big rusty hole in the floor. Not on my watch!
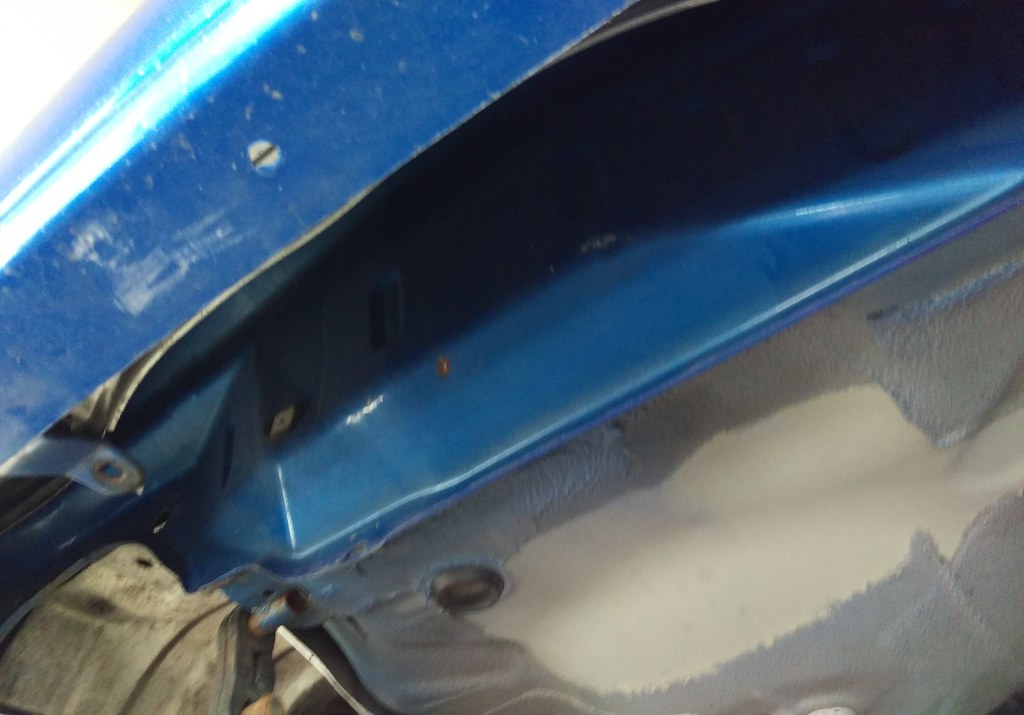
As it is it’s just a bit of damaged paint with the start of some surface rust which could be easily cleaned up and prevented from ever becoming a problem. I also reshaped the part of the towbar that touched the floor here so it wouldn’t be a problem when I refitted it.
On to the rear arches.
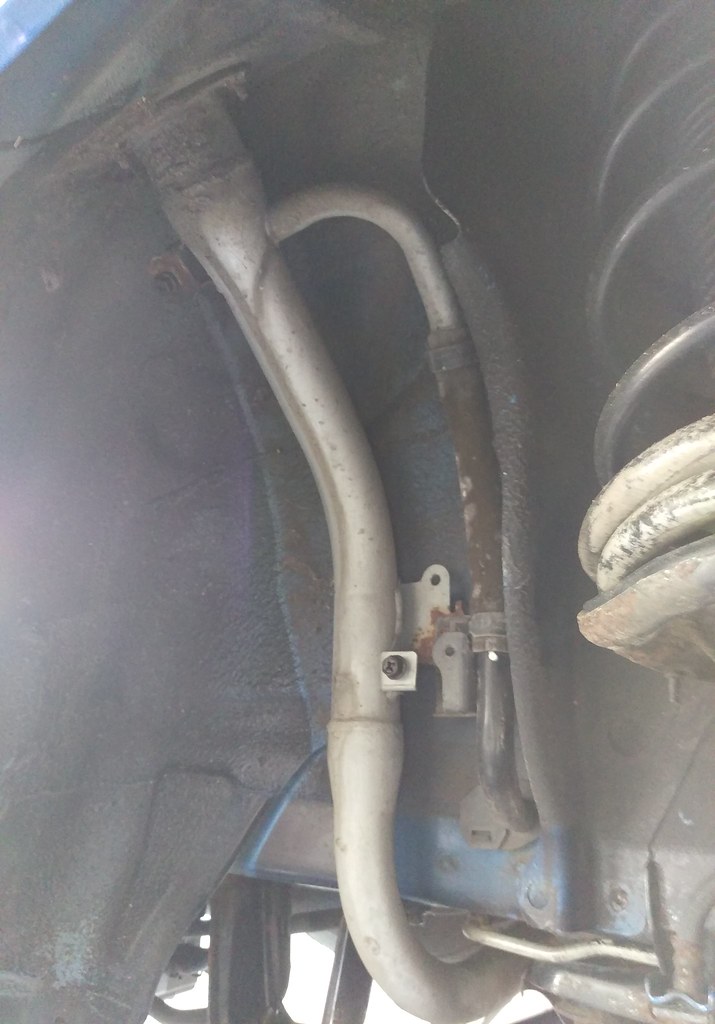
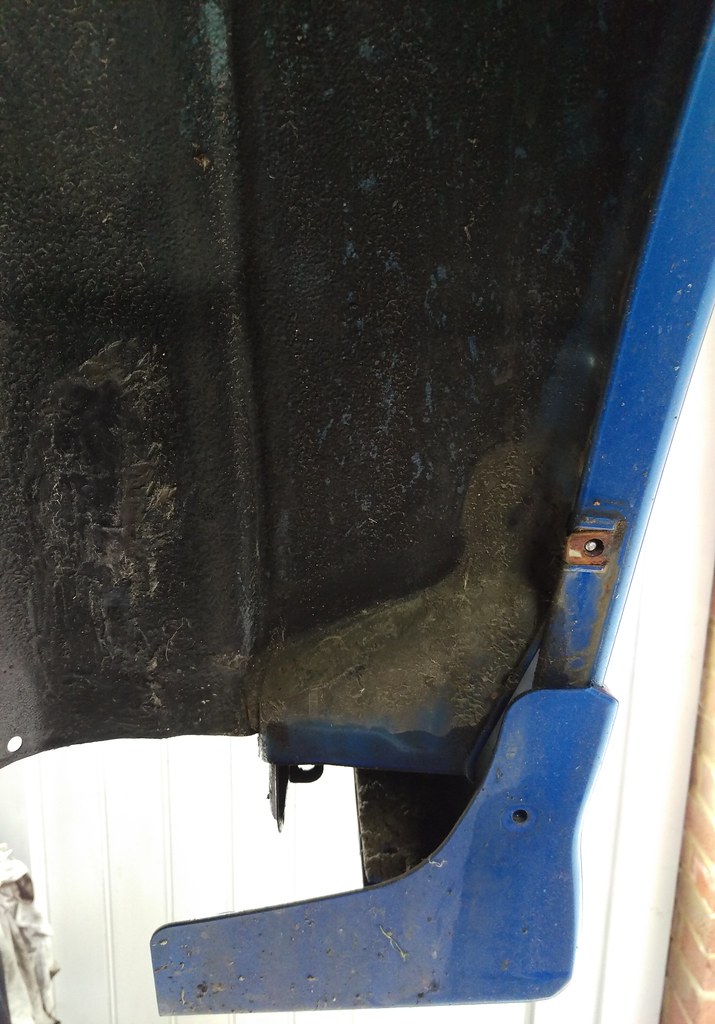
Not sure if it’s specifically a problem with the Forester but it’s certainly a problem with Evo’s. The fuel filler pipe cover traps years of dirt and moisture up against the filler pipe causing it to rust until one day you realise that smell of petrol didn’t go away after you left the petrol station, it followed you all the way home. So you take a peak under the car to find fuel dripping out.
Well I went through all that with my Evo and I don’t fancy doing that job again! Fortunately the metal filler pipe was in perfect condition so after I cleaned it and the area around where it bolts to the shell and it got coated with Dinitrol and Mil-Spec wax it should stay that way for a very long time.
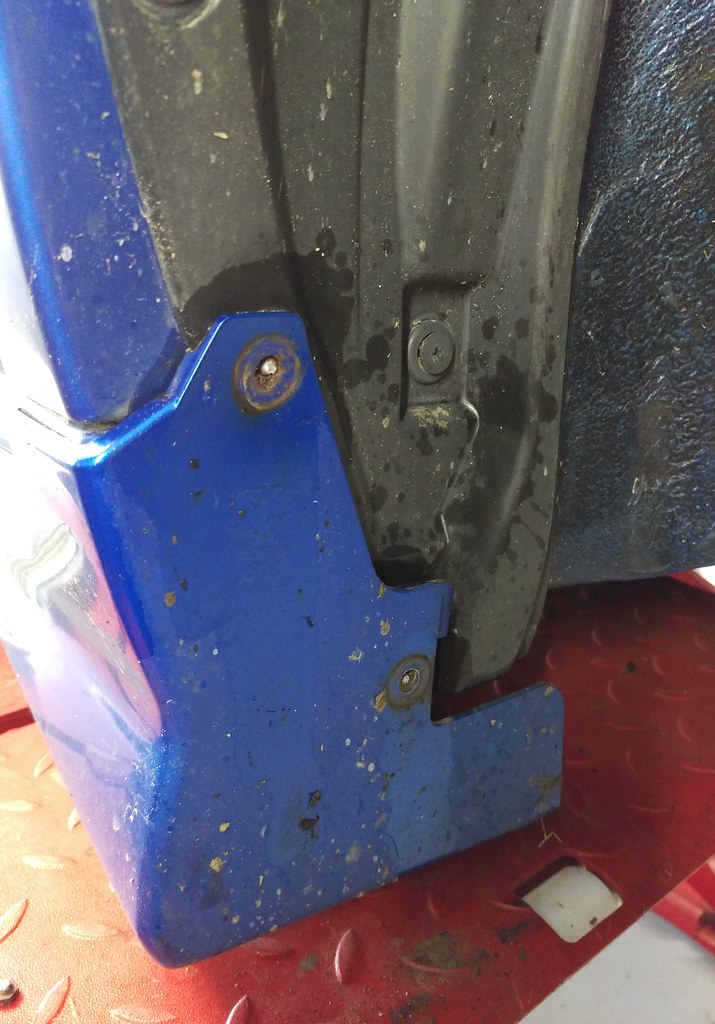
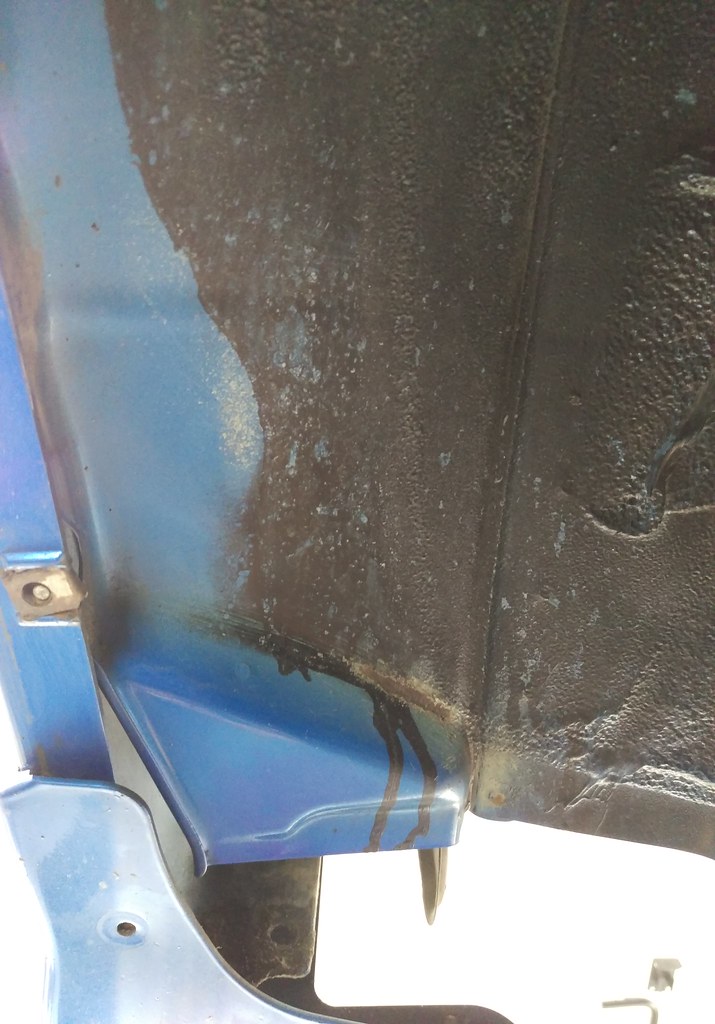
There’s a little bit of black plastic trim at the back of the rear arches which I assume is there to prevent stone chips to the paint that would result in rust. A great idea except when the bit of plastic trim rubs on the paint you’re attempting to protect, removes the paint and causes rust!
Another good reason for doing proper preparation and removing the trim plastics to check what’s hiding behind them. This is only a small area of surface rust so easily rubbed down and treated to stop it being a problem. This is the kind of thing that doesn’t tend to get noticed until it’s a much bigger problem.
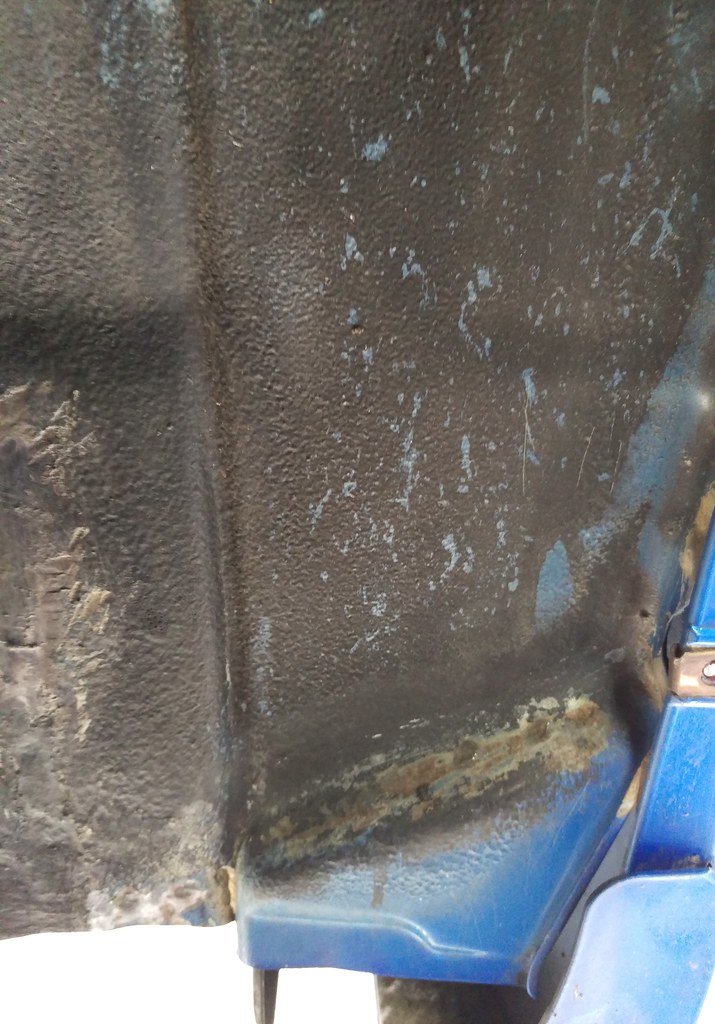
The other side hadn’t worn through the paint yet but looked like it would eventually.
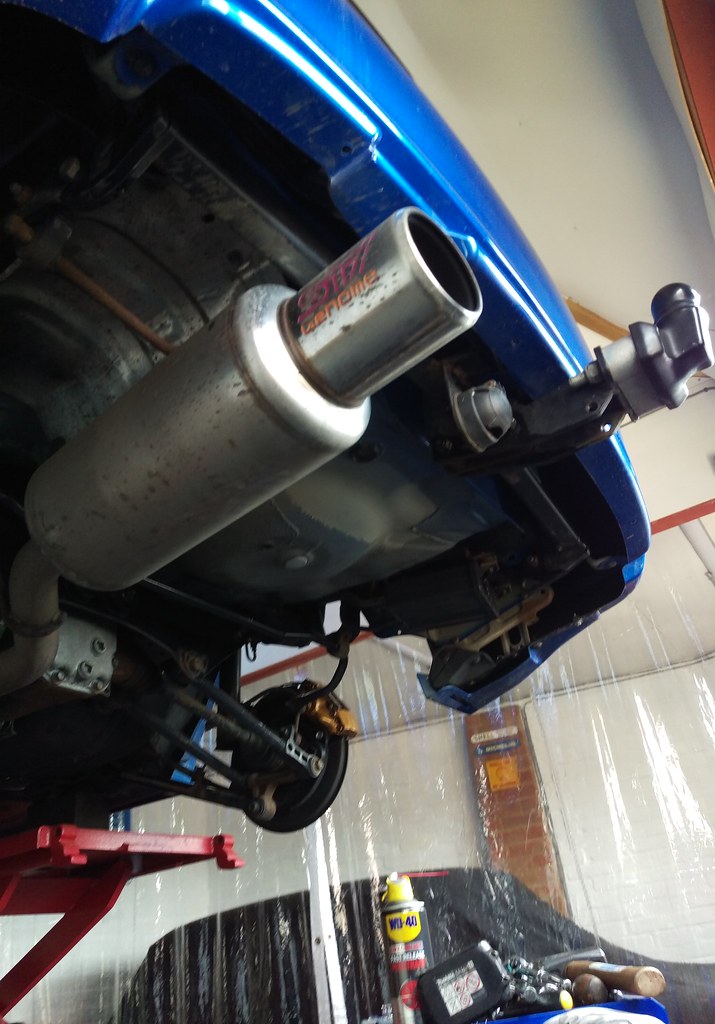
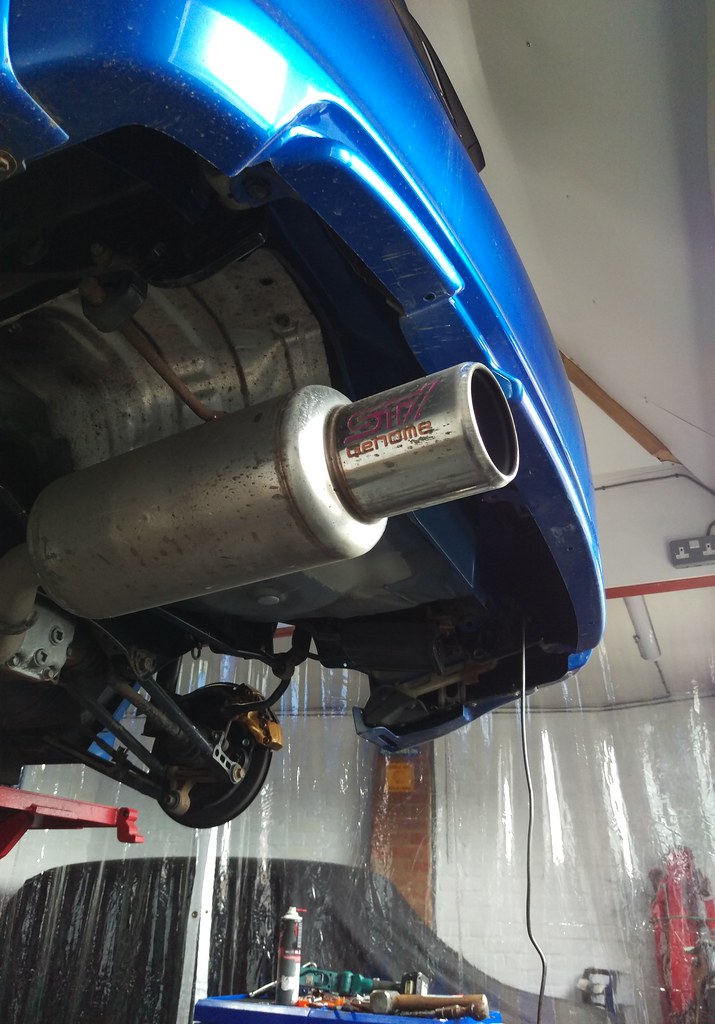
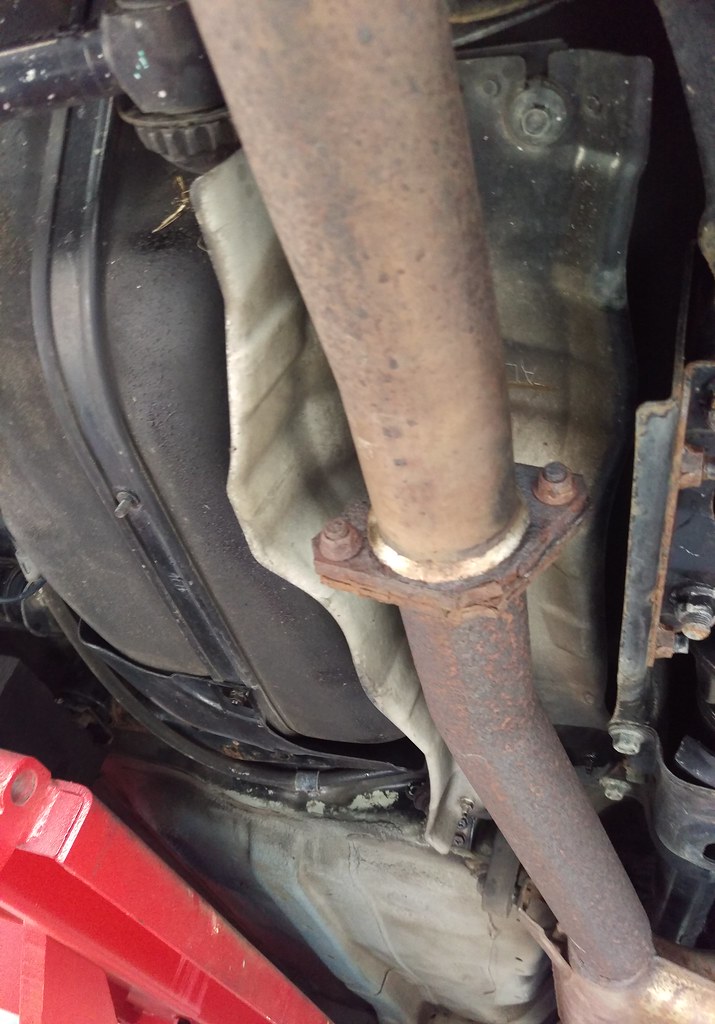
Exhaust shields came off easily which is a good sign. On any car that’s been in the UK for a few years the nuts would usually be seized.

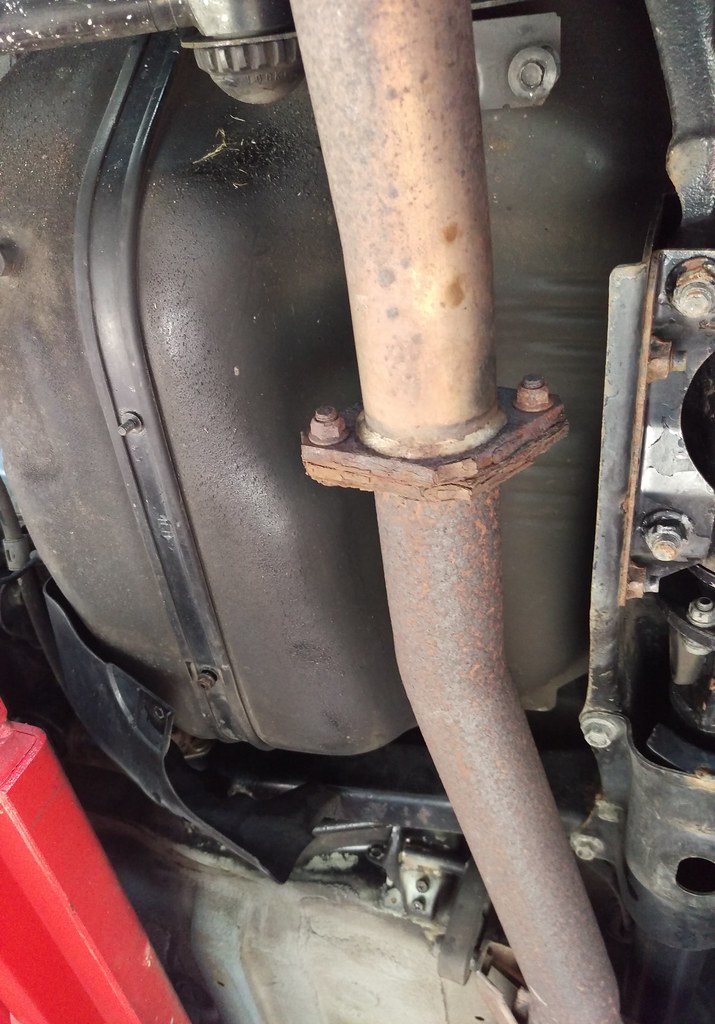
Nice and fresh looking behind.
This one off too.
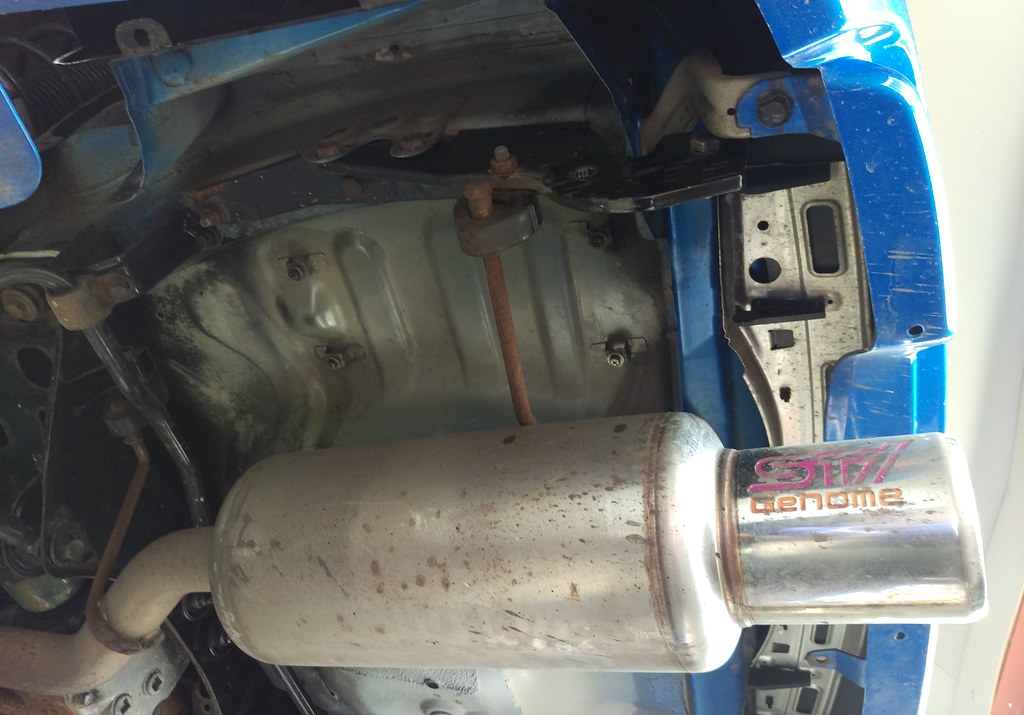
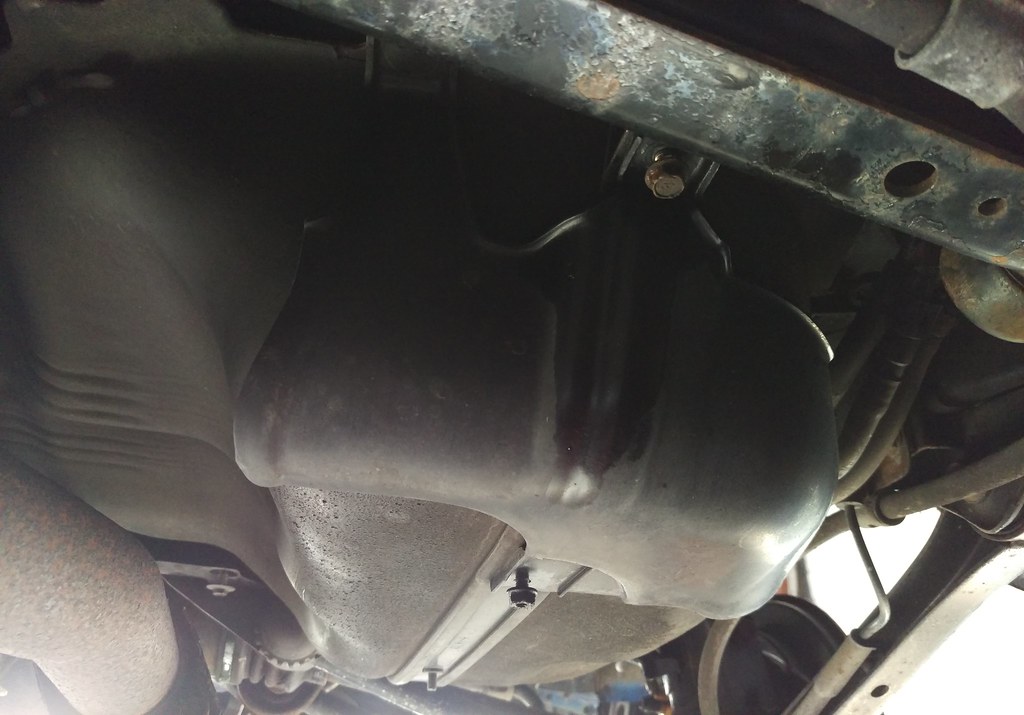
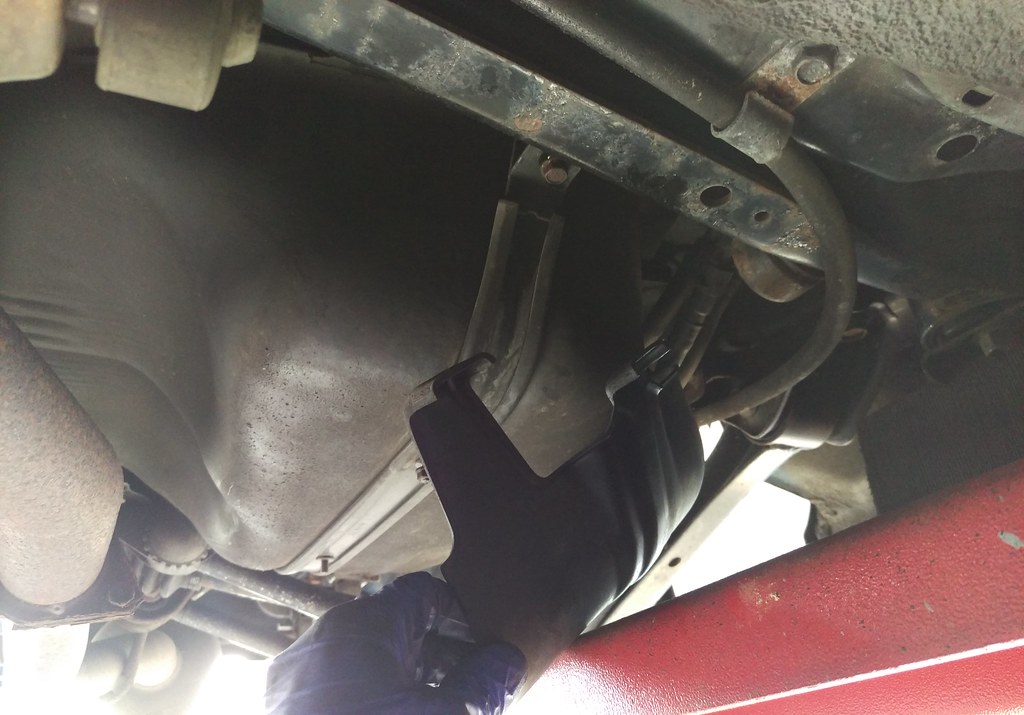
The fuel tank has plastic guards on the forward facing edge to prevent damage to it. These were a bit awkward to remove so I decided to just remove the bottom mounting so I could just pull them out of the way for access.
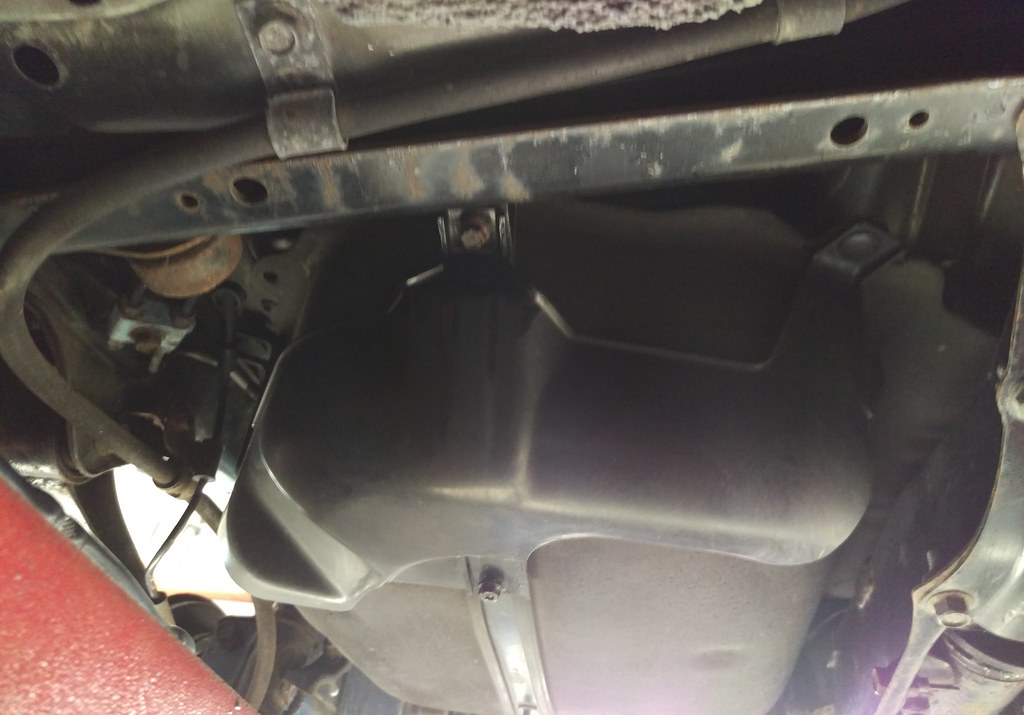
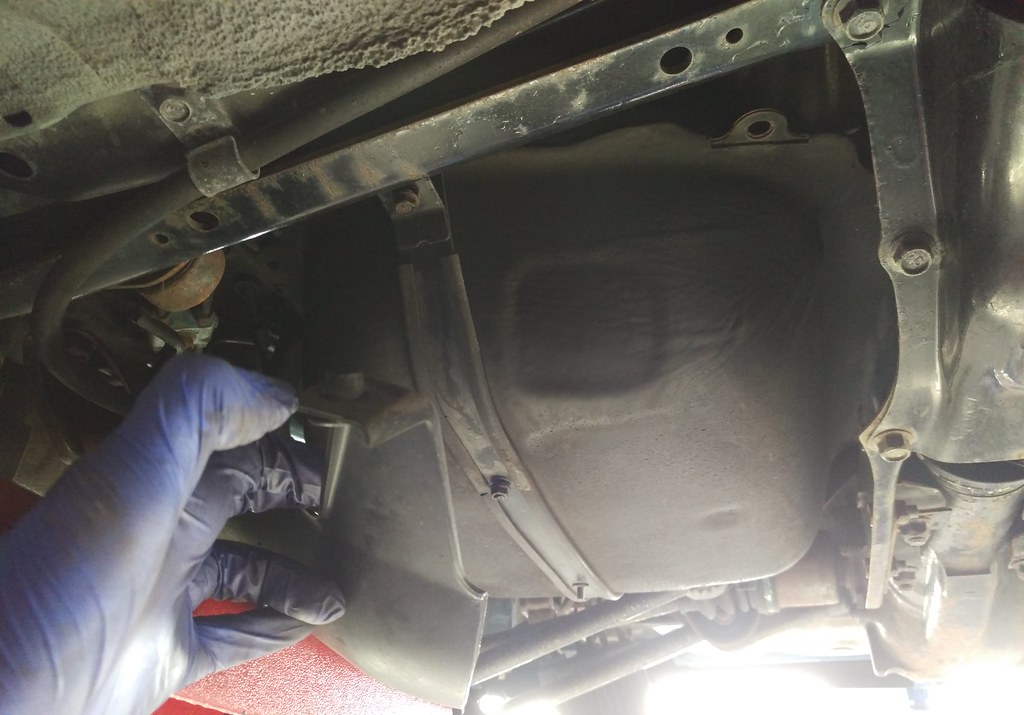
The fuel tank has good protection on it already so I didn’t need to coat this with the Dinitrol stonechip paint plus the protection already on the tanks is a thick waxy layer so paint won’t stick to it anyway.
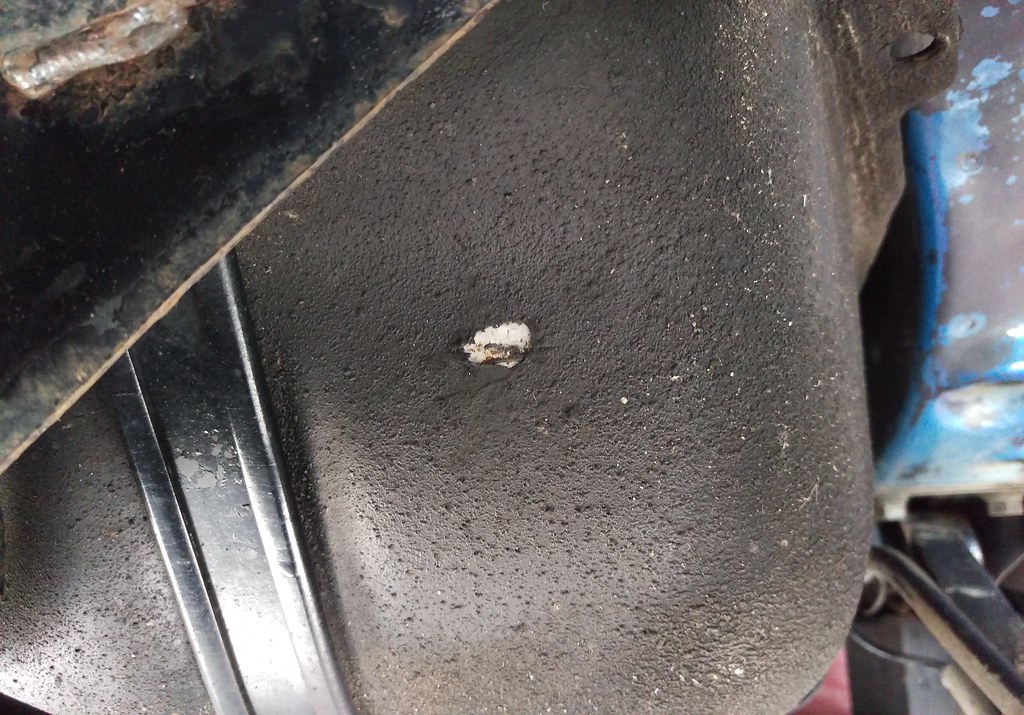
I gave the tank a good look over and it was fine except for a small bit of damage to the coating in one place. So I peeled back some of the coating around the damage to check the tank was fine. All I found was perfect fresh, shiny metal so nothing to worry about. I applied some Hydrate 80 and Dinitrol to this small area and the tank got an overall layer of the Mil-Spec wax along with everything else.
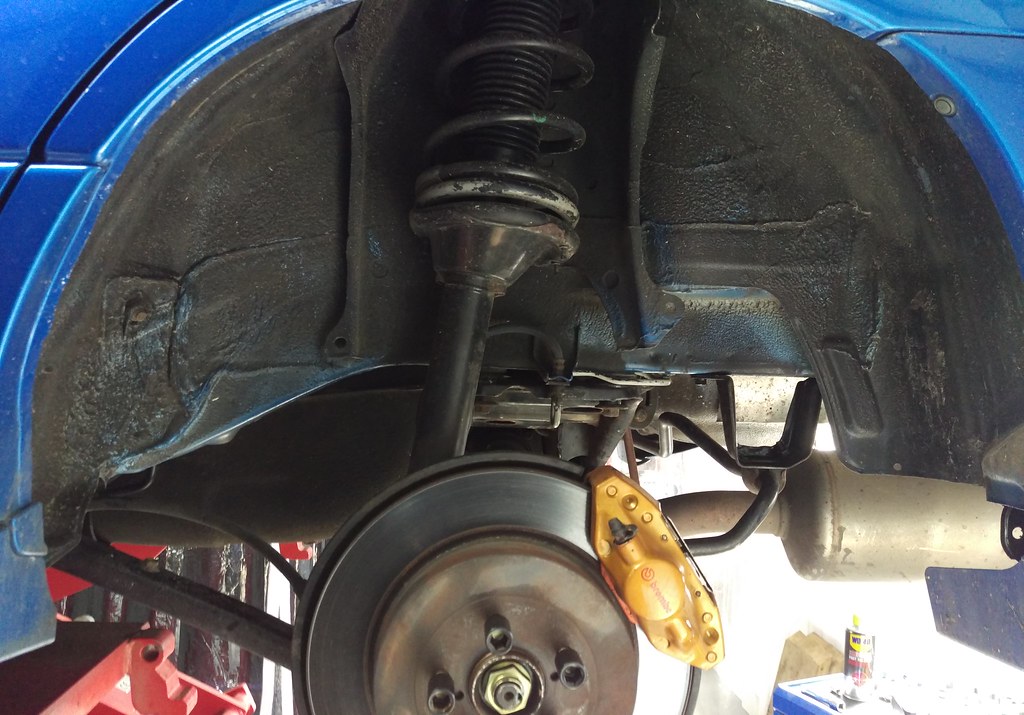
Rear shocks off.
I got a wire brush and went looking for any rust or loose paint that might need cleaning up.
I didn’t find anything of any concern just the surface rust where the rear plastic panels had rubbed paint away and some on the subframe. The subframe is a big thick lump of metal so any surface rust on that is nothing at all.
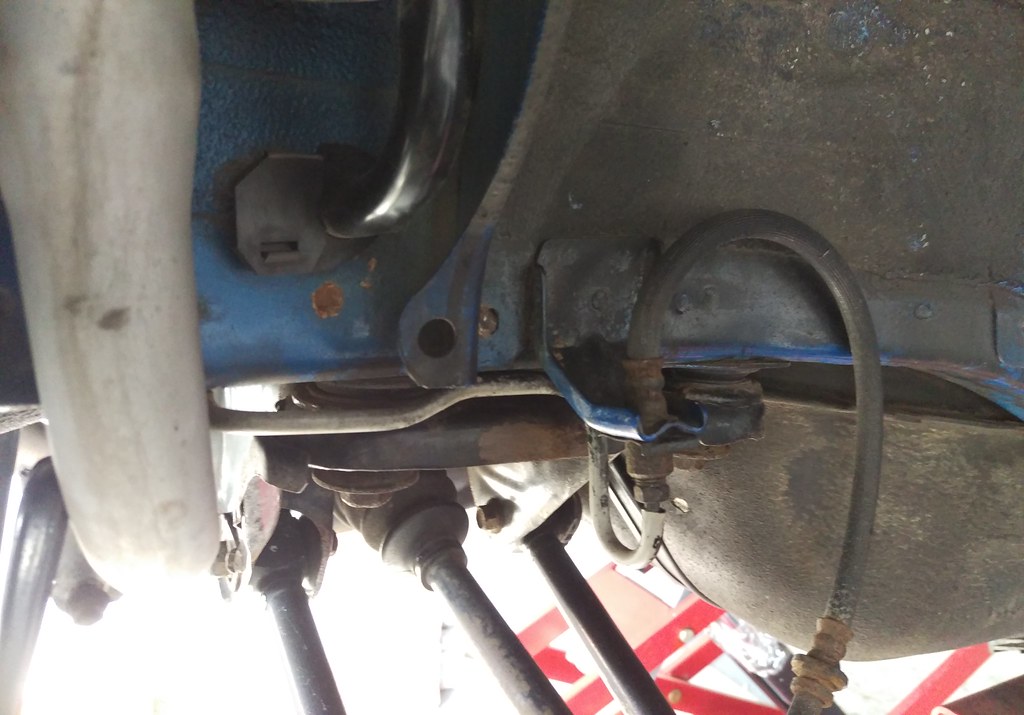
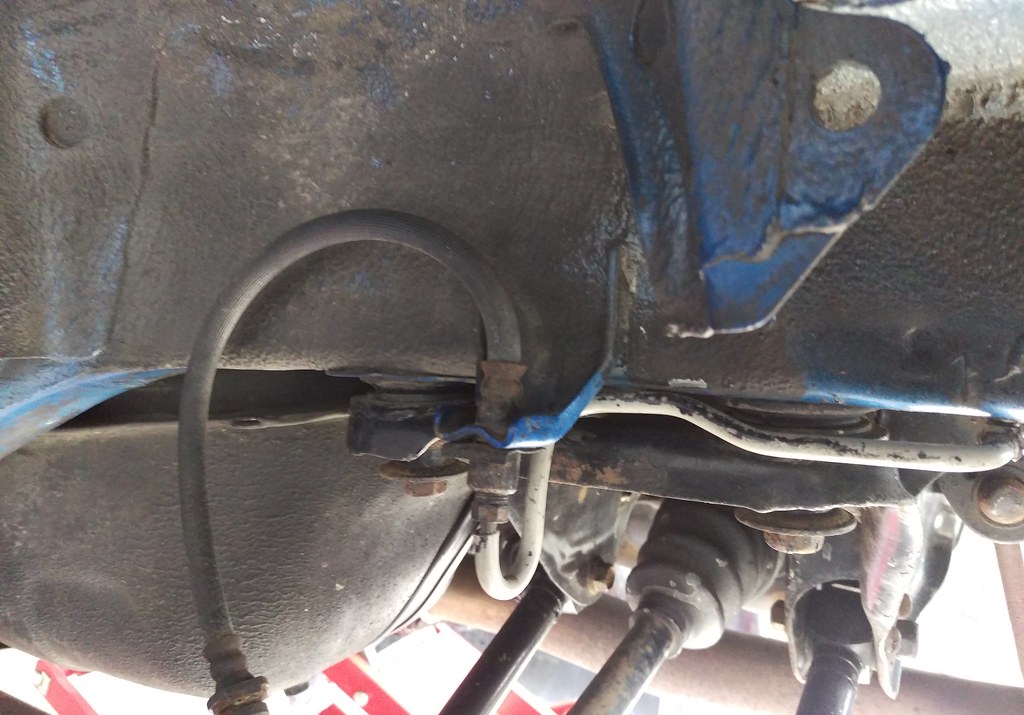
Worst I could find was on the side of the front subframe. Still not of any concern as it’s such a thick strong structure and it wont be able to get any worse once I’m done with it.
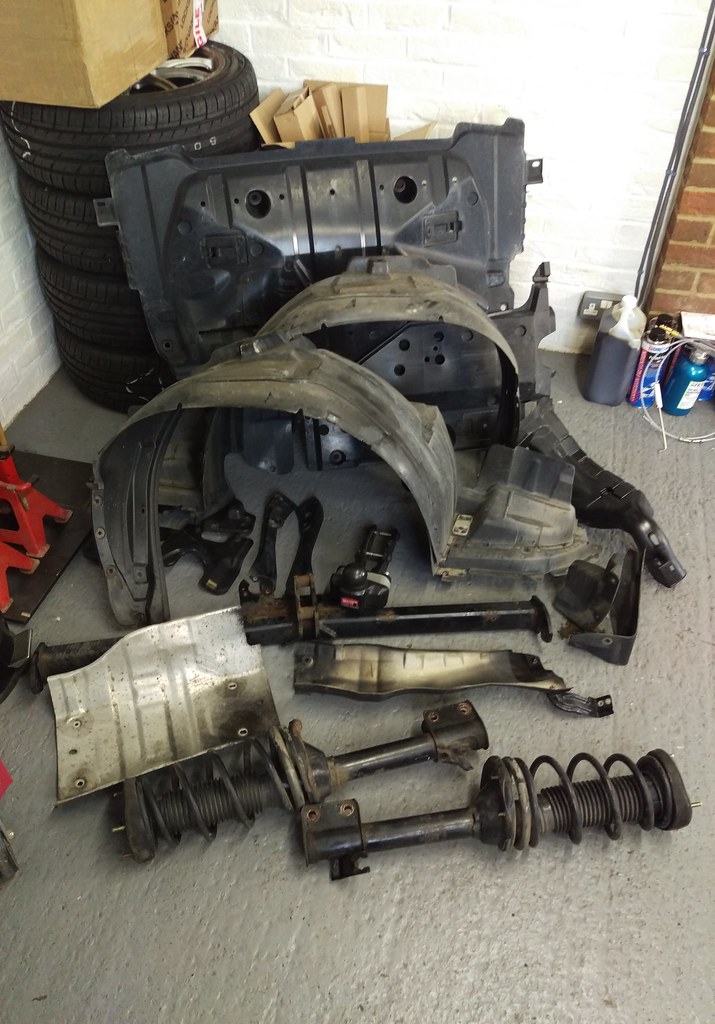
Good pile of bits removed.
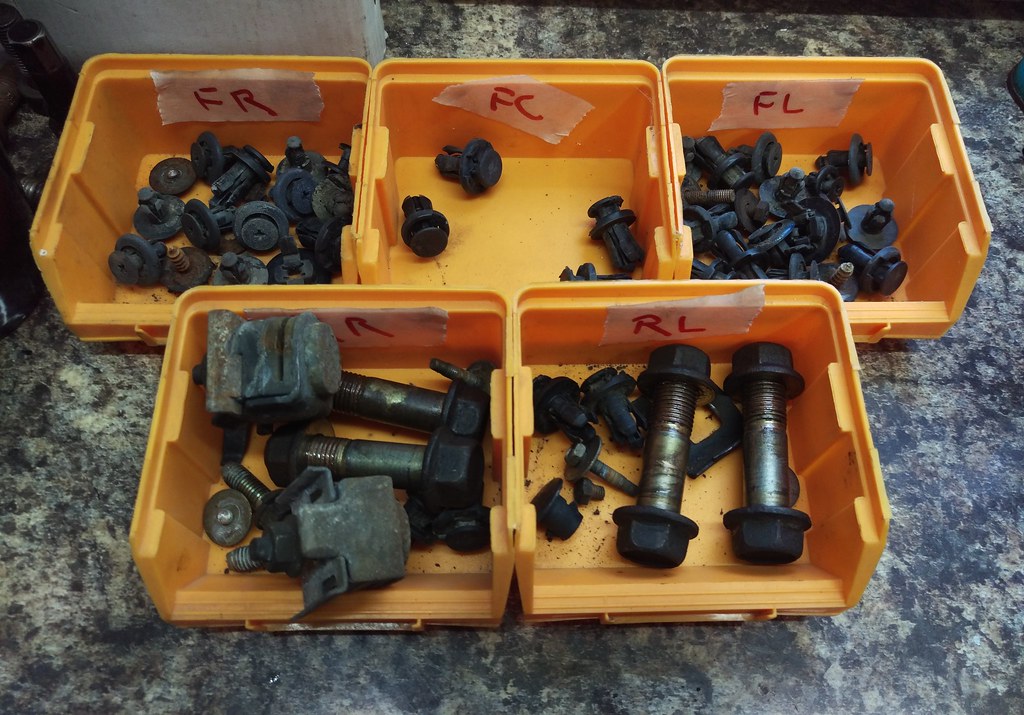
Nut’s bolts and trim clips in order so I can figure out where they go later on.
Well that’s that bit over with. Next thing is applying Hydrate 80 to the few little areas that need it.