As far as I can tell car interiors almost never get cleaned properly. This car was no different. It wasn’t that it had been untouched, it was nice and clean looking in general, the problem was just when you look a bit harder and in the areas that collect dirt and never normally see the light of day.
I can’t help seeing those places, maybe other people don’t?
Nothing fancy required here just some brushes and a cleaner, the stuff I used foams up so it’s good for lifting dirt out, though I’ve since bought some better cleaner from Autobrite Direct.
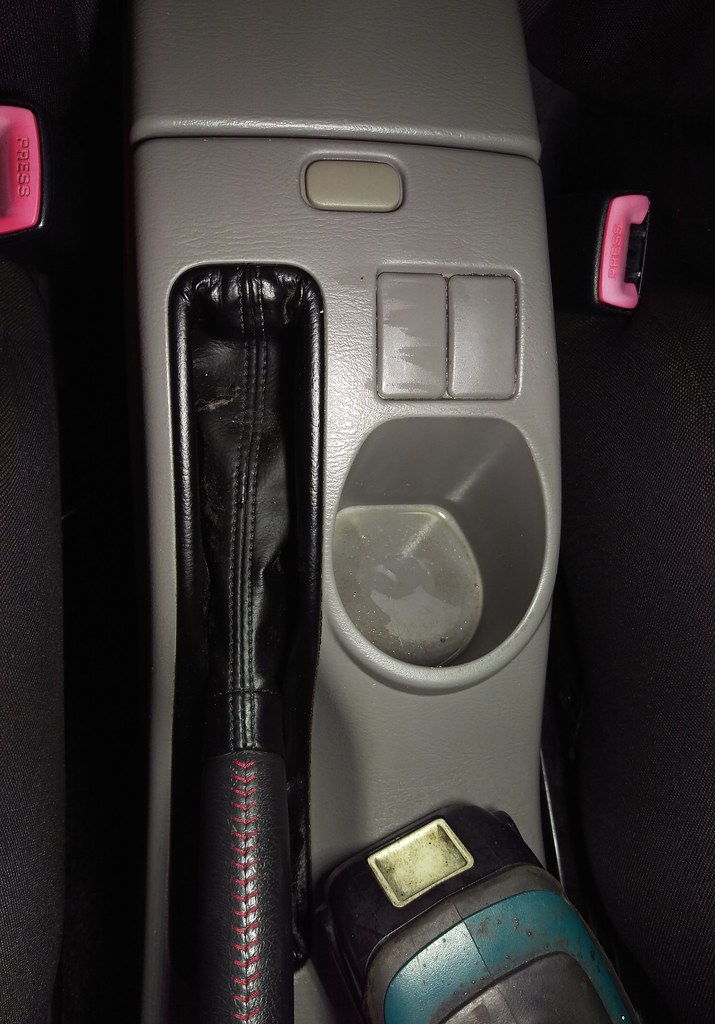
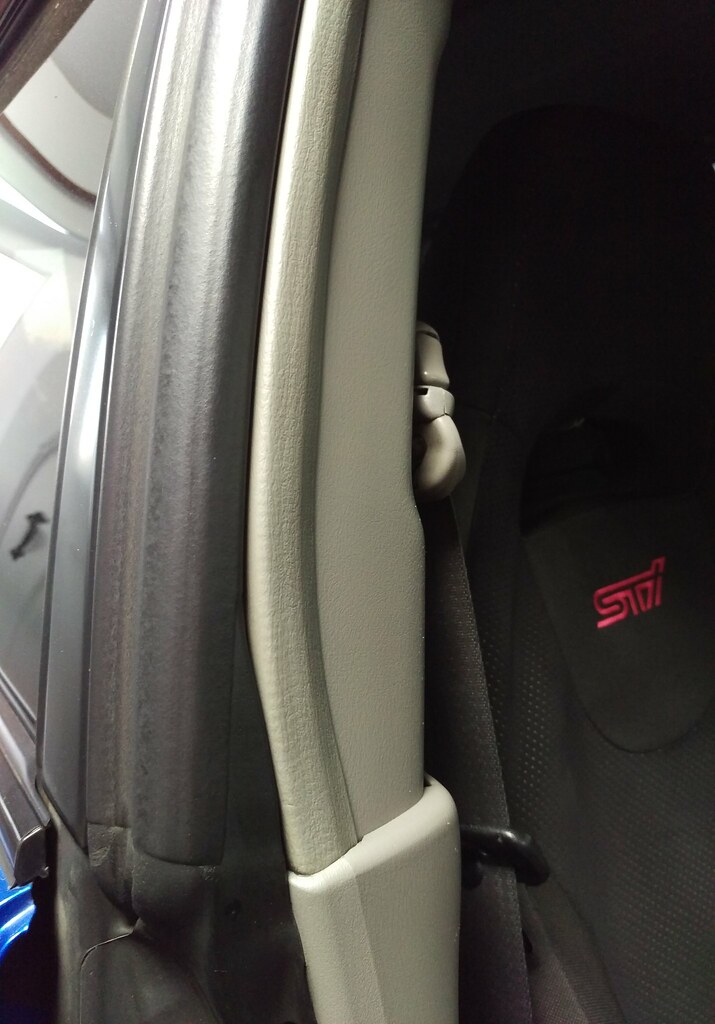
Usual collection of dirt around edges of things.
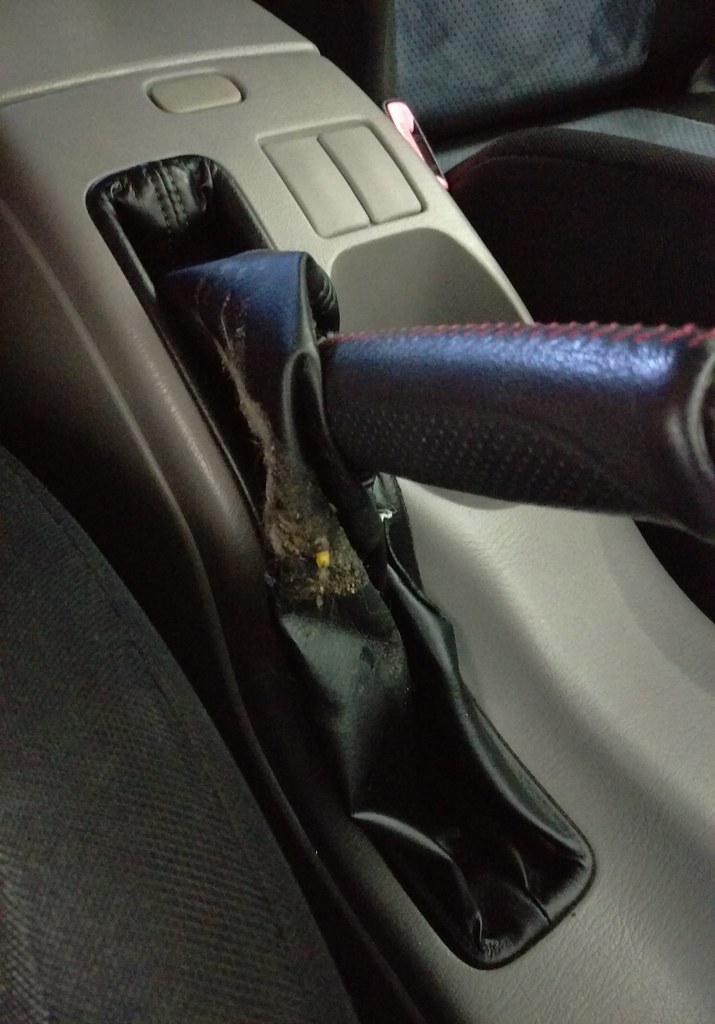
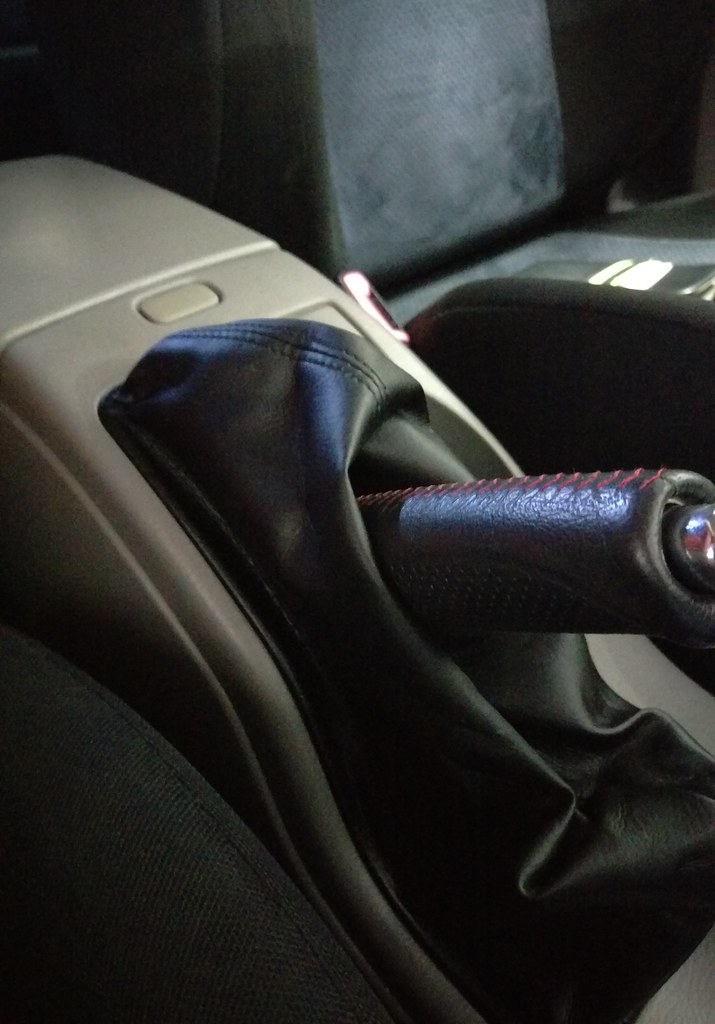
A pretty serious build up of crap buried deep down in the handbrake gaiter. Nice!
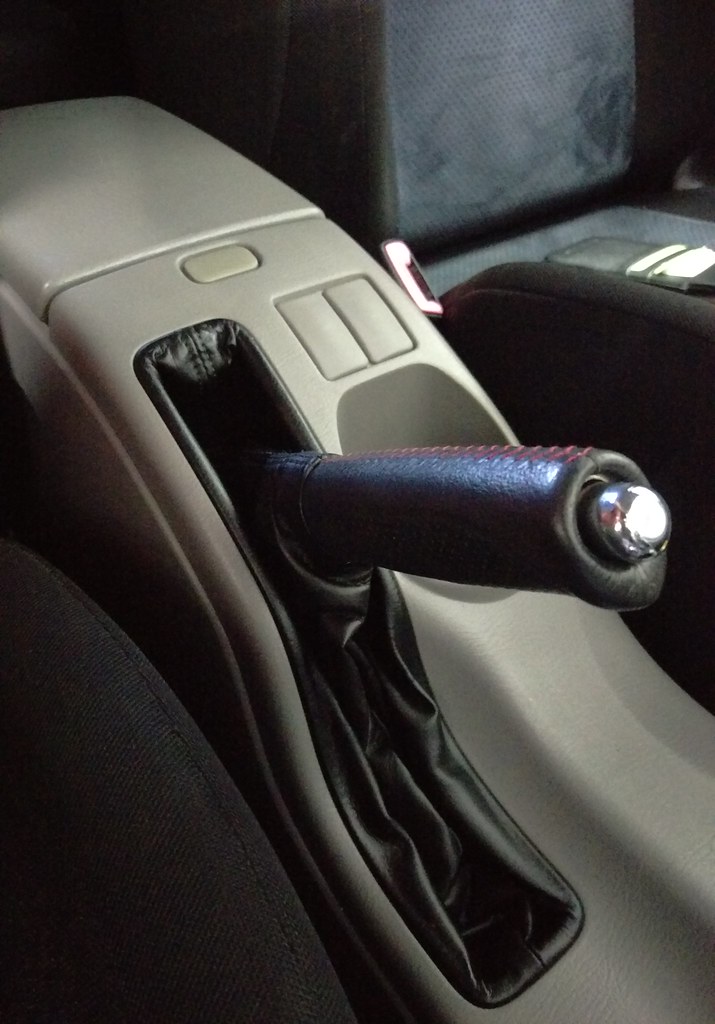
Much better.
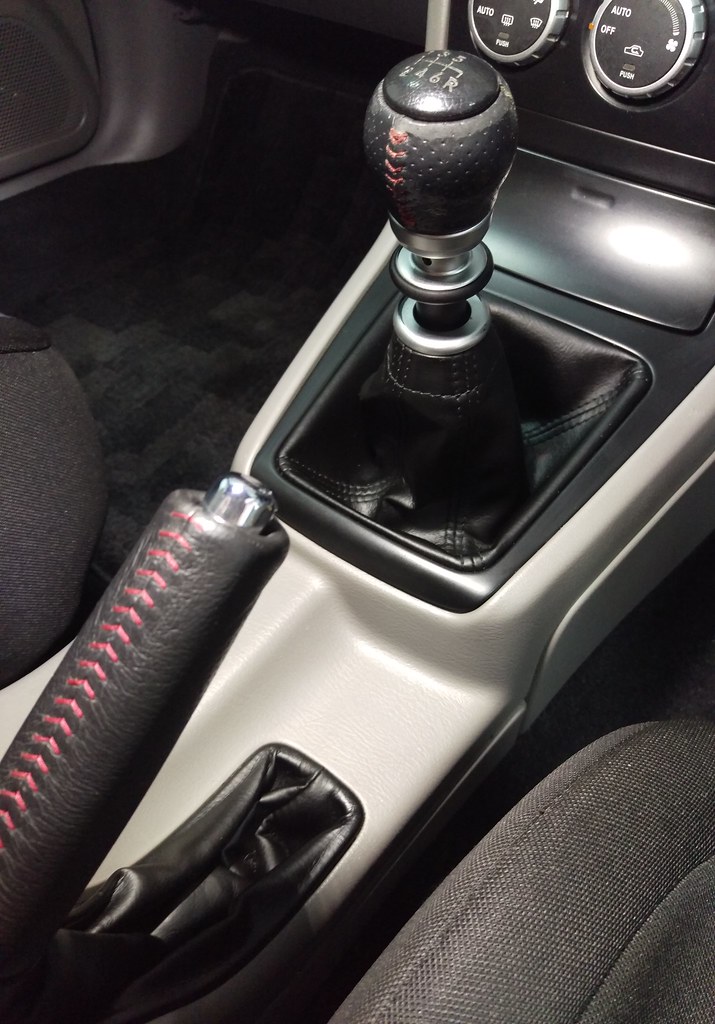
Another example of a general build up that gets missed in usual cleaning.
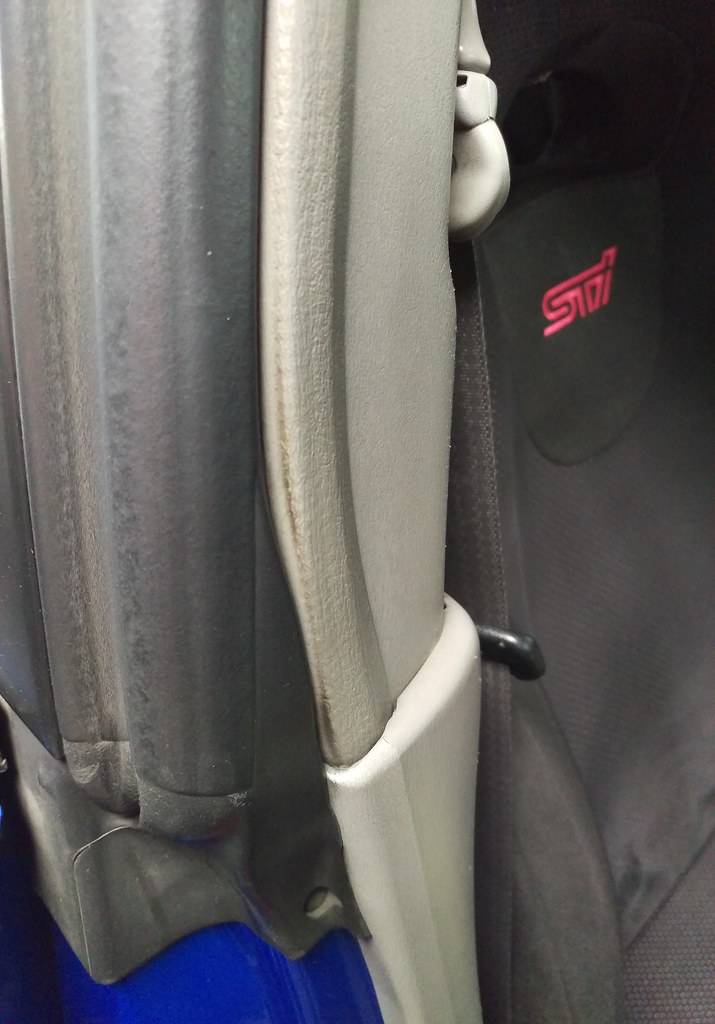
Not much effort and it’s much fresher looking.
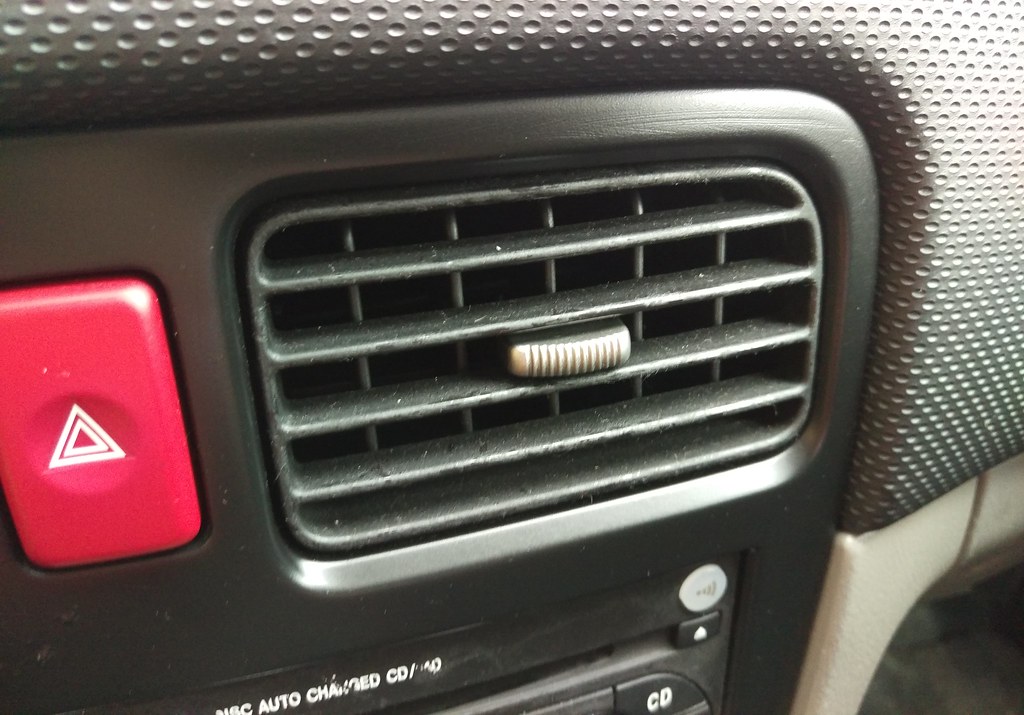
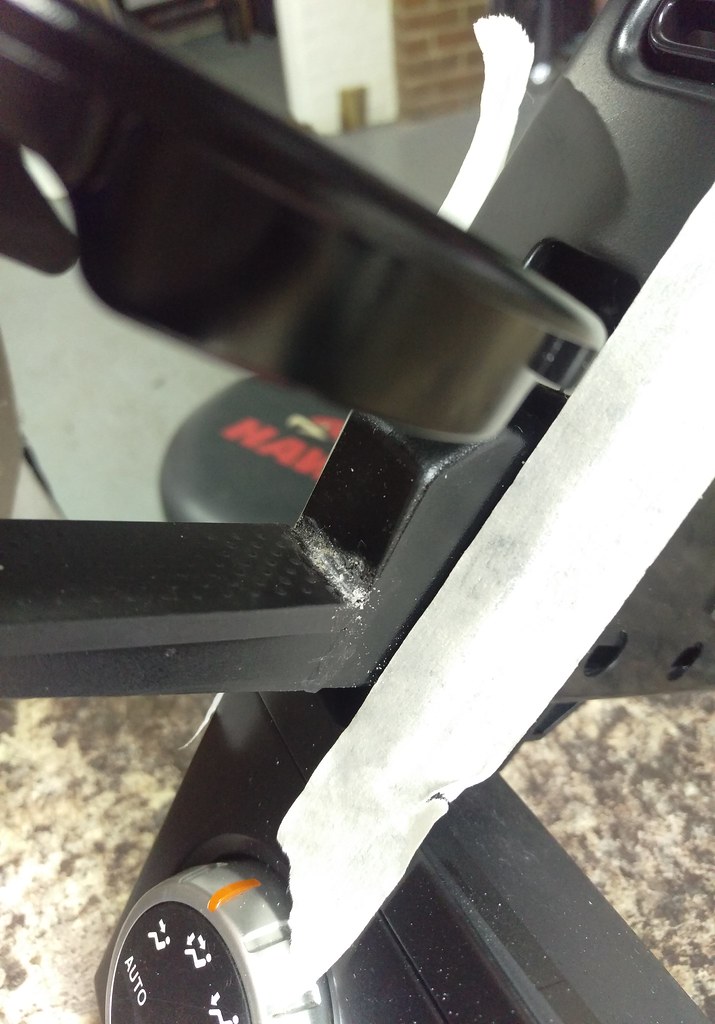
The air vents were obviously coated with that kind of rubberised paint coating popular in many cars and just as it does in most other cars it starts to wear off and get in a mess.
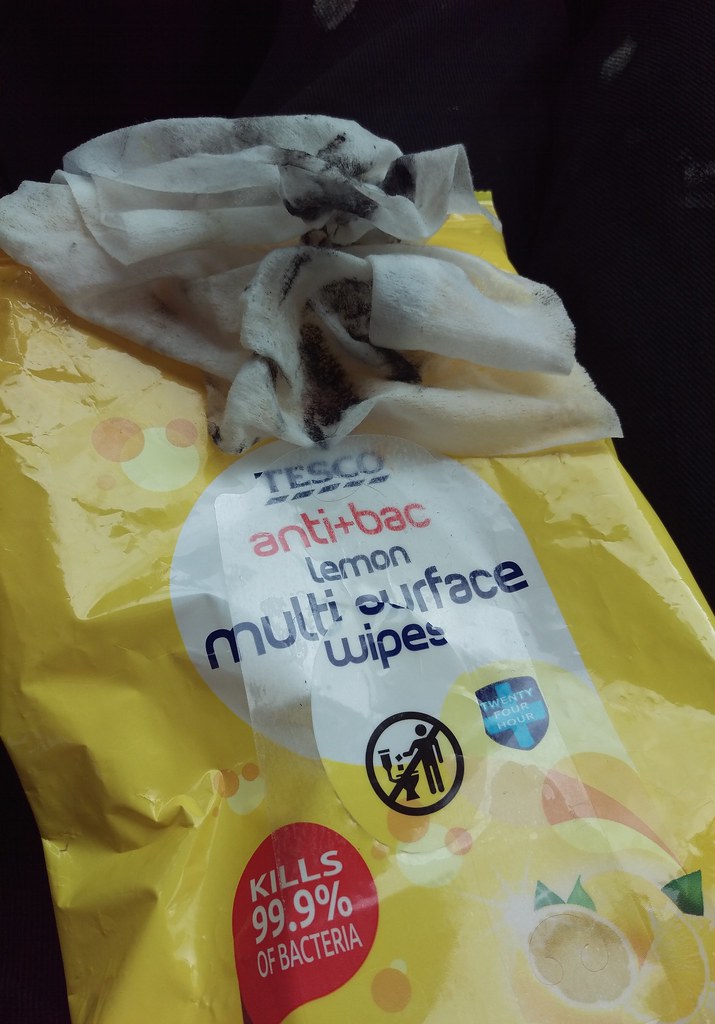
I found the best thing to remove it all was a kitchen wipe. Made the job fairly easy.
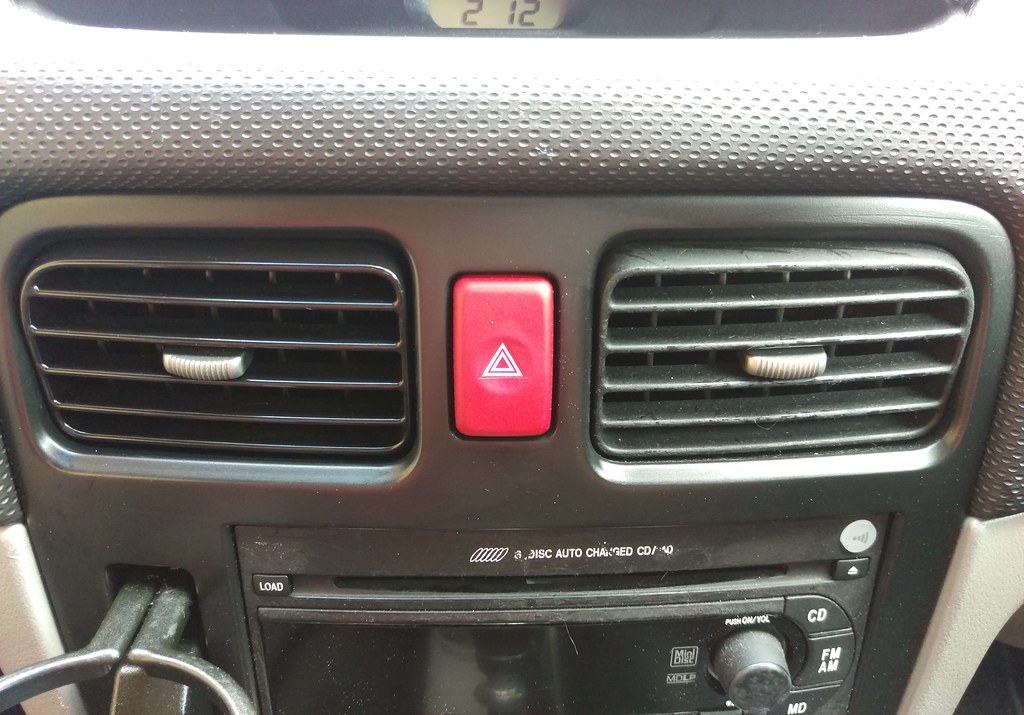
One done and looking much better.
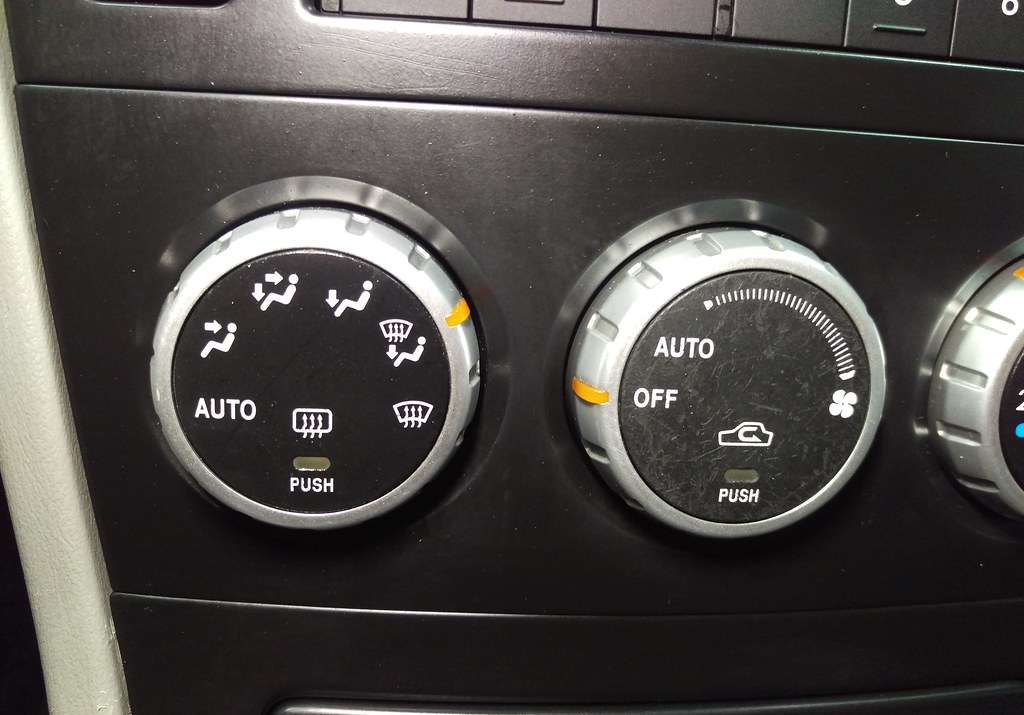
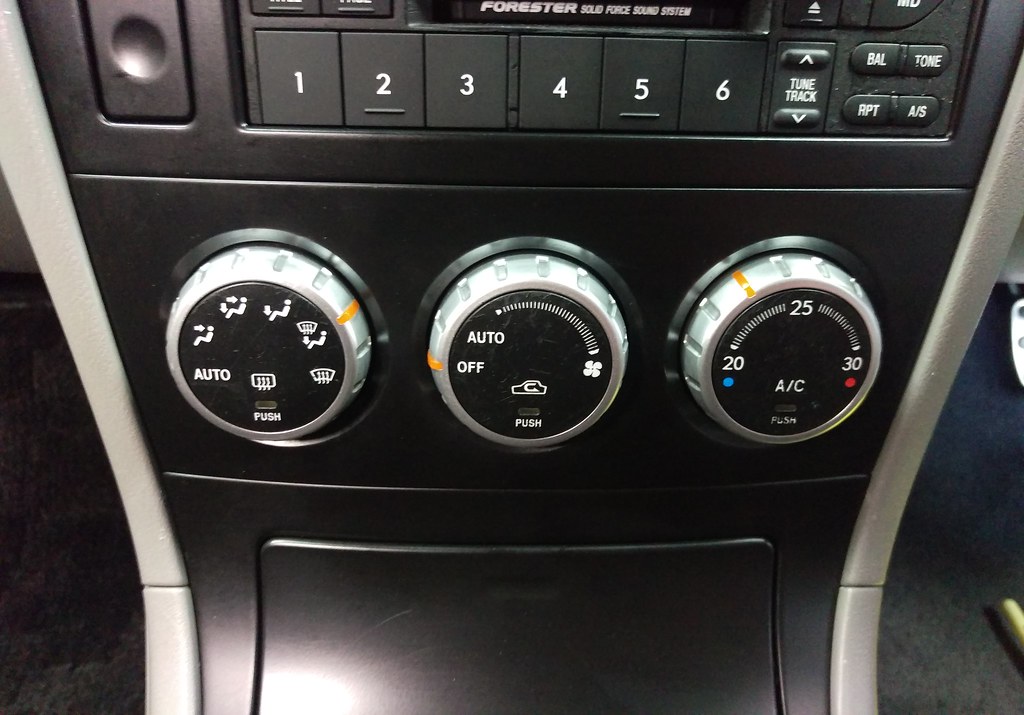
The heater controls have a similar problem but I improved the look of these with a bit of Autobrite Bubblegum plastic sealant which is clear to see on the left one.
All done and a general tidy of the centre dash panel.
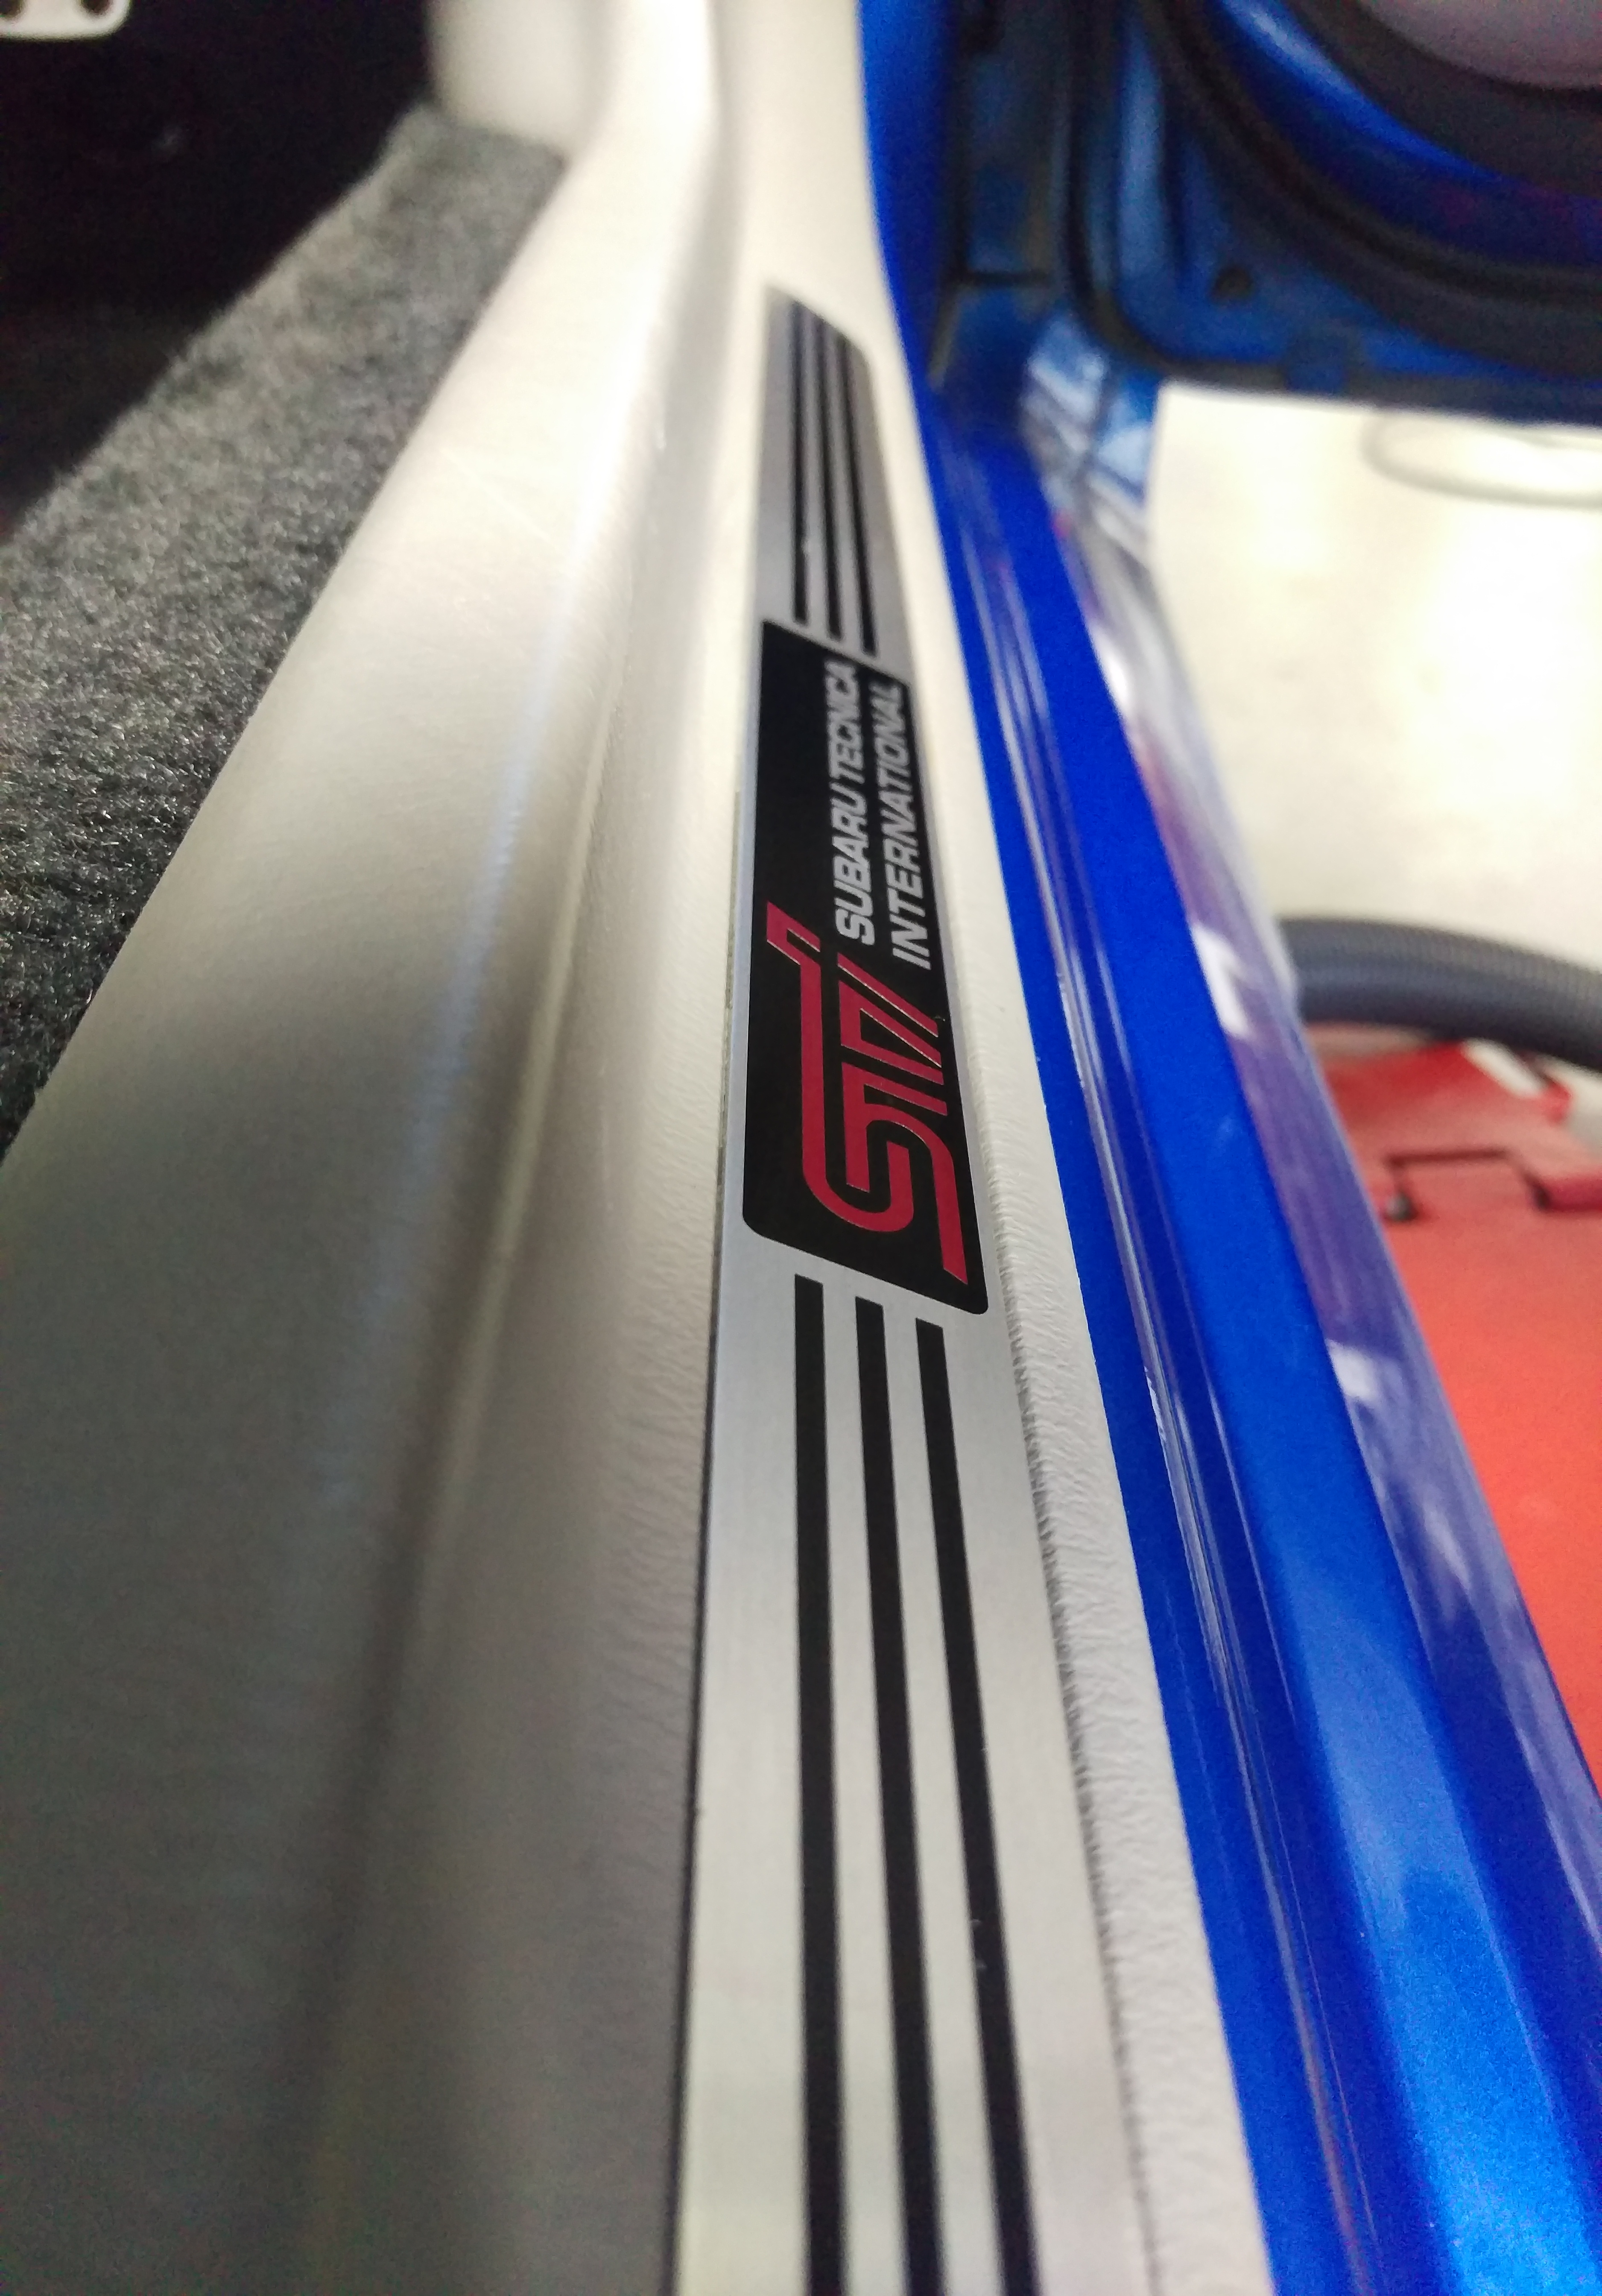
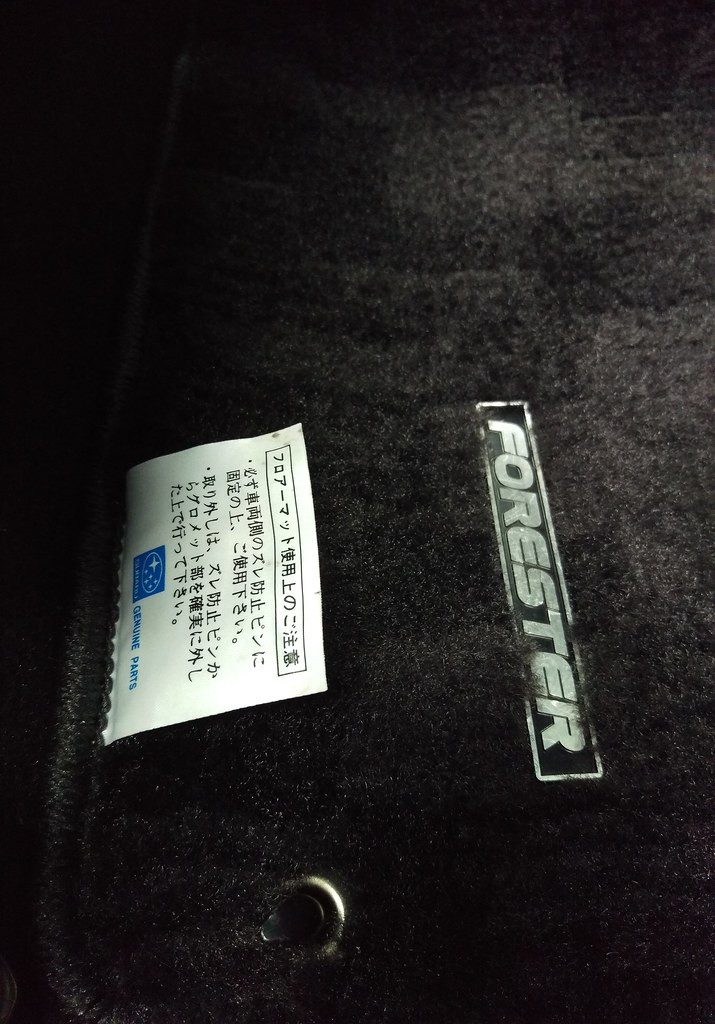
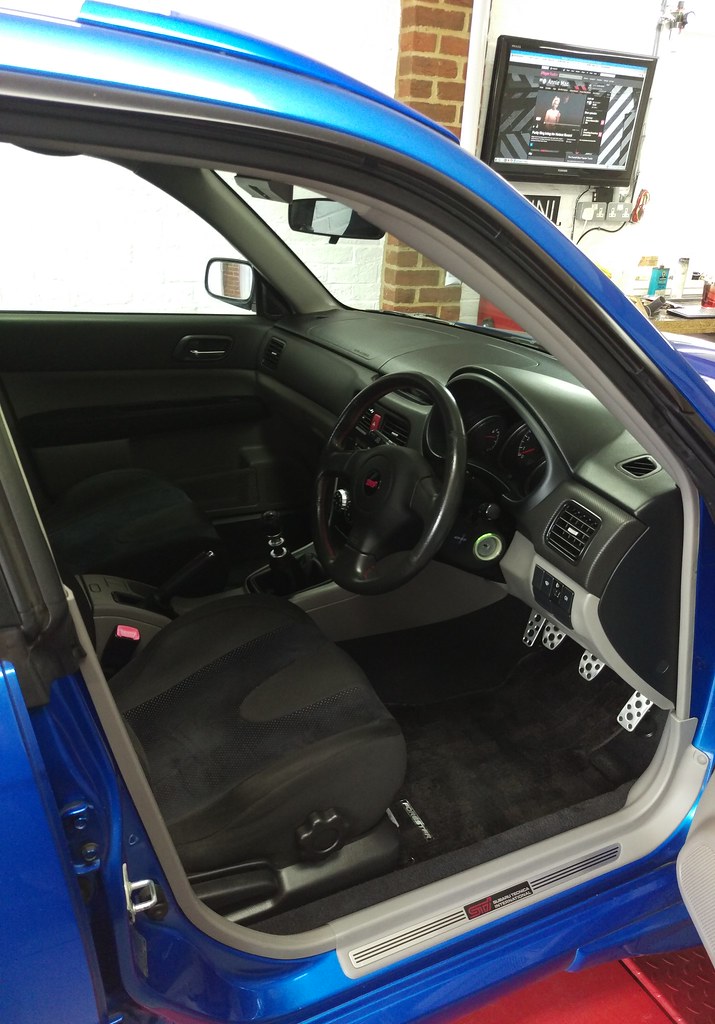
The luxury mats, peddles and door shuts got a good clean too.

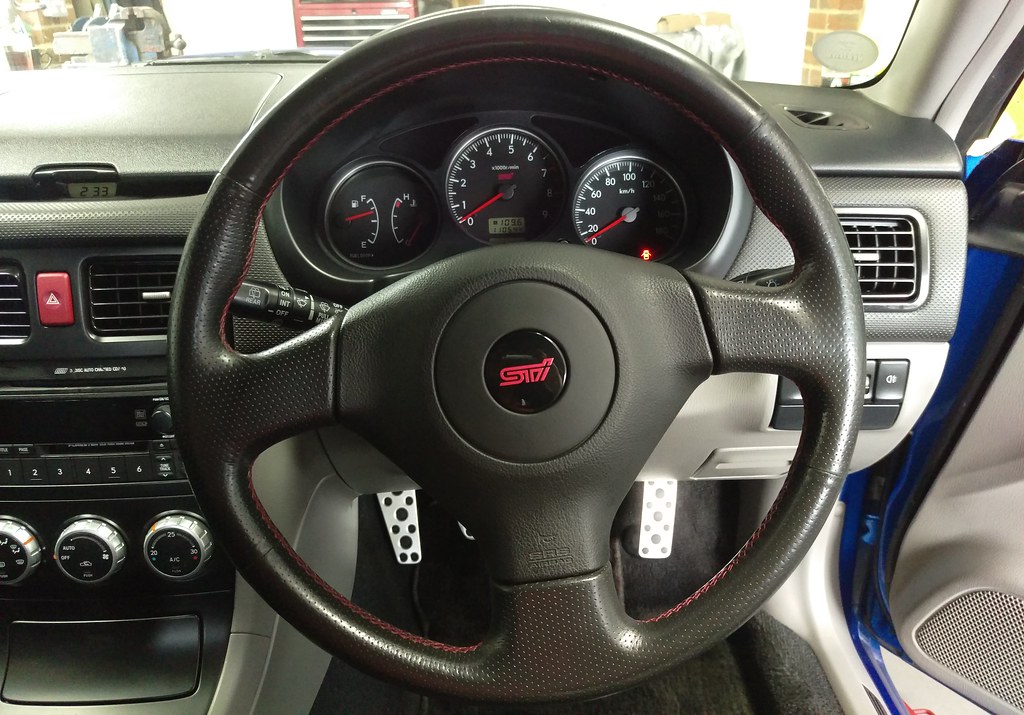
A light clean and a little bit of Autoglym leather cream for the wheel.
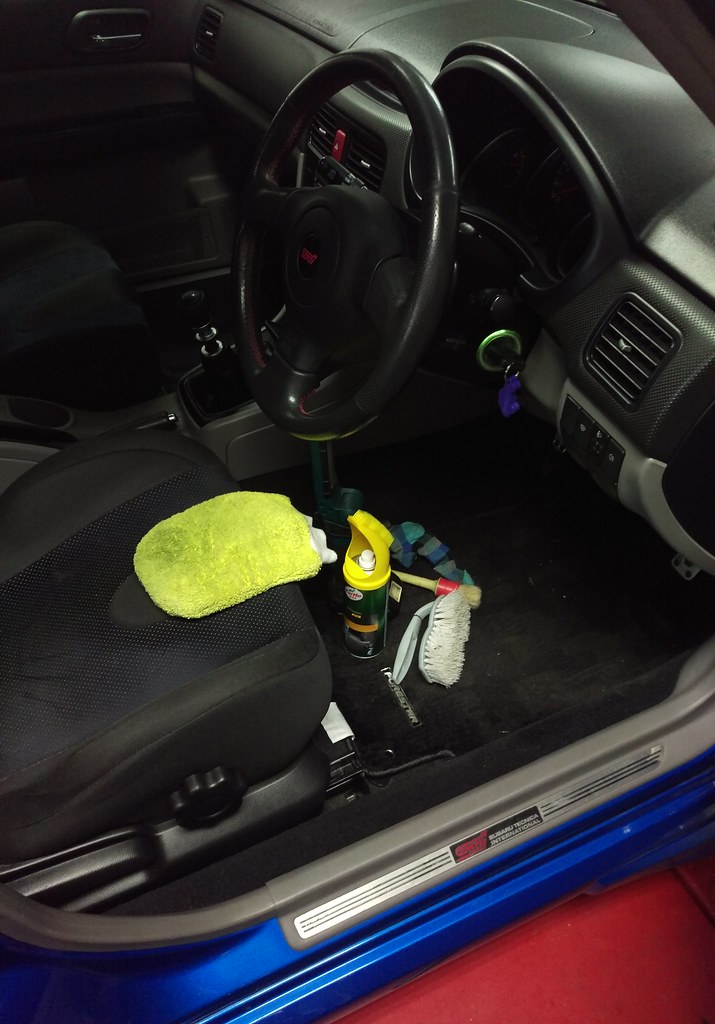
The dash, door handles and seats front and back got the same treatment but there’s only so many pictures of cleaning stuff even I can handle!
Finally tip top up front.
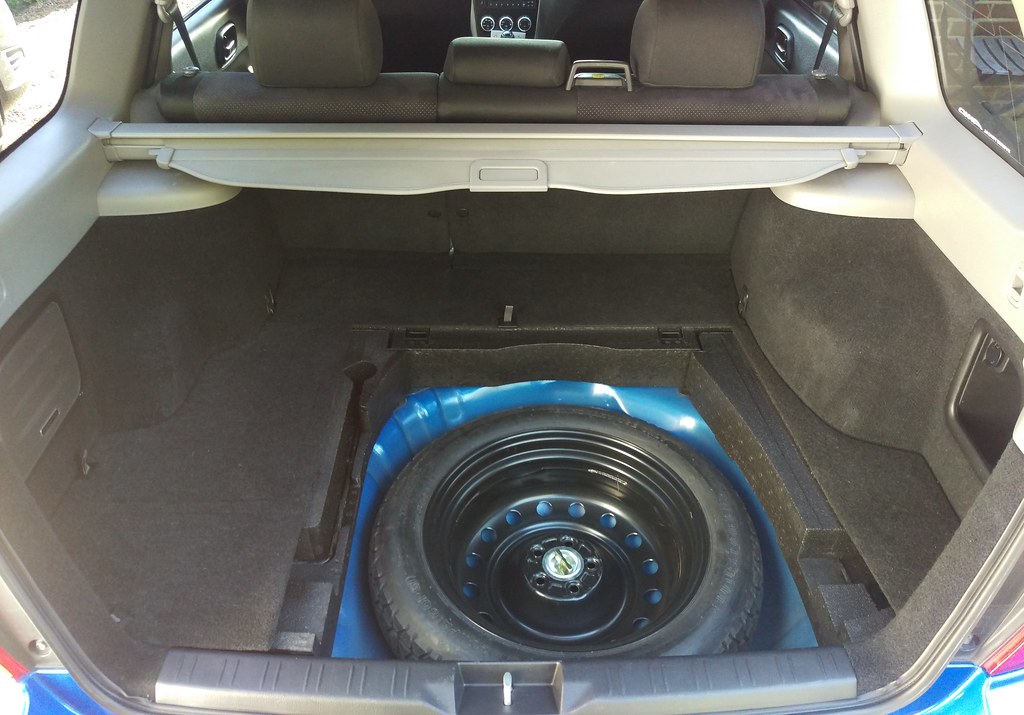
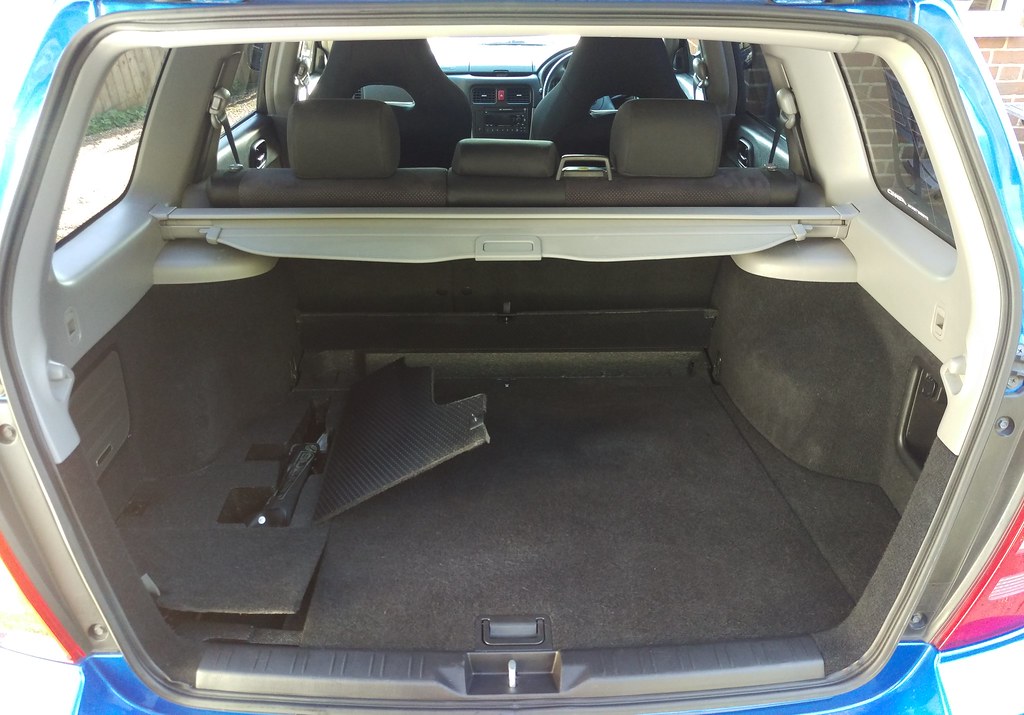
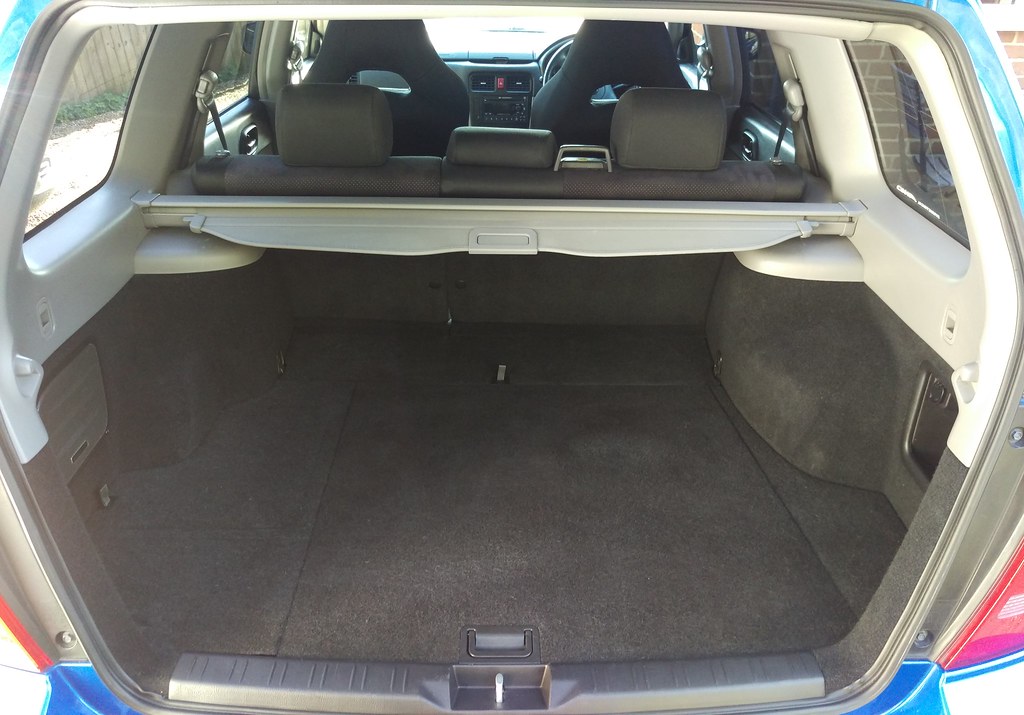
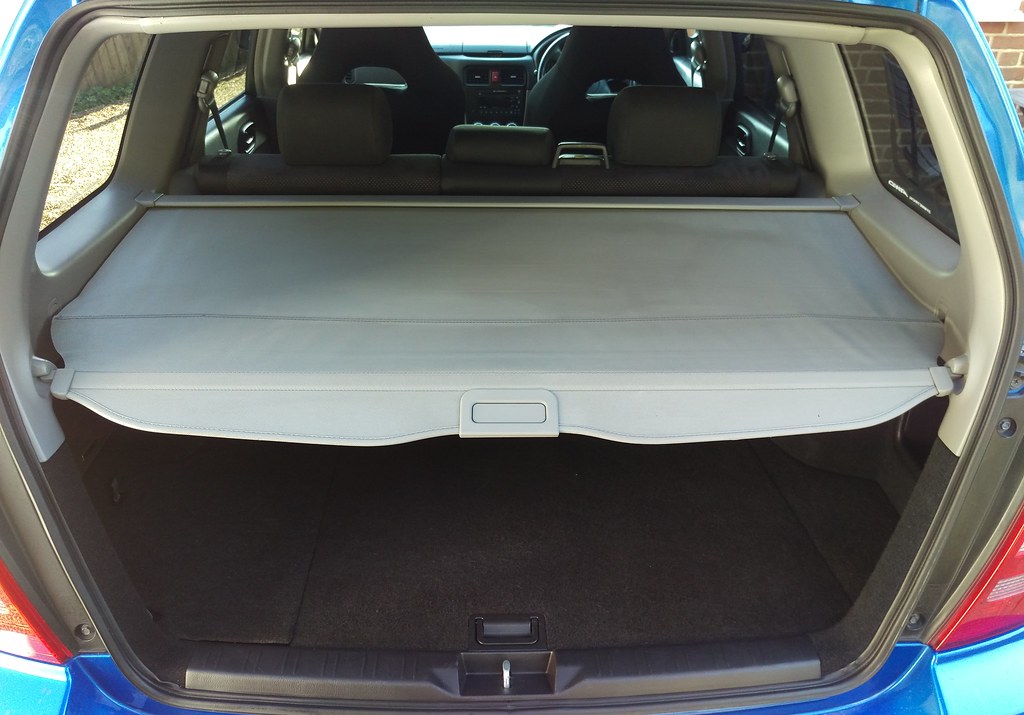
Thought I’d give the boot a good clean too.
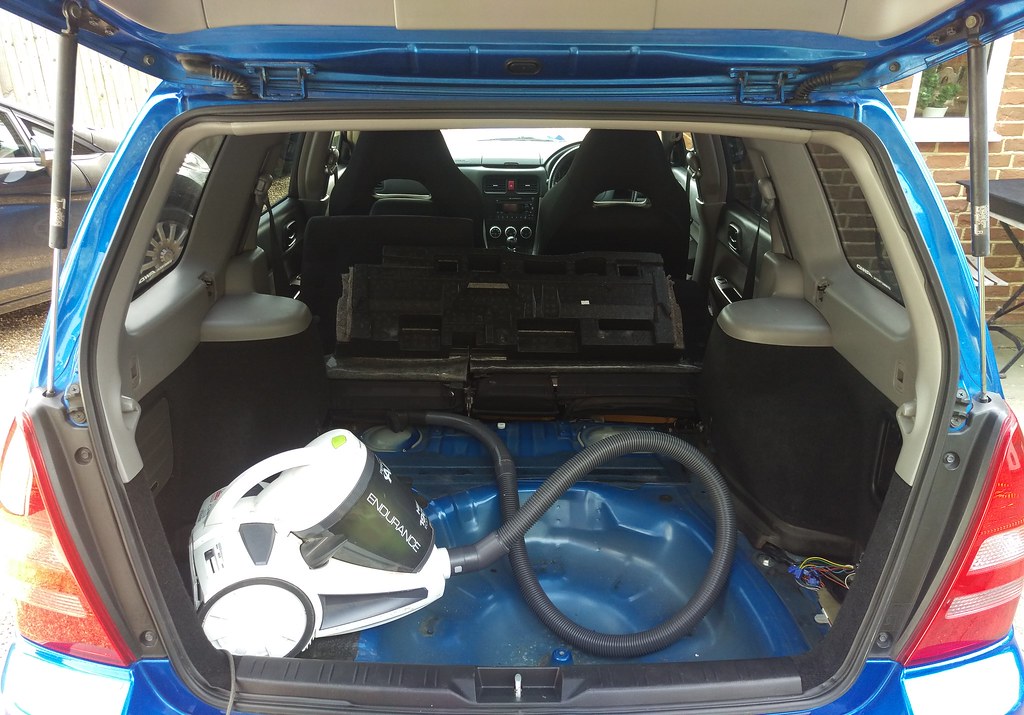
I pulled out the various bits and gave them a good clean.
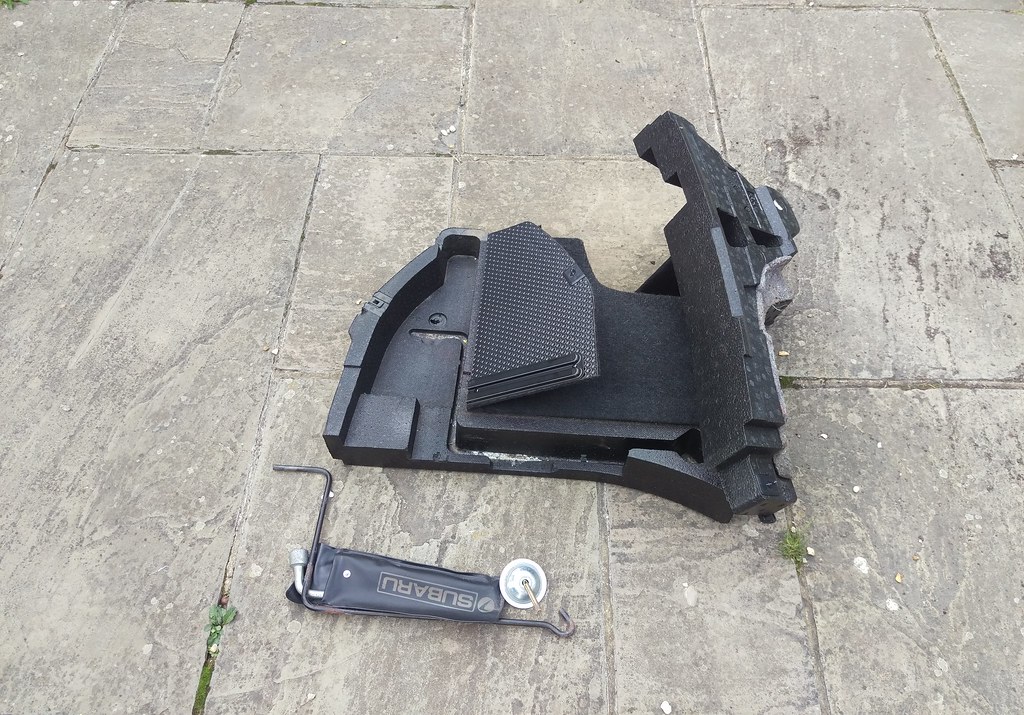
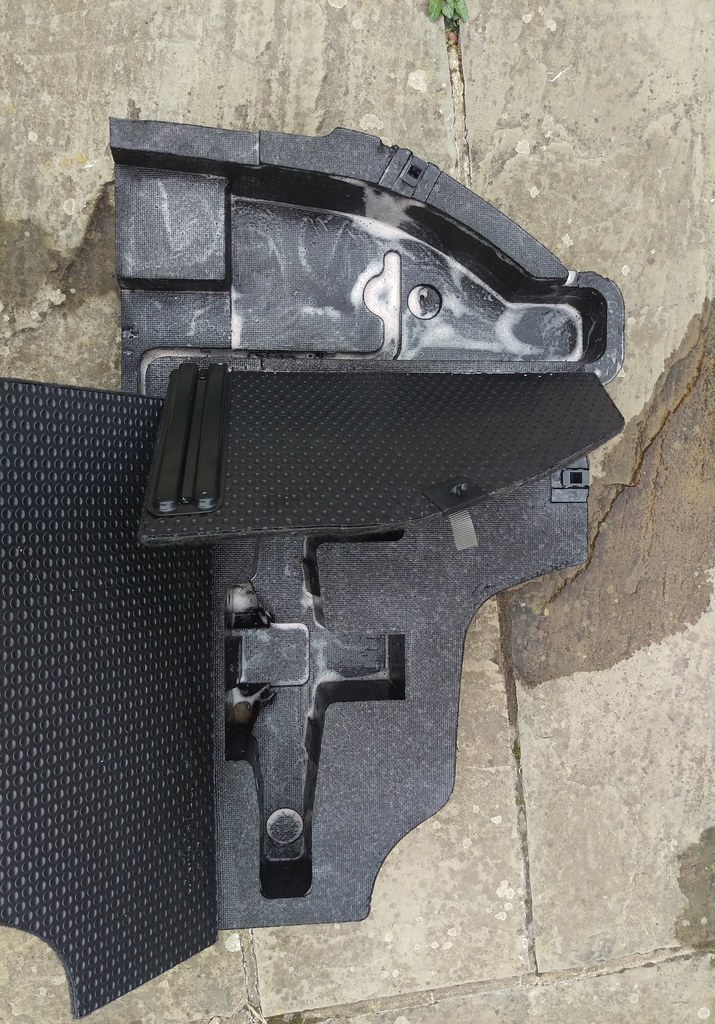
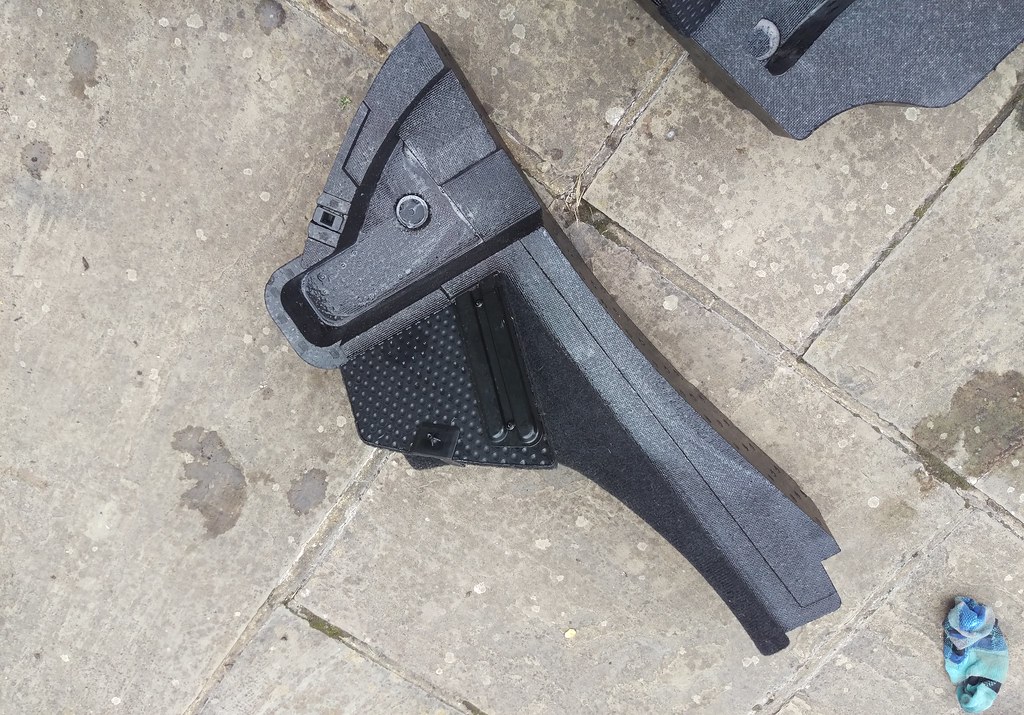
Left in the garage overnight to dry properly.
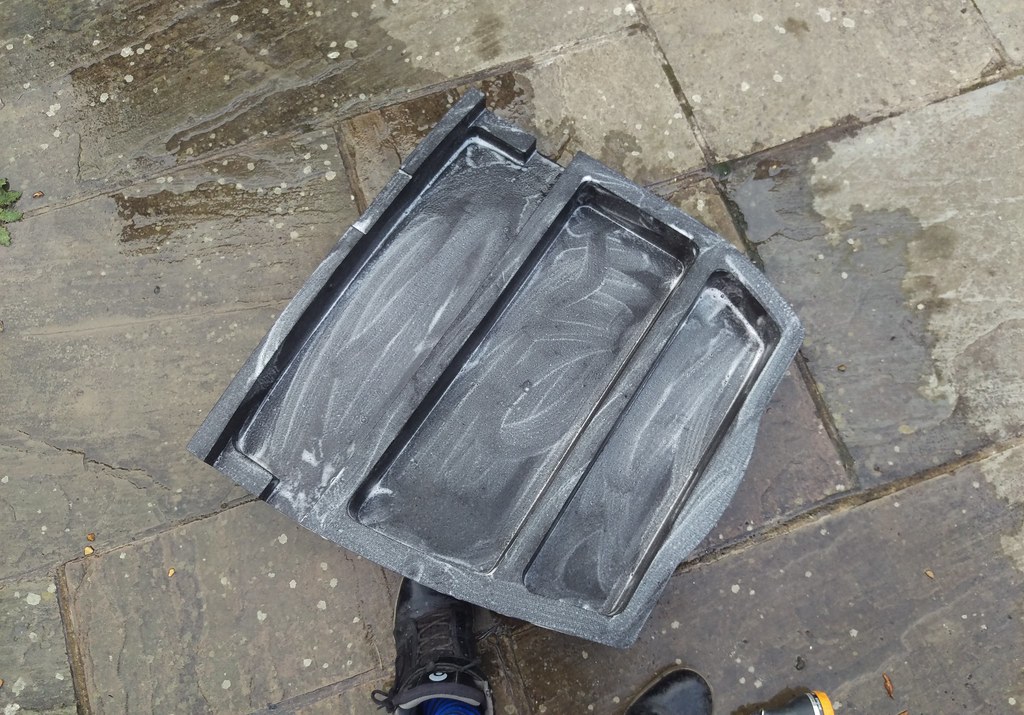
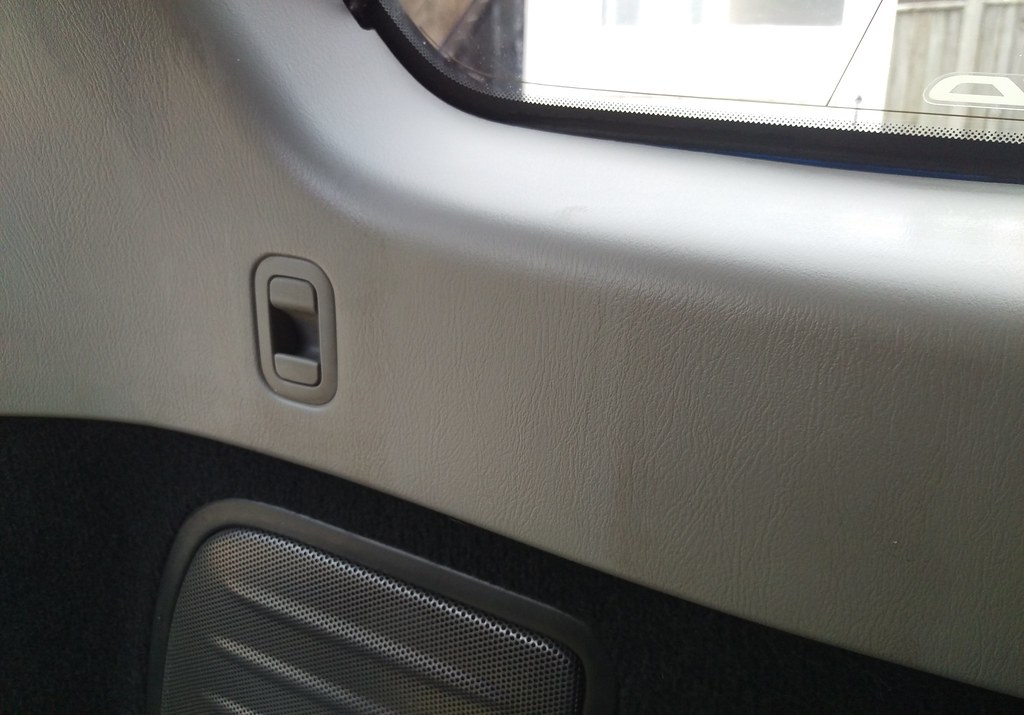
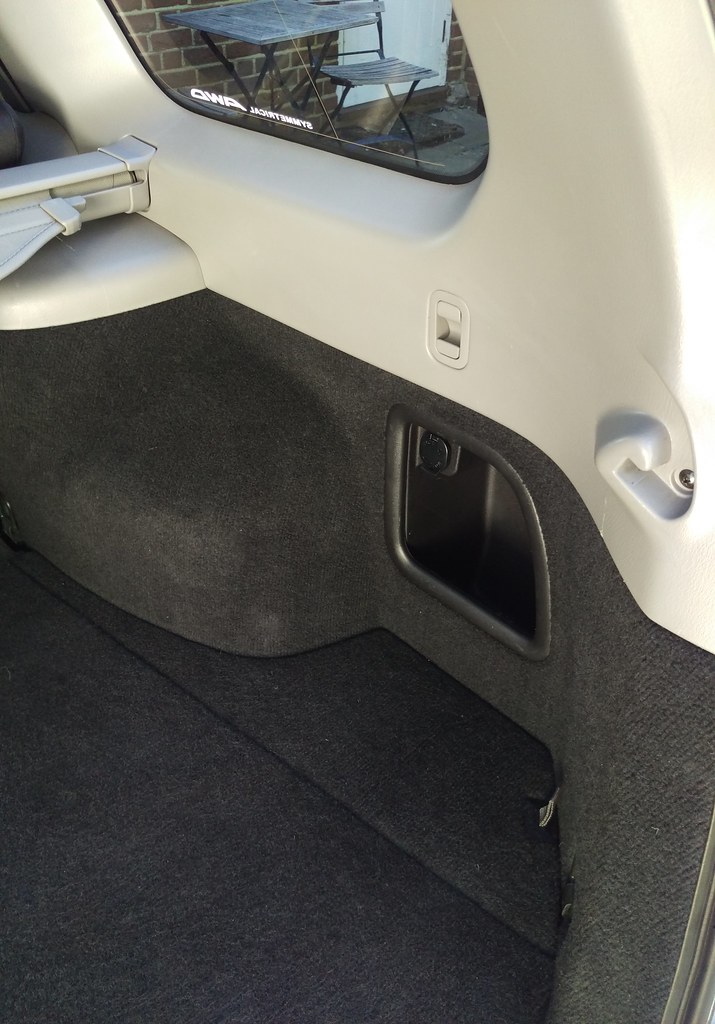
As is pretty normal with a car that’s nearly 14 years old there was a bit of a build up of grime on the plastics. It’s not really visible until you start cleaning and you get back to the colour things are supposed to be, like this.

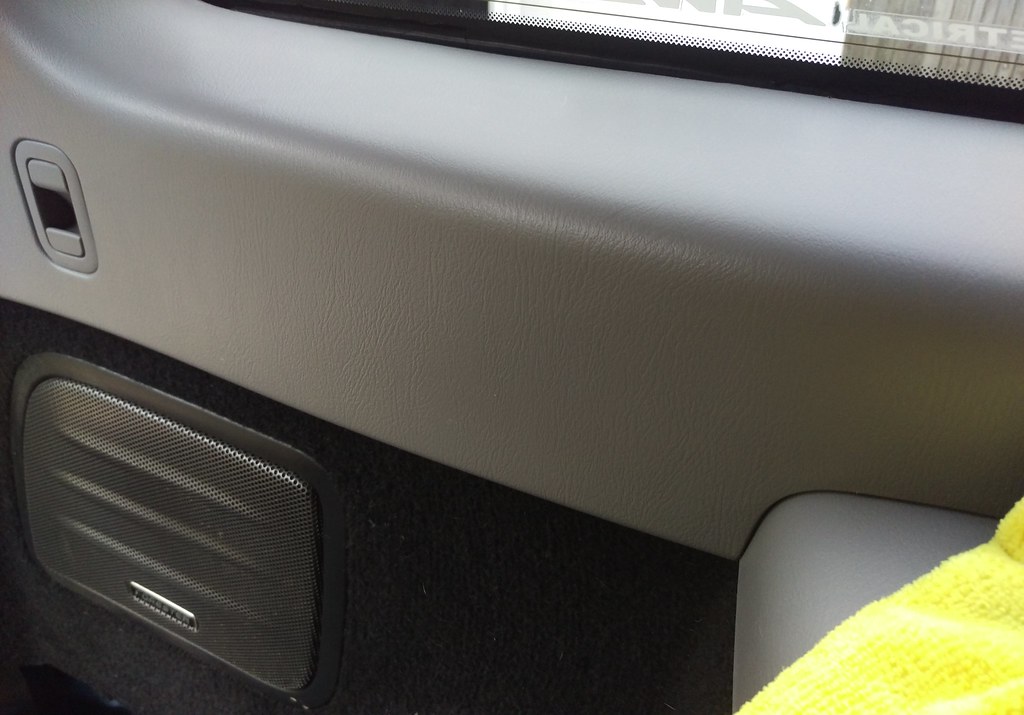
All back to it’s original colour.
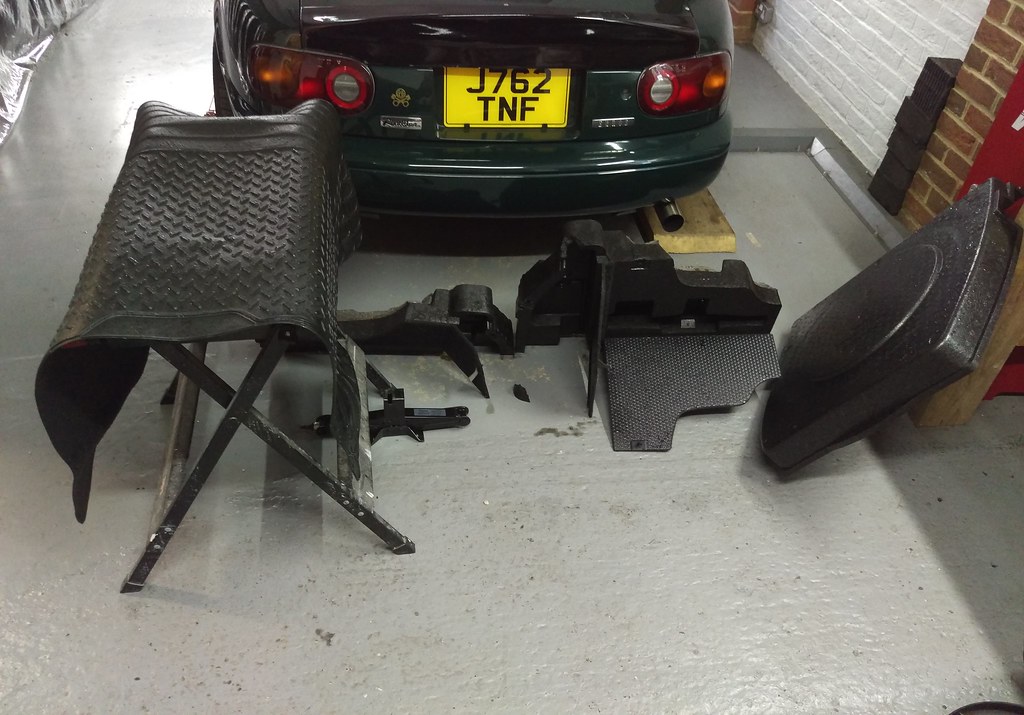
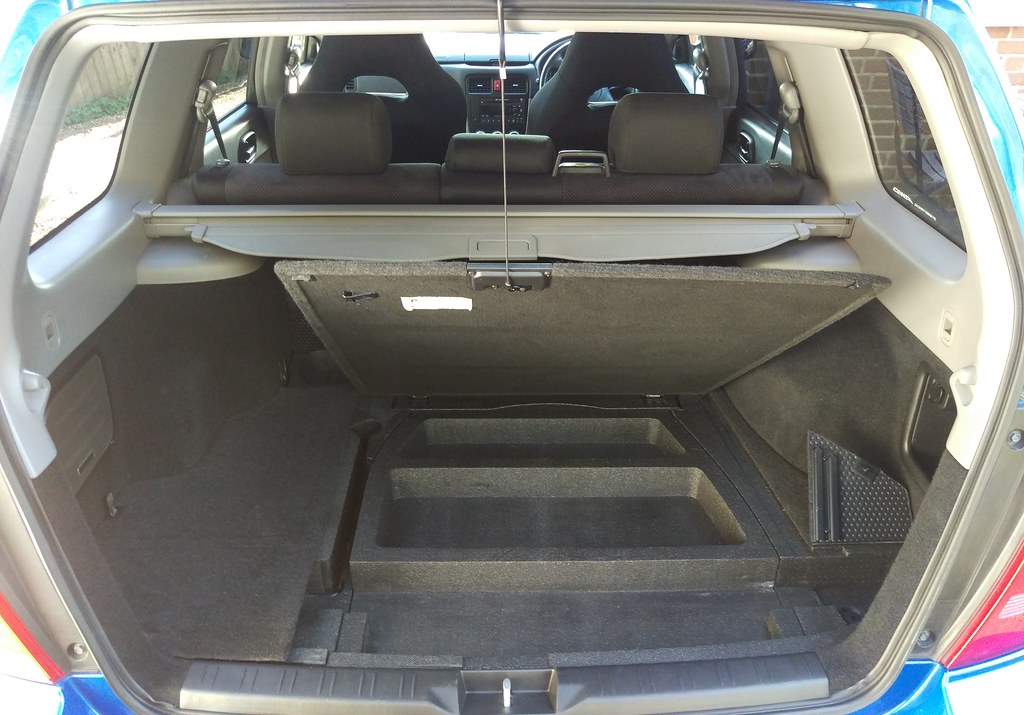
Everything going back as it should, now nice and clean.
The last thing I did was the cup holder in the centre panel. It was covered in what I thought was some sticky drink but after trying to clean it and looking more closely I could see it had broken and been glued with almost all the glue in the world. It would also get stuck and not pop out as it should making it pretty useless.
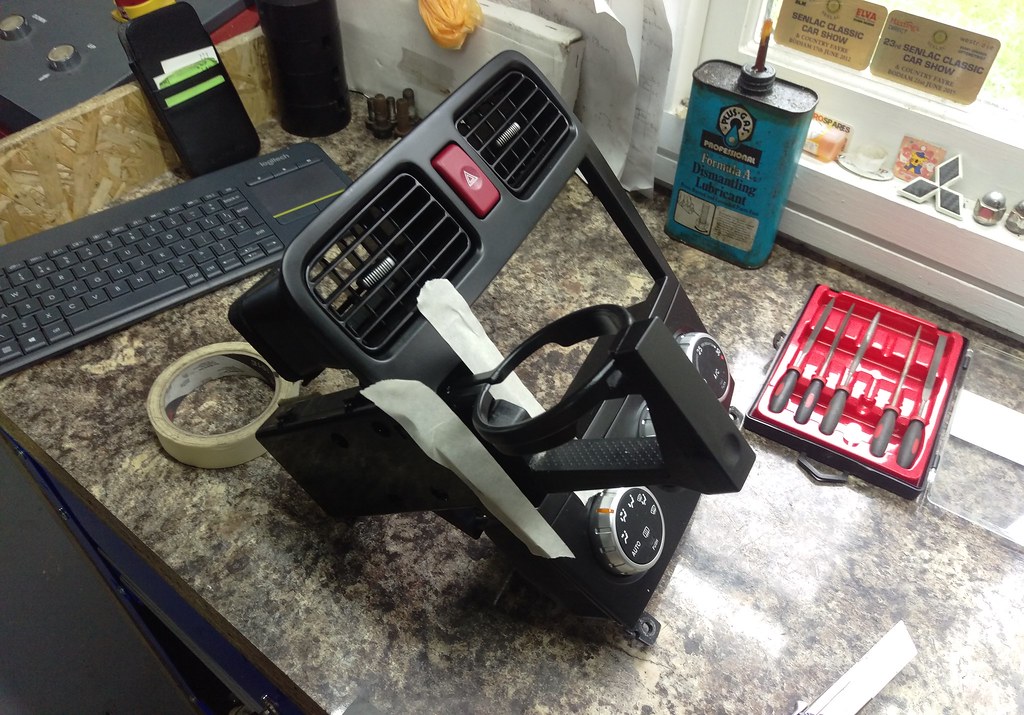
The best way to deal with that was pull it apart, remove the excess glue and add some on the underside where it would work much better and not be seen.
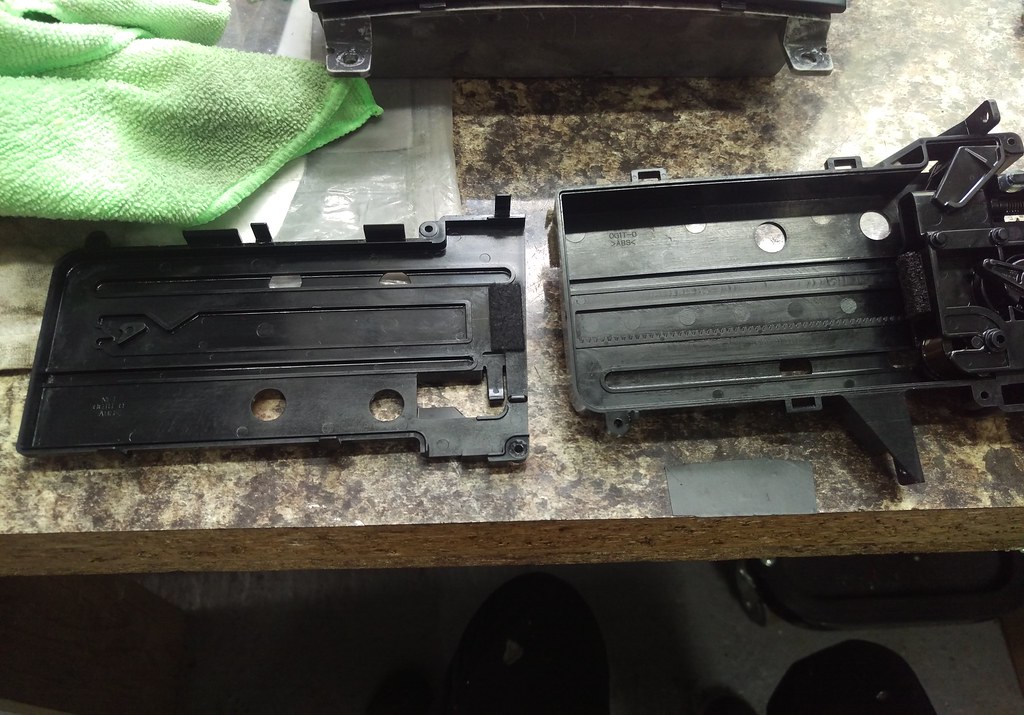
I also took the opportunity to clean the mechanism inside and apply some new silicone grease.

Old grease removed.
New grease.
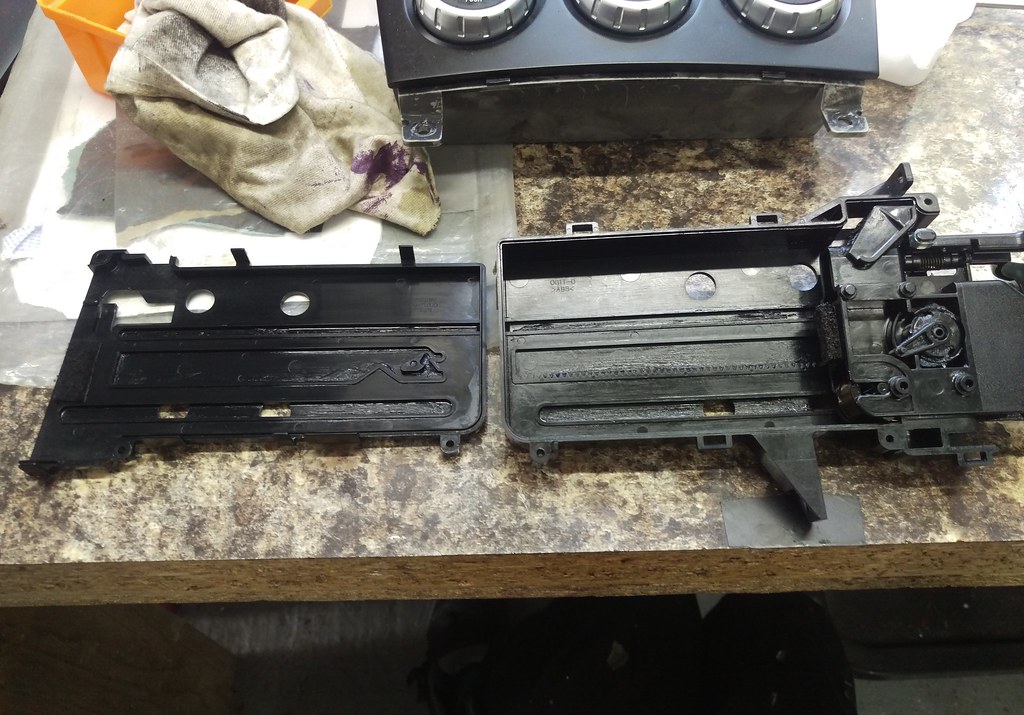
It looks and works so much better now.