(First posted on MLR forum in February 2015)
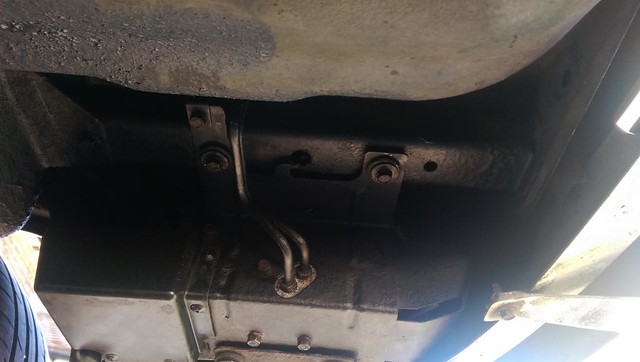
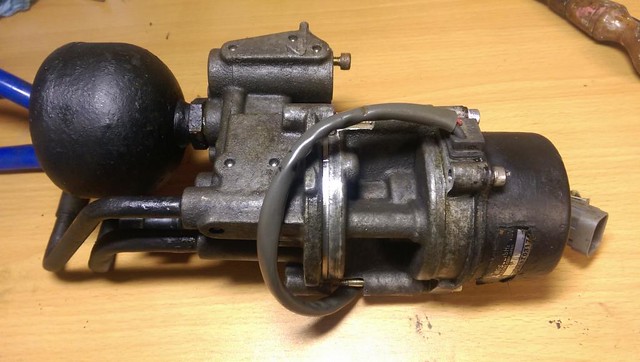
The AYC pump.
On some of the hottest days in 2013 my AYC light would come on but it was fine all winter then as summer 2014 kicked off it came on again a couple of times. After a quick read it seemed it was likely to be the AYC pumps usual problem of corrosion, reducing the efficiency of the pump, which was starting to show itself as heat thinned the oil.
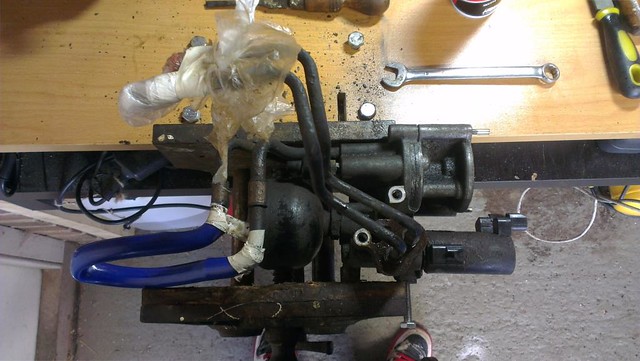
So I pulled the pump off and started to look at dismantling it.
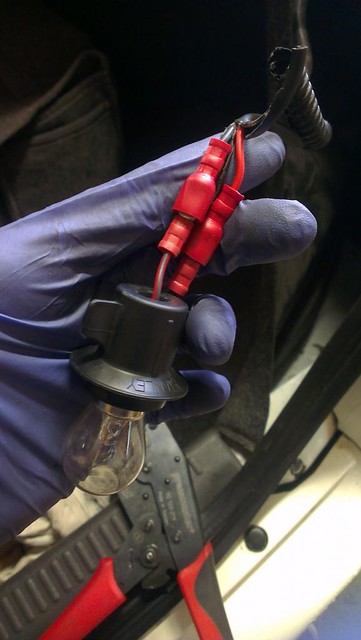
The fog light was fitted under the bumper behind the AYC pump and the cable had been run through the bracket so while I was there I pulled it off and ran the cable up to wire it to the reverse light bulb. Just the clear bulb for testing in this picture as I didn’t have a red one at the time but have since fitted a red LED fog light bulb. Rear end is free of any ugly fog light now. 🙂
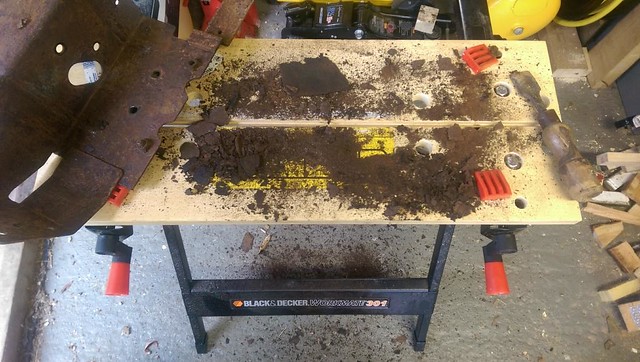
Pump now on my bench covered in gt85 to soak for a few days with the occasional extra squirt…
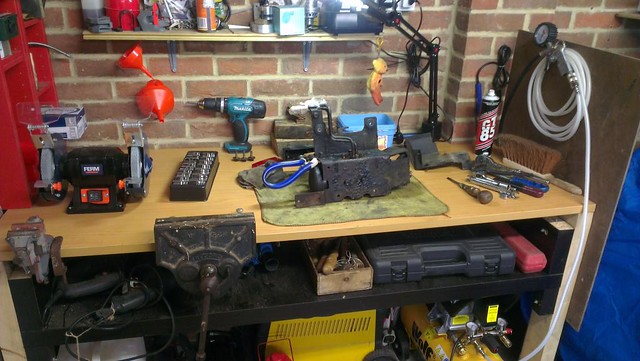
So to the task of trying to get the thing apart.
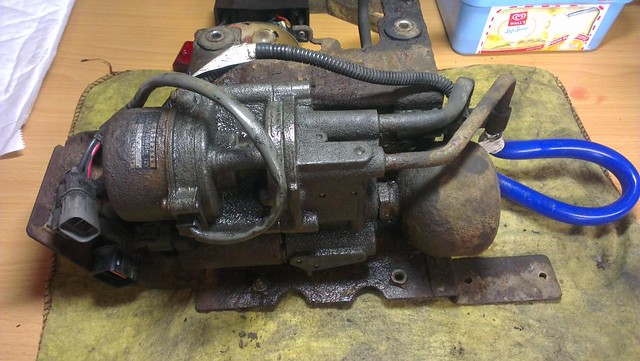
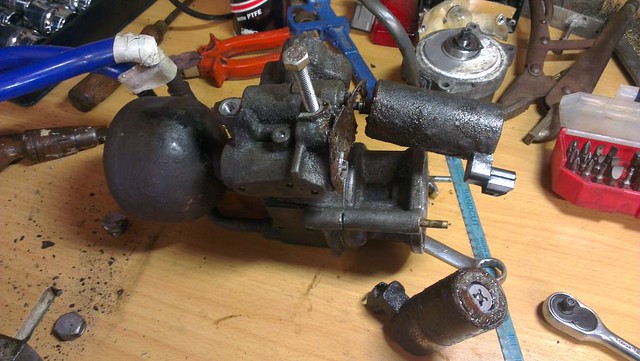
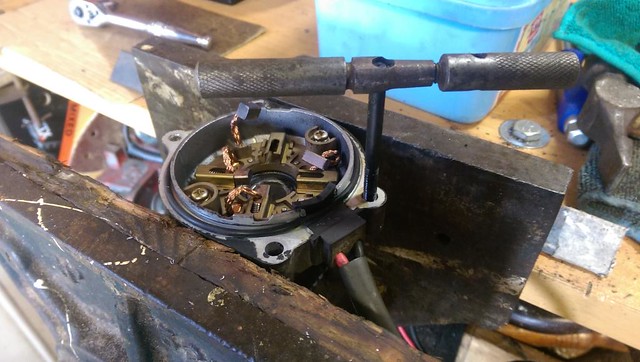
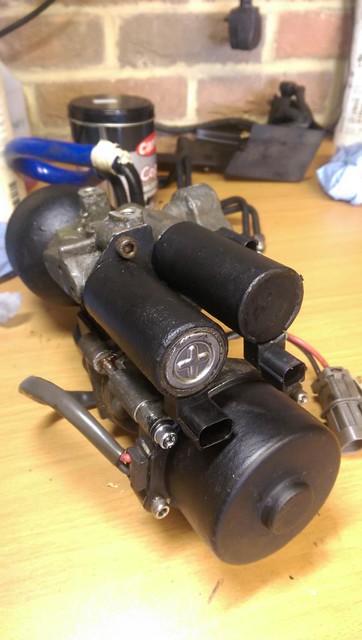
I cut the bolt heads off to remove the motor then…
I almost immediately wished I’d left it the hell alone!!! Both solenoids broke off before I’d even tried to remove them. I could have just put up with no AYC on hot days and waited for all to be fine again in the winter but I never know when to leave things alone! I used all the worst words in my vocabulary for a few minutes.

So now I had a dying AYC pump and no solenoids so not even really worth anything as an exchange for buying a rebuilt pump. I made some calls and emailed a couple of people and basically a reconditioned pump with solenoids bought outright was going to set me back £750+. Small change to some but not the kind of money I spend lightly so I held off ordering one and got to pulling apart my pump to see if it could be rebuilt. It was a serious fight to get it apart and I was losing hope as I had to get more and more brutal with it to get it apart but eventually I got there. I didn’t get any pictures while I was pulling it apart as I just sort of got stuck in until it was done!
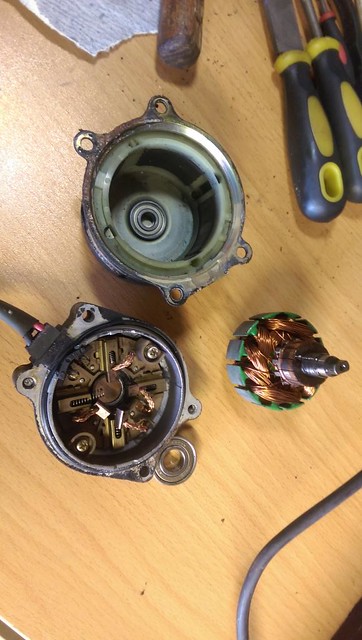
Once I had it apart I could see the motor ran fine and the important faces for the pump were fine so I knew it wasn’t scrap. Knowing that, I was happy to order a rebuild kit. I tried to get one through kikiturbo but he promised me a kit then went completely quiet and the weeks went by so I gave up with him and in the mean time kits had become available through ebay so I bought one along with the control box for bleeding the system and testing the pump.
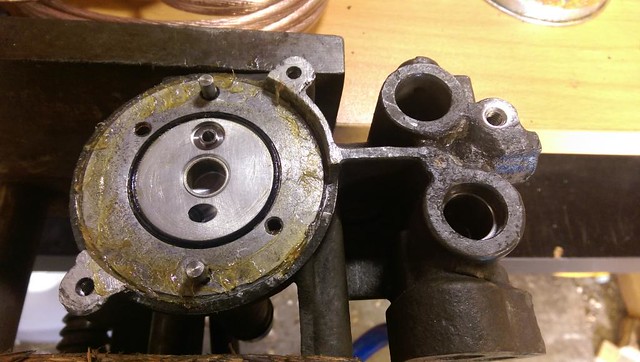
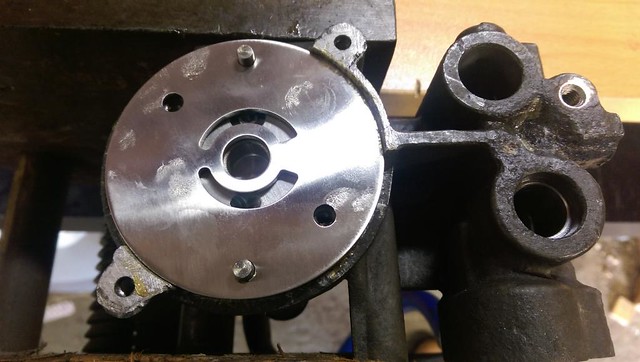
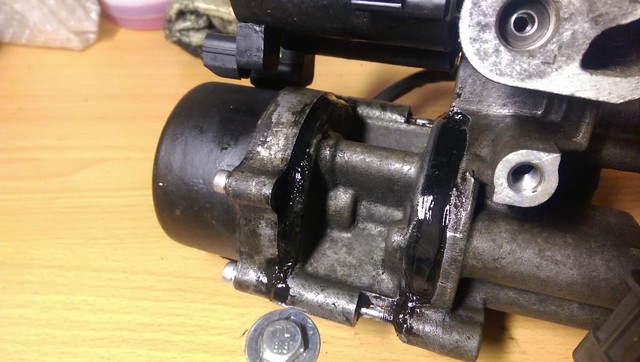
Though the motor ran fine, this face was corroded so I thought I’d check inside and make sure the seal was good for future. All was fine inside. I just had to re-tap one of the threads as the bolt had got stuck.
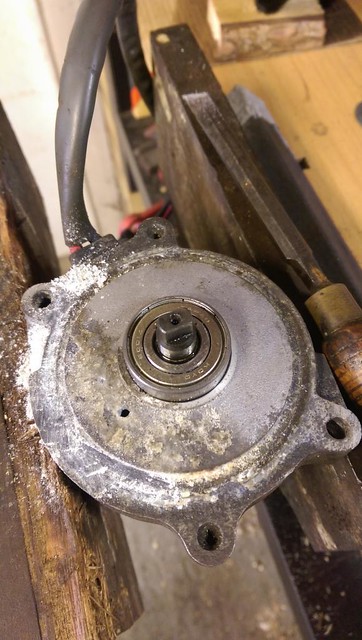
This is part of the cause of the pump failure as this face and the faces of the pump plate corrode and start to force the inner pump faces (protected with tape here) apart. So this needed careful cleaning/refacing.

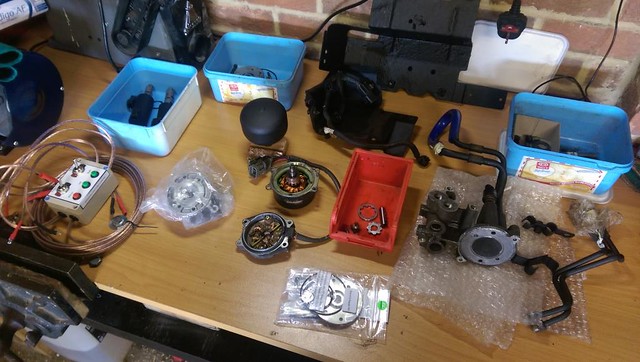
Everything prepped and ready for the rebuild.
New o-ring and dowels ready for the new pump plate.
Solenoids in
After getting it back together I gave the places where moisture had got in before, a layer of sealant in the hope it might stop or at least reduce the chances of the parts corroding again. I hope this rebuild will mean the pump has many years of life in it now.
The cradle was pretty rusty so I gave it a very good rub down and some black paint.
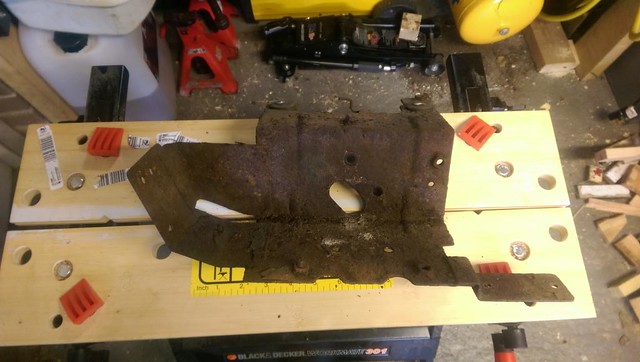
One of the bolts broke when I dismantled everything so had to drill and tap that again.

Before refitting the pump I prepped and painted the panels behind the pump. Forgot to take a picture though.
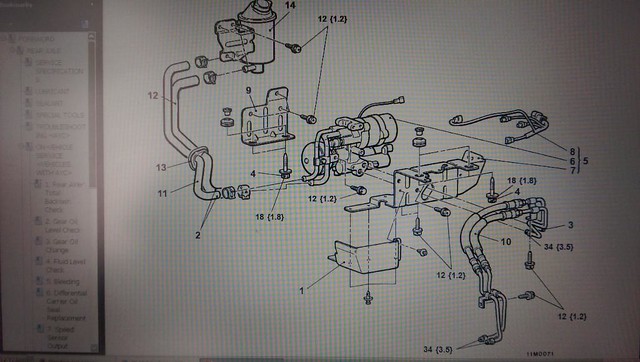
I also found this to check I plumbed it in right. Wouldn’t want it AYCing backwards!
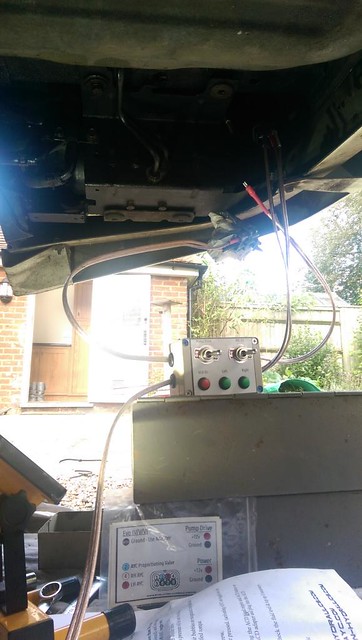
Pump back on and wired up for testing and bleeding.
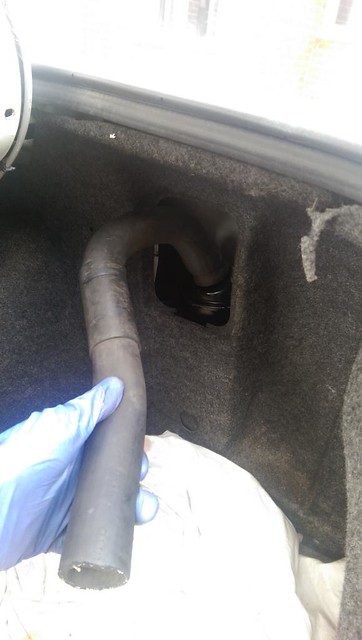
I had trouble getting the pump to take up the fluid so ended up tilting the pump while it was connected and blowing pressure in the top of the reservoir via an old radiator hose. Worked well.
All done and ready to start Actively Controlling Yaw again. 😀