Now the the Elise was back together, after a complete suspension refresh, it would need a wheel alignment check. I was pretty careful about setting everything up during reassembly so that hopefully everything would be about right but it still had to be checked and the front and rear toe would certainly need some adjustment.
First off though I wanted to double check the floor and wooden blocks the Elise would be sat on, during the measurement and adjustment, were all level. I know I laid the floor level but it doesn’t hurt to check and to check the blocks are all even. Also, any ride height measurements I made would be to the lift platforms so I would need to be sure their heights were a good reference at least to start with. I can always check the ride height measurements on a level floor that doesn’t have the complication of a lift underneath it, later on.
Out went the Elise.

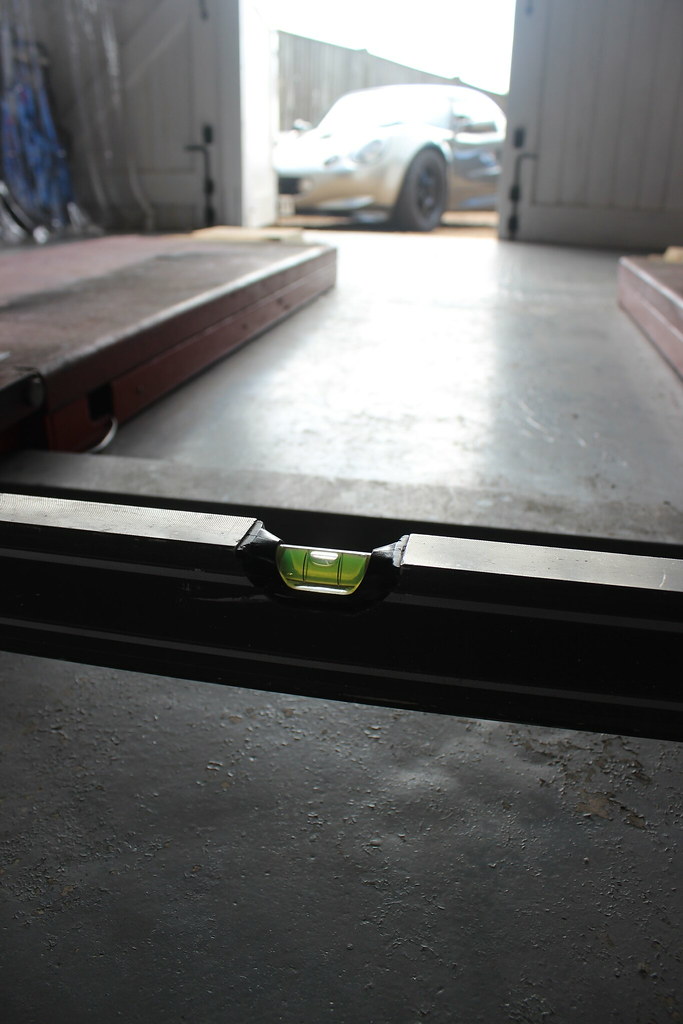
Front blocks perfectly level.
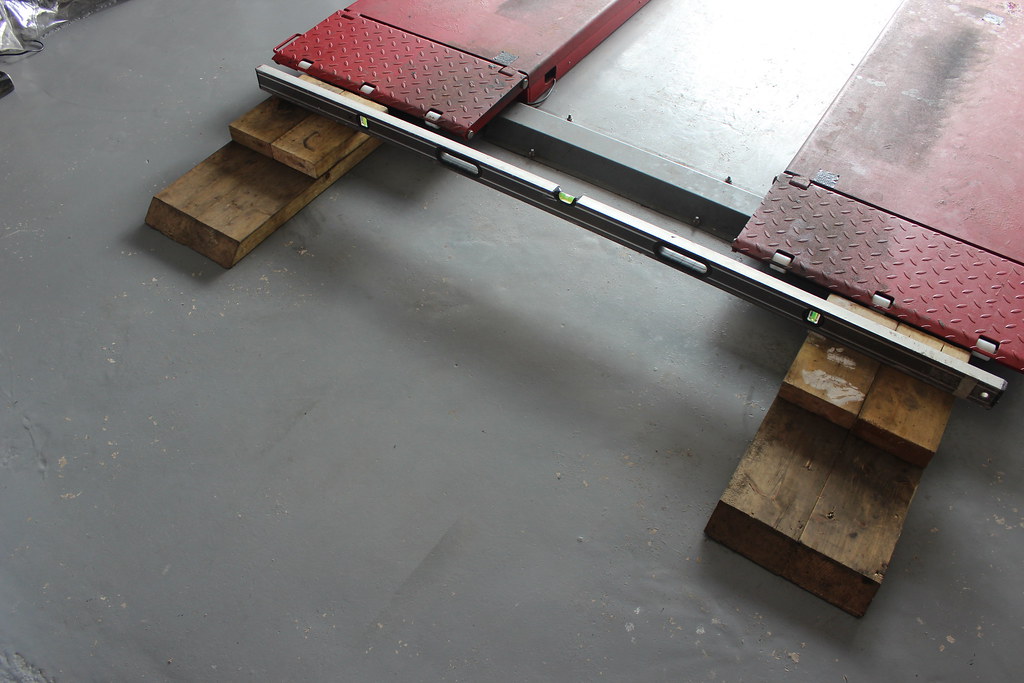
(The rear blocks were also spot on)
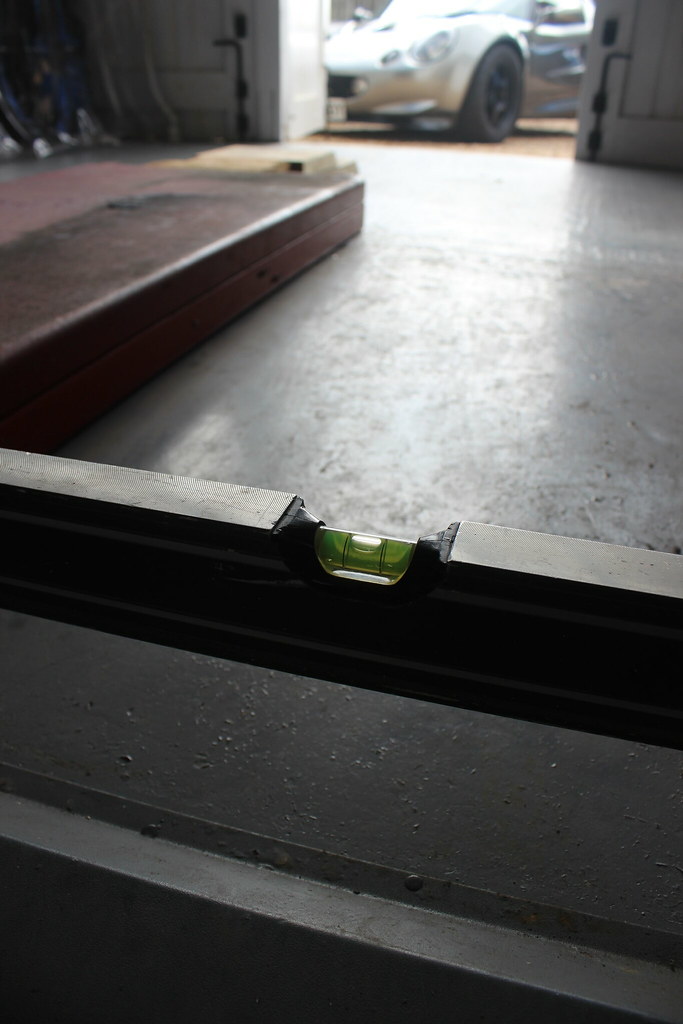
The lift platforms, also level.

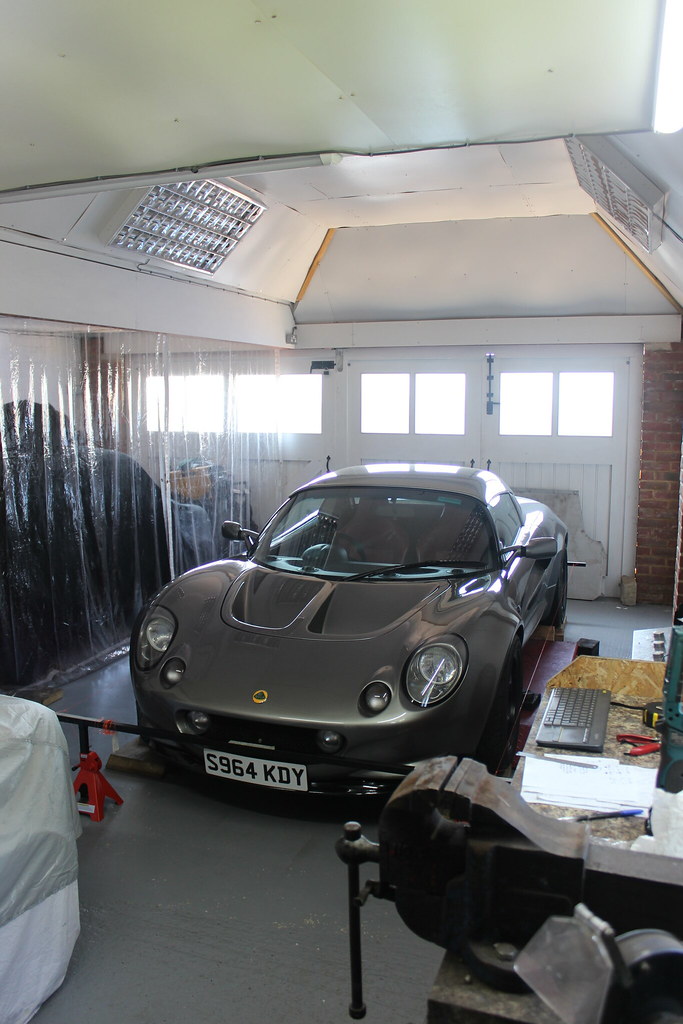
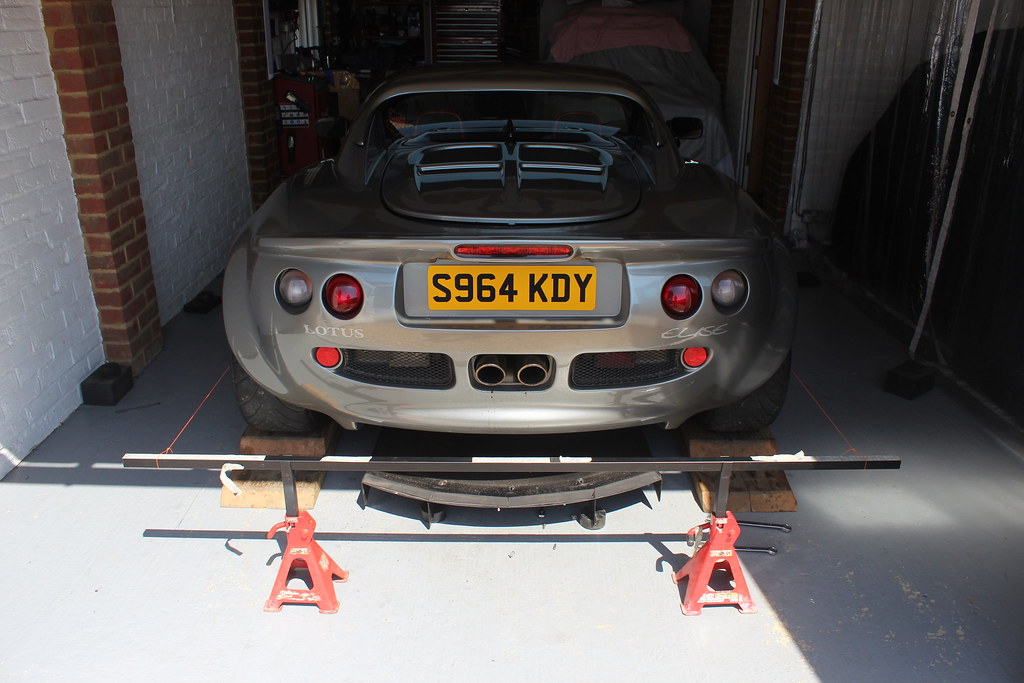
Back in the garage with the Elise and out with my homebrew wheel alignment stuff.
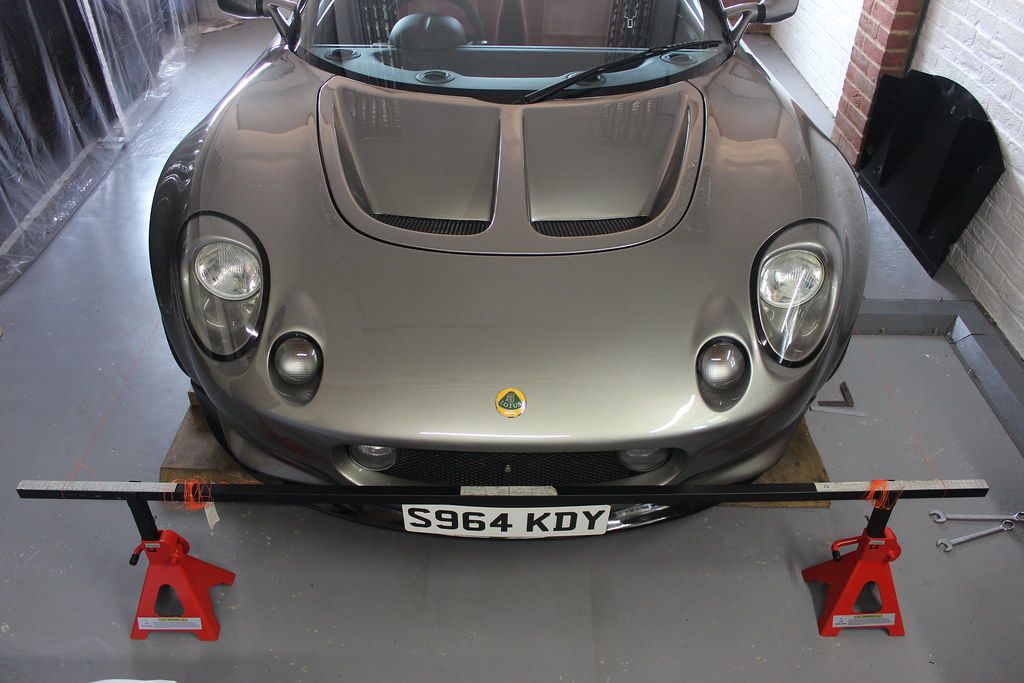
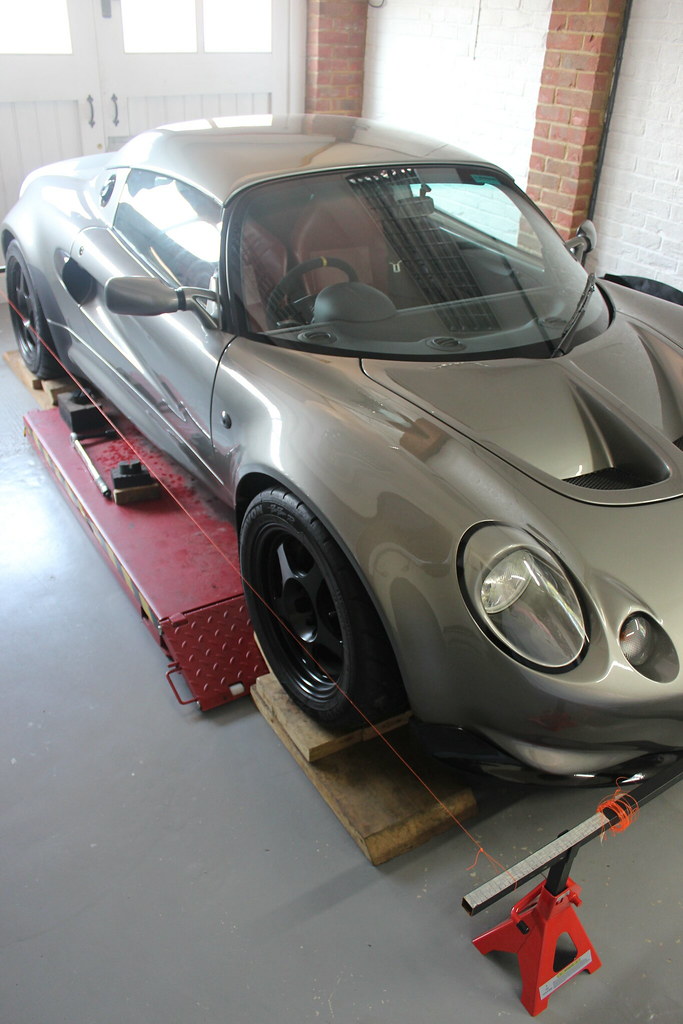
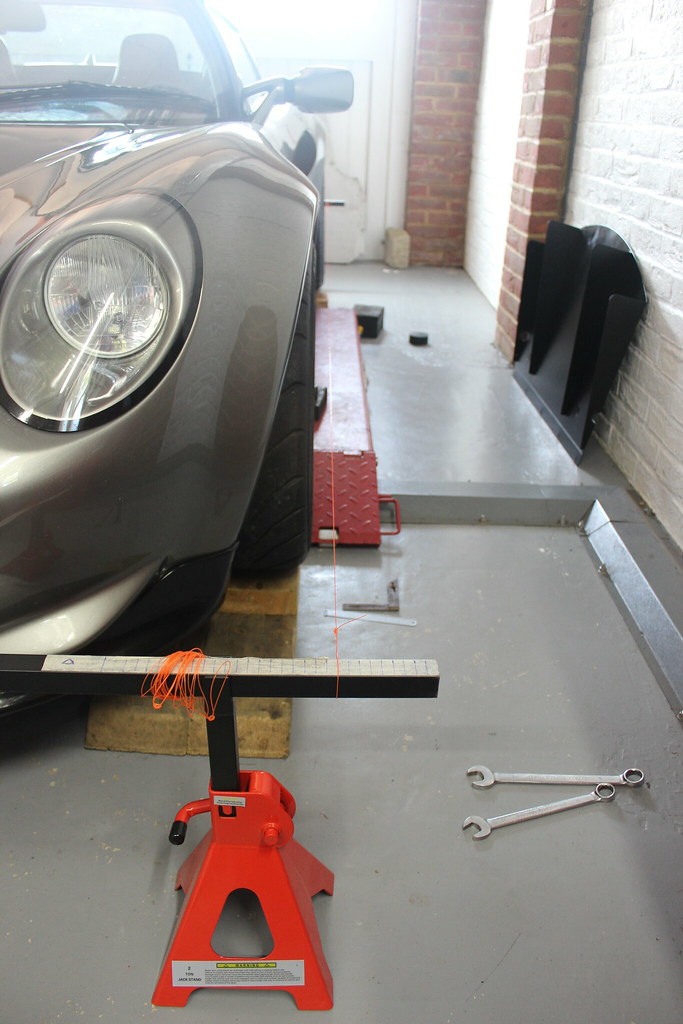
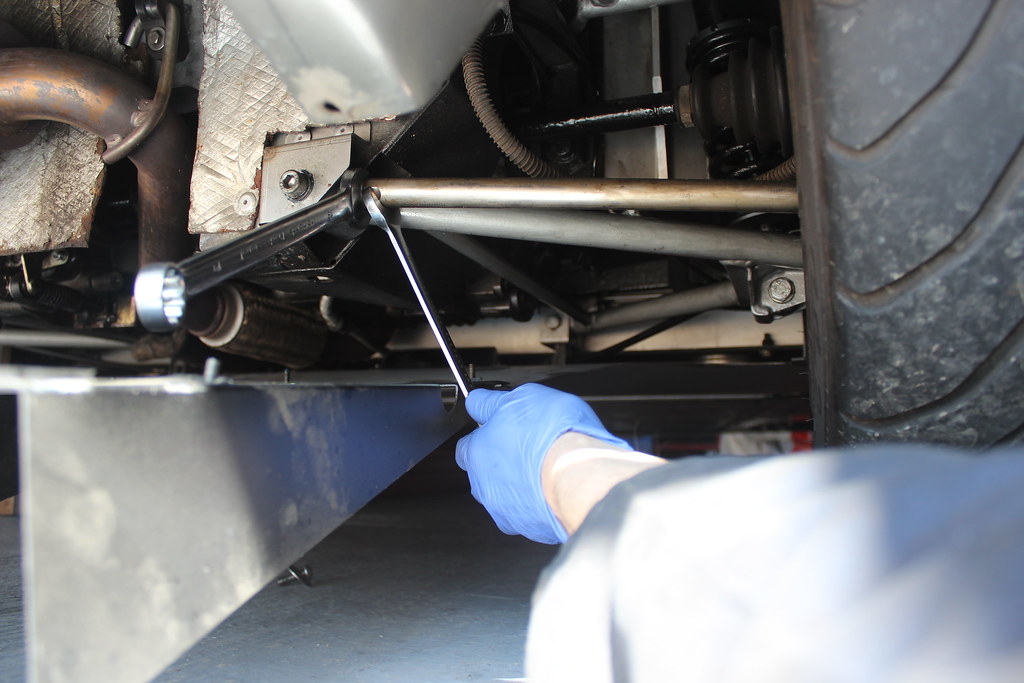
Spanners out for adjusting the front toe.
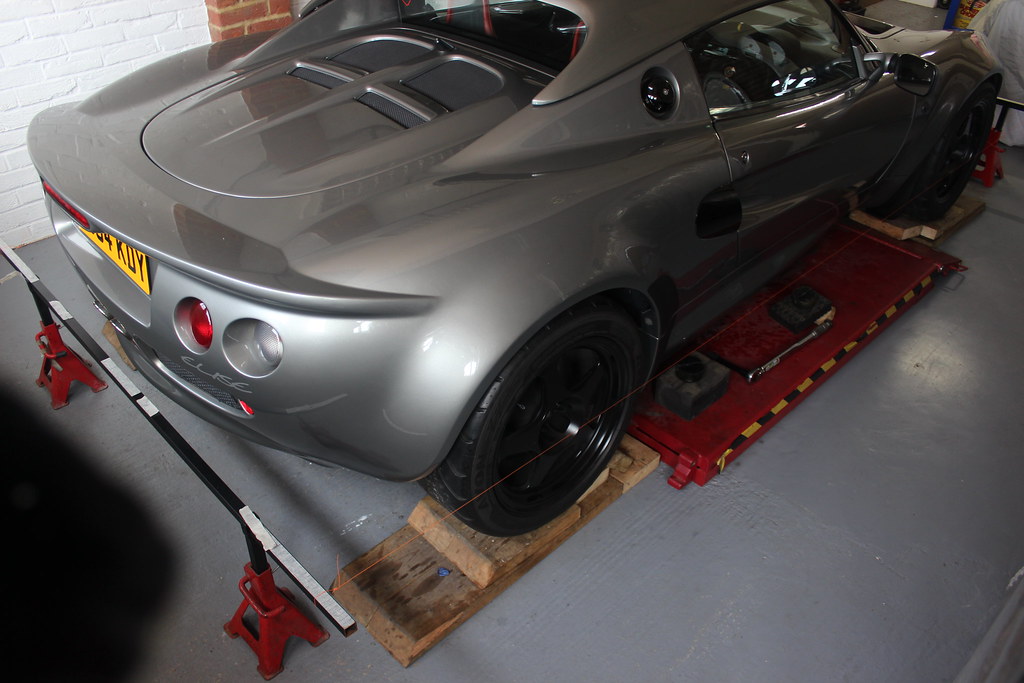
Adjusting the rear toe. I didn’t take any pictures of actually making measurements of camber and toe as it’s a bit tricky plus the weather was nice and I wanted to get on and go out for a drive!

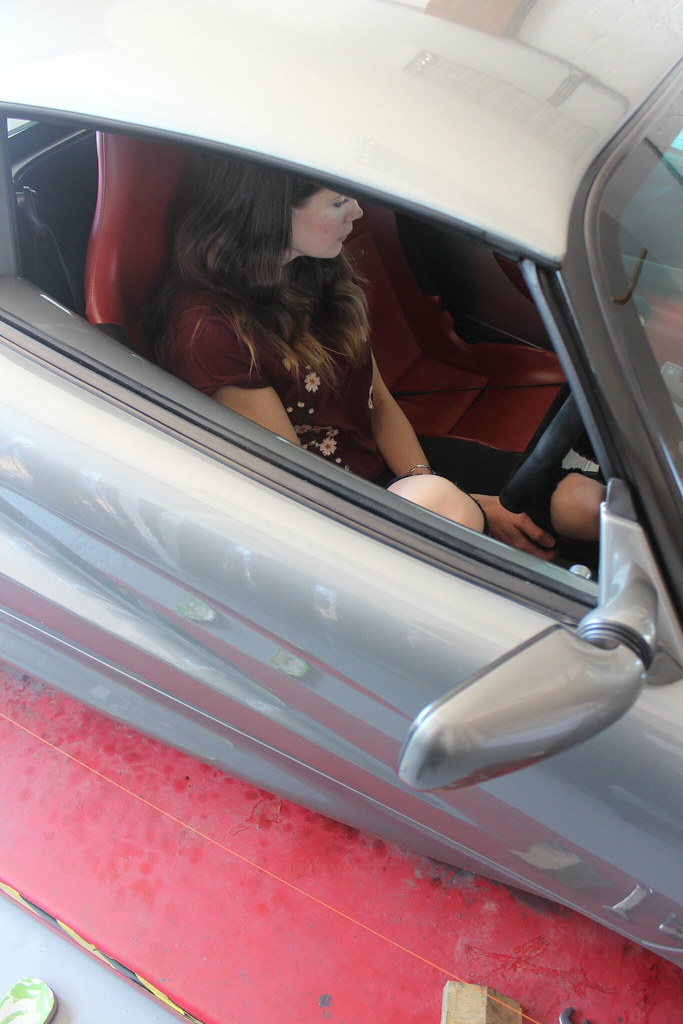
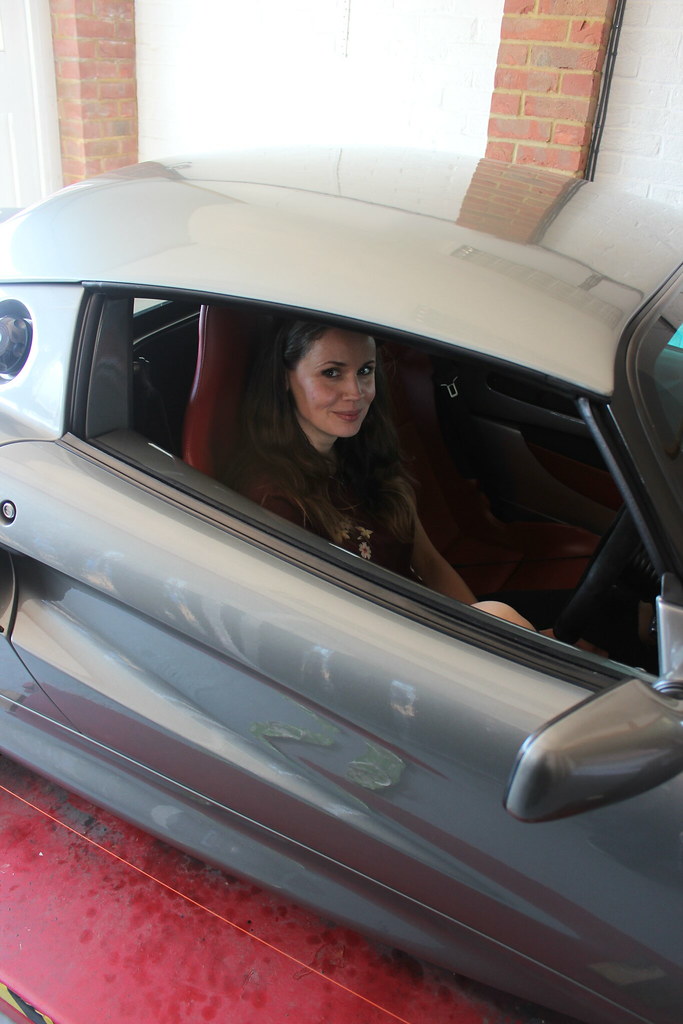
I went round the car and got the front and rear toe set right with no ballast in the seat. Then, as usual, got my Glamorous Assistant to come help.
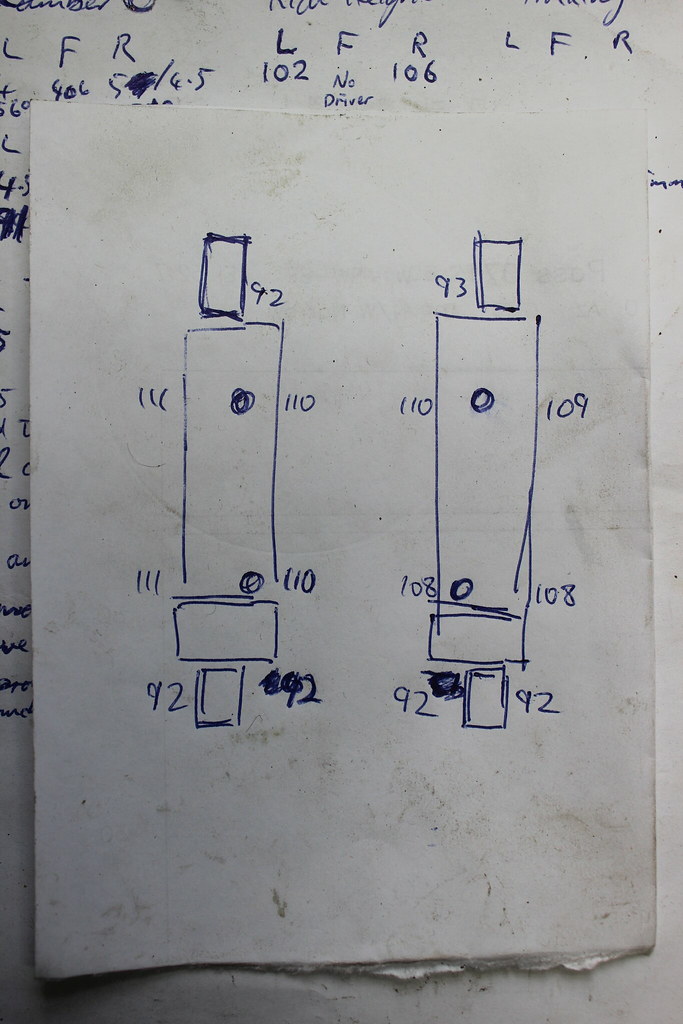
I made some notes of the camber measurement with and without ‘ballast’ in the drivers seat. This was purely to see if there was any real change to the camber with and without ‘ballast’ in the drivers seat.
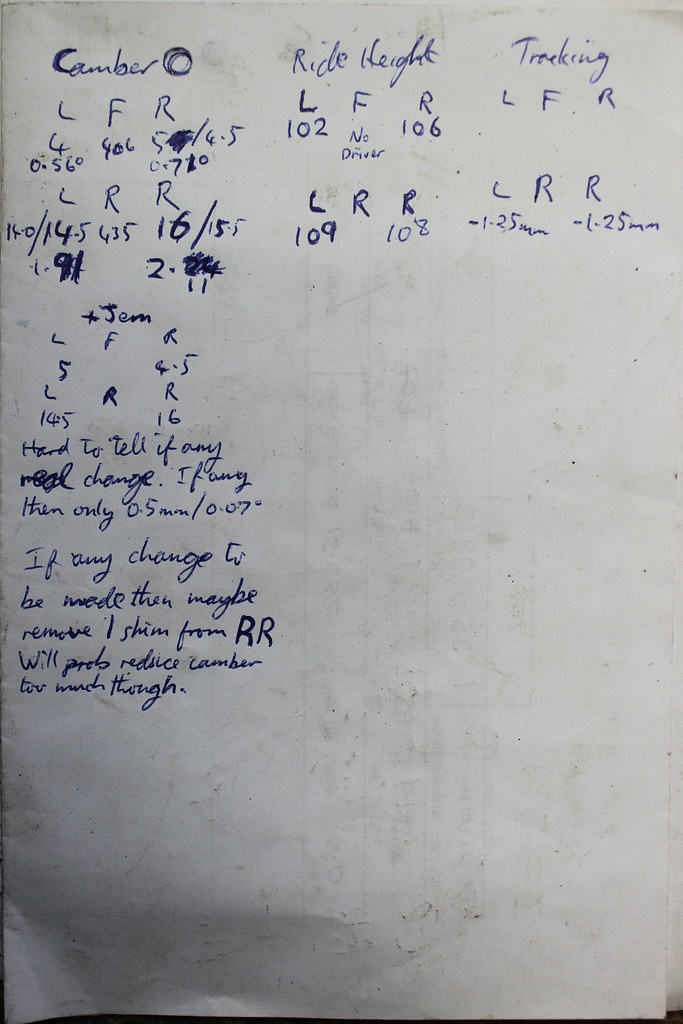
As the notes show and as expected really, there was no real noticeable change to camber with and without ‘ballast’. If I were to make any change to these initial settings though I might reduce a bit of camber at the right rear.
Jem putting a brave face on being slightly bored having to sit still and do nothing and being called ‘ballast’.
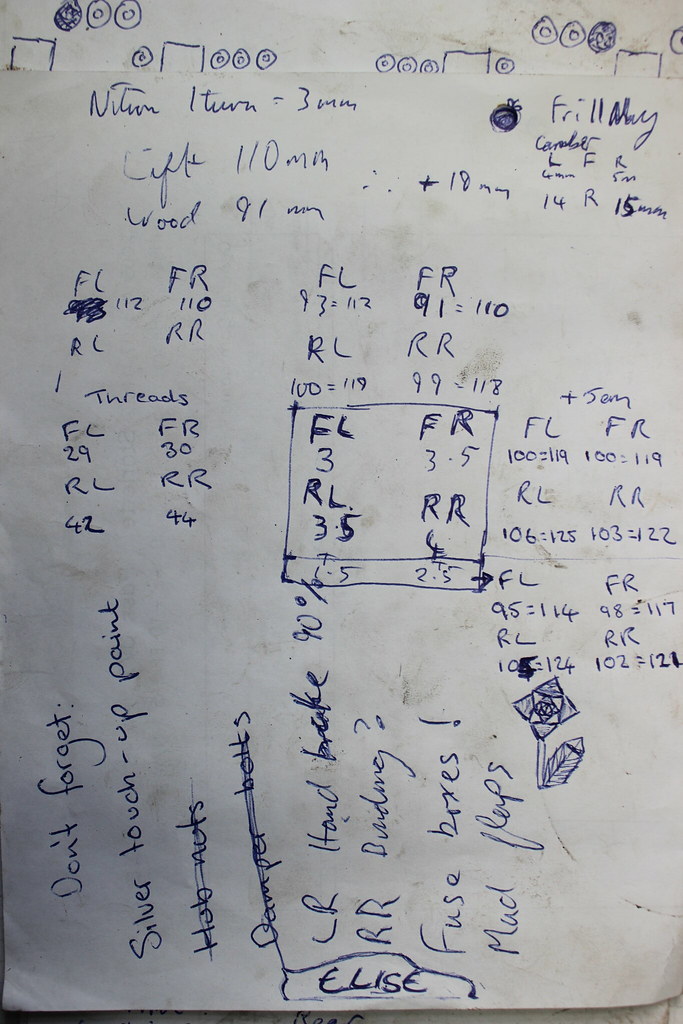
I also checked the lift platform heights compared to the ground at each spot the Elise ride height was measured. There was some small offsets to consider applying to the ride height measurements I made though as this was only an initial setup I tried not to be too fussy.
Some slightly random notes of ride height and camber. I put them here more as a record for myself.
I was happy the settings were fine to start getting to know the car from the drivers seat. It was also MOT time so I got that done. It sailed through with no problems other than a tweak of the headlight adjustment, as I expected really.

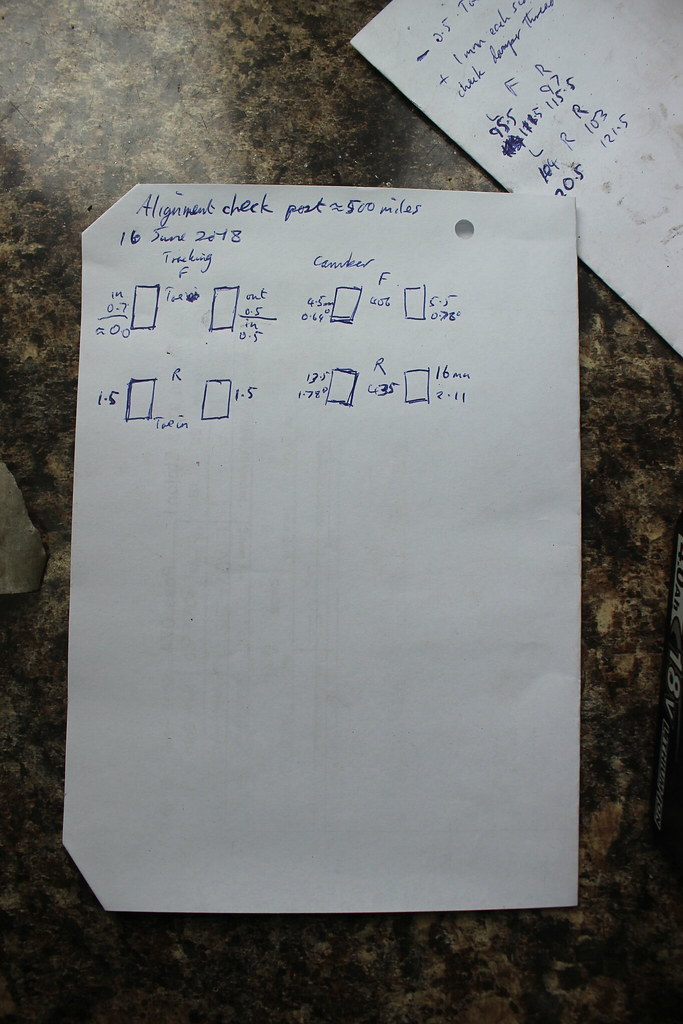
After driving around 500 miles I got my alignment kit out again to check everything was still where I set it.
Some notes of those measurements.
All good really. I could still look at reducing some of the right rear camber but I might just wait until I have the Elise on the lift next and I’m working on that corner for some other reason. Plus This is not the end, eventually I will take some ride height measurements on a level floor without the complication of a lift. Also, to me, ride height isn’t as important as getting the corner weights right so with the ride height pretty much as I want it, it is really only a start point for making adjustments driven by corner weight measurements. I hope to be able to do that myself sometime but for now, other than a few little jobs, I intend to spend my time driving the Elise as much as possible through summer. 🙂
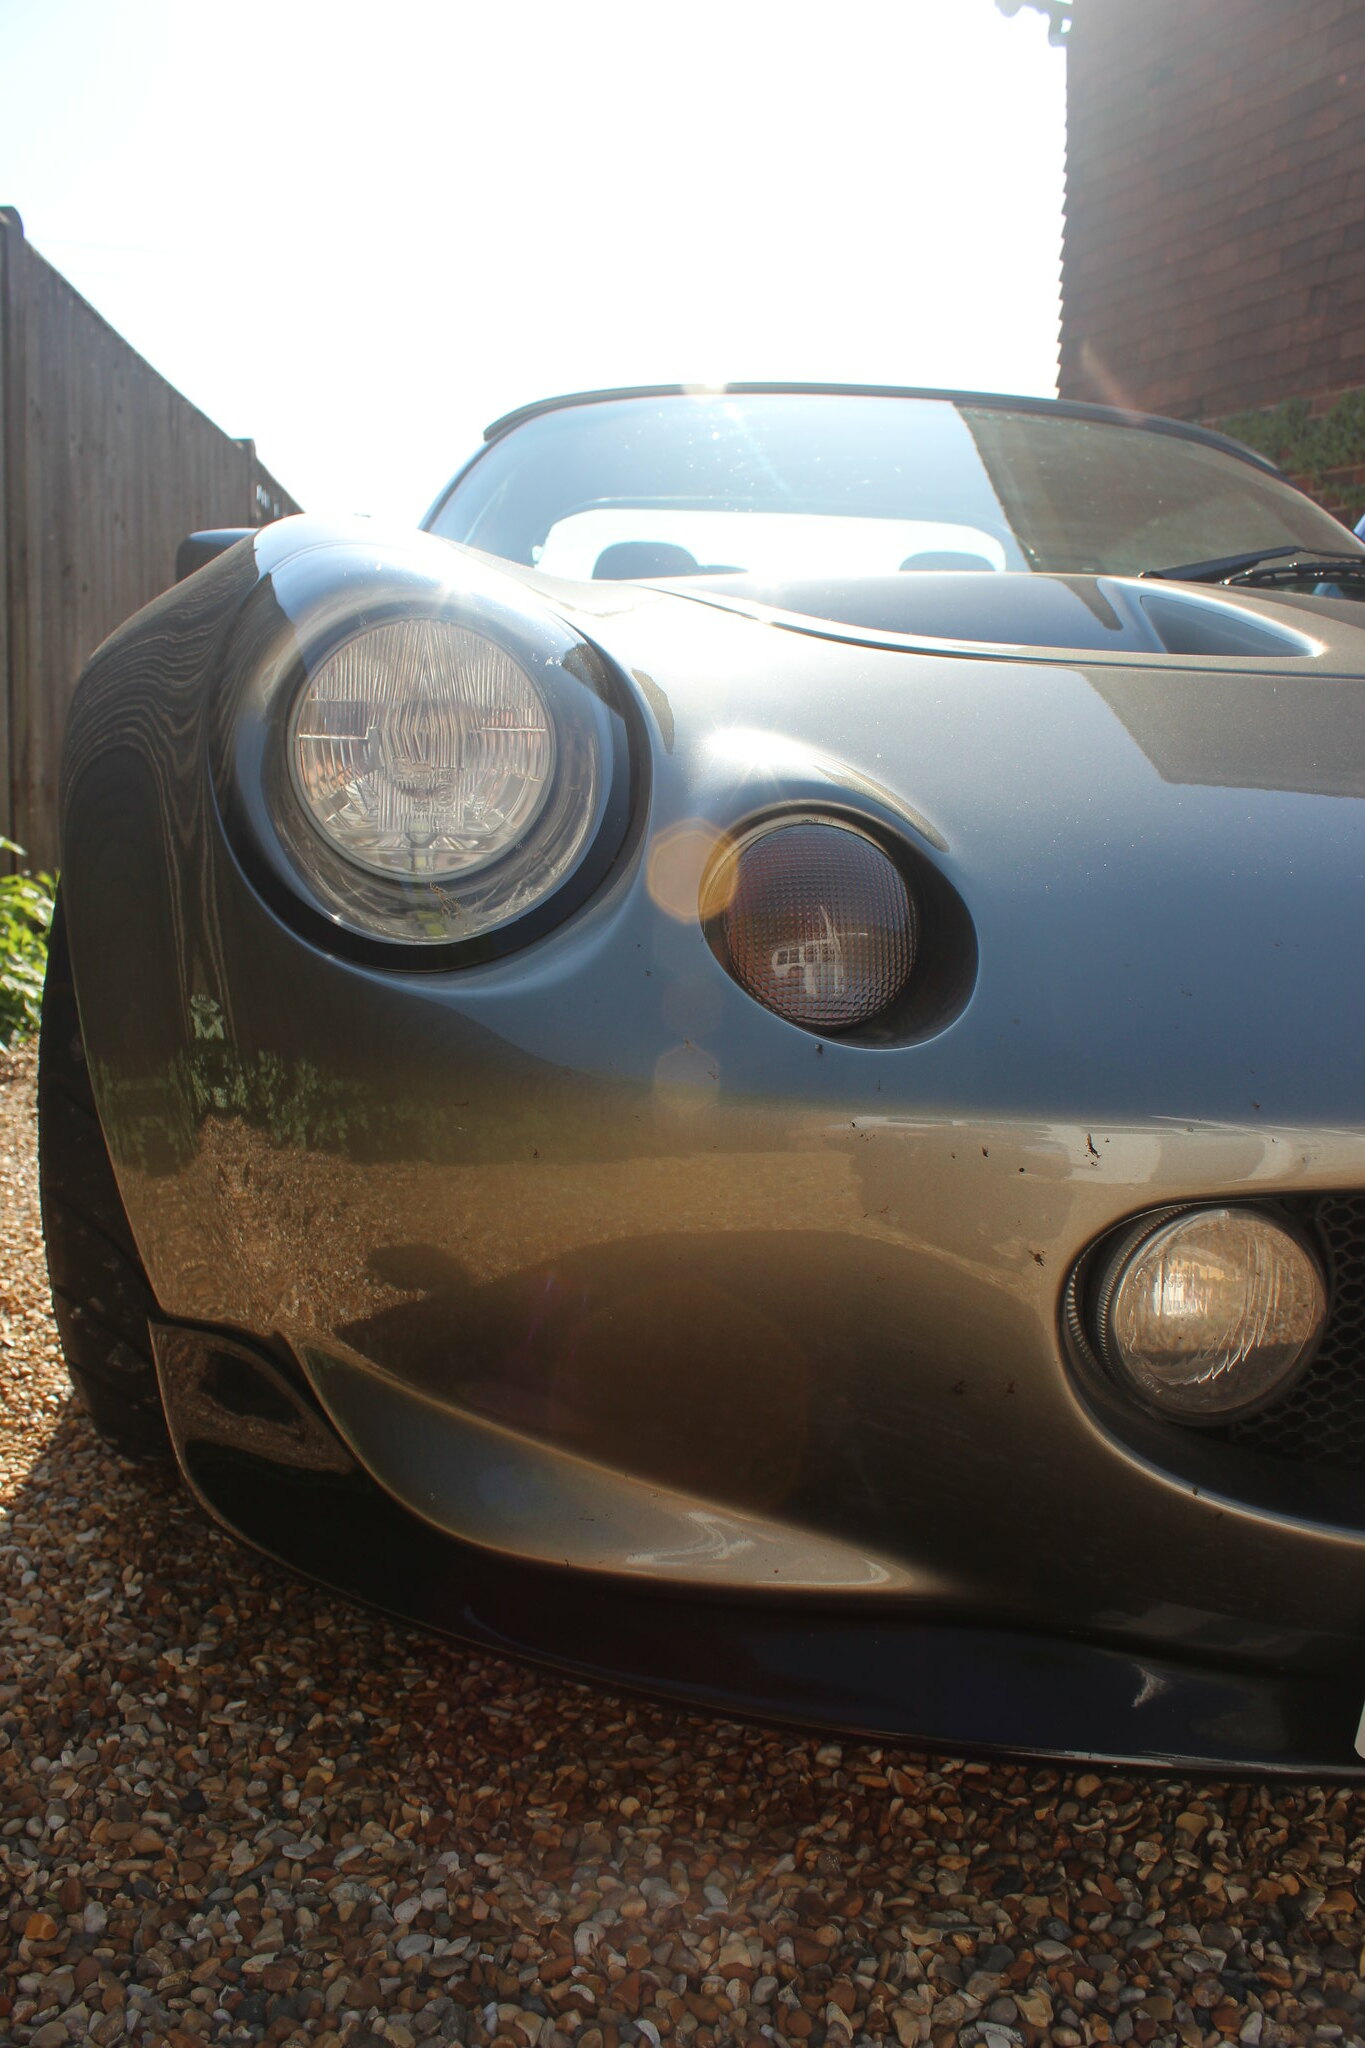
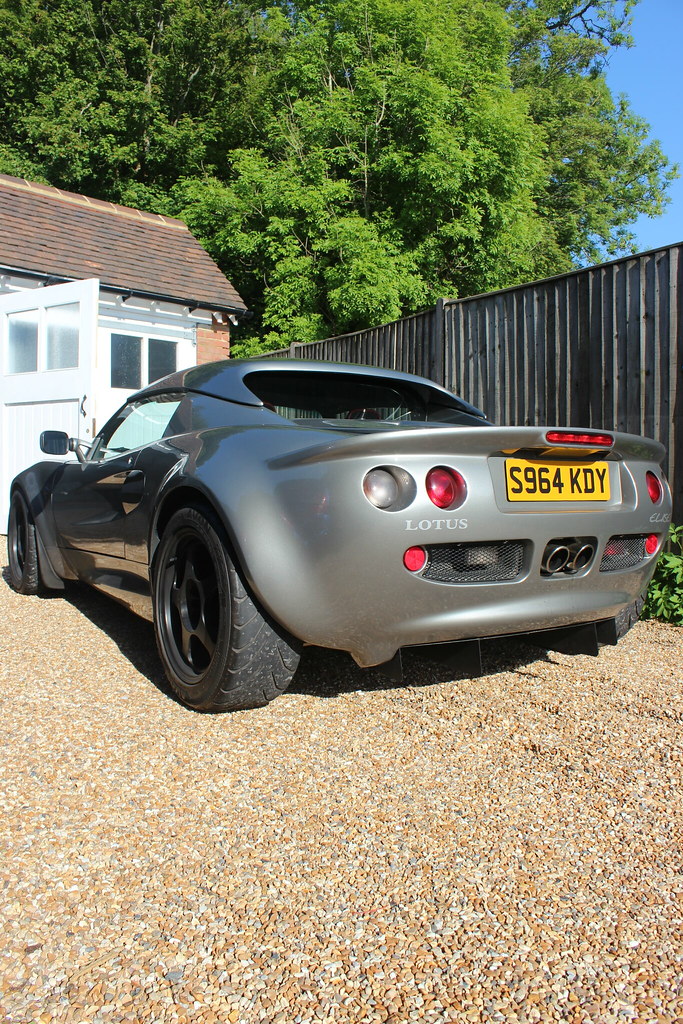
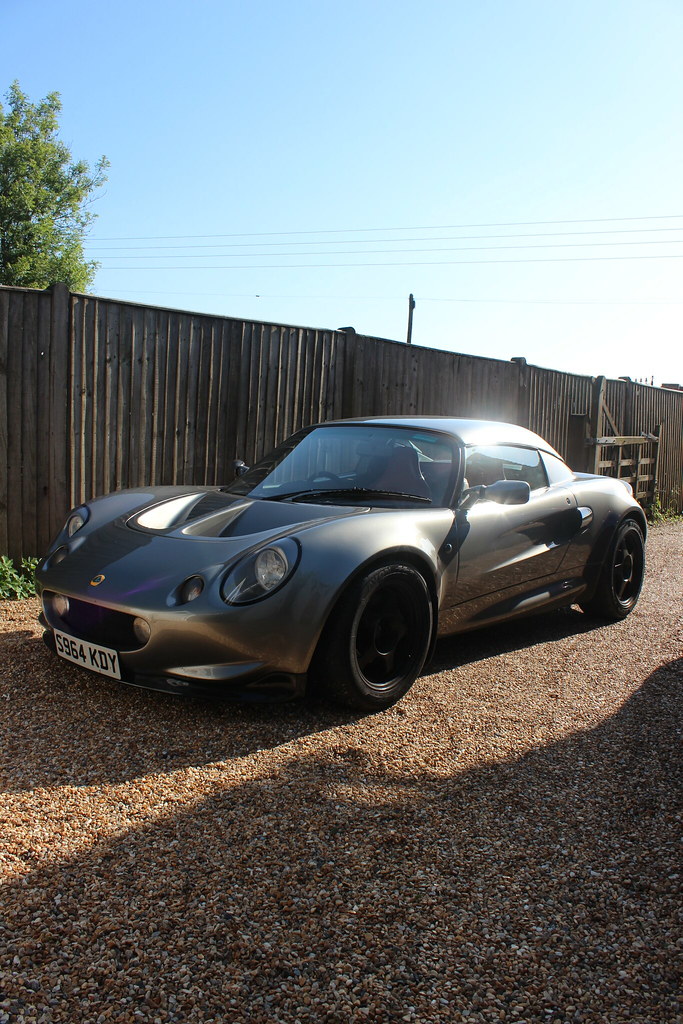
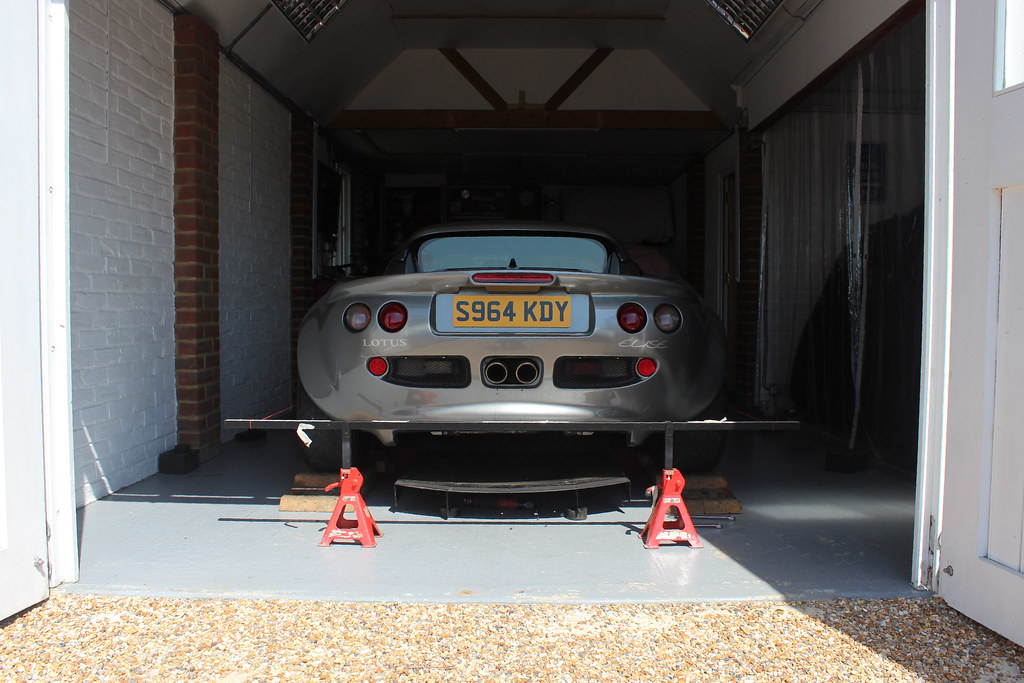
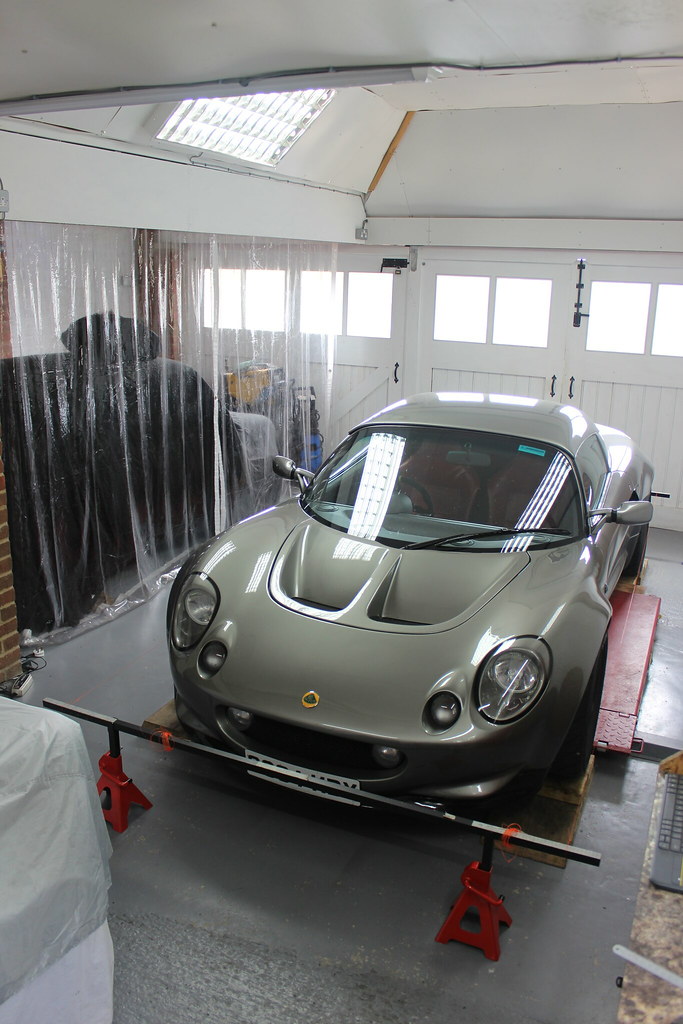
A few pictures of how it sits now.

A few dead bugs stuck to the front, proof I have spent some time behind the wheel, not just underneath it. 😉