
To be honest I couldn’t see or feel much wrong with the original rubber wishbone bushes, they didn’t have any excessive movement and hadn’t aged badly. But to properly prepare and paint the wishbones they had to be removed so some replacements were required. I had a good read about the various replacement options and decided to go with the Elise Parts spherical bearings kit. I wanted something that would be harder than standard rubber bushes so I considered the Ertacetal nylon options but read as many not so good things about them as I did good things. One of the criticisms I’d read about the Ertacetal bushes was that they can absorb moisture over time so become tighter and squeak and creak with suspension movement, the squeaking was also a complaint I read about some poly bushes so I just wasn’t convinced about either of these options as noises like that would really bug me. I read generally good things about the solid spherical bearing options though and though they wouldn’t normally be my choice for a road car I decided they were my best option as they will obviously give the sharpest driving feel of all the options which is, after all, what the Elise is supposed to be all about!
The main reason I wouldn’t normally choose to use spherical bearings in place of suspension bushes for a road car is not really because of the lack of compliance compared to a rubber or poly bush (personally I’d almost always happily trade a sharper driving feel for some additional NVH) but they can tend to corrode and wear fairly quickly due to the bearing being exposed to road dirt and moisture so a poly bush would usually outlast them. But the spherical bearing kits for the standard Elise wishbones include end caps with O-rings that seal the bearing inside the bore of the wishbone meaning they are pretty well protected from dirt and moisture ingress so they really should last a good while and I shouldn’t find myself replacing them too often.
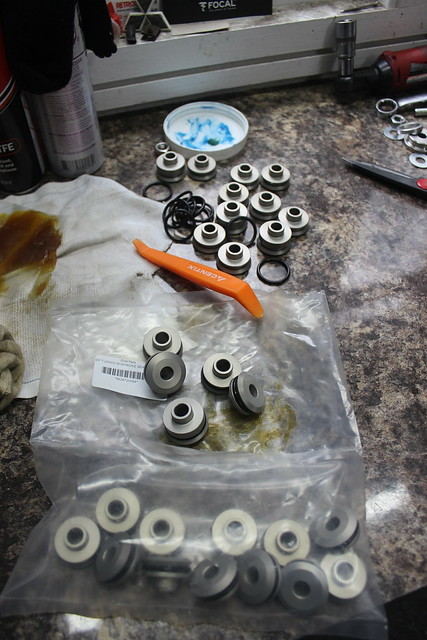
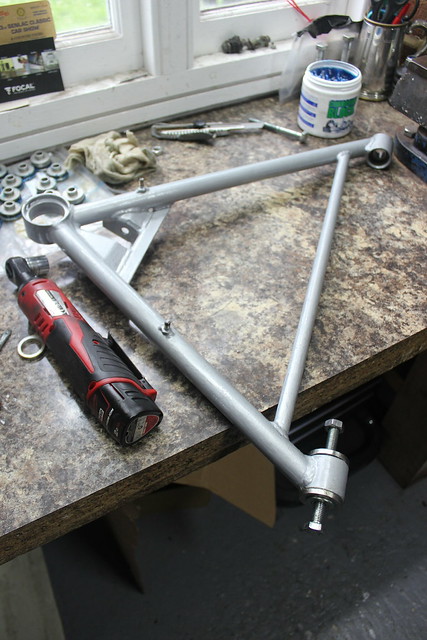
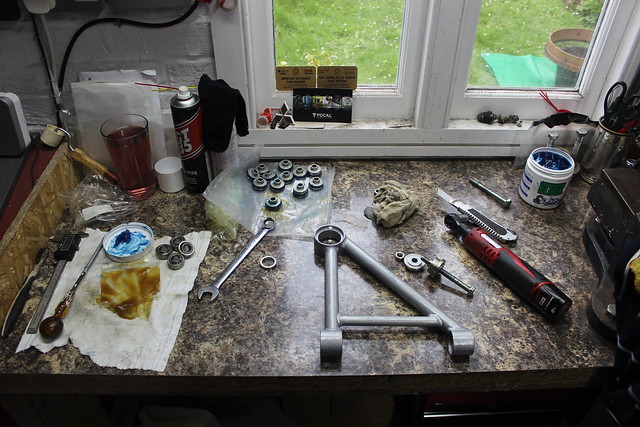
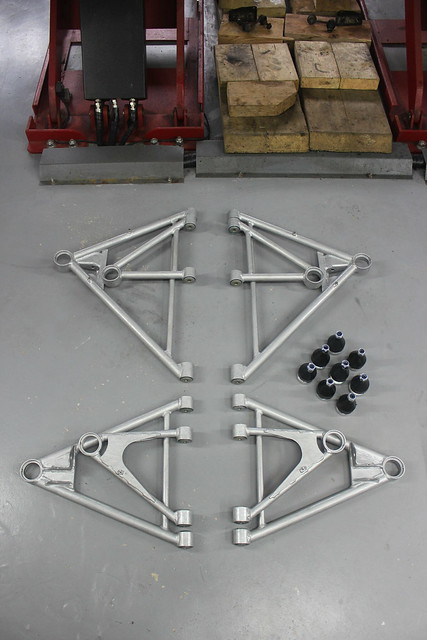
Wishbone bearings, ball joints and fitting tools.
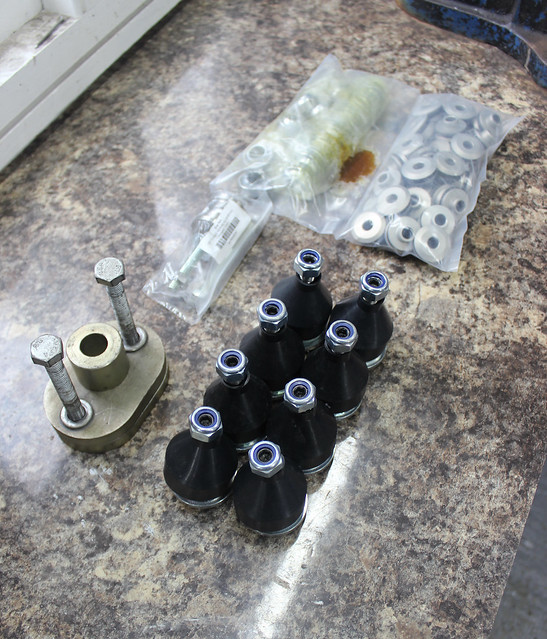
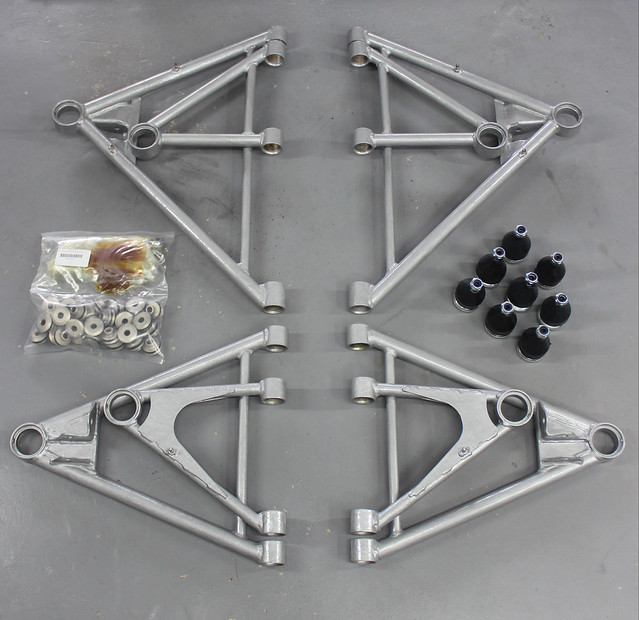
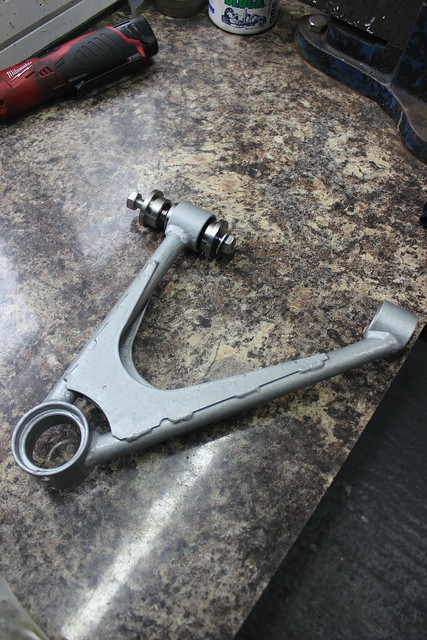
All wishbones fully treated with POR-15 products, 8x new genuine ball joints and a complete kit of 16x Elise Parts wishbone bearings as found here.
Now I just had to get on with pressing all the bearings and ball joints into the wishbones.
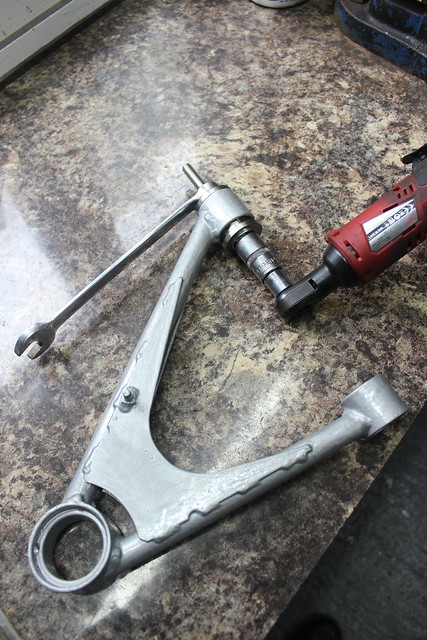
I started with the EP wishbone bearing kit. It’s supplied with a fitting tool which you can see in the image below.
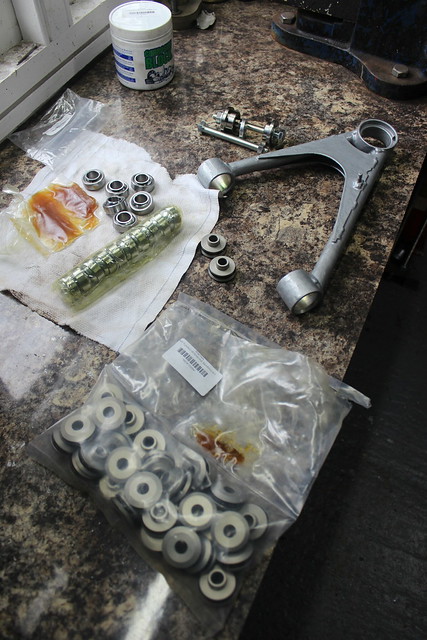
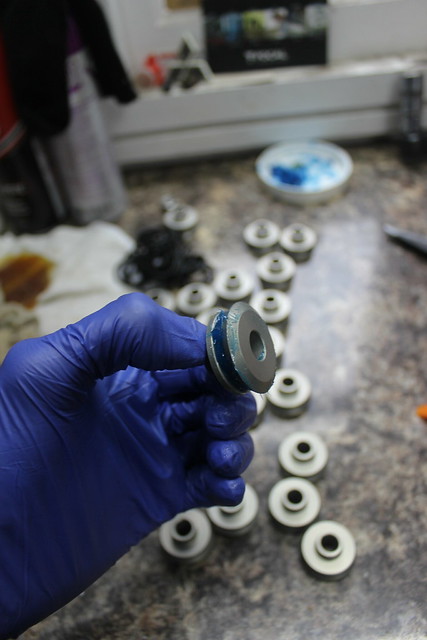
I stuck the bearings in the freezer the night before as it helps gain a little more clearance when pressing them into the wishbone. I got a few of them out the freezer to get started with.
Grease was also supplied in the kit to help the bearing press in. I applied it over the whole of the bore of the wishbone as it will also help prevent any corrosion to the surface, should any moisture get in.
No grease, you’ll also notice no paint. Any paint in here would just stop any bush or bearing being able to fit in properly.
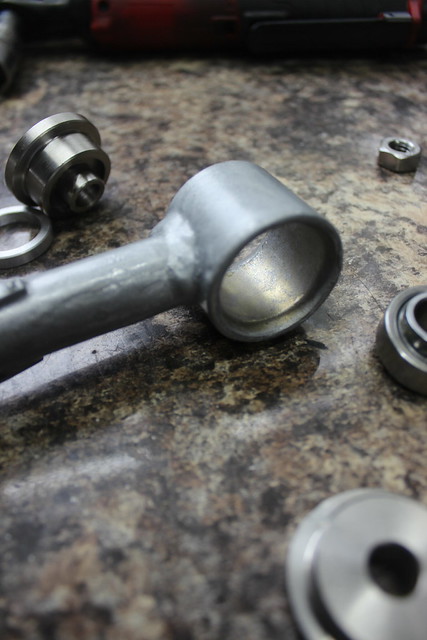
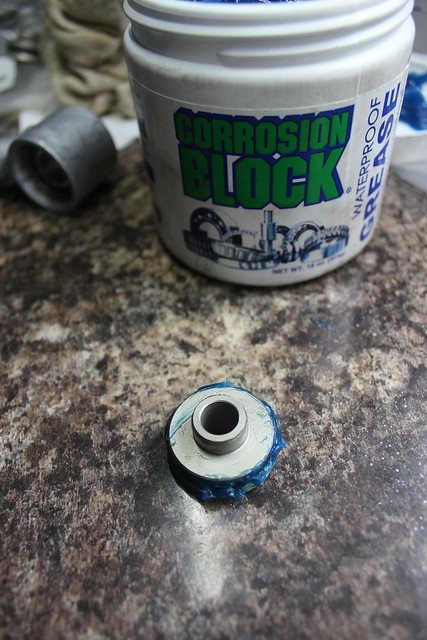
Greased.

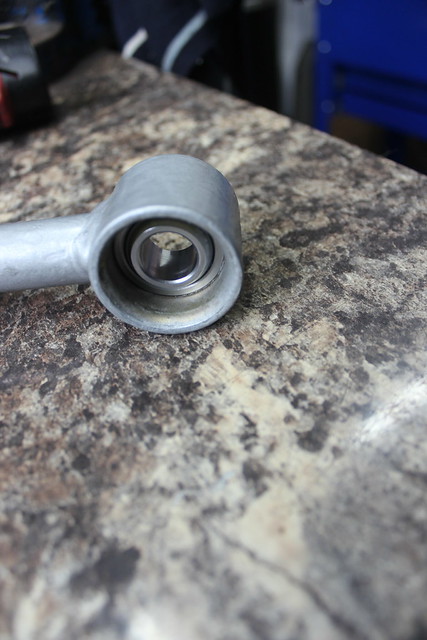
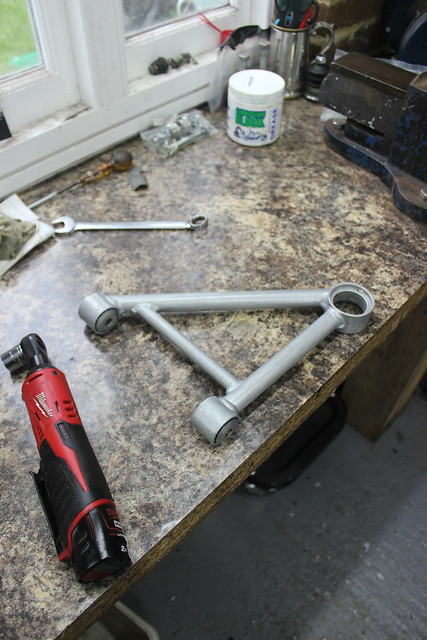
Bearing pressed a little into the end nice and square and the fitting tool in place.
Now just got to keep winding it in until it stops.
Fitting tool removed, leaving the bearing behind in the centre of the bore.
Same again for the other bearing in this wishbone.

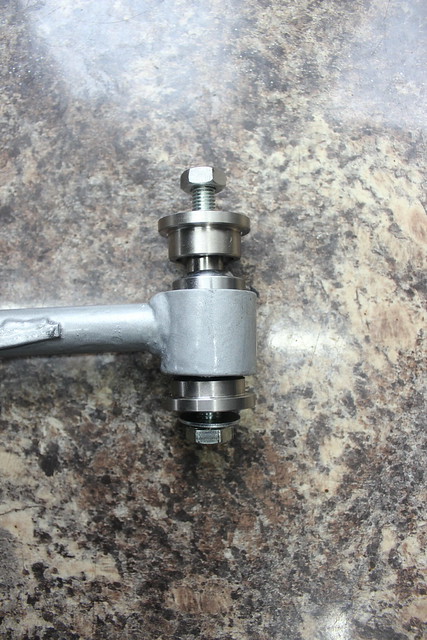
Now the end caps.
The end caps slot into the bearing and the wishbone bolt then passes though them. They also enclose the ends of the bore in the wishbone which prevents dirt and moisture getting to the bearing. They are not a perfect tight fit to the bore though as there needs to be some freedom of movement and tolerance for the wishbone bores to be not quite perfectly aligned to the wishbone bolt. Some moisture and dirt could then still get past. So to help the caps seal up to the bore a bit better where there may be any slight misalignment and to help lubricate the O-rings where they might be in contact with the wishbone bore. I removed all the O-rings using a plastic trim removal tool and applied some corrosion block grease before refitting them so it will help fill any gaps around the edges and help prevent any moisture working in and corroding the aluminium caps.
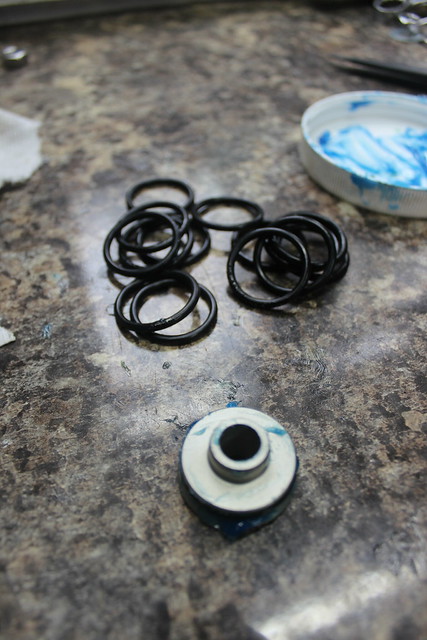
O-ring back on and more grease applied.
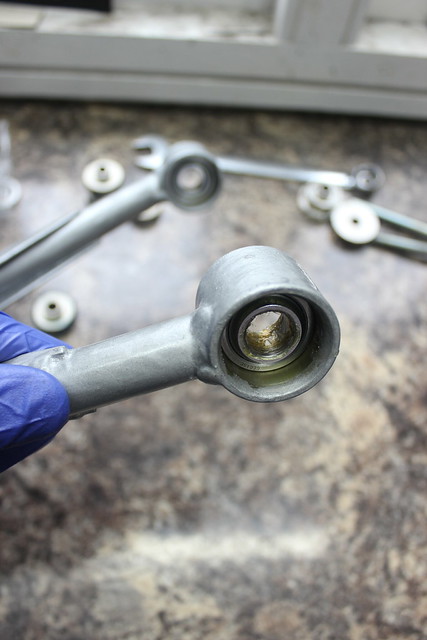
Some of the supplied grease applied to the inner bore of the bearing. The bearing itself does not require any grease.
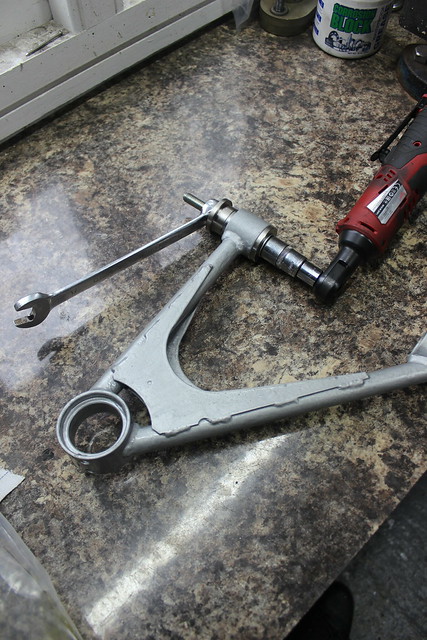
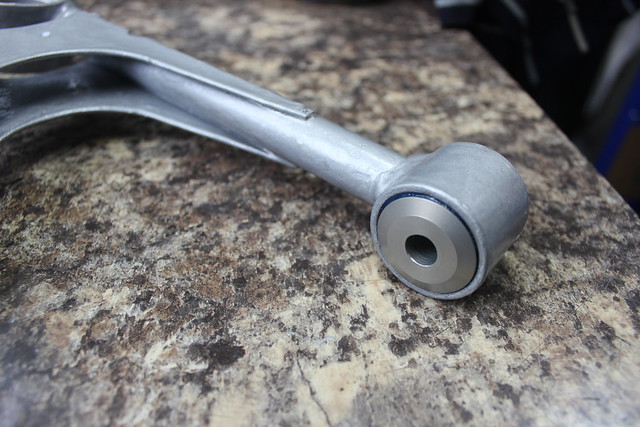
The end caps then just press in by hand though I gave them a little tweak with the vice to make sure they were home, also using some wood between the end cap and vice to prevent any damage to the anodising.

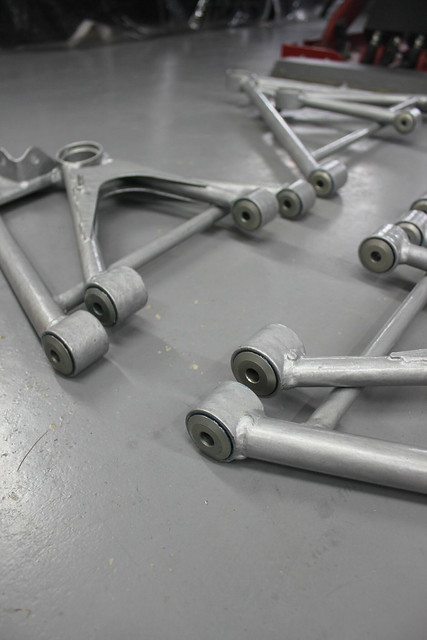
Two down, fourteen to go…

Over half way.
Last one.
All done.
Ball joints next…