(First posted on MX5 nutz forum in February 2016)
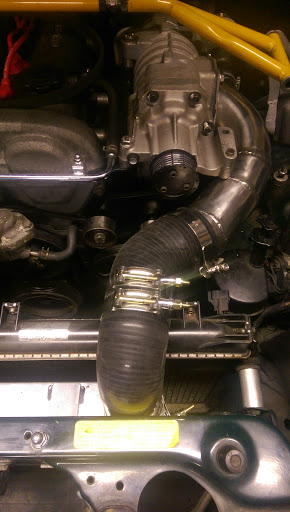
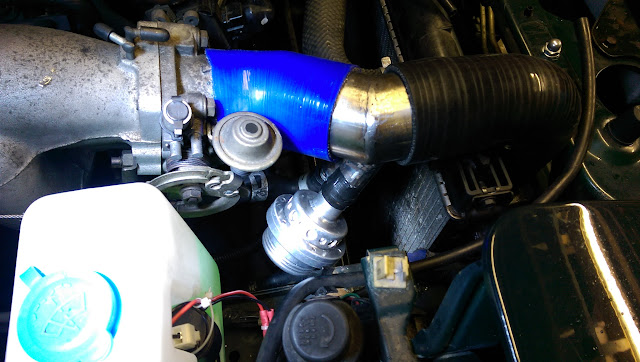
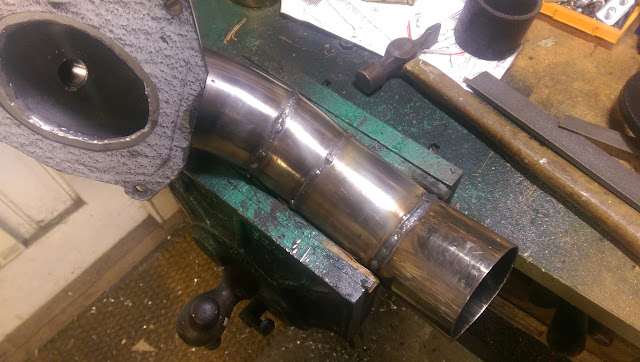
I thought the next job of plumbing the intercooler in was going to be fairly quick and easy but it took ages of fitting, removing, trimming, refitting… to get everything to line up.
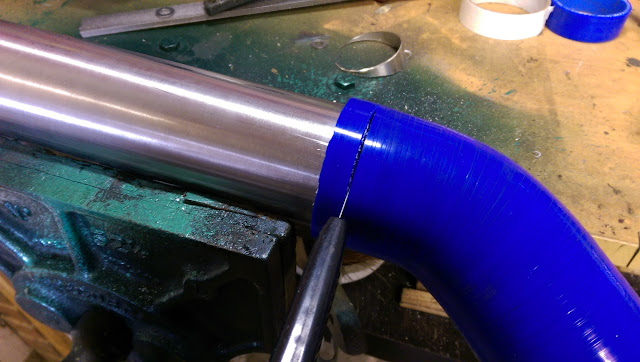
Start with a bit of hose trimming. I find this is the best way of doing it though putting a hose clamp around it works ok too.

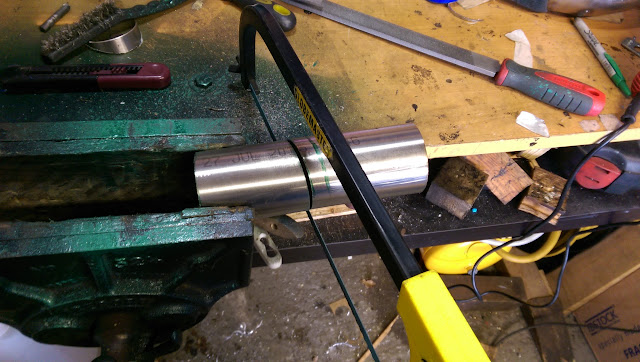
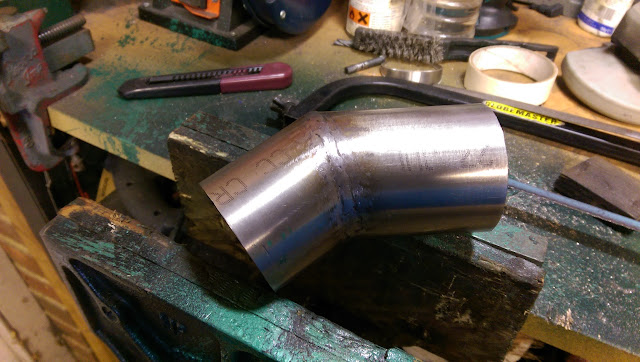
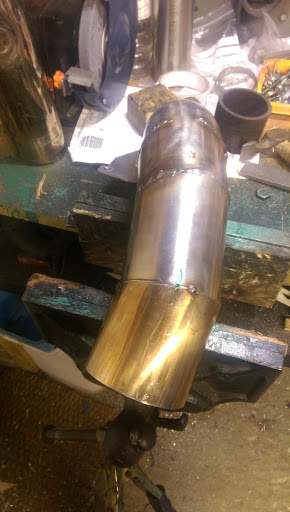
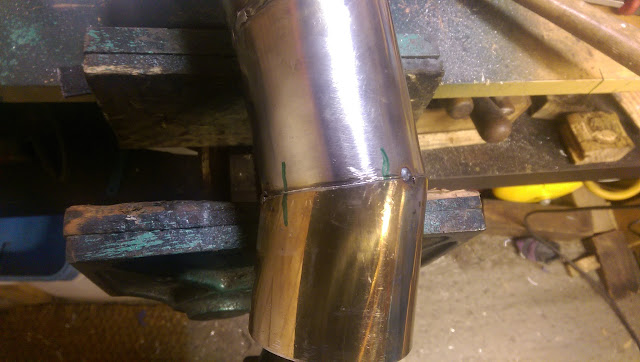
some 2.5 inch stainless tube. Had to buy this as I didn’t have any but it didn’t cost much.
After some trimming and tweaking.
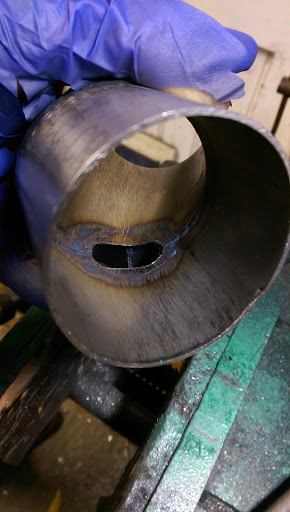
Welded
Next I added a take off for the idle control valve and I wanted to add one for an additional dump valve in case I want or need one in the future. I already have a forge dump valve going spare so I thought it may be useful to fit with a weak spring and no vacuum/boost control line so it would leak over a certain pressure if I find I need to keep the pressure below a certain threshold. Or simply to run leaking all boost while I make sure everything else in the supercharger setup is working fine.
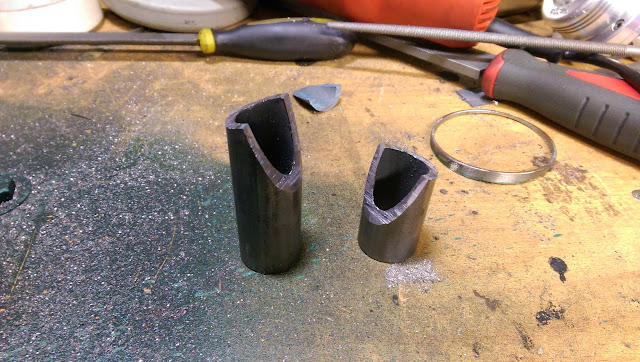
Cut from some 1 inch od pipe I already had. Wall thickness is a bit much but it’ll do fine as it’s free.
hours later
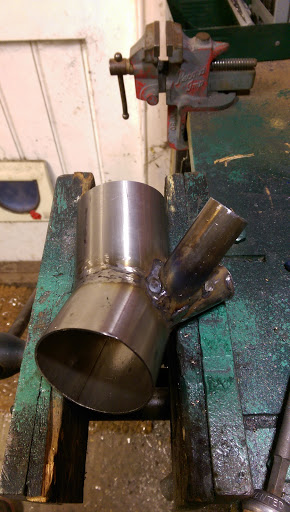
I added a smaller od extension for the idle control hose to fit over.
It was a pig to get everything to line up and fit with room for the dump valve so it had clearance for engine movement and a possible drivers side rad fan in the future. Got there in the end though.
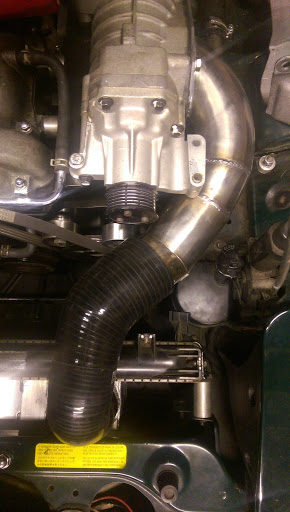
Now the supercharger side
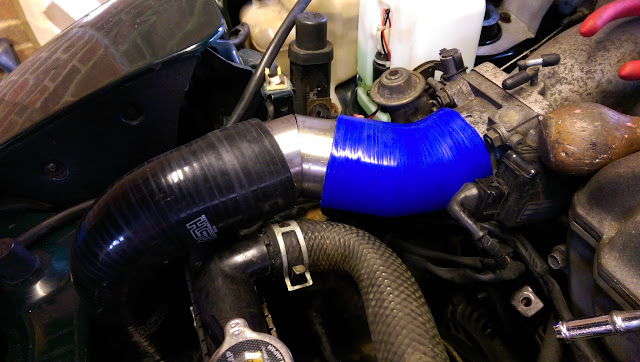
An addition to the charger outlet to get the silicone hoses to line up nicely.
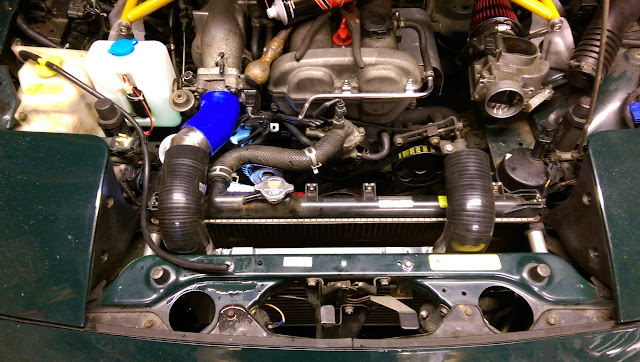
Done. Rad spacer fitted too.