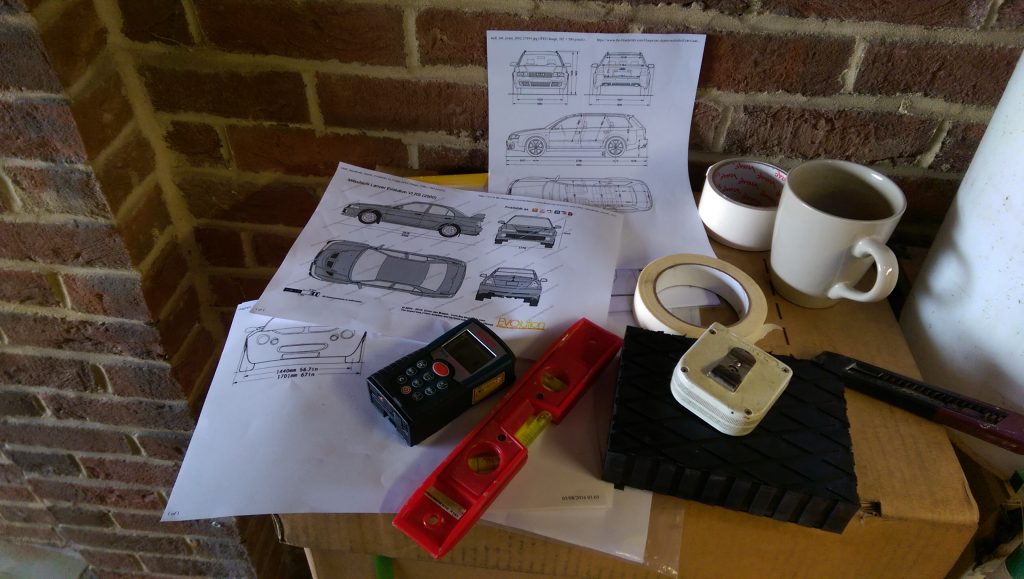
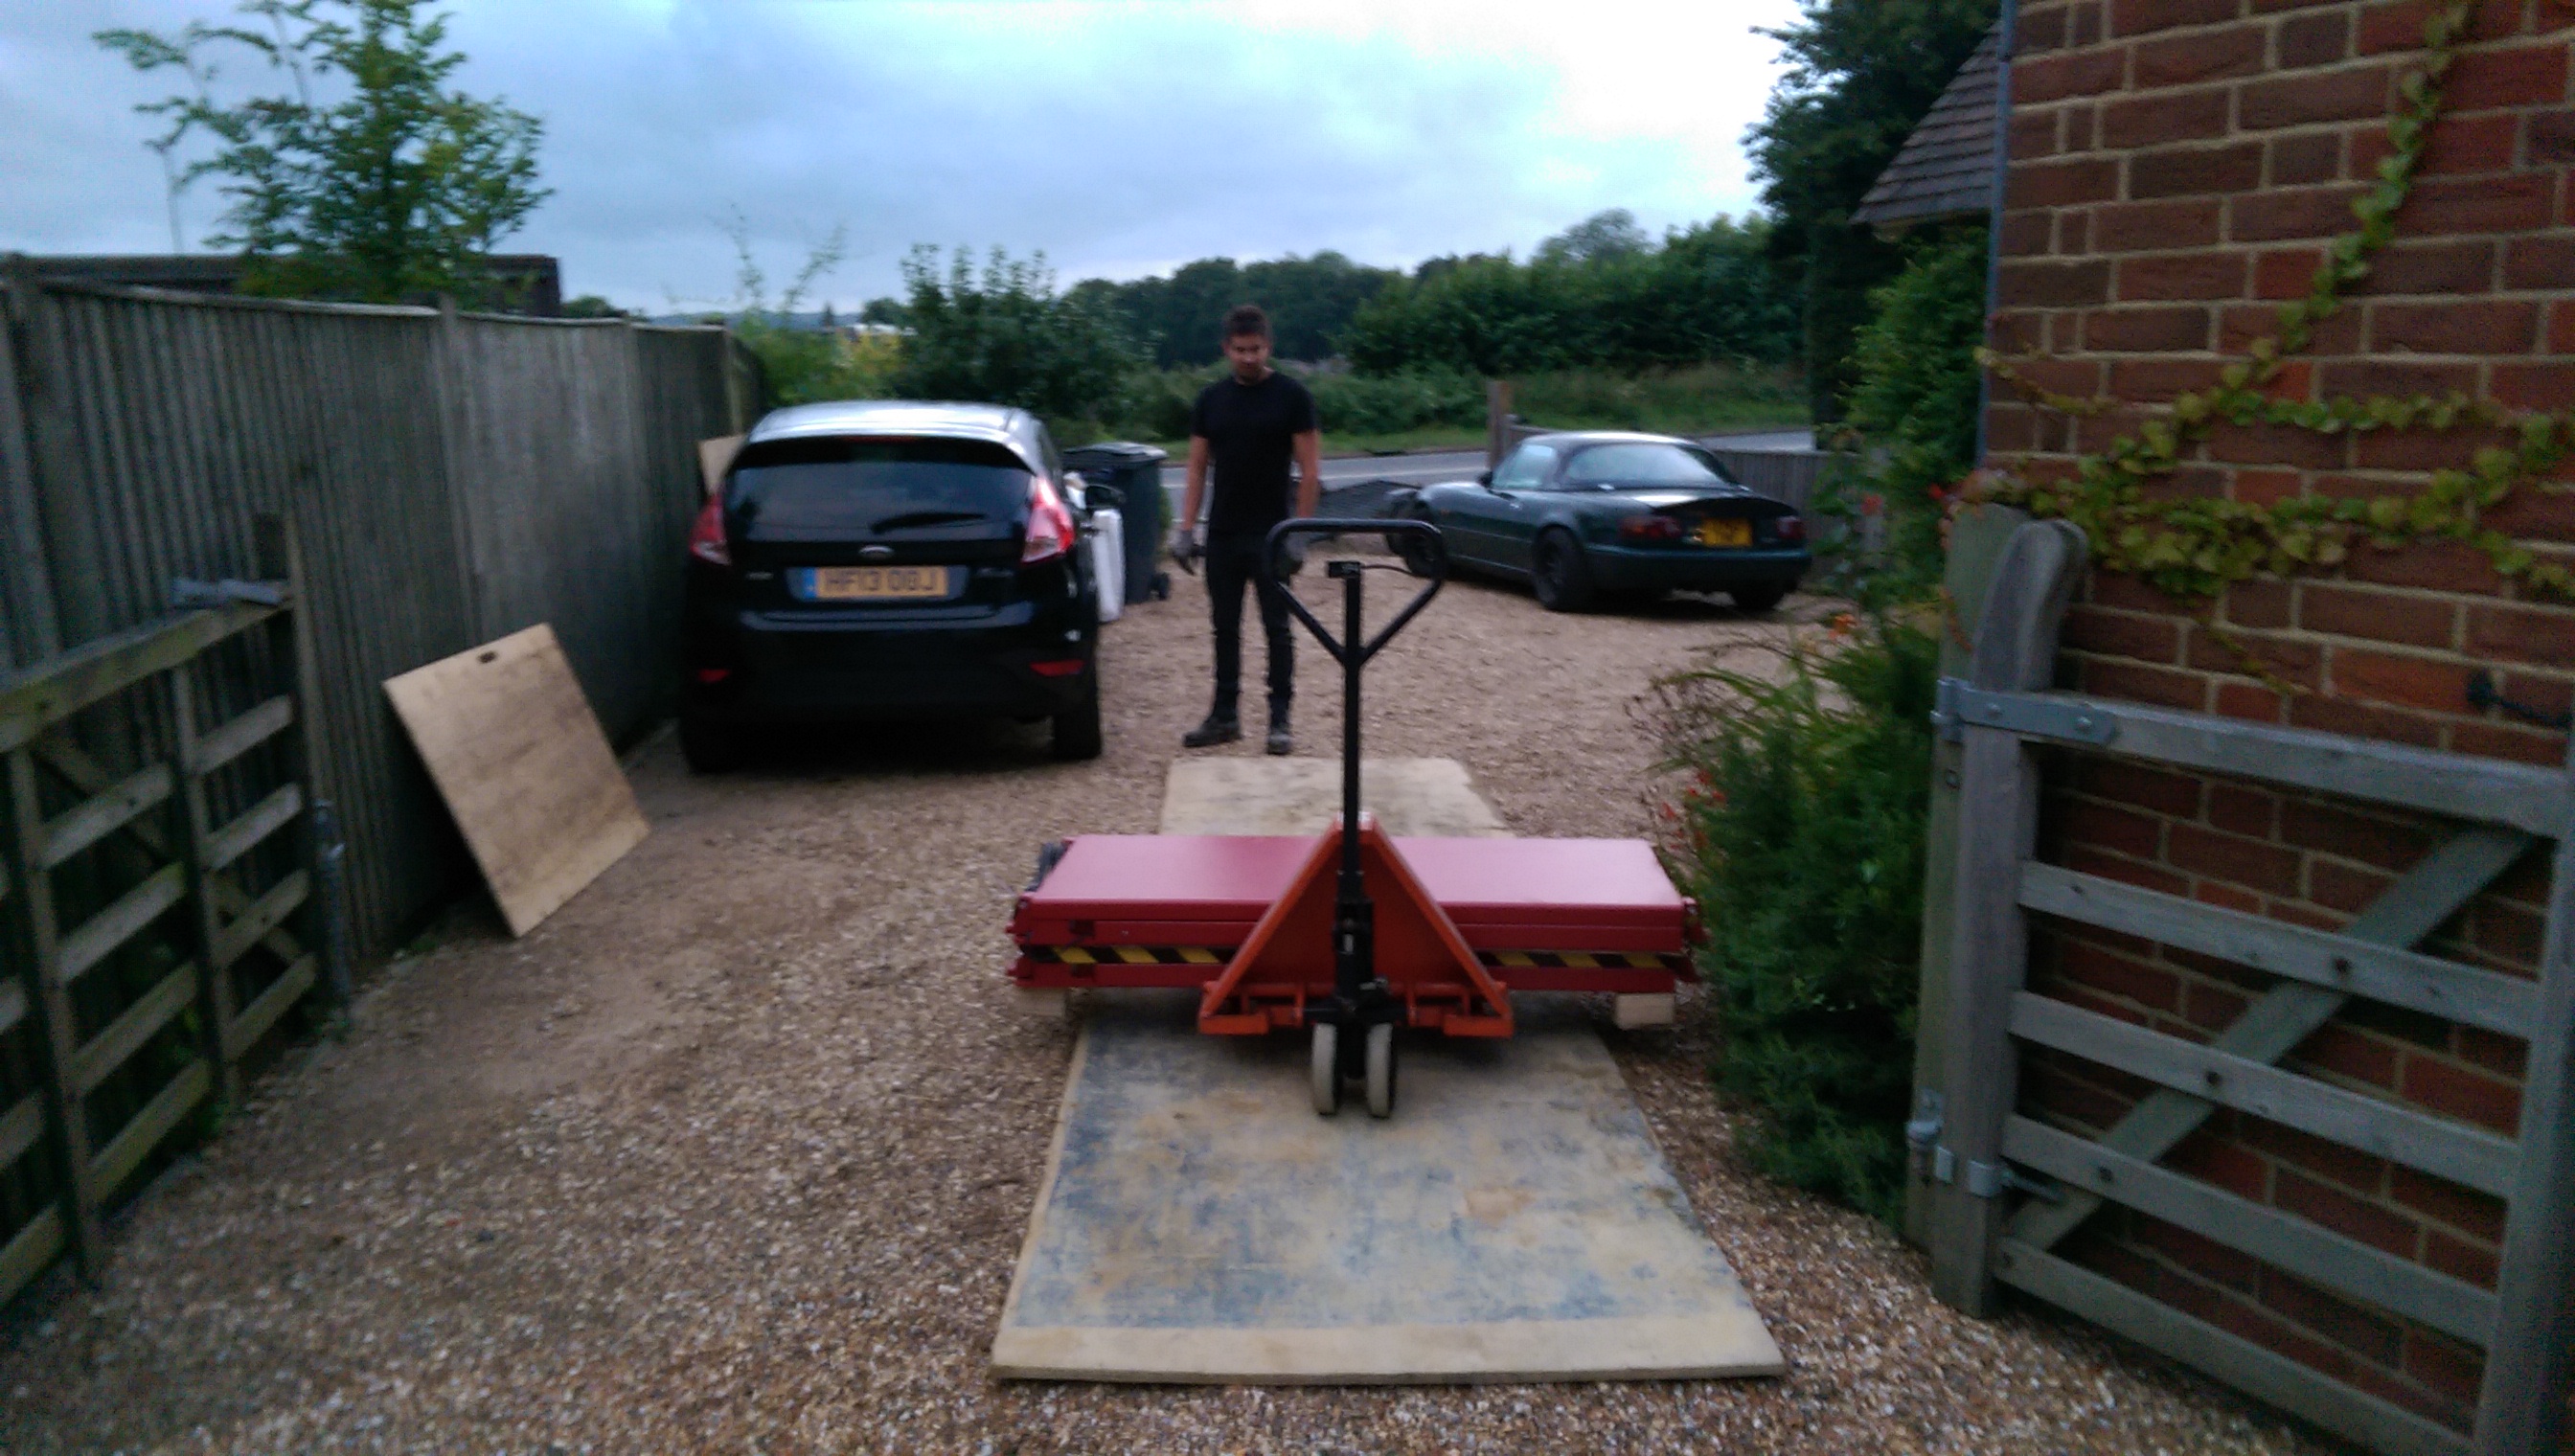
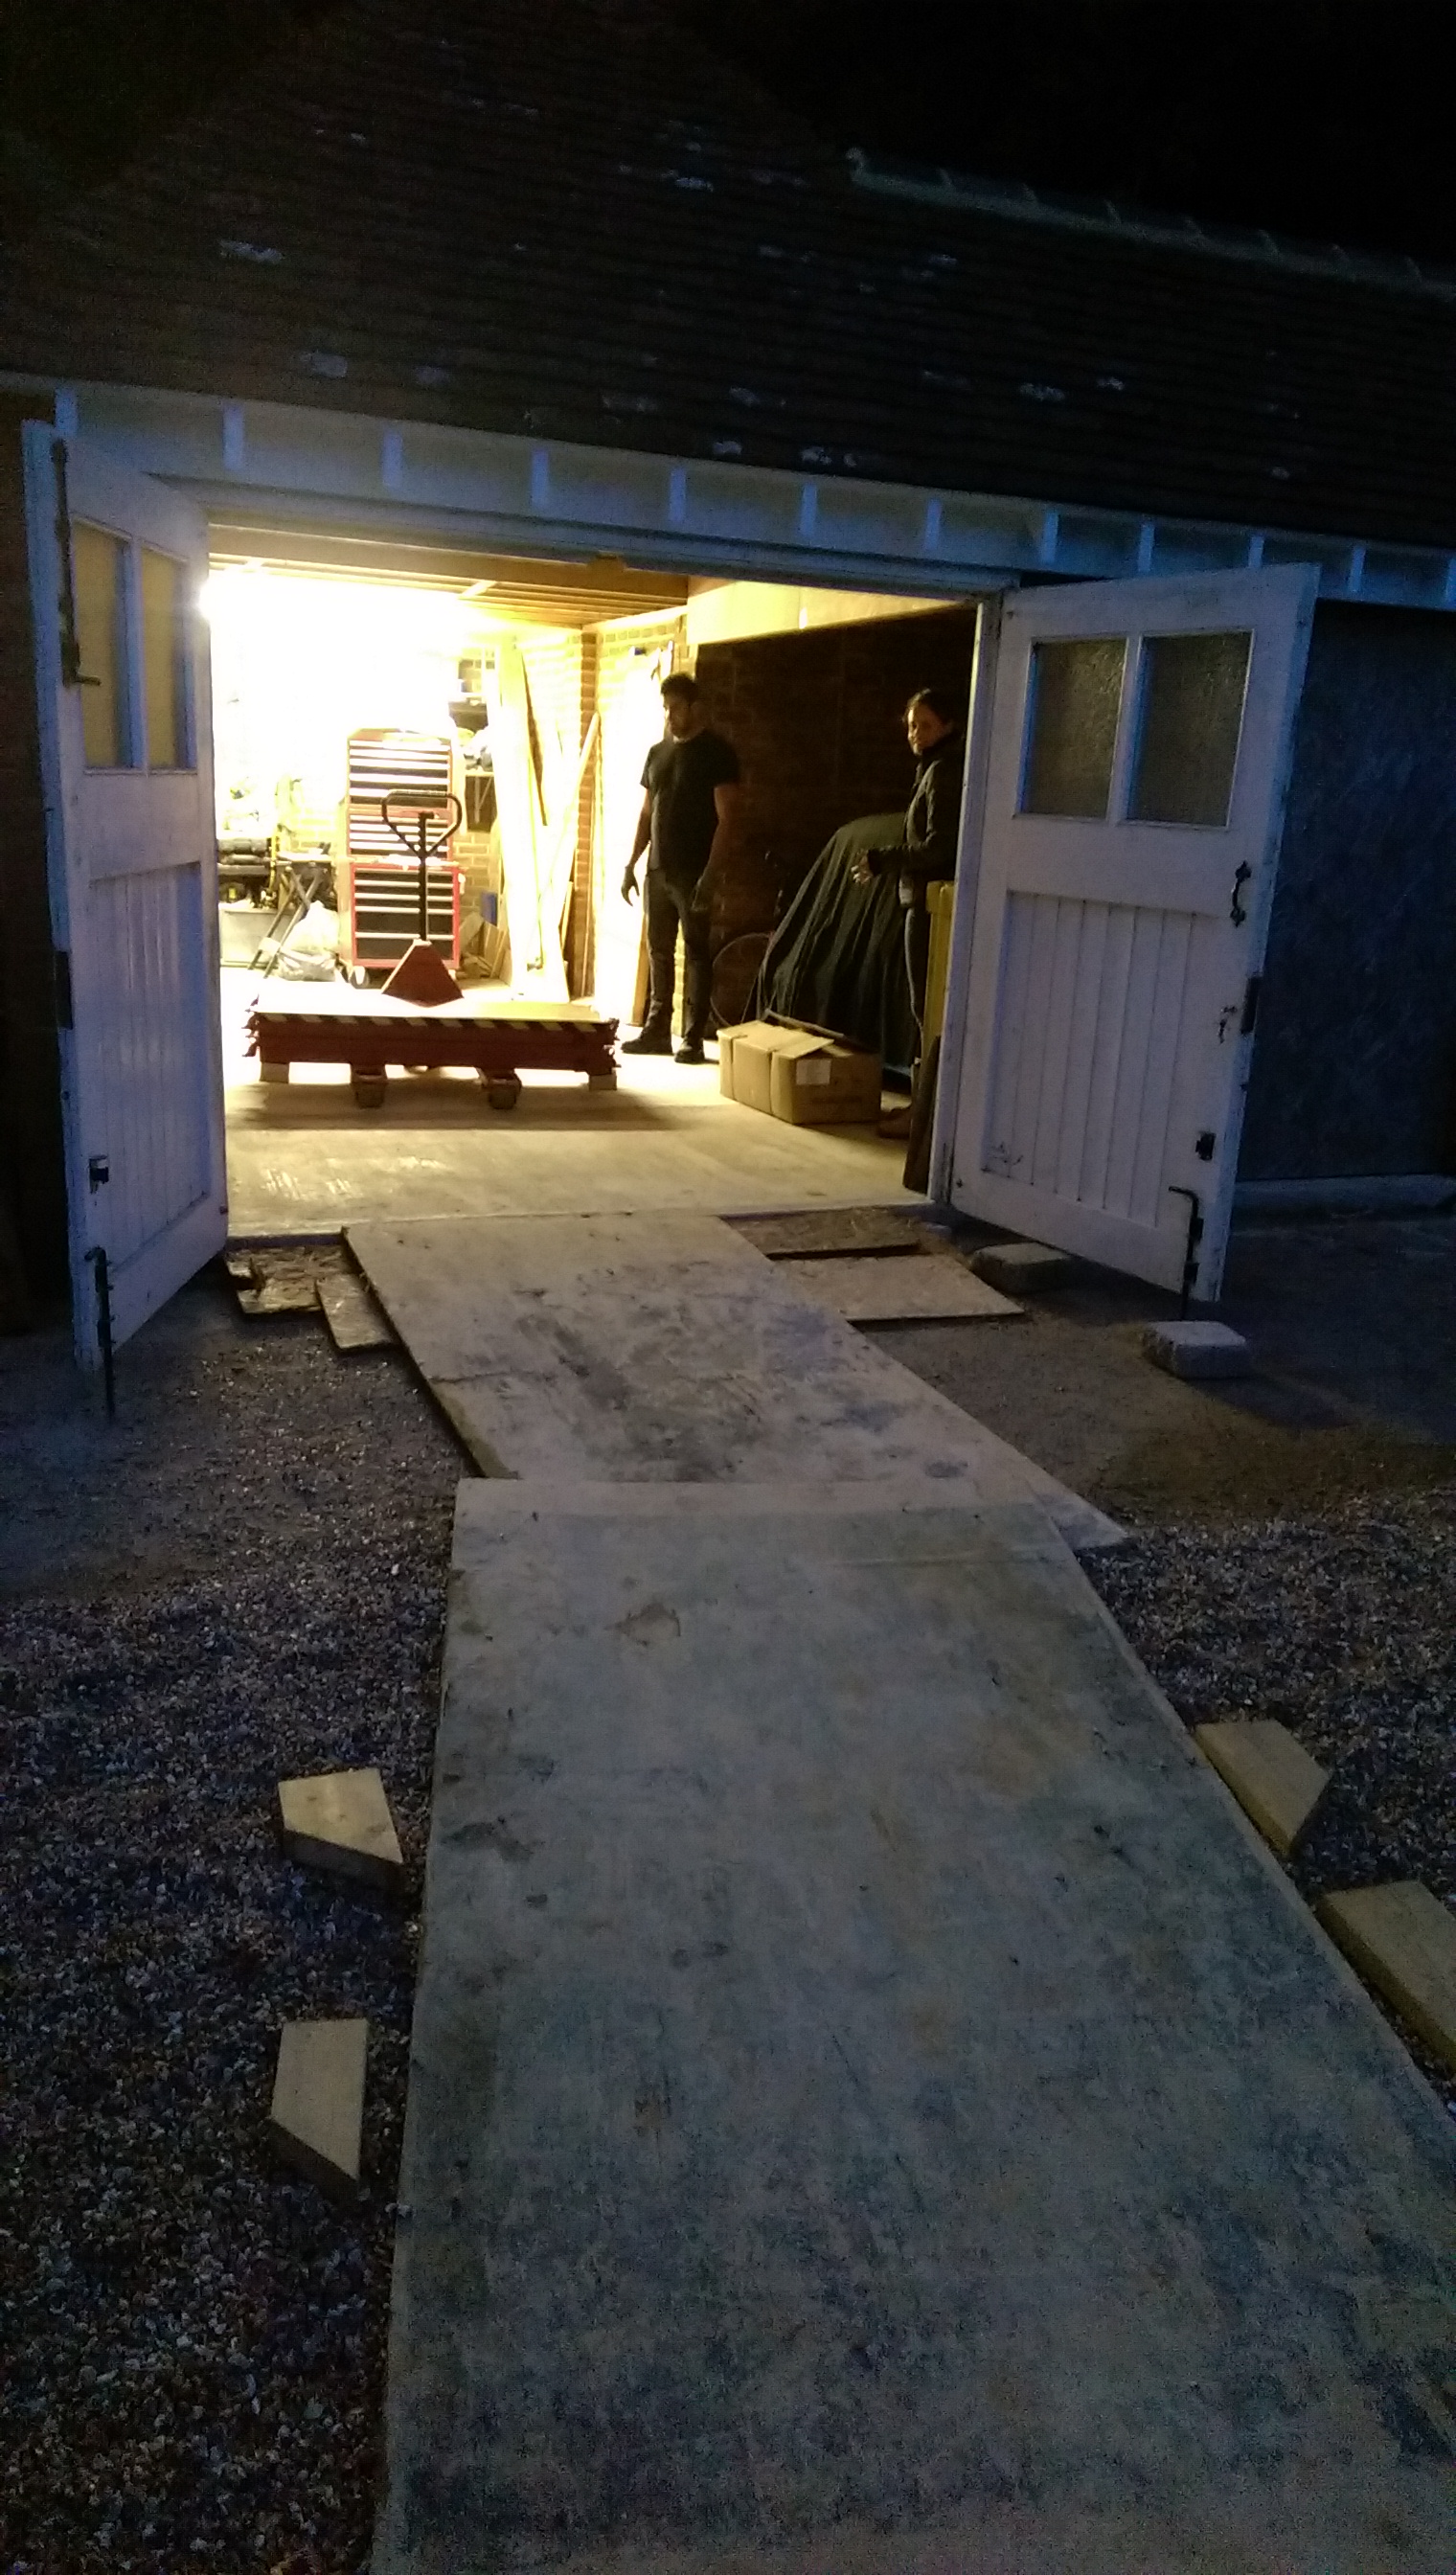
Having got the ridiculously heavy thing up the drive and into the garage the next job was to carefully plan where the platforms should be. The roof space to lift larger cars into or ones with stupid spoilers like the Evo’s becomes a bit tight so I needed to get this right.
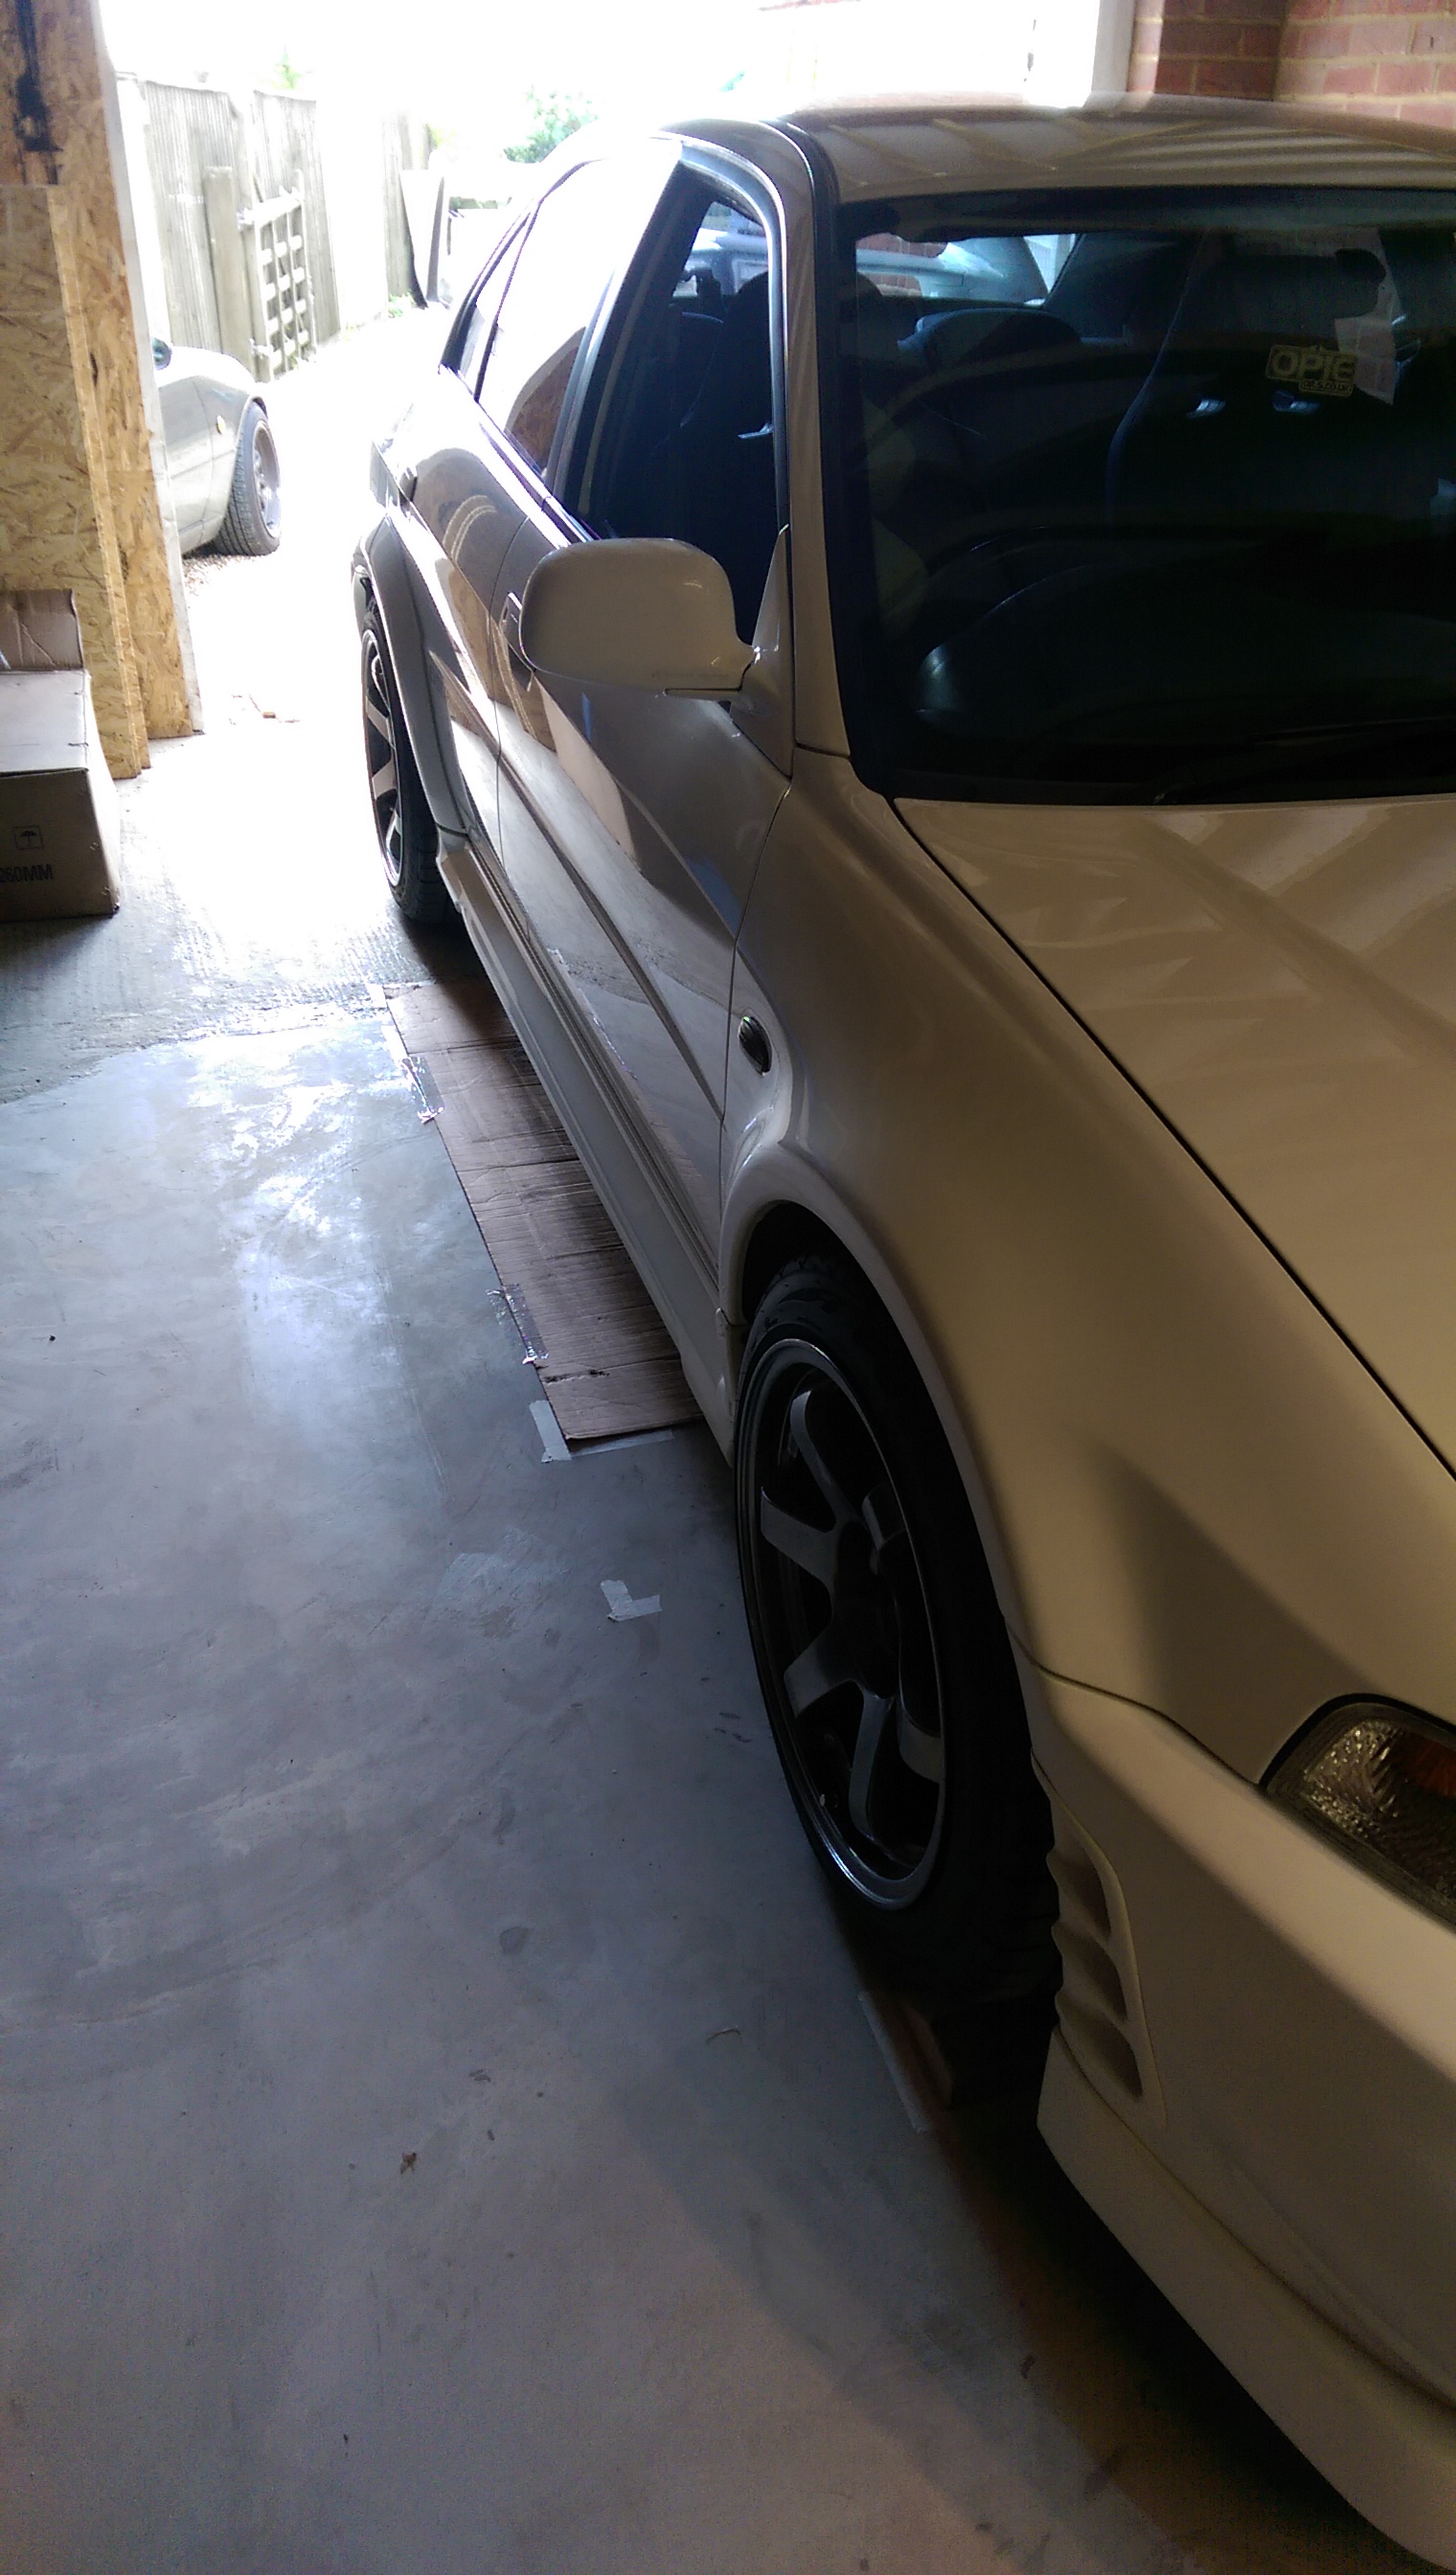
With some cardboard templates I set out the best place for the platforms under the Evo with the Evo in the sweet spot for roof space. A little shuffle to one side to give a bit more space on the wall side and I was happy.
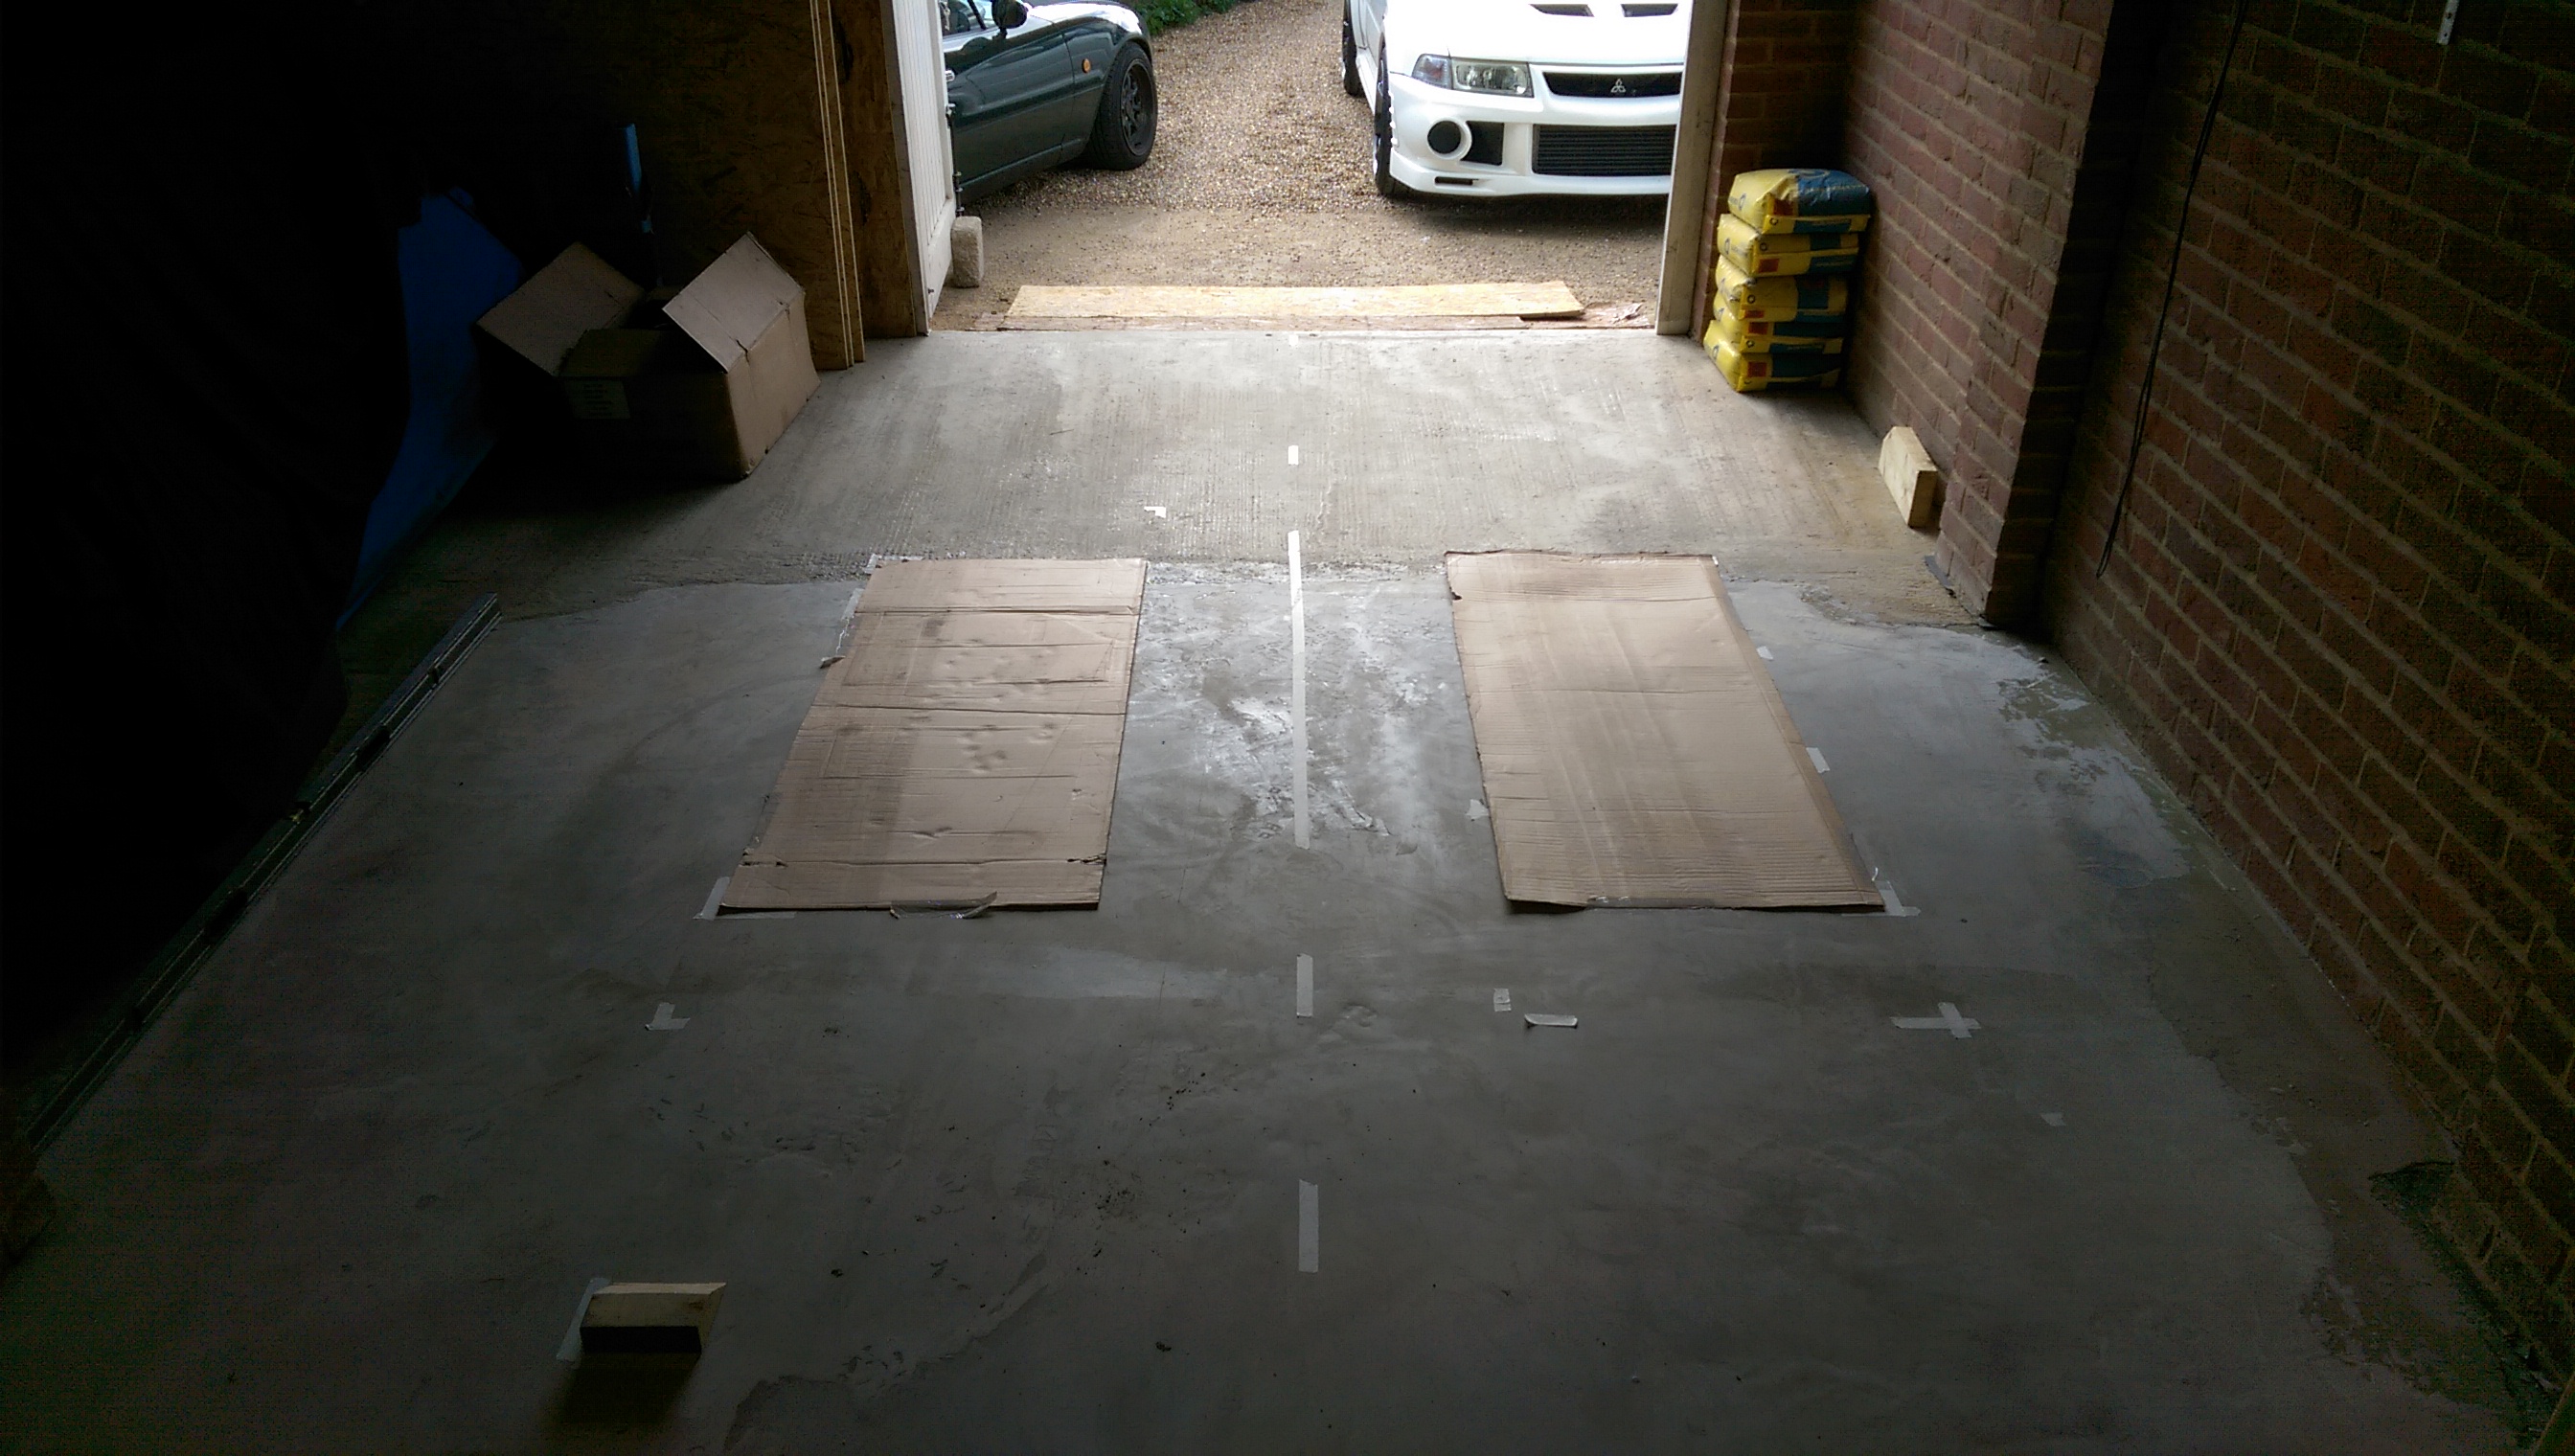
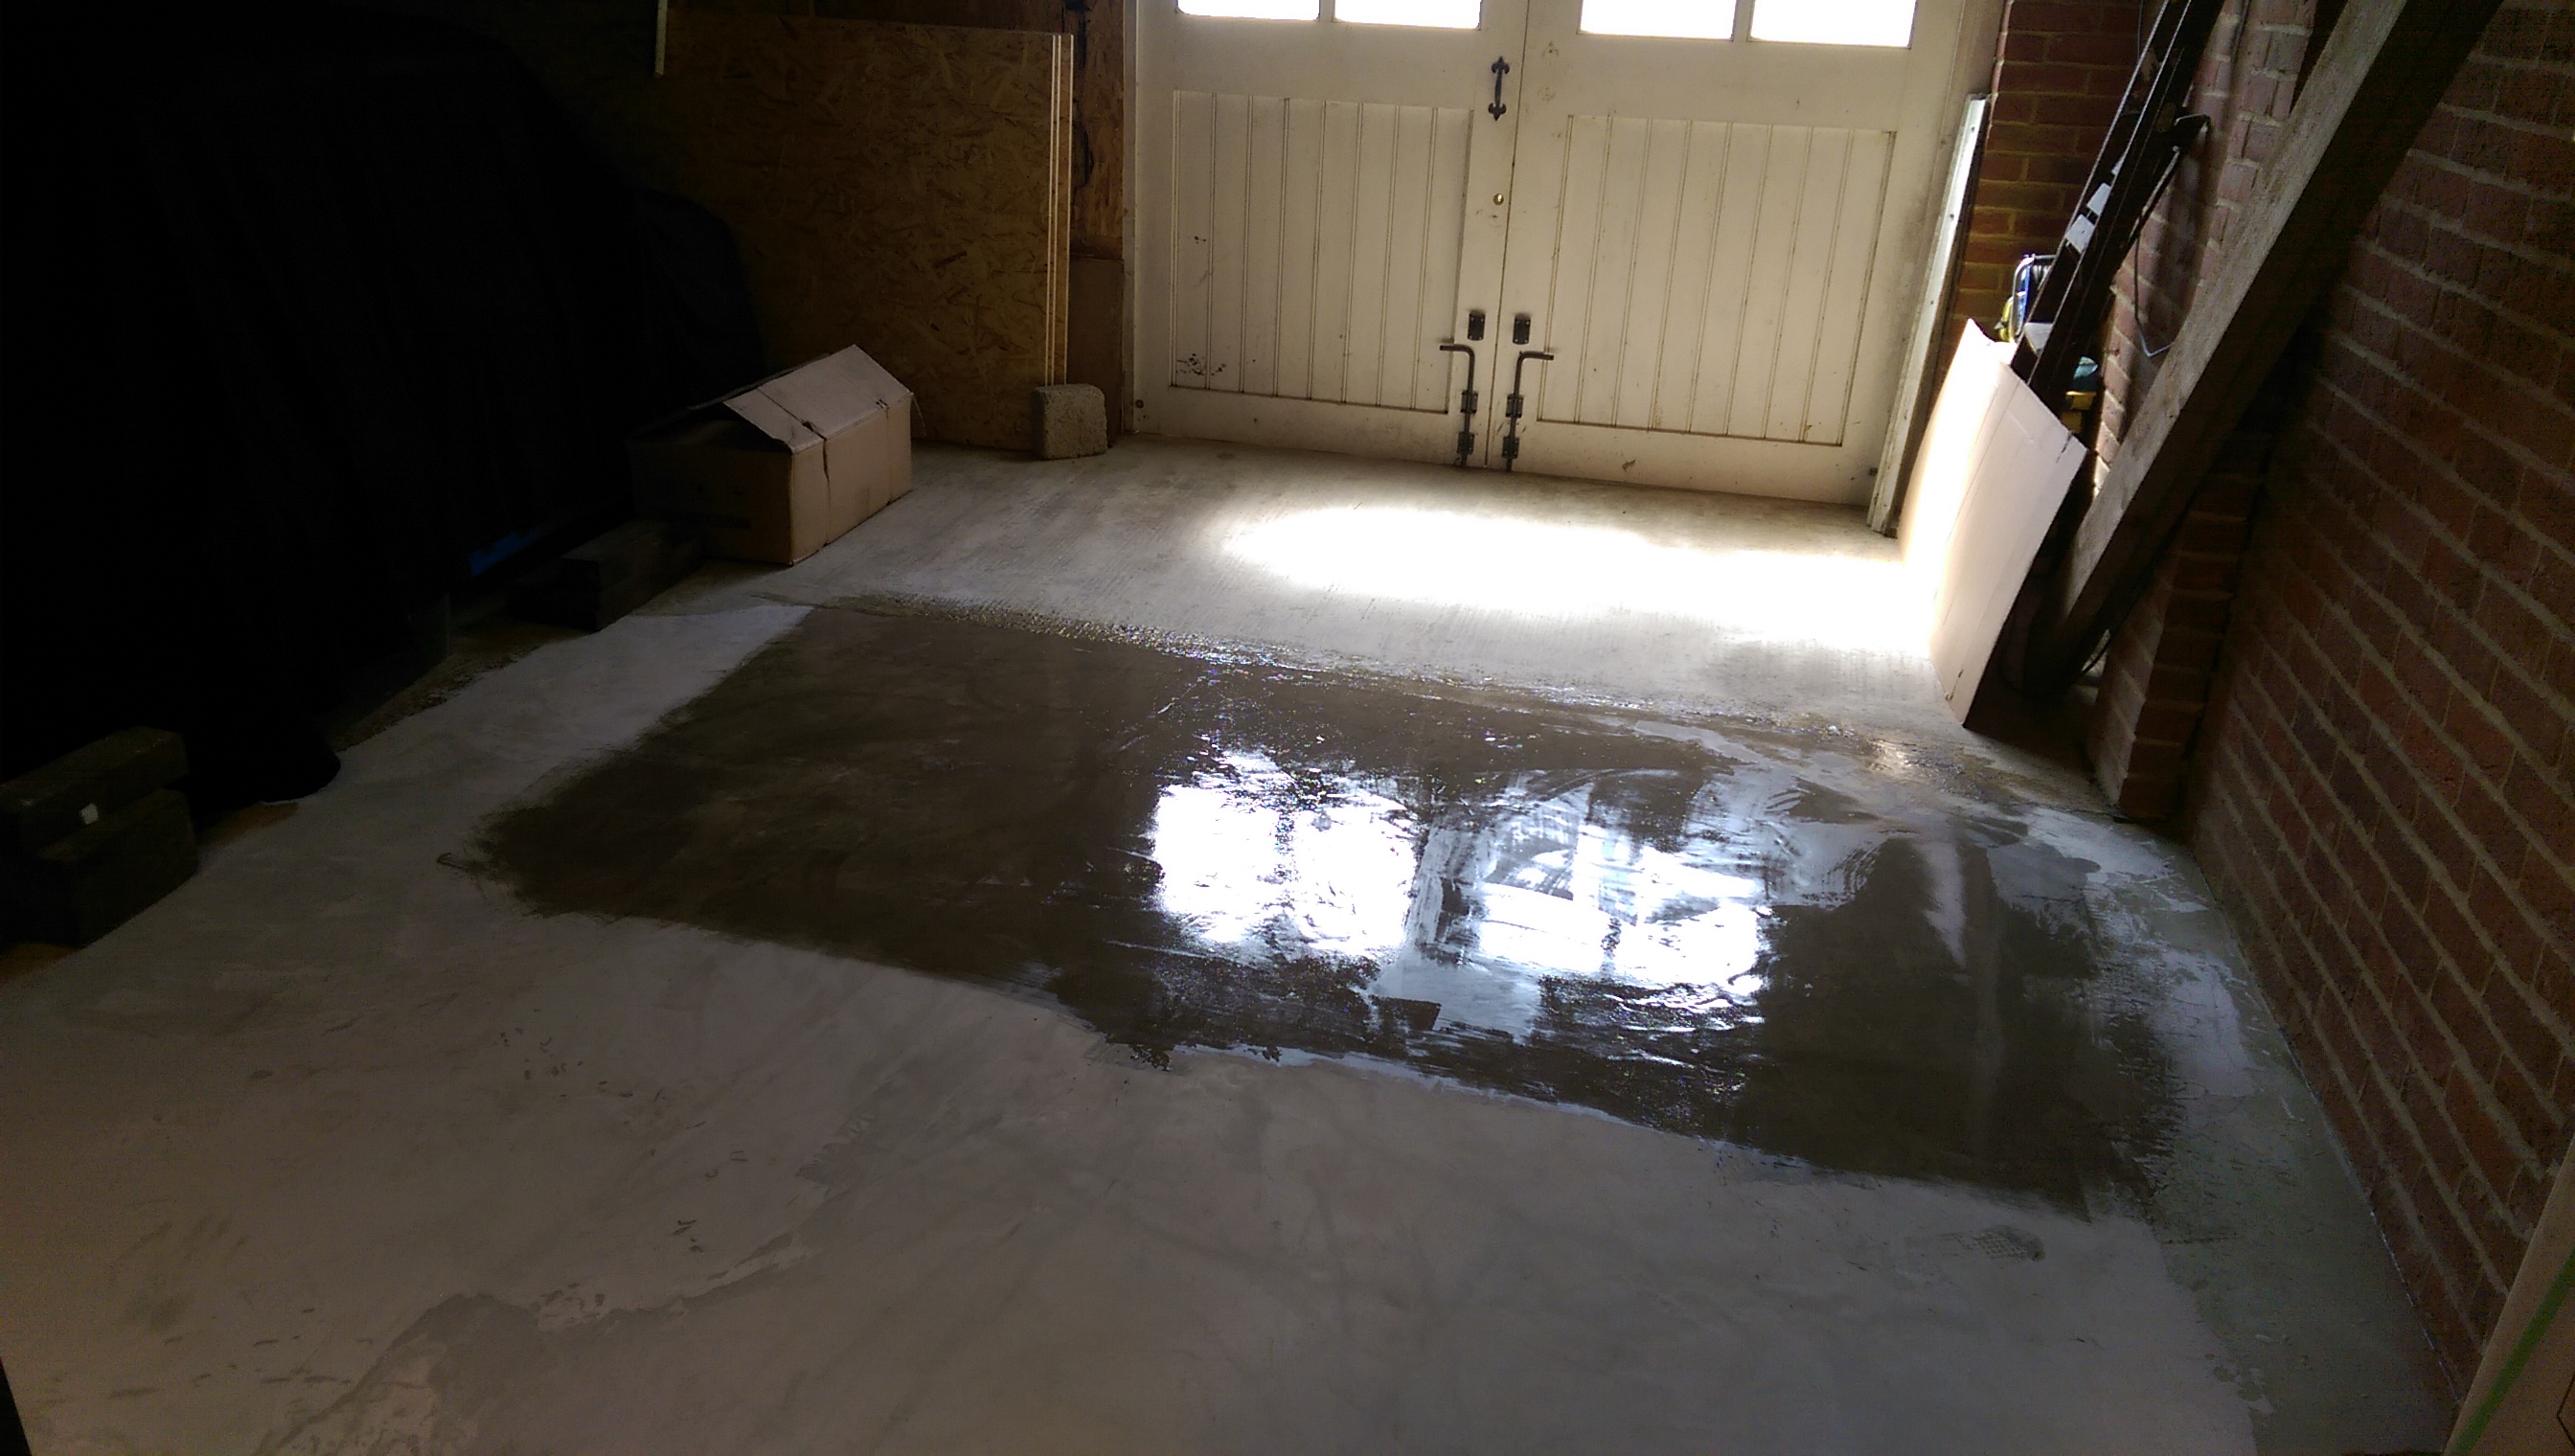
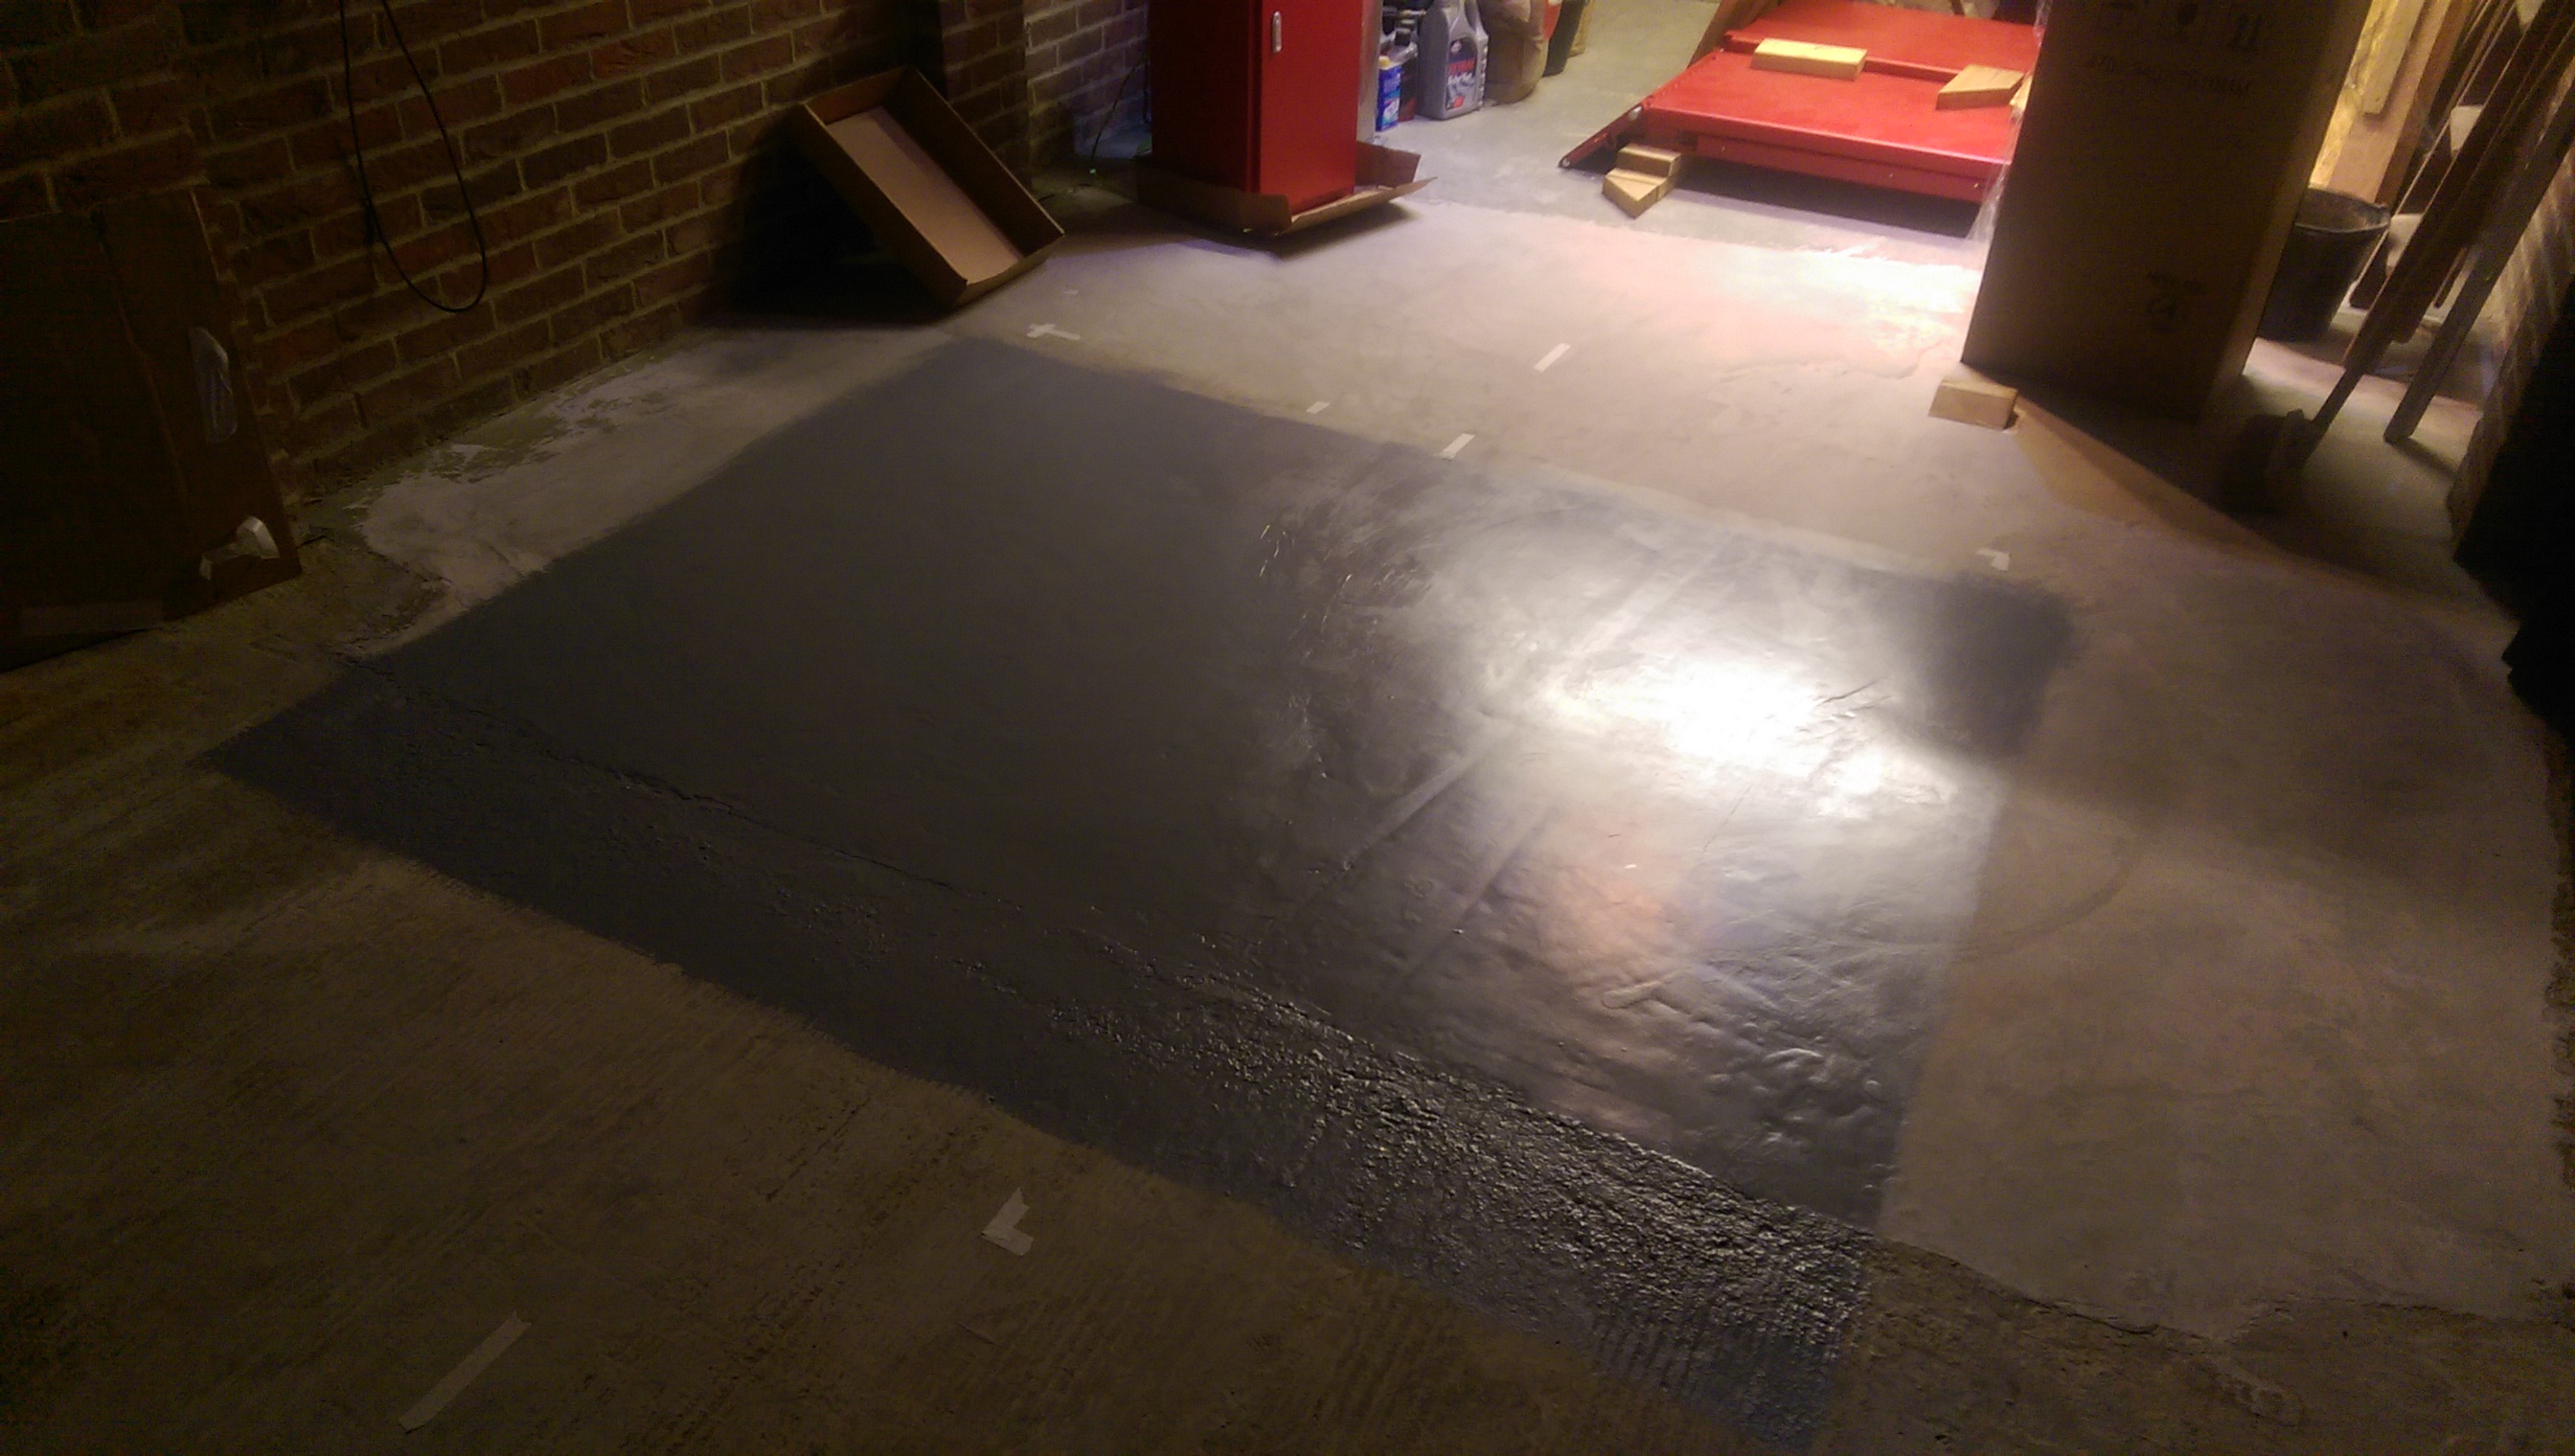
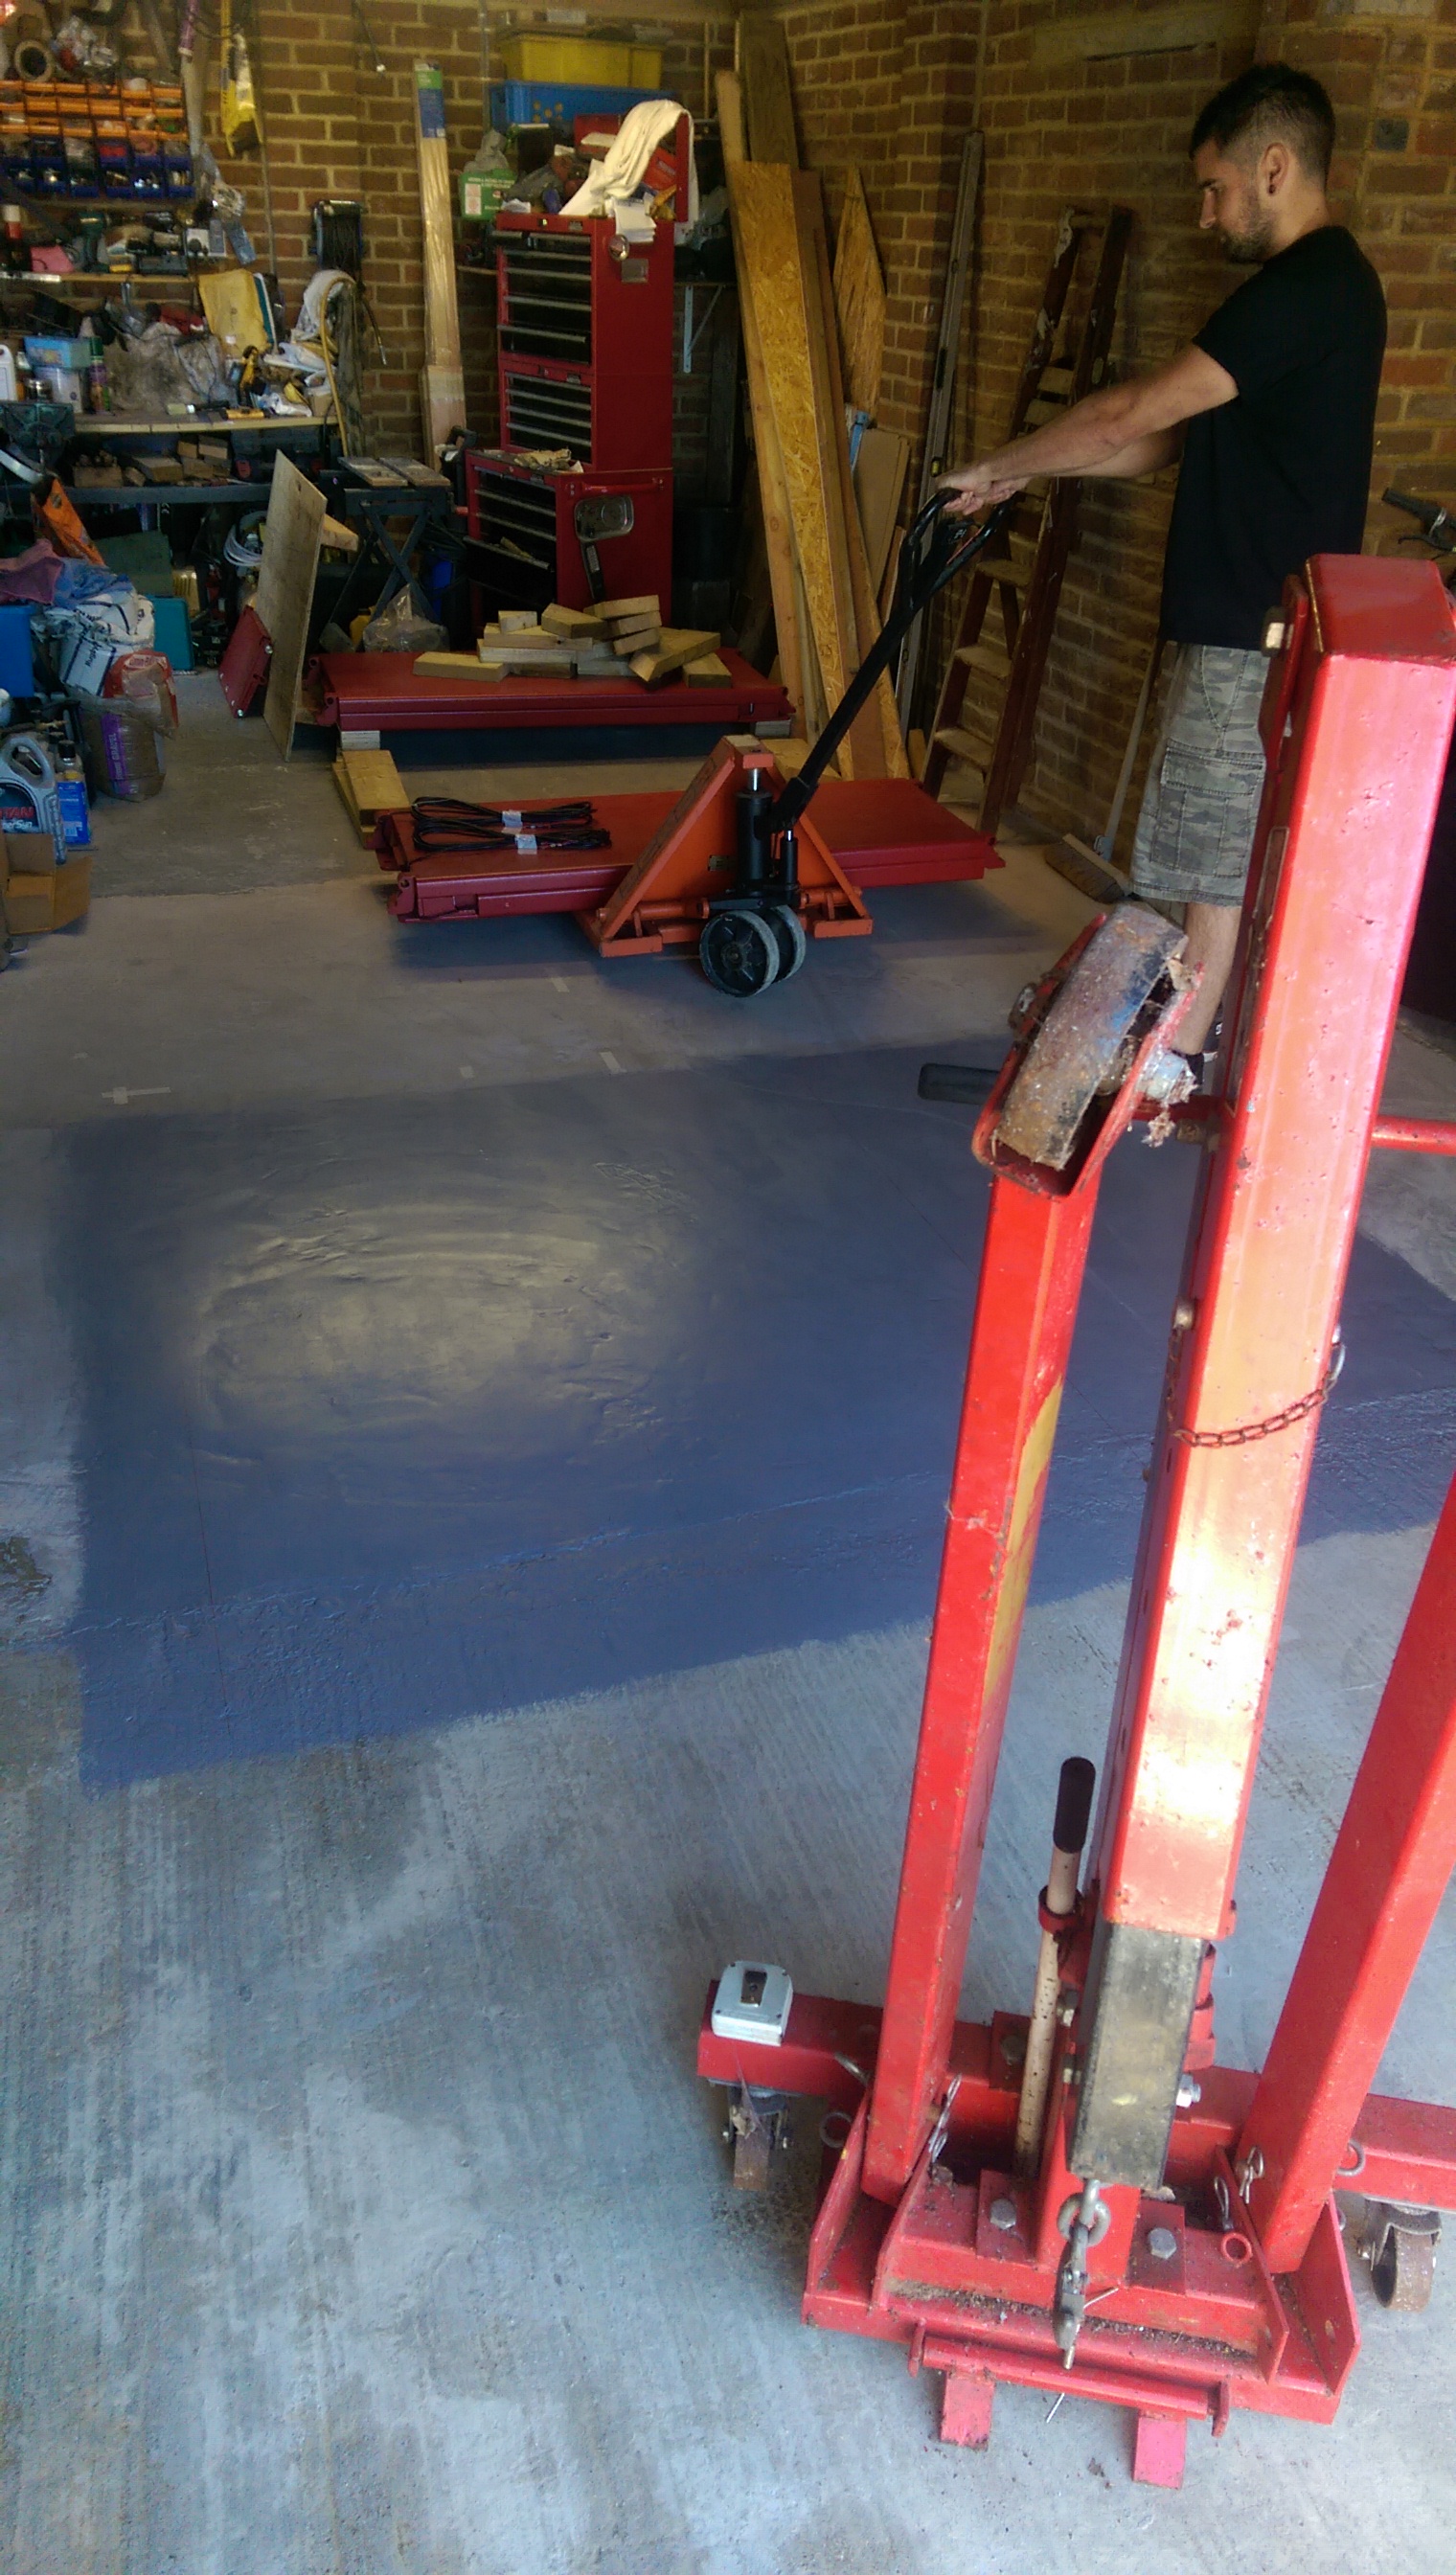
Once the platforms hit the floor they’re not moving again in a hurry so I got some paint down before placing them.
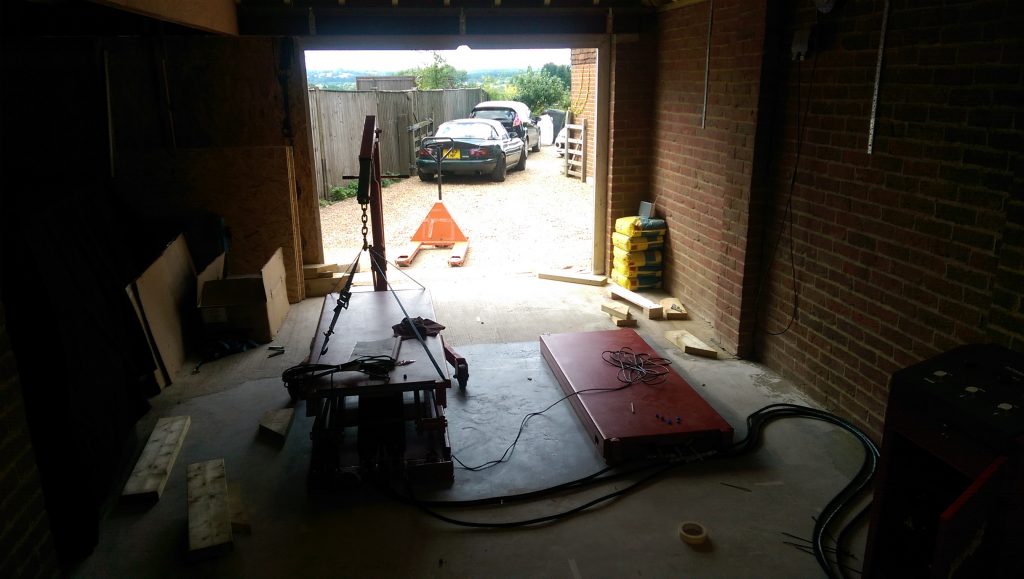
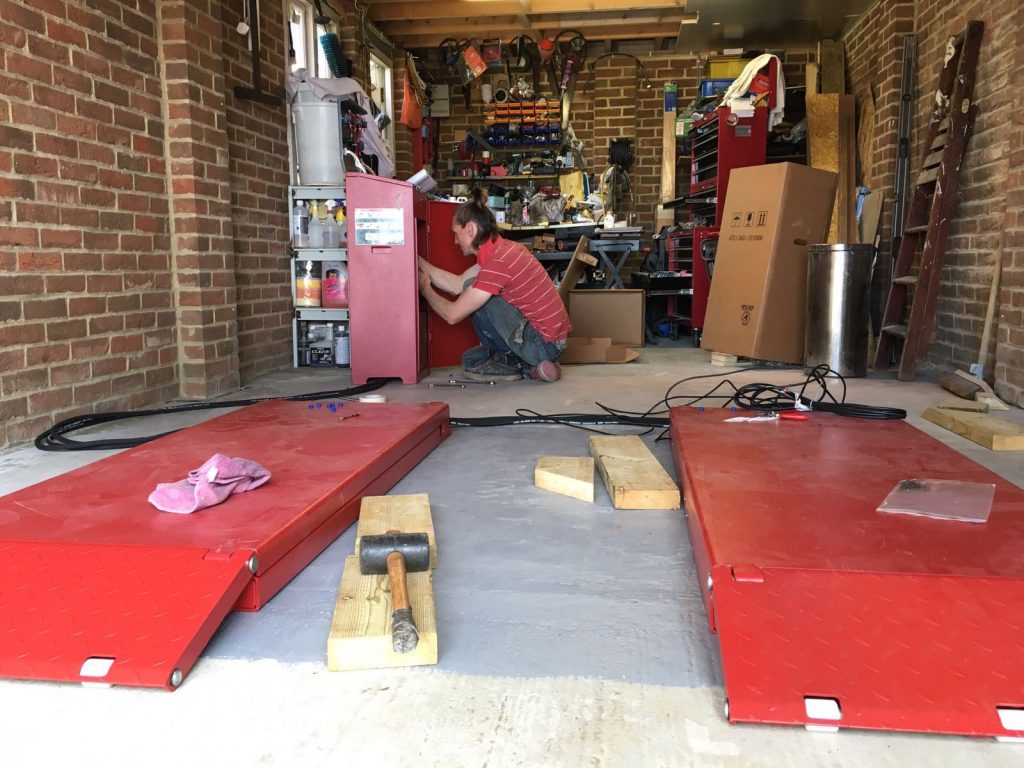
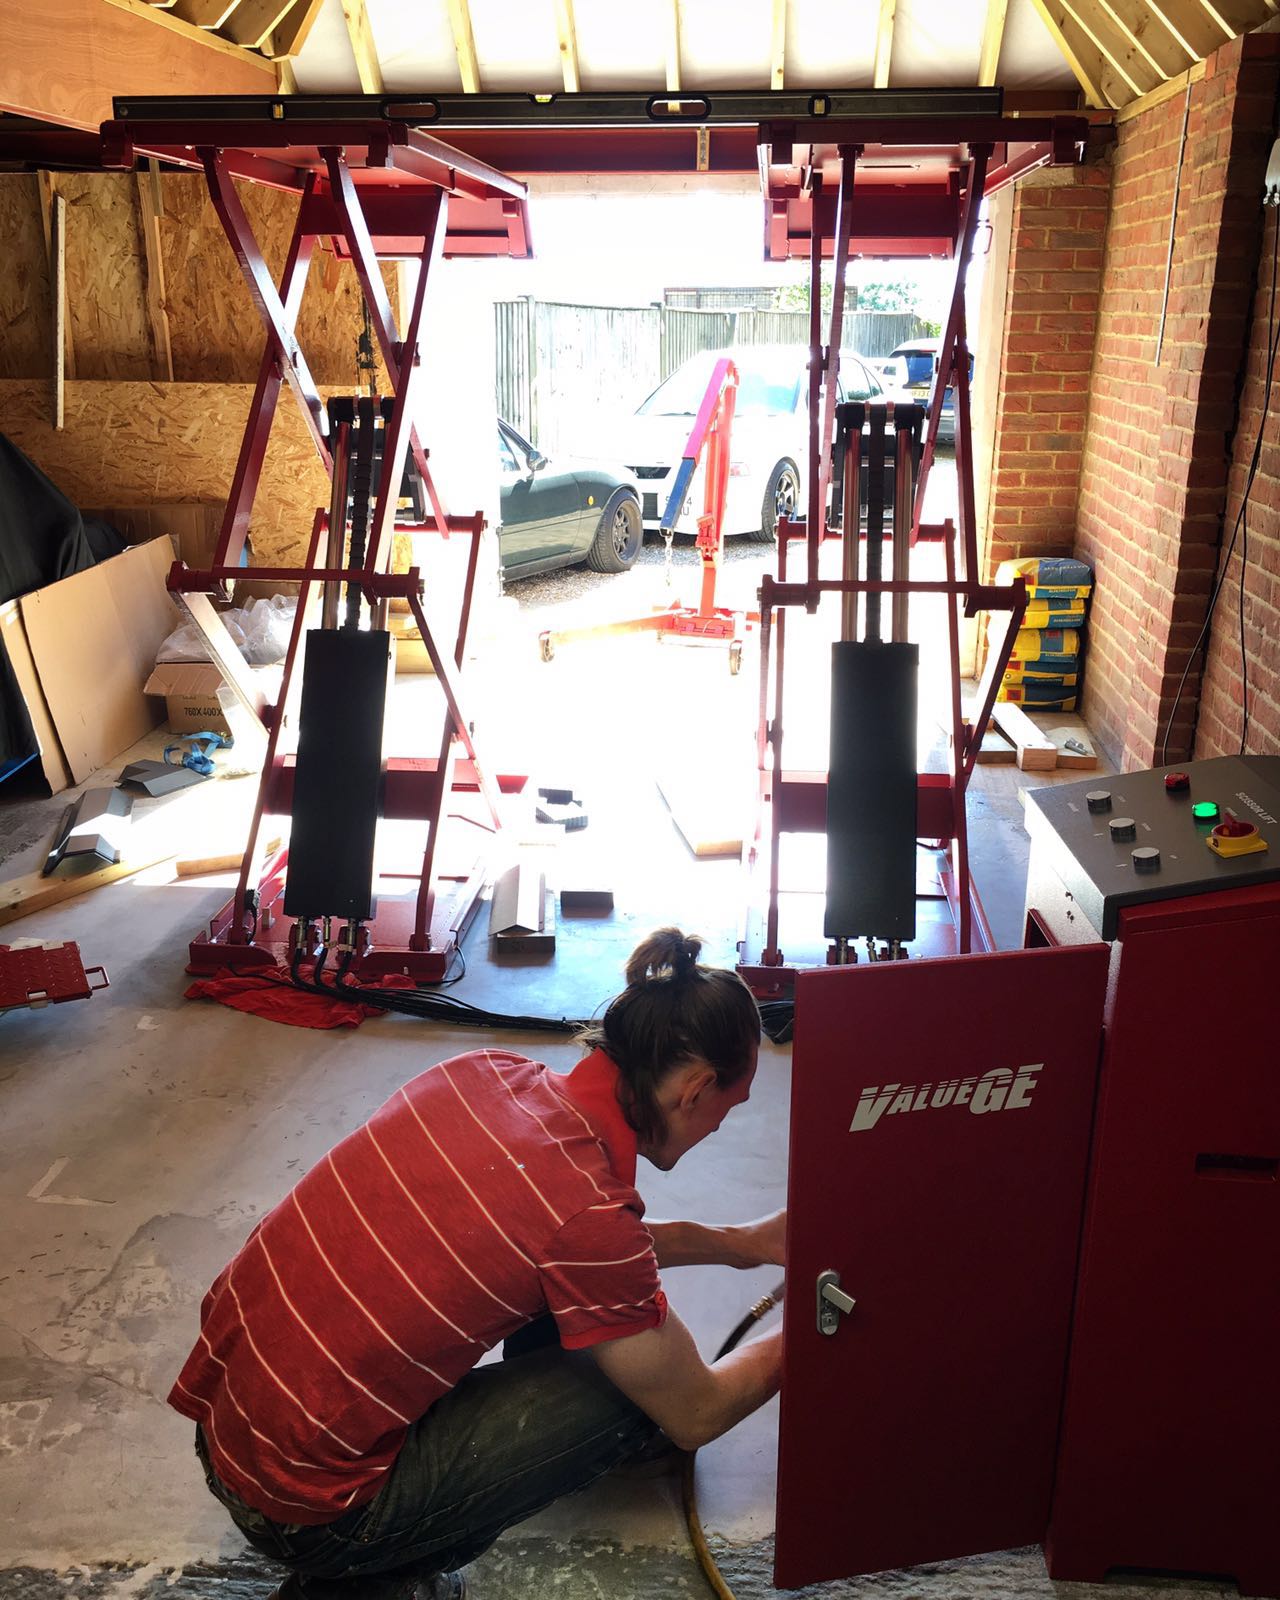
On to actually placing, plumbing and wiring everything with the ‘help’ of the badly translated instruction manual.

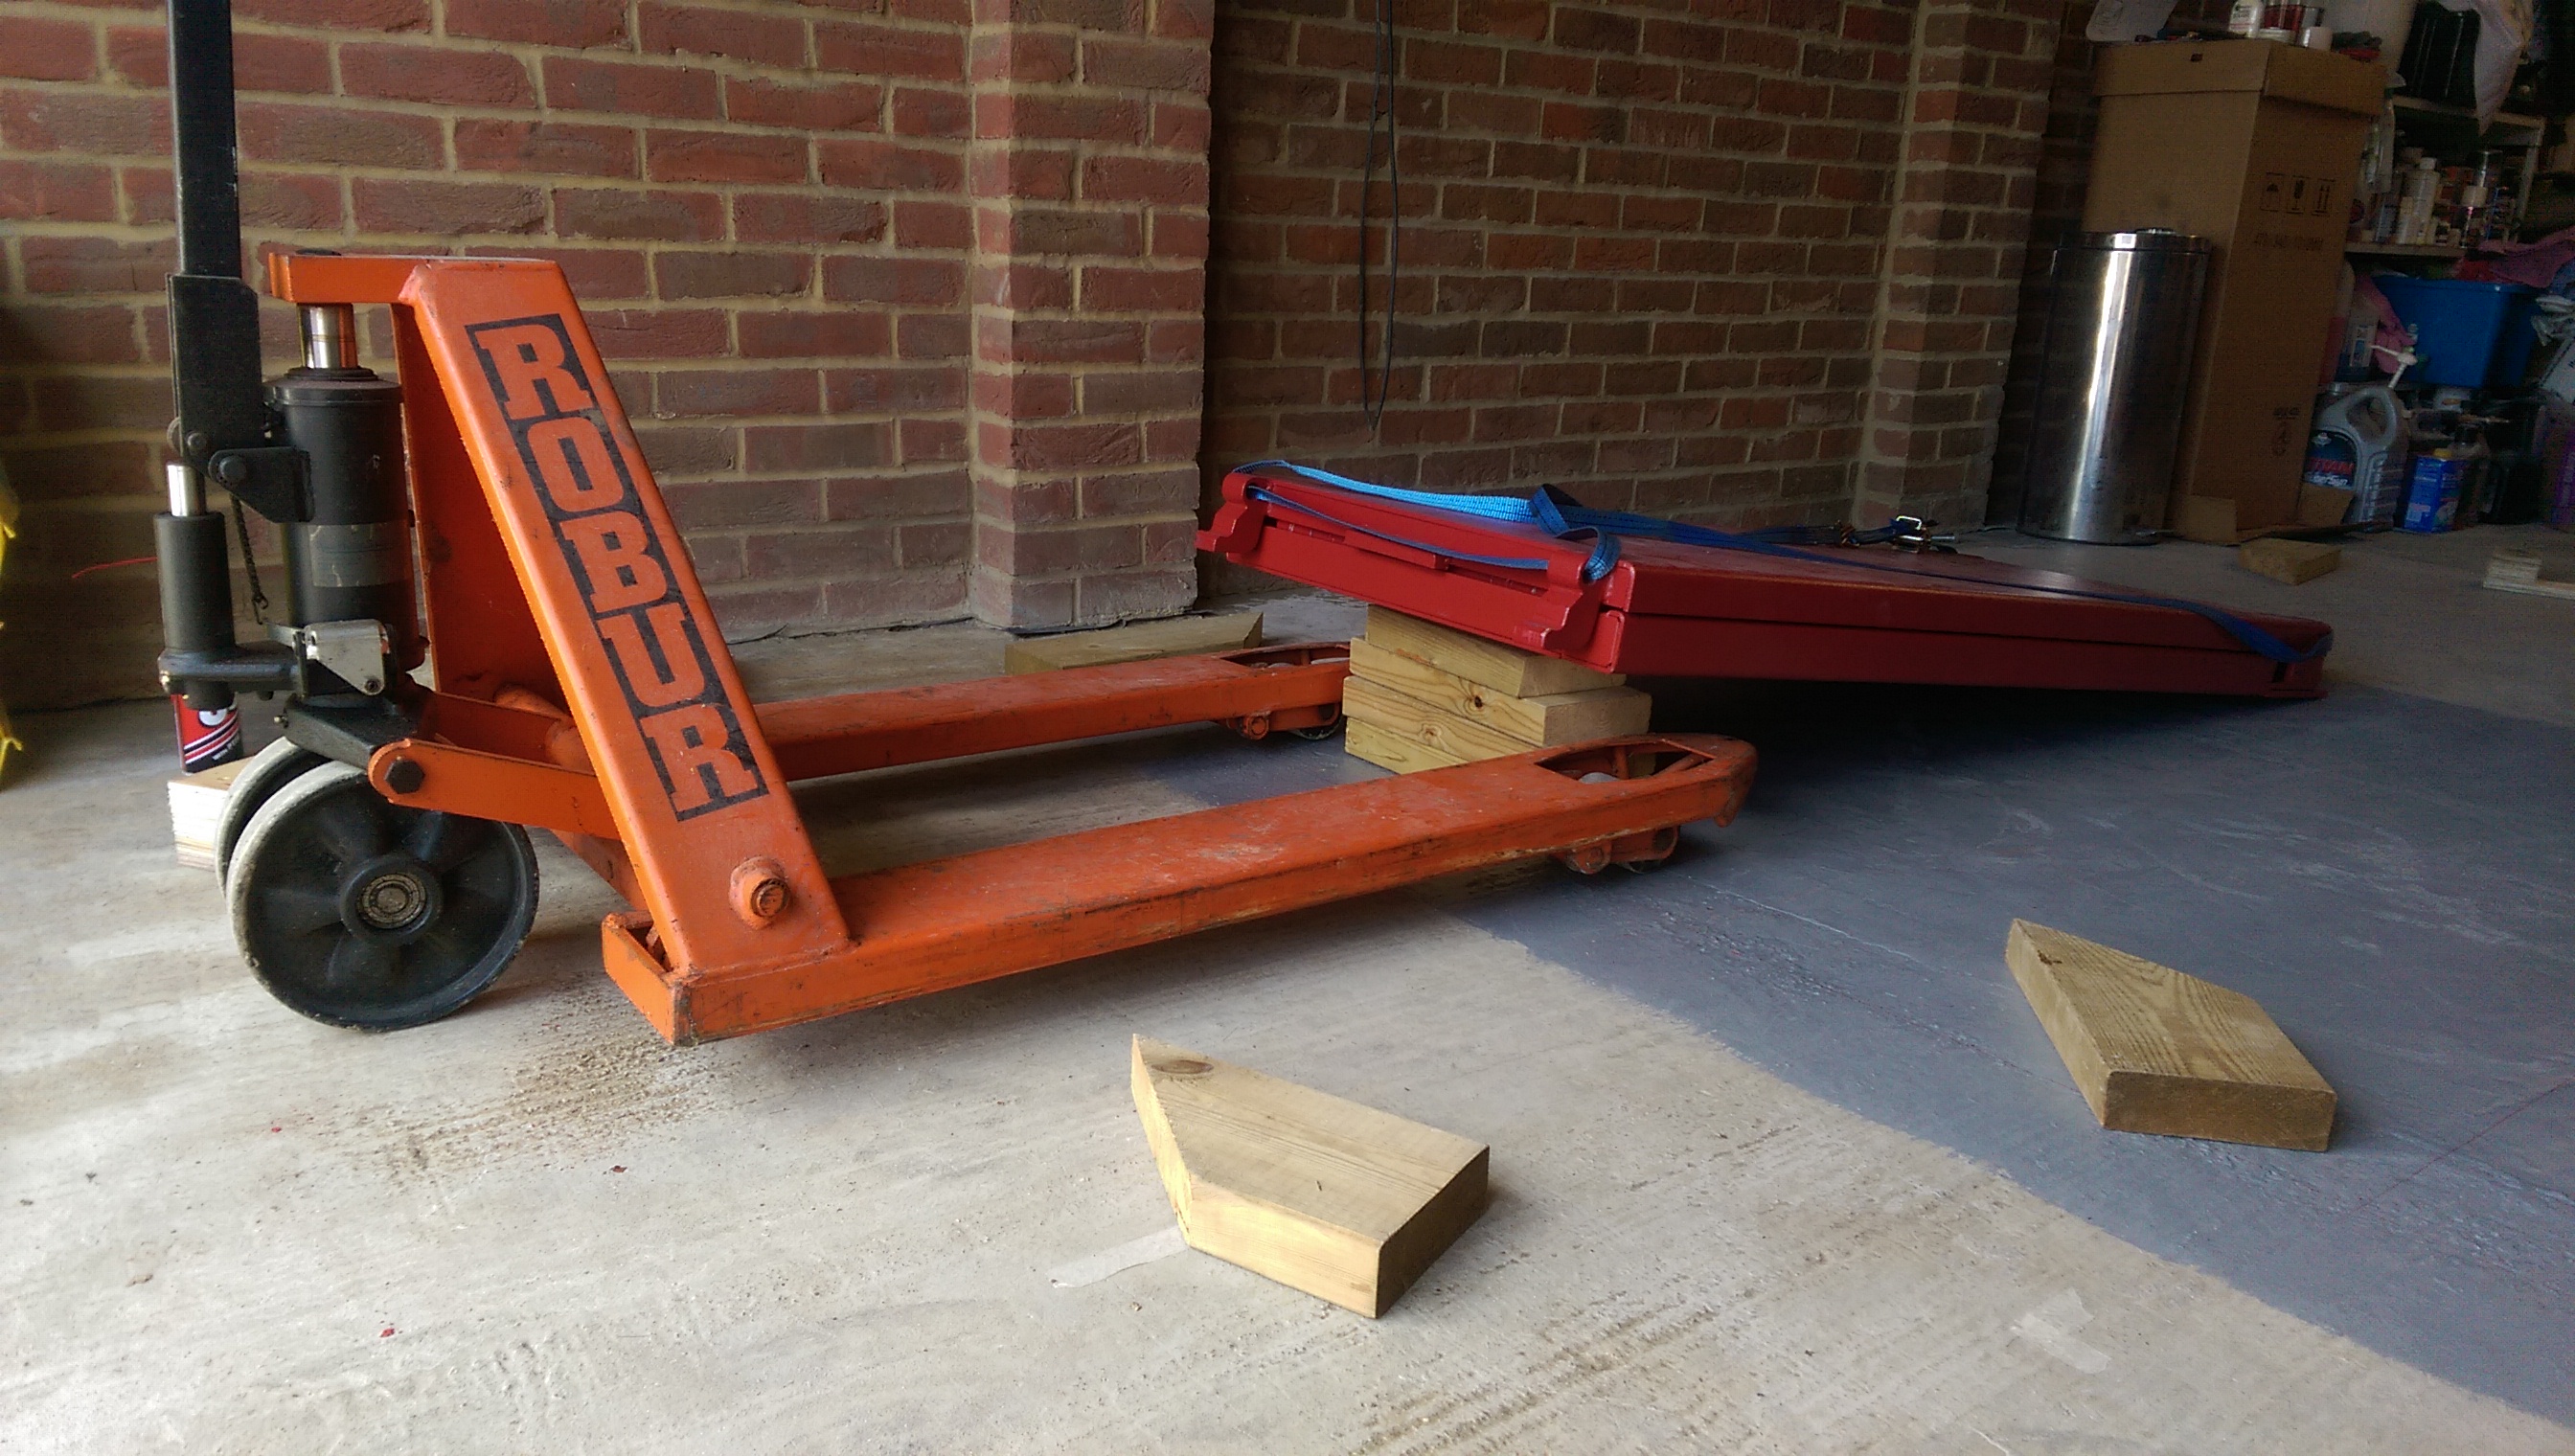
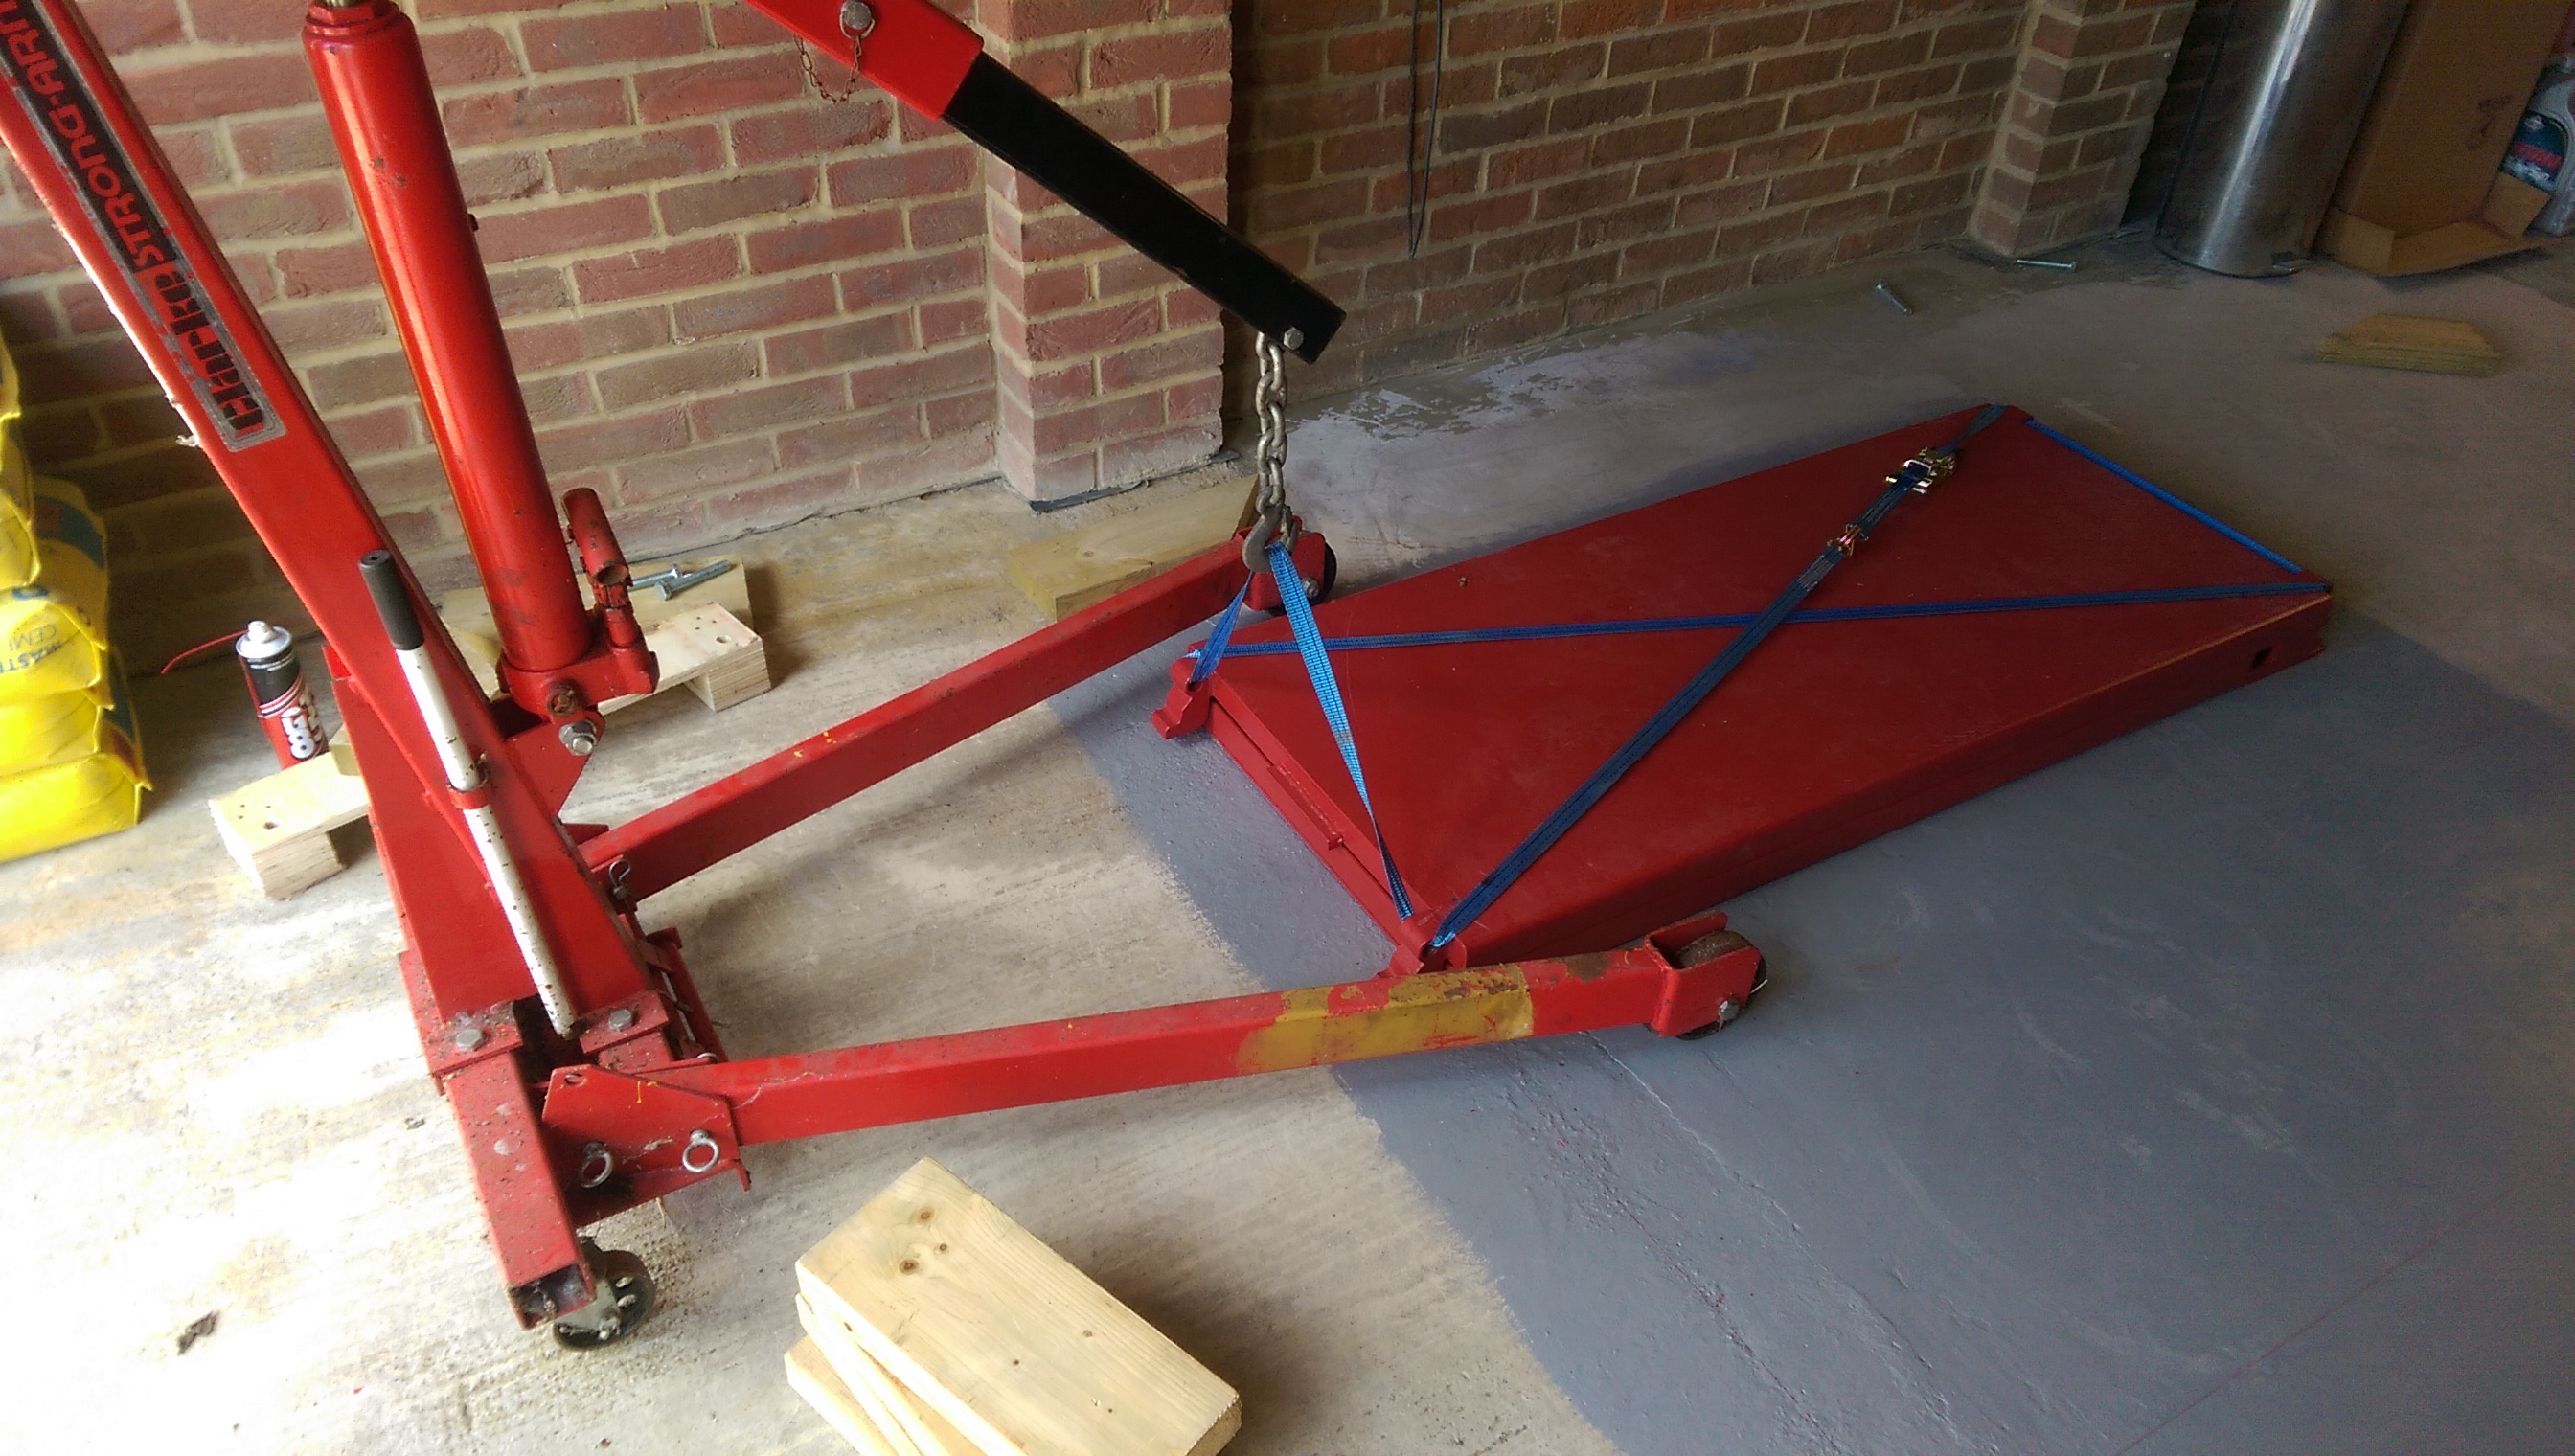
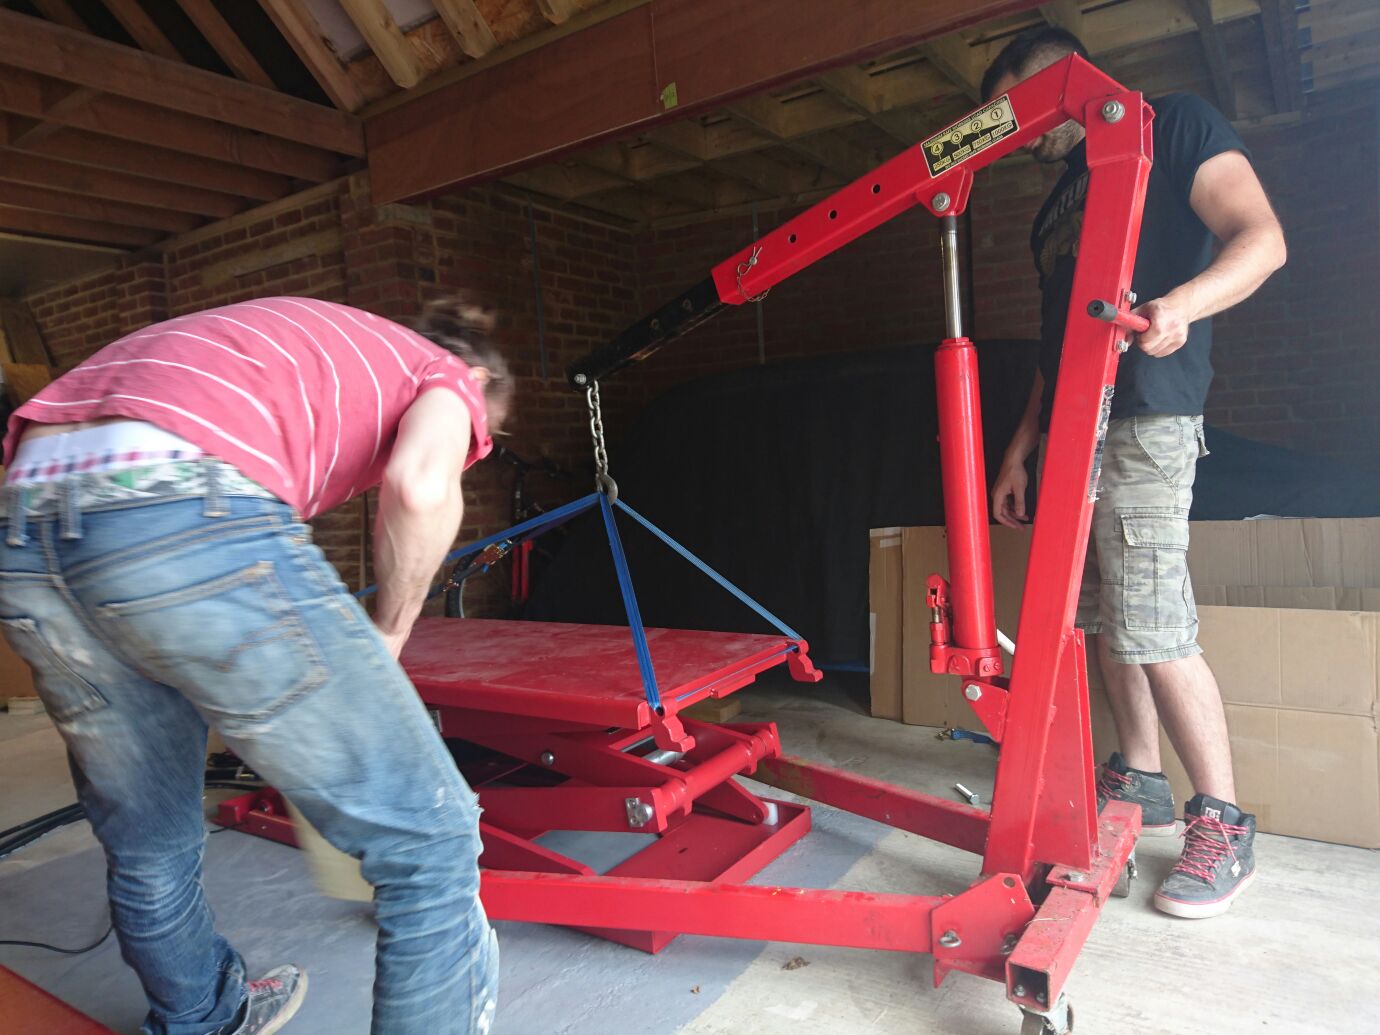
It was necessary to lift the top of the platform to remove the wooden blocks bolted to the bottom for transport and to get at the rams to plumb in the hydraulic hoses. It said in the instruction manual to use a ‘fork car’. With the lack of a fork car or forklift, assuming that is what they meant, we figured my engine crane would do. Note the blocks of wood keeping the top and bottom apart. If this closes down on your fingers then you may as well cancel those piano lessons.
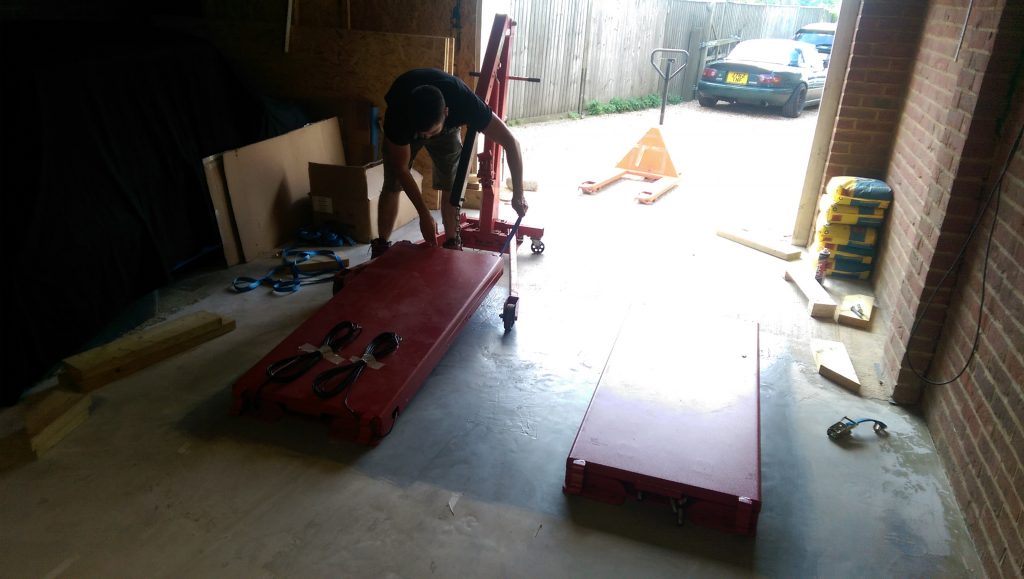
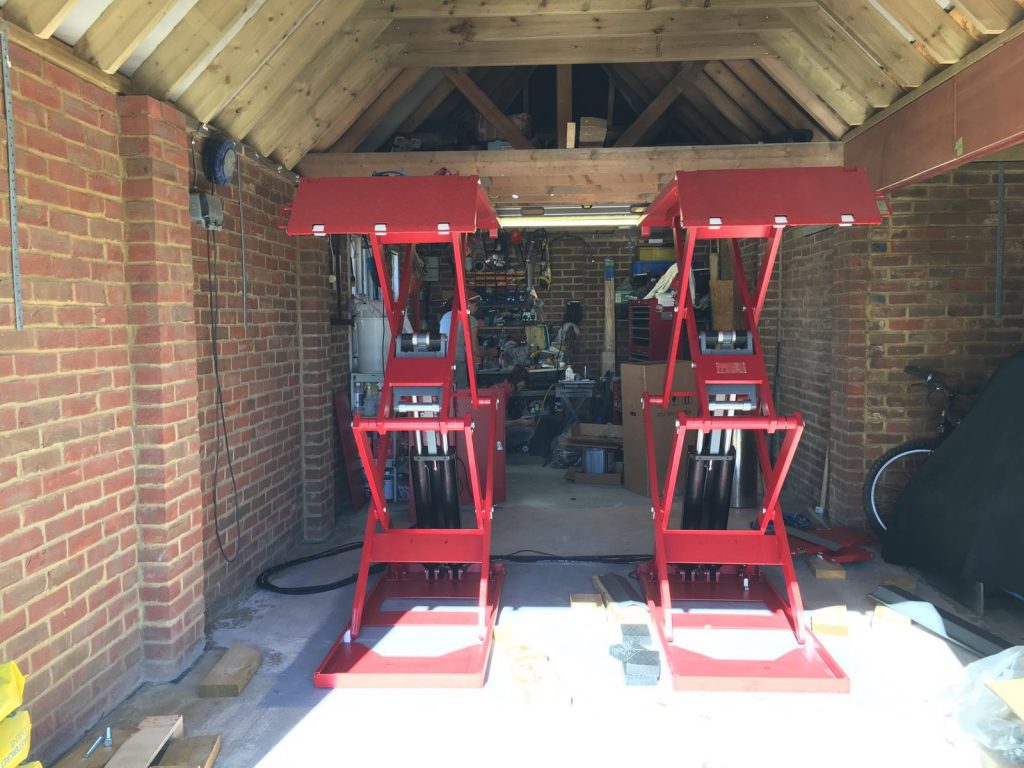
First one in place
Same again for the other one.
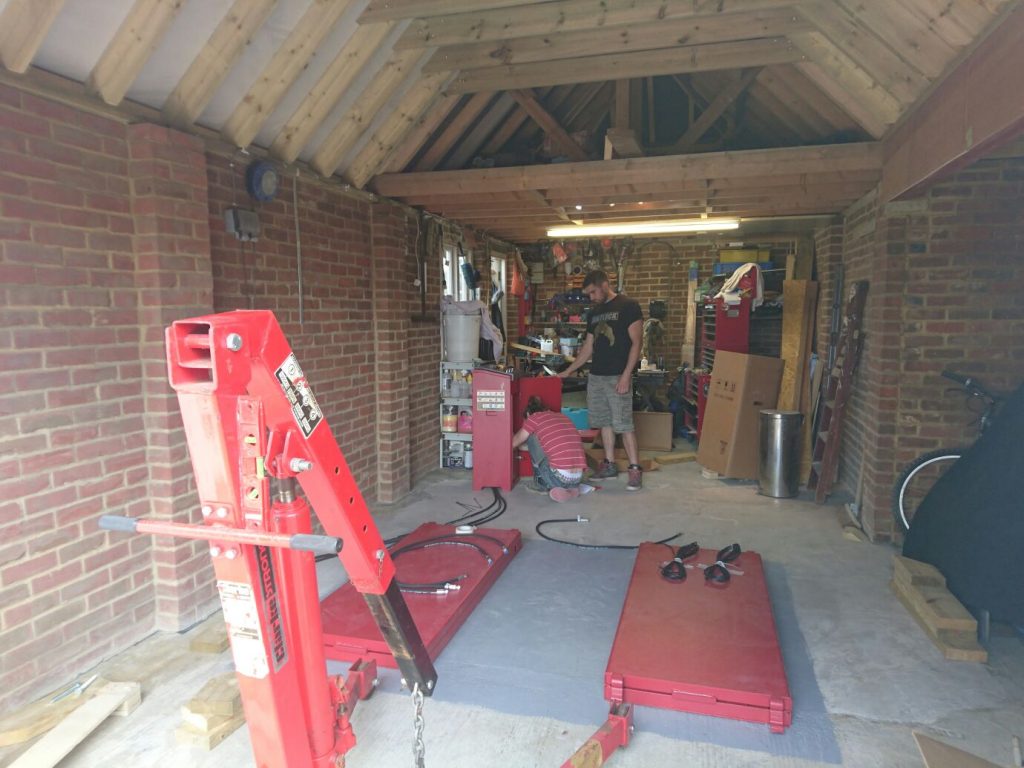
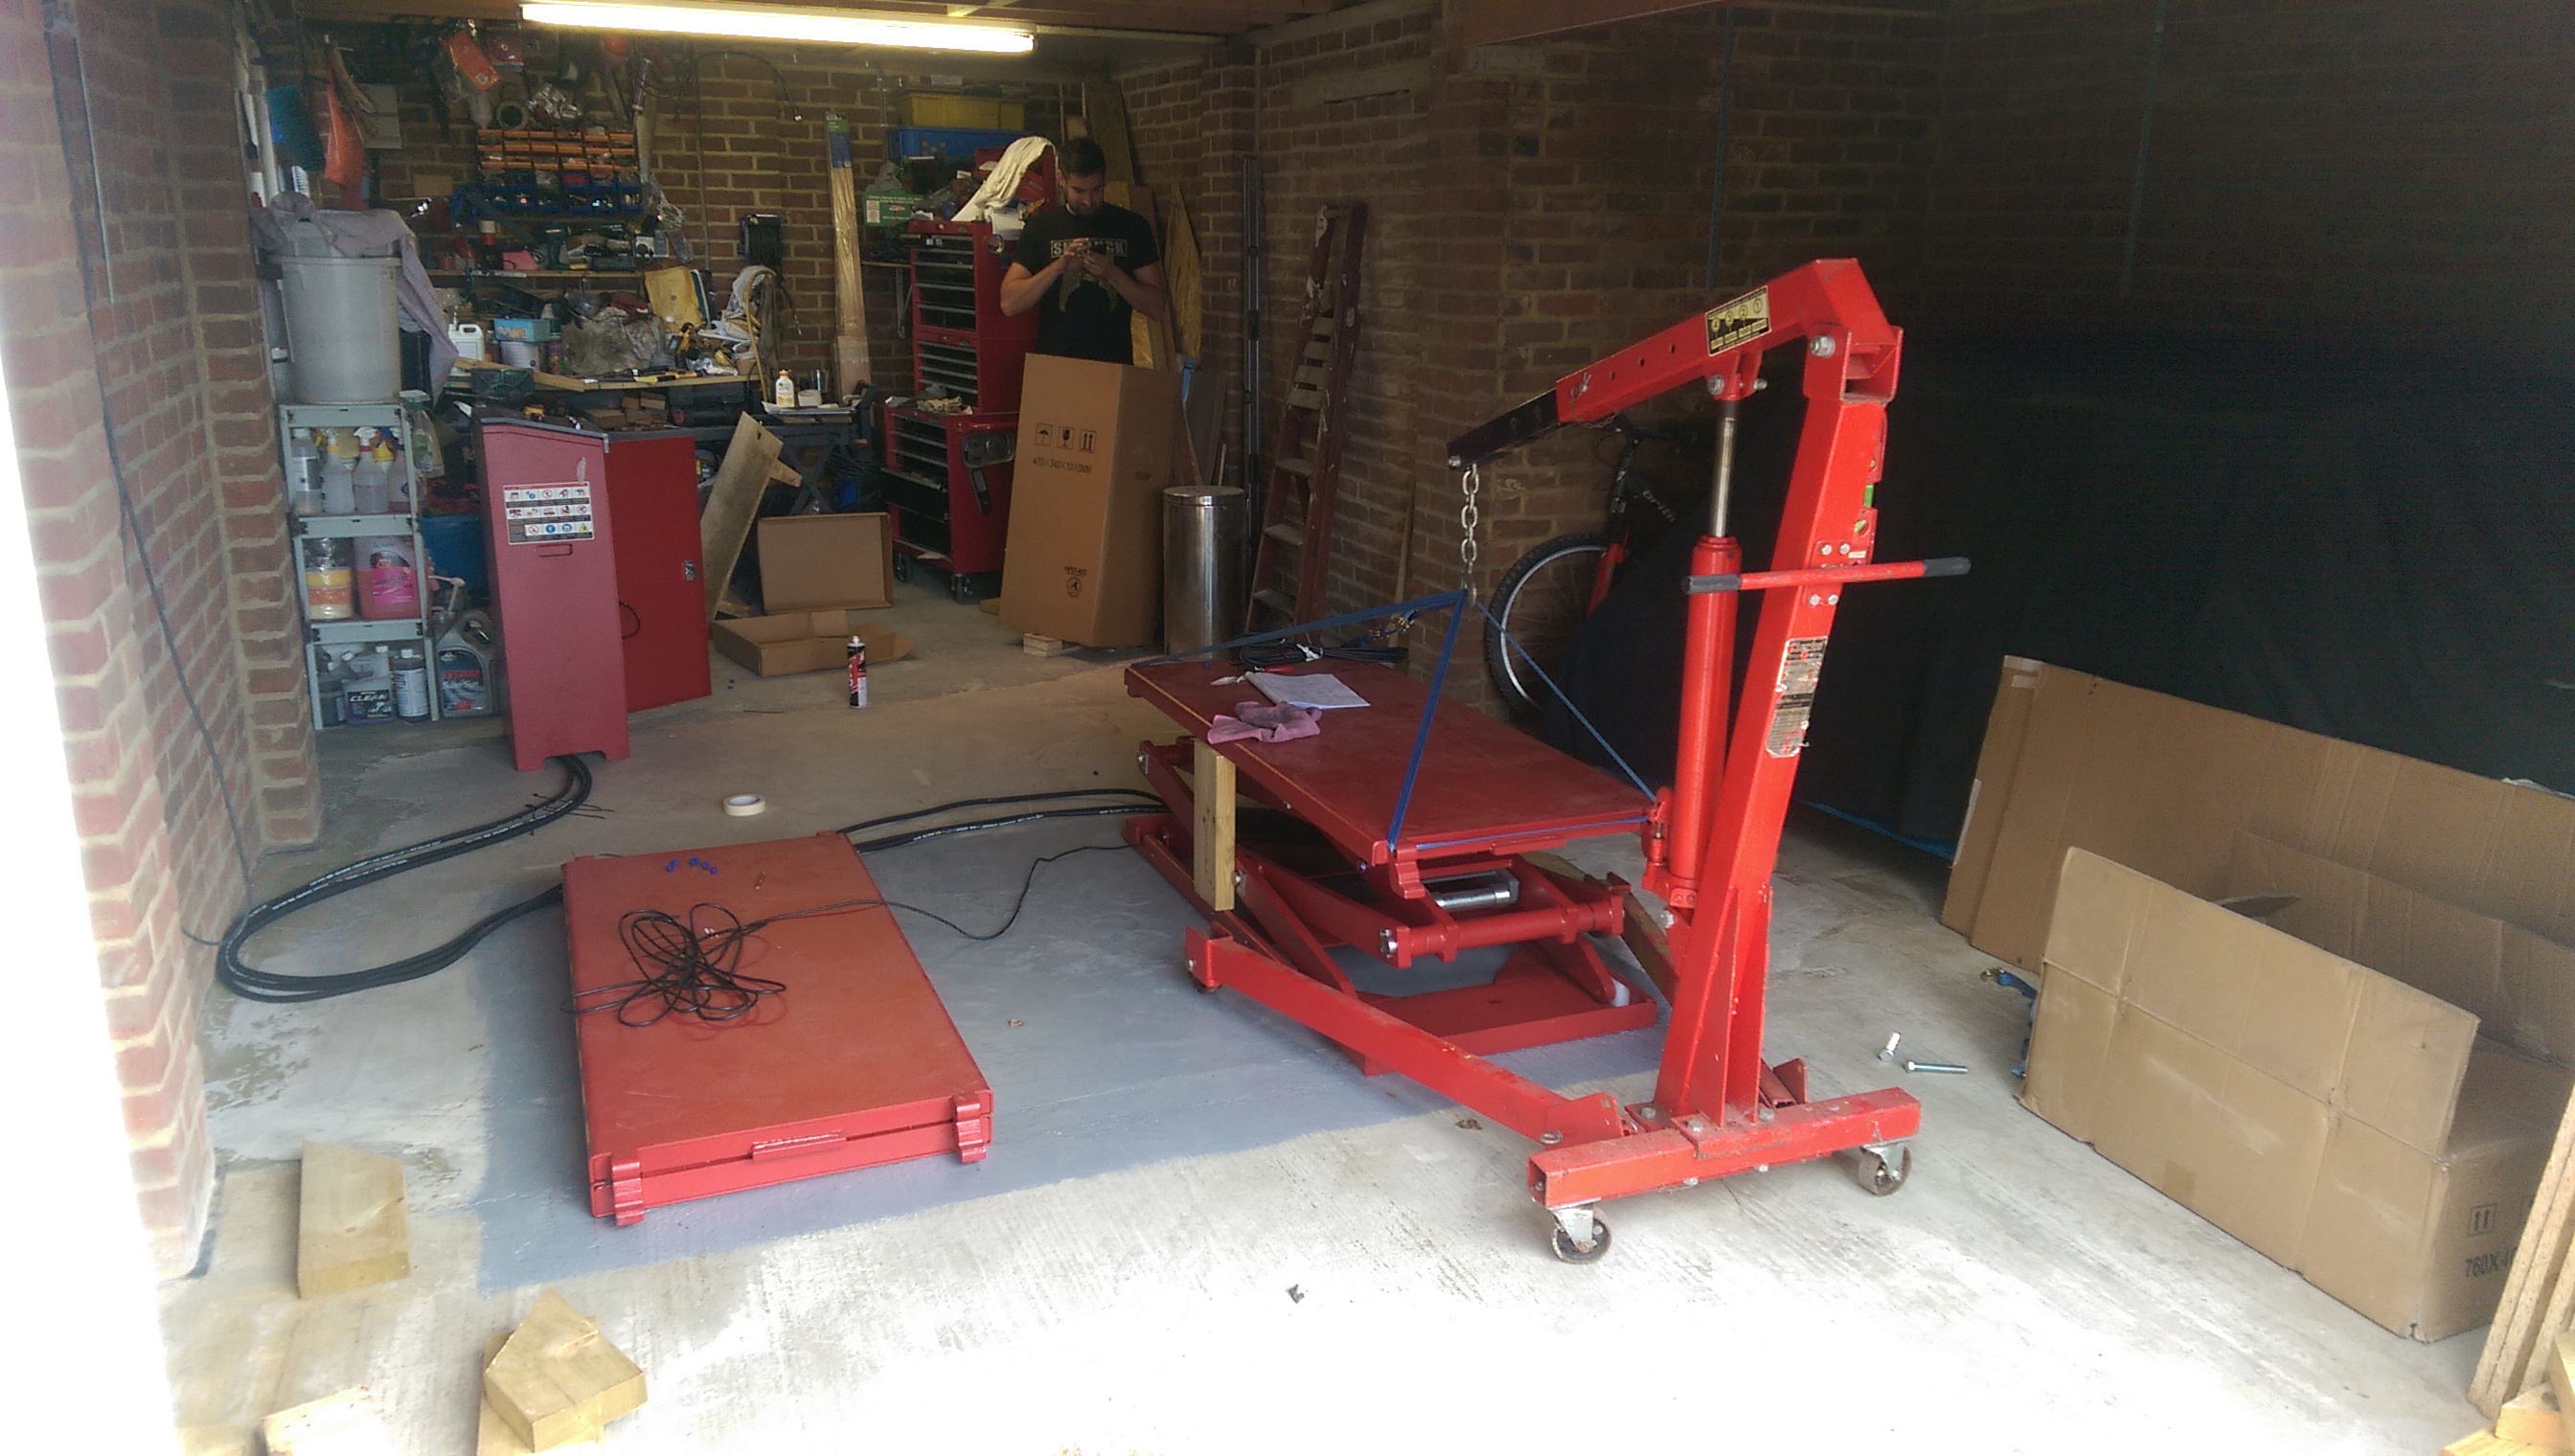

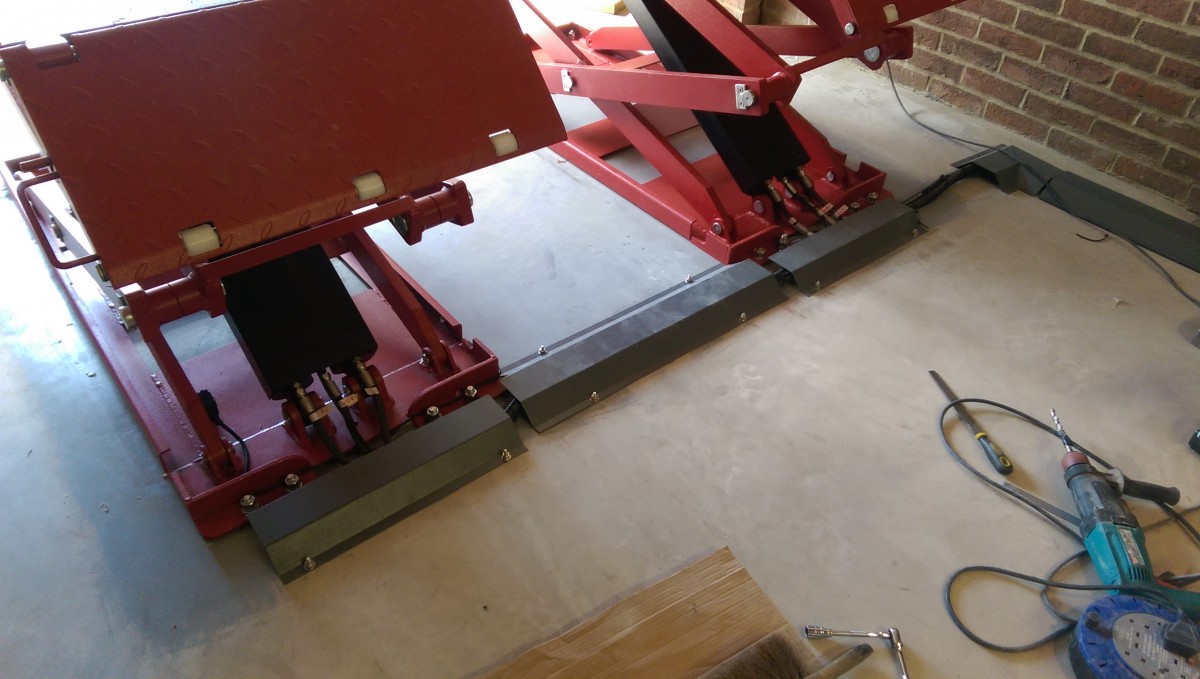
Connecting the hoses.

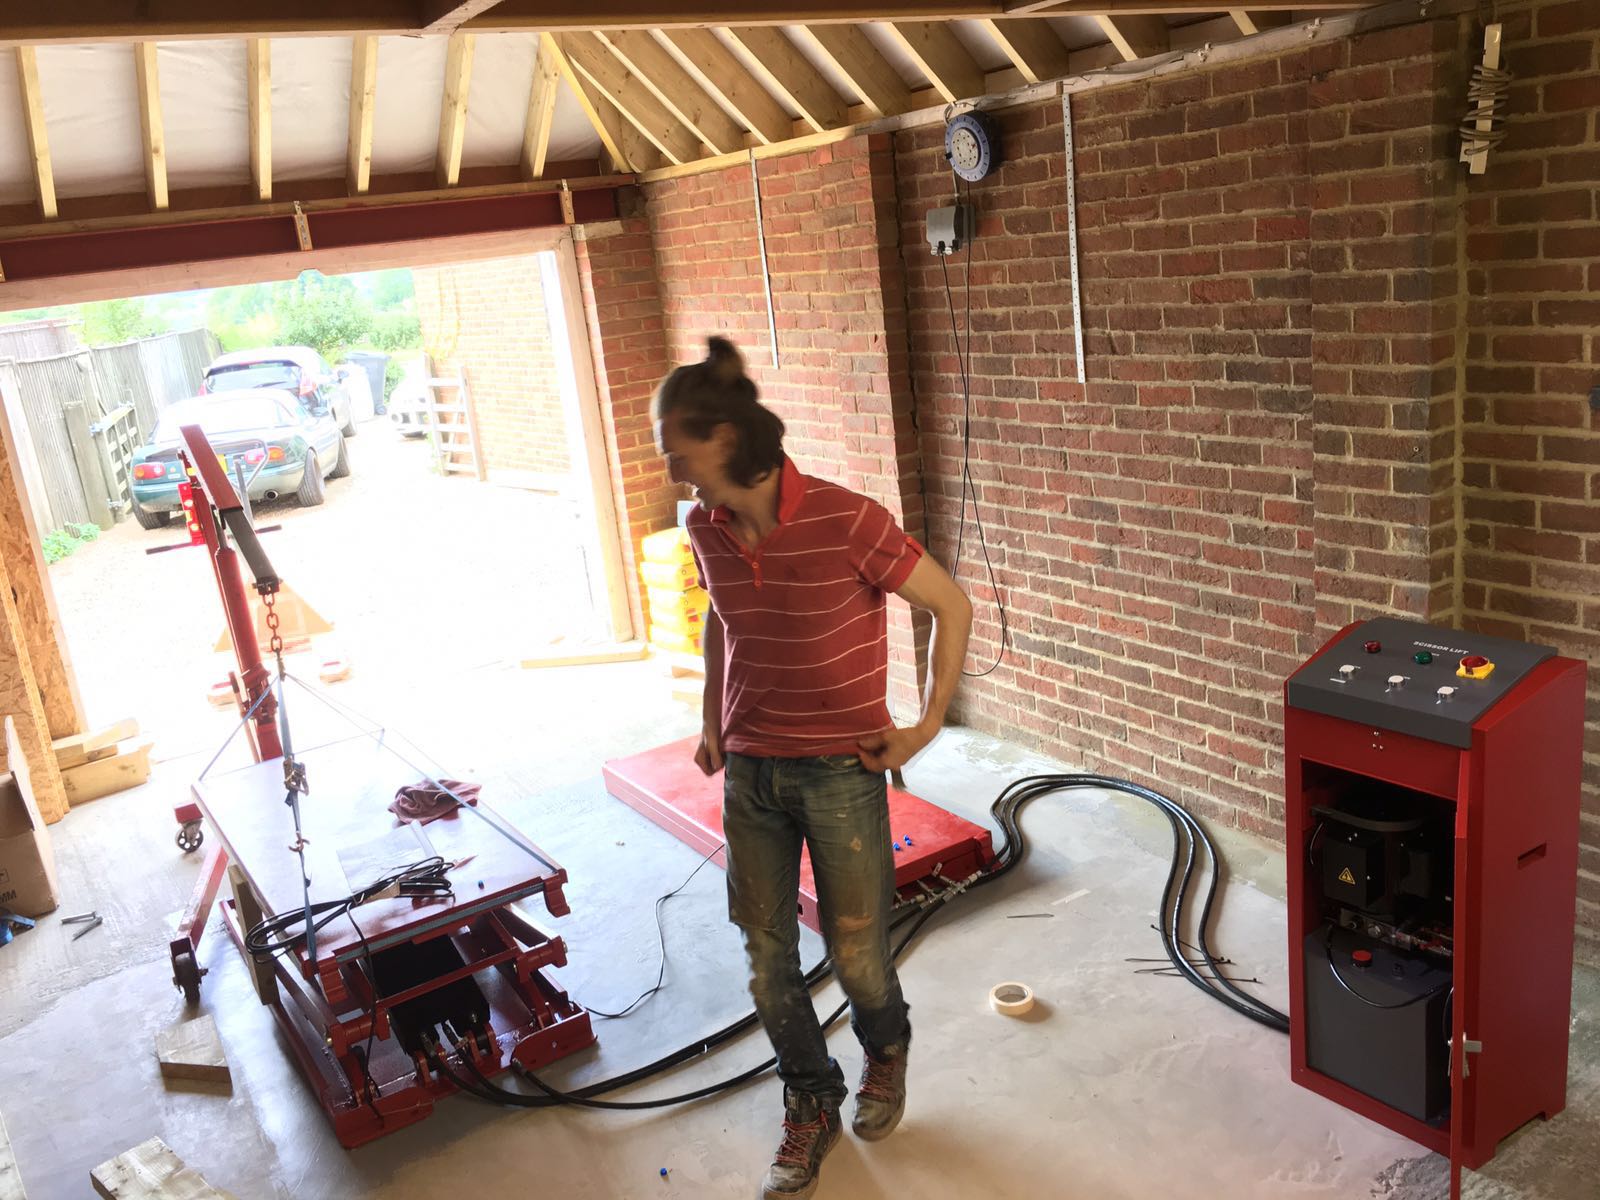
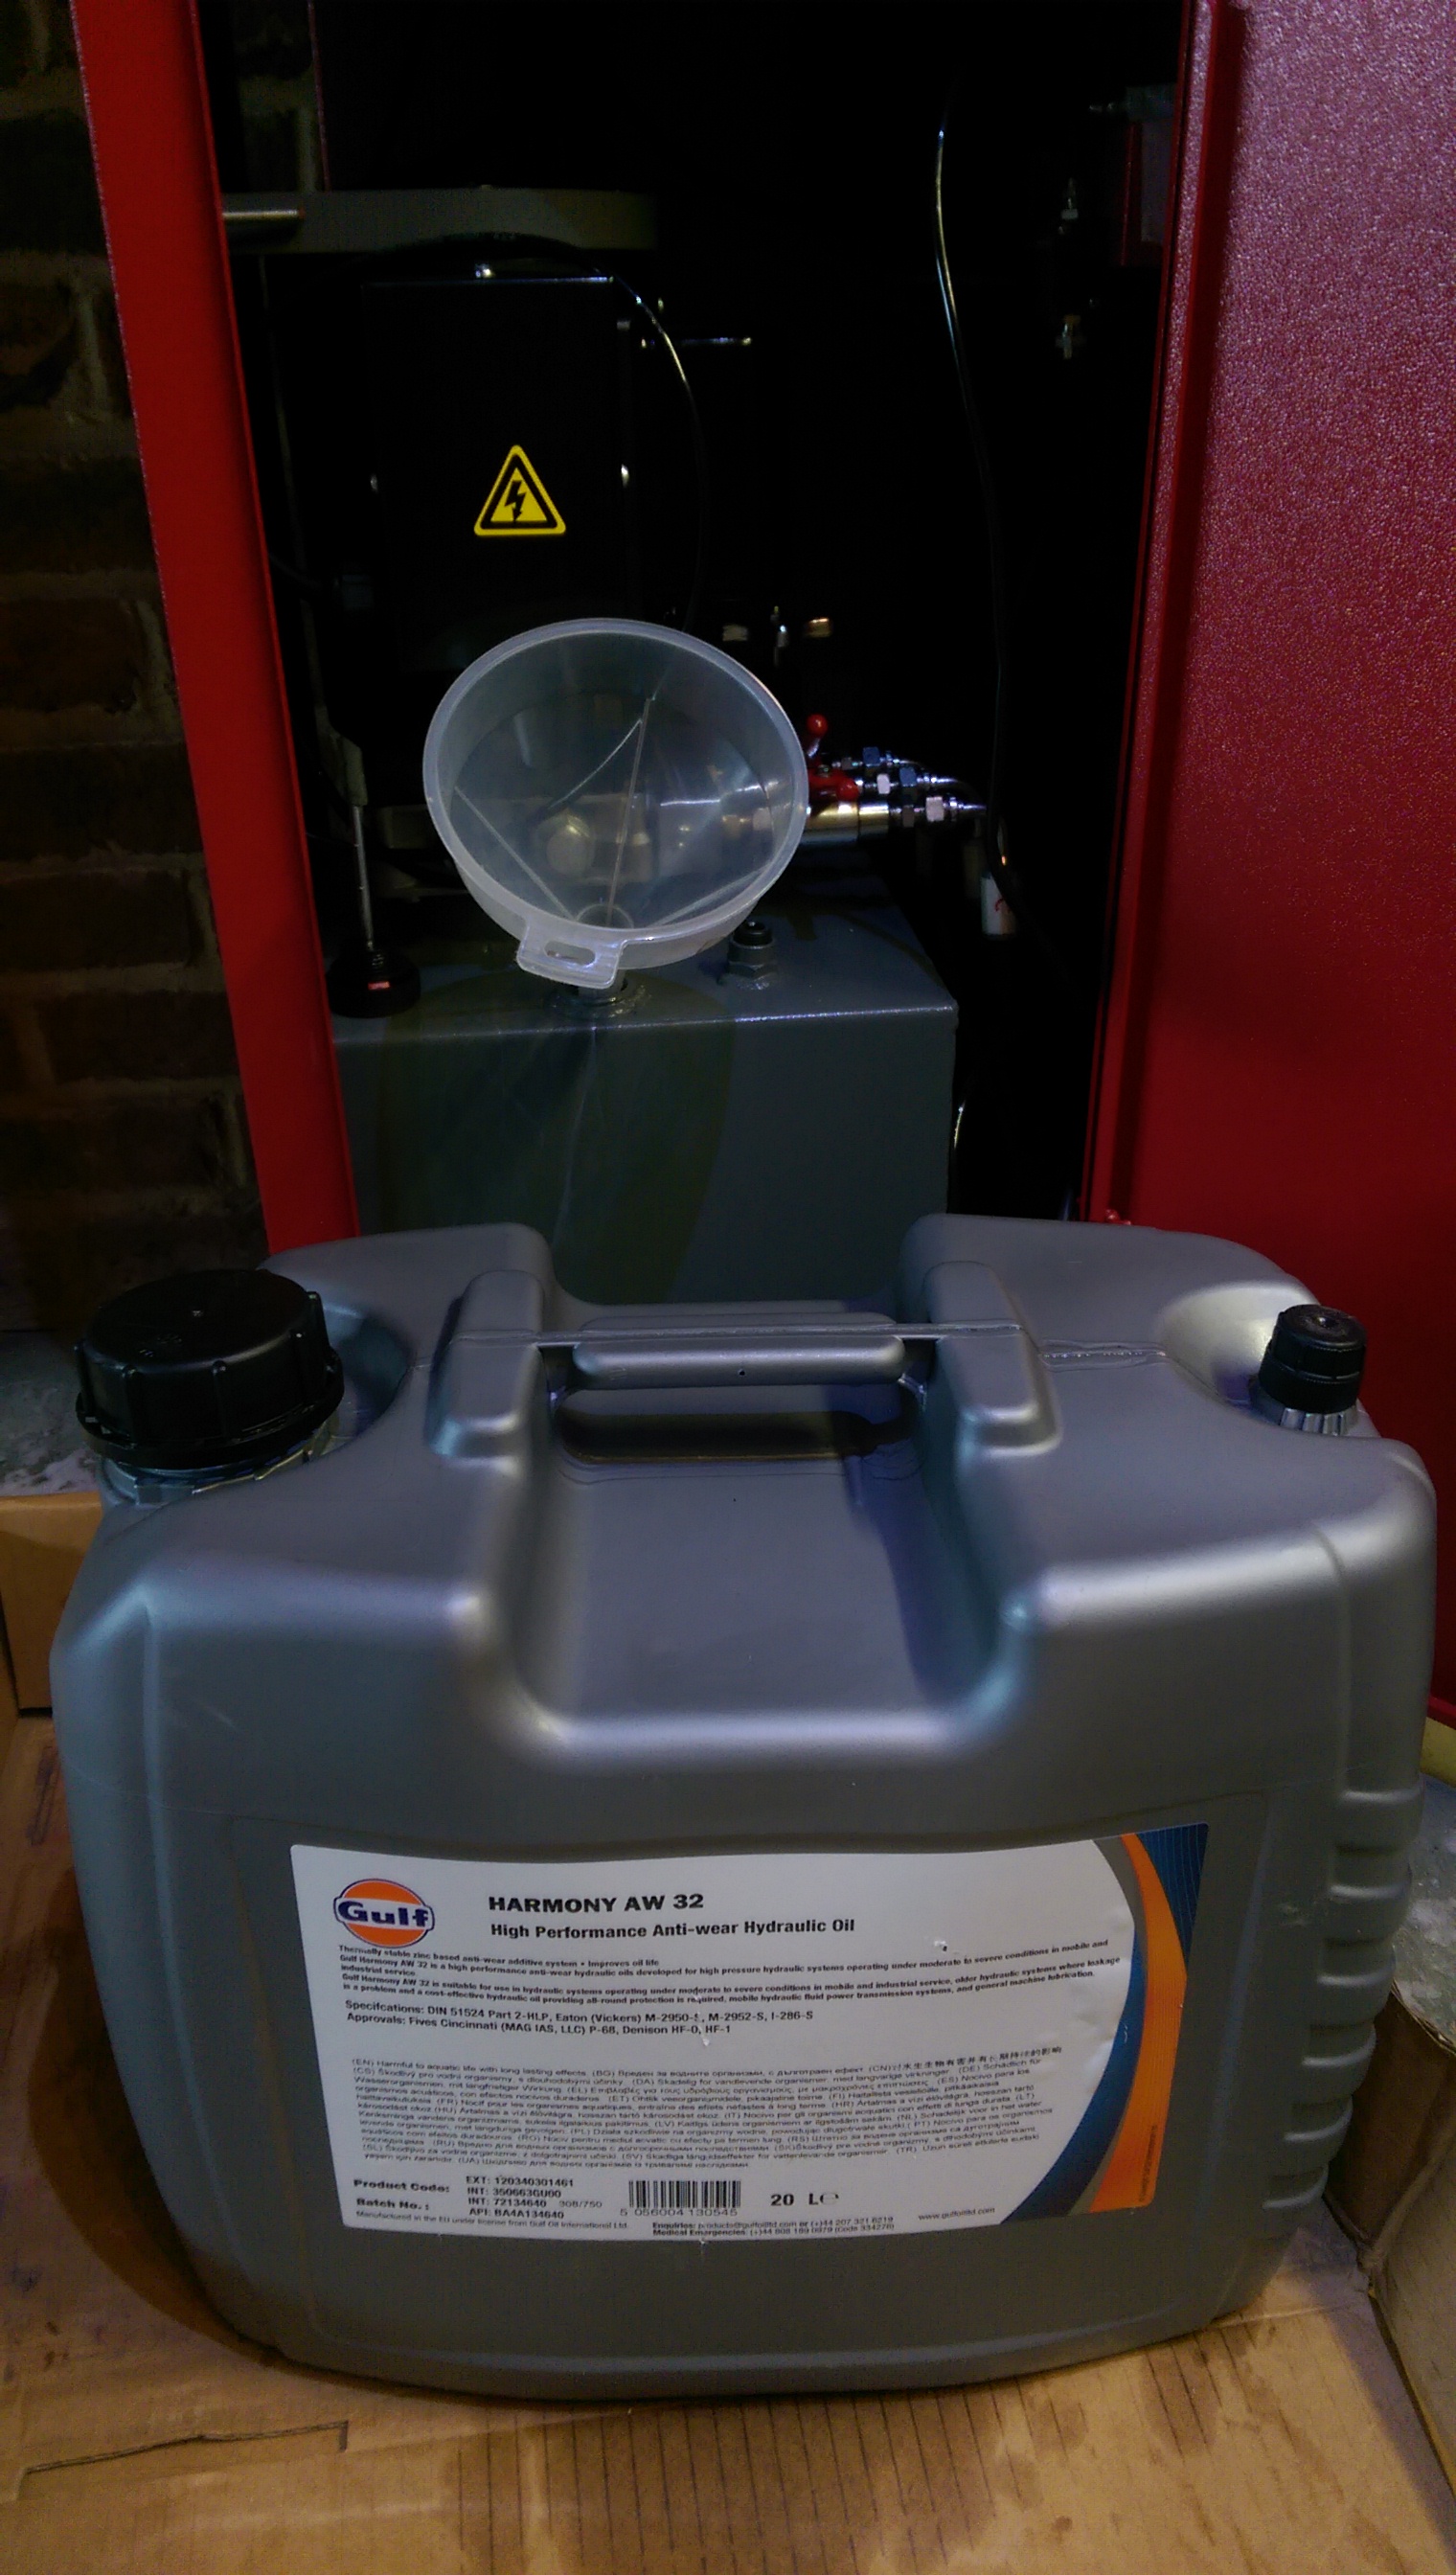
Some decent hydraulic fluid in.
Best day ever! 😀
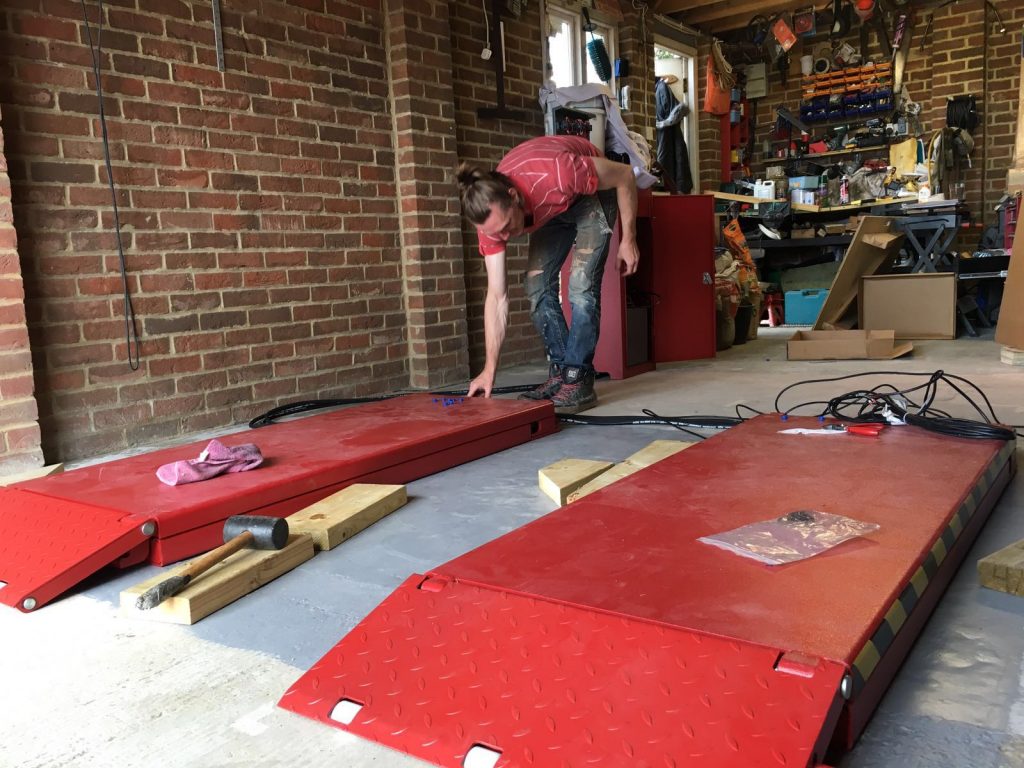
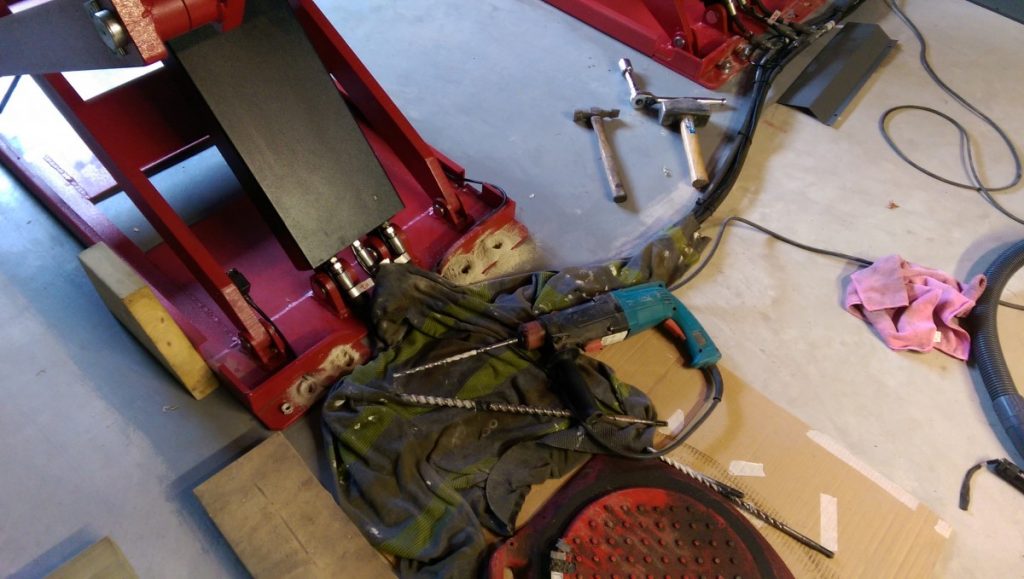
Holes drilled to bolt the platforms and hose/cable covers in place.
All done. I now actually have a proper car lift in my garage at home. This is flippin awesome! 😀