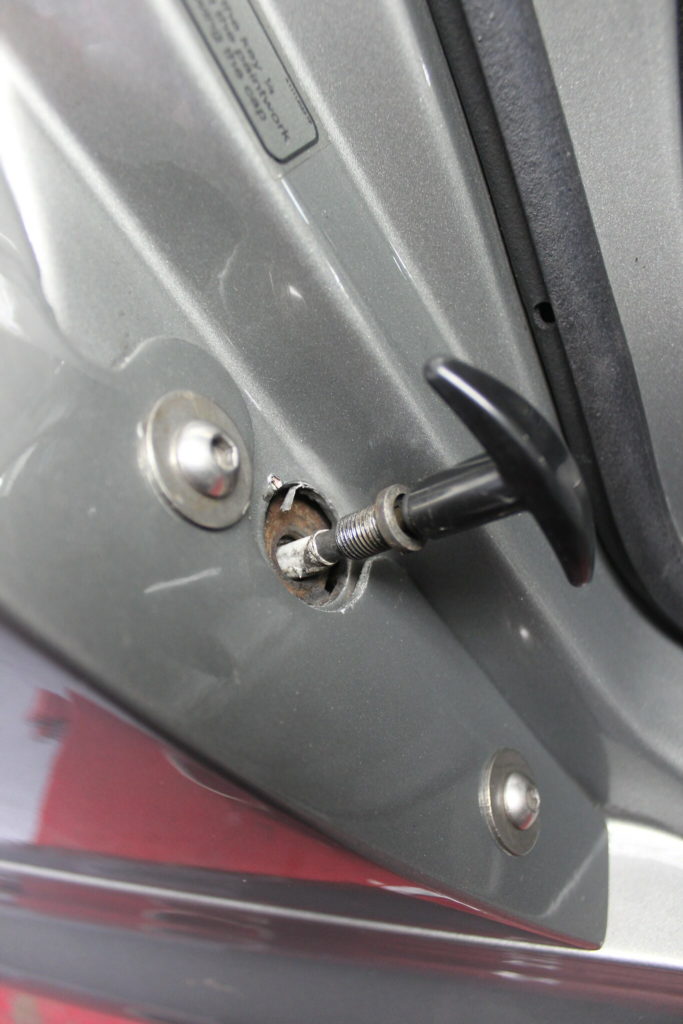
Clearly there had been some kind of failure of the cable or what holds the handle end in place at some point in the Elise’s life and there had been a bit of a bodge repair made to it. It looked awful!

There’s no way a horrible mess like that was going to remain on any car of mine so I took a closer look.
After putting a couple of layers of tape on the sill panel to protect the paint I was able to remove one of the metal plates that had been stuck in there.

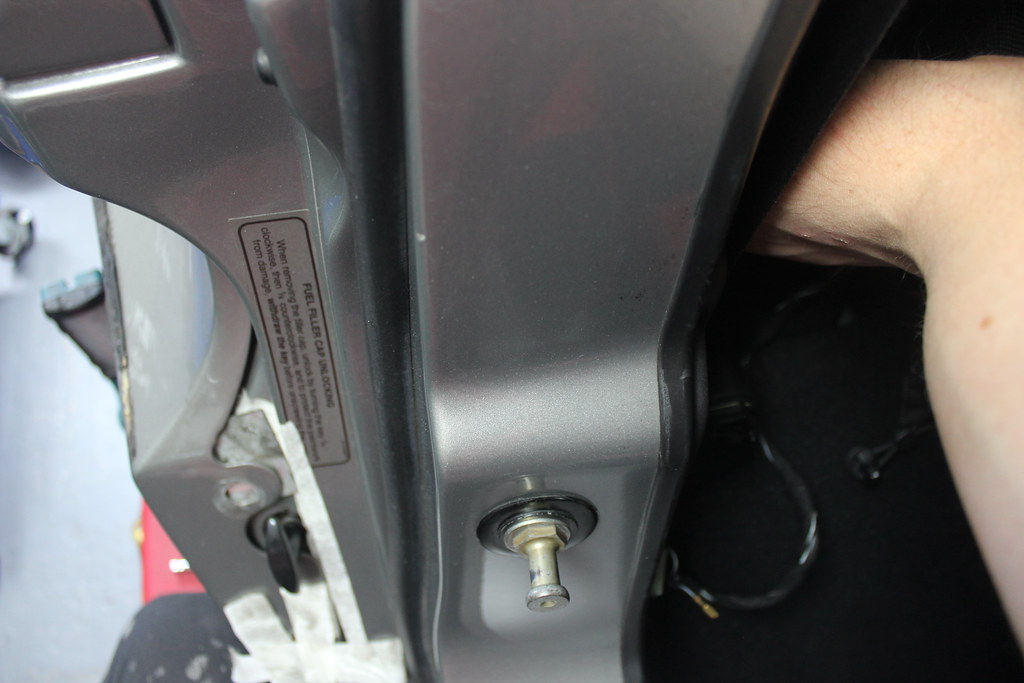
The problem became apparent. The nut on the back of the fixed part of the pull cable had clearly come loose and fallen off meaning the handle end was no longer held in place.
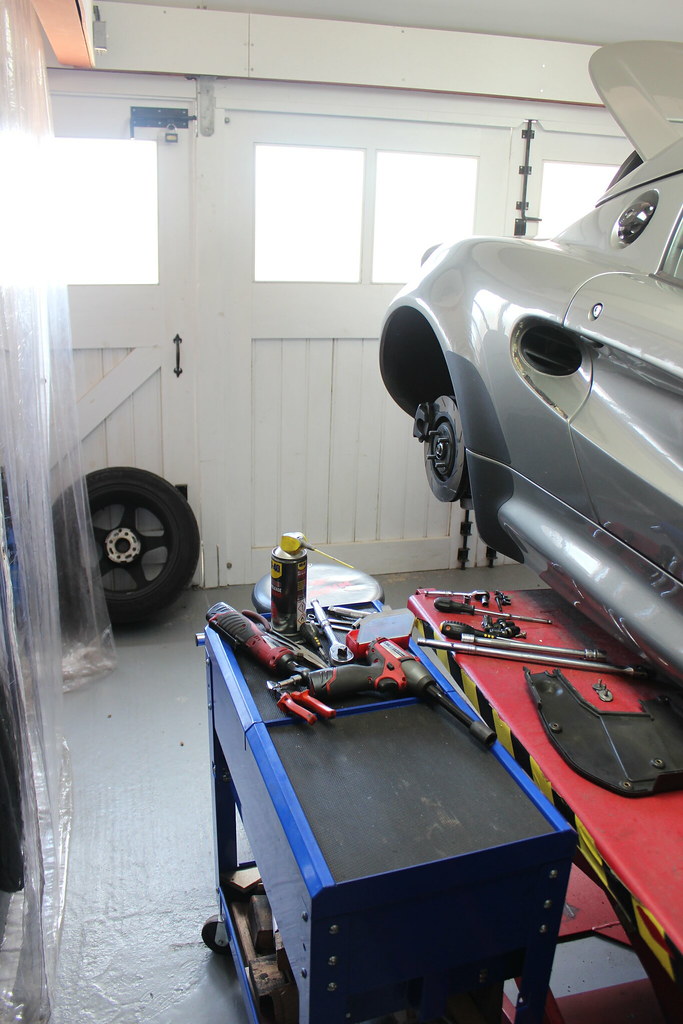
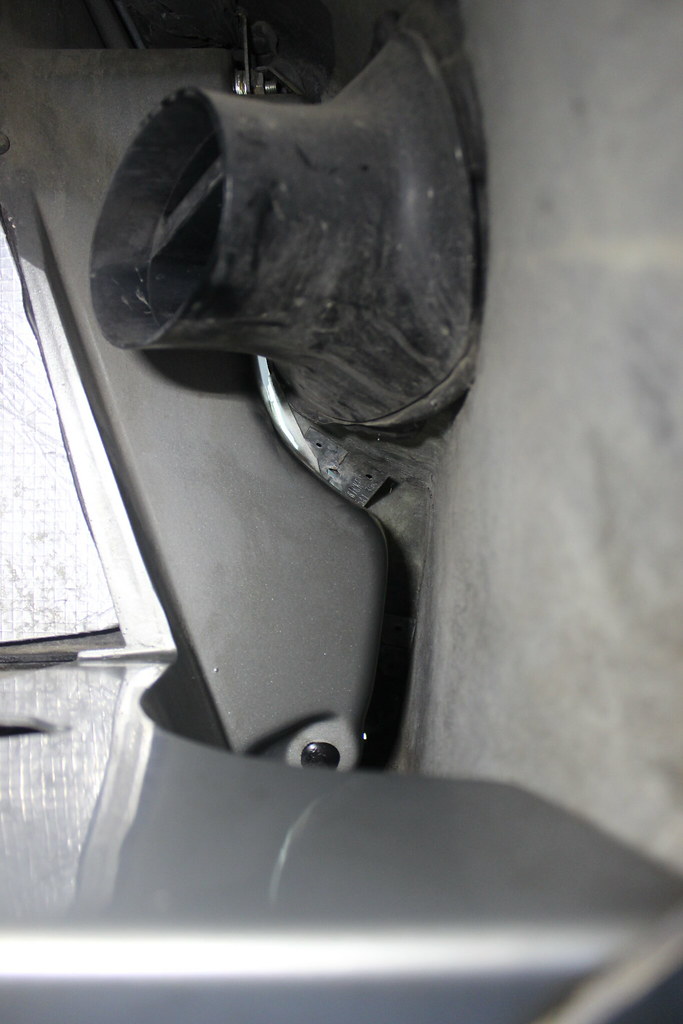
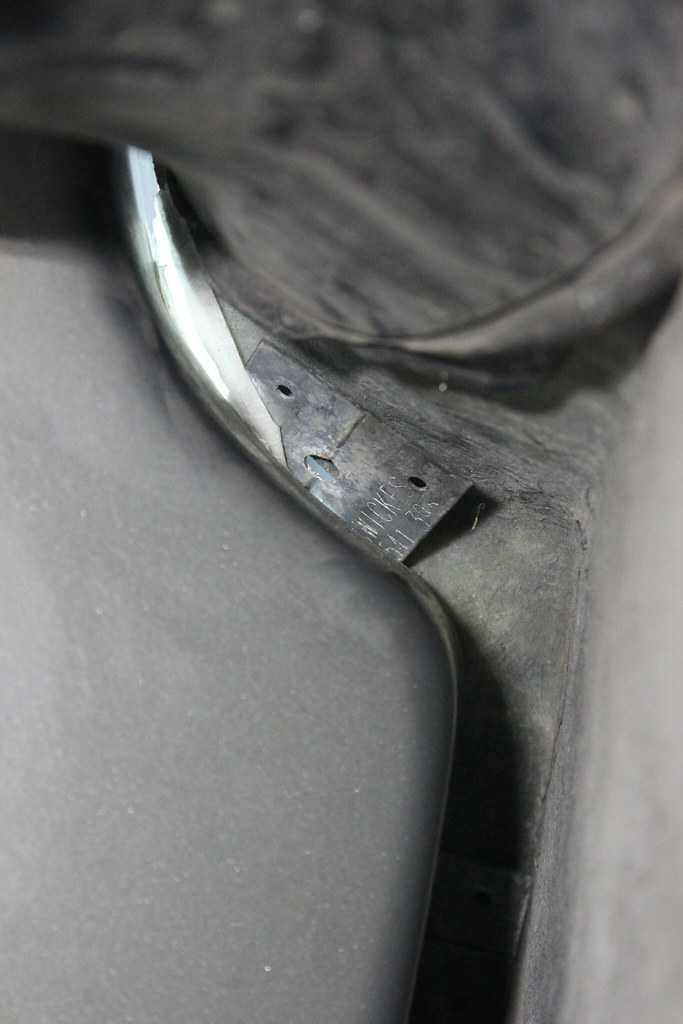
I removed the arch liner so I could find the other side of the cable and the nut that had to be somewhere along the cable.

I managed to squeeze my arm up inside the sill and find the nut on the cable.
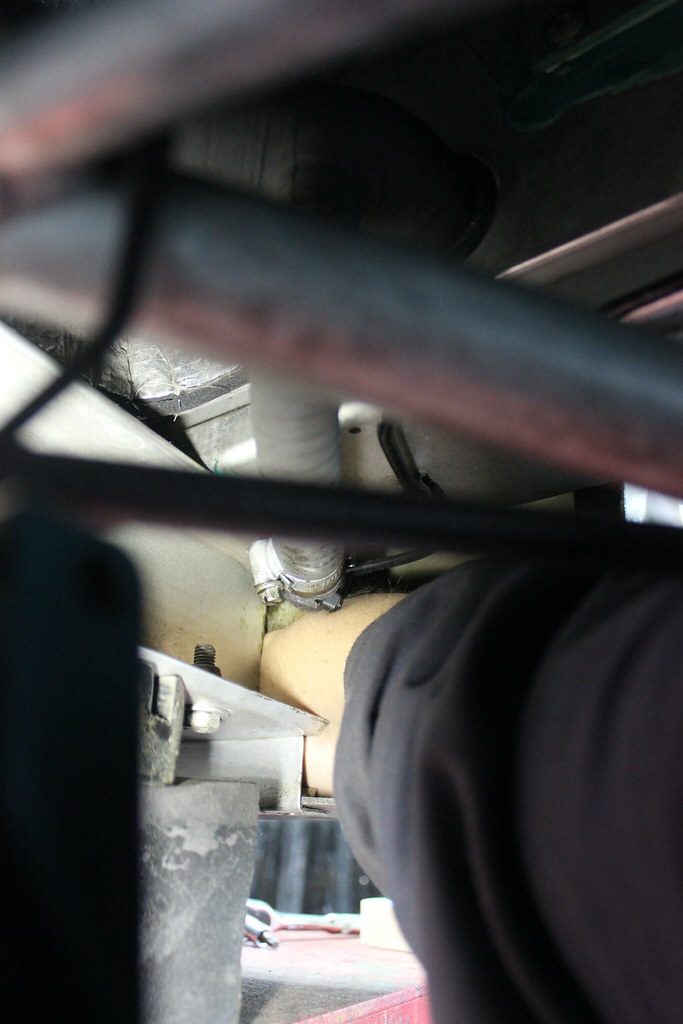
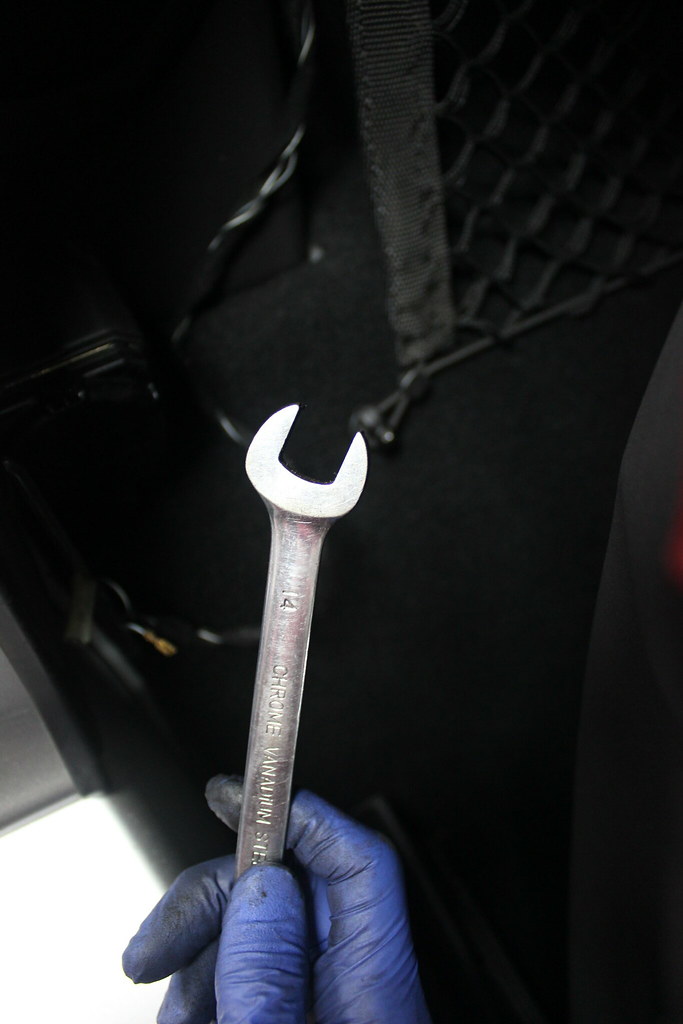
A quick interweb search later though and I found that there’s very easy access to the back of the boot release handle, to refit the nut, via the speaker hole.
So out came the speaker…

…and in went my hand.
The nut was then easily refitted and tightened up with a 14mm spanner.
With it fixed properly the second nasty metal plate needed to come out. This was a little tricky which is why I hadn’t removed it when I removed the first one but I was able to pull it out from behind without causing damage to any paintwork.

And here they are.

They’re obviously just a couple of galvanised steel angle brackets from Wickes that have been flattened to make a couple of plates. What a load of effort for a nasty bodge when all that was required was pulling the speaker out and refitting the nut which no doubt would have been a way quicker and easier repair.
Finally this lot needed tidying up.

I took some measurements so I could machine up a neat surround for where the cable outer fits to the body.


A small slot so it could be fitted over the cable without having to remove the whole thing.
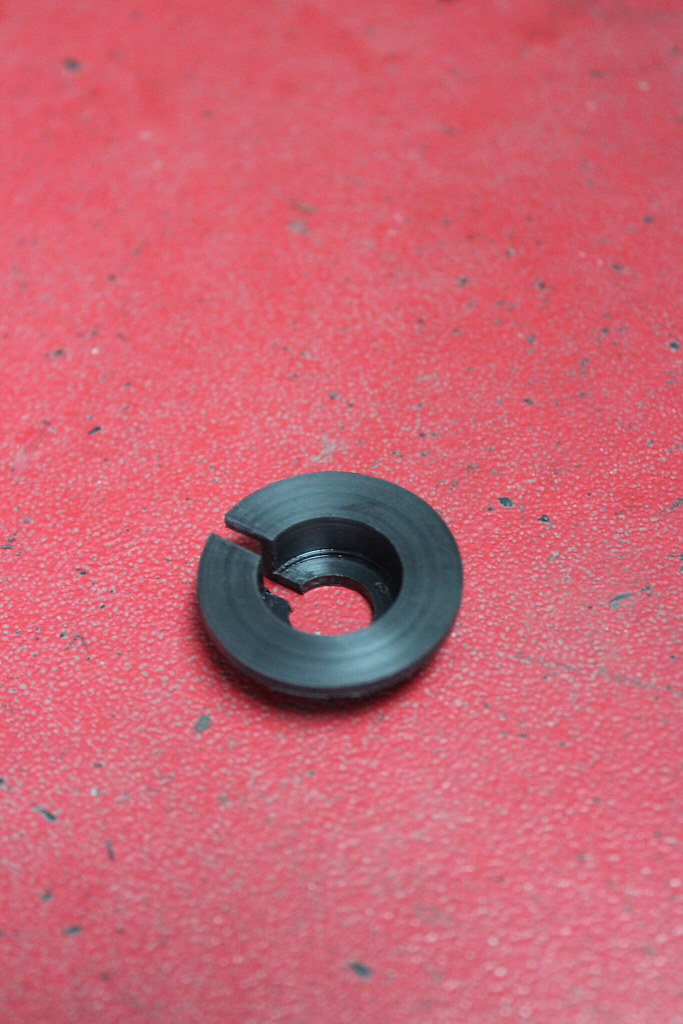
A little bit of fettling to get a good fit.

Undo the nut from behind to fit the surround.

All back together.
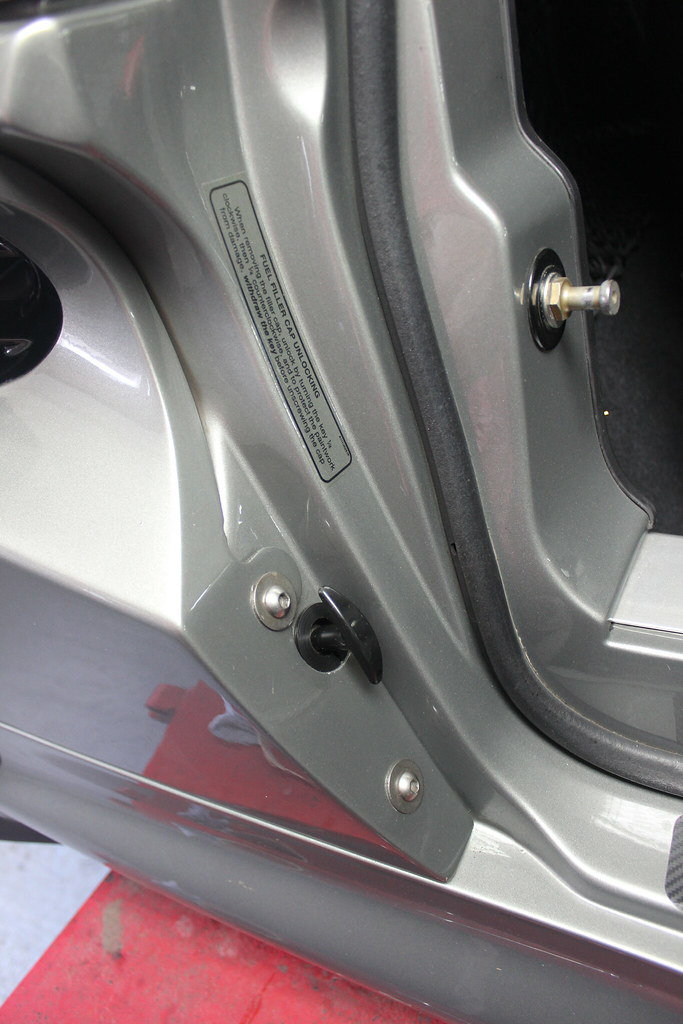
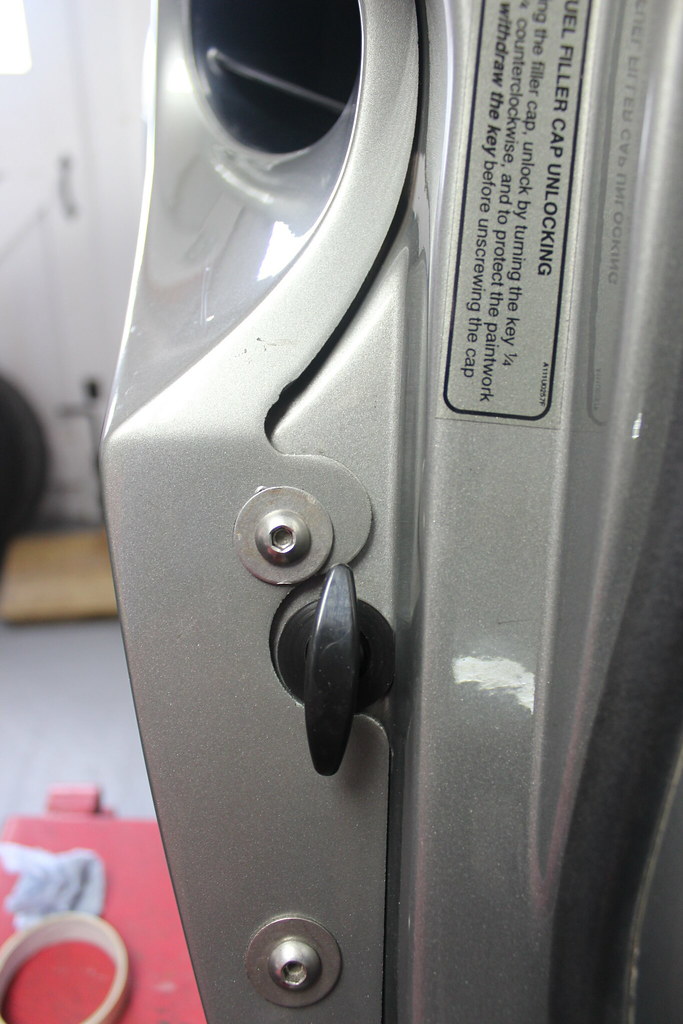
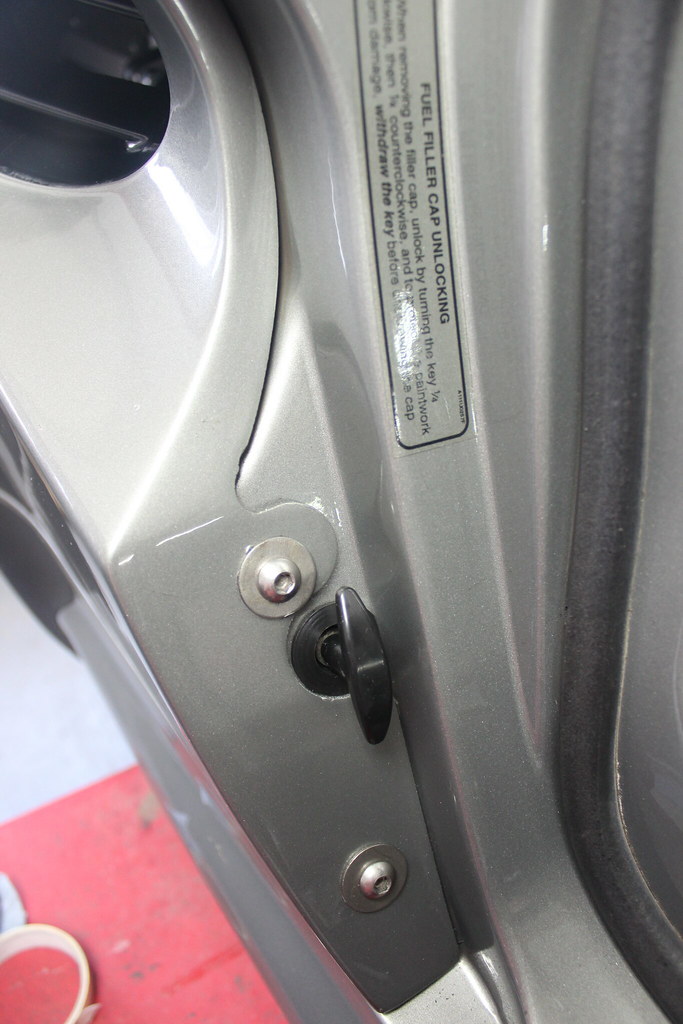

Well that looks a million times better than it did. 🙂
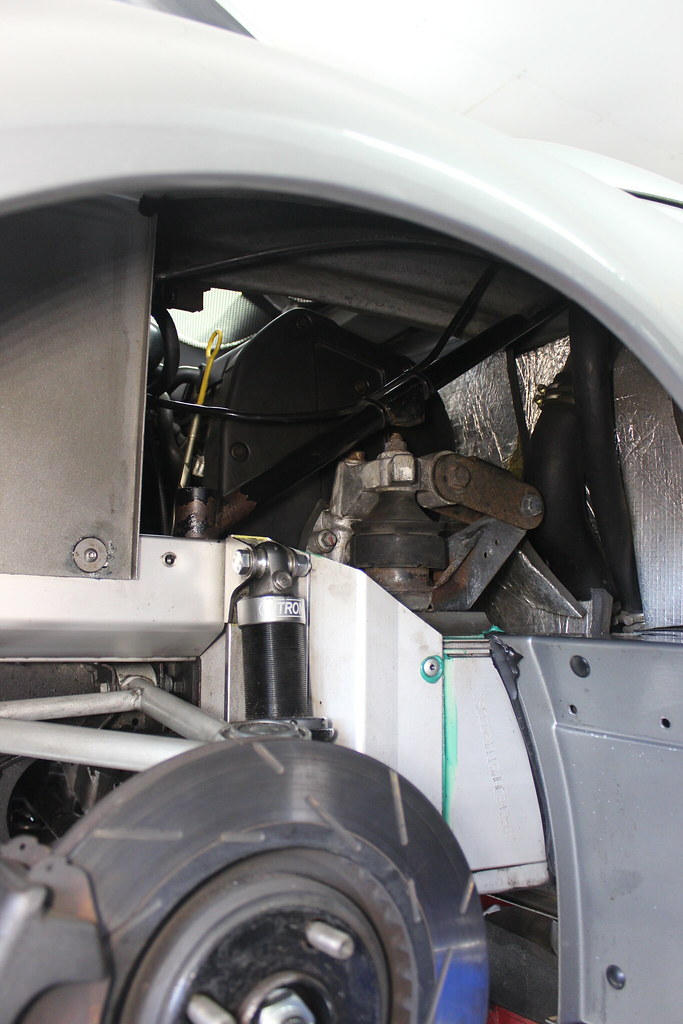
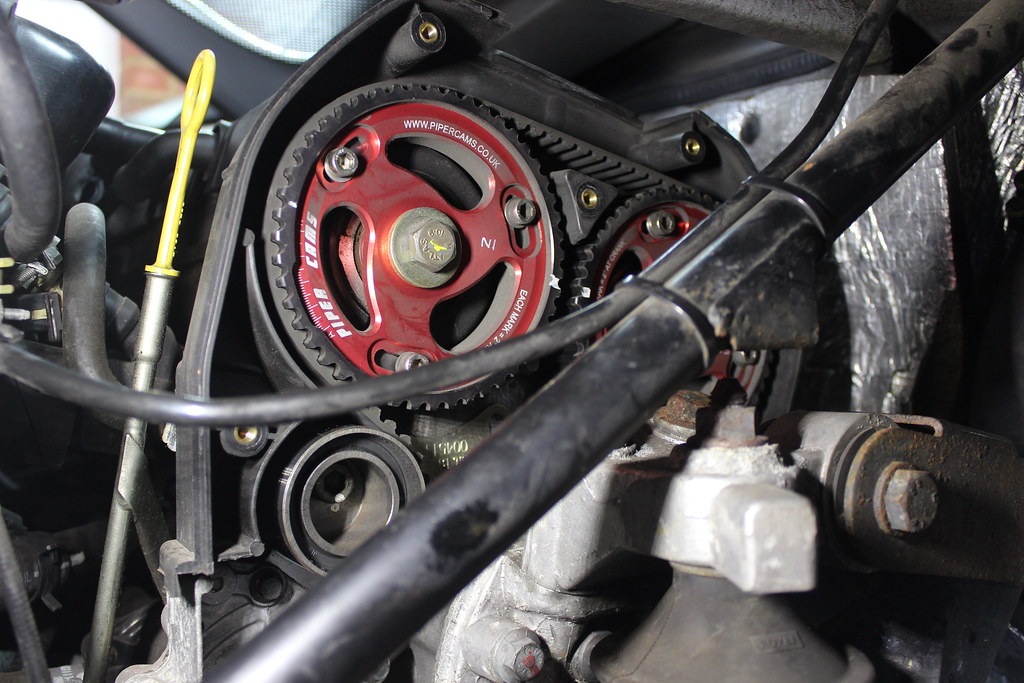
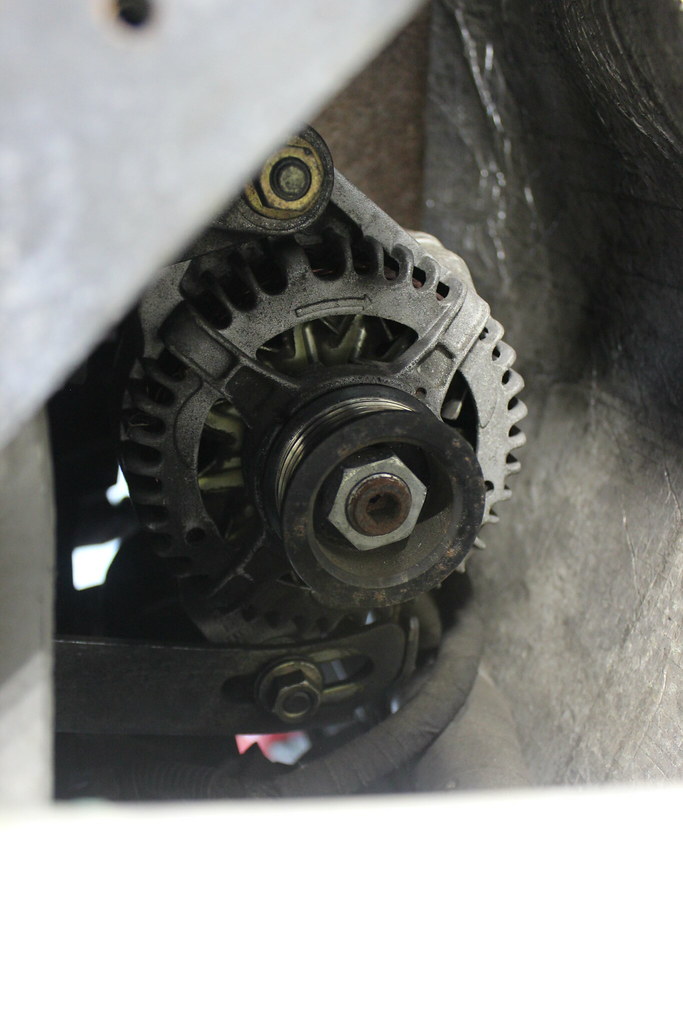
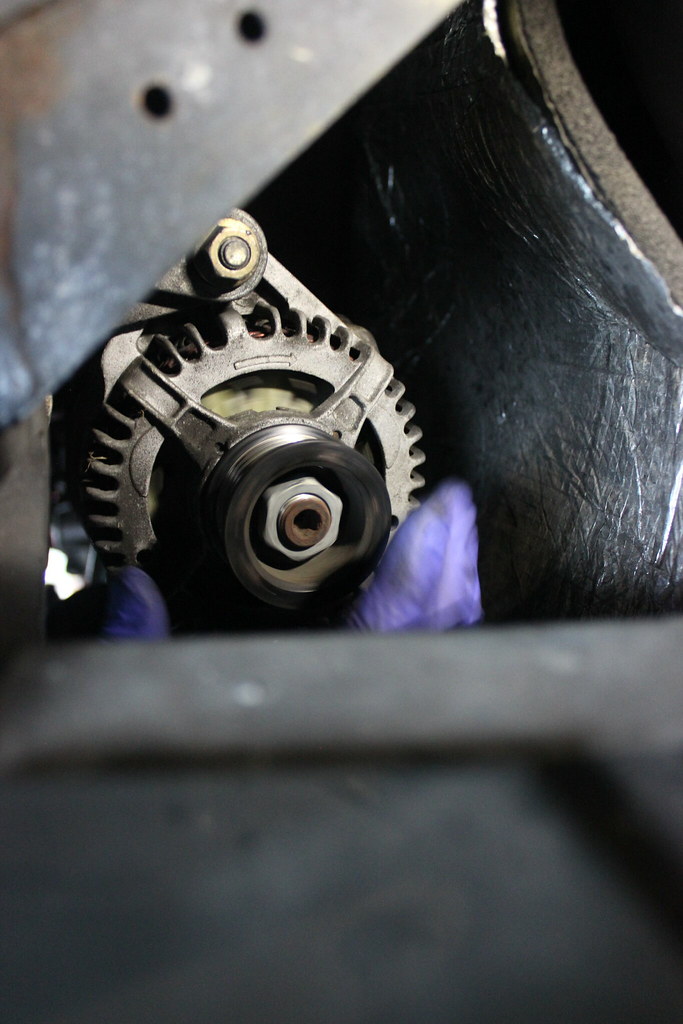
While I had the arch liner out I thought I’d take the opportunity to see the vernier cam pulleys and check the alternator was spinning fine.
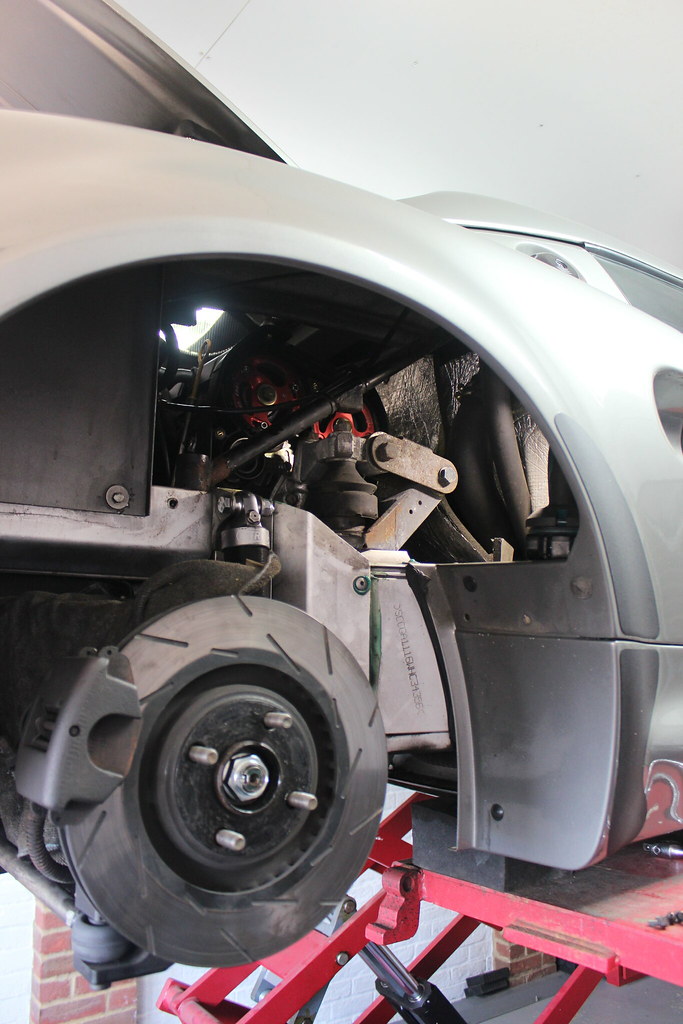

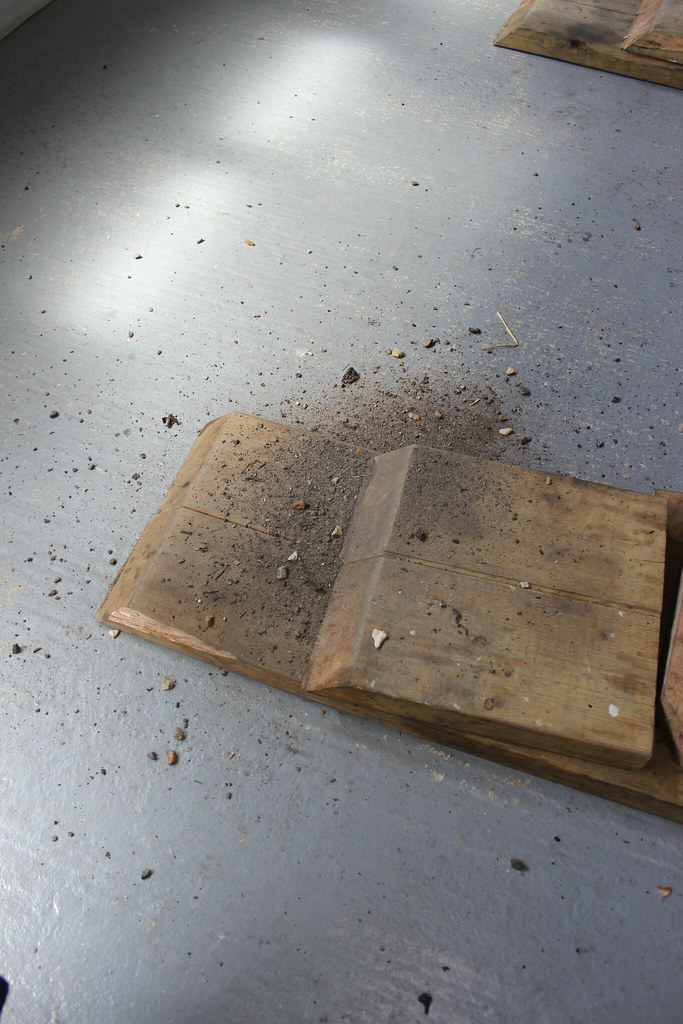
I also cleaned out all the dirt and stones that collect in the rear arch.


Found everything to be fine so put it all back together.