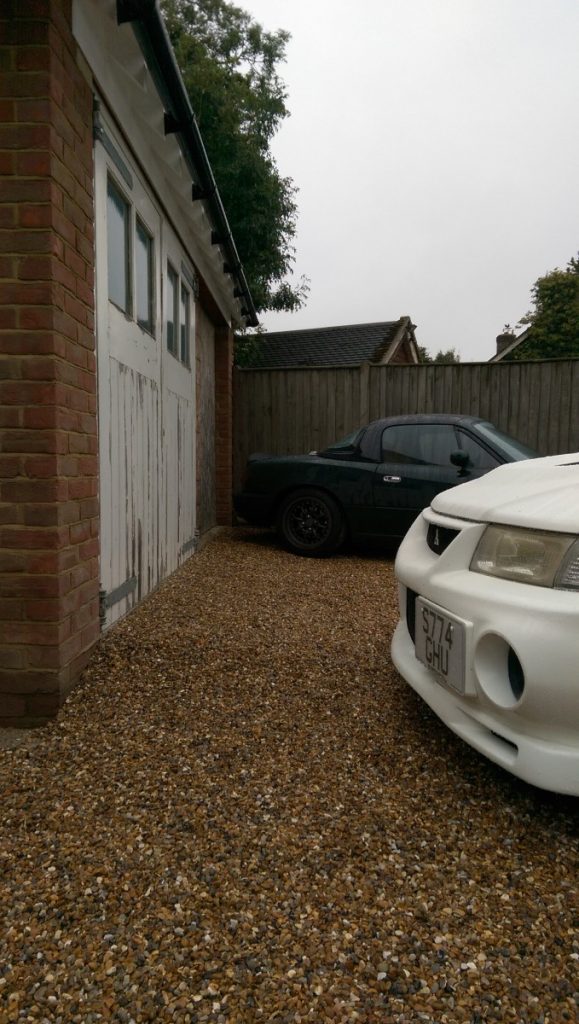
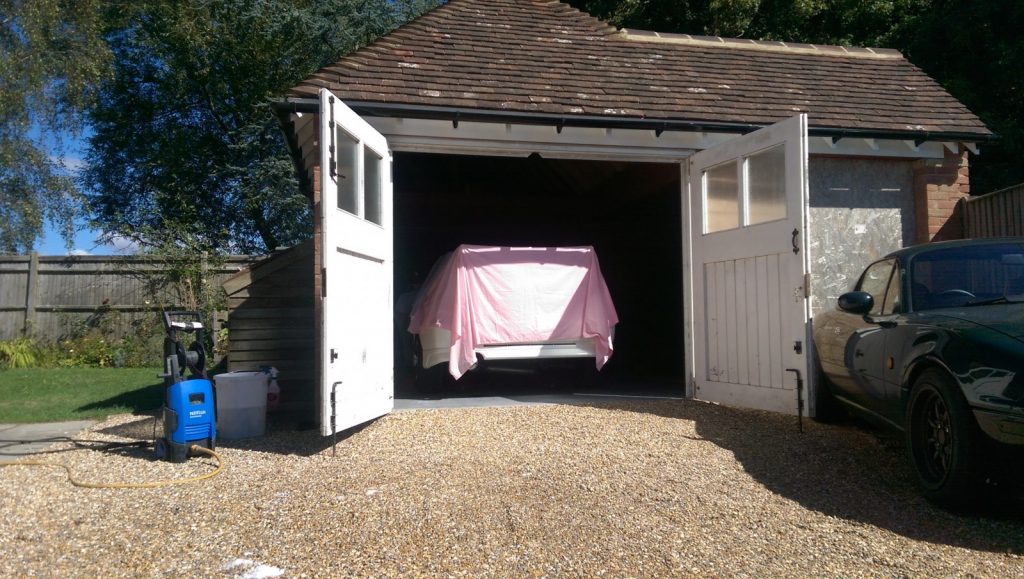
There was a step up of about 100mm from the drive to the garage floor. That’s quite a lot for very low cars so any ramp would need to be quite a gentle gradient to be able to get anything low in and out without too much fuss.
We’d been using some old bits of board as a temporary ramp. It was about 900mm long and bendy but it had been working fine so I figured a concrete ramp of about 1m should do nicely and blend into the driveway quite well.
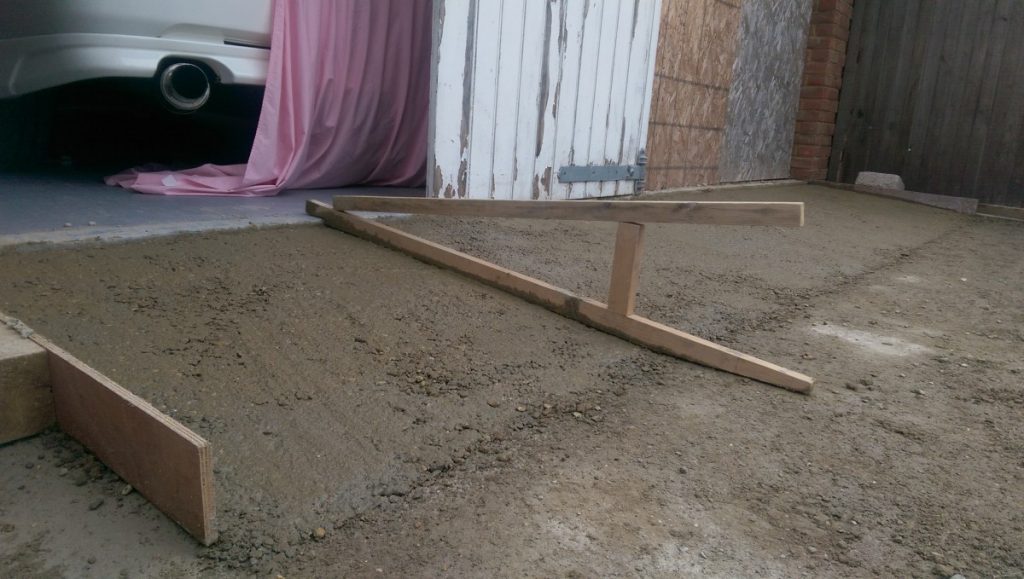
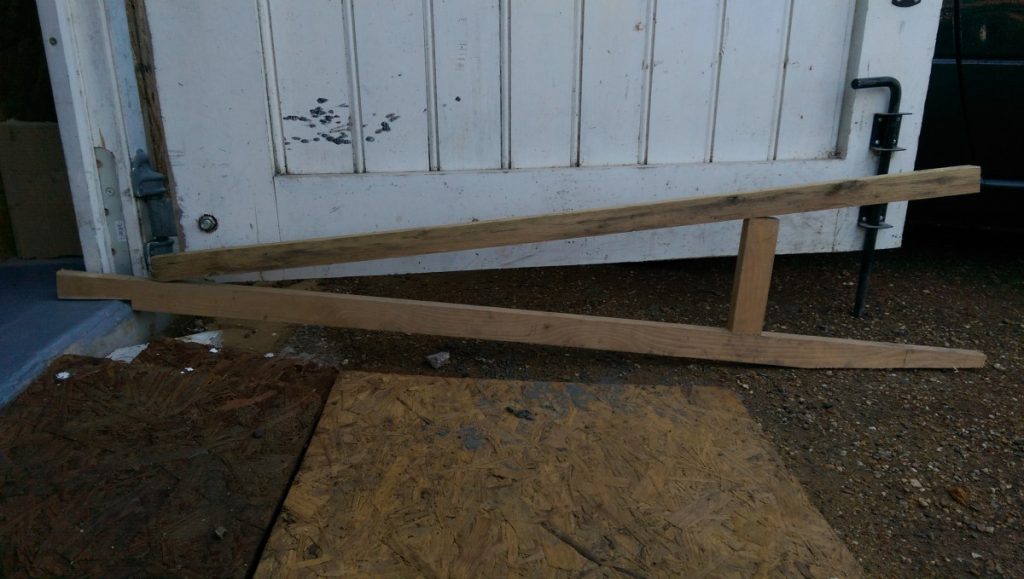
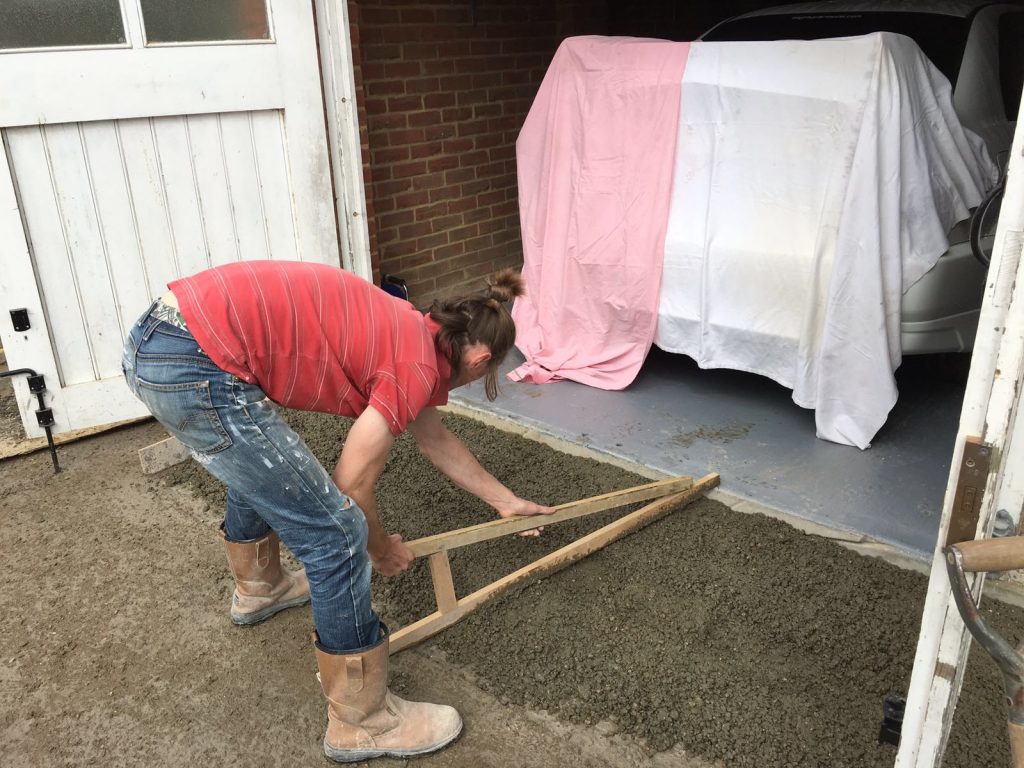
We made a tool to give us our ramp length and profile. It also left a ledge at the garage floor edge so gravel could be laid right up to the floor edge.
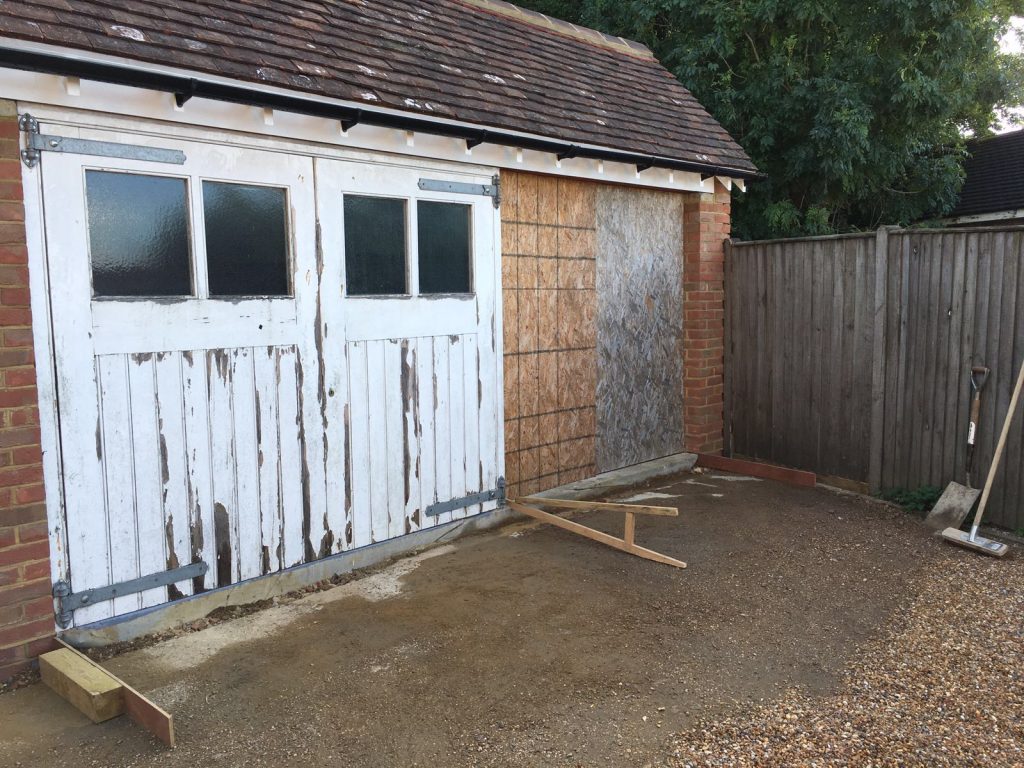
Some holes drilled to act as a guide for cutting with the disc cutter.
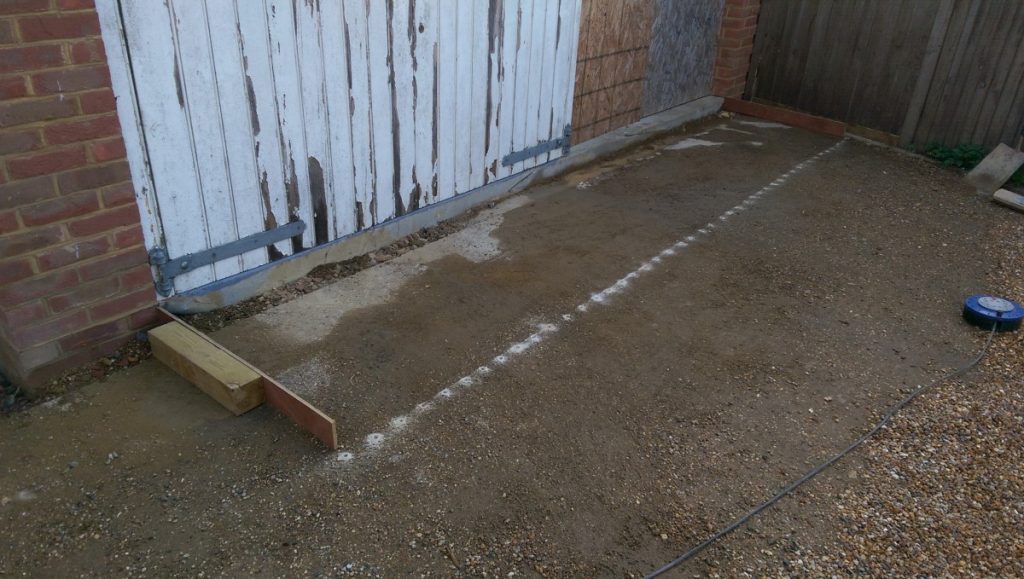
Borrowed from my colleague.
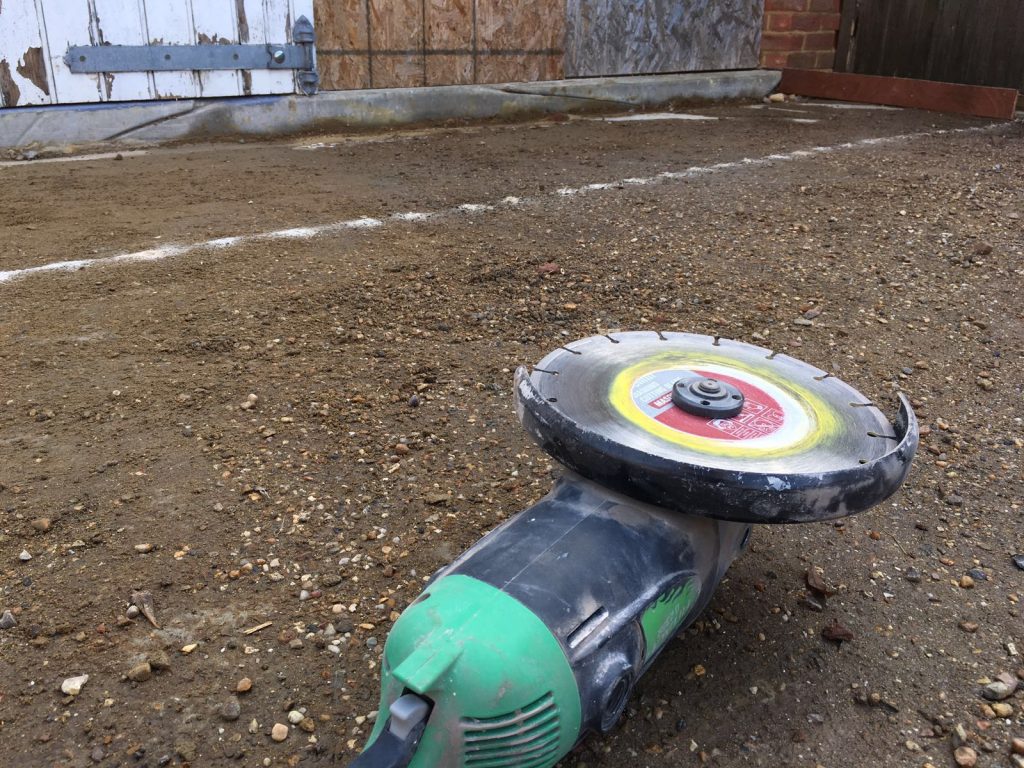
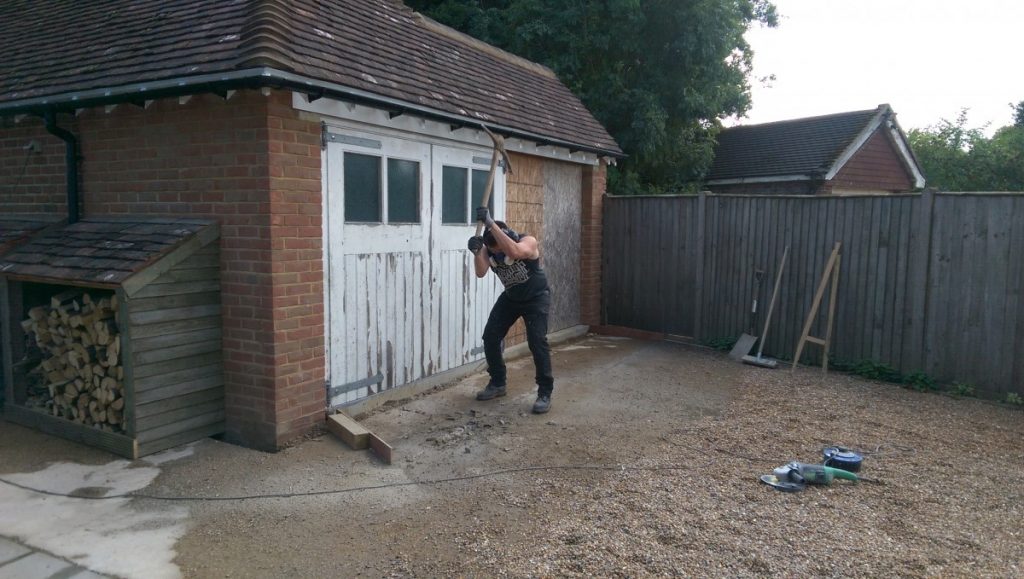
The plan was to cut a grid into the concrete and pick out the chunks of concrete to give the new concrete ramp some depth at the thin edge so it it doesn’t just break up.
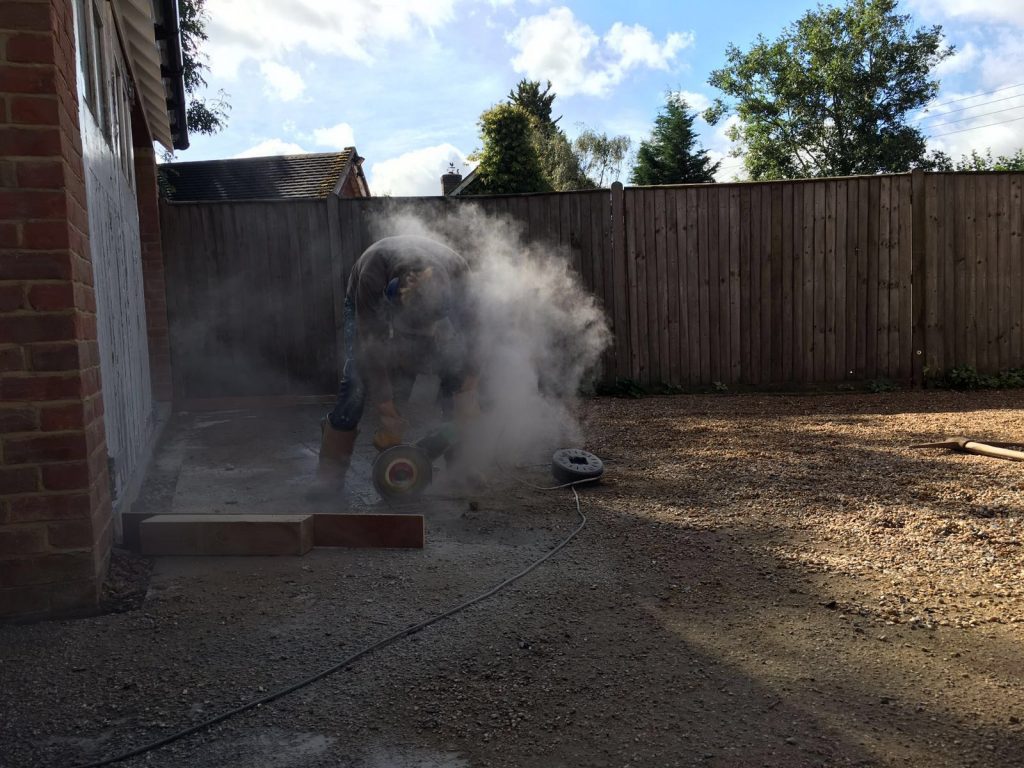
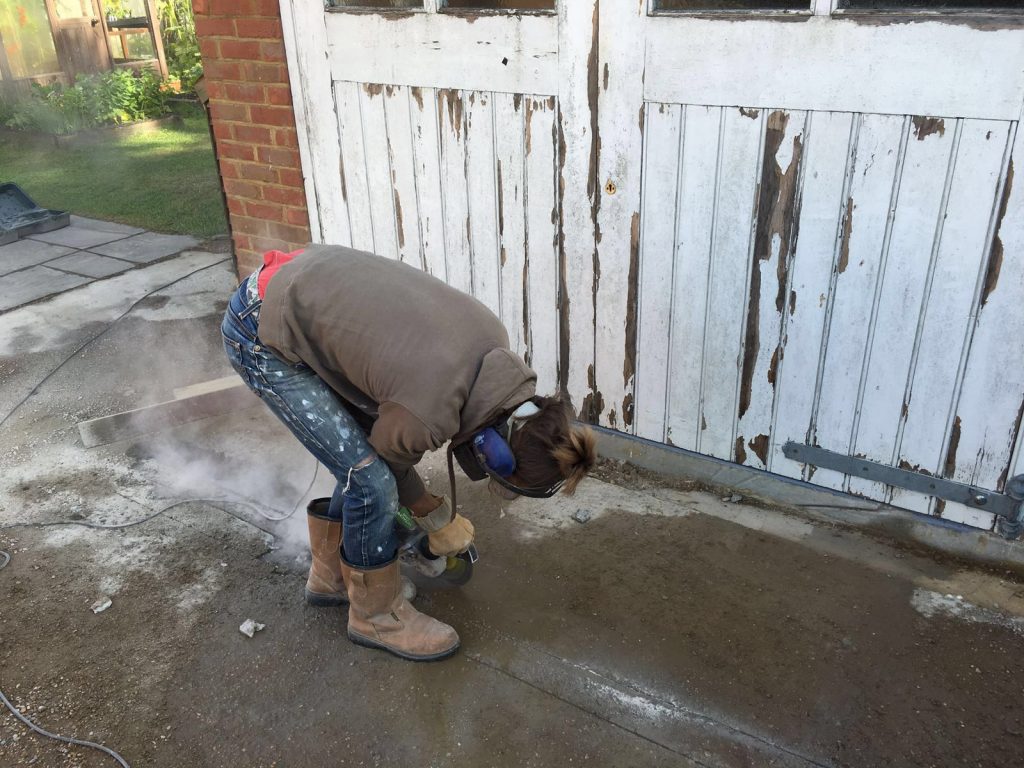
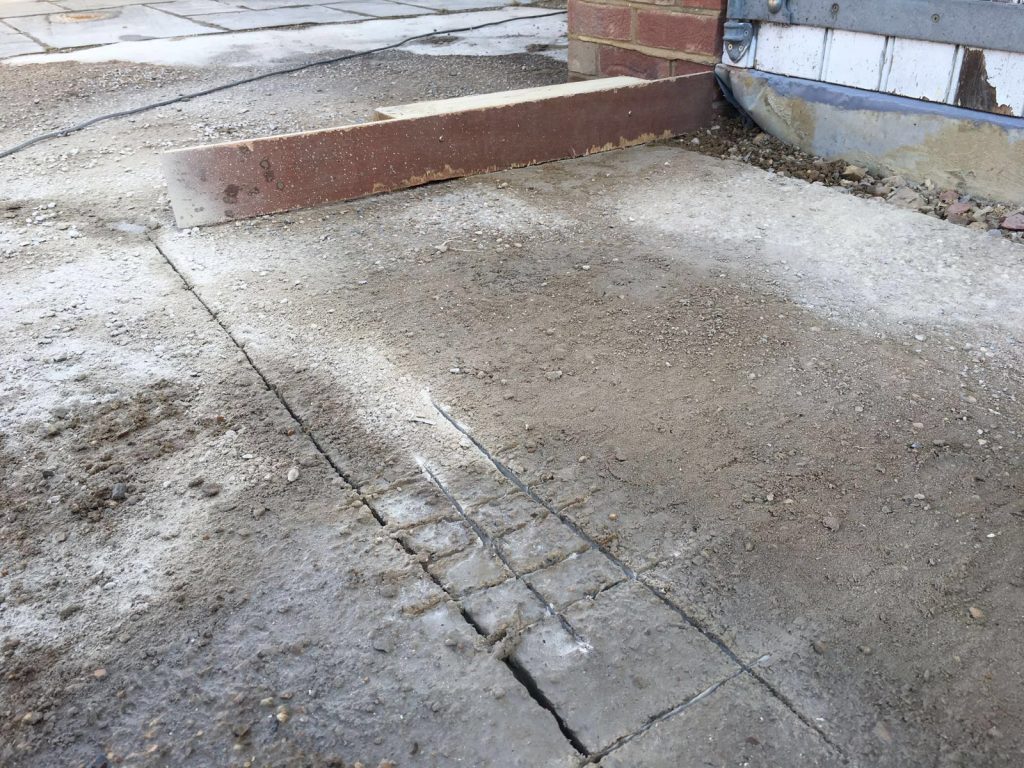
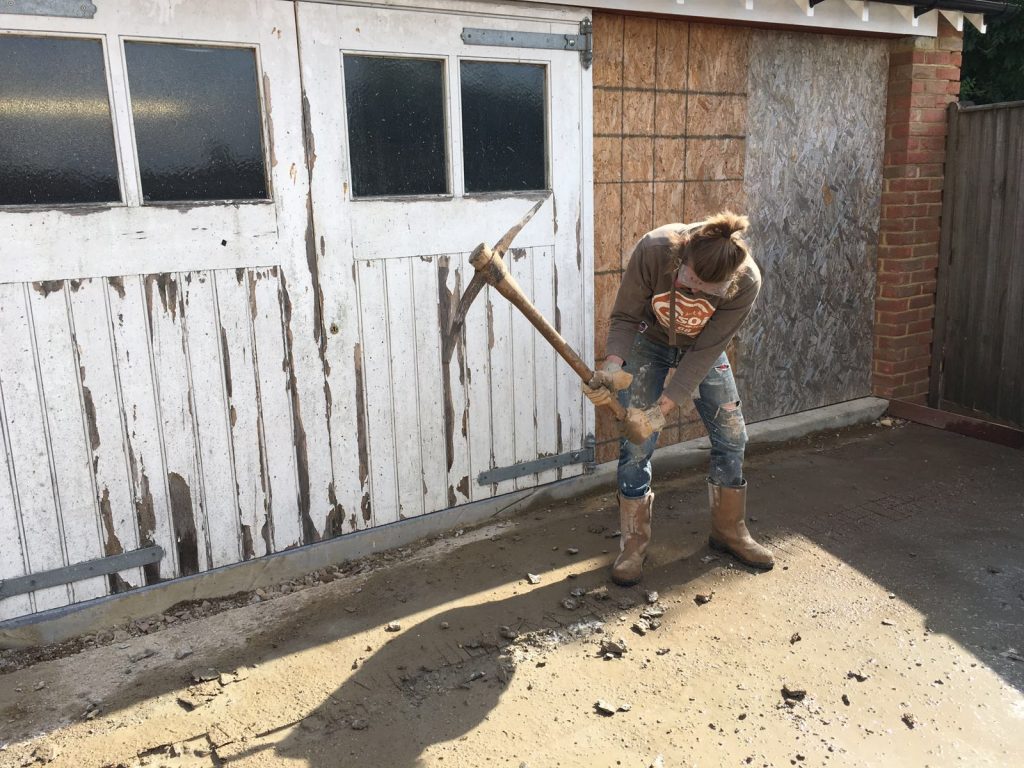
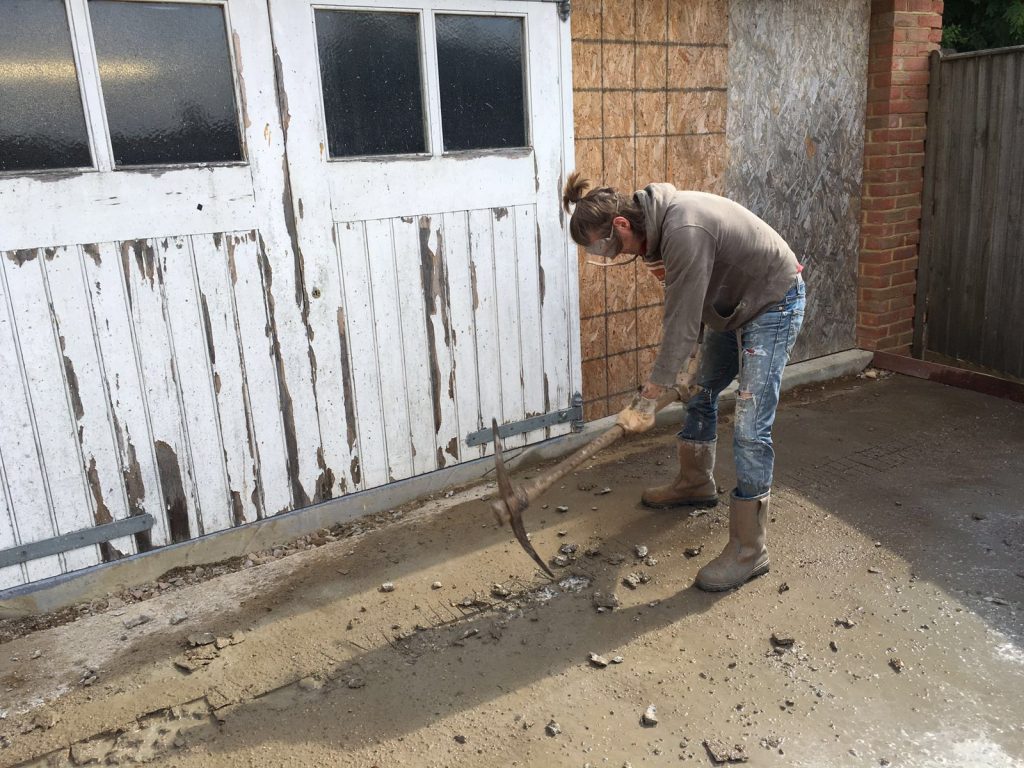
The plan slightly fell down when it came to breaking out the chunks of concrete. It was sooooooo hard! Whoever laid it must have got a bit keen with the mix. I should have been prepared for this really as I was aware how much trouble the guys had breaking up the drive to dig the footings and they were using a digger and air chisel! I probably should have hired an air chisel but we just got stuck in with the pick axe.
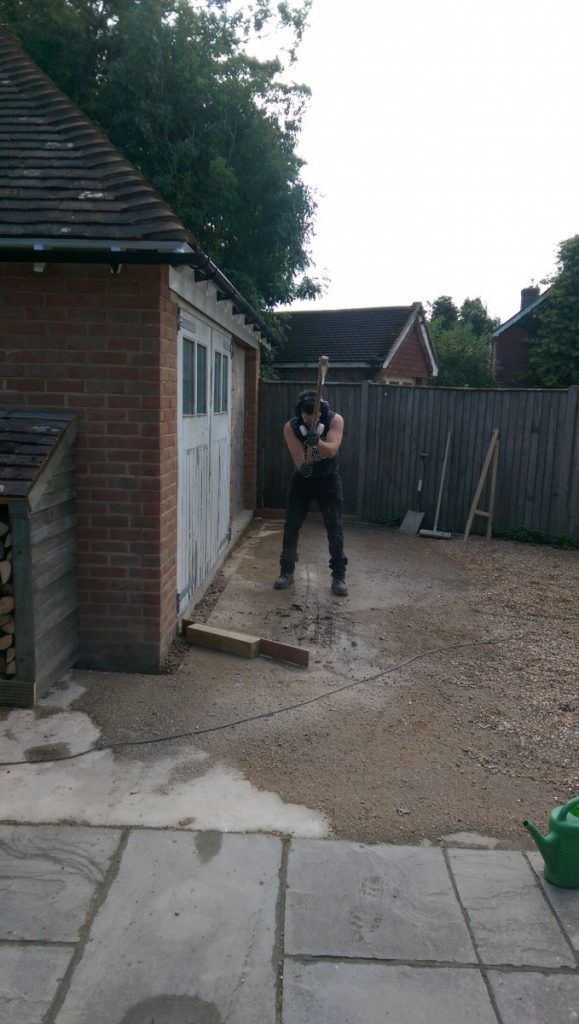
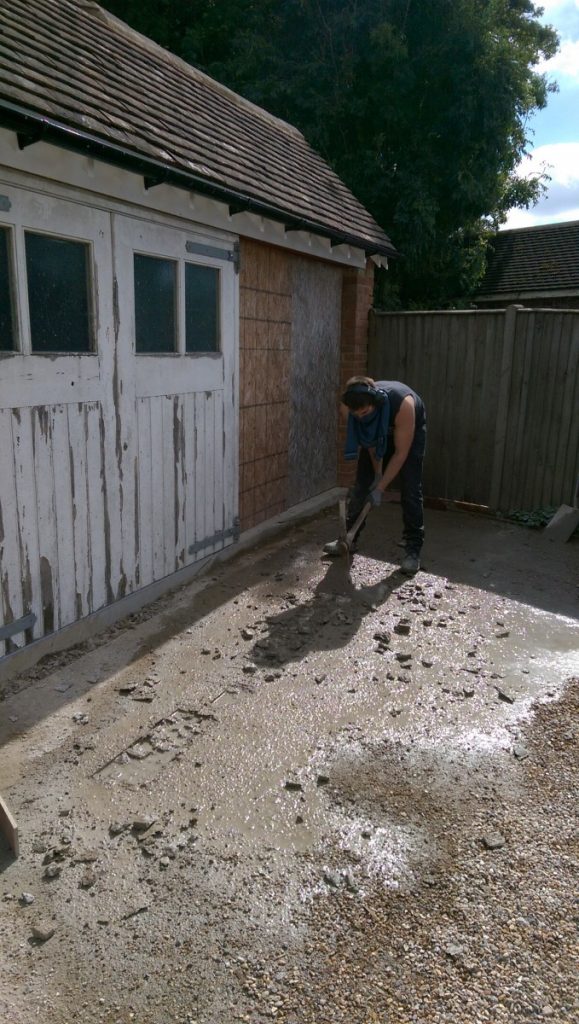
We took it in turns to do a few minutes at a time.
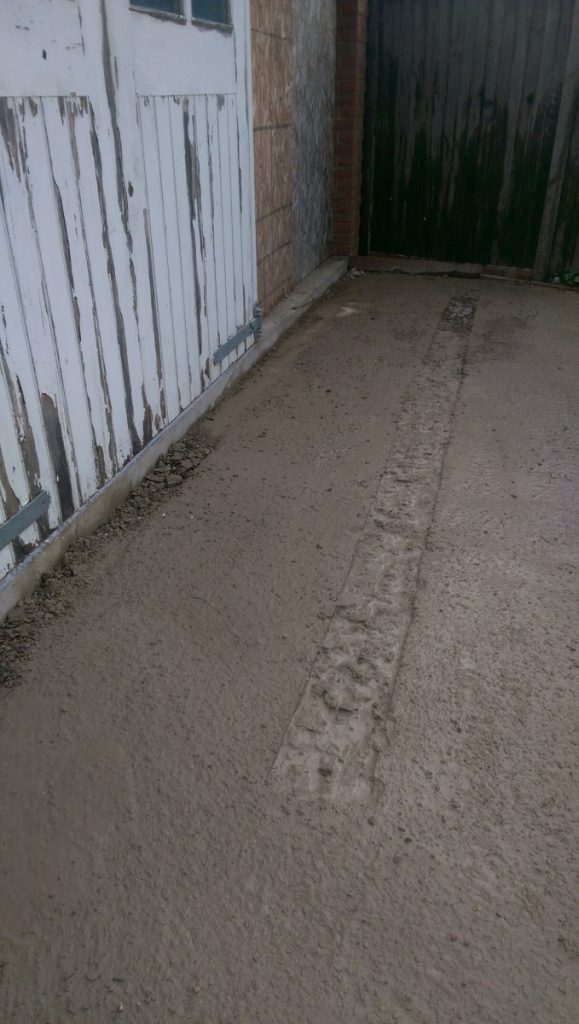
This was as much as we could do. After I’d got a couple of cuts on my face from concrete shards hitting me and Townie having a bit of the end of the pick axe lodged in his arm we decided we’d had enough. Not very impressive looking as it’s full of water but it should at least mean the thin end of the ramp isn’t too thin. It also helped to define a good edge when forming the ramp.
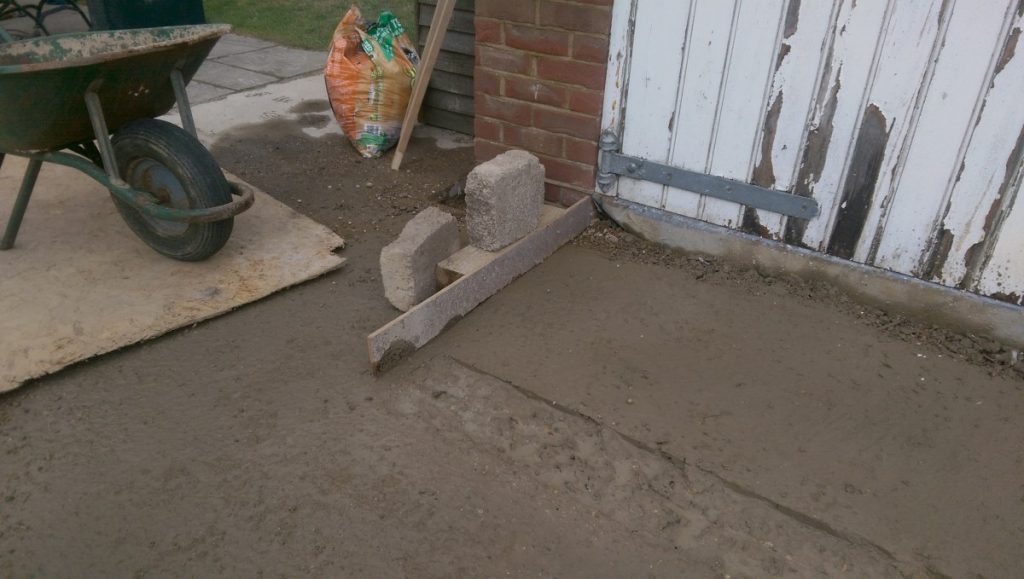
Shuttering at each end.
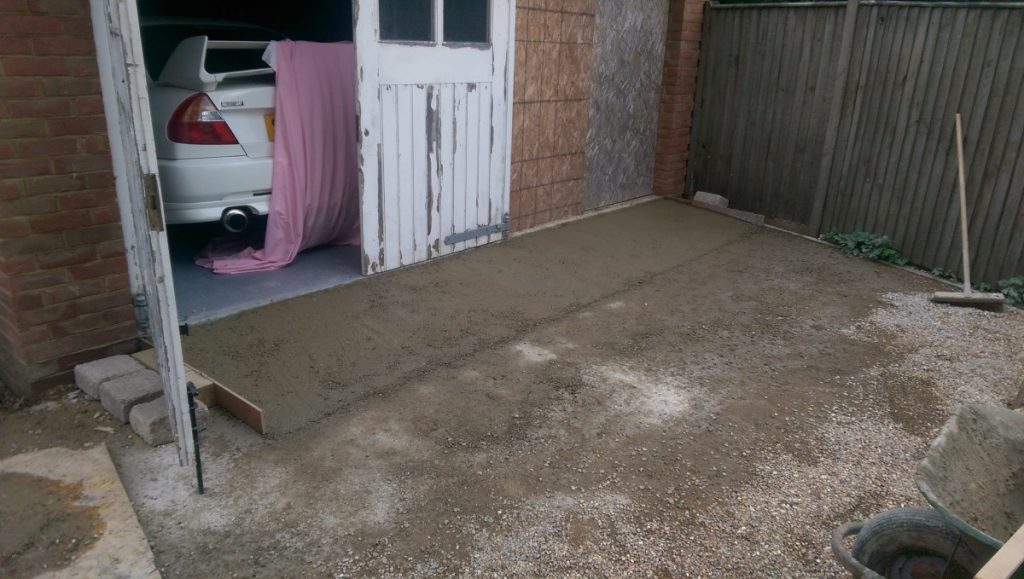
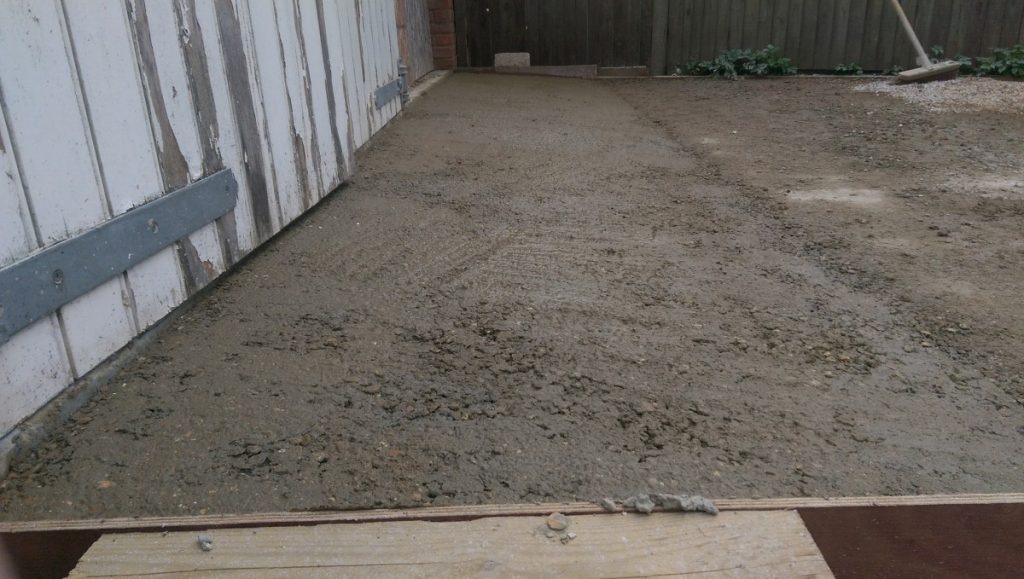
Concrete mixed one wheel barrow full at a time and pored in. Then I just used the tool to get it into a sort of ramp shape.
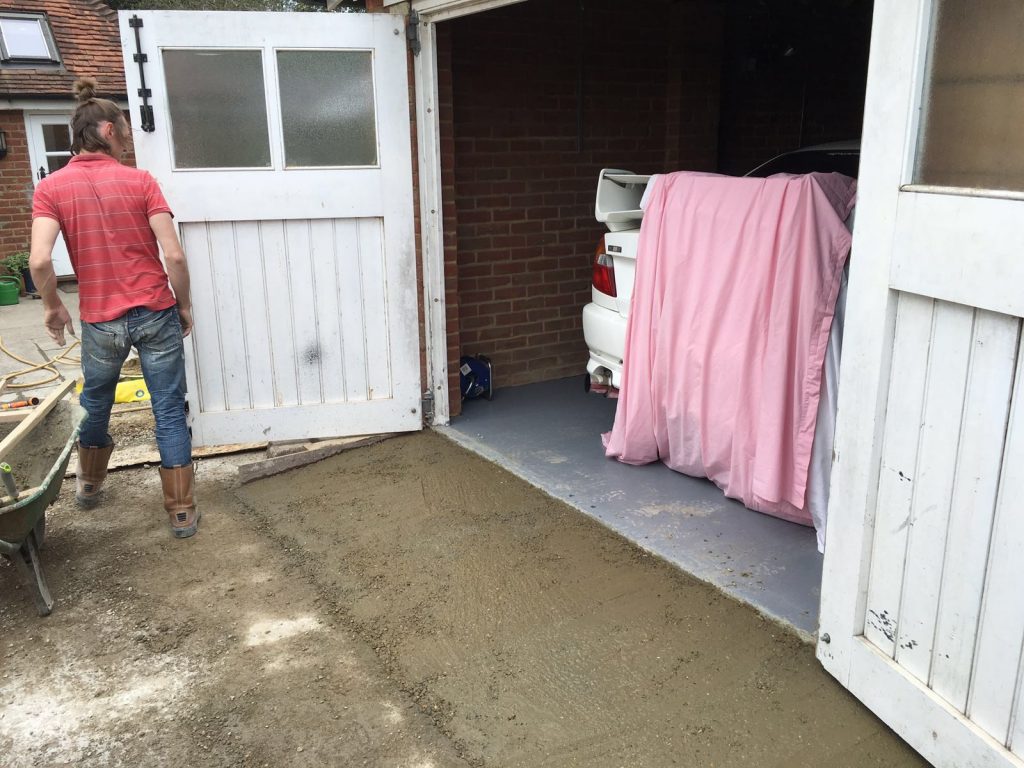
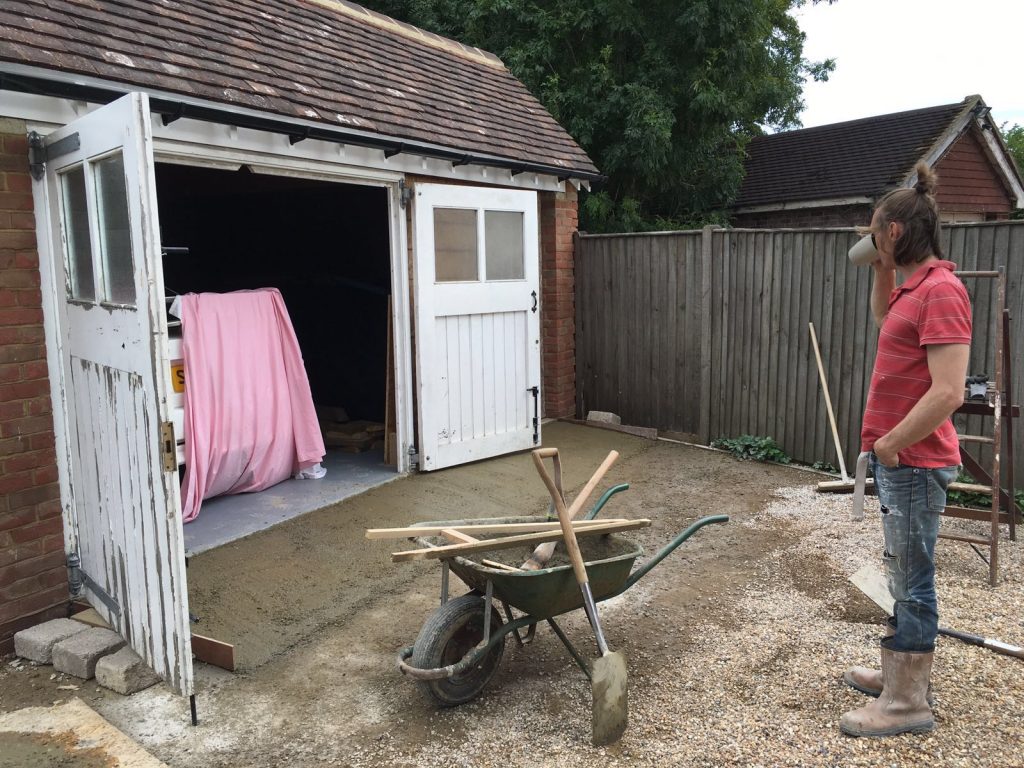
Admiring our work, drinking a cup of tea that went cold a while ago.
A covering of fresh gravel and it’s all done. 🙂
