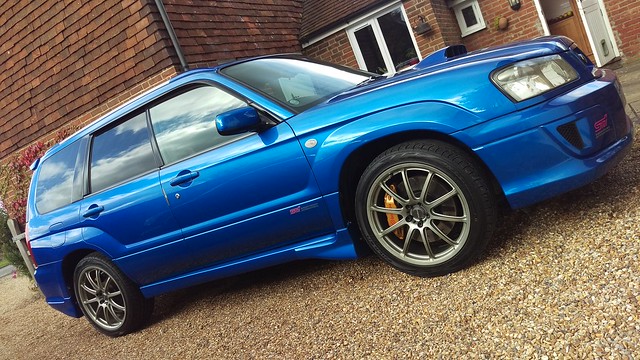
The forester still had the original double din radio, CD and cassette player fitted. It worked OK though the FM radio had the wrong range for the UK as it was a JDM item. It’s possible to fix the FM radio problem with a little gadget that plugs into the antenna but I really wanted something a bit more modern with a DAB radio. I also like the idea of fitting something that could run the Torque ECU reading app to display live ECU data via a Bluetooth OBD2 reader.
After a good look around at what was available at the time I decided against going for anything by one of the major brands. The reason for this is, though they usually run on Android, it’s often a pretty old version and is overlaid with their own ‘skin’ making it less easy to customise and less likely to be compatible with some apps. No doubt the major brands software make syncing a phone etc easier but I’m not really interested in doing that anyway.
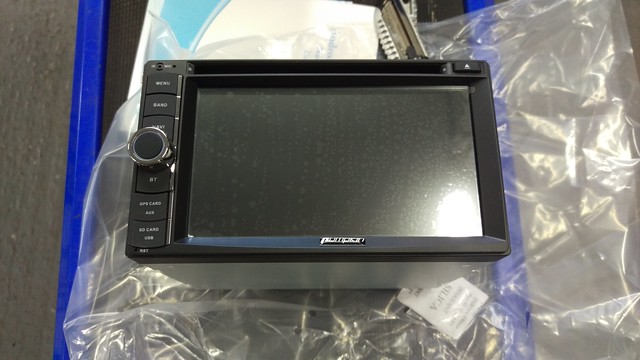
All I was really looking for was an uncomplicated tablet with built in CD player and amplifier. Well it turns out there a plenty of options for that kind of thing being made in China and sold over here with various brand names.
The name that kept coming up and looked to have good feedback from customers was Pumpkin. So I bought one through Amazon.

Now on to fitting it, starting with pulling the interior apart and getting the OEM one out.
First the trim panel around the gear stick just pulls up from the rear edge.
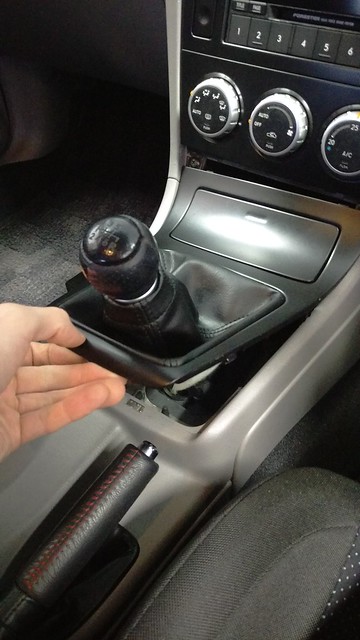
The lighter/power socket needs disconnecting and the gear stick gaiter popper needs undoing so the whole lot can be lifted over the stick.
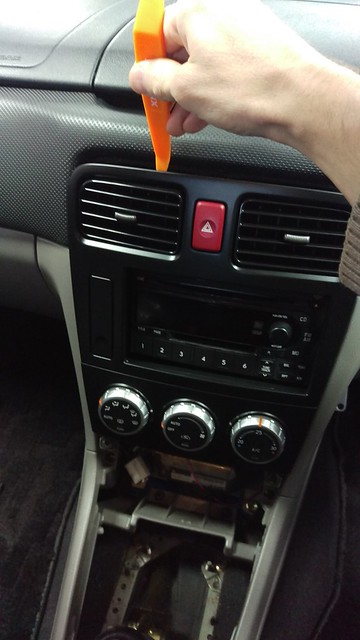
Next there’s a couple of screws to undo at the bottom of the heater controls panel.

Now this whole panel can be carefully pulled away as the rest of it is only held in with clips.

Some plastic trim removal tools are worth having for this bit.

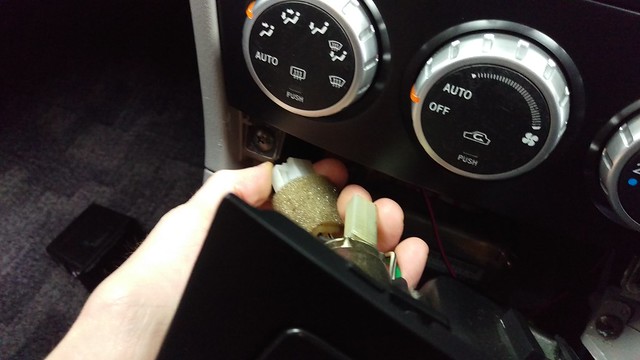
When the panel is released the plugs for the hazard light switch and heater/air con control need unplugging.
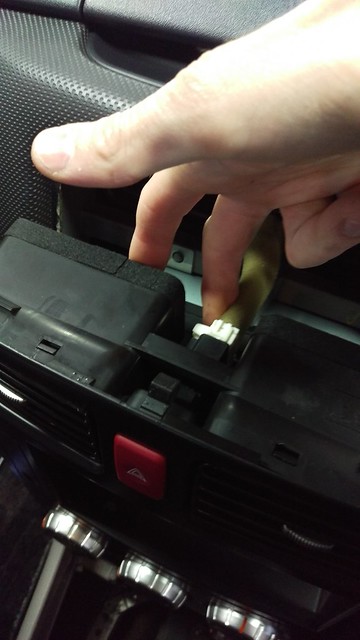
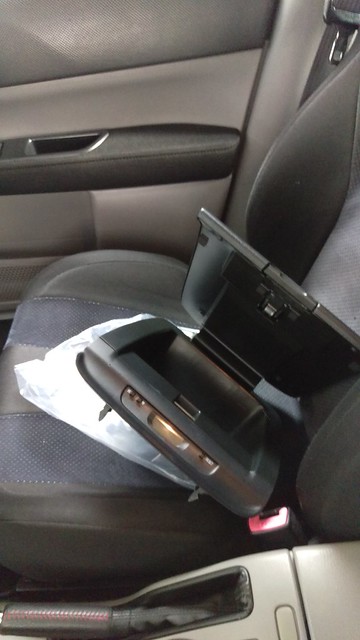
Now the panel can be removed. At this point I removed the cup holder to help get a proper look at the head unit and panel next to each other then see what might need some work to get the head unit to fit neatly.

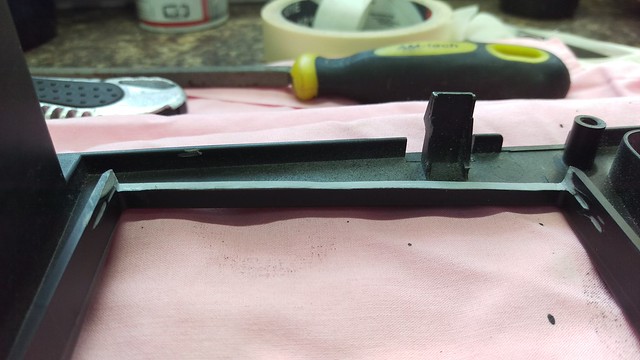
The dimension between the top and bottom horizontal sides of the hole was large enough for the head unit to fit between nicely. The dimension between the vertical sides though, was not quite enough to allow the head unit to push up into the hole and sit the screen flush with the front of the panel.
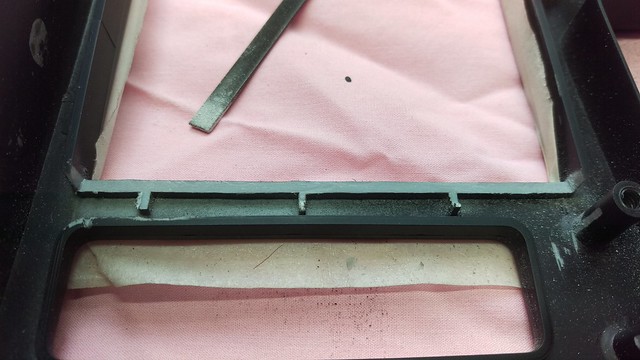
Using a cheap little rotary cutting tool I trimmed the rear of the vertical edges back to allow the head unit to push further forward just enough to sit right.


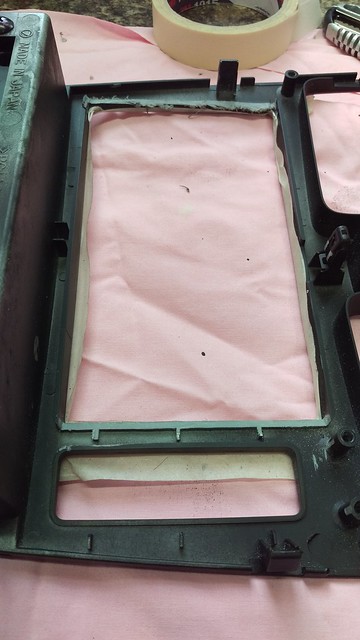
After some careful tidying with a file.
A pretty neat fit in the end.
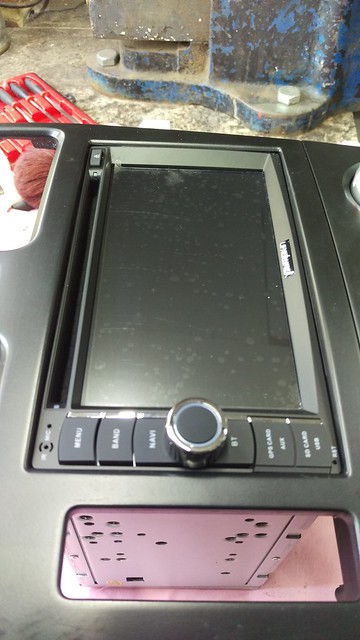

Cup holder refitted.

Now the mounting bracket needed removing from the old head unit to fit to the new one.
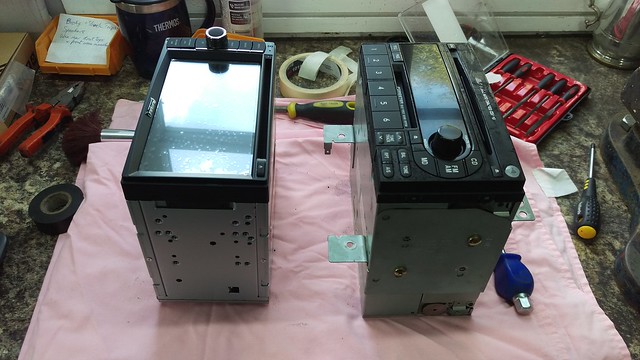
There are a selection of threaded holes on the side of the Pumpkin head unit and multiple holes on the OEM mounting bracket. I spent some time measuring the distance of the face of the old head unit to the mounting points of the bracket that attach to the car. That way I could pick the right combination of holes to get the face of the new head unit to match the distance of the old one when refitted to the car.

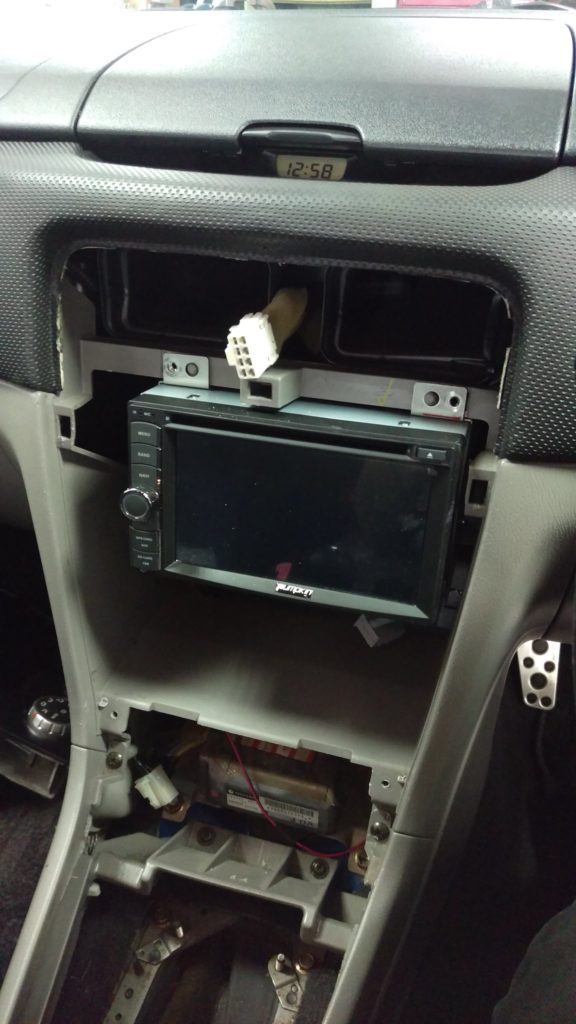
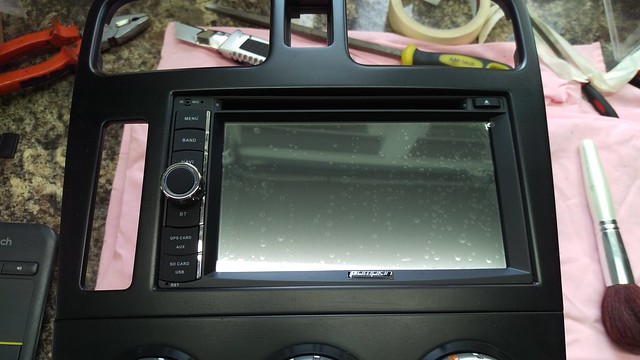
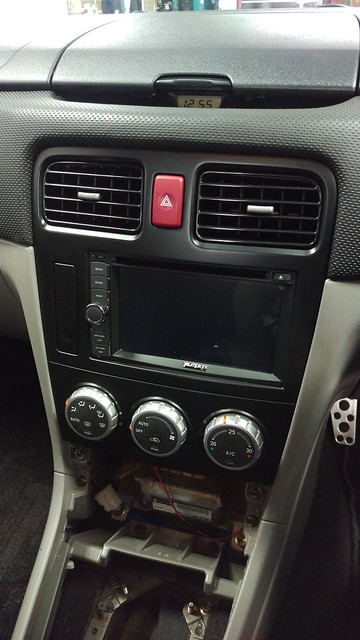
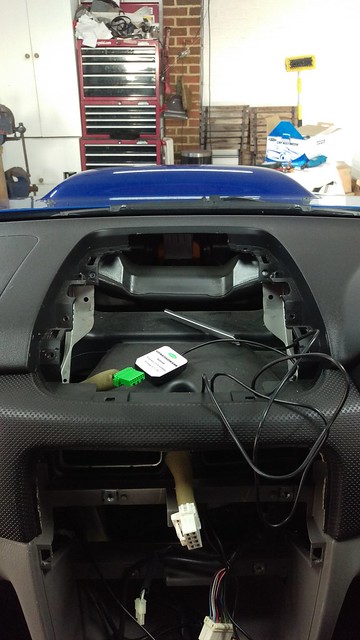
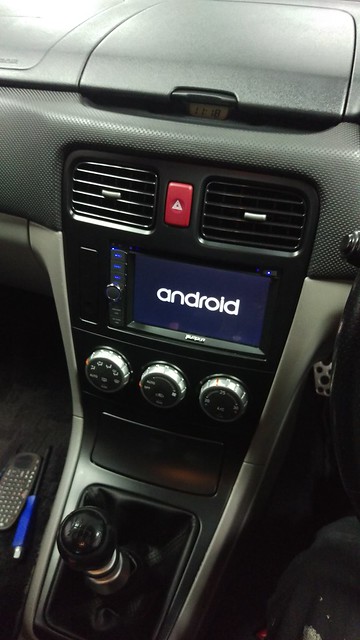
Pumpkin head unit fitted into place on the dash centre, not screwed in yet.

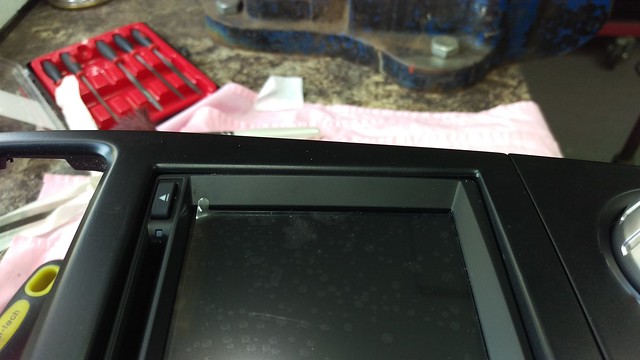
Dash centre panel clipped into place. Pretty happy with the fit.
Now the wiring. Starting with the wire to enable video viewing. If this is not connected to ground then in theory the Pumpkin head unit will not allow video viewing. This is what it says in the instruction manual.

So in theory it should be connected through the handbrake switch to prevent video viewing unless the handbrake is on. I don’t really see the point in that and couldn’t be bothered with running the cable through the handbrake switch. I think I can resist the urge to watch Netflix and instead concentrate on not crashing on the way to work!
So I popped the ground pin out of the ISO connector block end of the wiring harness supplied with the Pumpkin head unit and added a short piece of wire to it to then connect the brown ‘Brake’ wire.

Then pushed the pin back into the connector block.
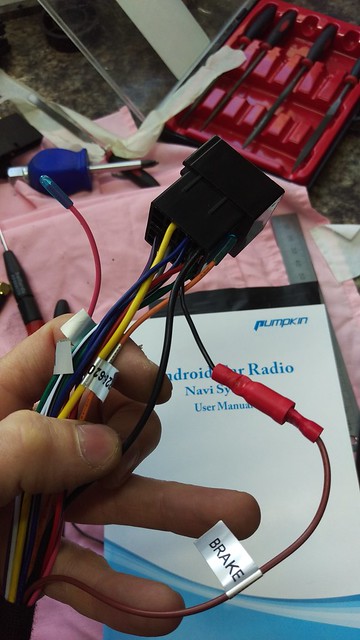
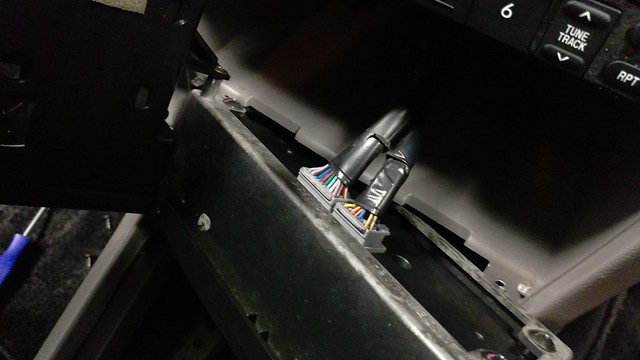
The Pumpkin head unit was supplied with the usual ISO connector so I also bought an adapter to connect the Subaru plug to the ISO connector. This only cost a few quid on eBay. The ISO plug and socket connected in the middle, the black Pumpkin plug at the top and the white Subaru one at the bottom.

Fitting a DAB antenna next. I wanted to keep it hidden so mounted it like this.


Nicely hidden. This had decent reception at home but I soon found out that my journey to work was not so good. After a look at DAB signal in my area I found out I live in an area with pretty patchy signal. This fitment might be just fine in other parts of the UK but not round my way so I ended up moving it out and up.
The DAB antenna doesn’t connect directly into the Pumpkin head unit it connects to this little box which then connects to the head unit.

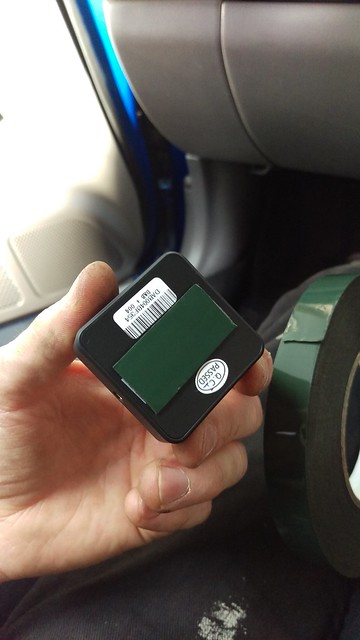
This box can go anywhere so I attached some double sided sticky foam and fitted it in a space just under the head unit.

Next the GPS antenna. This can sort of go anywhere but will work best mounted high up in the dash with a good clear view of the sky through the windscreen. So I popped the top storage bin out to stick it behind there.
Stuck to the plastic pipes that feed the centre air vents.

Fitted and with everything plugged in.

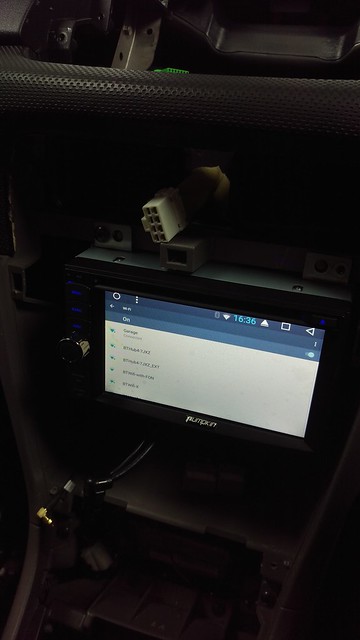
Time to turn it on, connect it to the garage Wi-Fi and start installing apps.
All working fine so centre trim panel fitted.
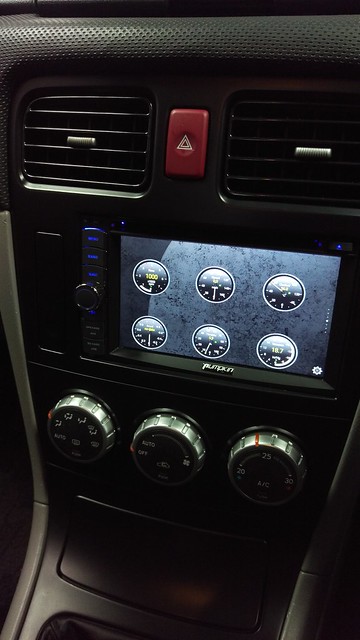
A quick first test of the Torque app giving live ECU data via a Bluetooth OBD2 reader.
All sorted ready for me to listen to some decent DAB radio stations. Still some setup stuff to do to it and fill a memory card or USB with music.
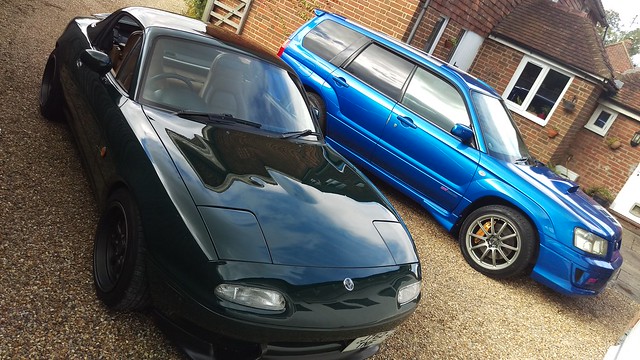
FSTI back outside for the MX5 to go back in the garage.