
With the new exhaust setup finished I wanted to do everything I could to keep engine bay and ‘cockpit’ temperatures down. In the summer it would get very hot in the car at times and that had to be largely down to being sat with the exhaust manifold only a few inches behind me.
I will be replacing the original exhaust heat shield which should really help but to help keep radiant heat from the exhaust down even more, I thought I’d wrap the exhaust. I’ve done this to quite a few exhausts over the years now, it’s a cheap and easy thing to do and it has always worked very well. I’ve never bought expensive wrap, usually just a 50mm width role of 10-15 meters from eBay with some stainless steel ties. Just like this, 50mm width x 15m.

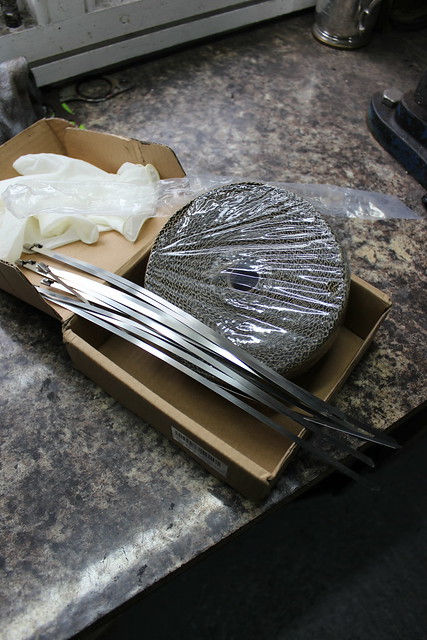
People talk about soaking the wrap in water before fitting it. I don’t bother with that, I’m not really sure there’s any good reason for it. If you fit the wrap properly and pay attention to keeping it tight it will be fine. What I have done, though not every time, is keep a spray bottle of water handy to dampen the wrap as I go. It seems to help reduce the number of fibres that get airborne.
On that subject it is a very good idea to wear a face mask while doing this job, you will notice a lot of fibres become airborne as you work with the wrap, threading it through the manifold. You don’t want to be breathing all that in! Also wear gloves and sleeves or you will be itchy for days after.
I get an old pair of thick socks and cut the toe end out…
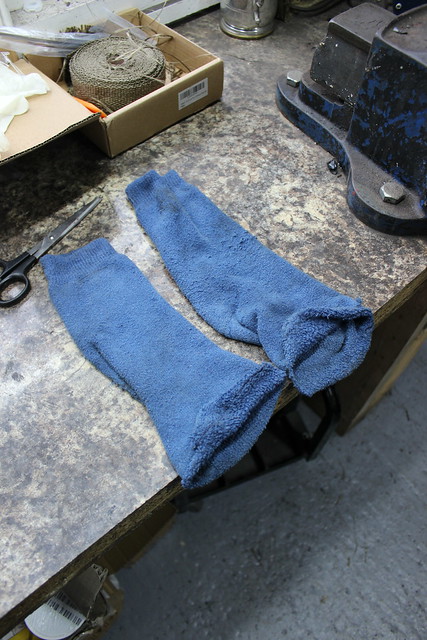
…then slide them over my overalls and gloved hands. Like so, with the elasticated end over my wrists.
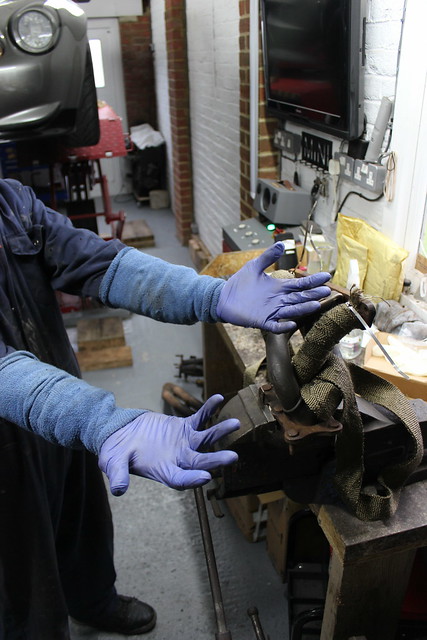
I really can’t be bothered with spending the rest of the day or few days with itchy hands and arms. This method is cheap and easy and it works.
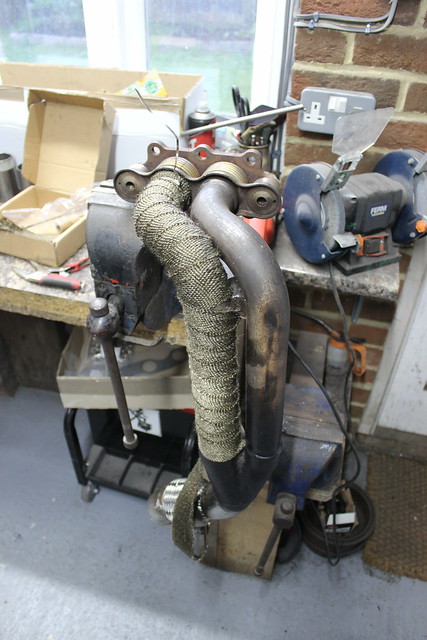
Time to get started wrapping the manifold then. The way I do this is to start at the head flange end and wrap each pipe individually down to where they join together. Where two join together I leave extra on the second one to wrap round the first tightly and use a stainless tie to hold them both in place.

I overlap each turn by half the width of the wrap so the whole thing sort of ends up with a double layer.


Extra wrap on the second pipe to wrap over the first and keep it in place.
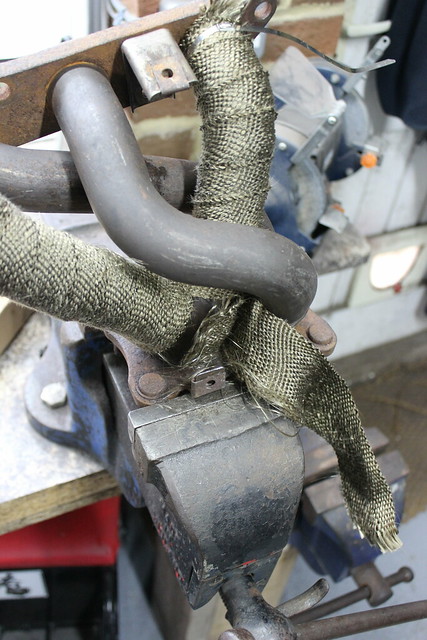
Tie on.

Same again.


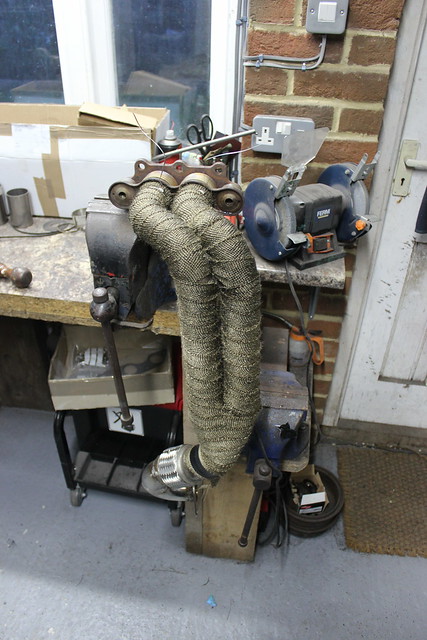
Done. Ties fitted and excess cut off.


Downpipe next as there was plenty of exhaust heat wrap left. Also the downpipe is quite closely tucked up under the sump so this will help prevent exhaust heat heating the engine oil.

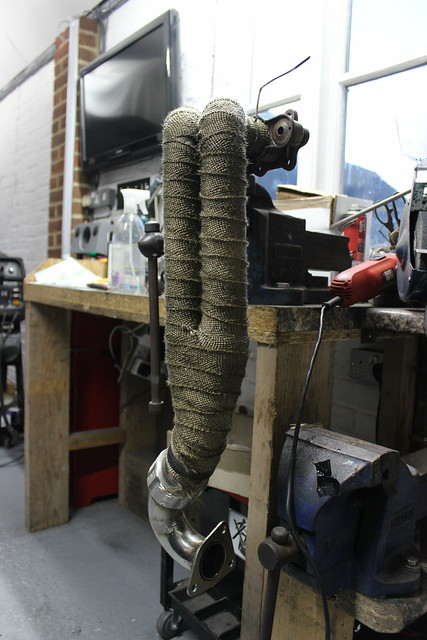
The finishing touch. Some high temperature silicon spray. This is supposed to reduce radiant heat even more though I’m not sure if it can really make a huge difference. It also helps seal the wrap so it doesn’t soak up water and/or oil so easily, this is the reason I used it as the Elise has an open engine cover so when I wash the car the wrap will get soaked and retain the water which can cause the mild steel manifold to rust quicker. This would also be worth doing if I used the Elise in all weathers but it never get’s rained on so wasn’t a consideration for me.


The end of the wrap is just taped in place on the downpipe hear as I wanted to fit the last tie once it was on the car.
This job is not particularly difficult or costly but to do it right can be time consuming. It’s worth spending the time though as it needs to be fitted tightly so that it cannot come loose. If this stuff came off and started flapping around in the engine bay it might not be long before it got drawn into the alternator belt then that could interfere with the timing belt if you’re unlucky which is not something you want!