
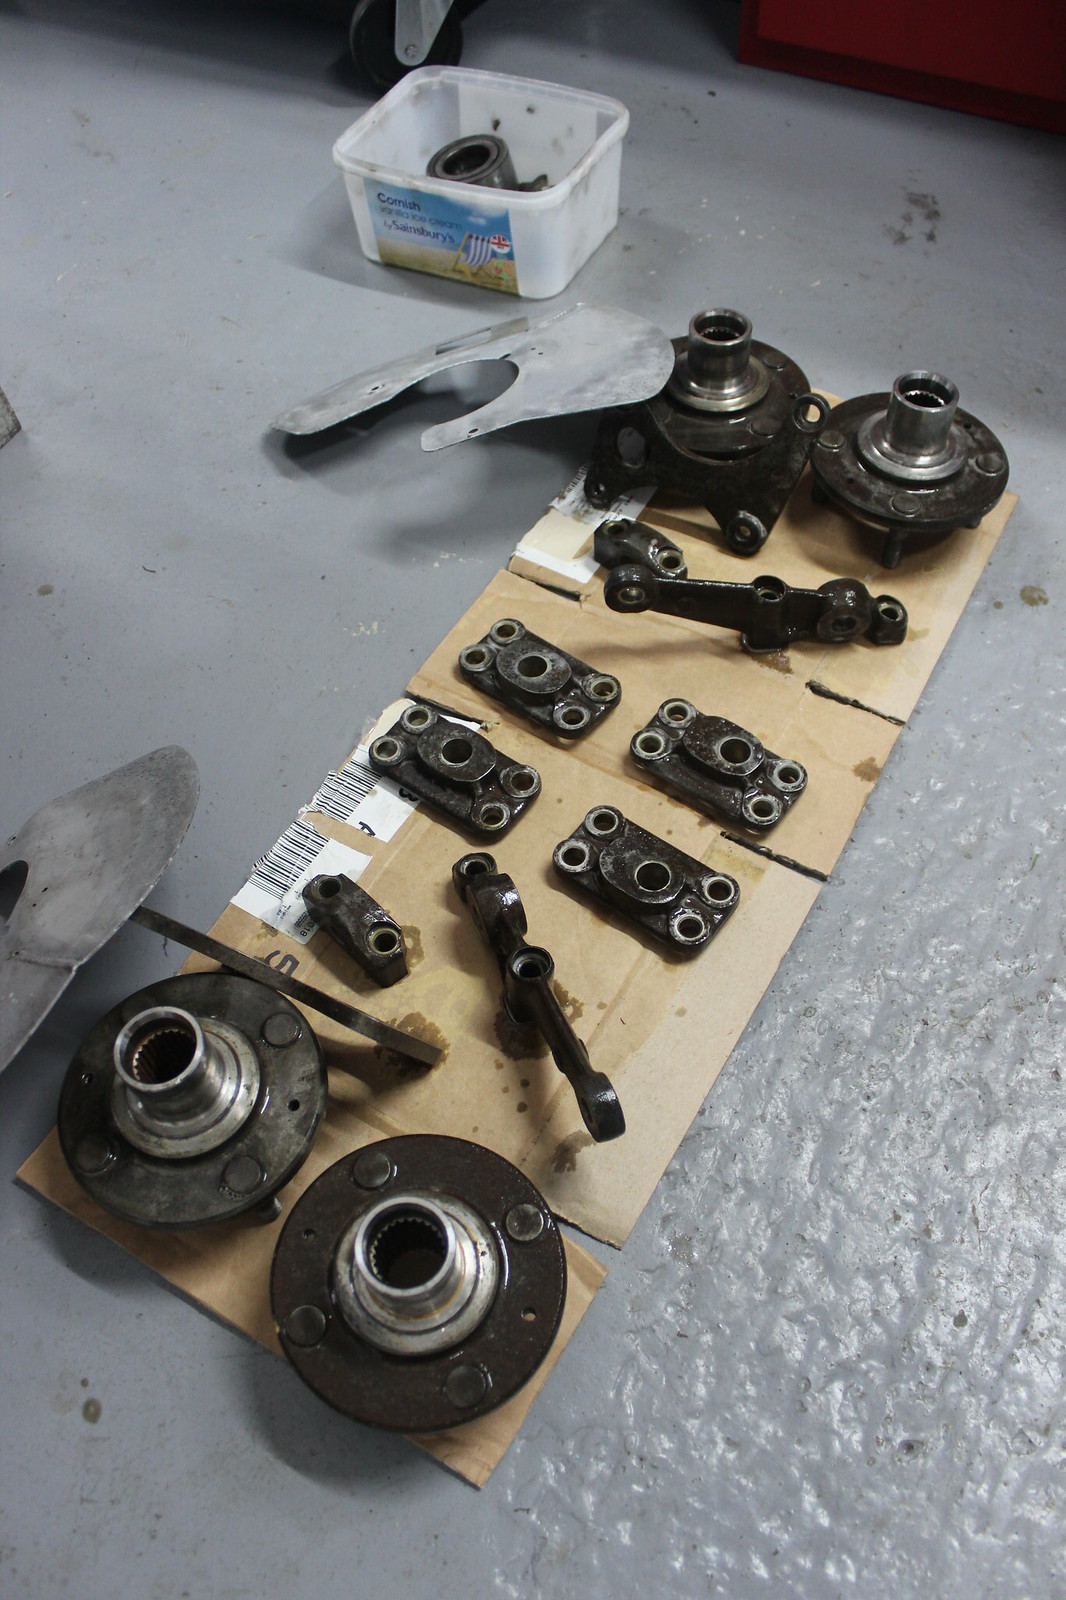
As I’ve shown in previous posts I’d removed any loose rust with various wire wheels and brushes and used the POR15 Cleaner Degreaser to thoroughly clean any grease and dirt off all surfaces. So the second stage of the process was to apply POR15 Metal Prep.
This is what they say about their Metal Prep:
POR-15® Metal Prep provides the best adhesion for POR-15® Rust Preventive Coating on any metal surface, including aluminum and shiny polished metal surfaces. Our simple process gently etches metal, creating an ideal anchor pattern for coatings such as POR-15® Rust Preventive Coating, while simultaneously leaving a zinc phosphate coating to insure chemical bonding of paint and steel. Avoid other preps that may leave harmful residues which prevent proper adhesion. After thoroughly degreasing your work piece, apply environmentally safe POR-15 Metal Prep to both neutralize any rust and etch any clean bare metal. This will allow better adhesion of POR-15® Rust Preventive Coating or any other coating. POR-15® Metal Prep is not caustic, corrosive, toxic or flammable.
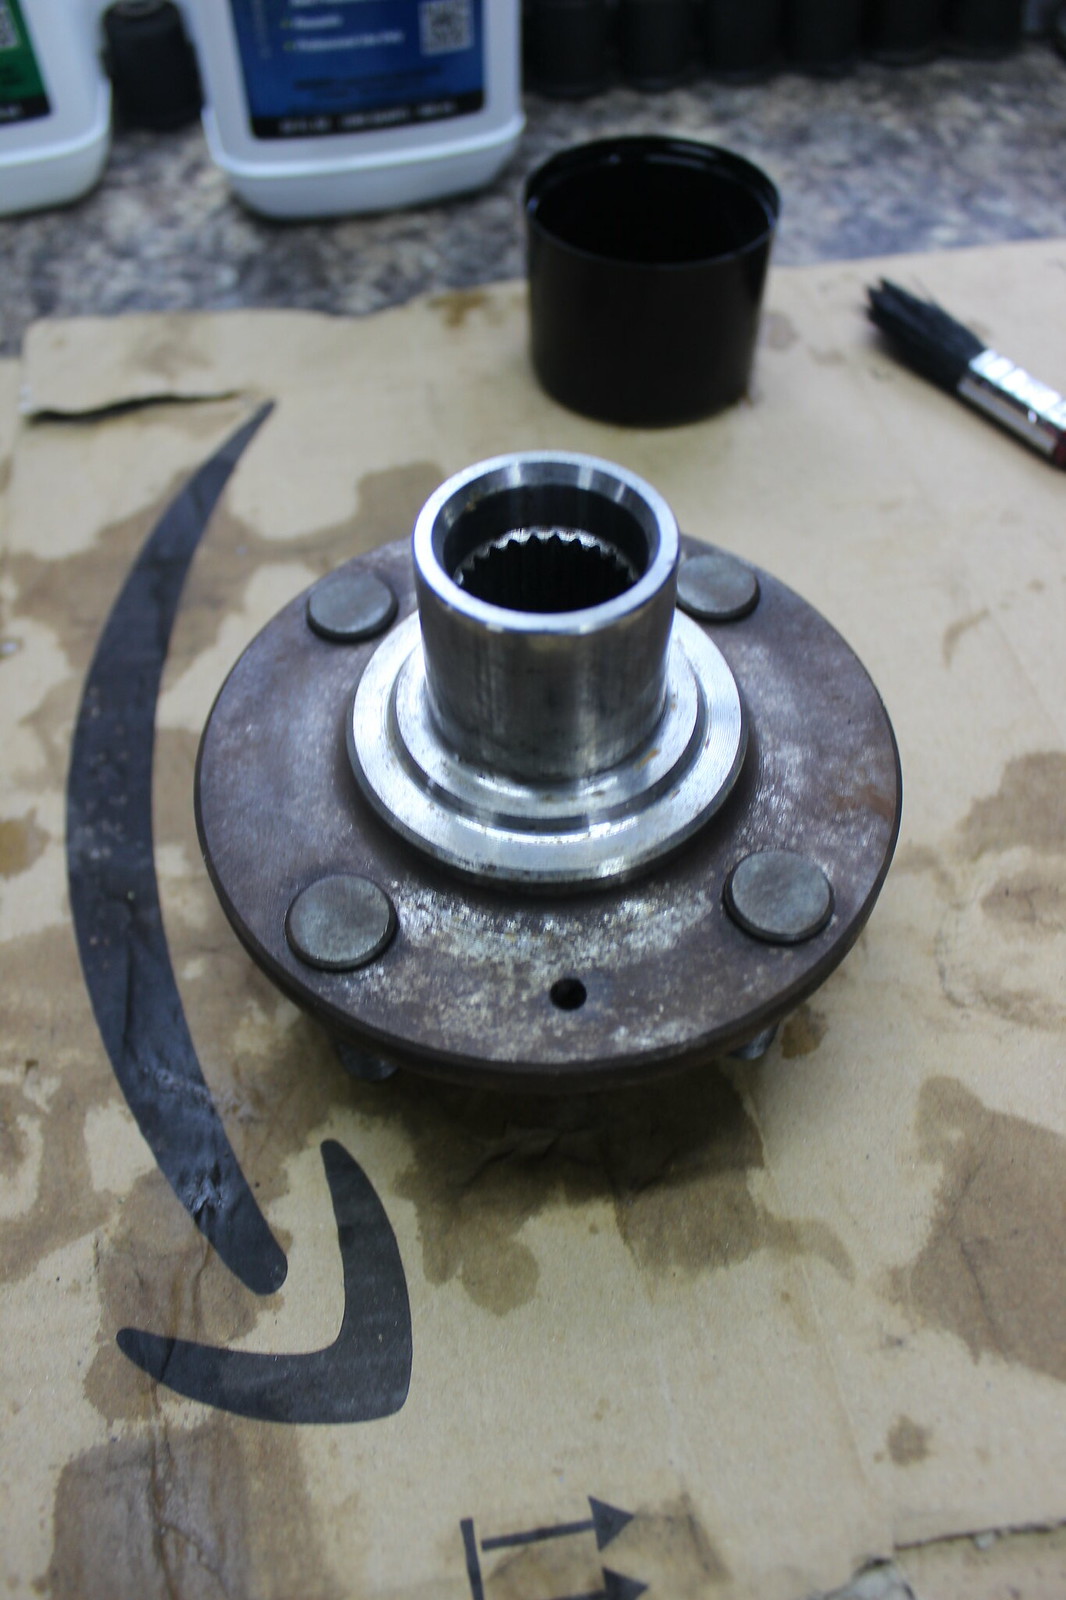
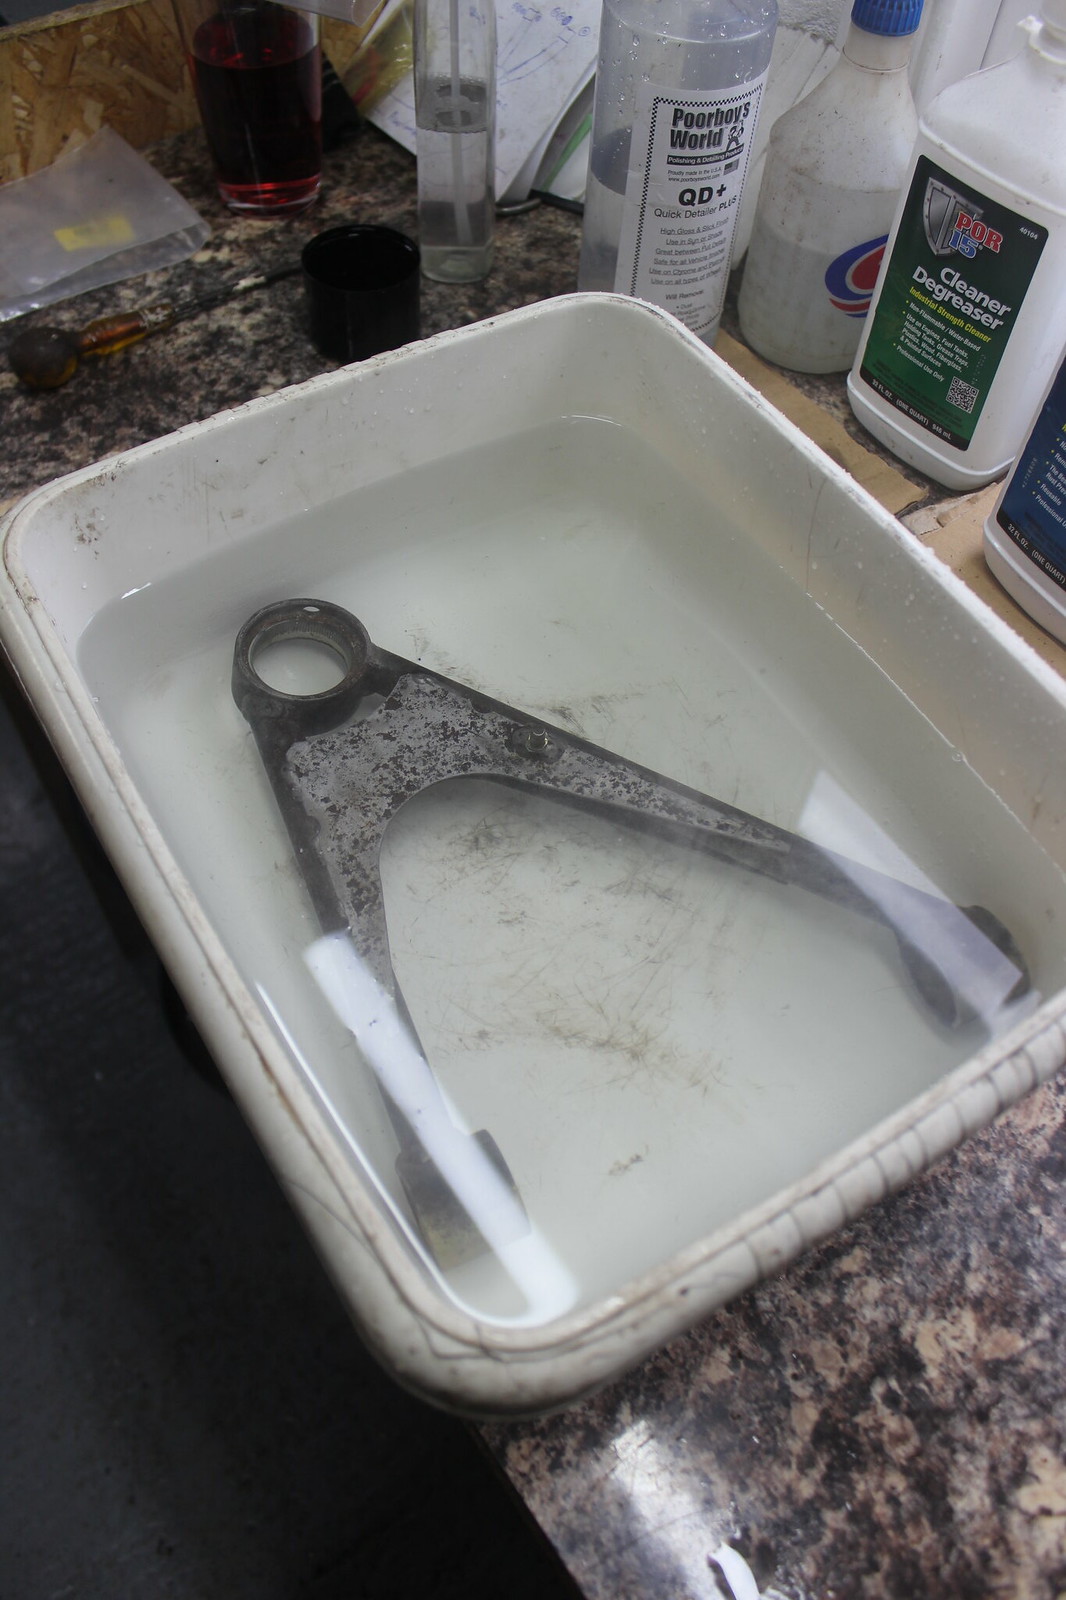
This is perfect for the wishbones as their surfaces happen to be a mixture of surface rust, clean metal and original zinc coating. The POR15 Metal Prep will work to prepare all these surfaces for the final paint stage.

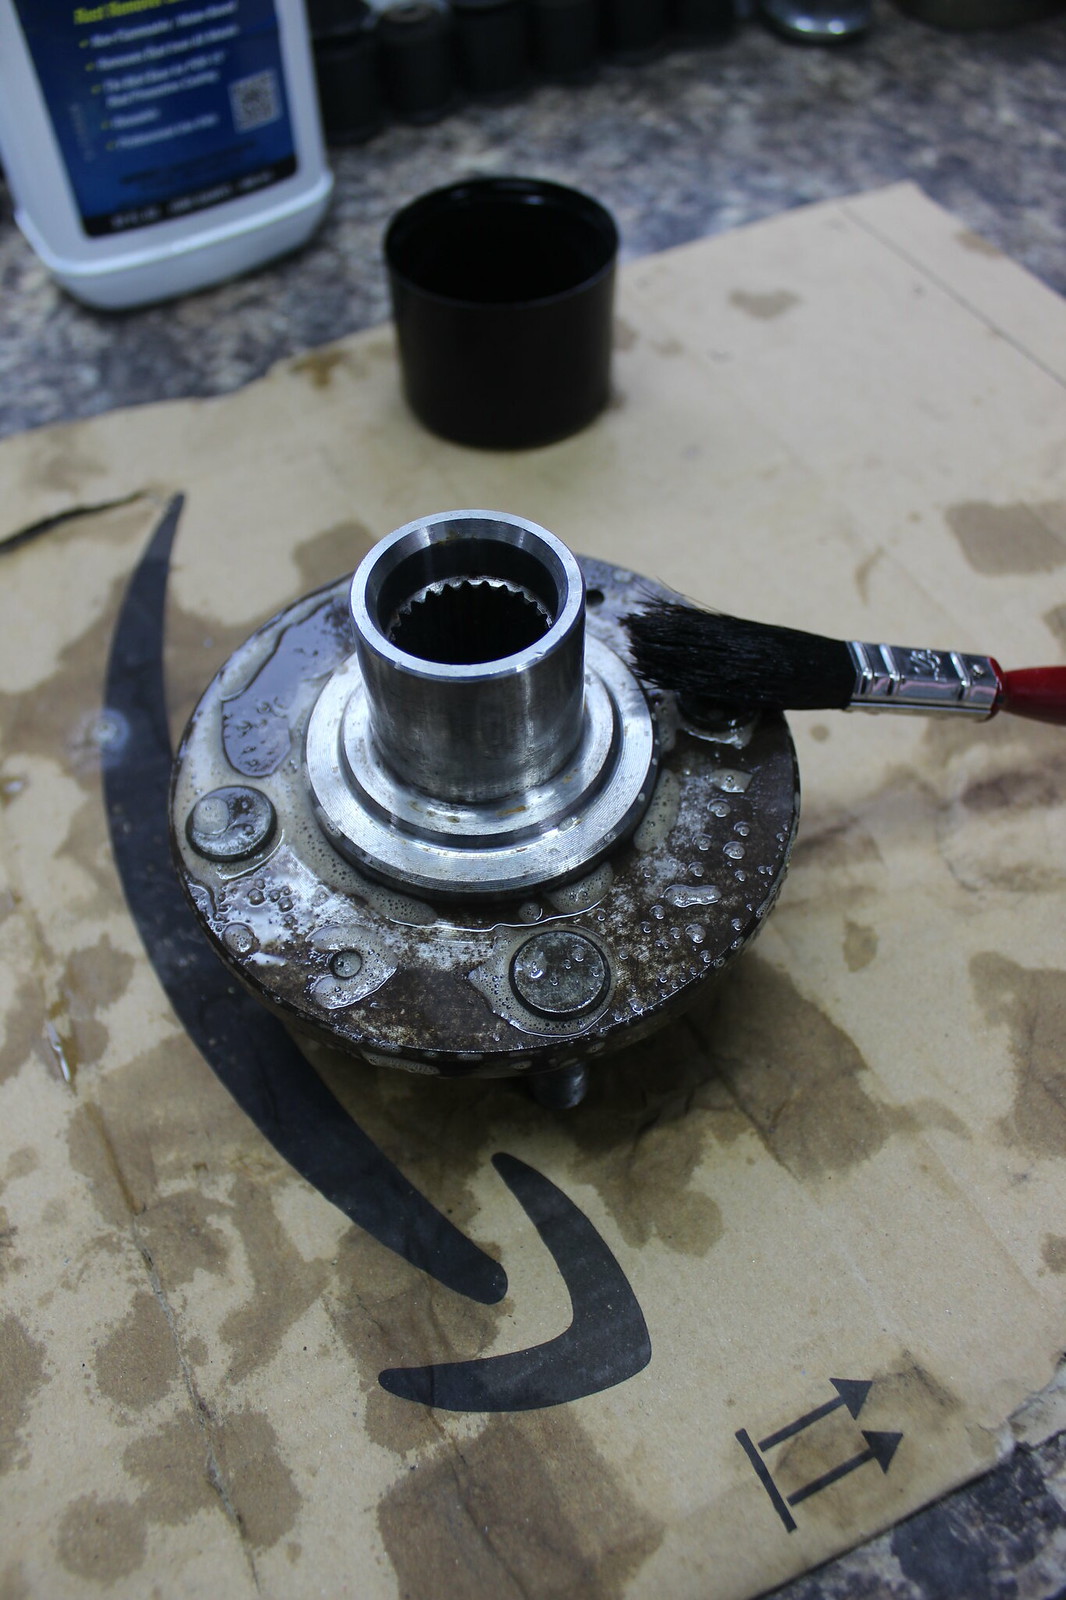
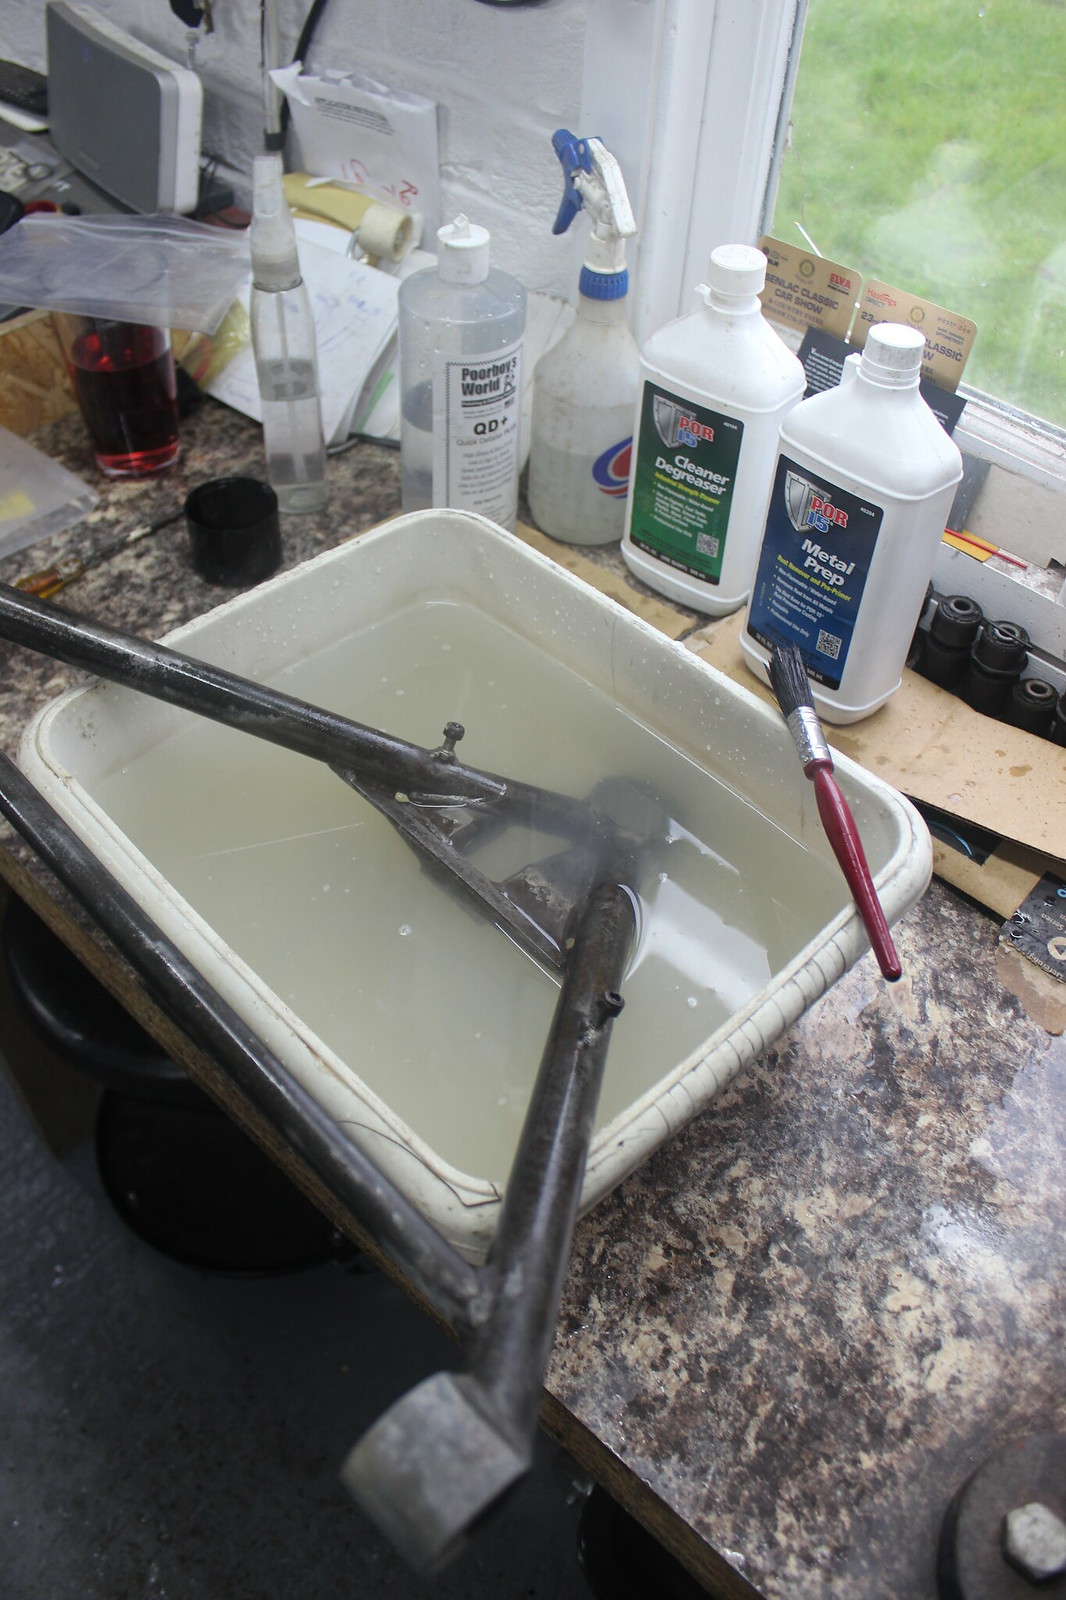
I poured the Metal Prep into another container and applied it neat using a small paint brush.
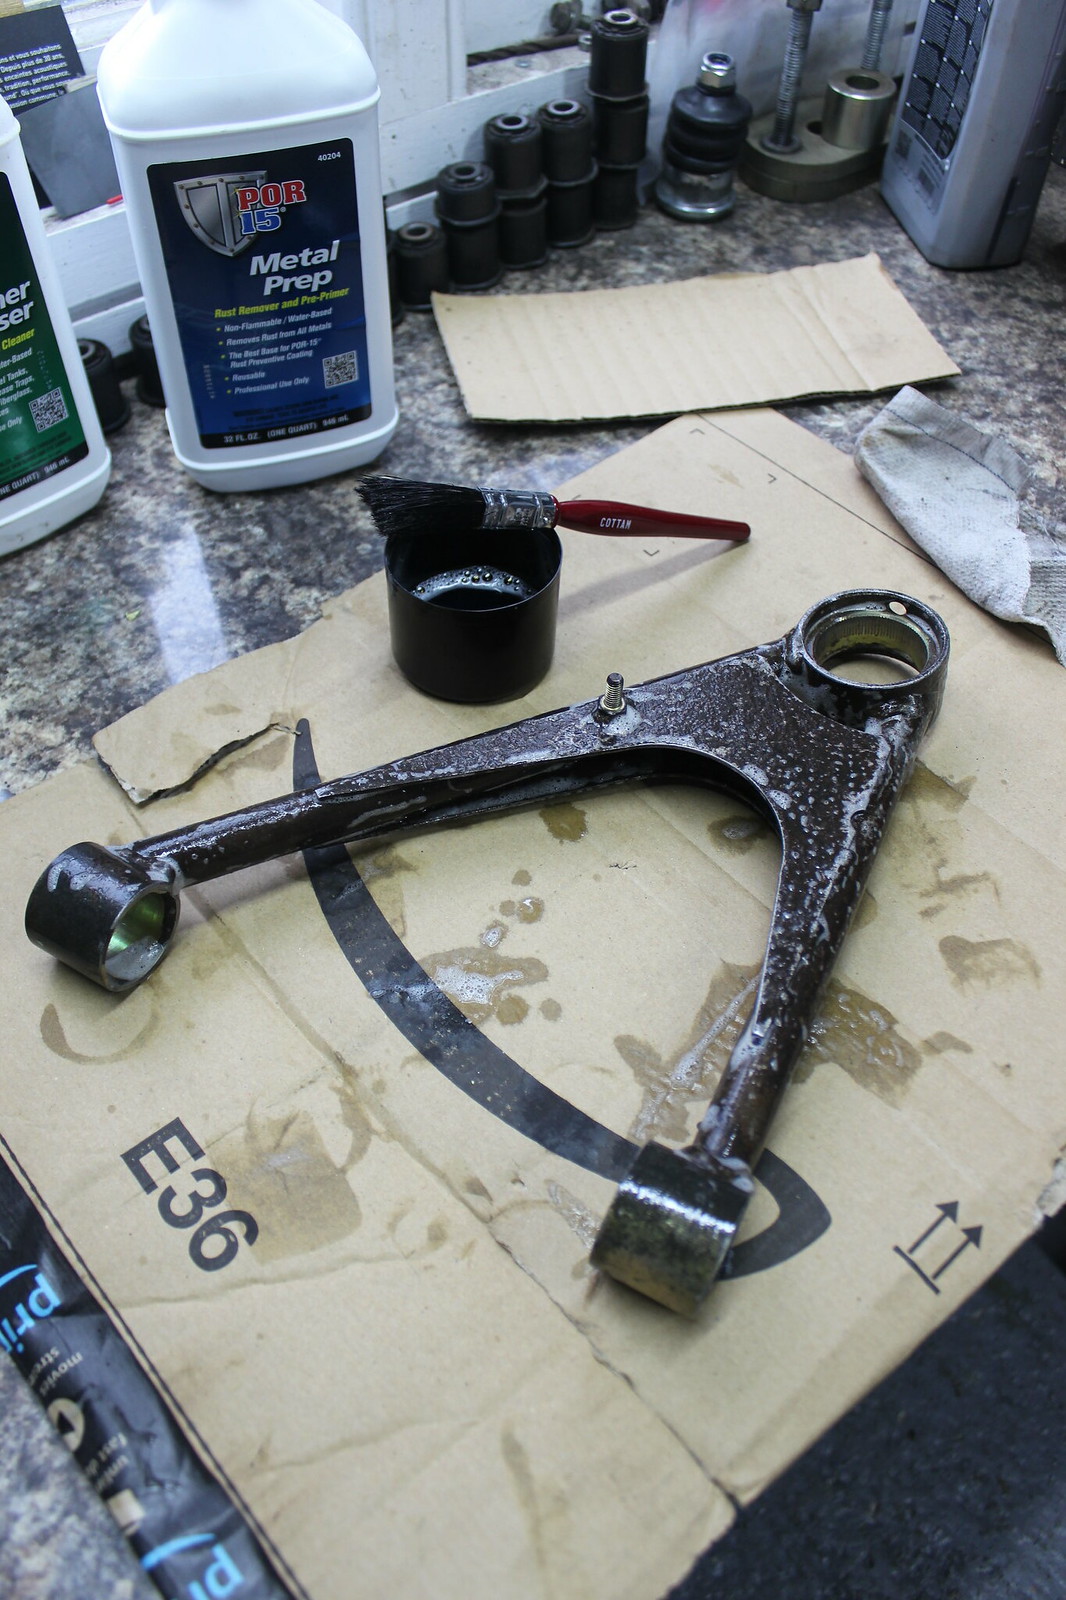
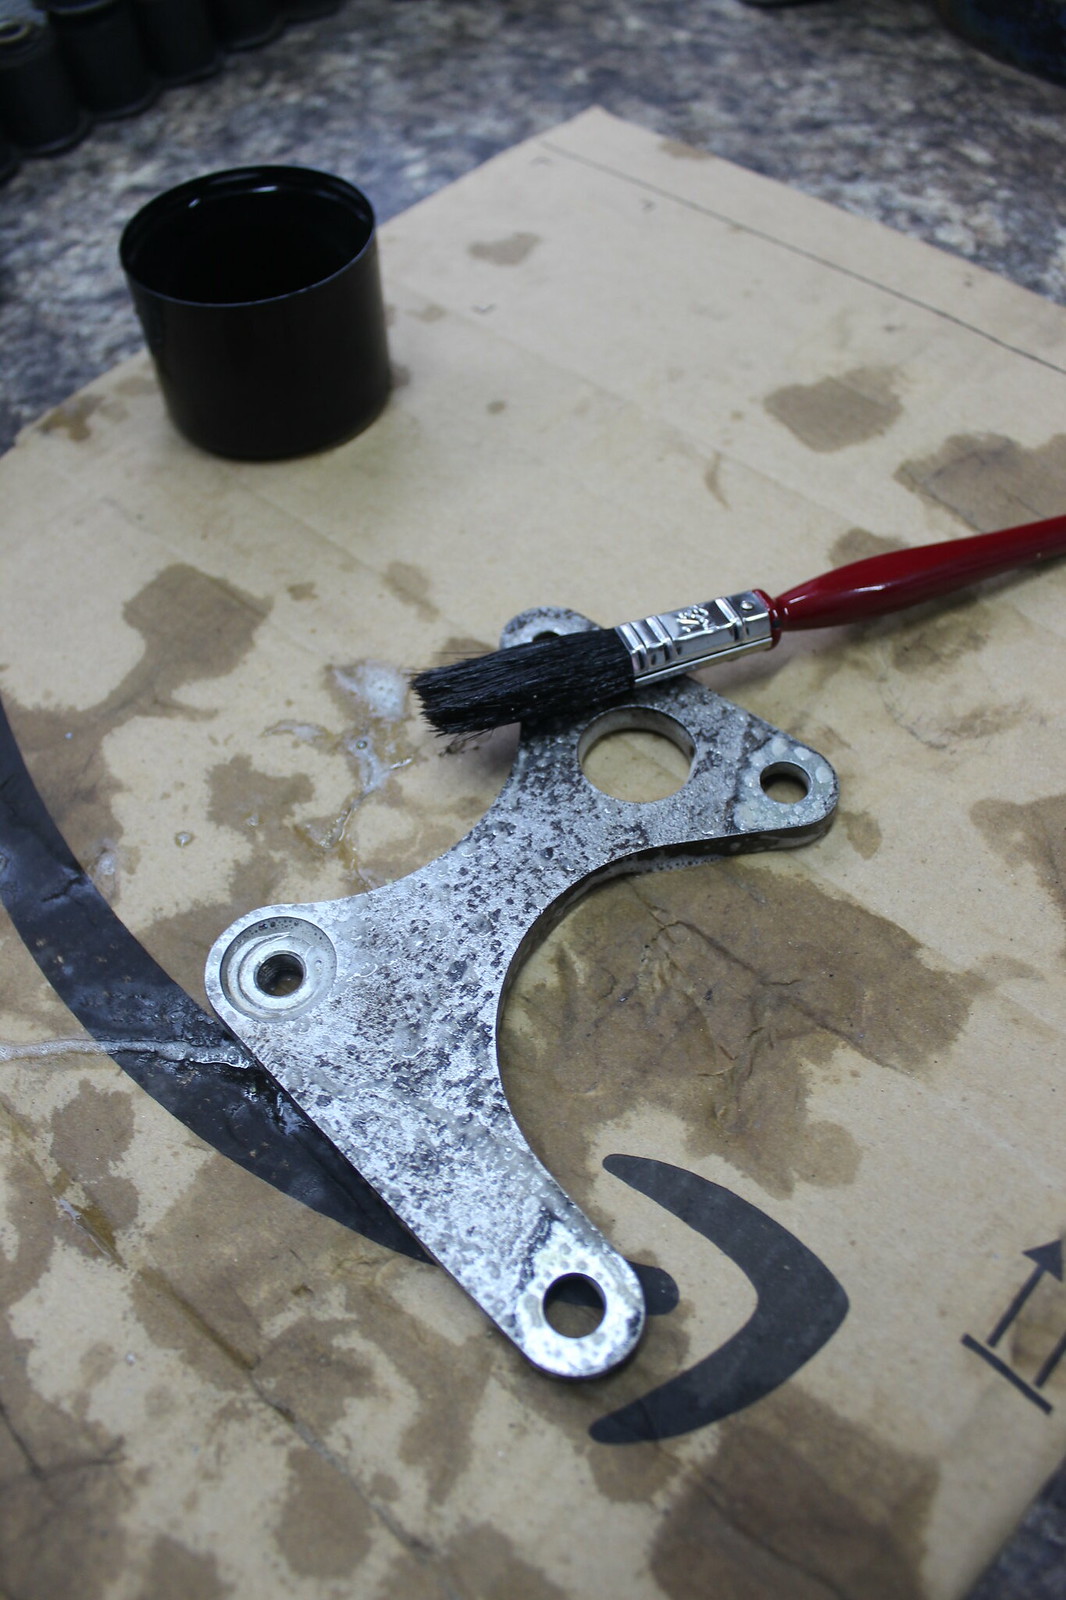
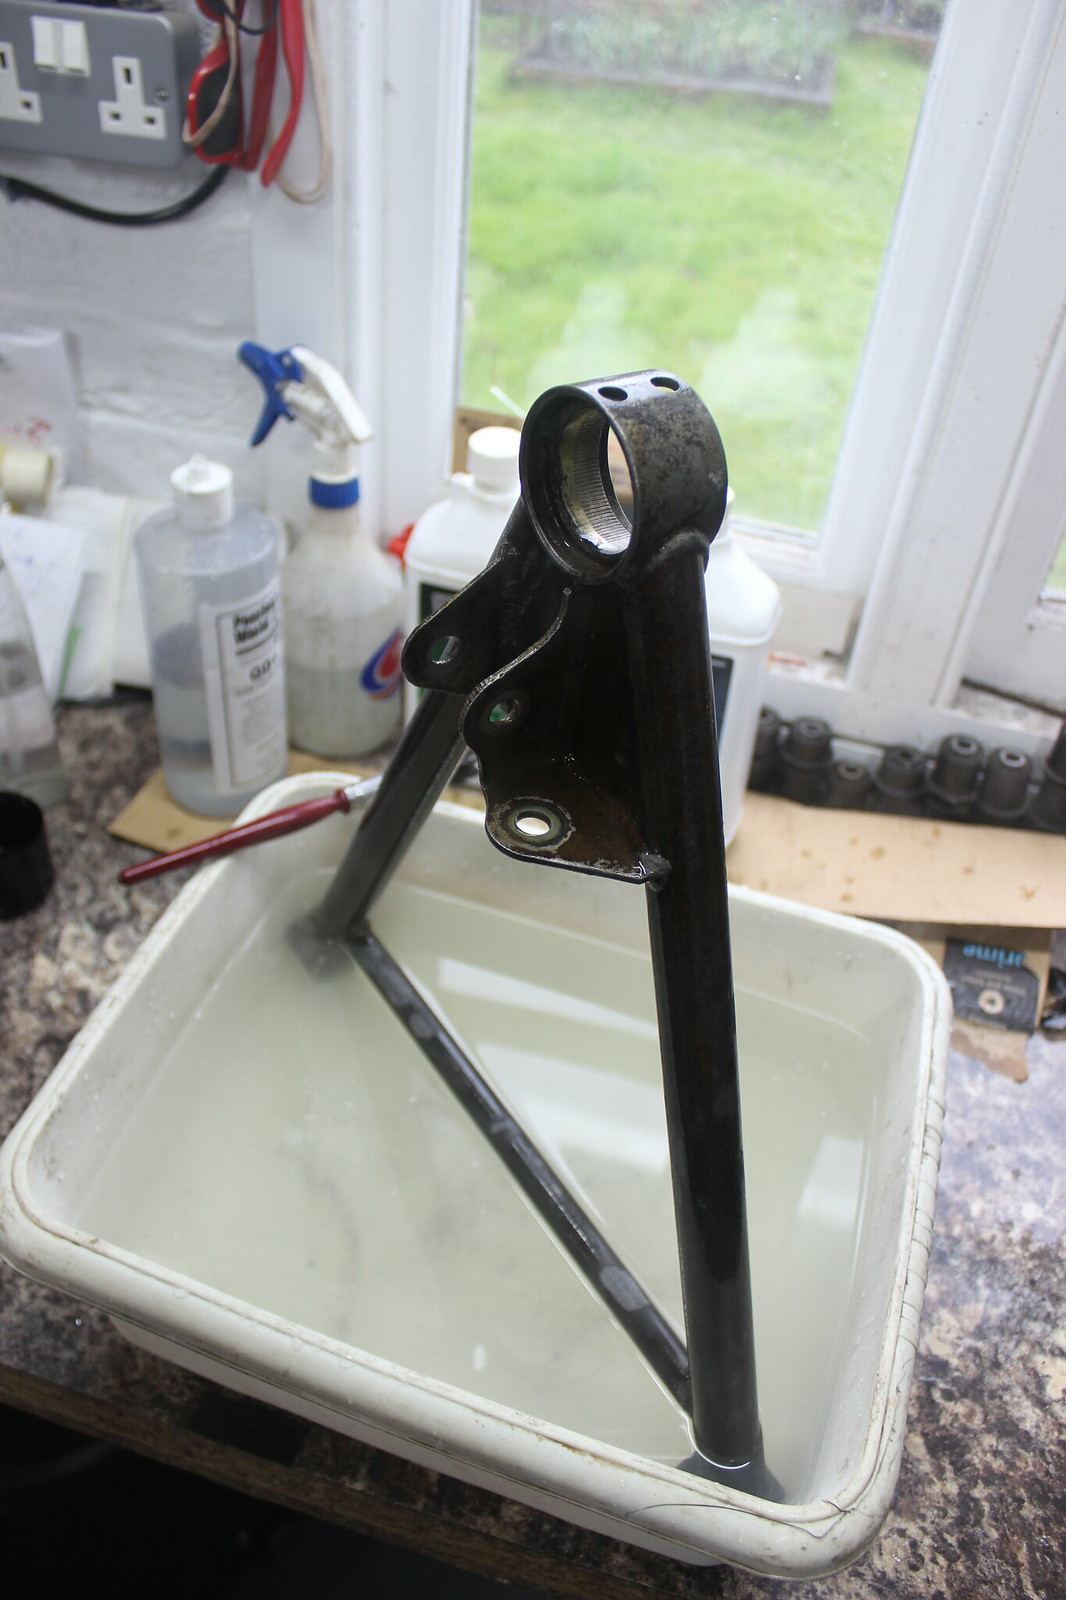
After a thorough coating making sure to work it into all corners.
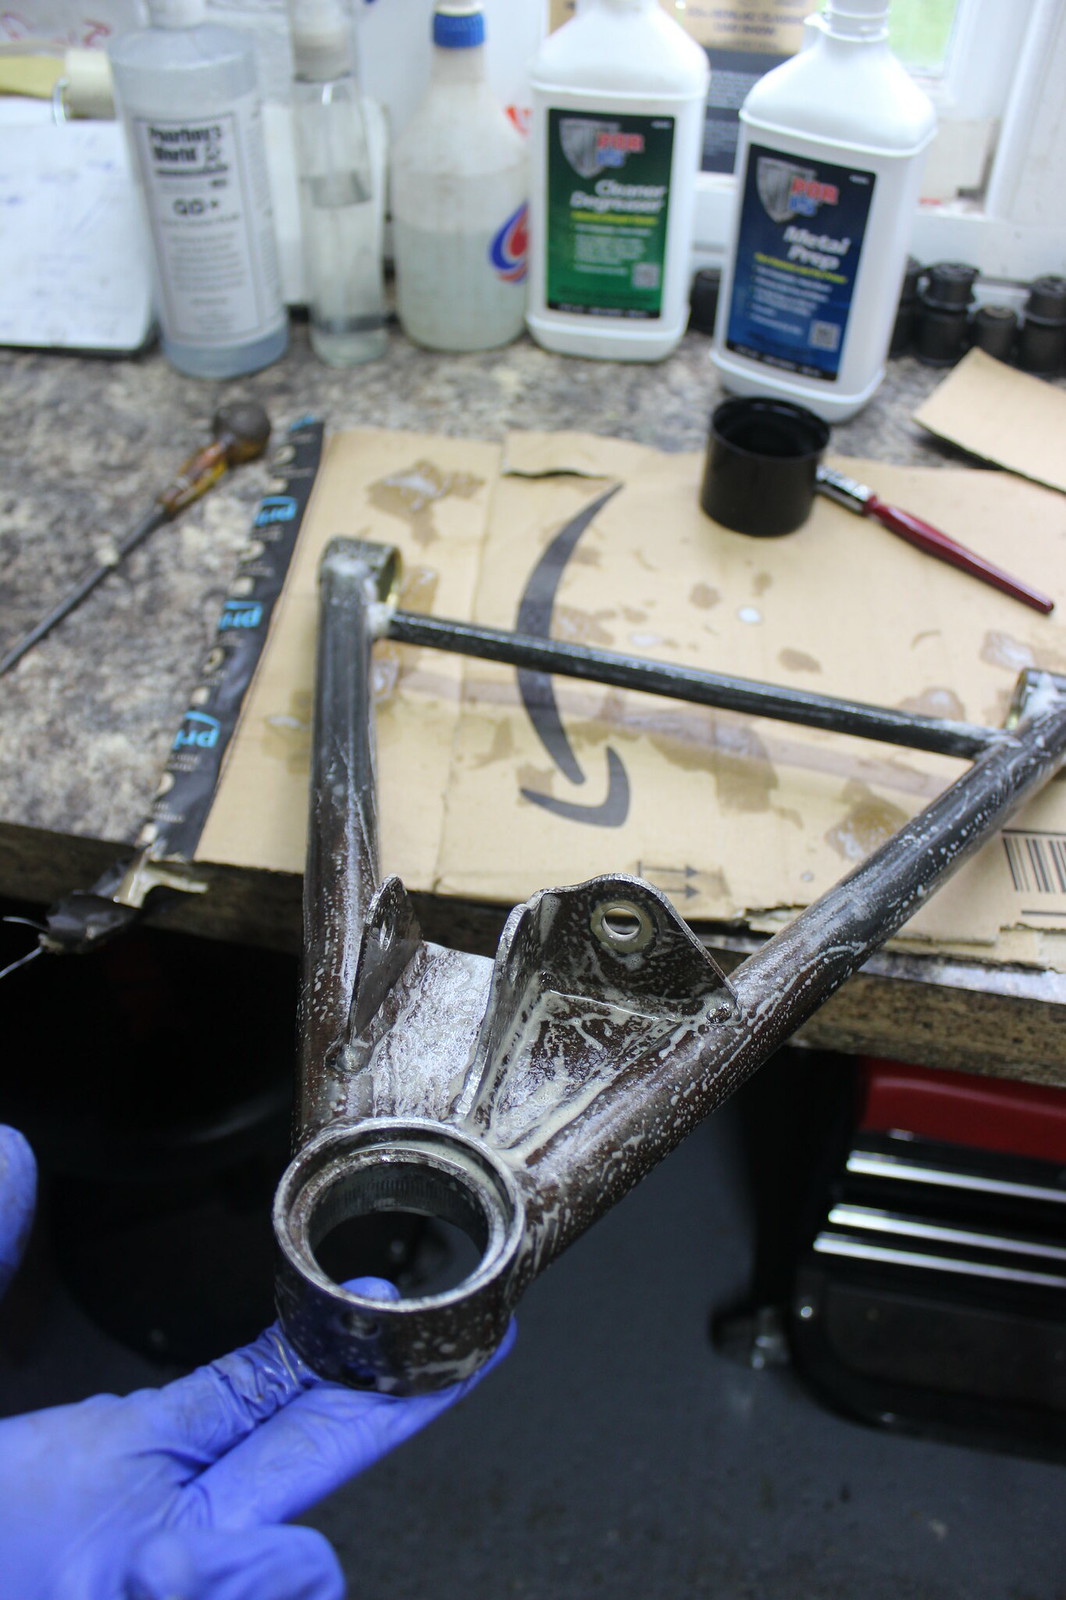
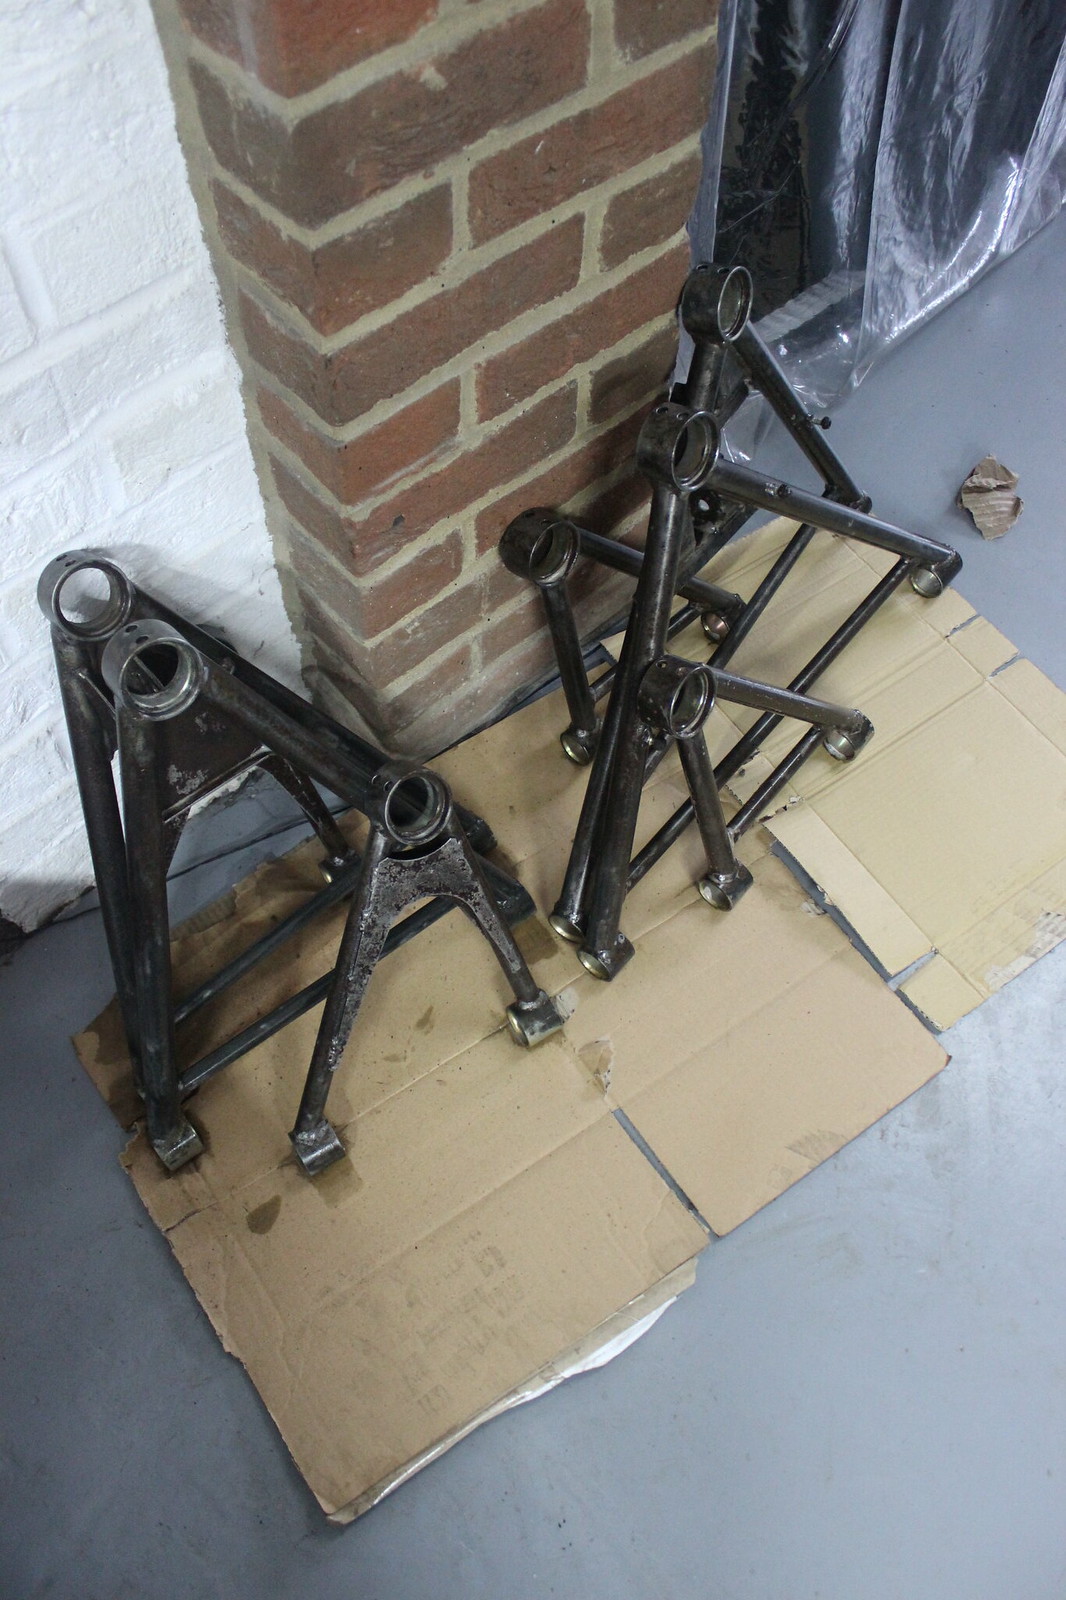
All the wishbones got the same and were left with the Metal Prep on to do it’s thing.
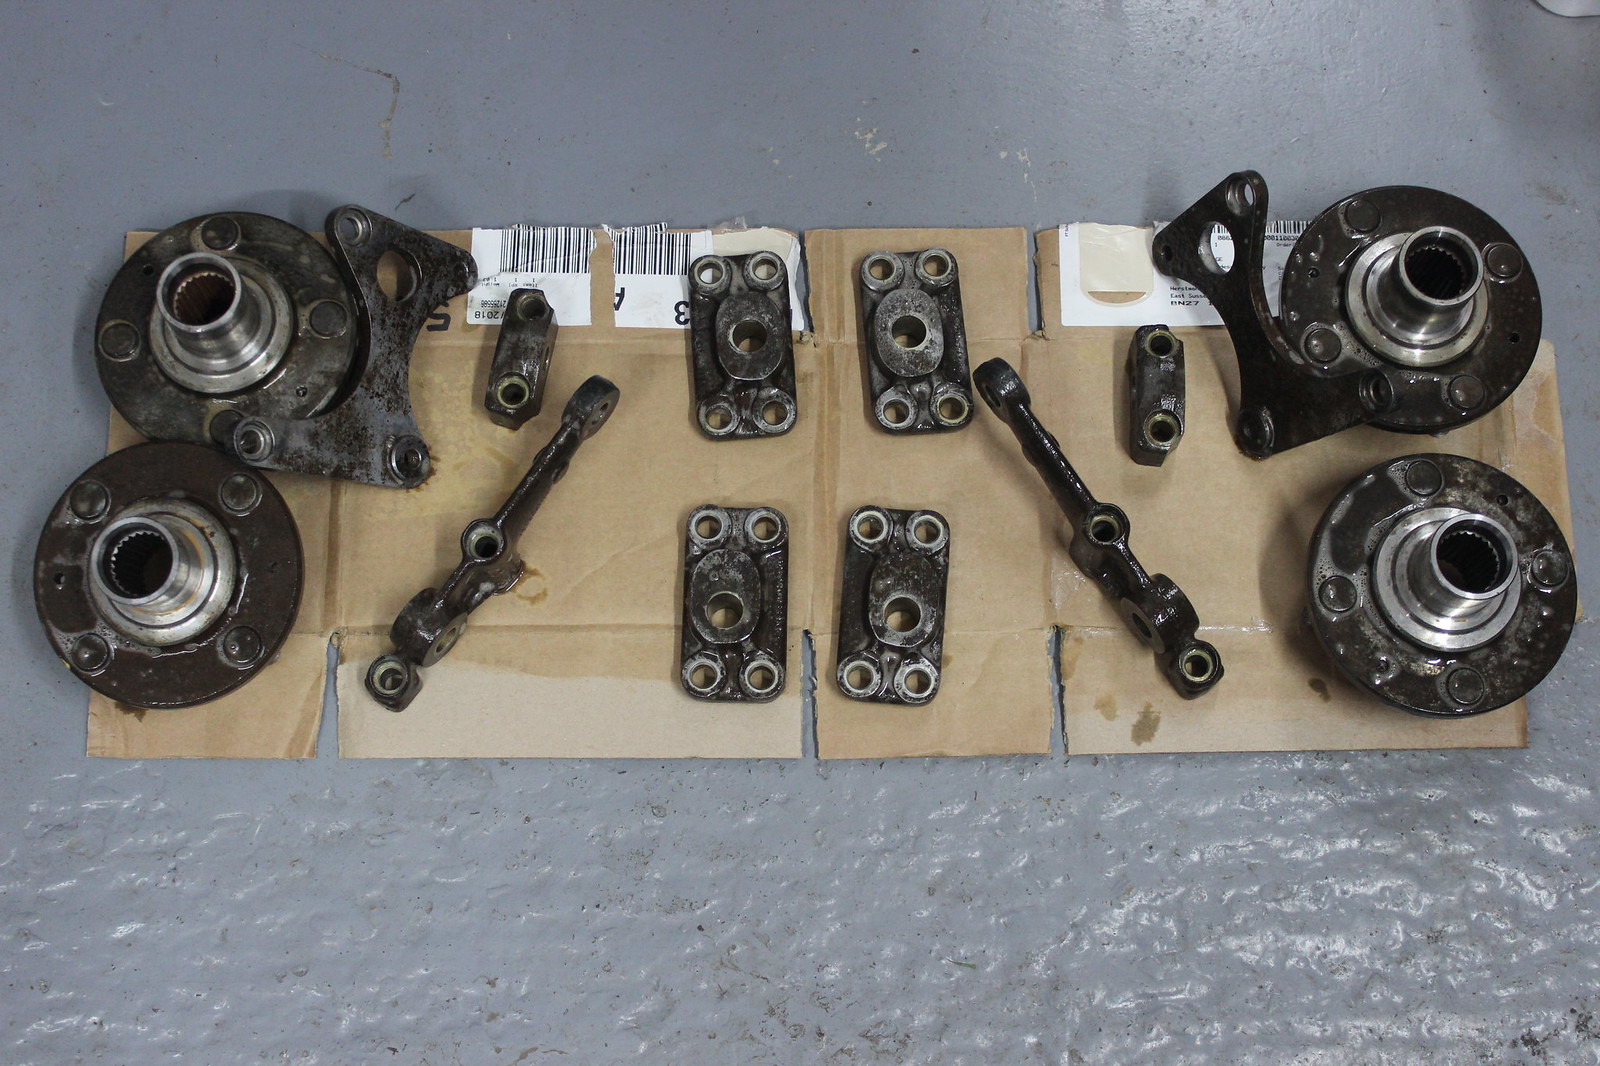
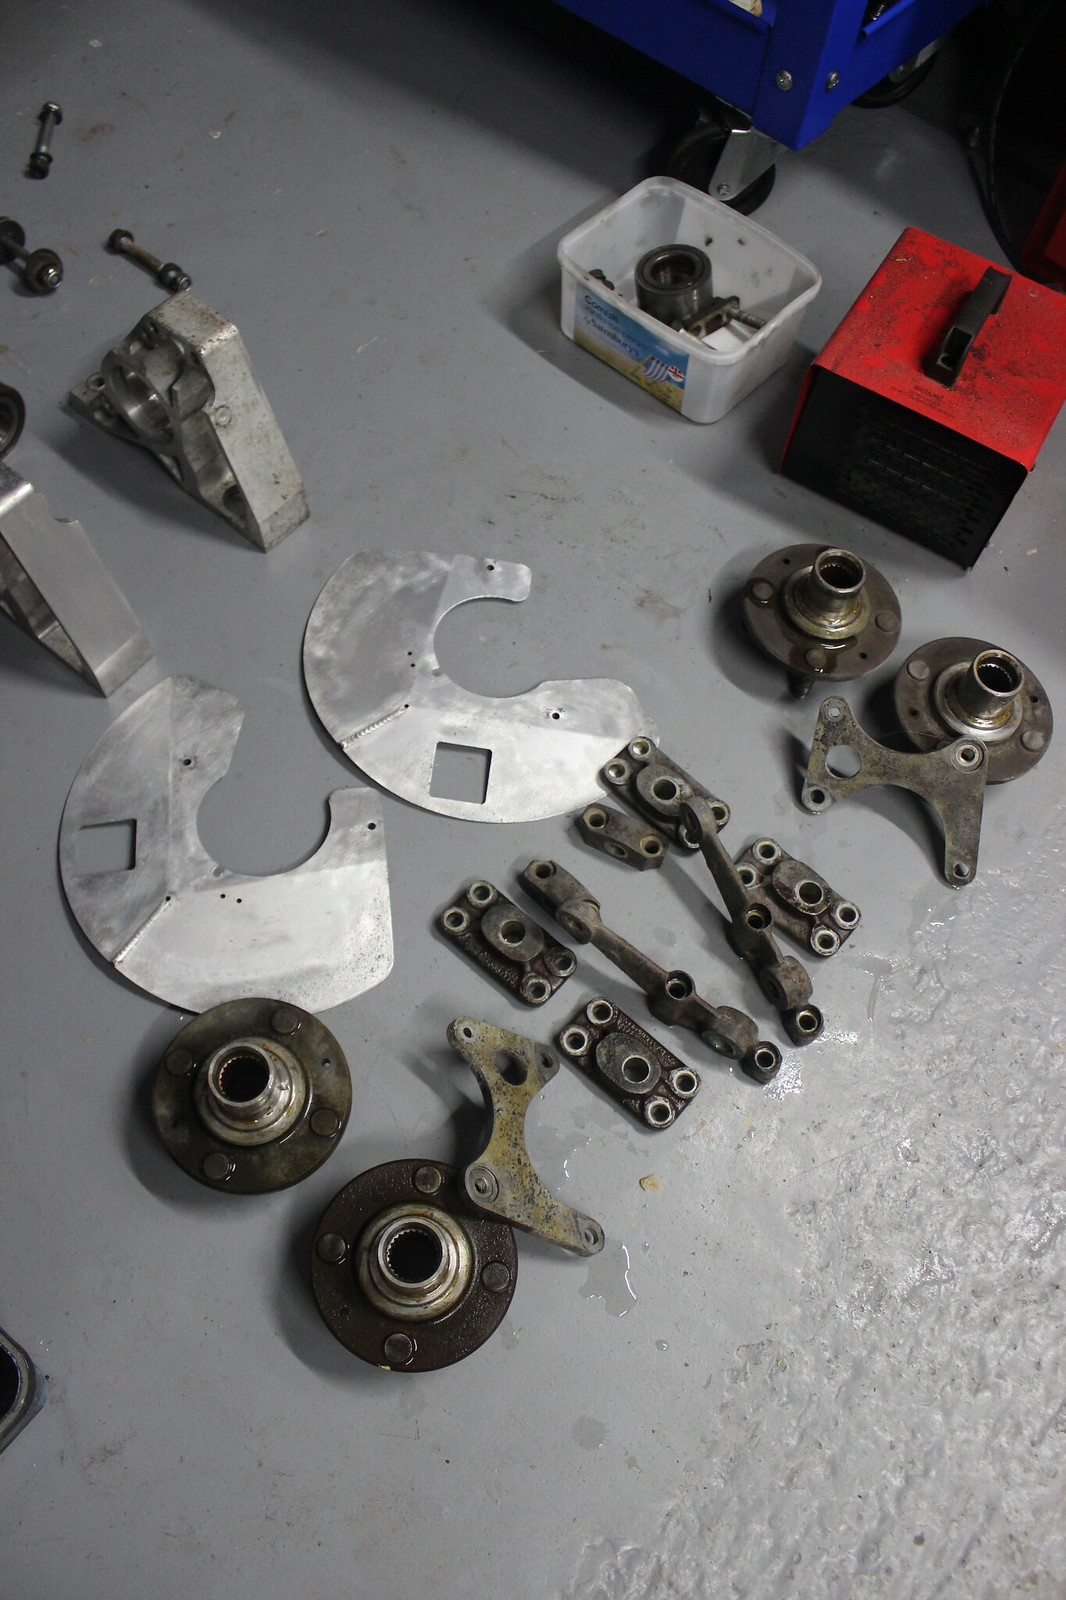
Same for the ball joint plinths, steering arm, drive flanges, caliper brackets and rear lower wishbone brackets.
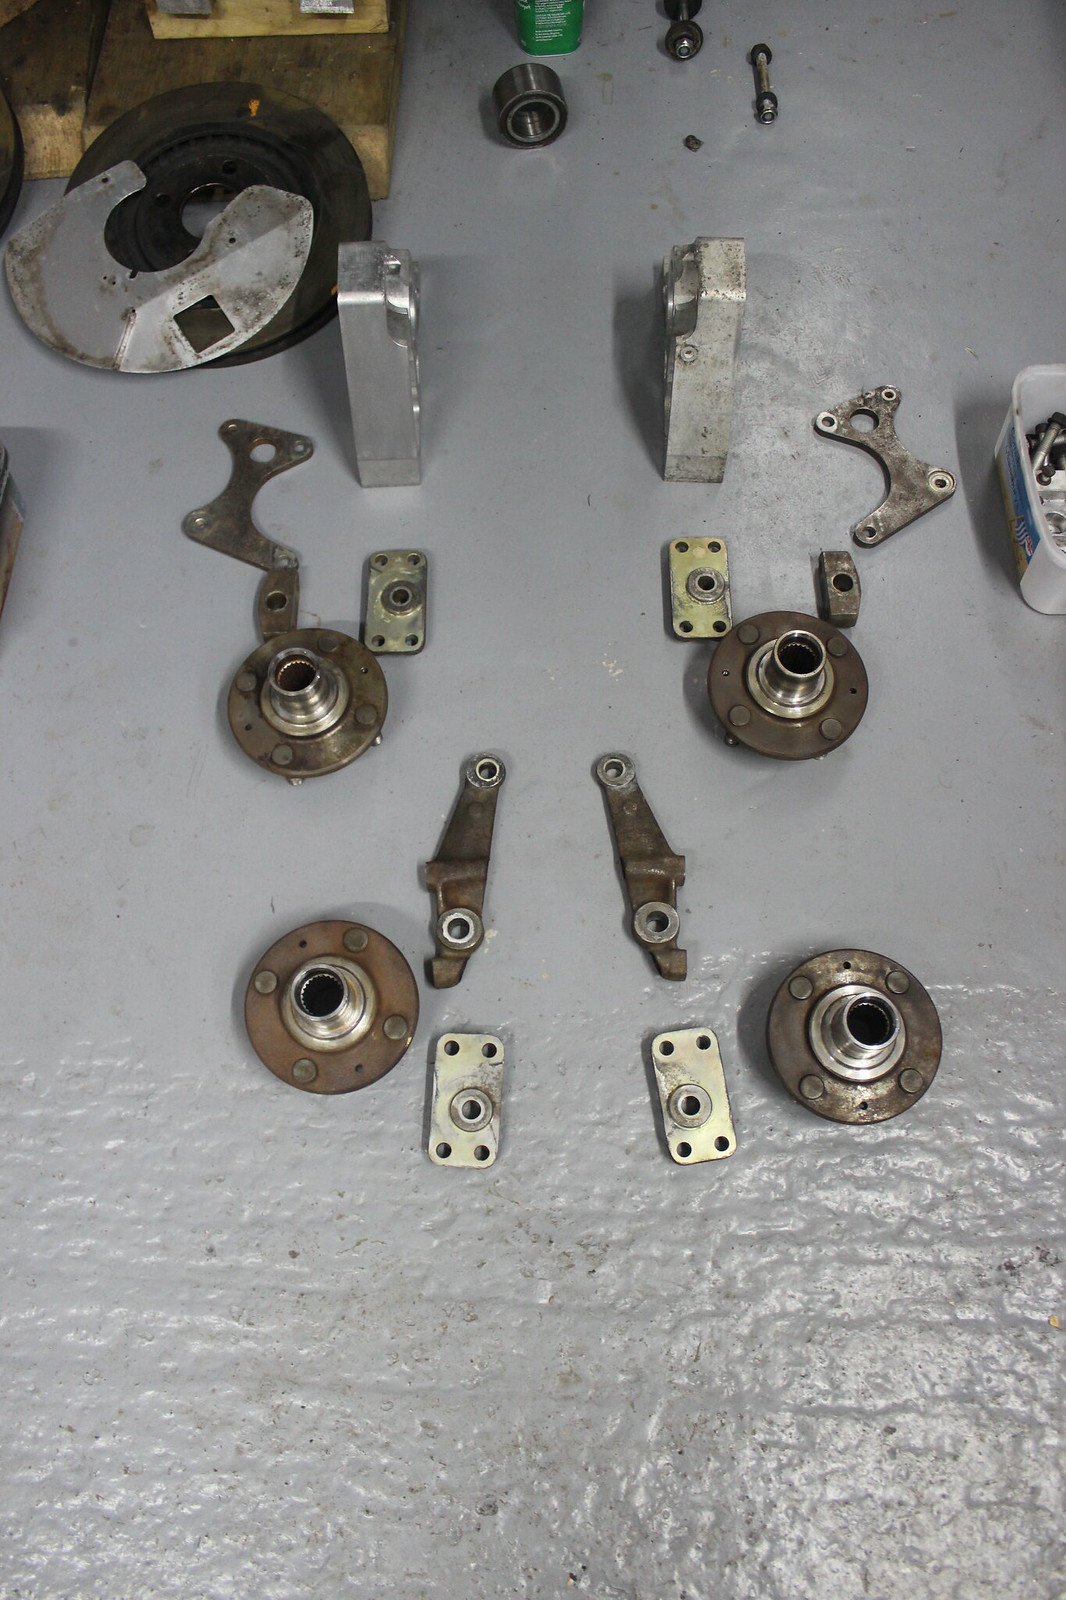
Obviously here avoiding applying any to the machined surface that press fits into the wheel bearings.
Disc guards too.
The instruction say “On bare or rusted metal surfaces: Keep surface wet for 10-20 minutes, then rinse thoroughly with water.”
So once anything had had it’s 20 mins or so it got thoroughly rinsed.
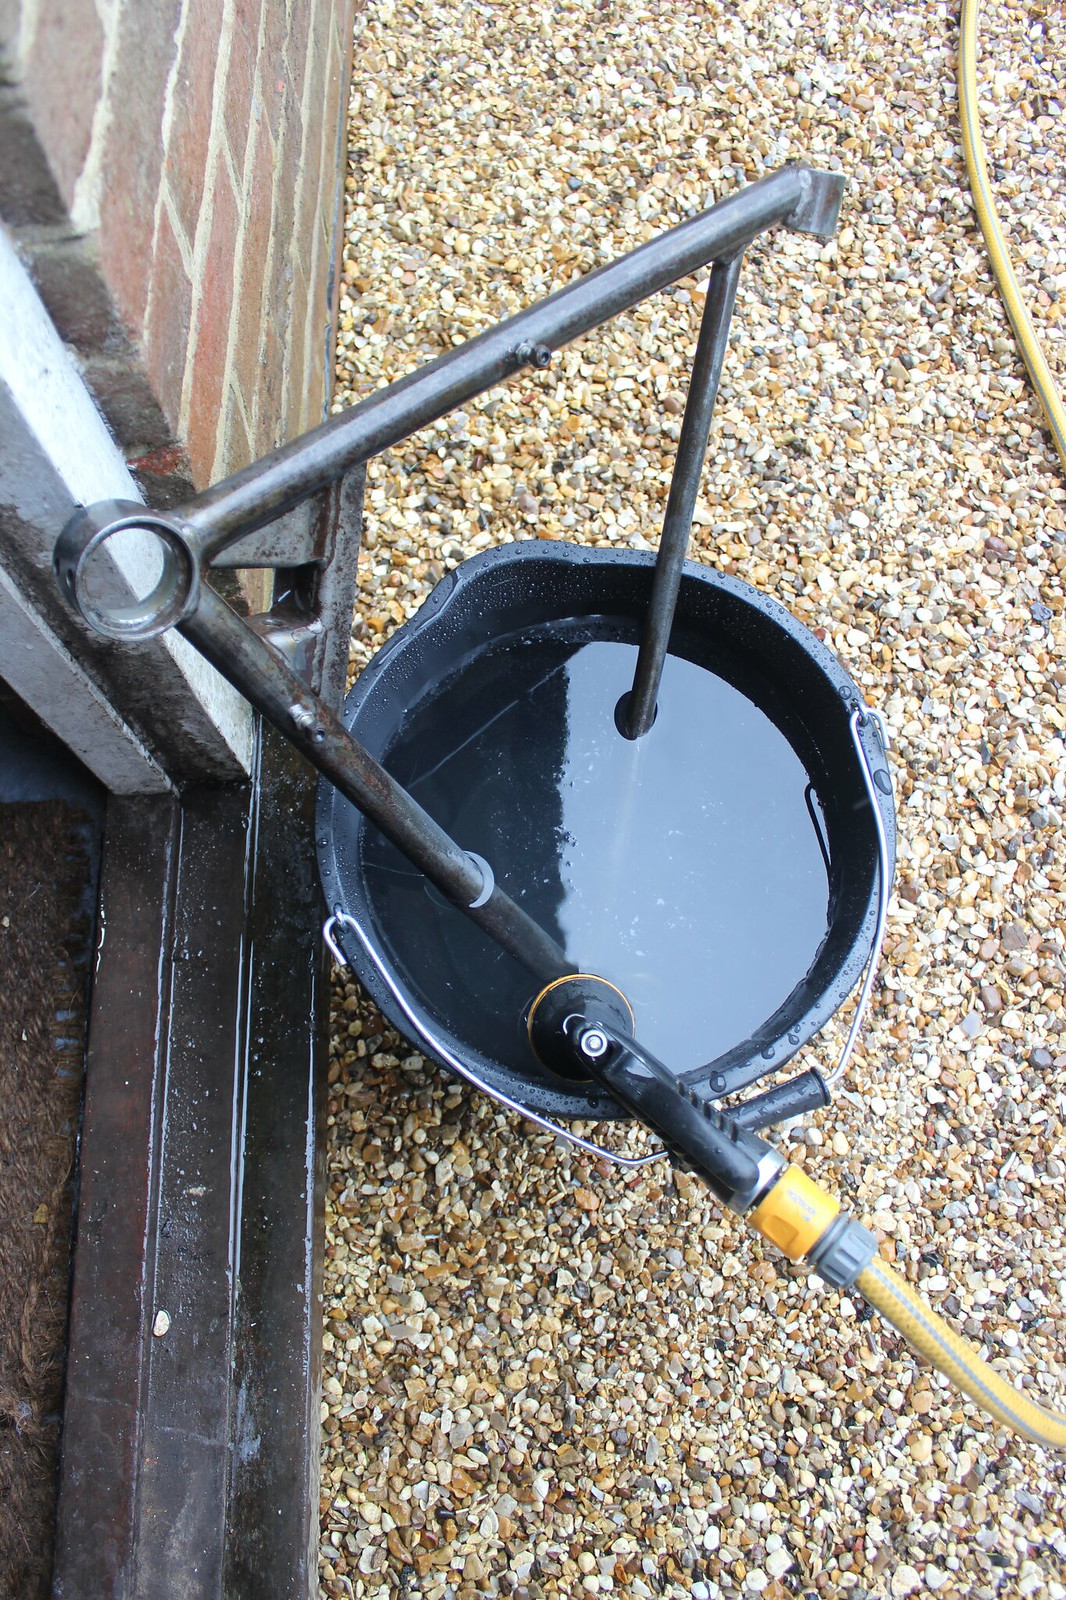
Finally everything was left to dry.
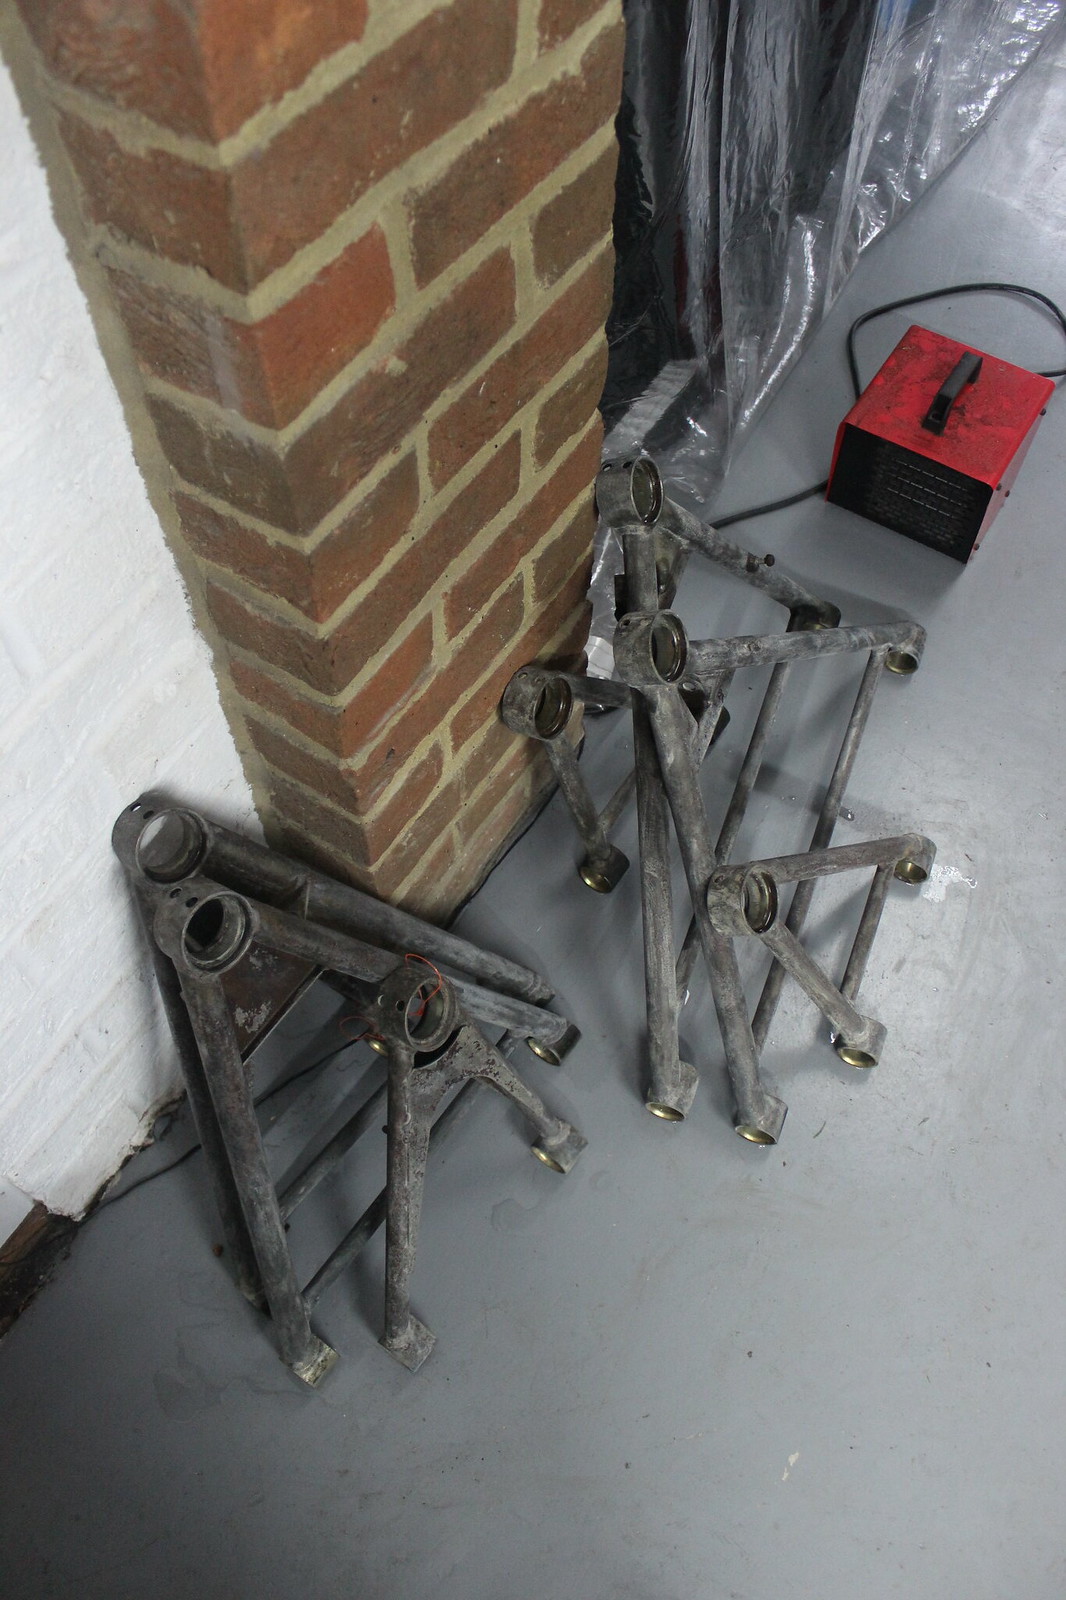
All parts would need to be completely dry before the POR-15 paint could be applied so a little heater helped with that.