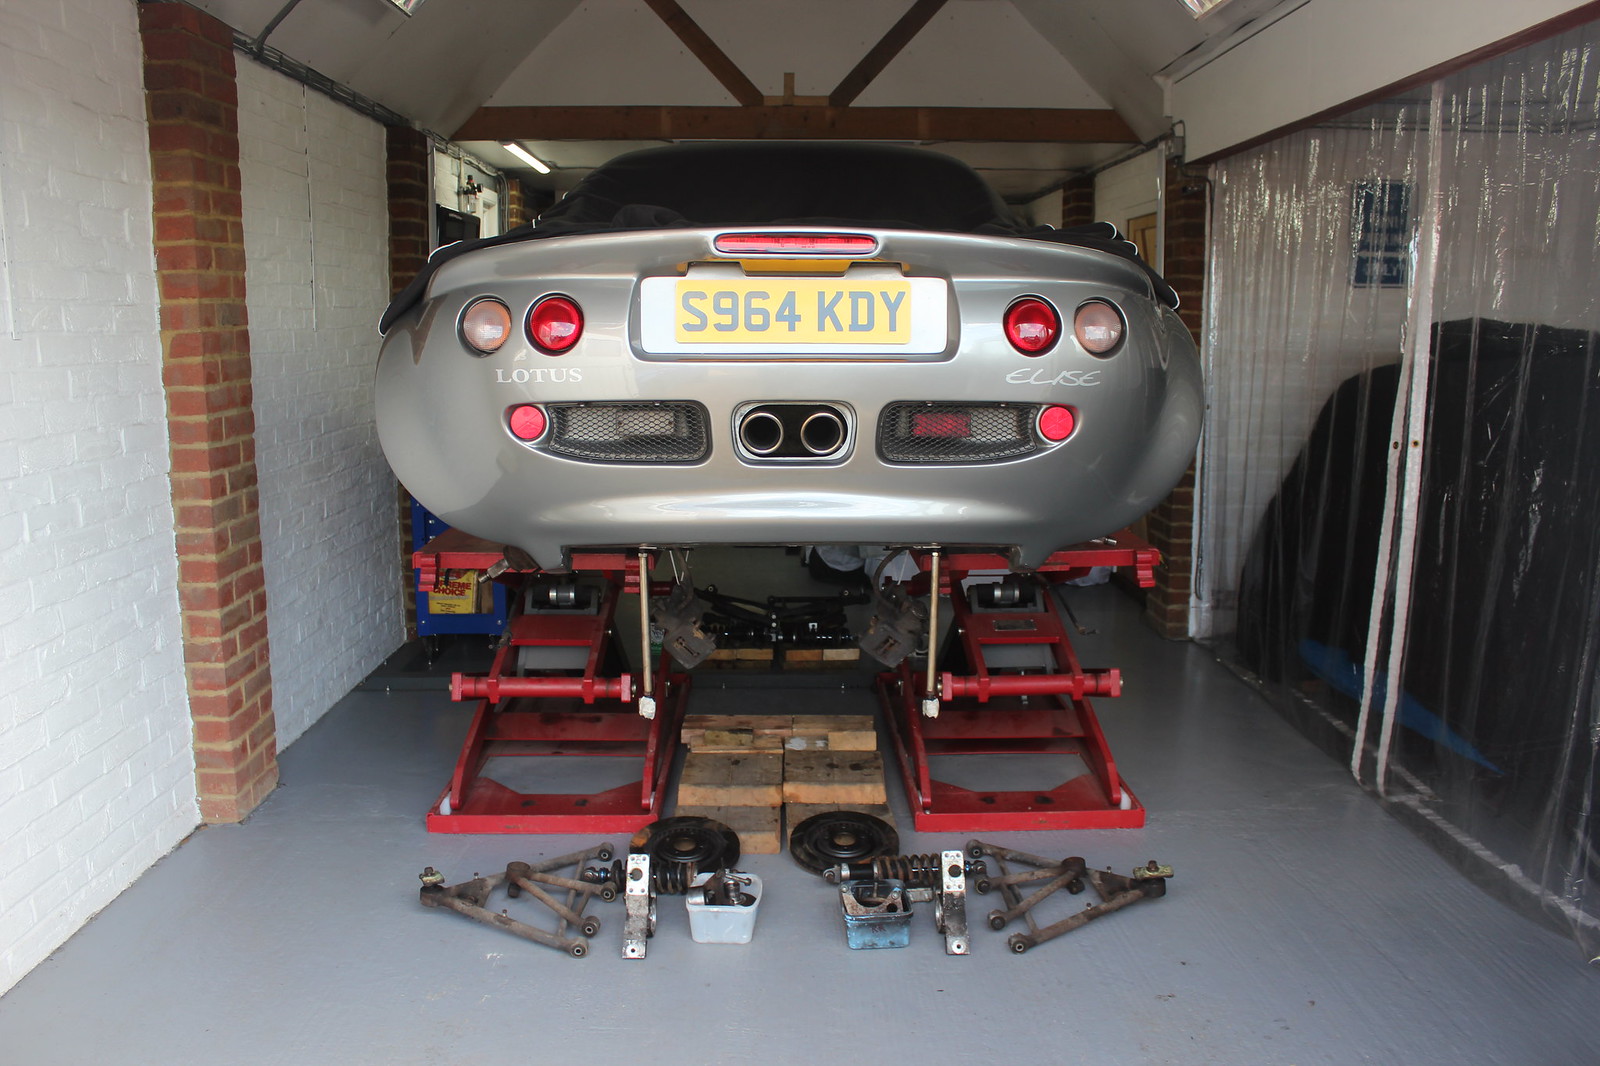
Having removed all suspension components from the chassis, the next thing to do was start breaking down what was left into single components for cleaning and refurbishment or replacement.
The first thing I needed to do was come back to the ball joint that had refused to split and broken my trusty old ball joint splitter. By now the penetrating oil had had plenty of time to do it’s thing plus I got a fair bit more heat into the joint before testing out the new splitter.
It finally came apart.

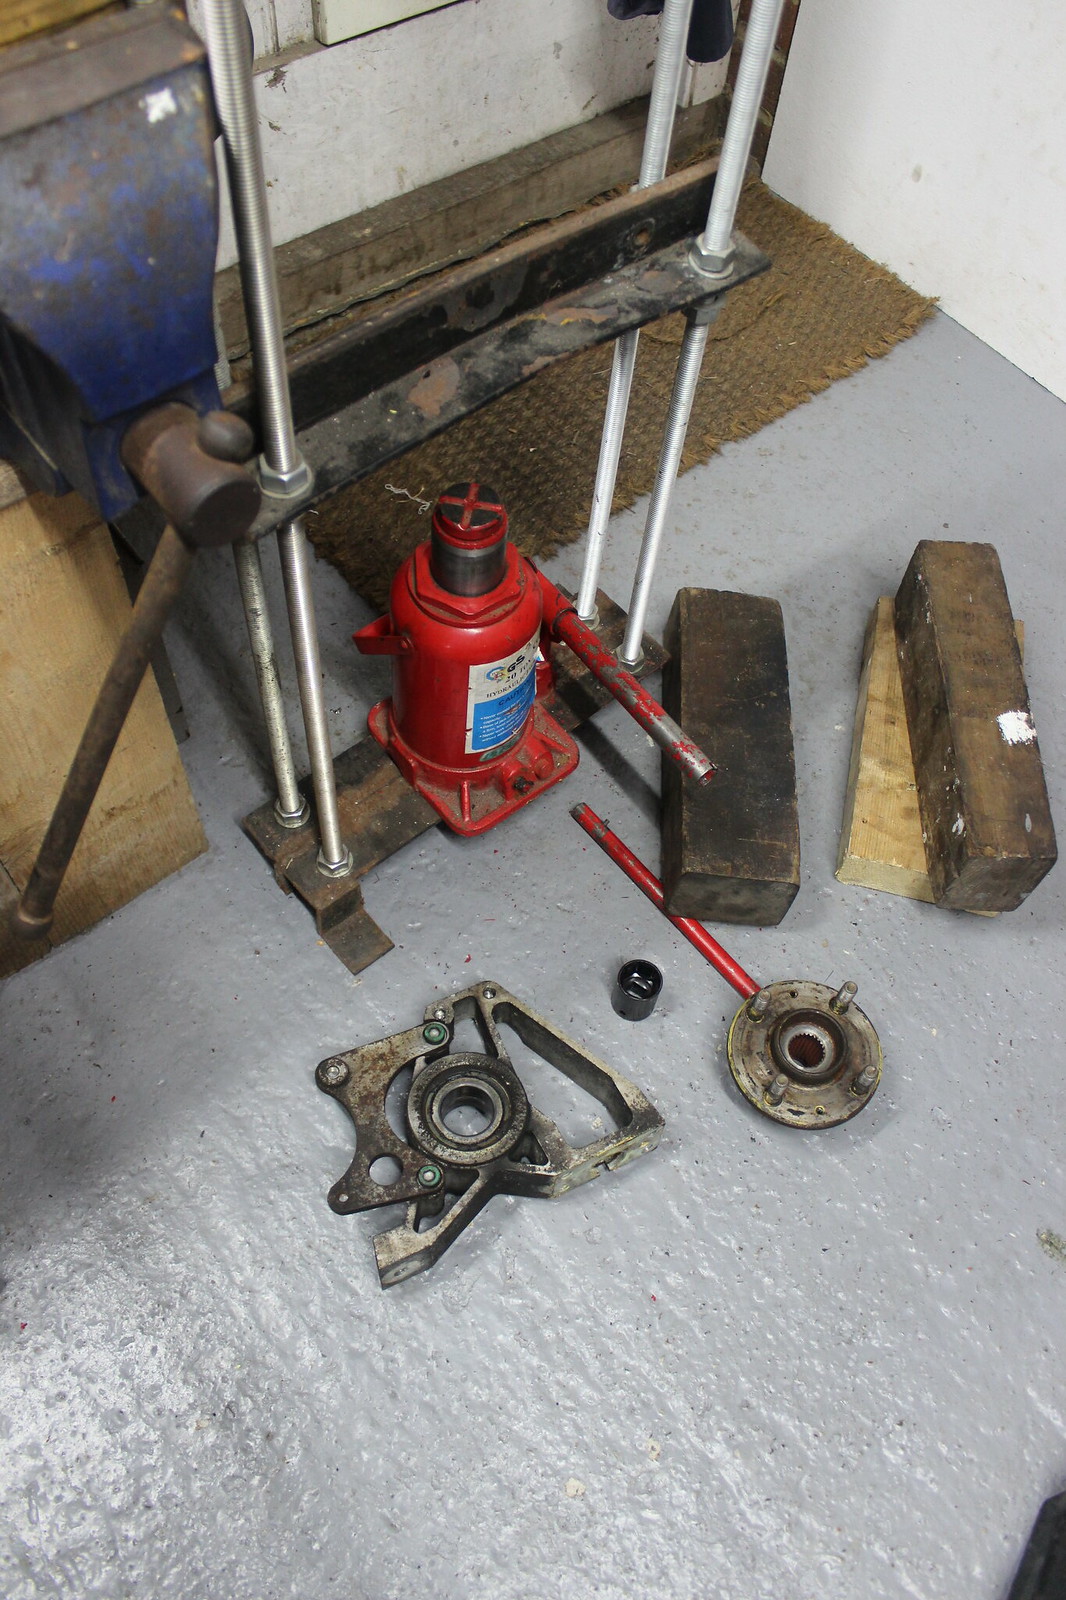
Now on to dismantling the front uprights/hub carriers.
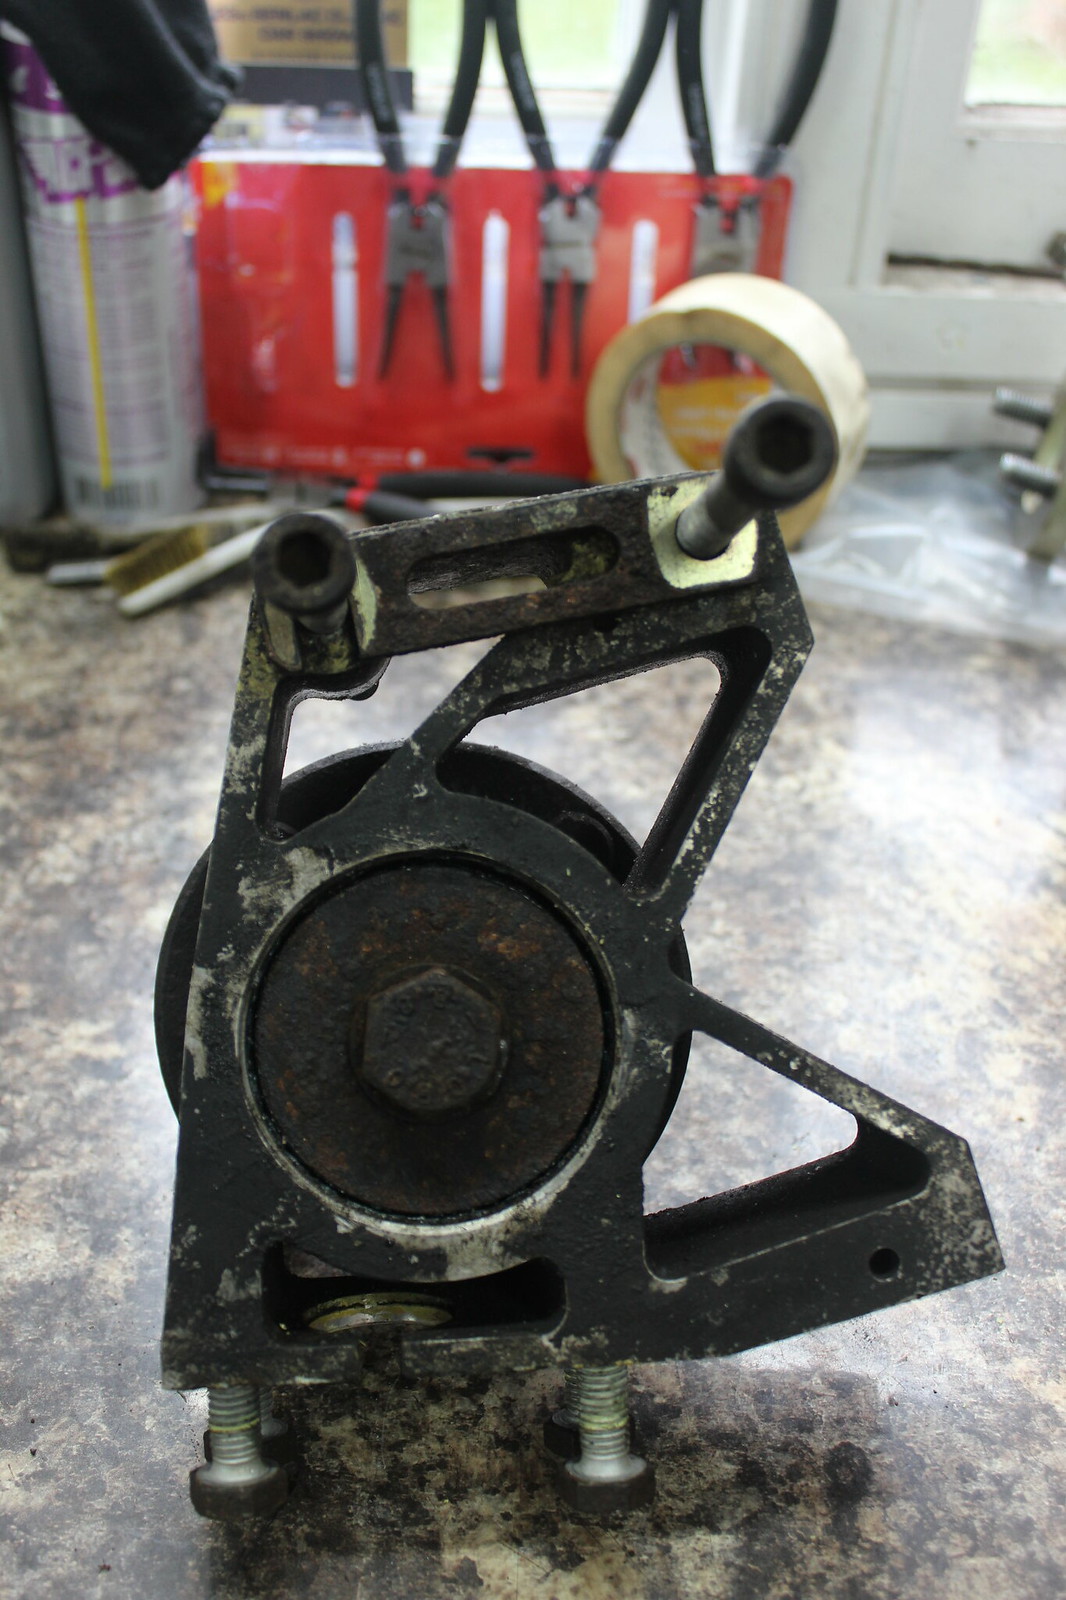
I had already loosened the large nut and bolt through the ‘drive flange’ while the whole assembly was on the car. It’s very tight so it’s much easier to do it while still attached to the car.
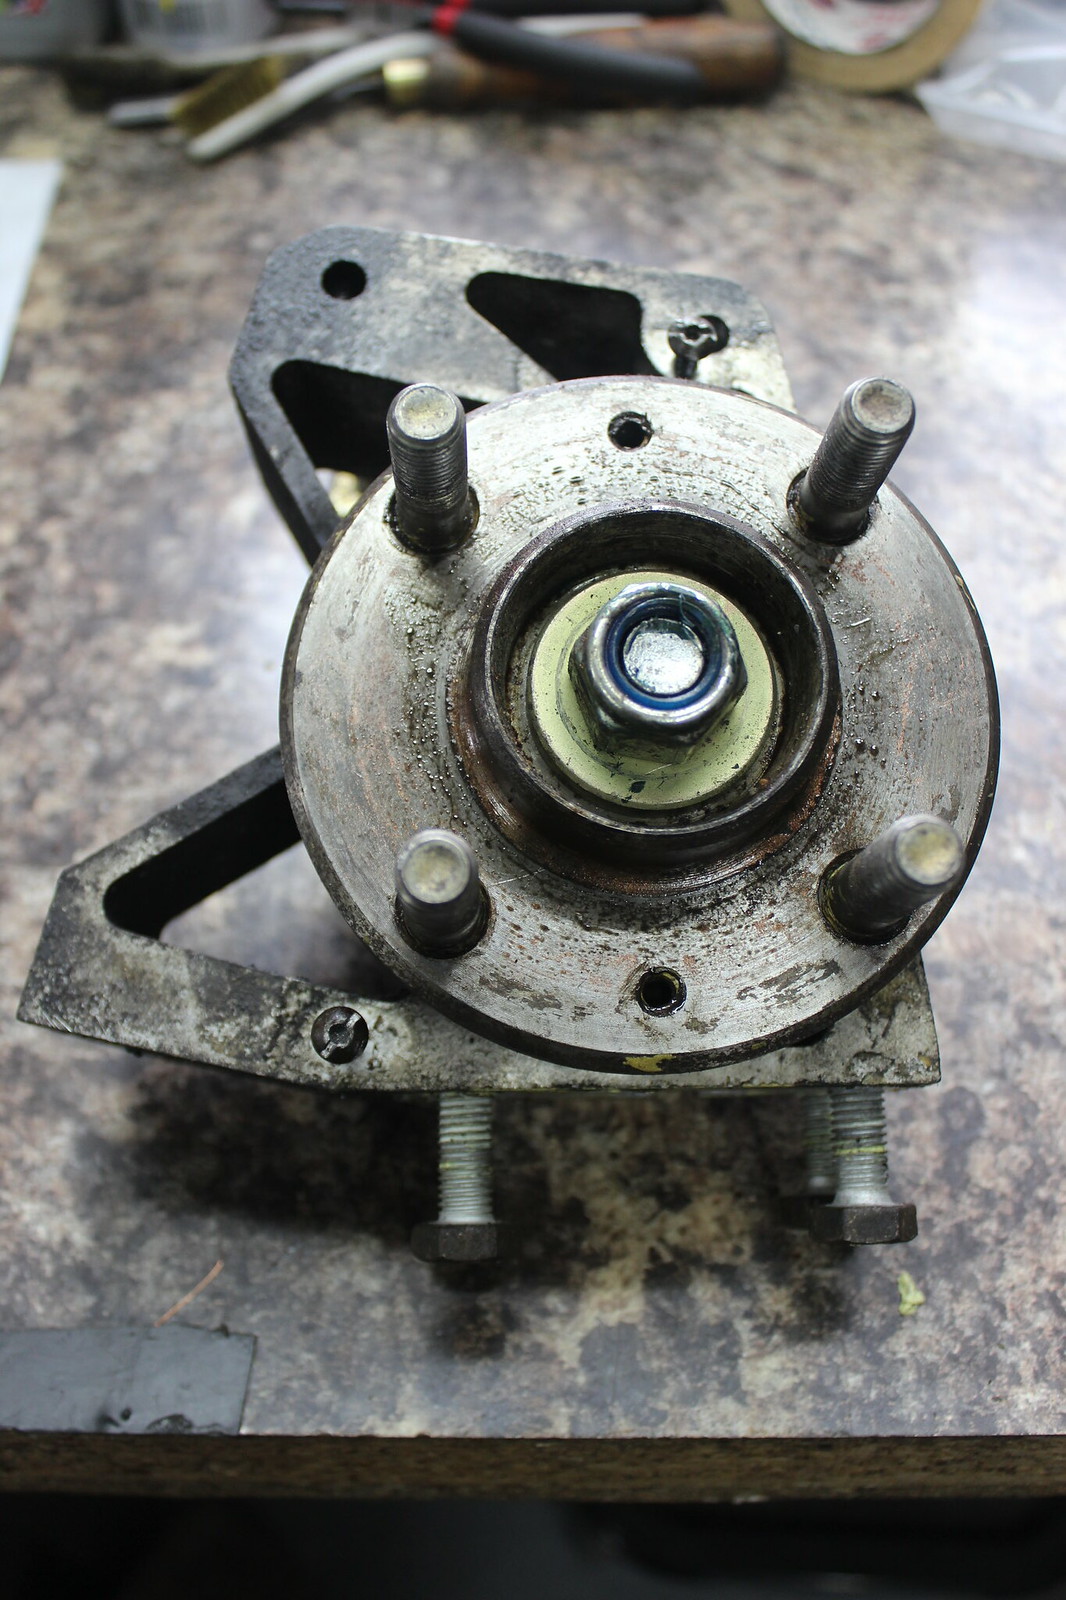
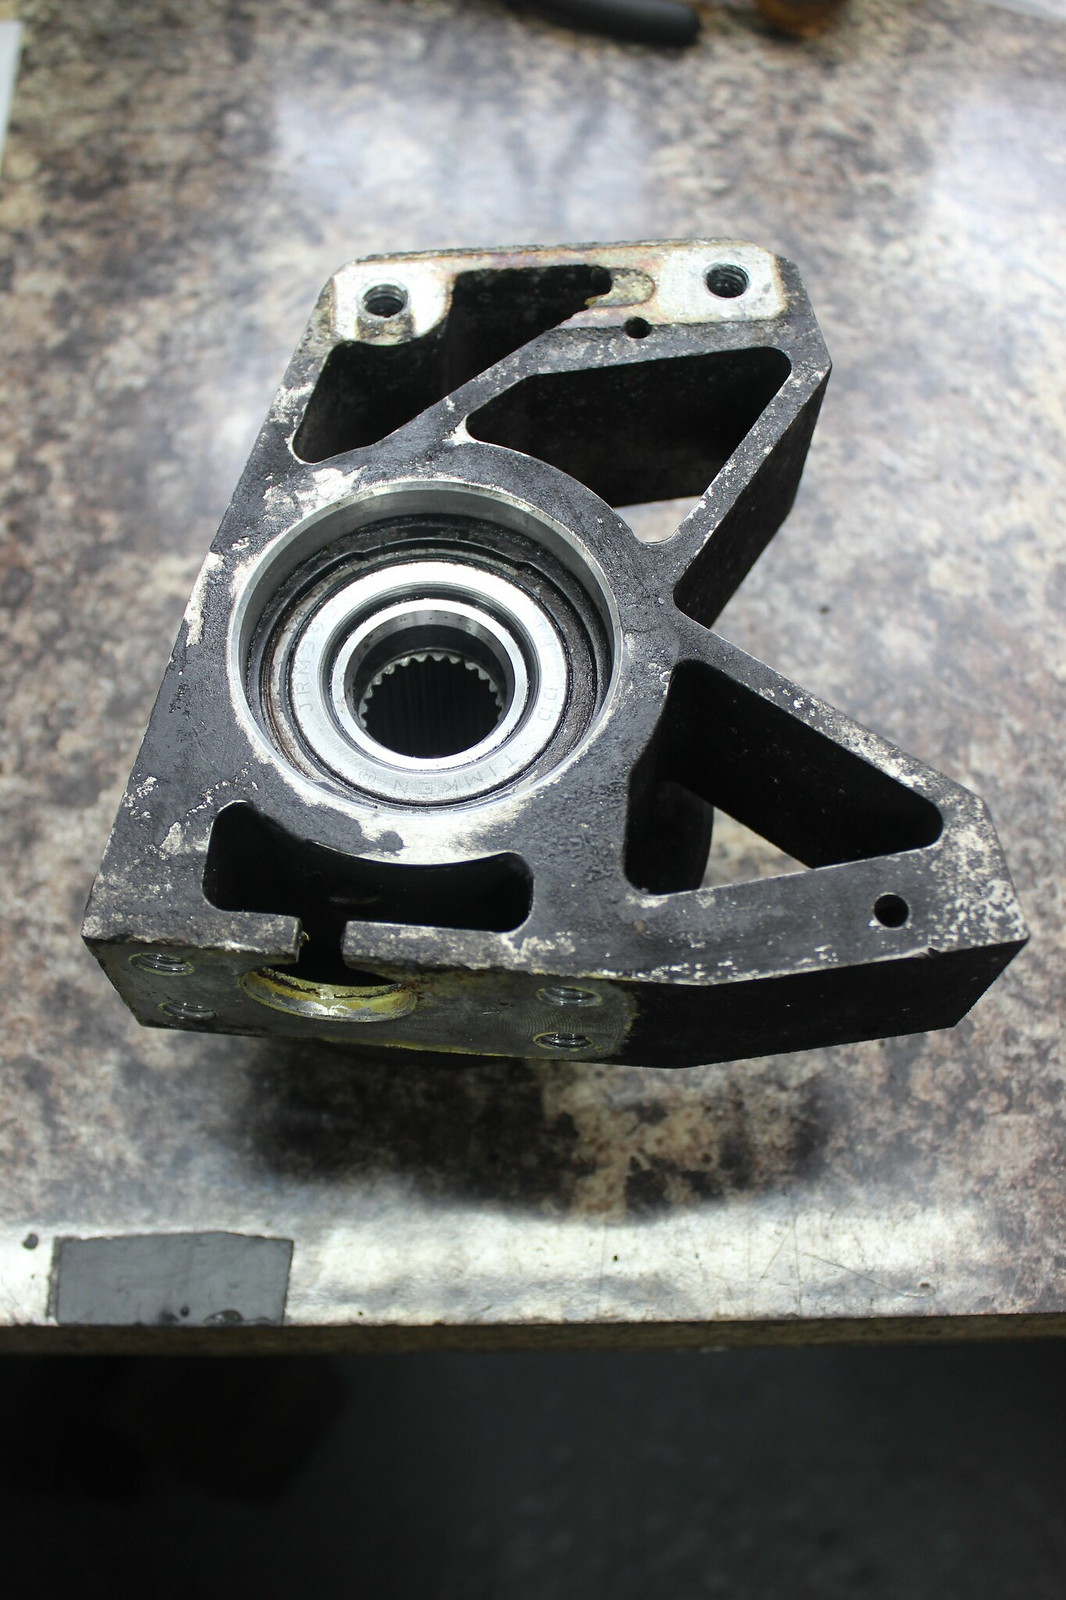
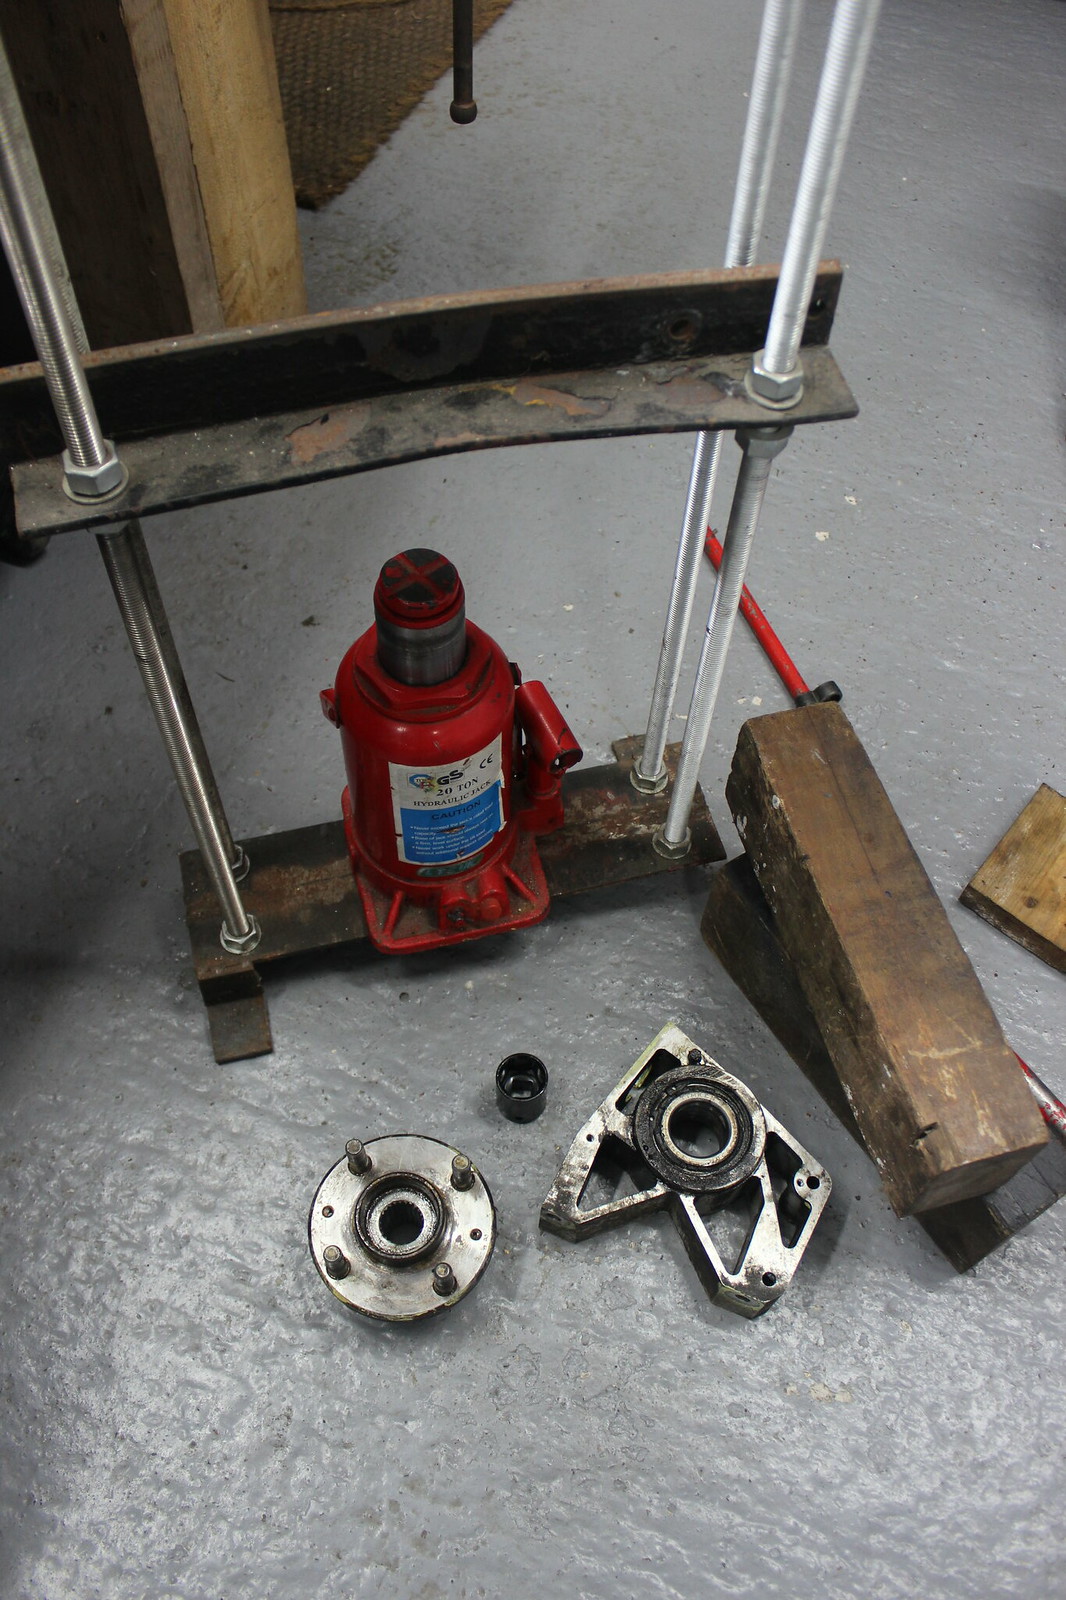
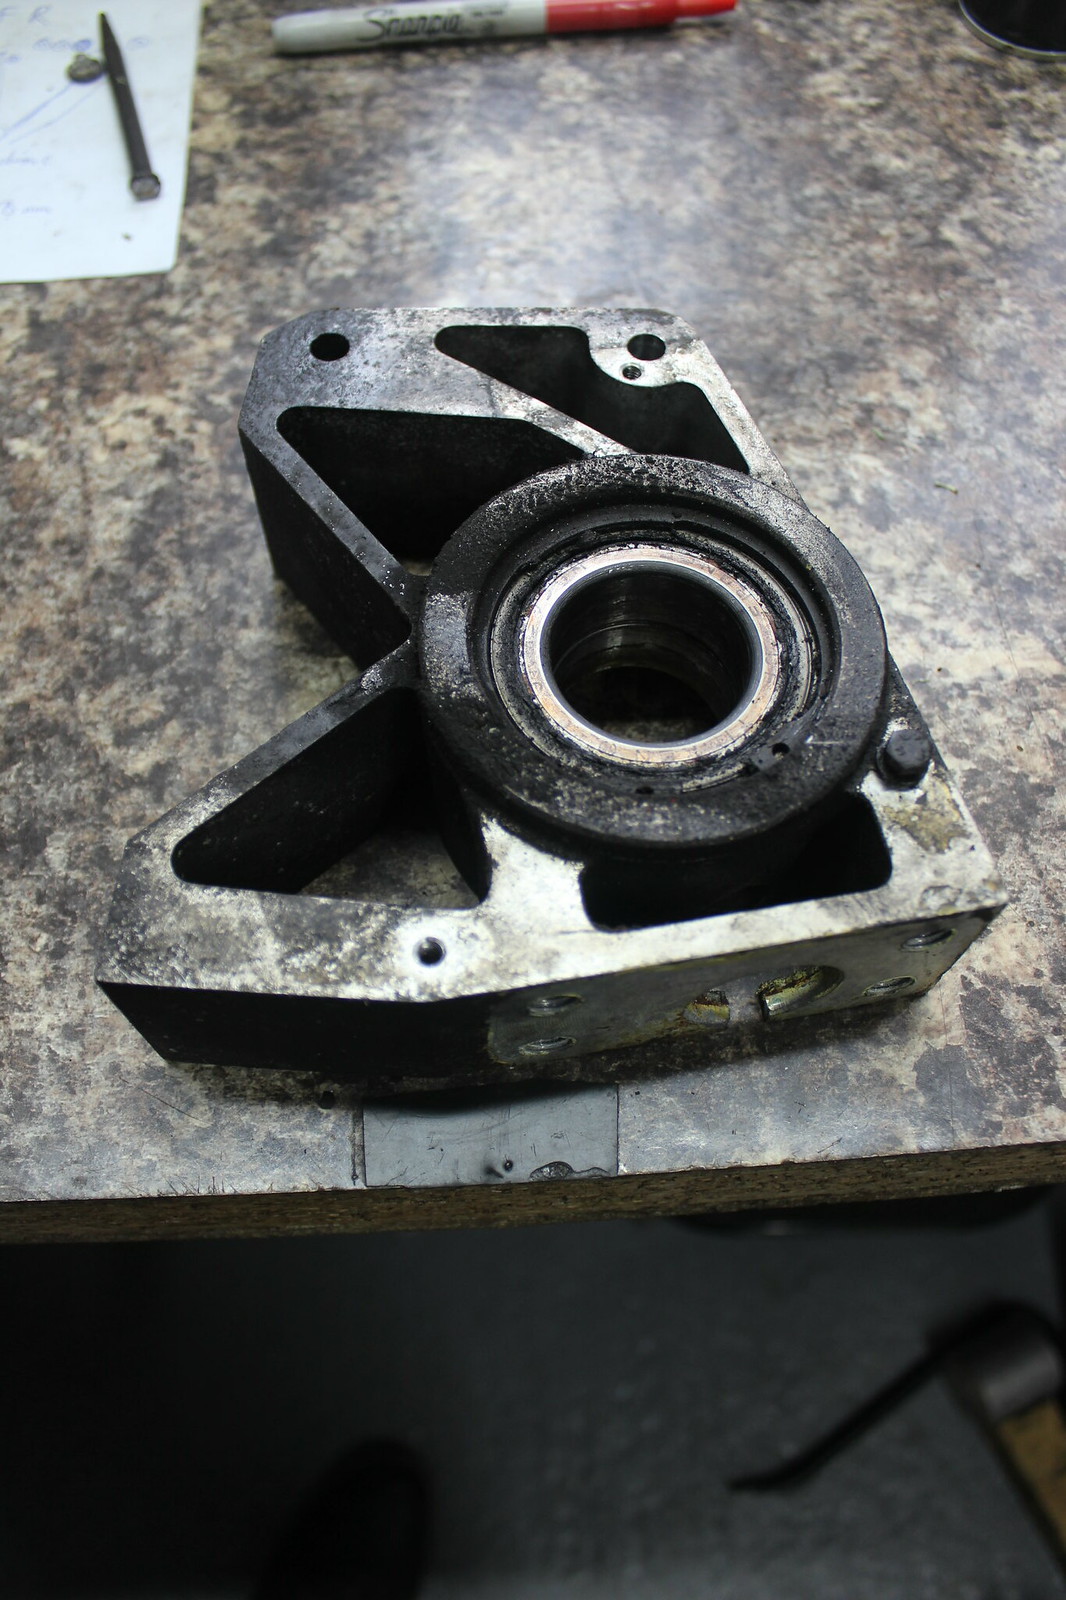
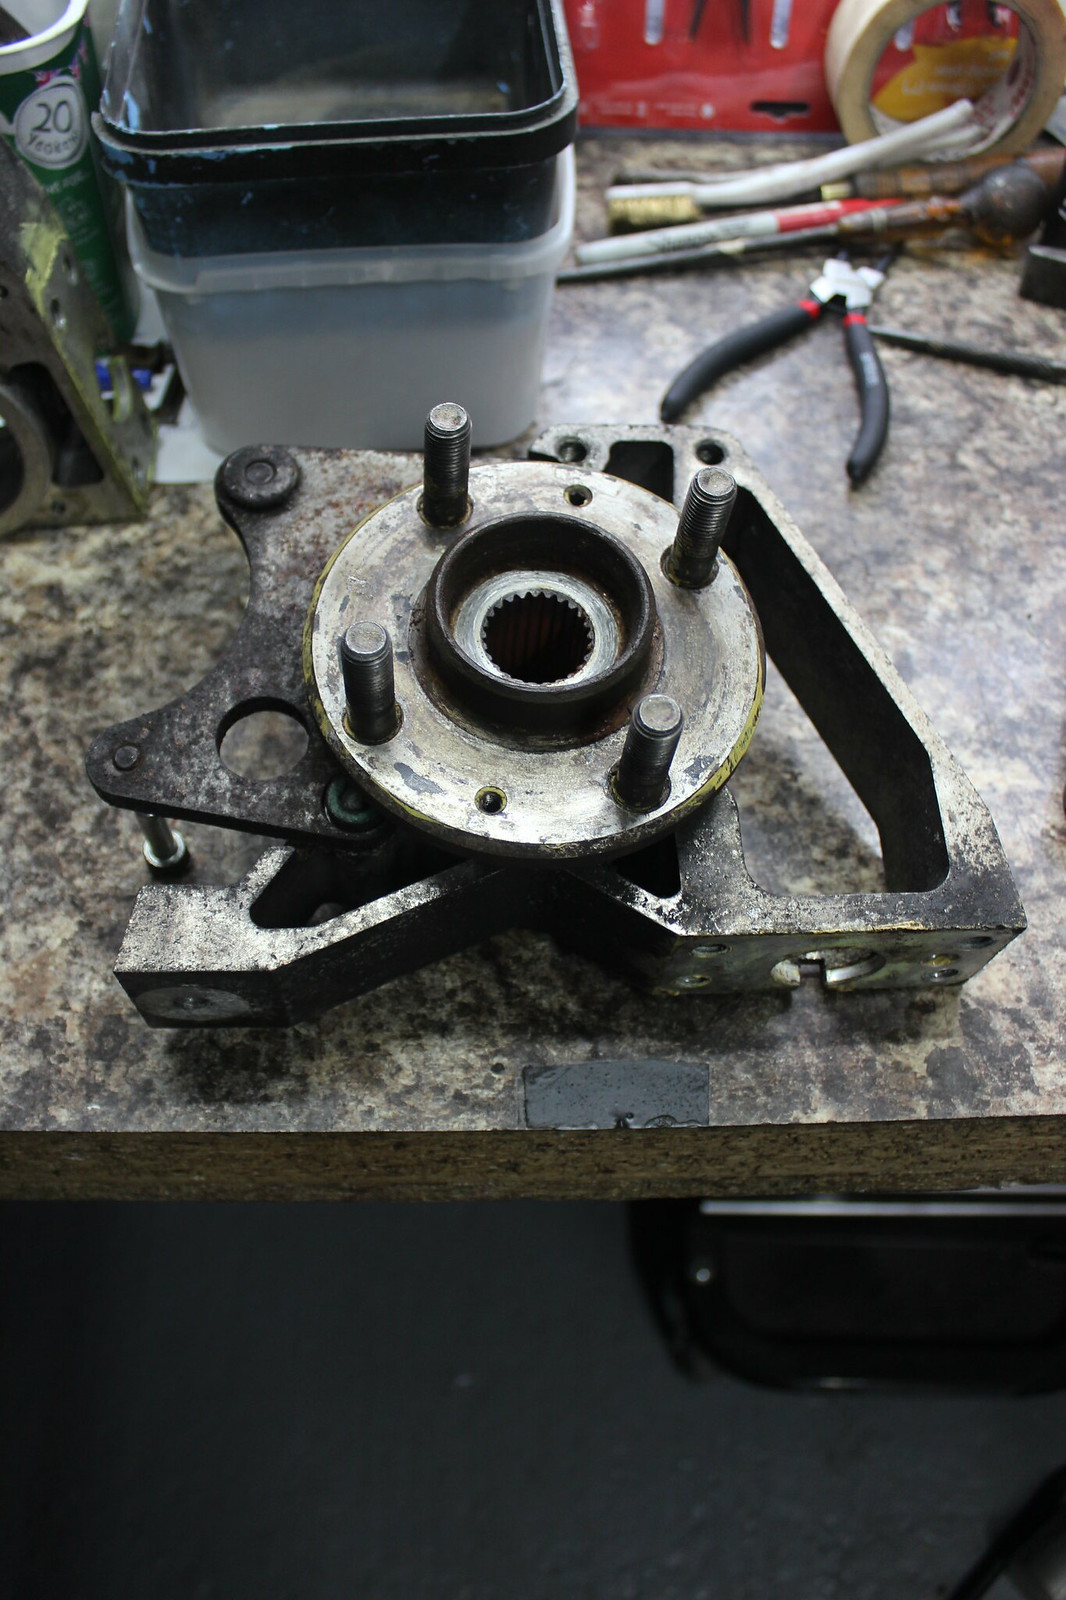
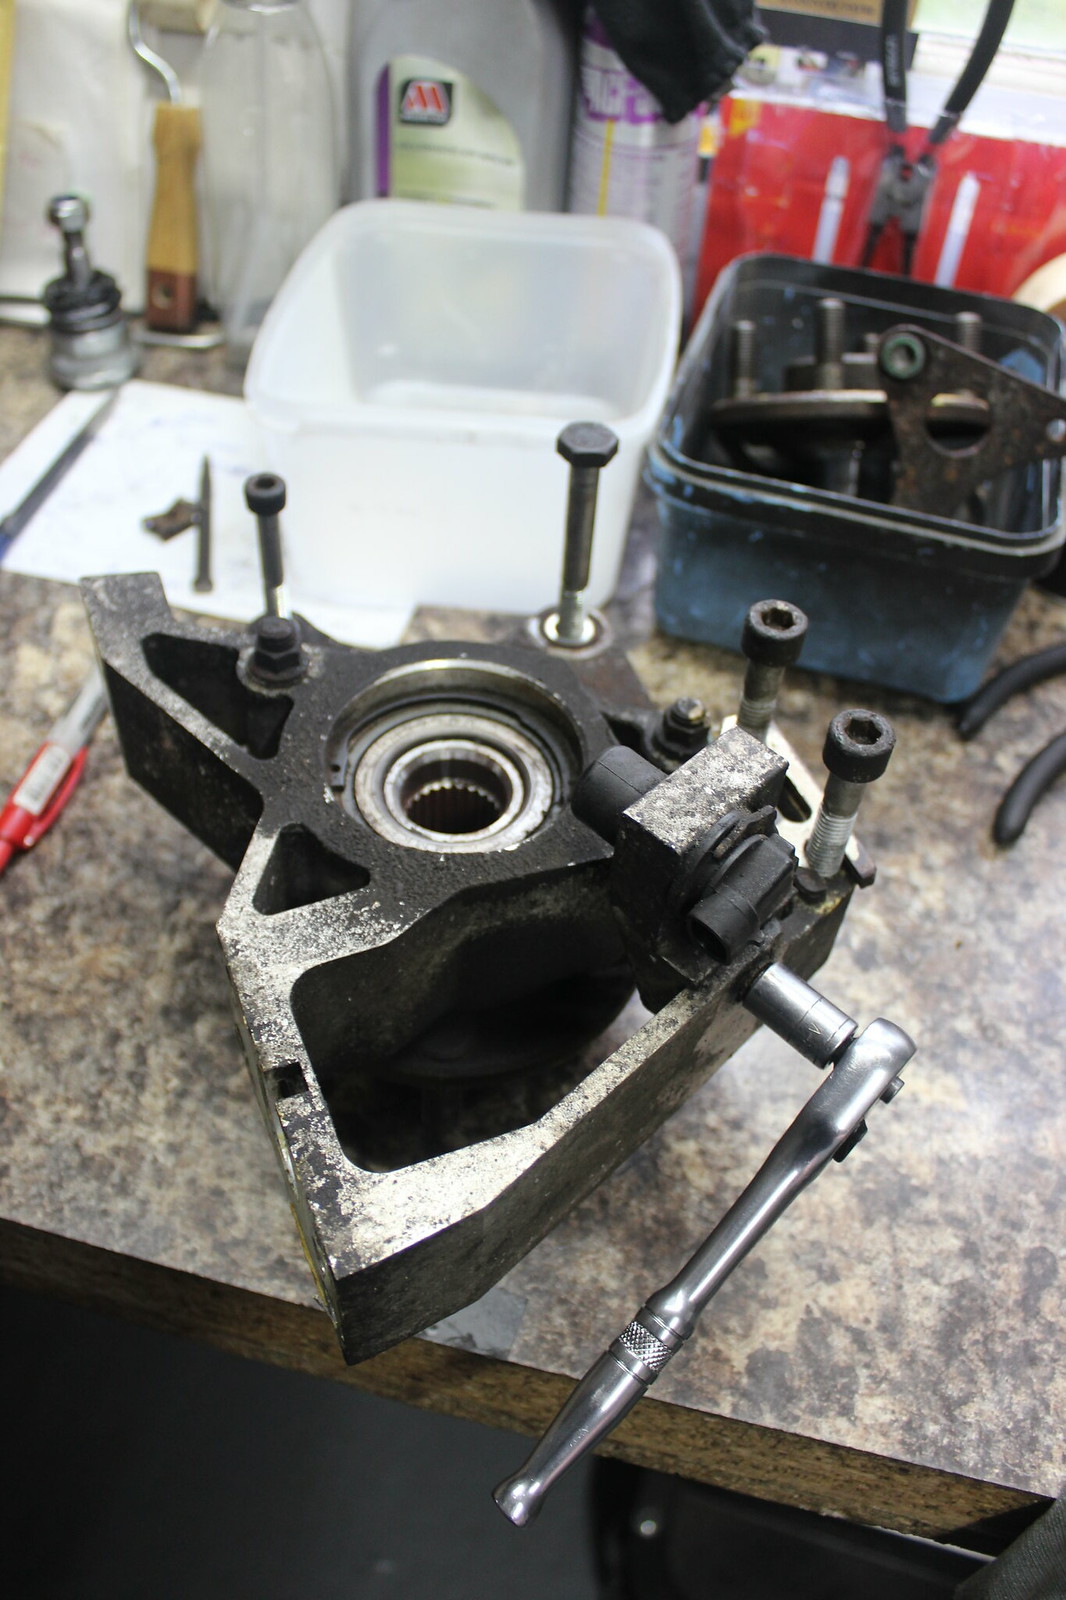
Bolt and washers removed. You can see the back edge of the ‘drive flange’ that will need a suitably sized socket to sit on when being pressed out.
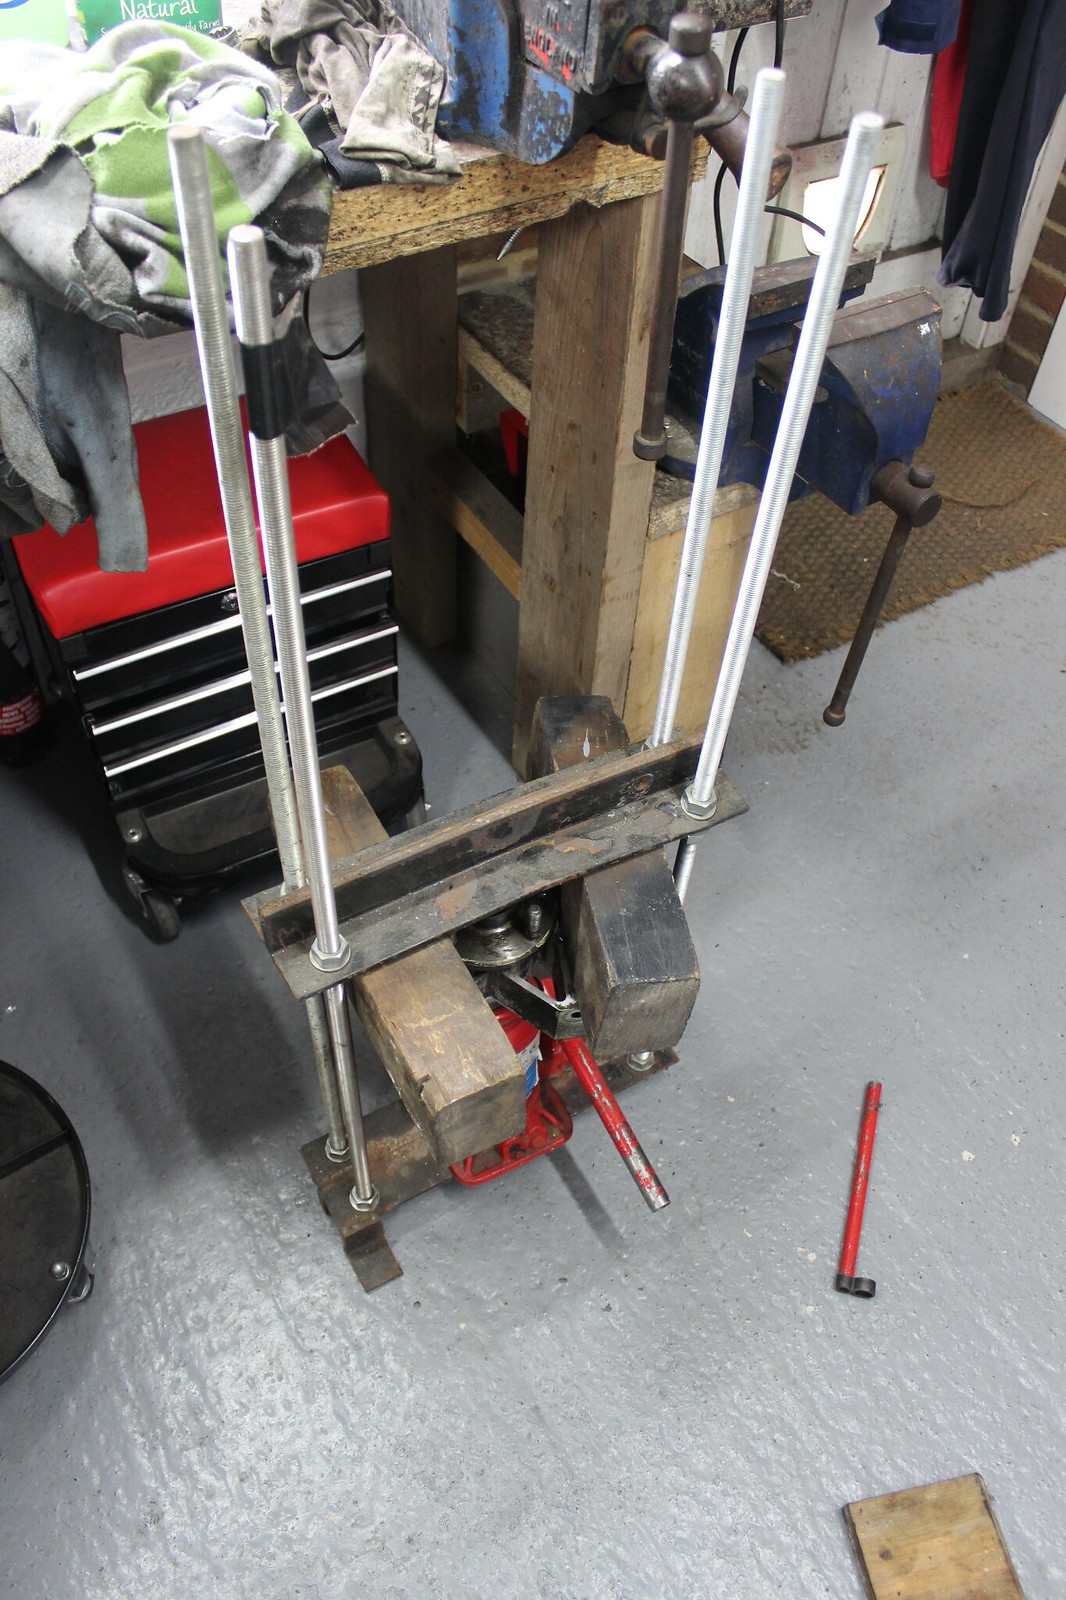
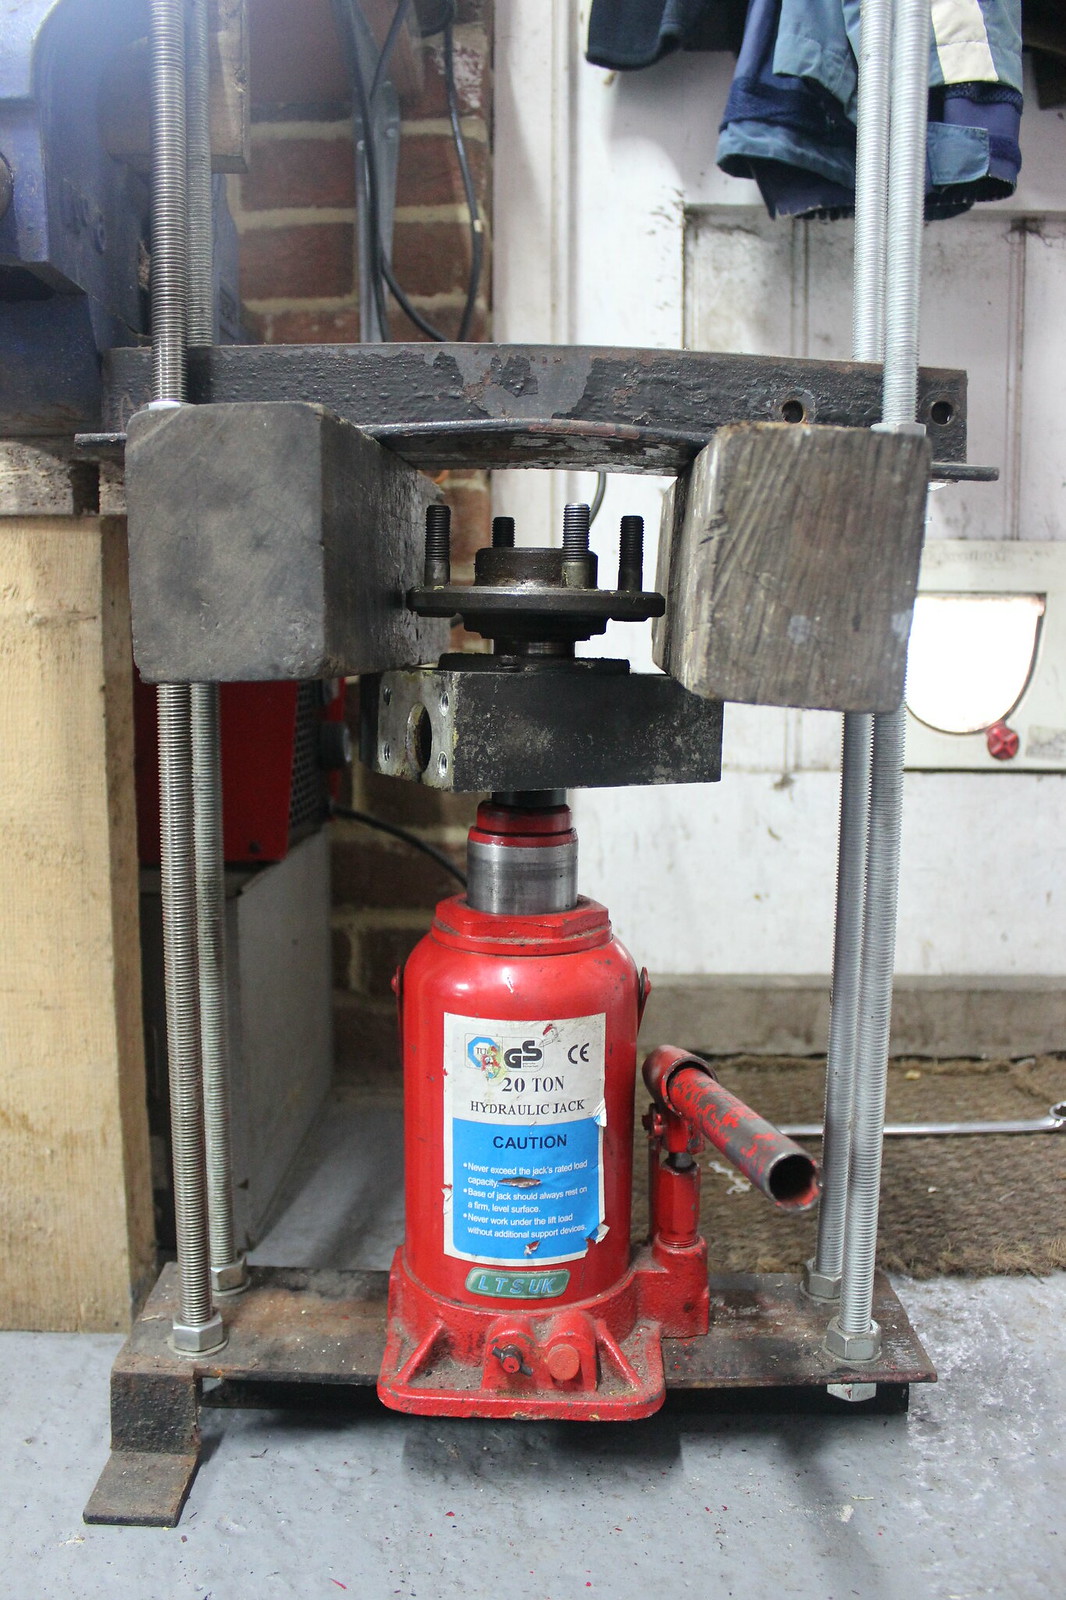
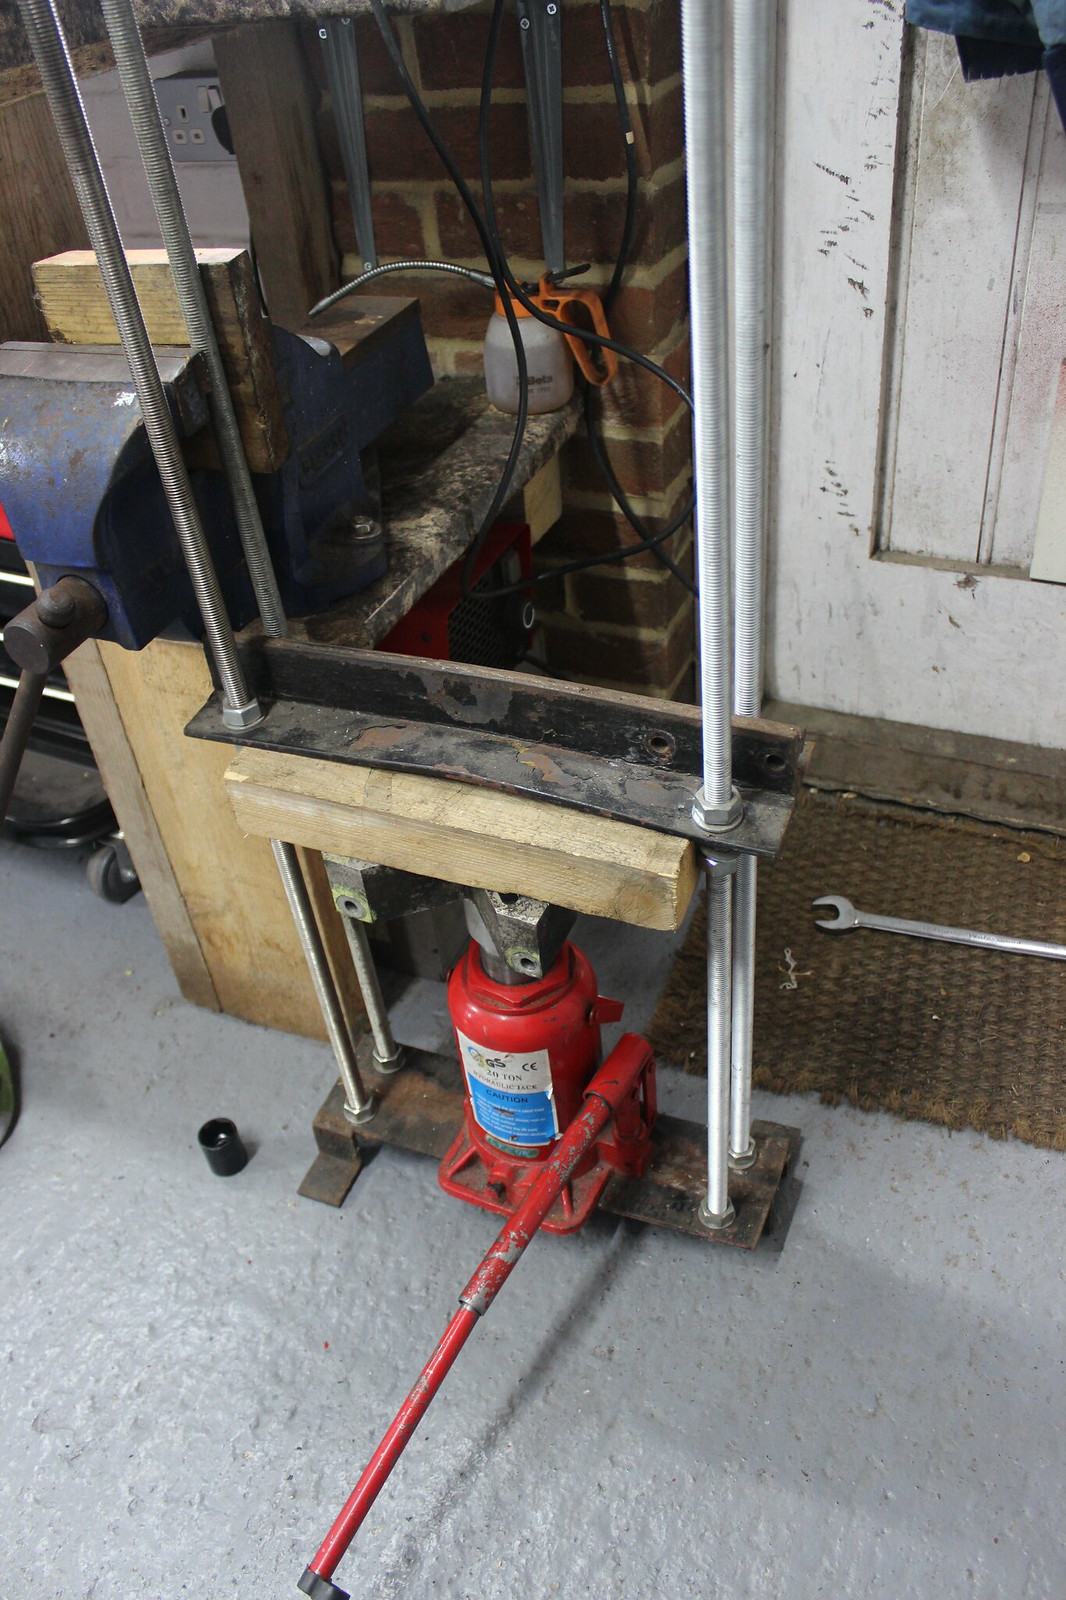
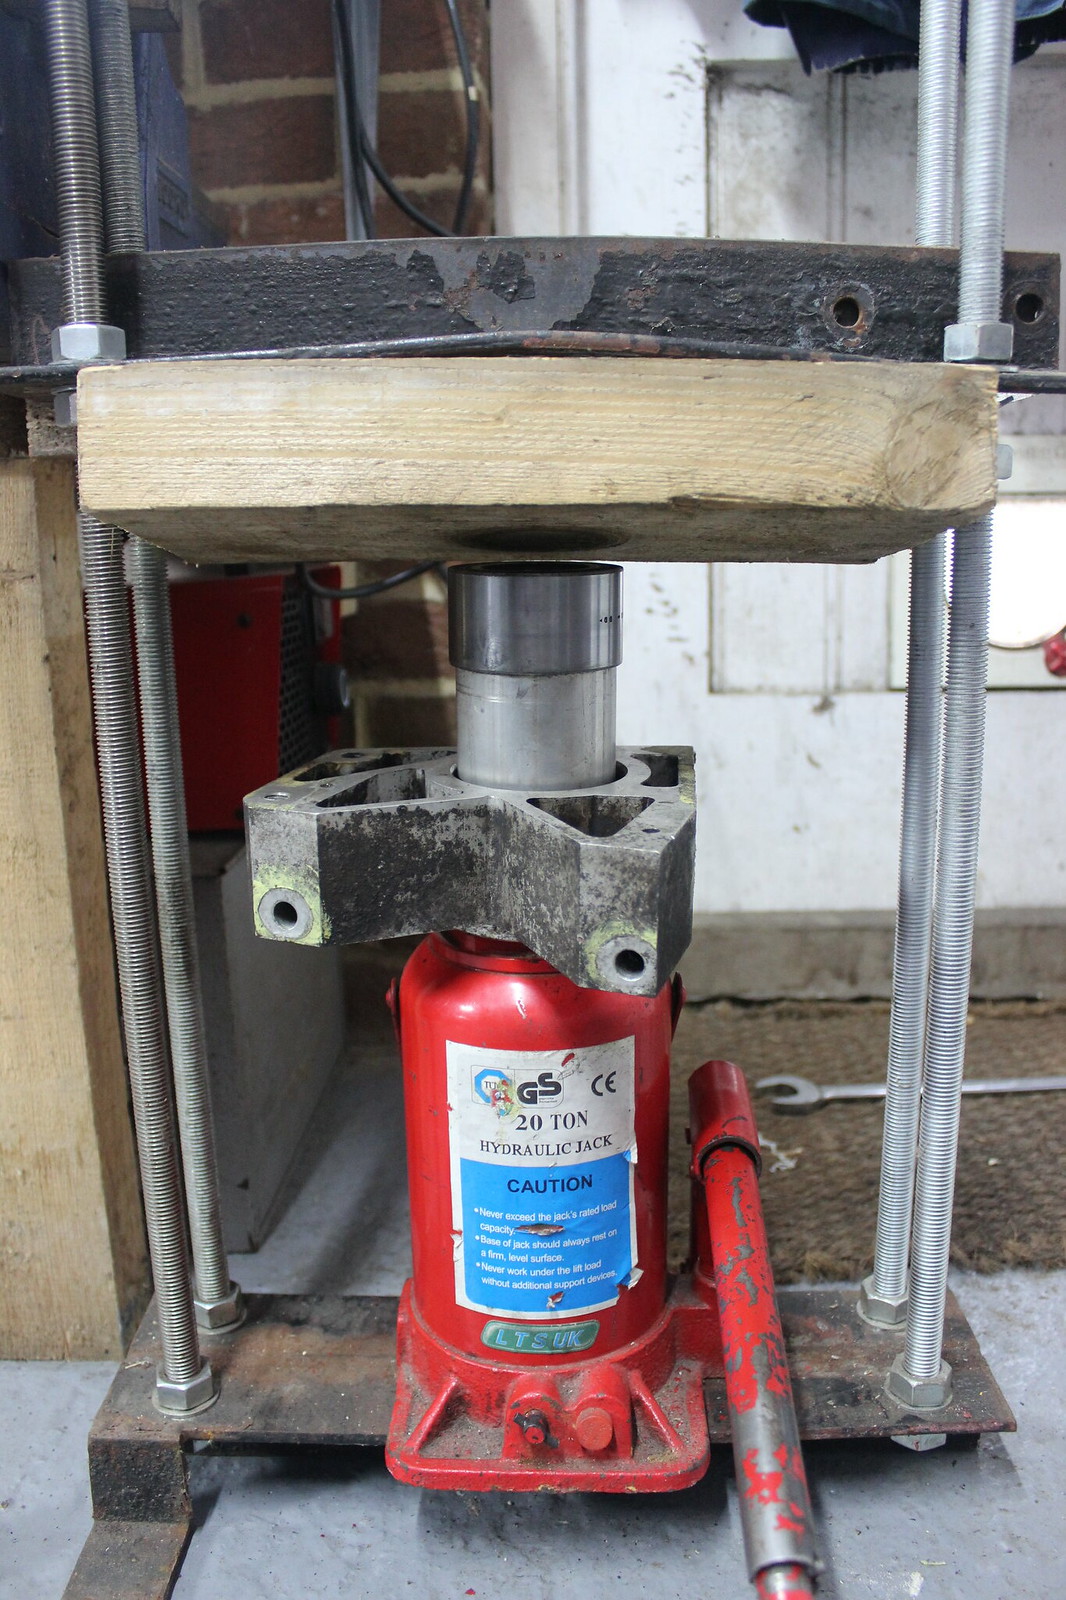
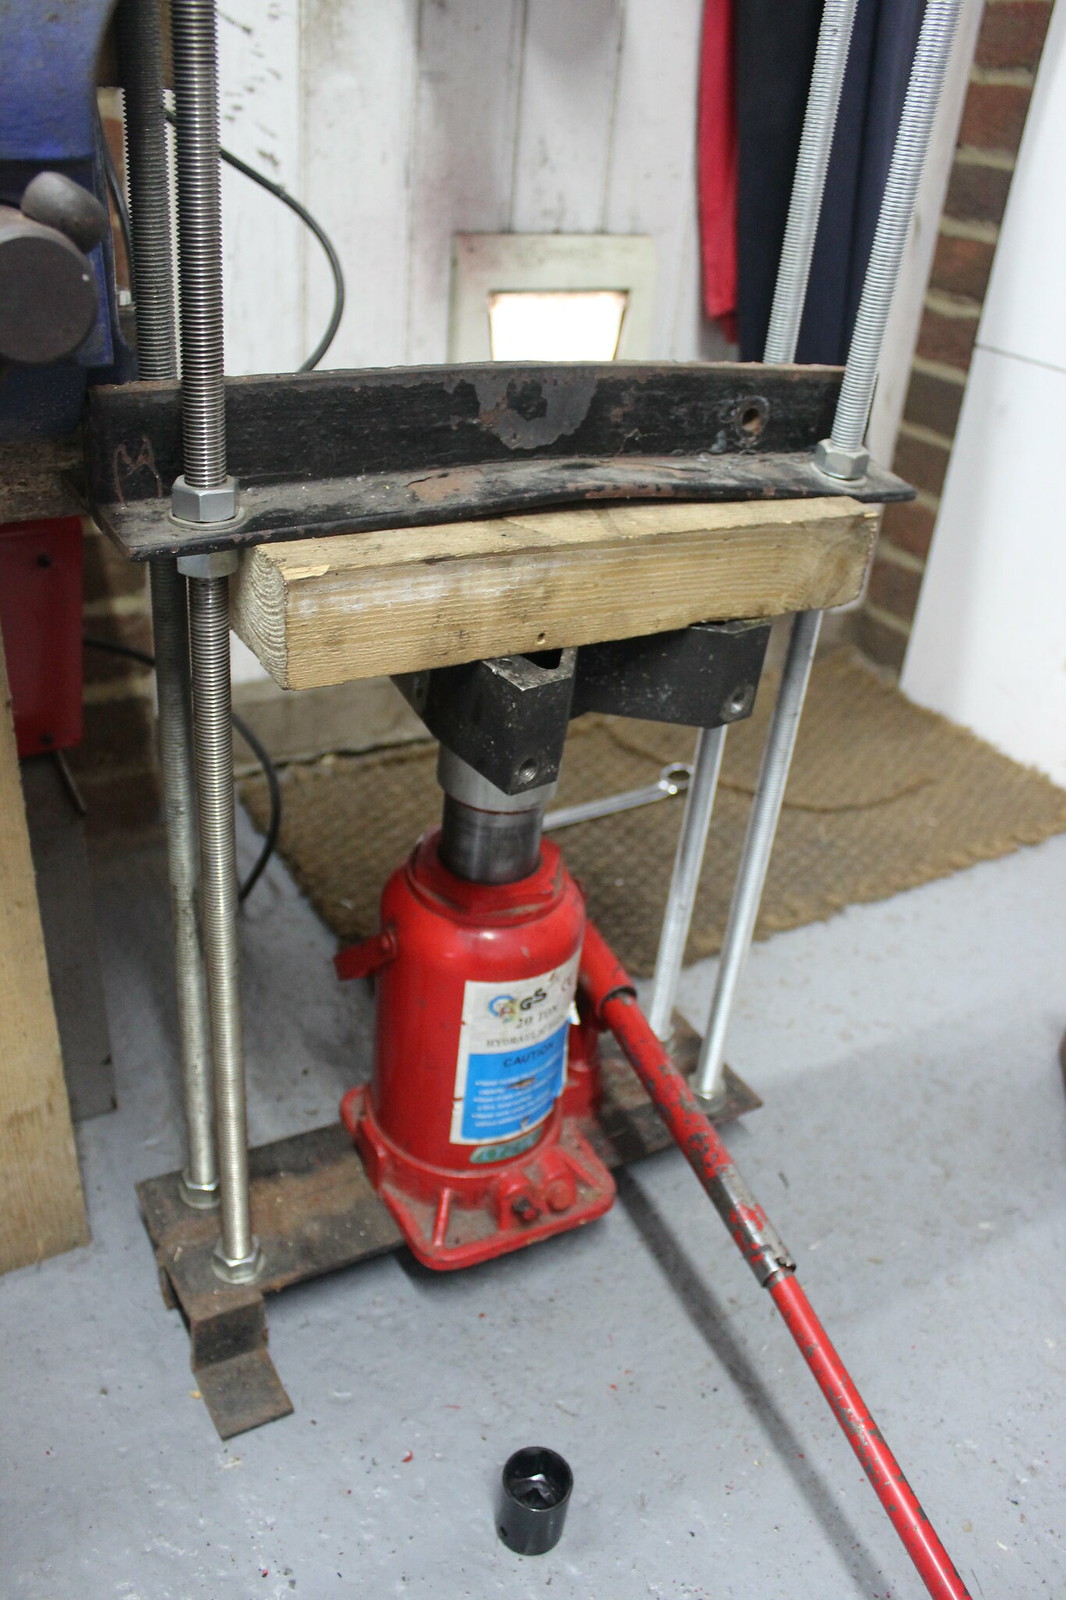
I made a press out of some old angle iron and stud I had kicking around a few years ago now. I ‘ve used it for all sorts over the years and it’s worked pretty well. This job would have been a good excuse to buy one but I thought I’d give this a go first and see how it got on.
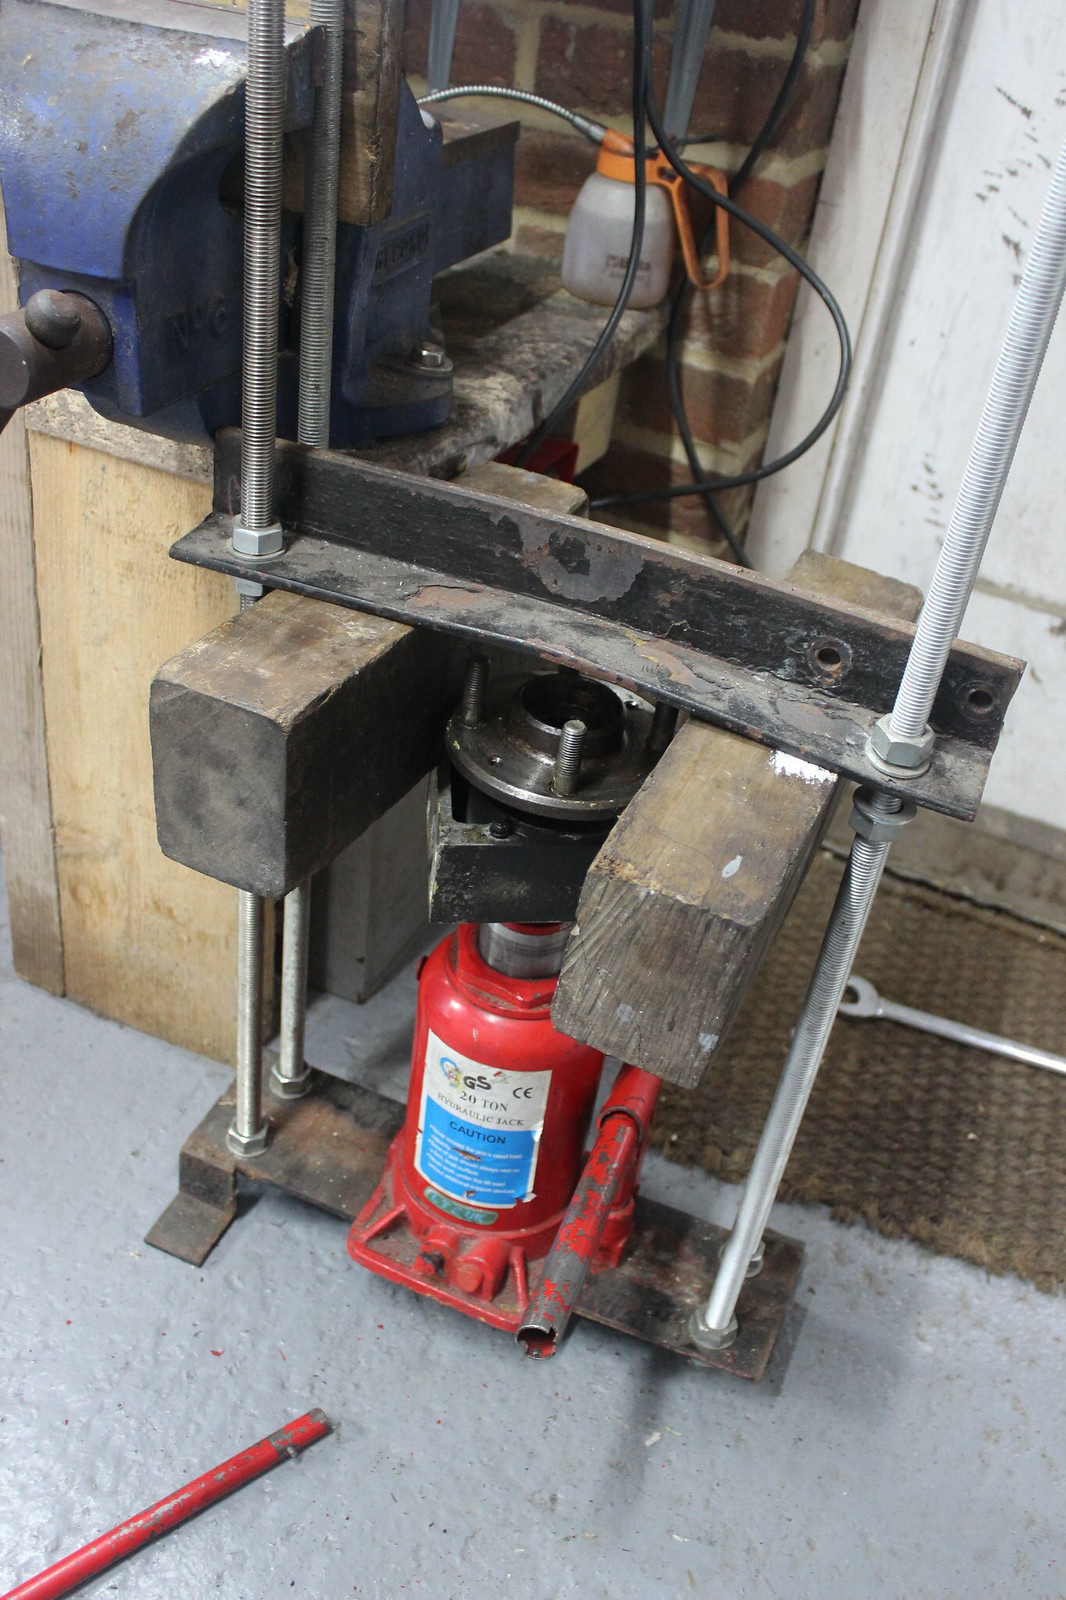
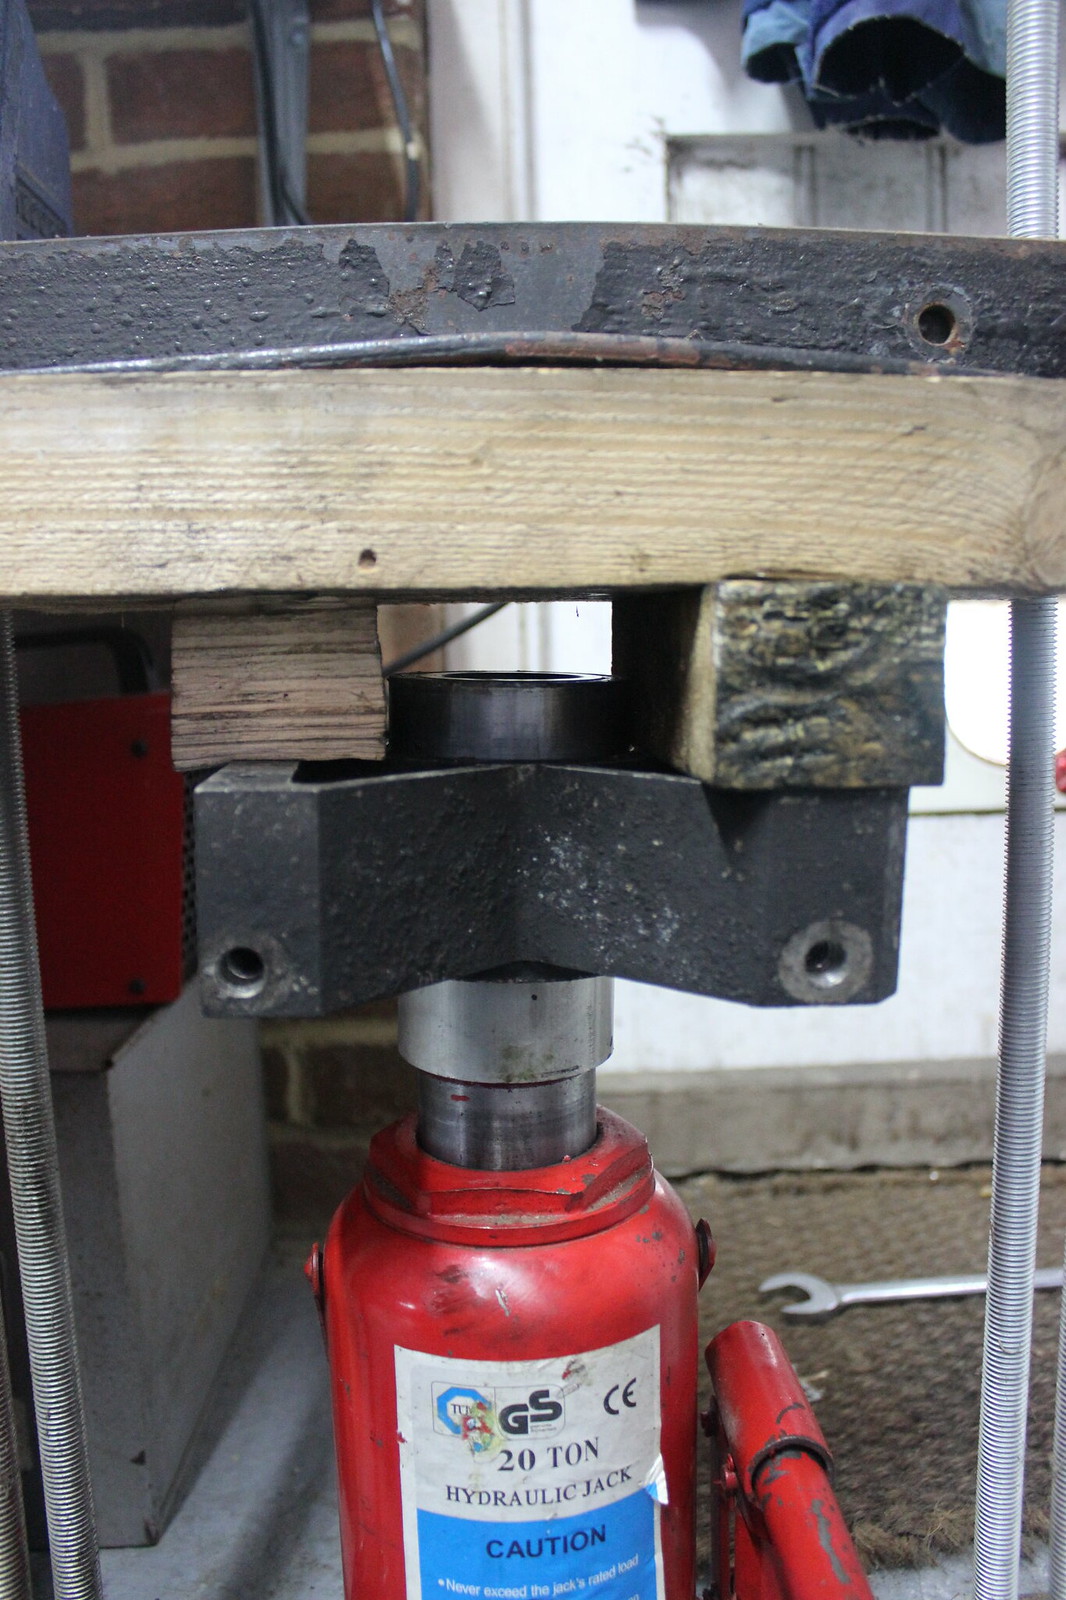
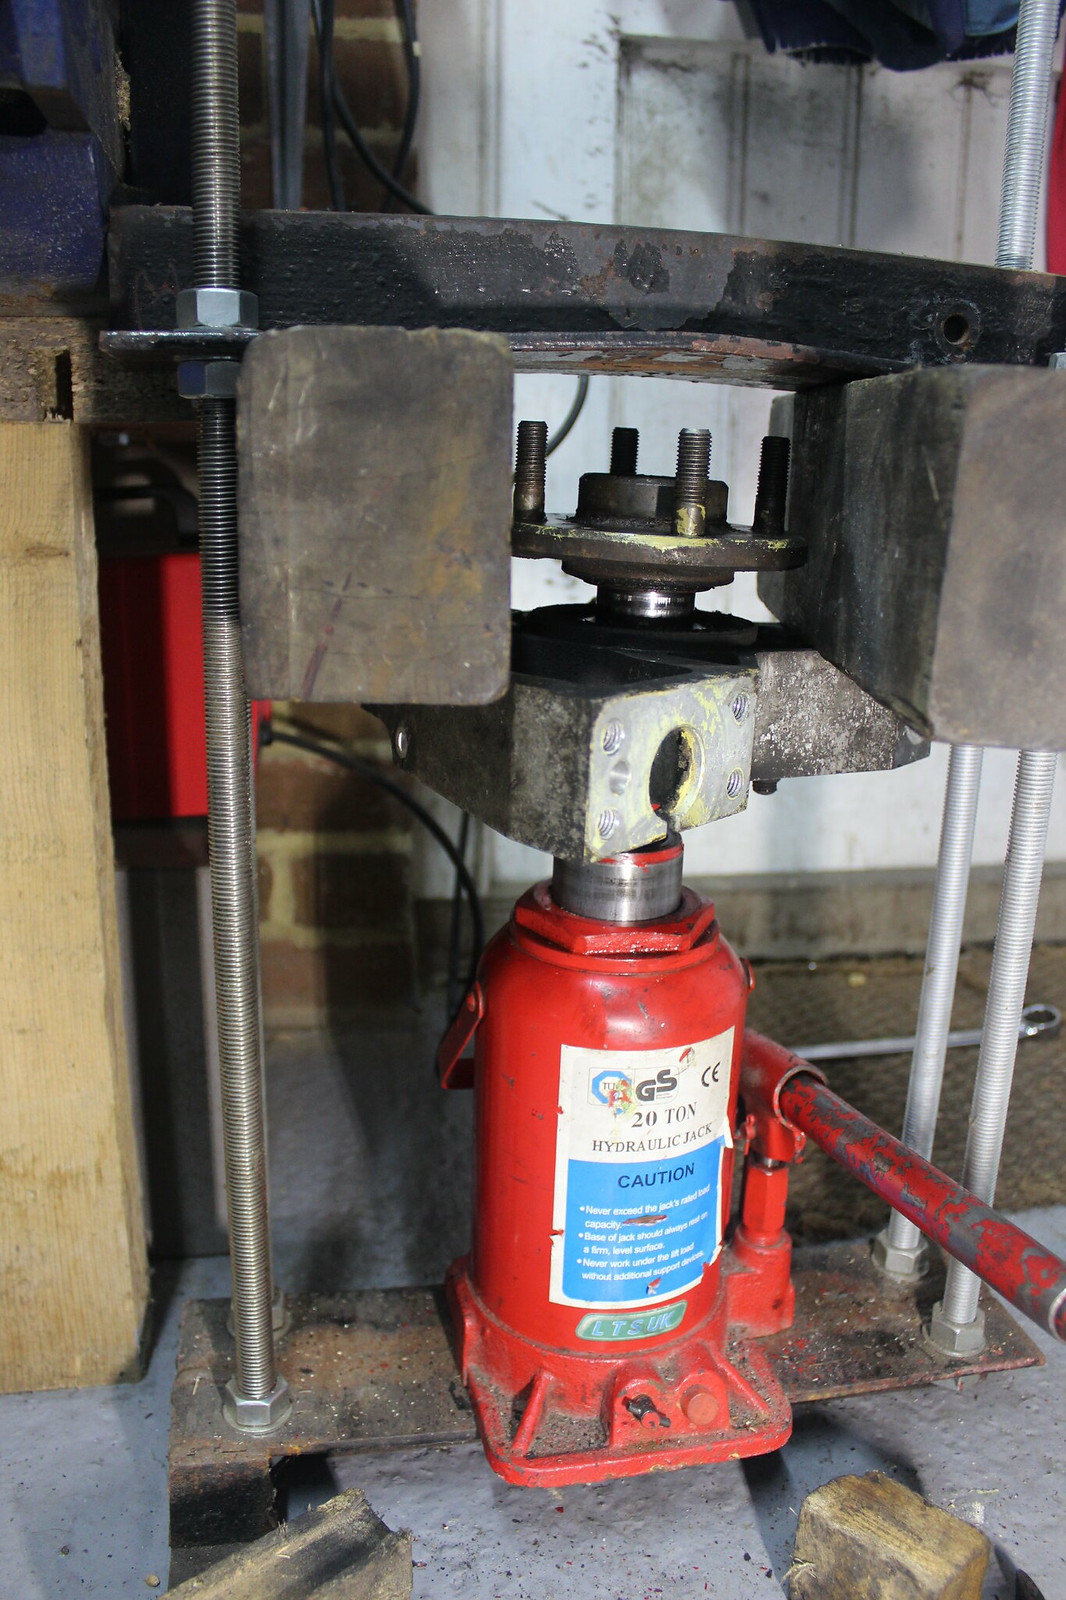
I found a socket just the right diameter to sit on the backside of the drive flange and gave it a go.
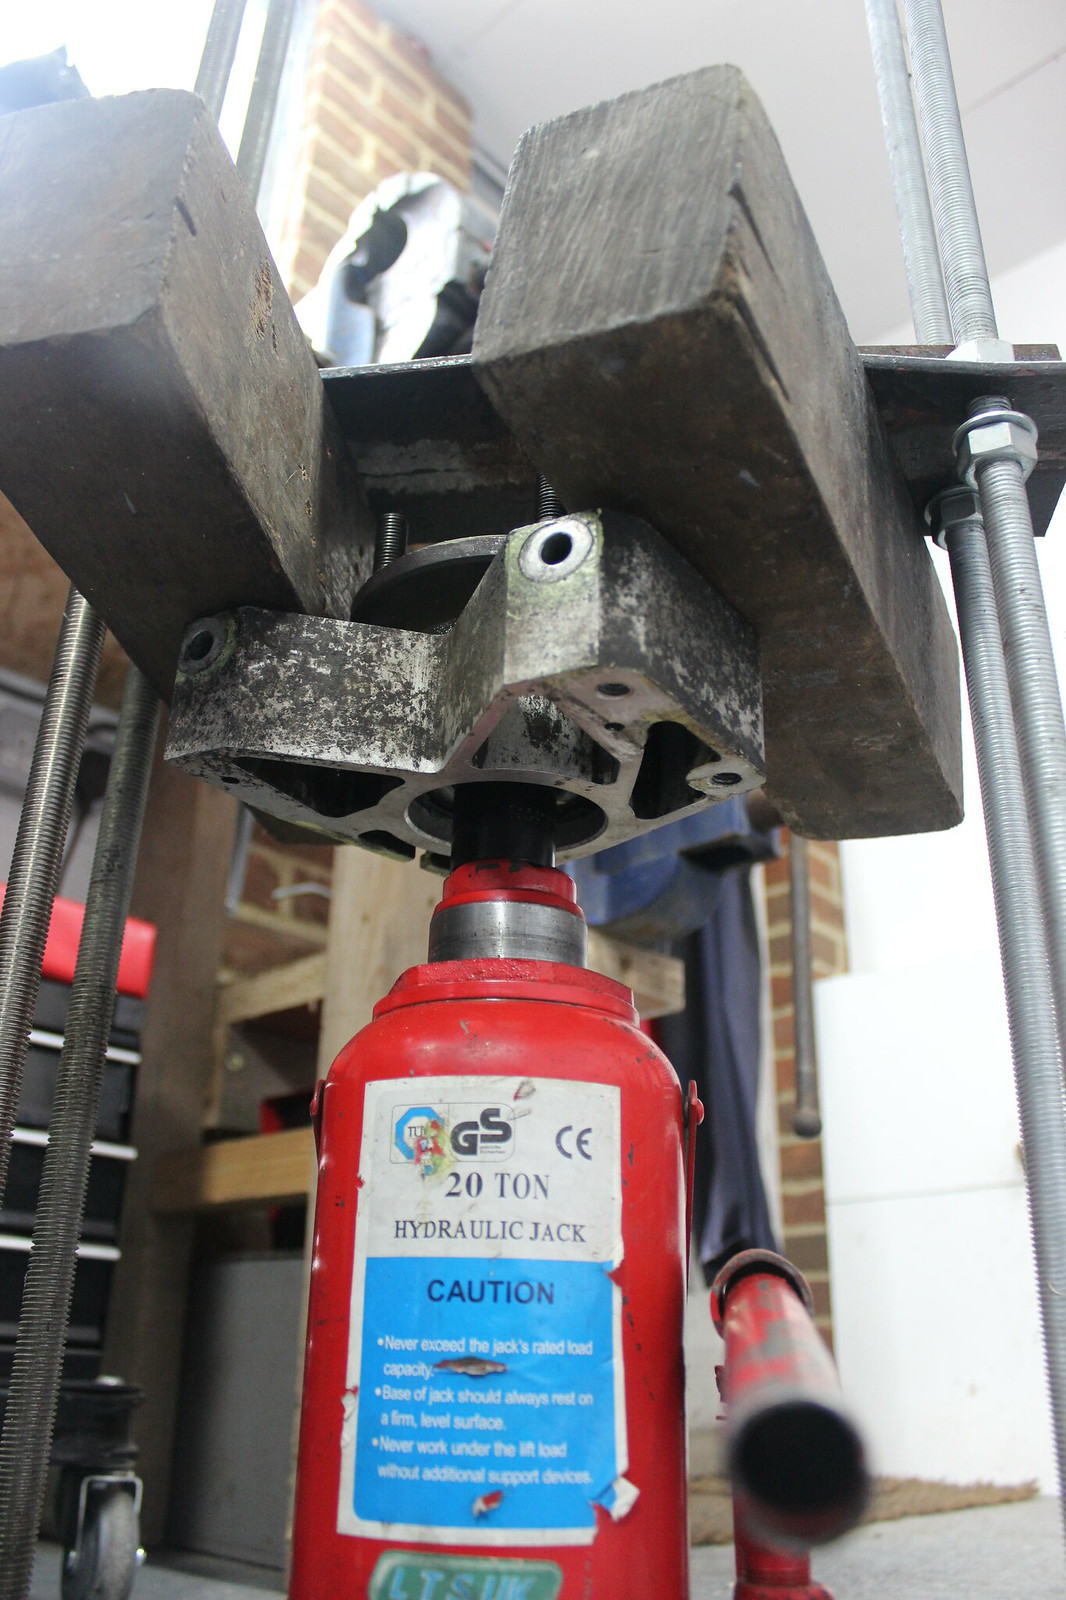
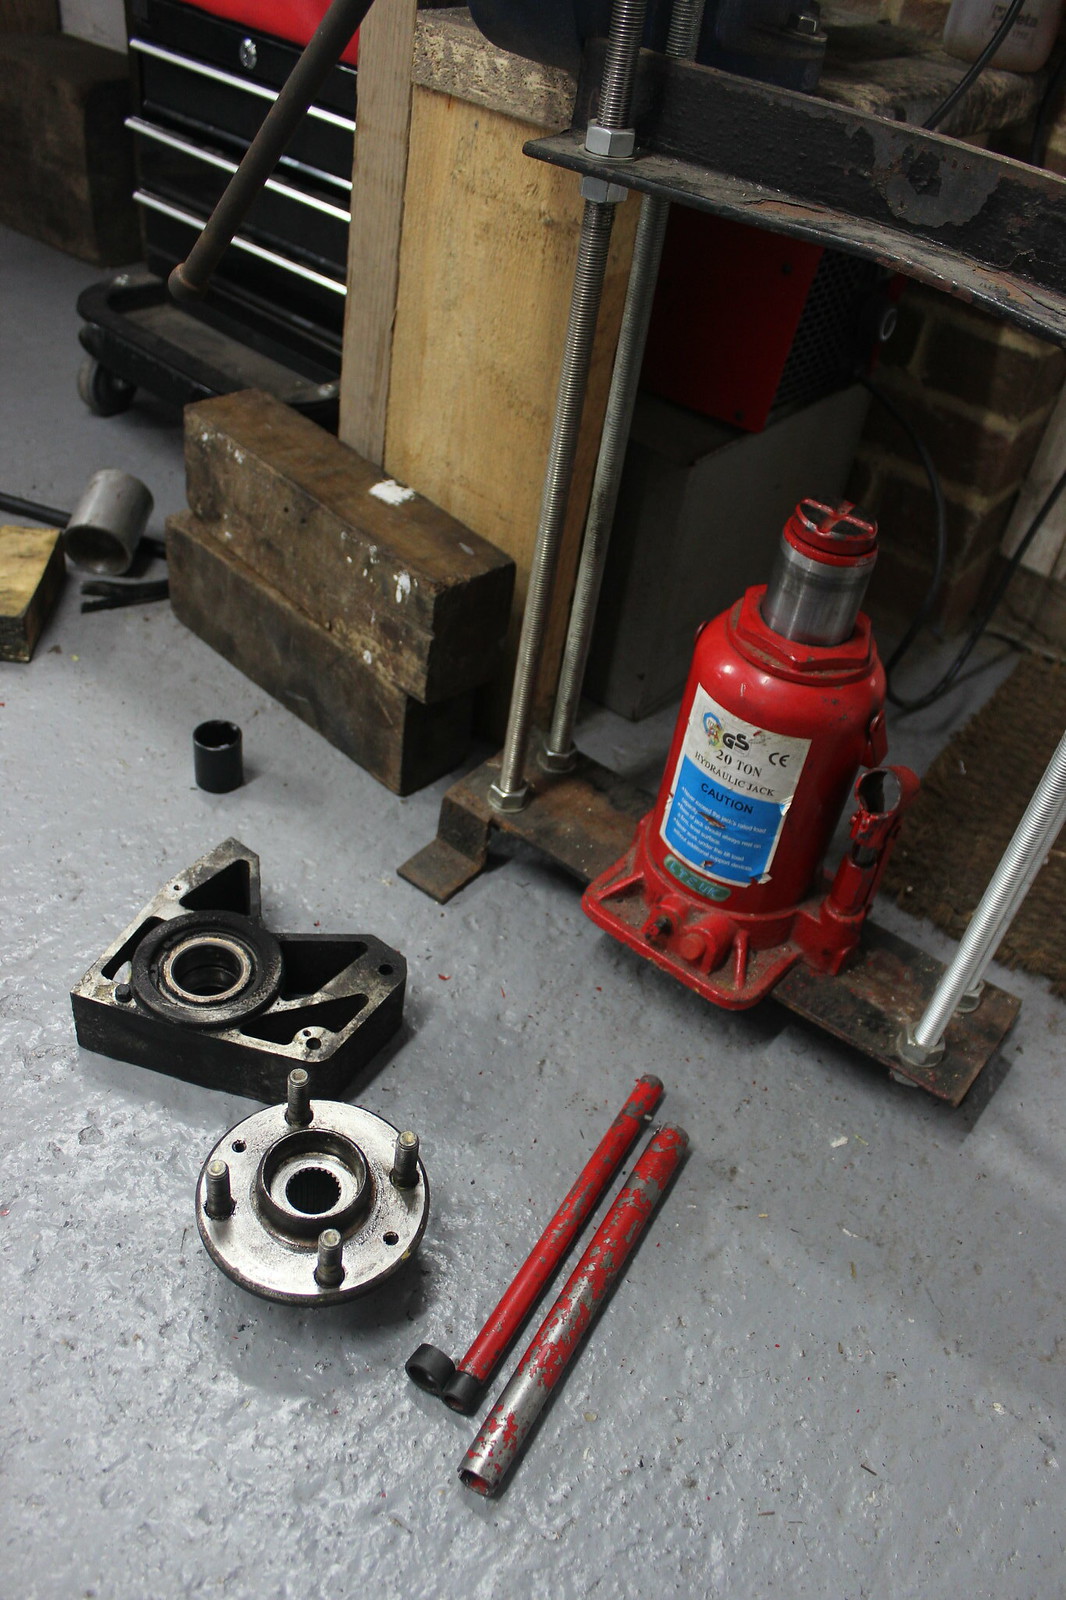
Well it’s not pretty but it works, the ‘drive flange’ pressed out with no trouble. I was half expecting it to be a bit stuck in place.

Same again with the other front hub carrier.

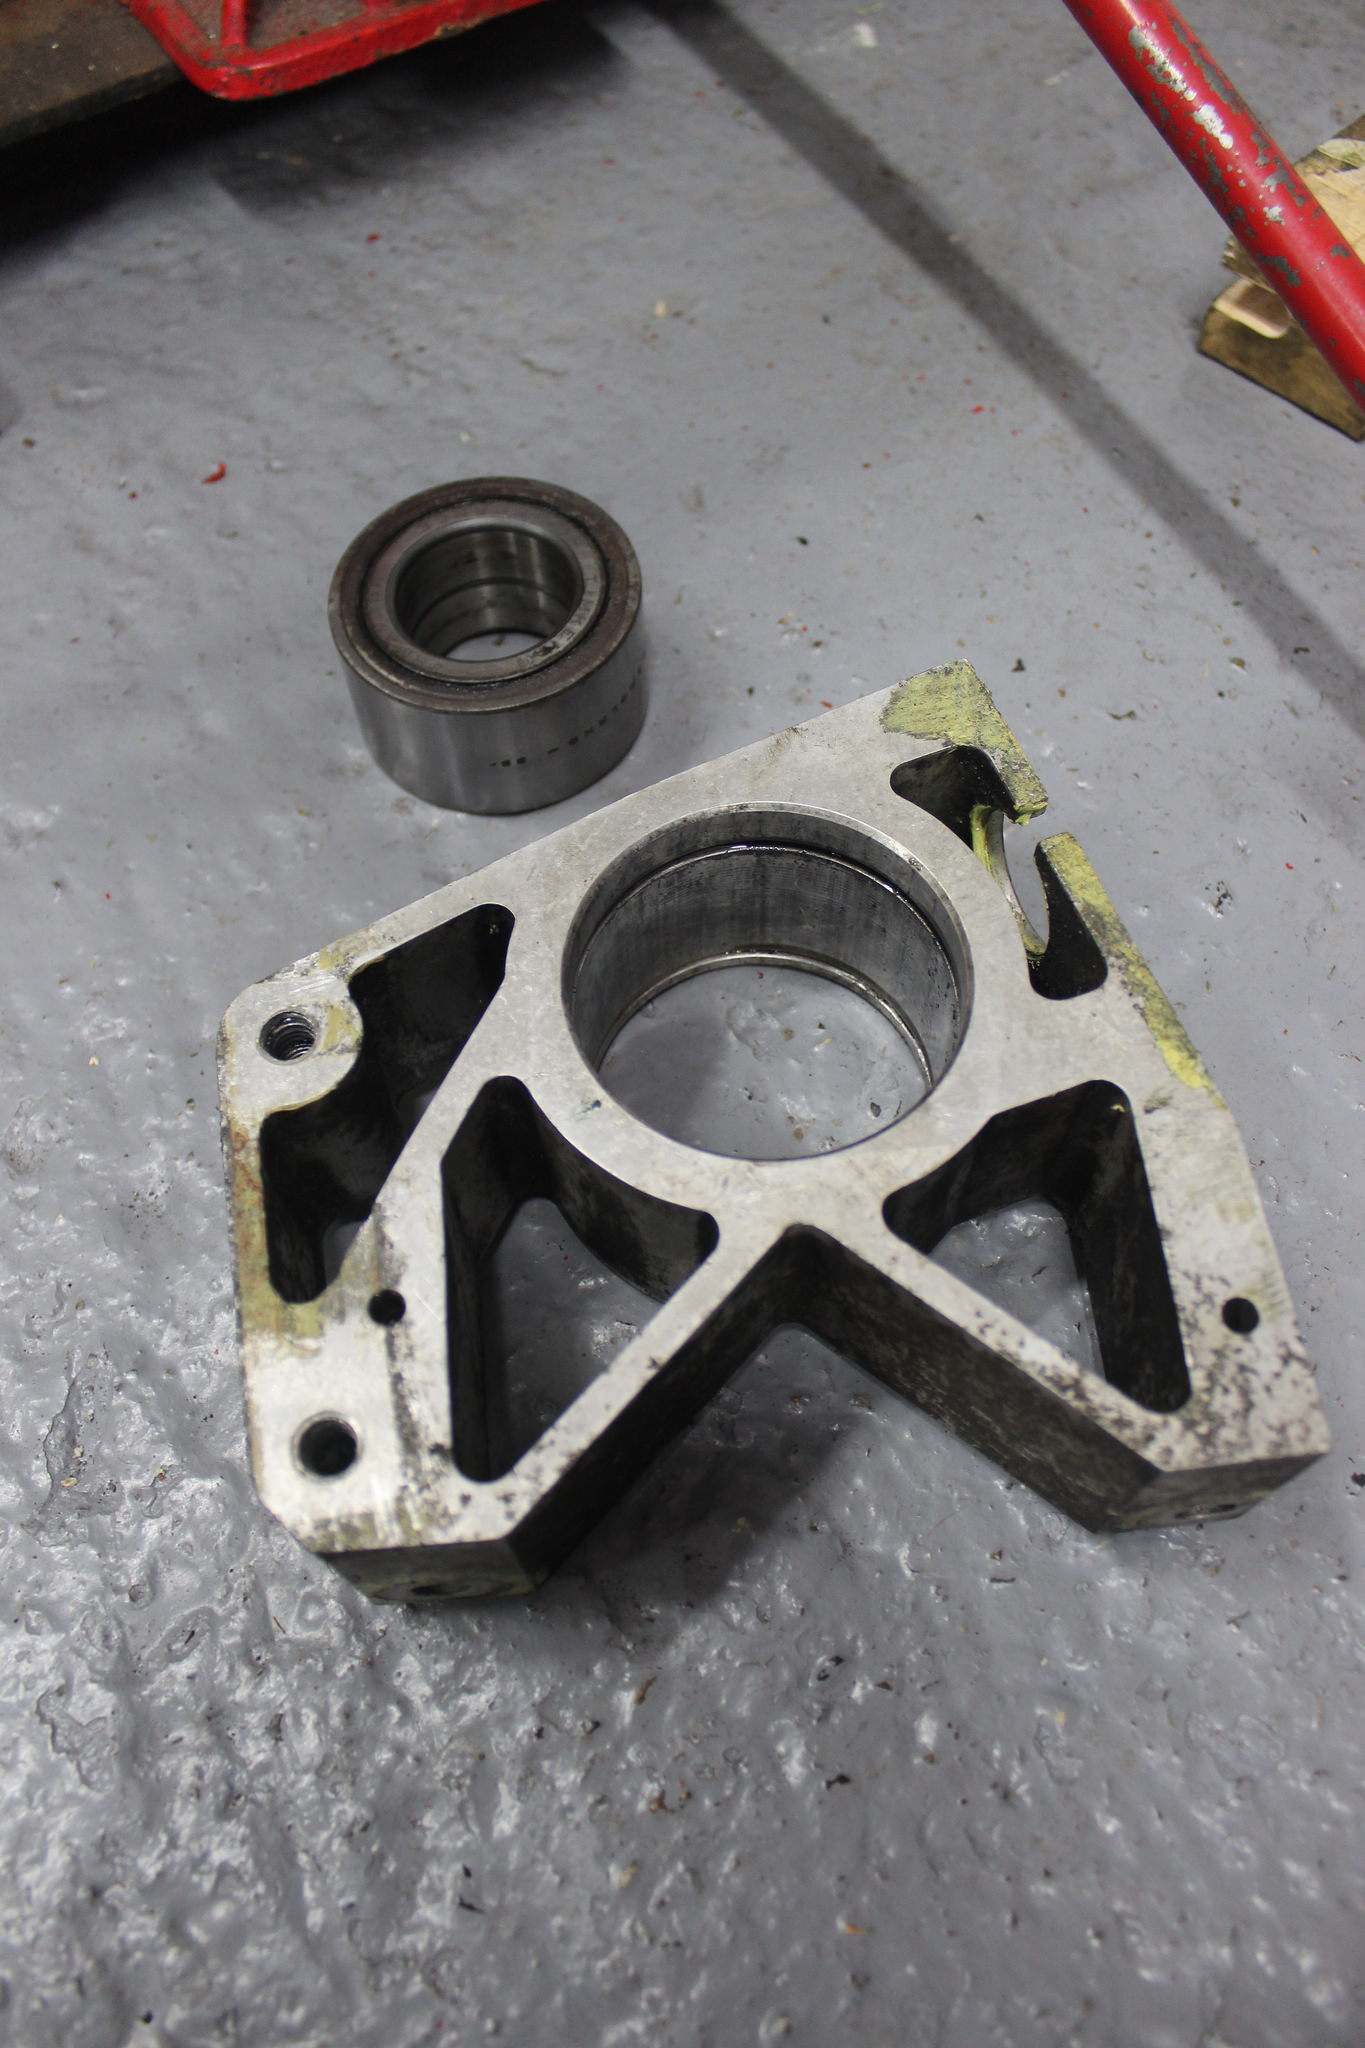
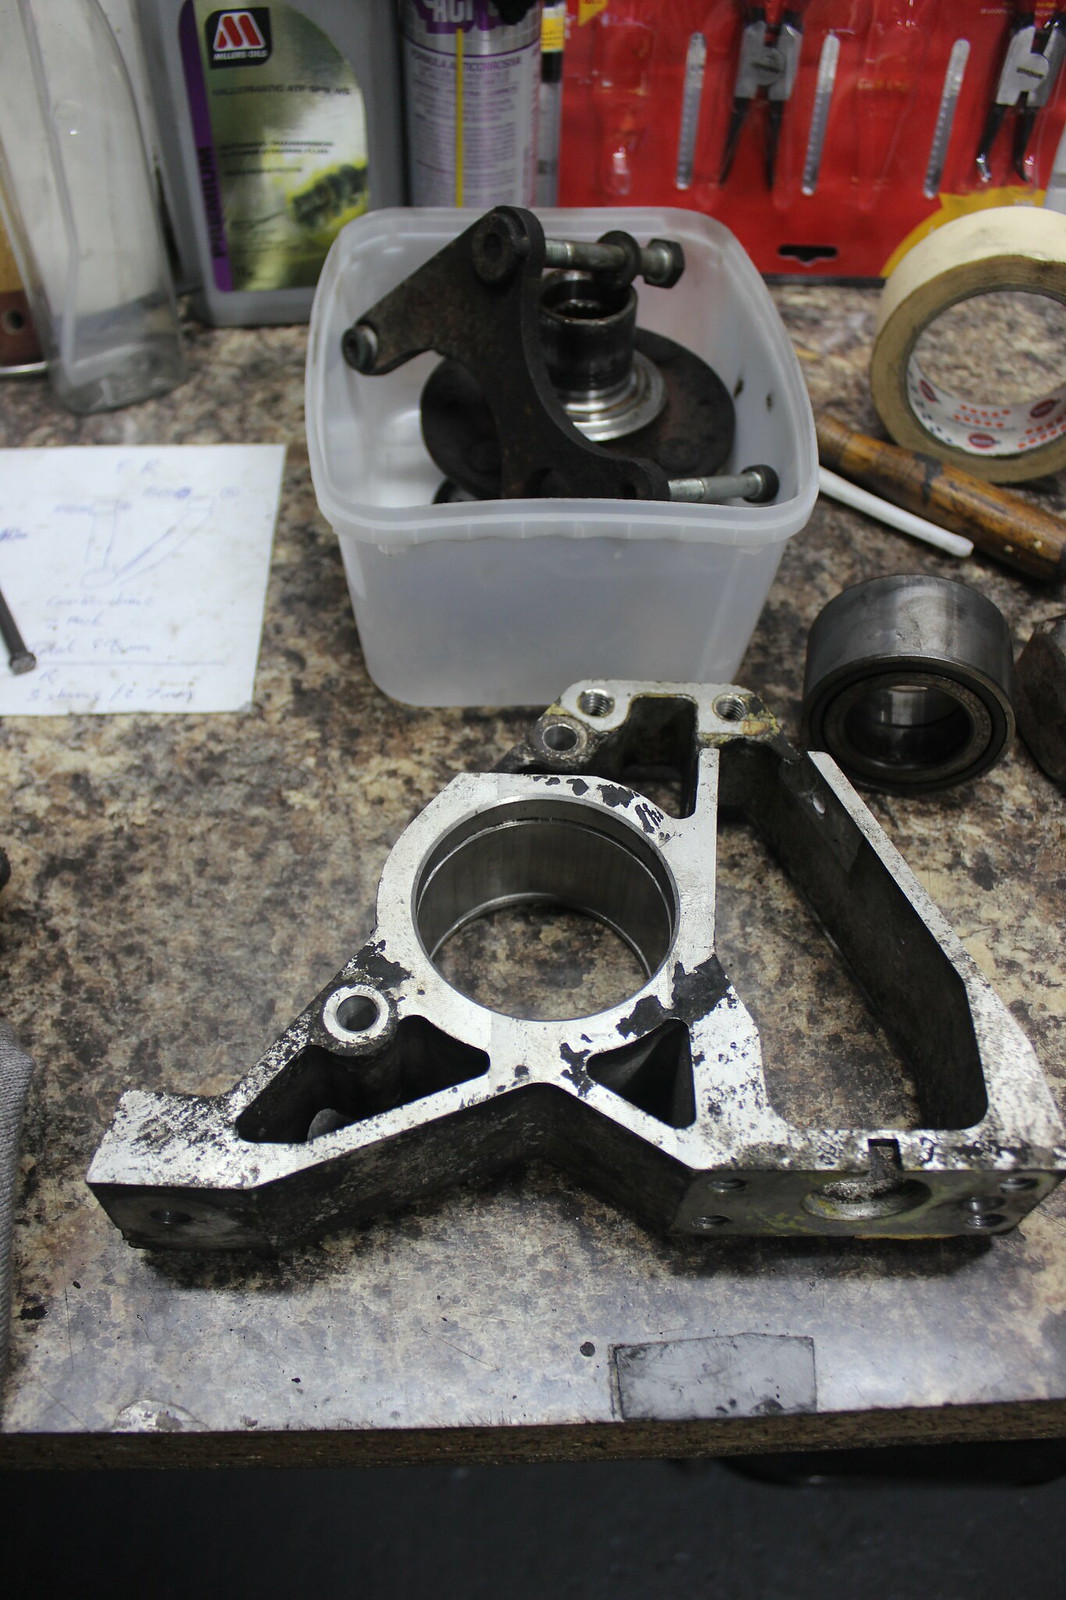
Now on to removing the wheel bearings.
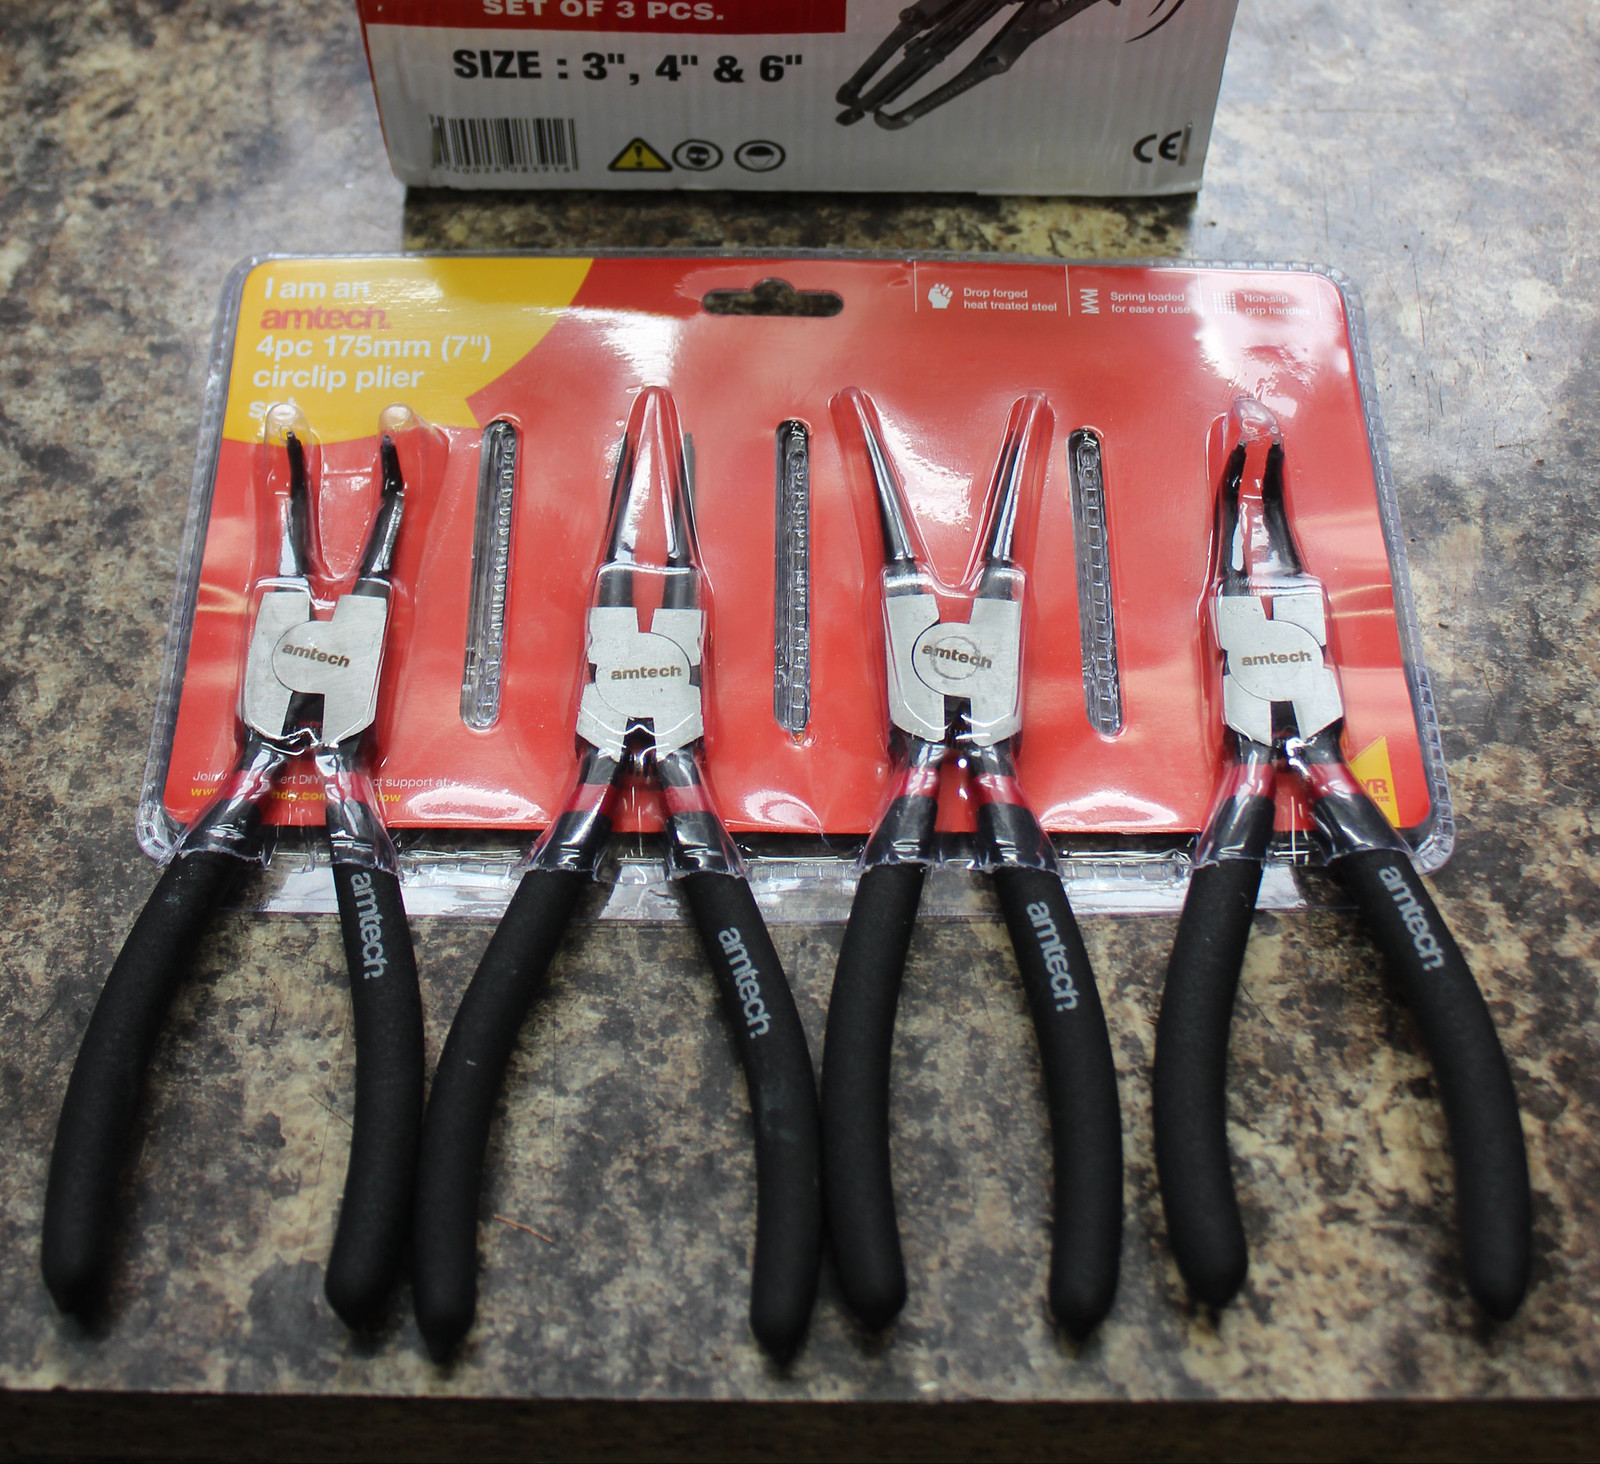
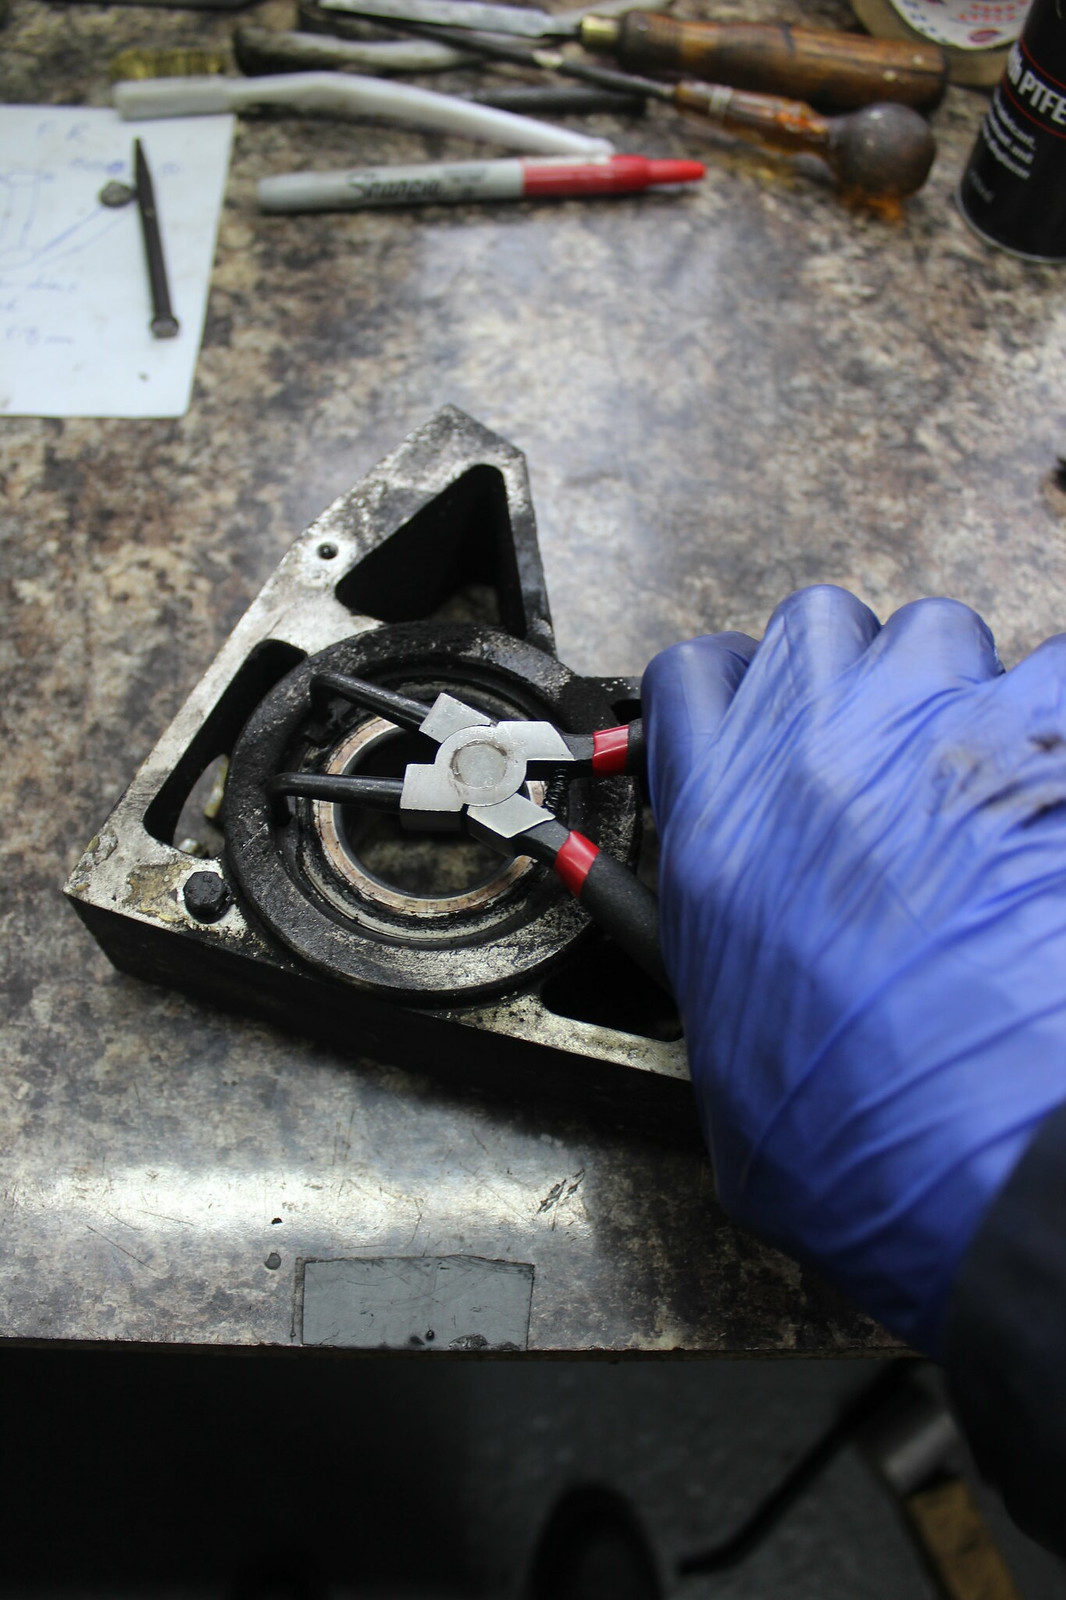
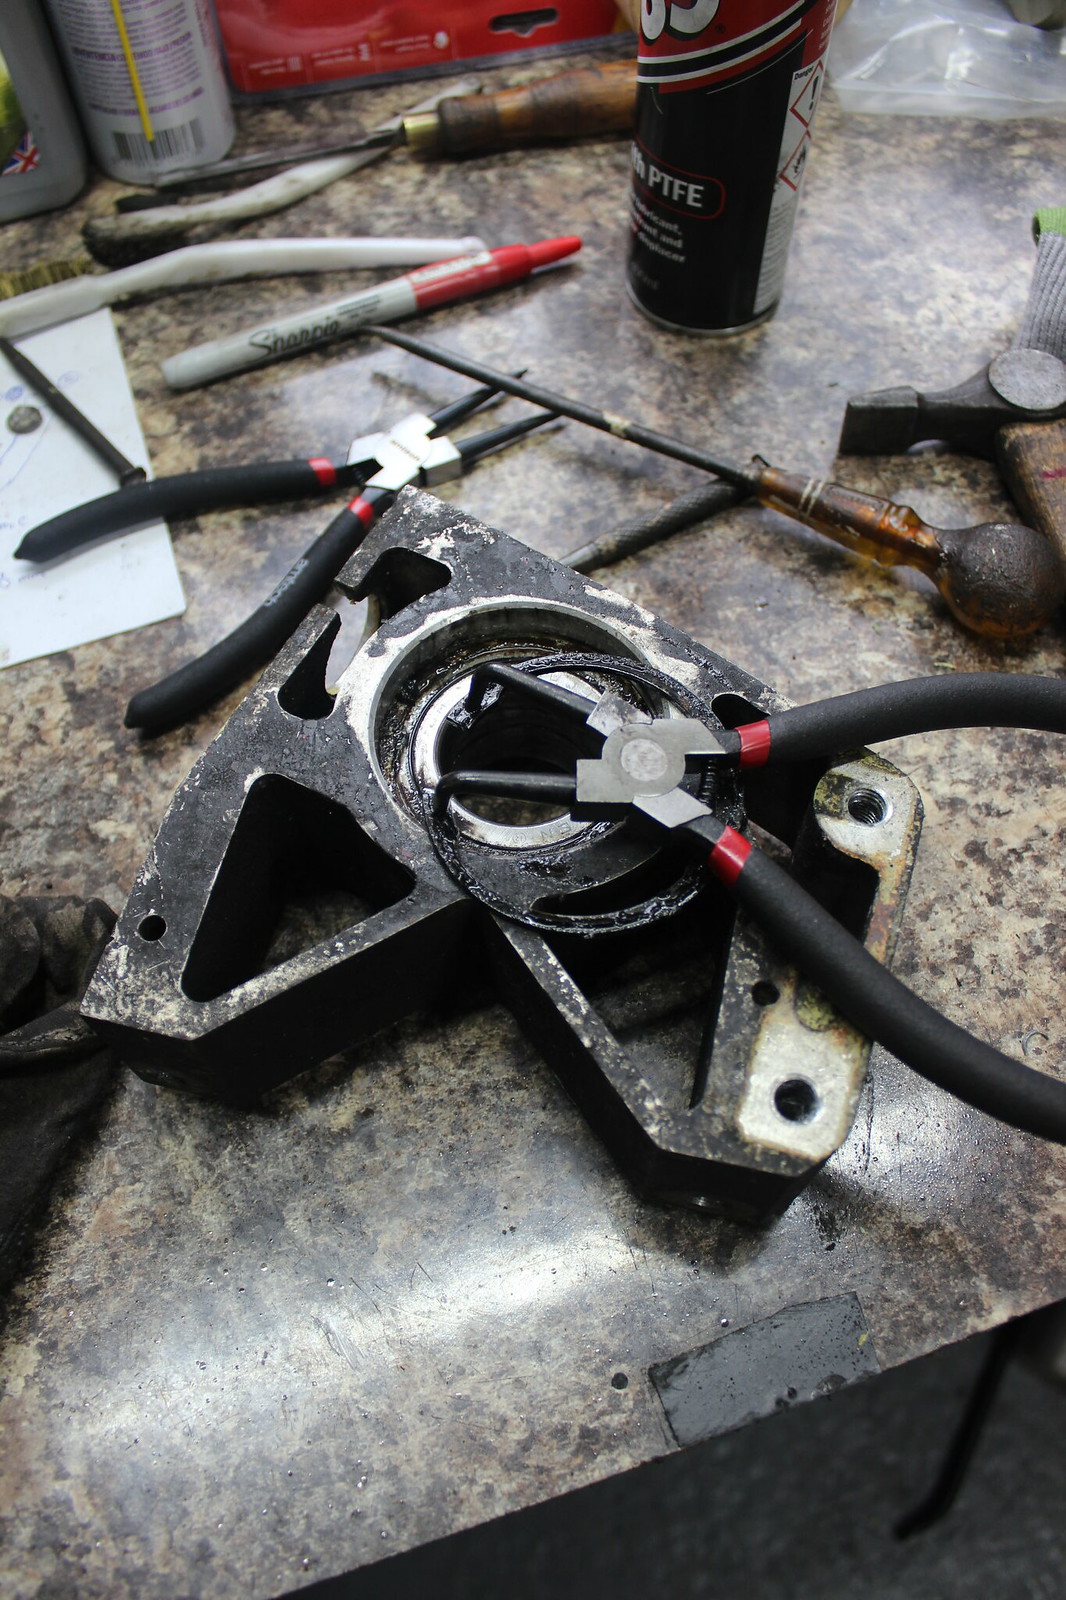
The circlips need removing first. I got myself a new set of circlip pliers for this.
Out and cleaned up.
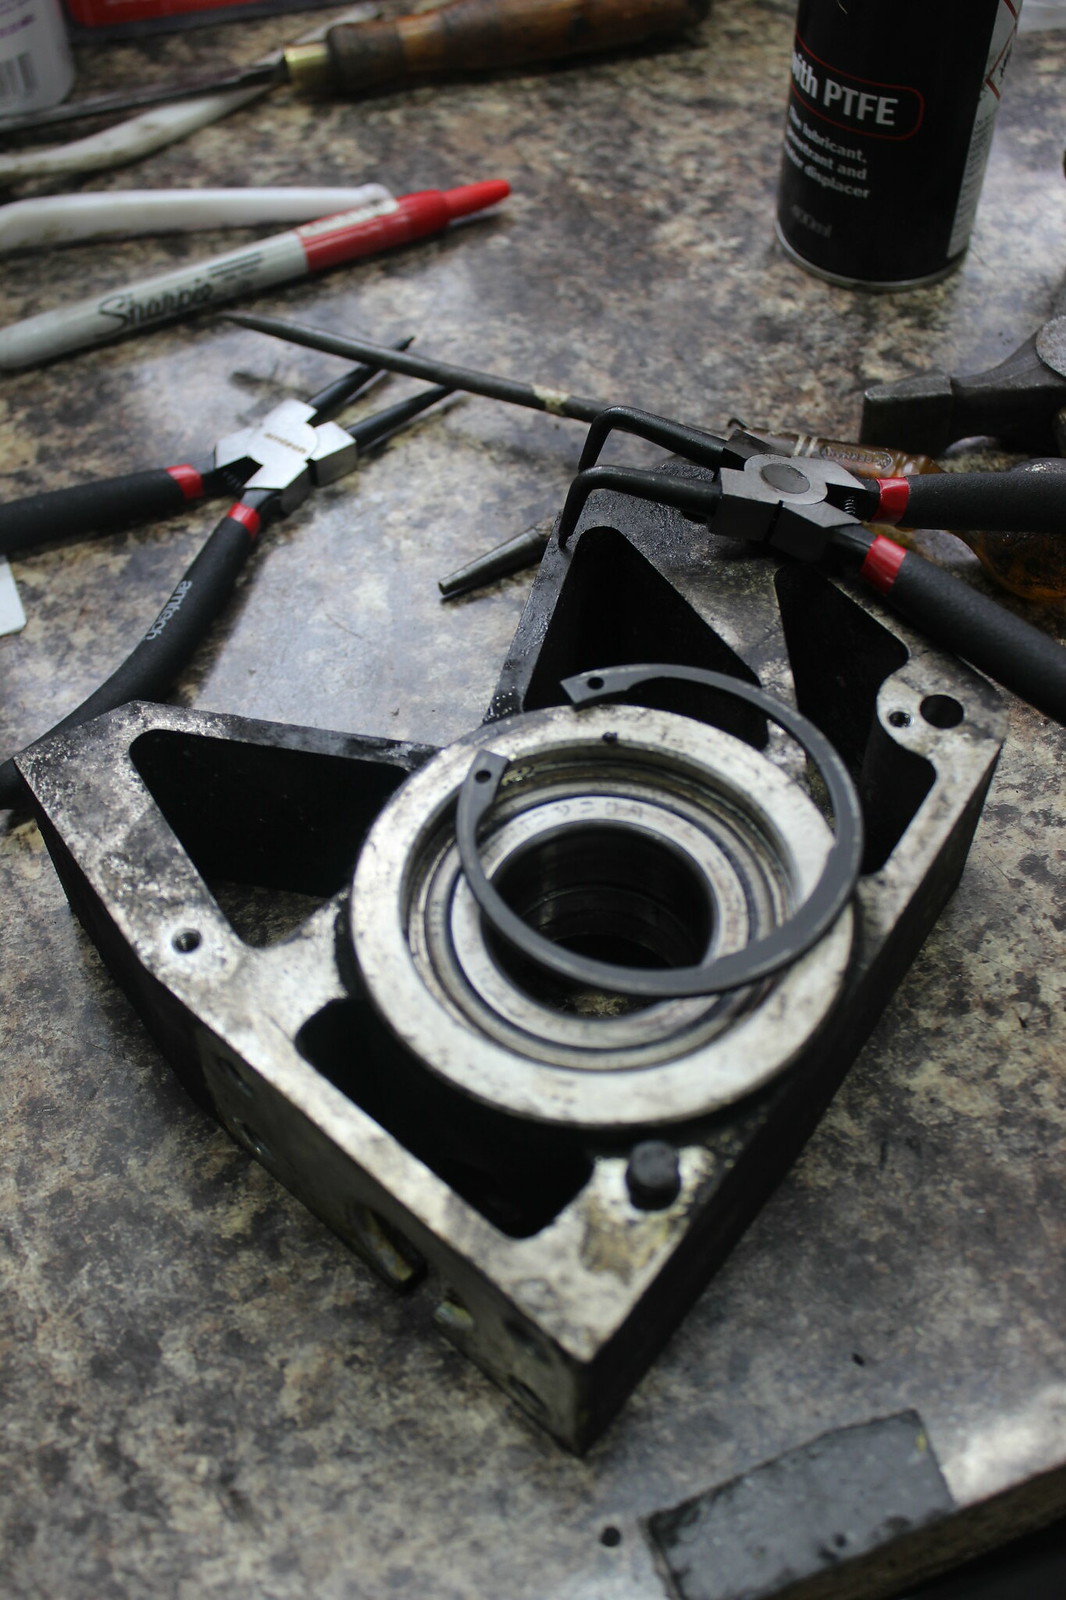
The one on the other side of the bearing out too.
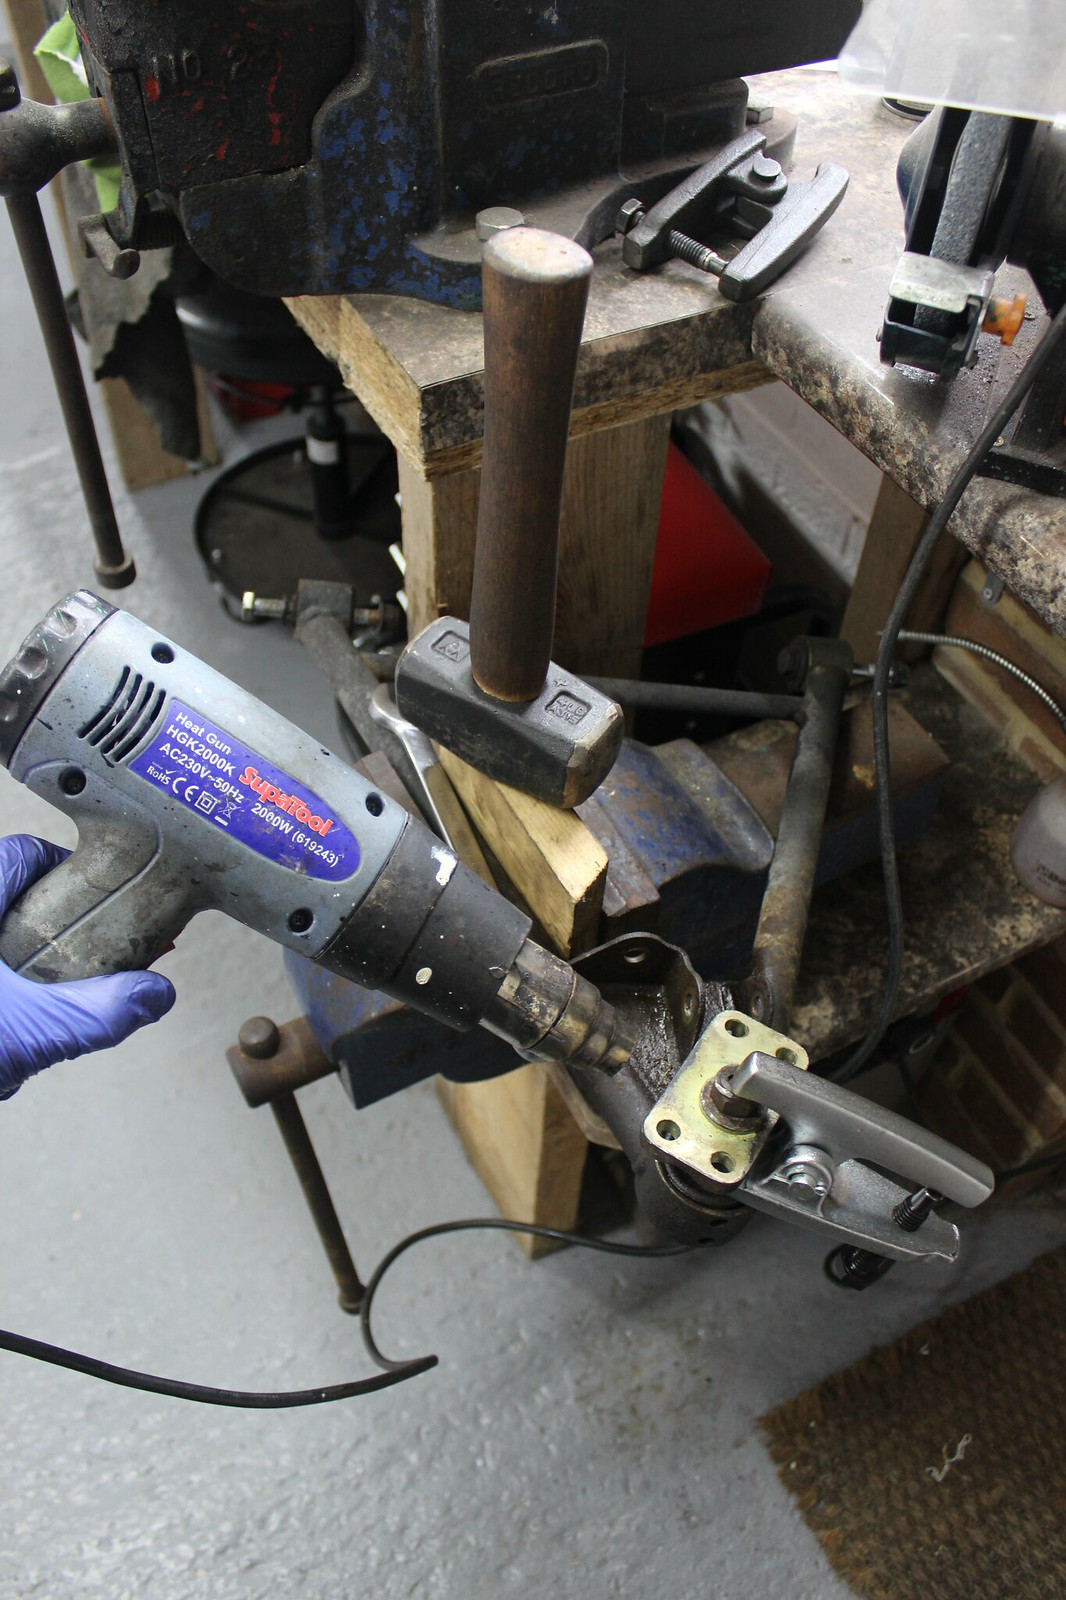
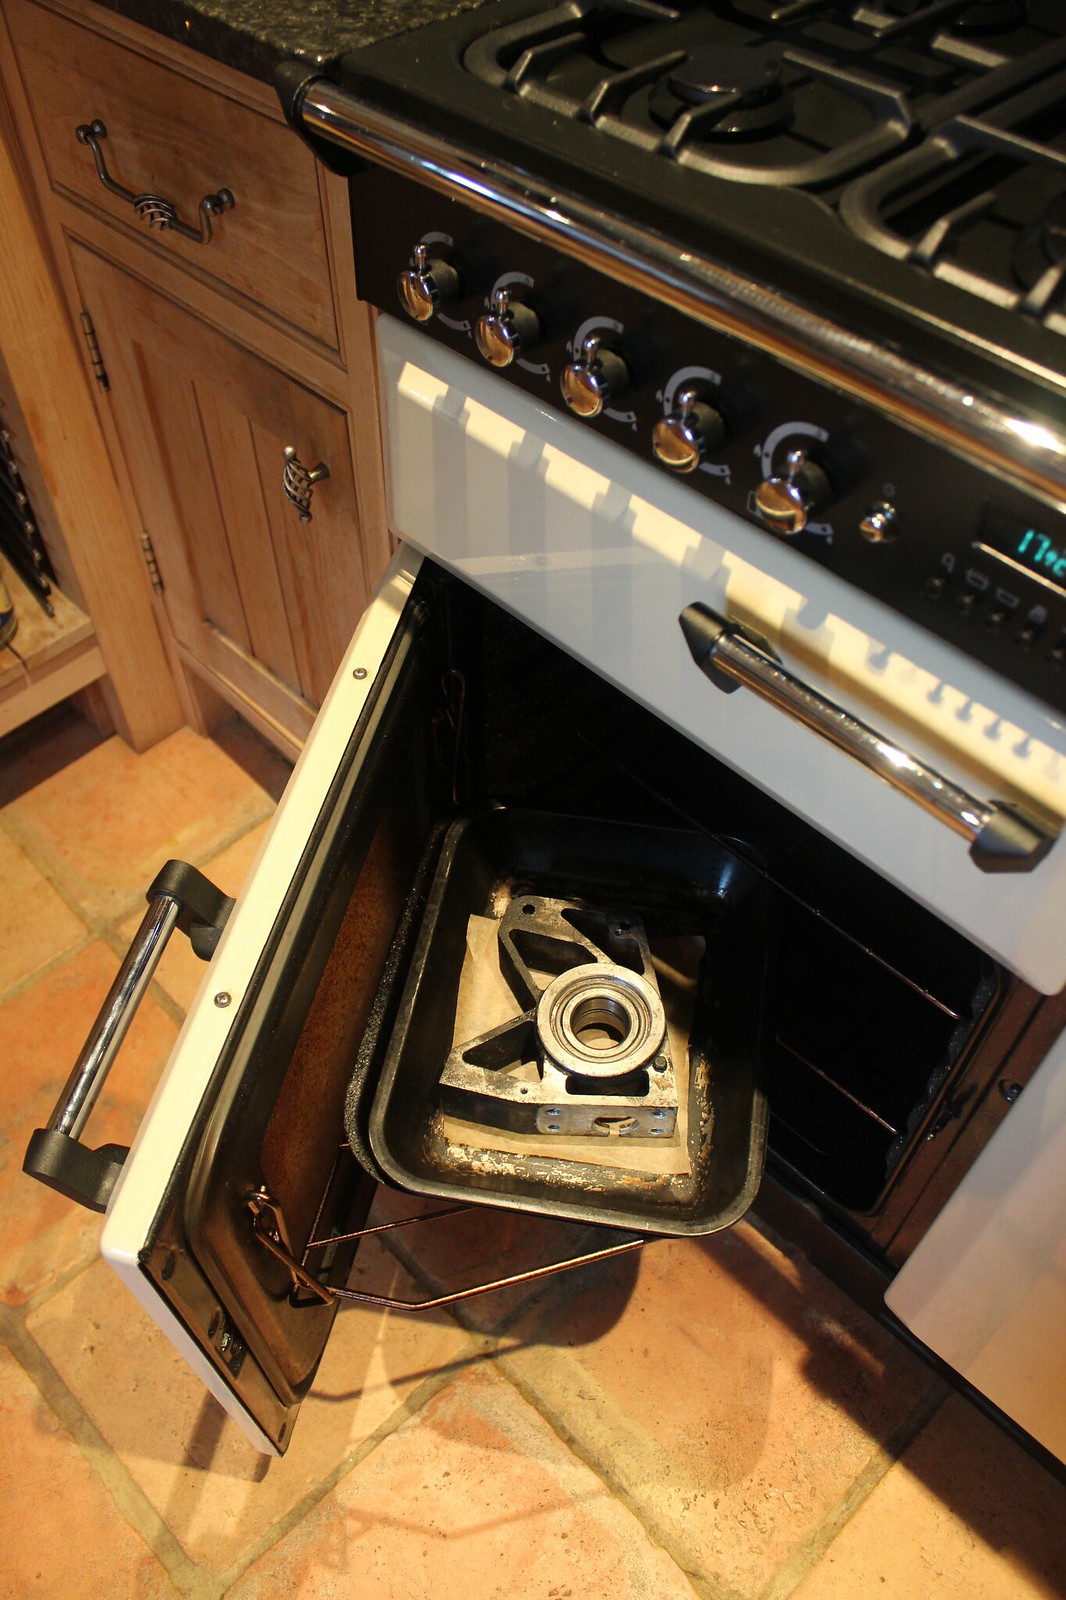
Heating the hub carrier assembly to 90 degrees for 20 minutes is worth doing to help with pressing out the old bearing not just for fitting of a new one.
So before putting the assembly in the oven I cleaned the worst of the grease and filth off. Then in the oven it went on a bit of paper to catch and soak up any leaky grease or filth though no grease came off any of them in the end so this wasn’t necessary.
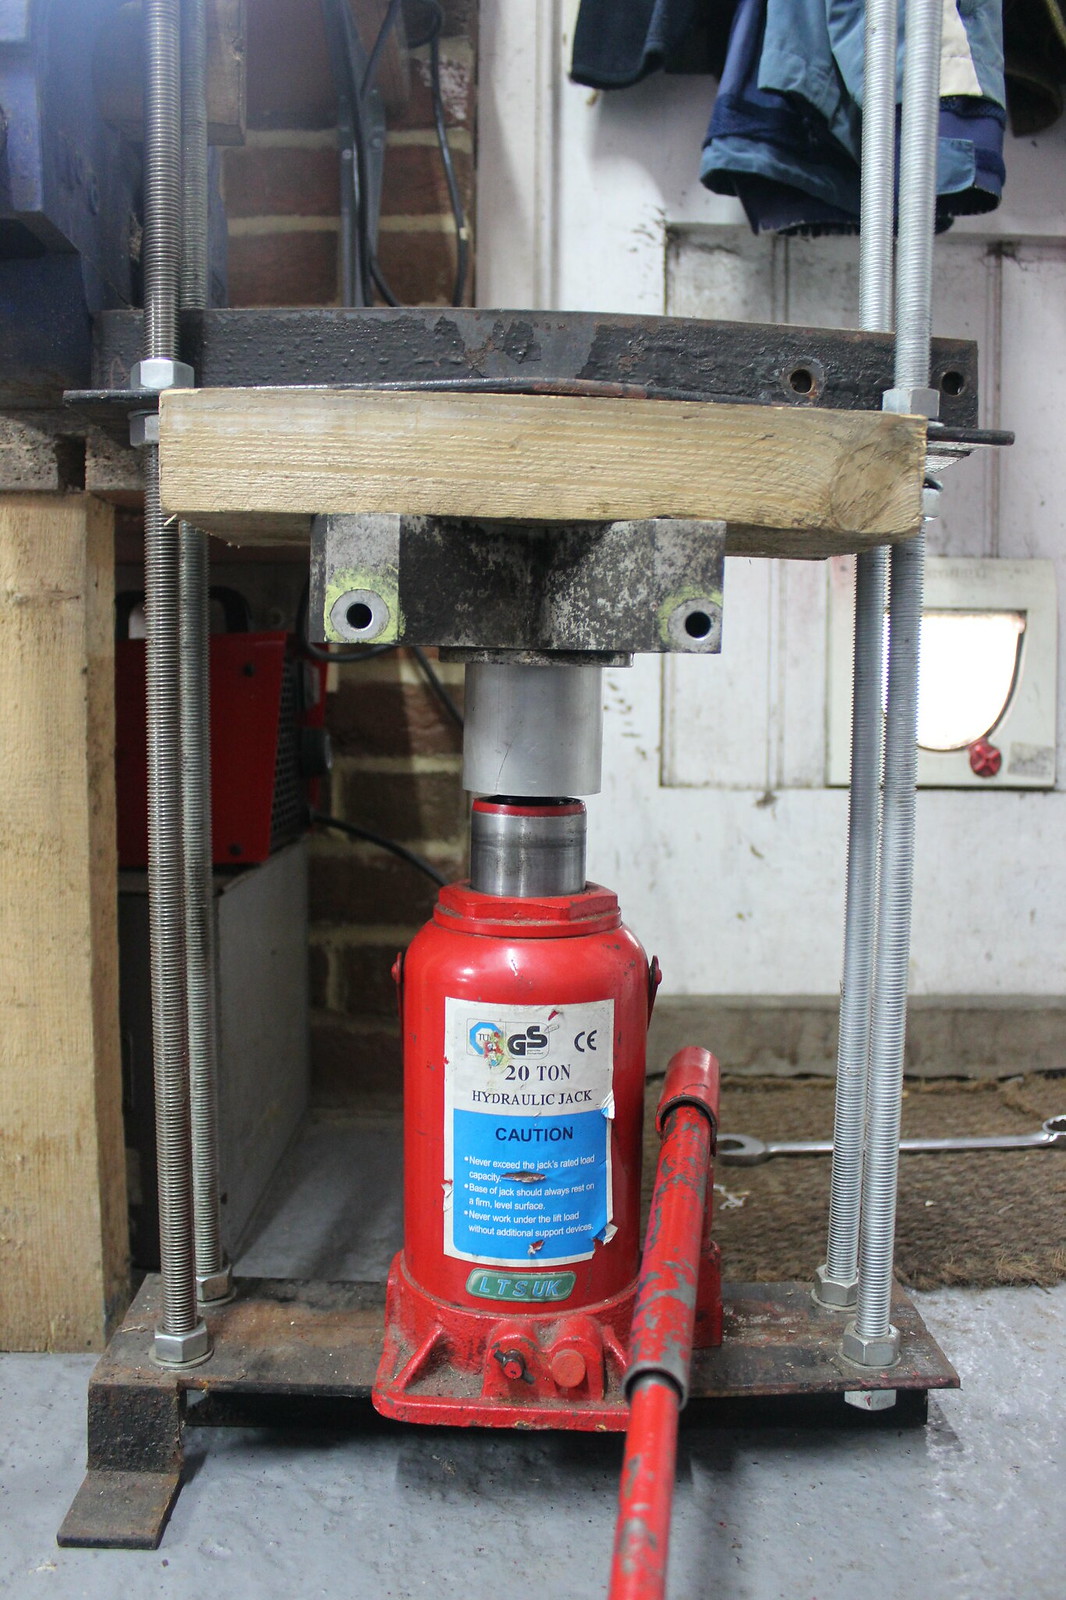
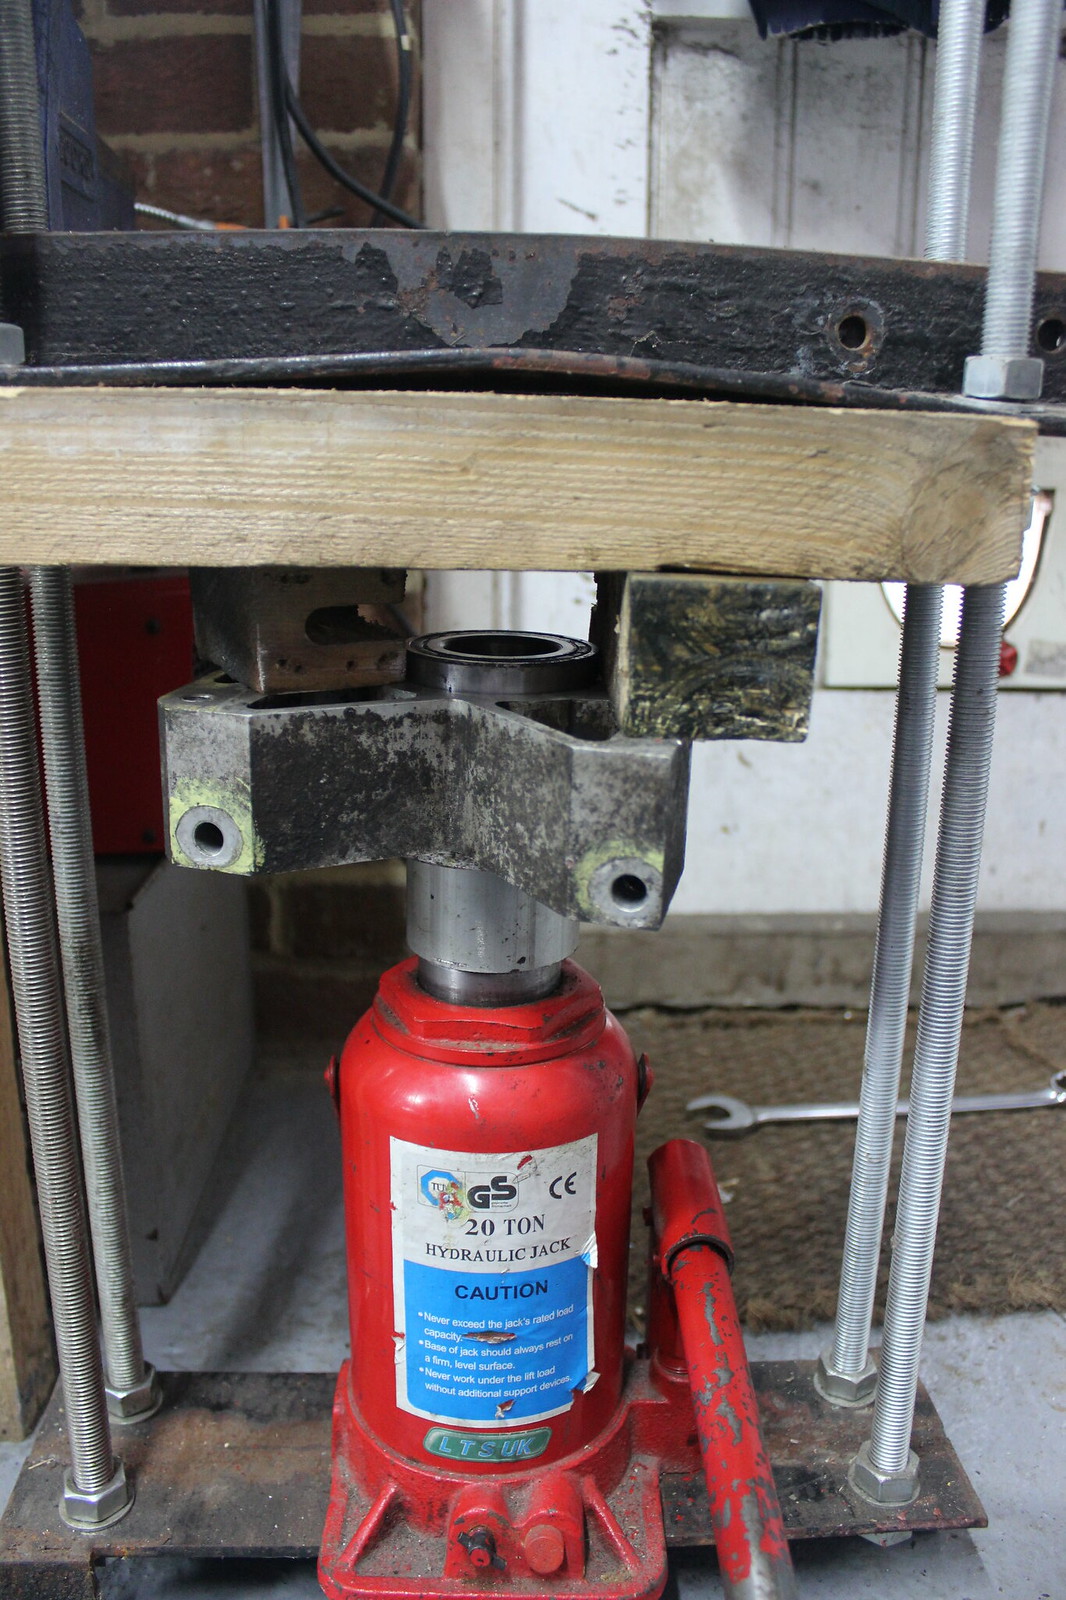
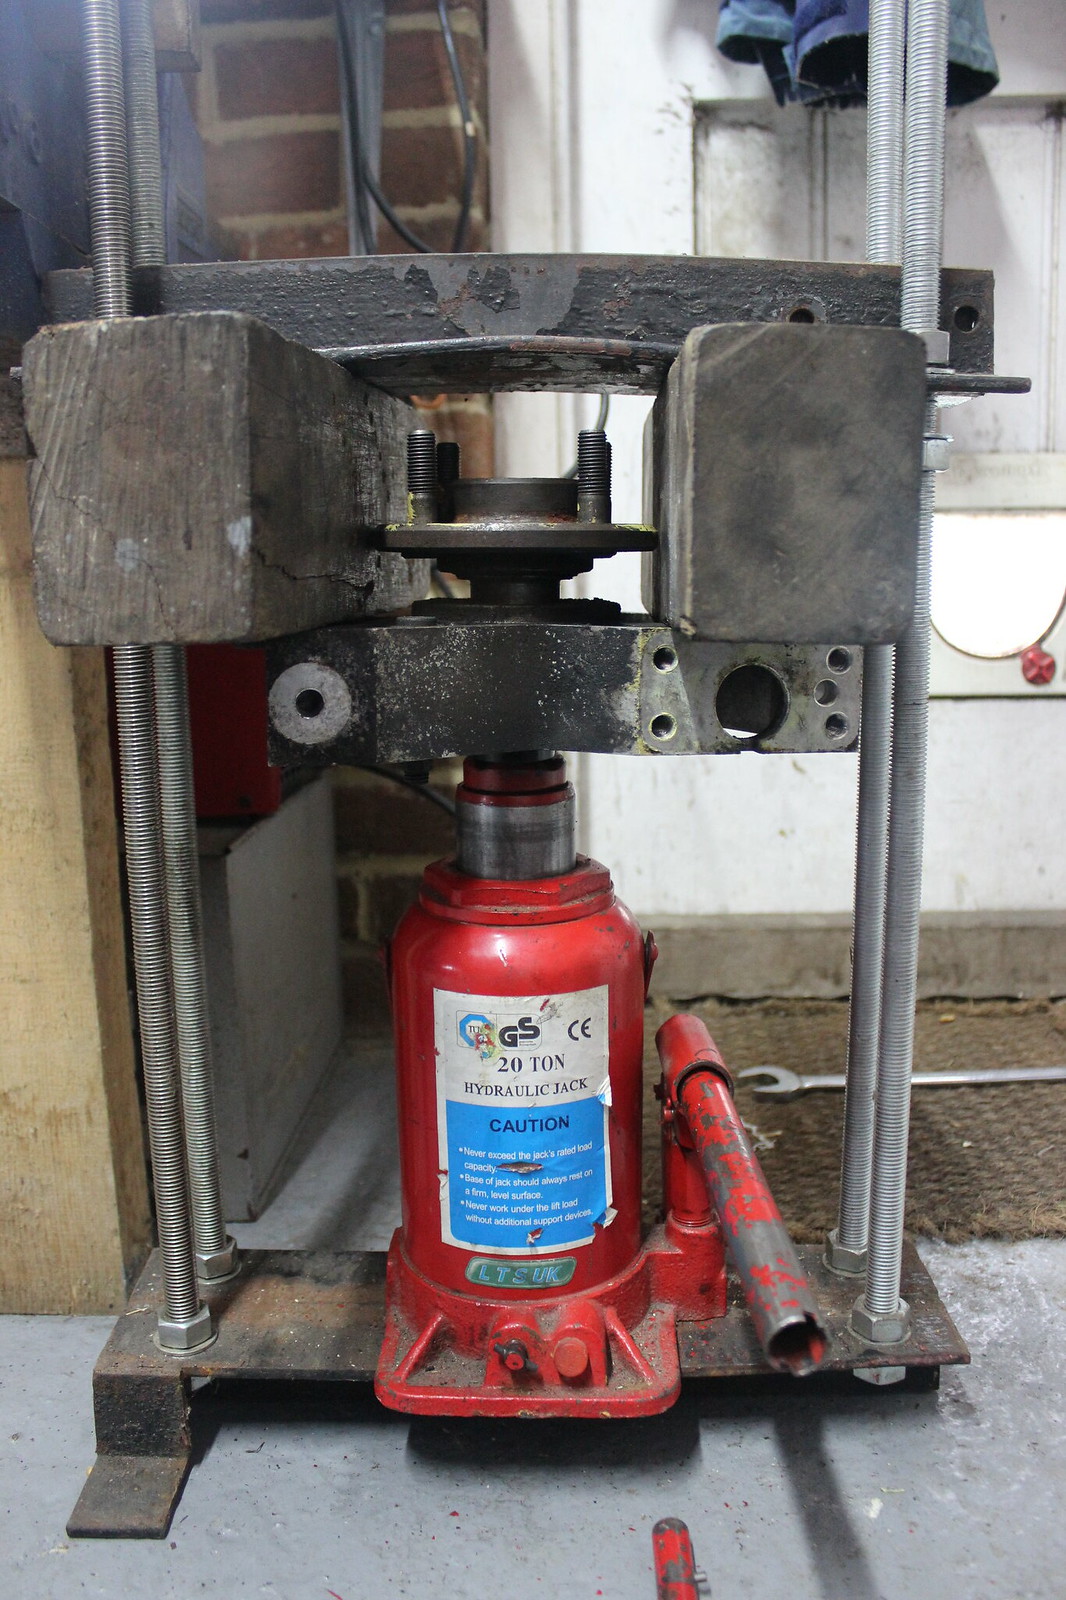
20 mins later, back to the press.
I made a large ali cup for pressing out suspension bushes on the Evo, fortunately it was just the right size to press on the outer race of the bearing. Just before this I applied a little penetrating oil around the outer edge of the bearing.
There’s enough clearance to get things started and help make sure everything was square and start pressing the bearing out before needing to space the hub carrier like this.
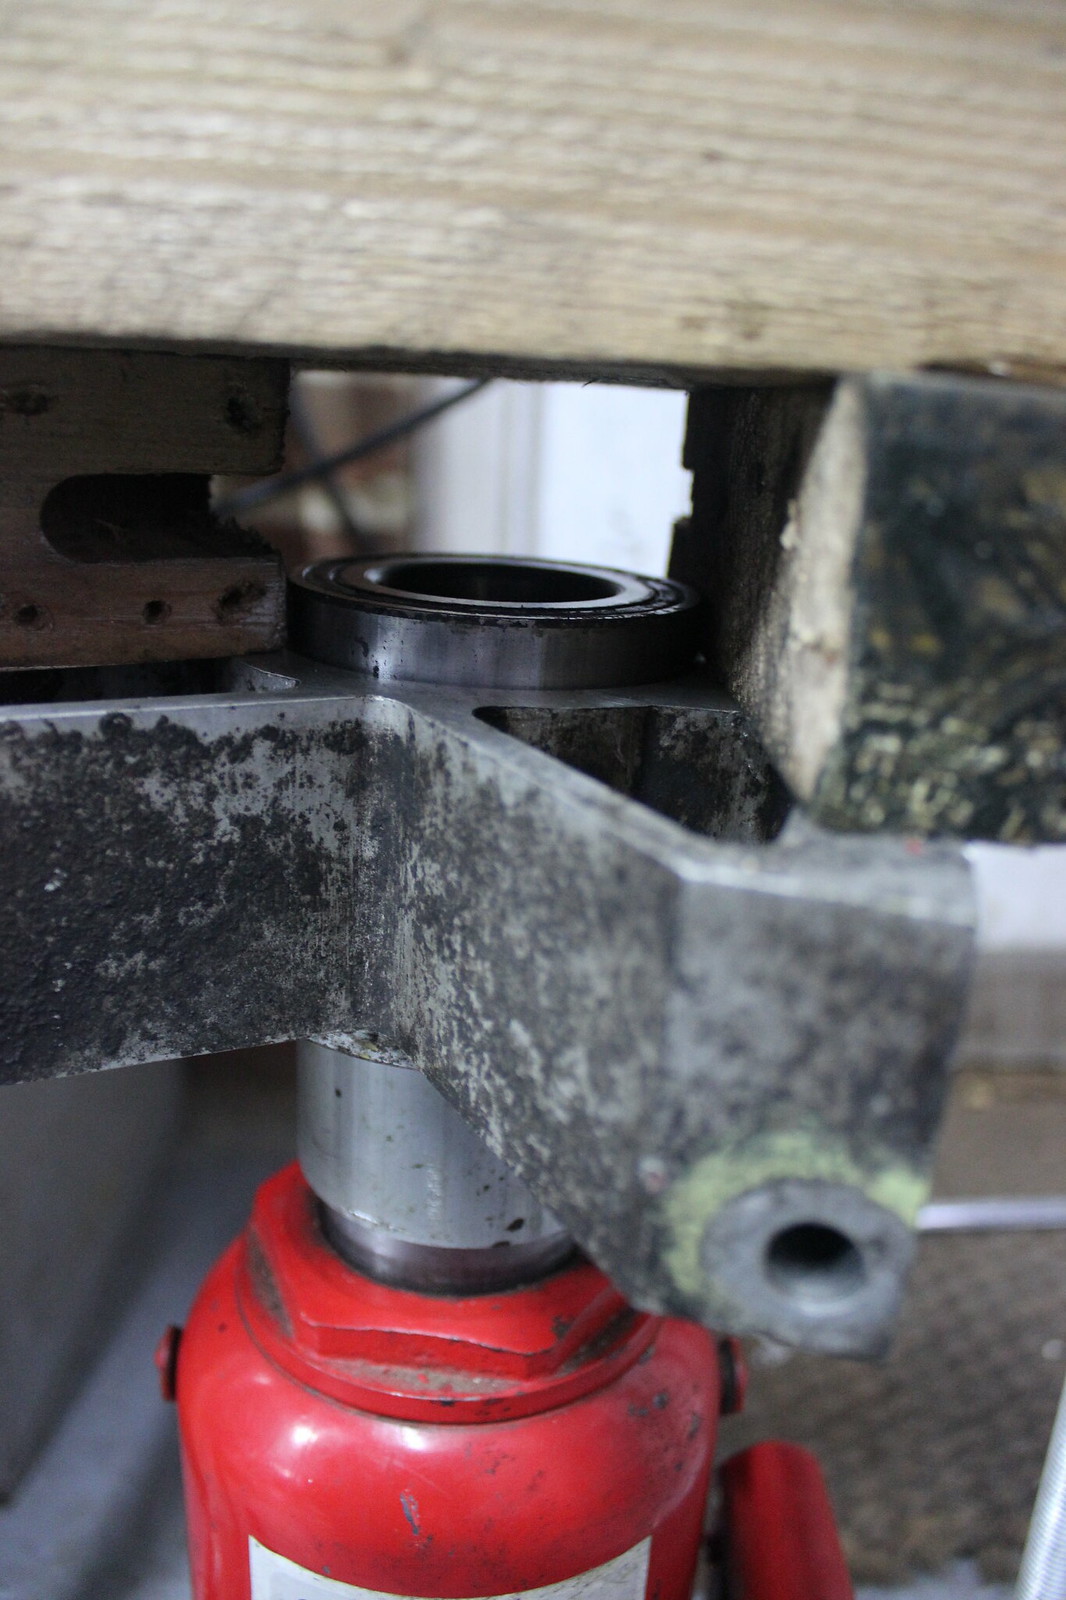
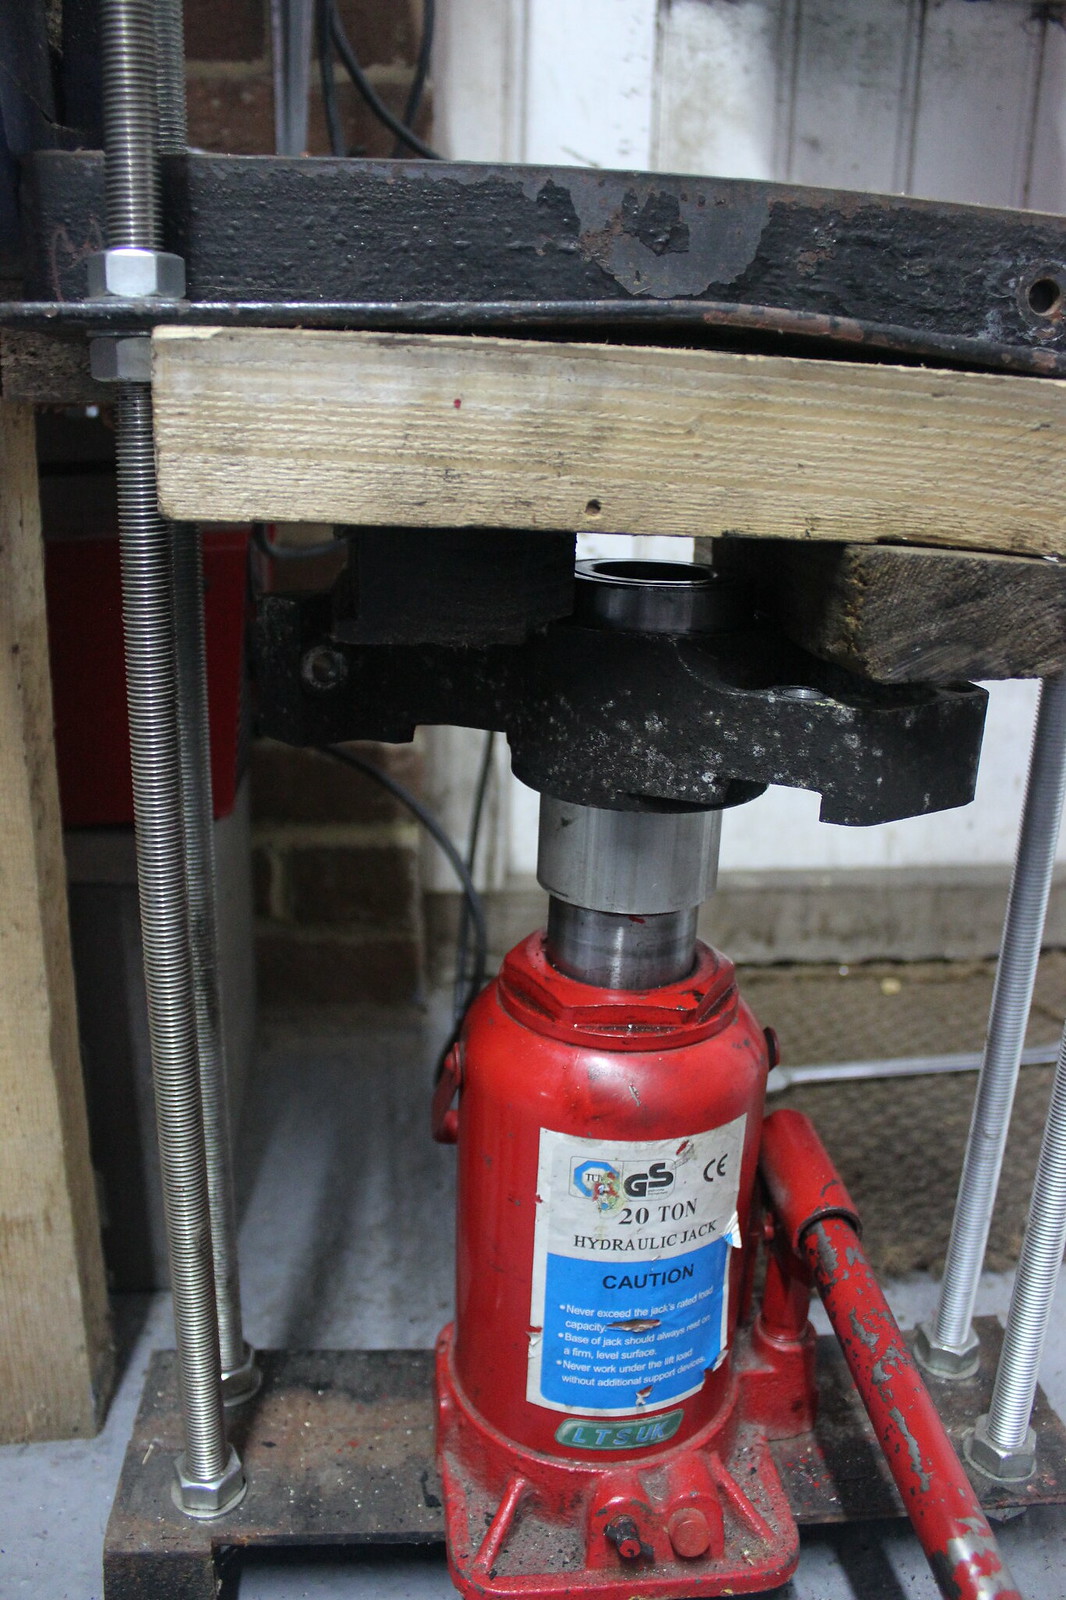
Keep going until…
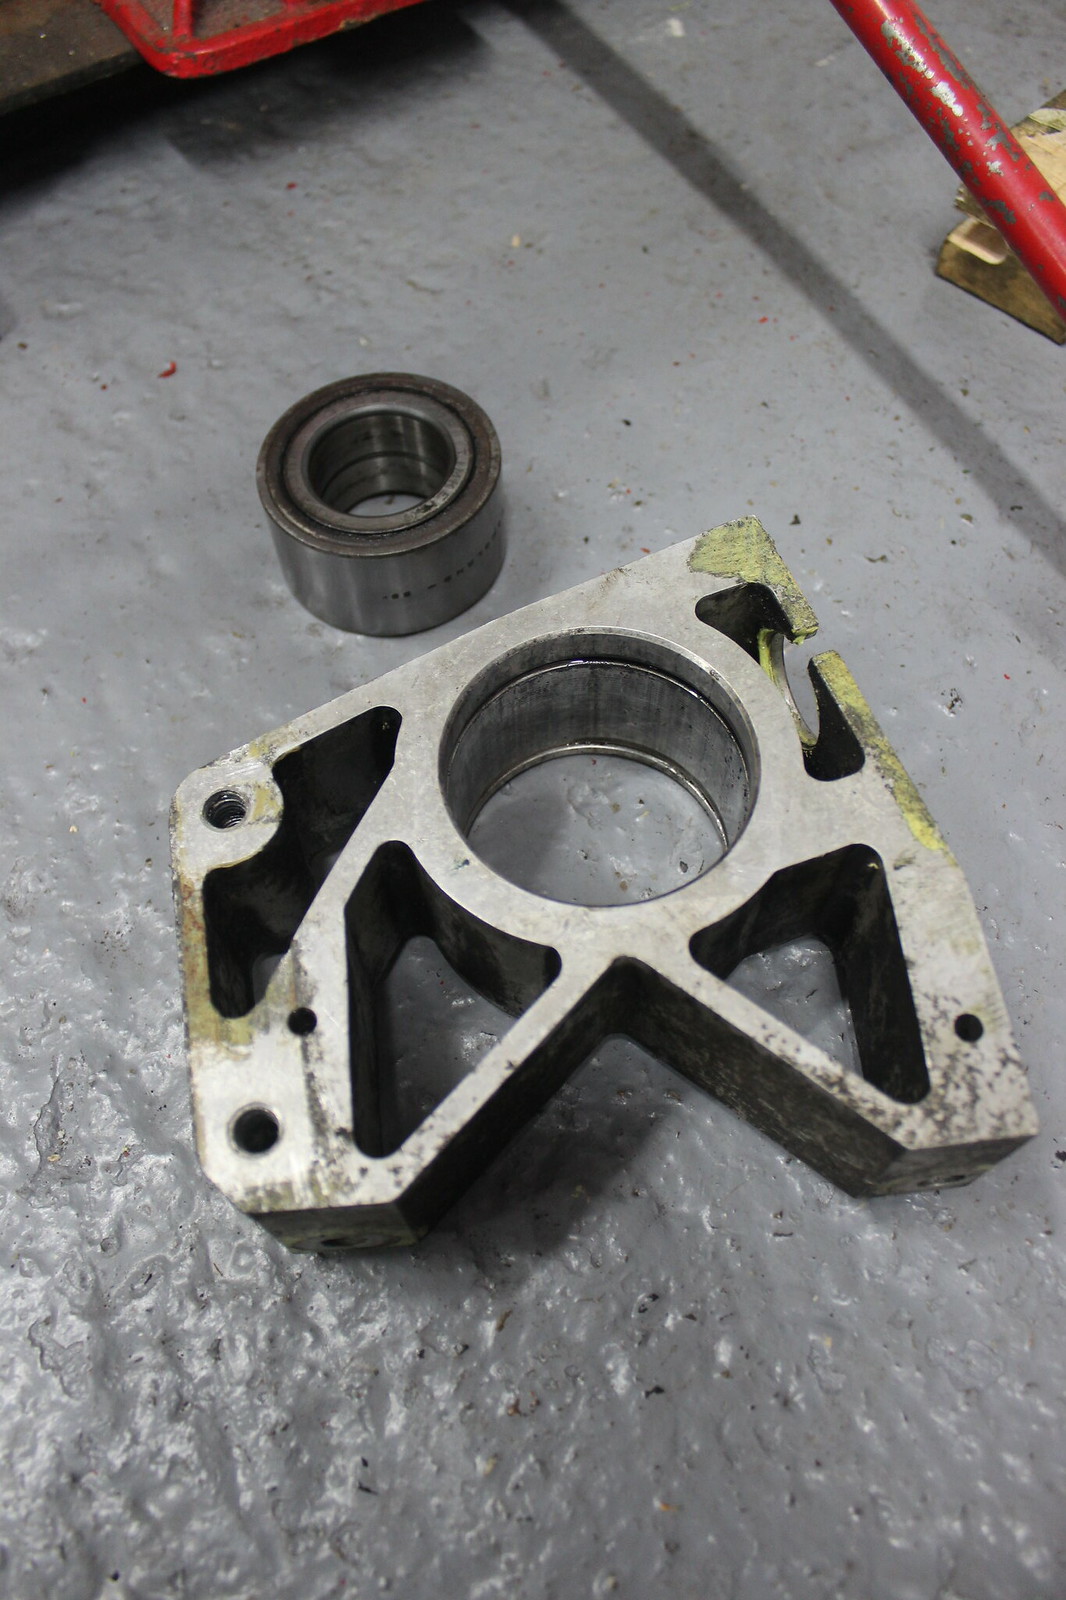
That was easier than I expected. I was prepared for the bearings to need a lot of force to come out to the point where I’d want to buy or borrow a proper press but the 20 tonne bottle jack did the job. The bearings certainly weren’t a loose fit but they pressed out without too much trouble.
One down…
Happy my homebrew press was going to do the job fine I ‘pressed’ on!
Other front bearing coming out.
On to the rears.

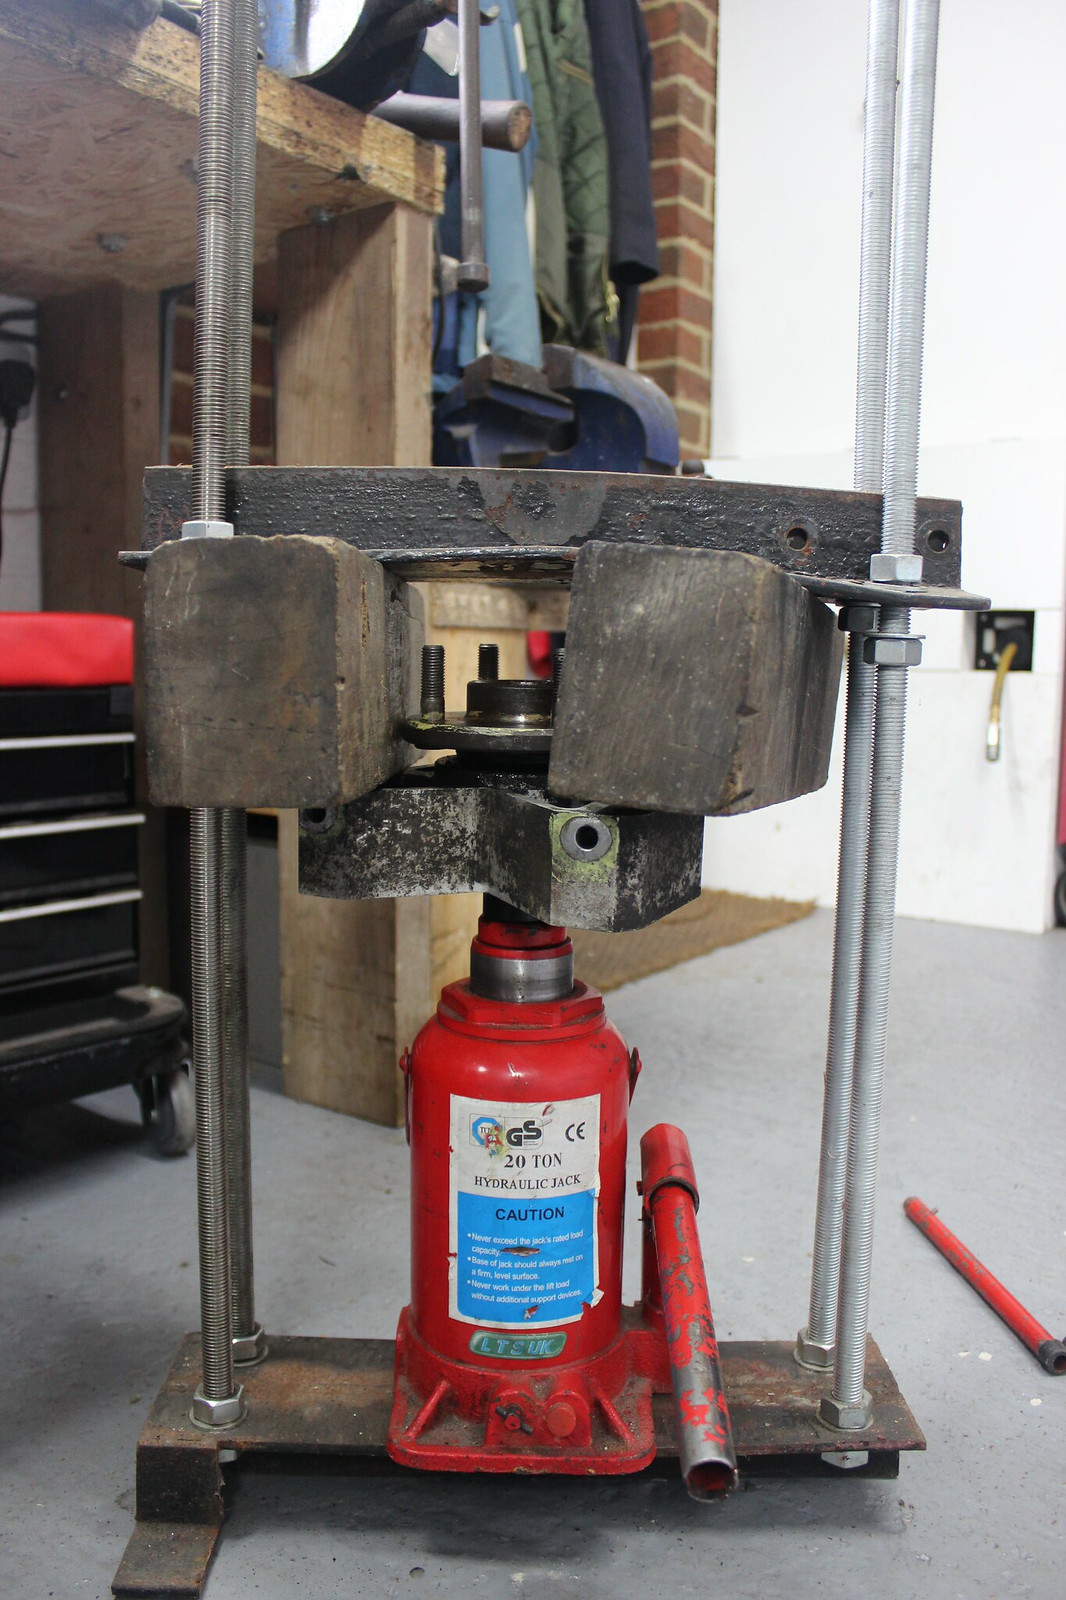
This is not an ideal placement of the spacer blocks of wood as if the drive flange is very tight in the bearing then the brake caliper bracket could get bent due to the threaded boss that sticks out. The flanges on mine did not need much pressure to remove them so this was ok. I wouldn’t place the blocks like this for removing the bearing though, best to remove the caliper bracket first anyway.
Drive flange out.
Other rear hub carrier. Speedo sensor coming off.
Drive flange coming out.
Bearing coming out.
Caliper bracket removed too and that’s it.
Next job for the hub carriers is to clean and inspect them then decide what to do with them. The wishbones need stripping down ready for cleaning first though.