If you happen to have arrived here looking for info on how to replace a ball joint with the wishbone still on the car then check out my other post here.
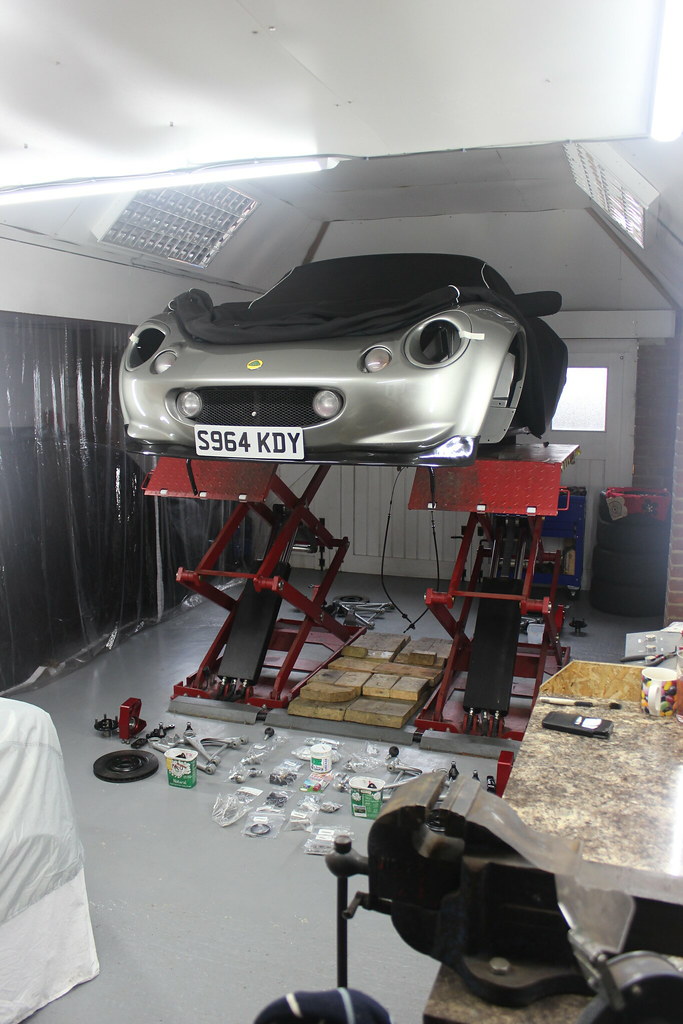
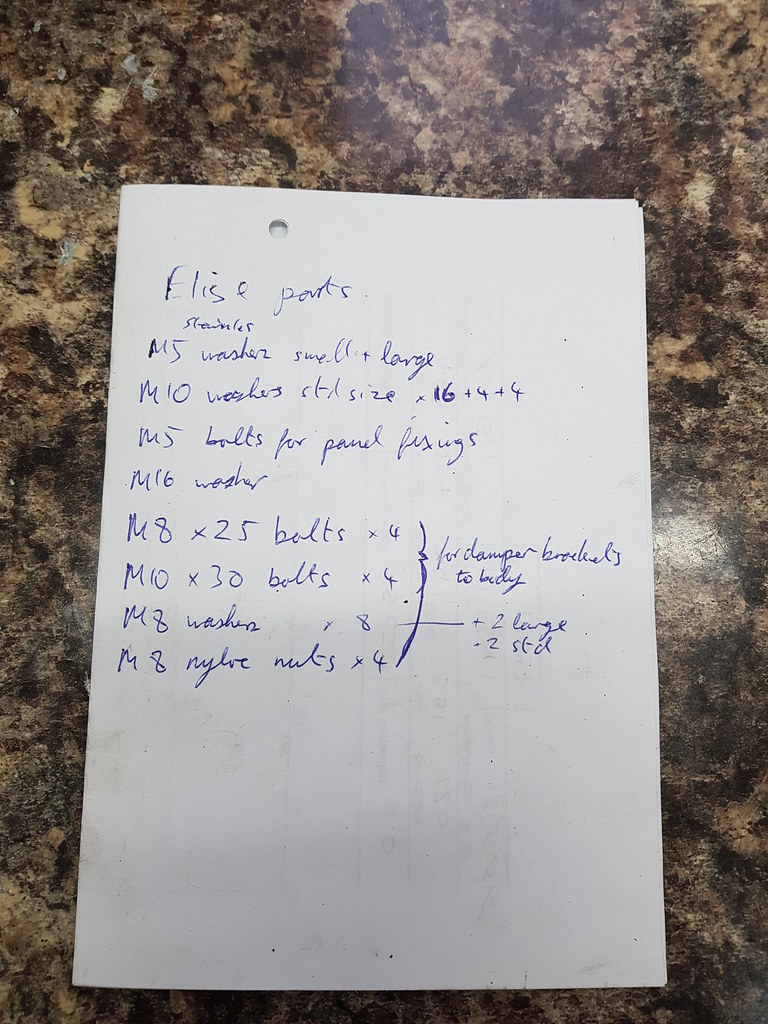
Having fitted the Elise Parts wishbone bearing kit I could move on to pressing the new ball joints in but just before getting stuck into that it dawned on me that I was not too far from the point of reassembling the whole lot. So I thought I’d do a very quick check for anything I might still need so I could get anything on order right away.
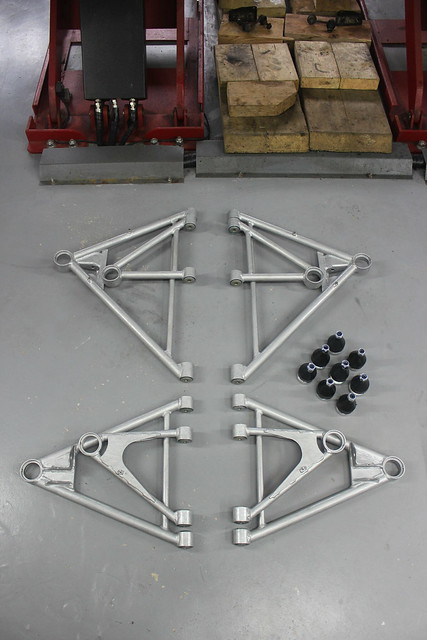
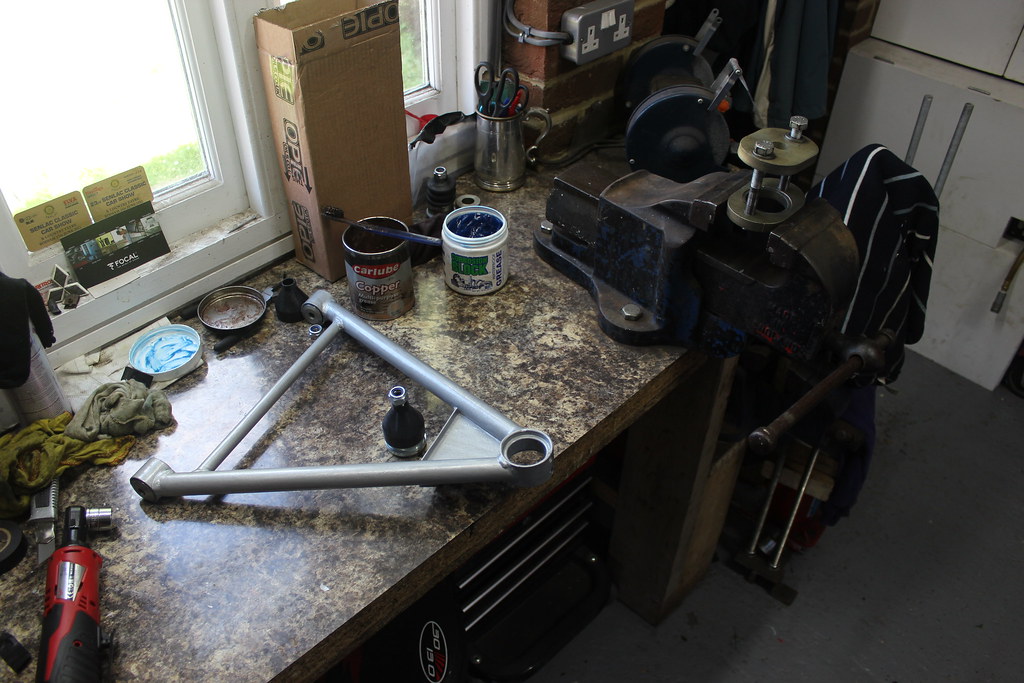
The best way of doing that with so many parts was to just start laying the parts out.
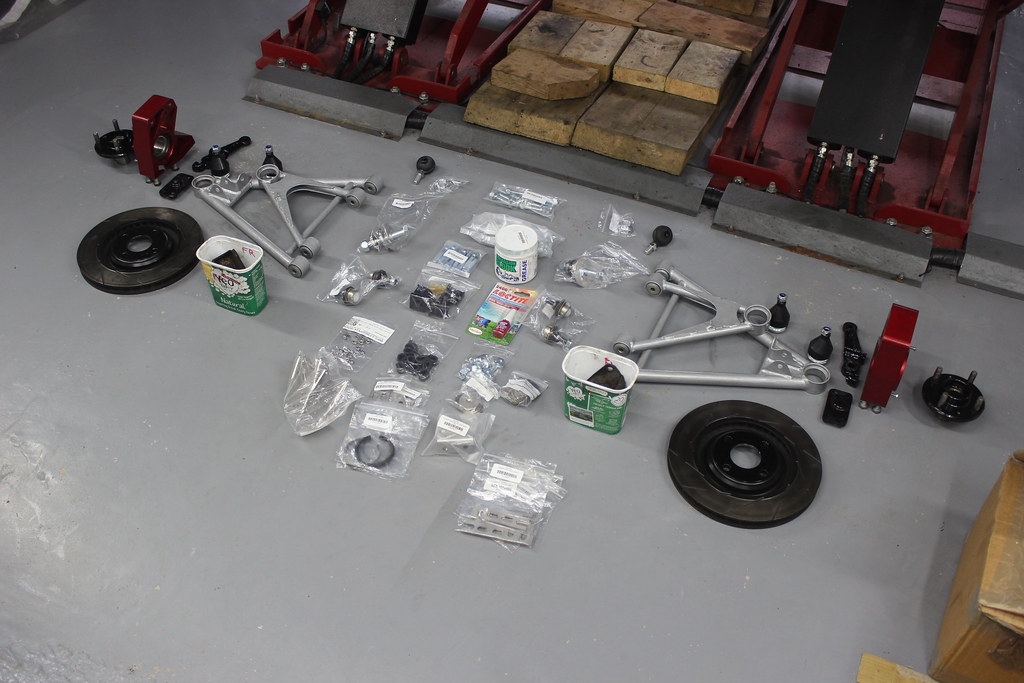
There were a few things I needed, mainly all these fasteners and fixings as I wanted to replace nuts, bolts etc with new as much as possible.
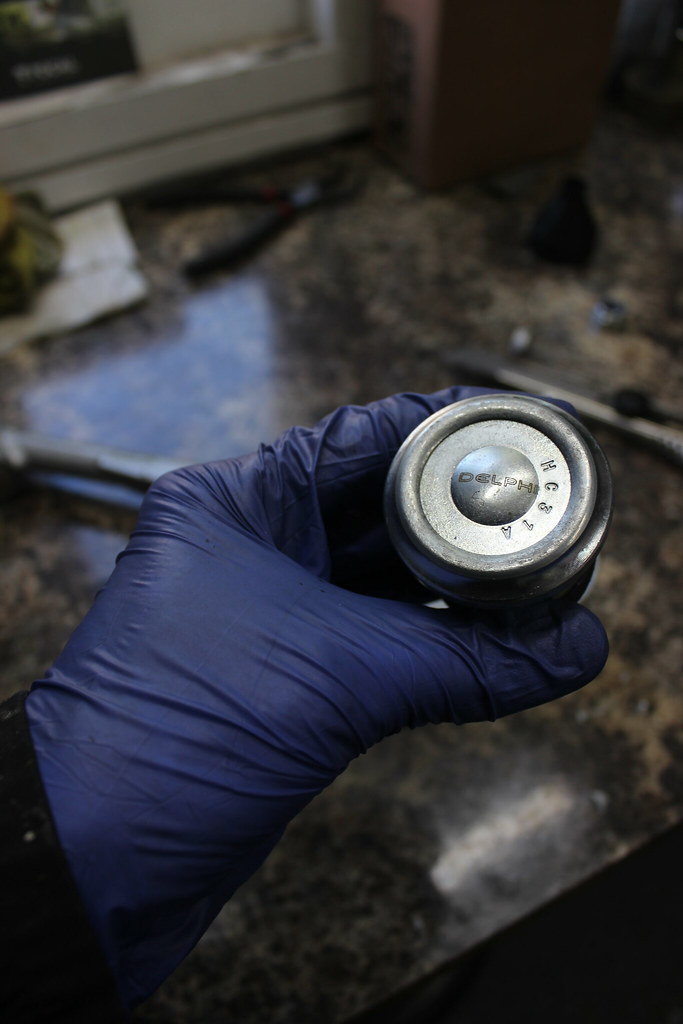
Now the ball joints.
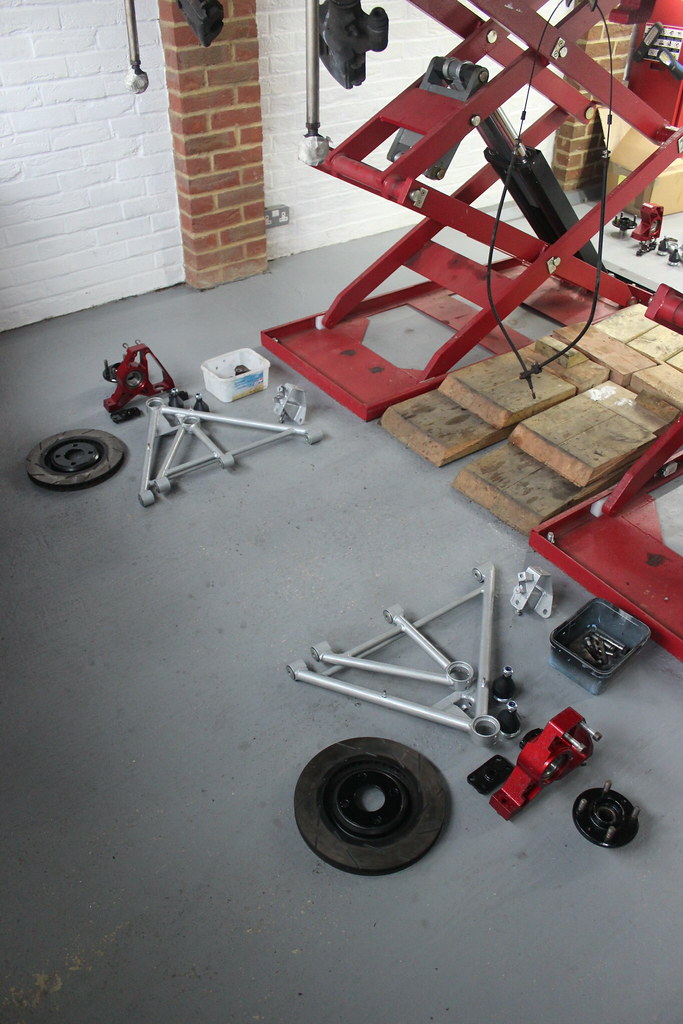
Wishbones and ball joints ready to go.
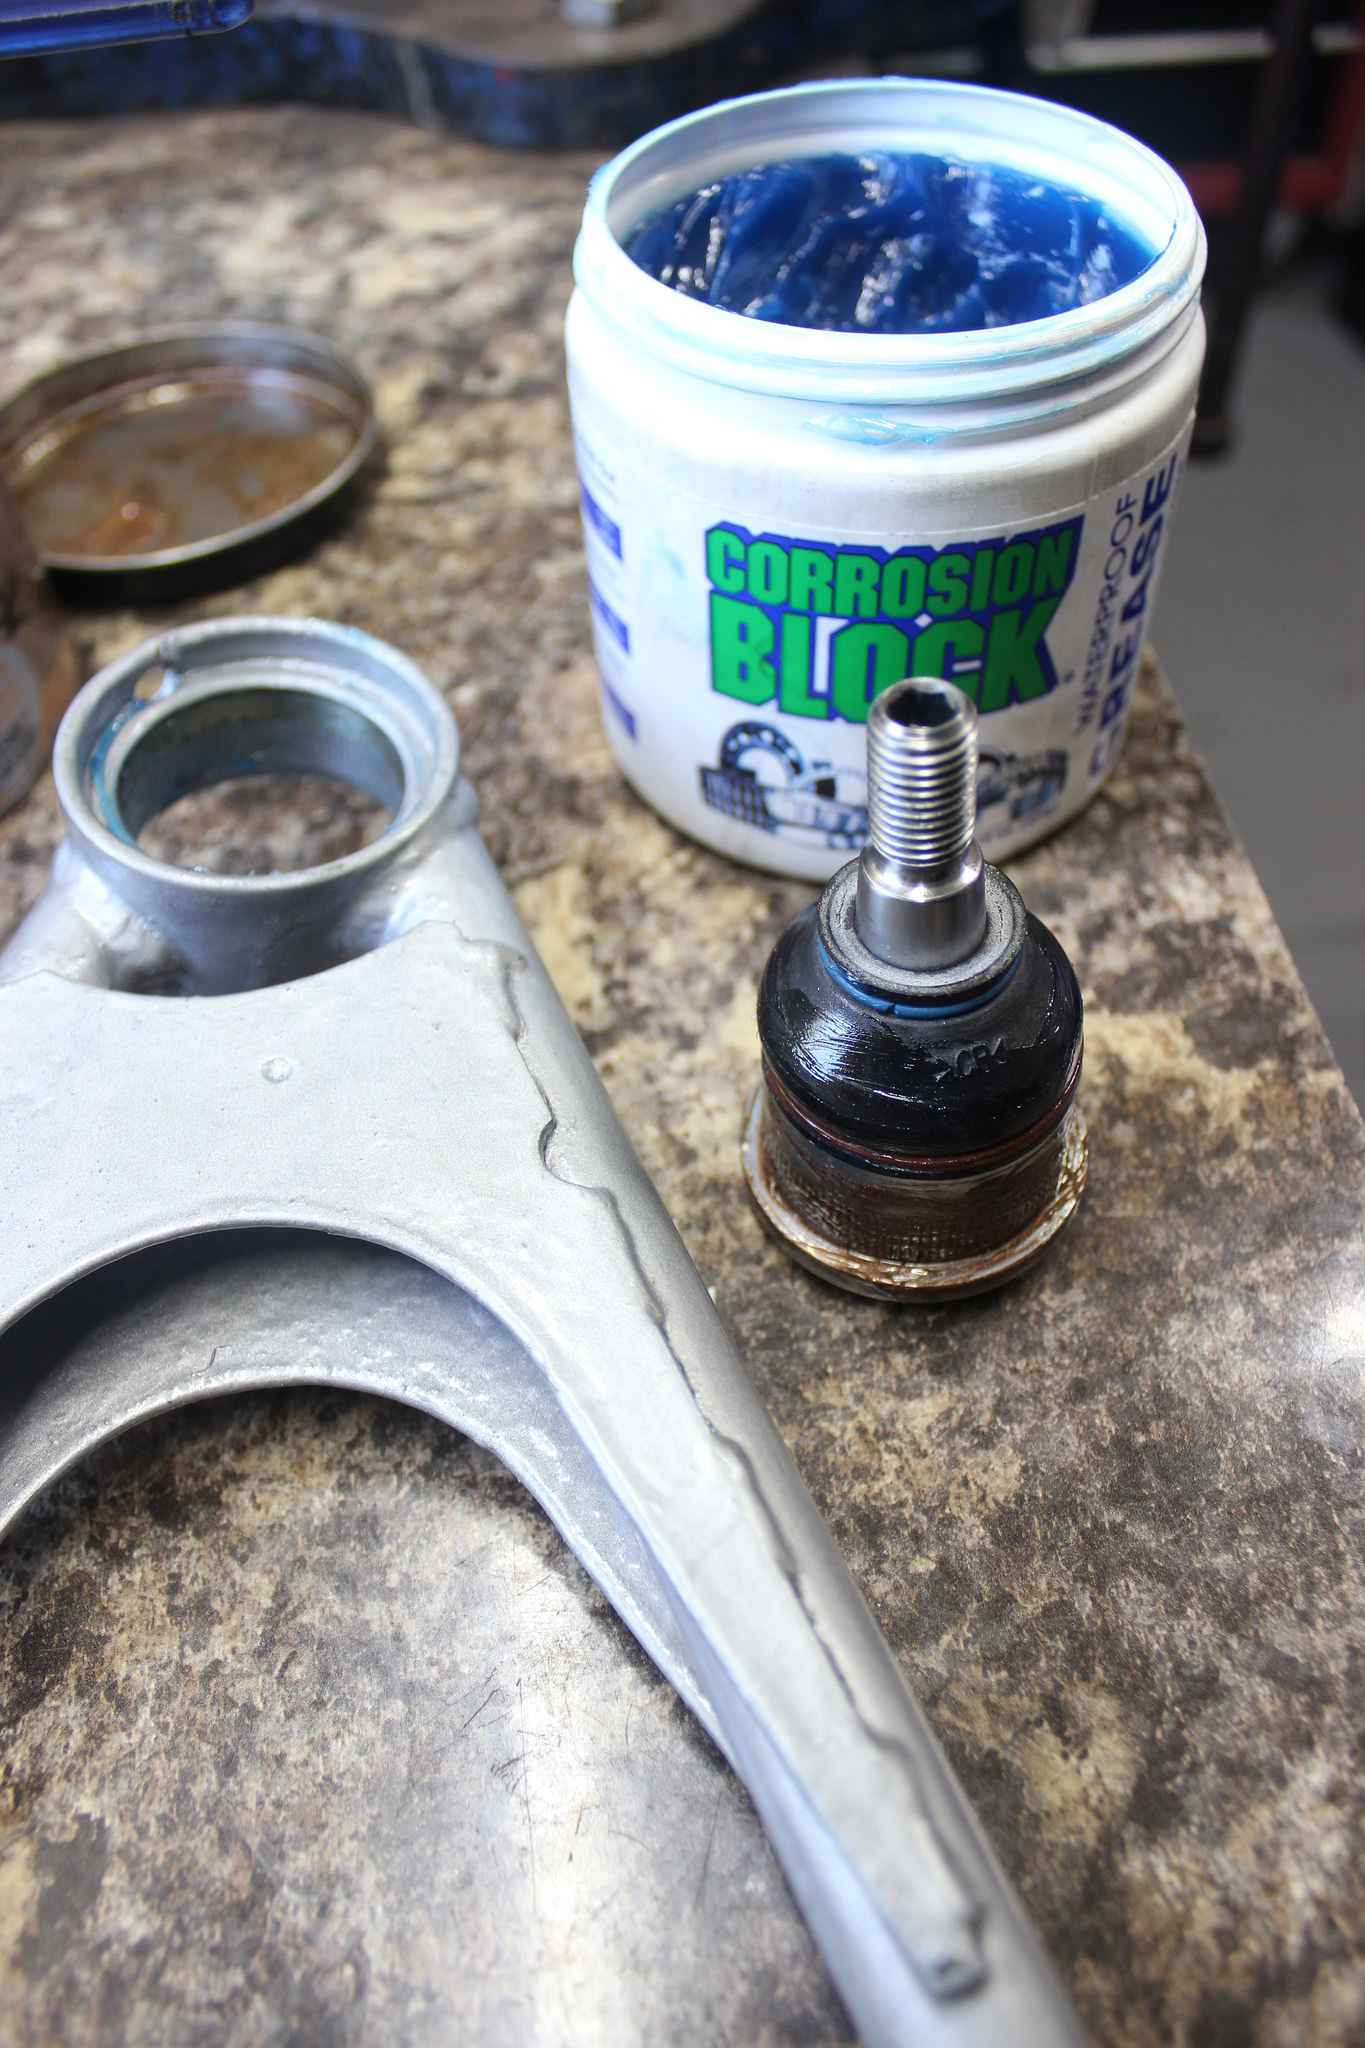
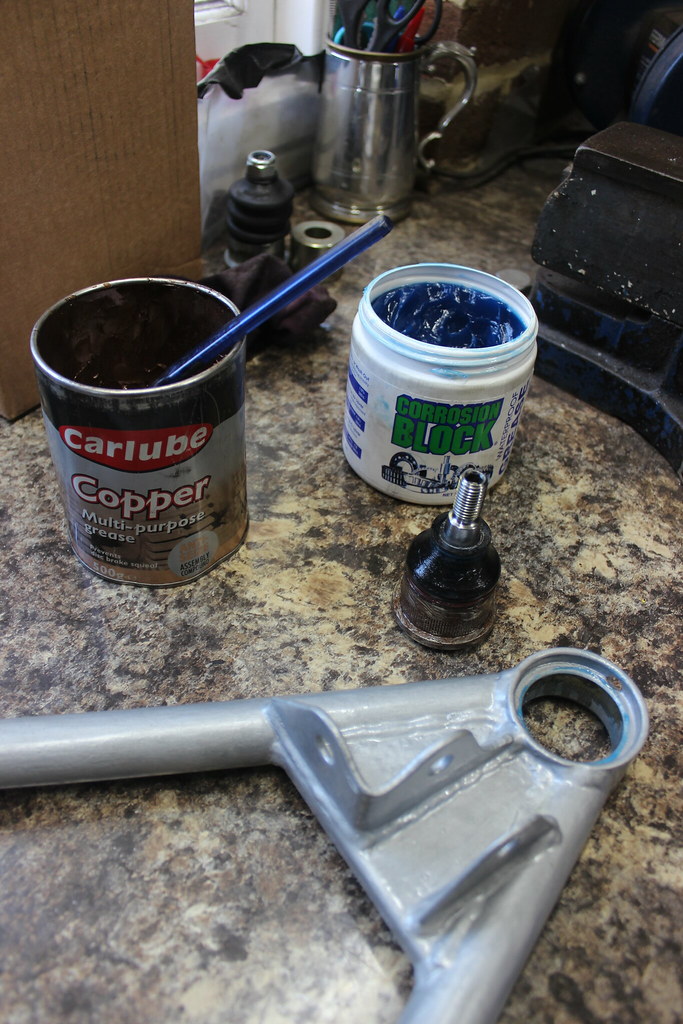
New ball joint.
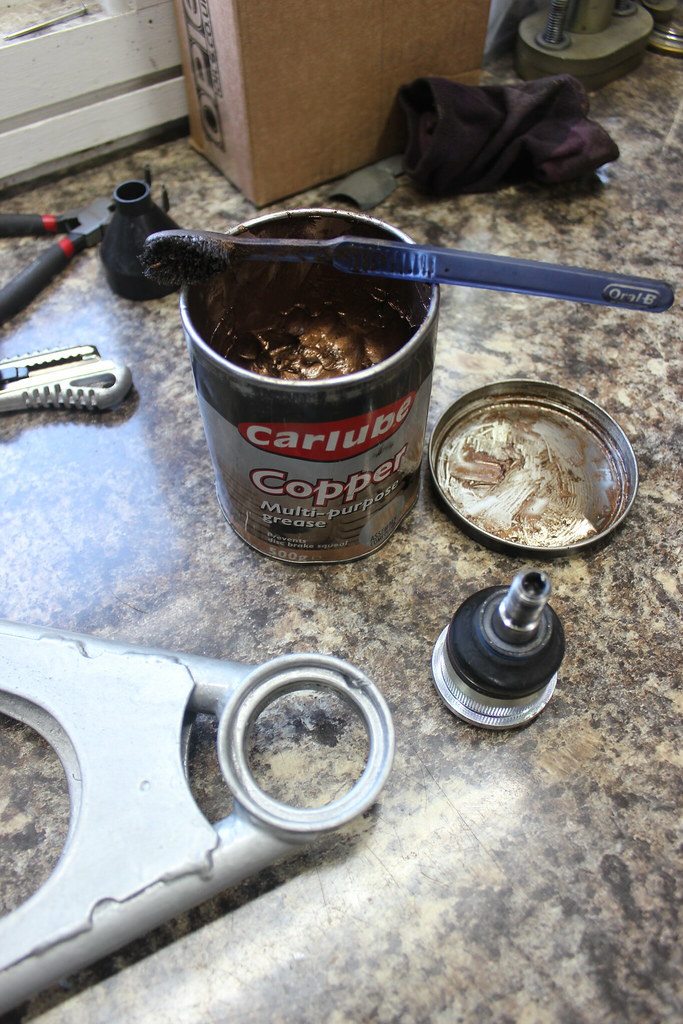
A thin ish layer of copper grease on the mating surface of the joint. I avoided getting the copper grease on the rubber boot as the rubber can react badly to it. Both the ball joint and wishbone are steel so copper grease will do the job it’s intended for here meaning if and when the joint ever needs replacing it should press out nice and easy.
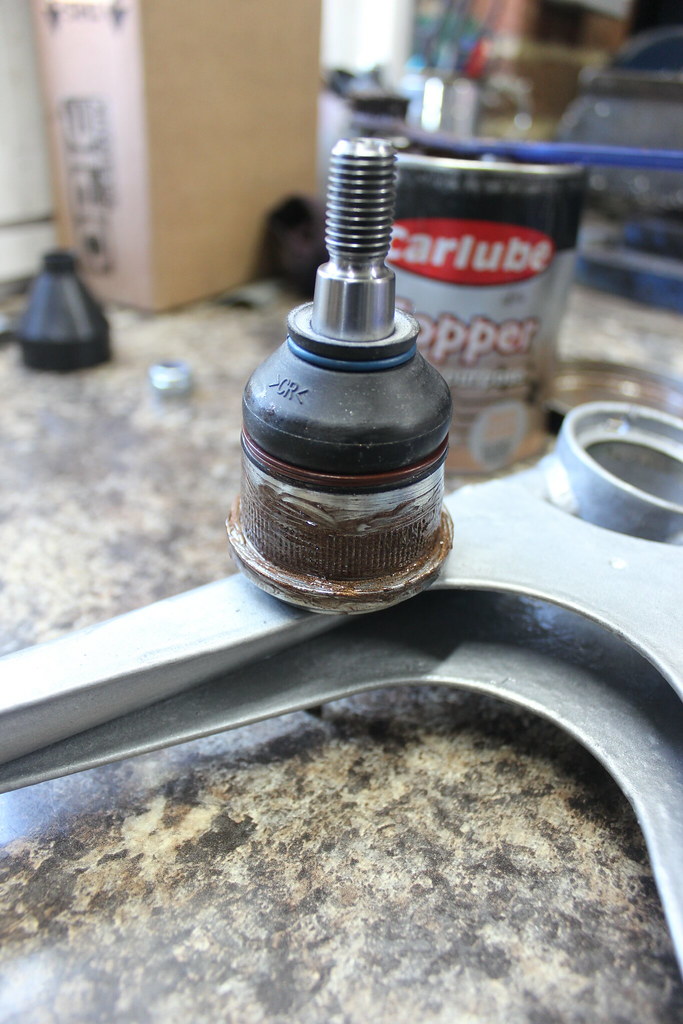
I also applied some corrosion block grease to the surface of the boot to prevent it snagging on the wishbone when being pressed in. According to information I’ve read the Corrosion Block products are safe on plastics and rubbers so it shouldn’t cause any problems using it to lubricate the boot.

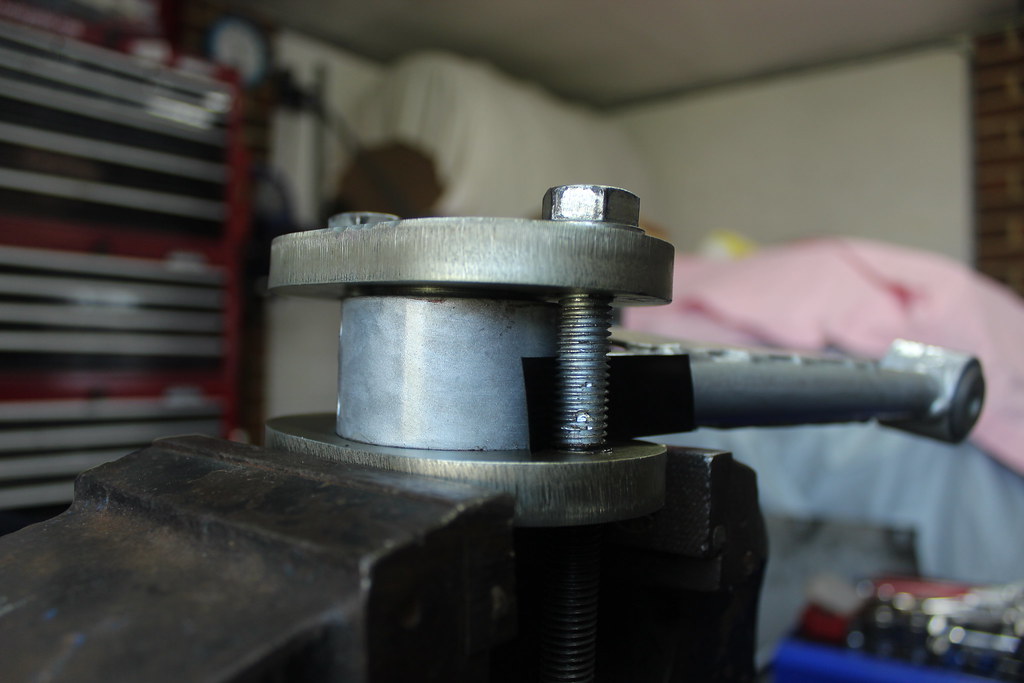
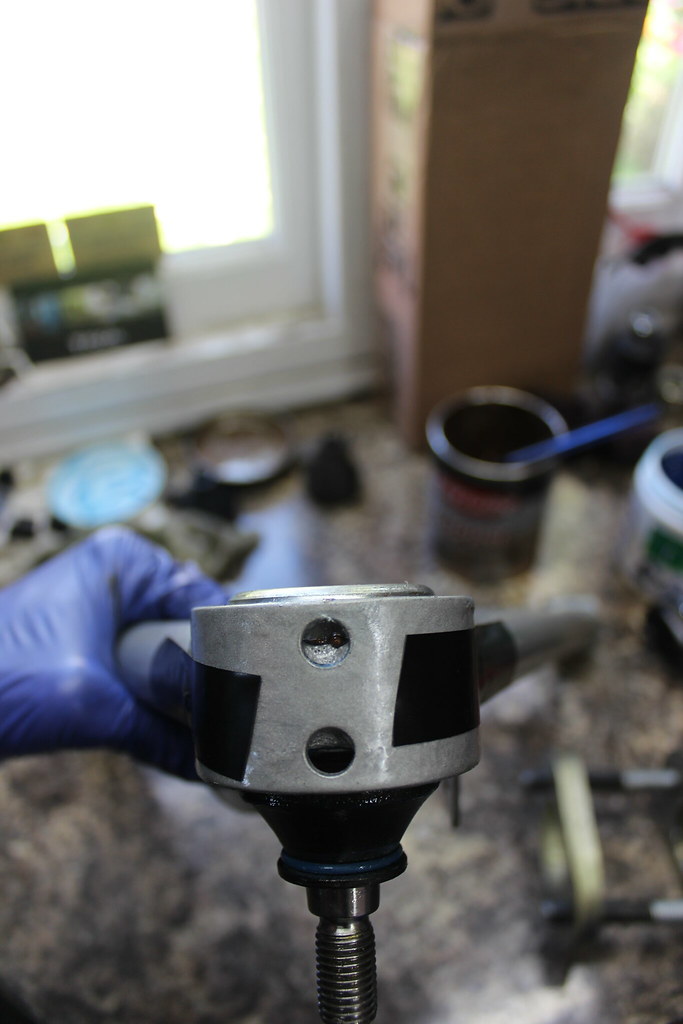
Not wanting to damage the paint on the wishbones I opted to hold the ball joint fitting tool in the vice.
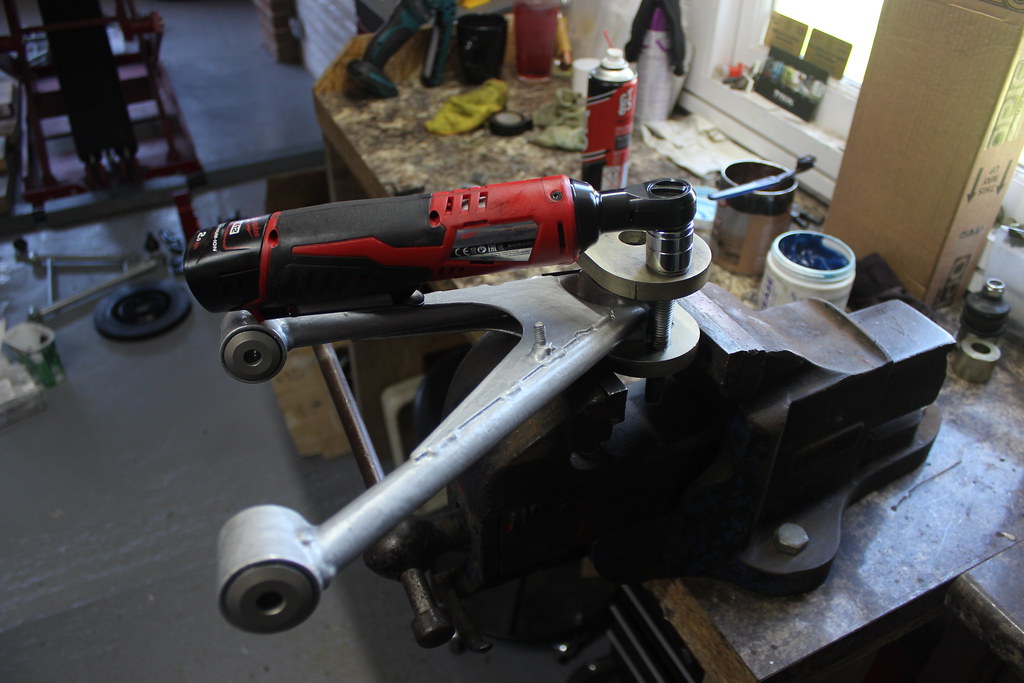
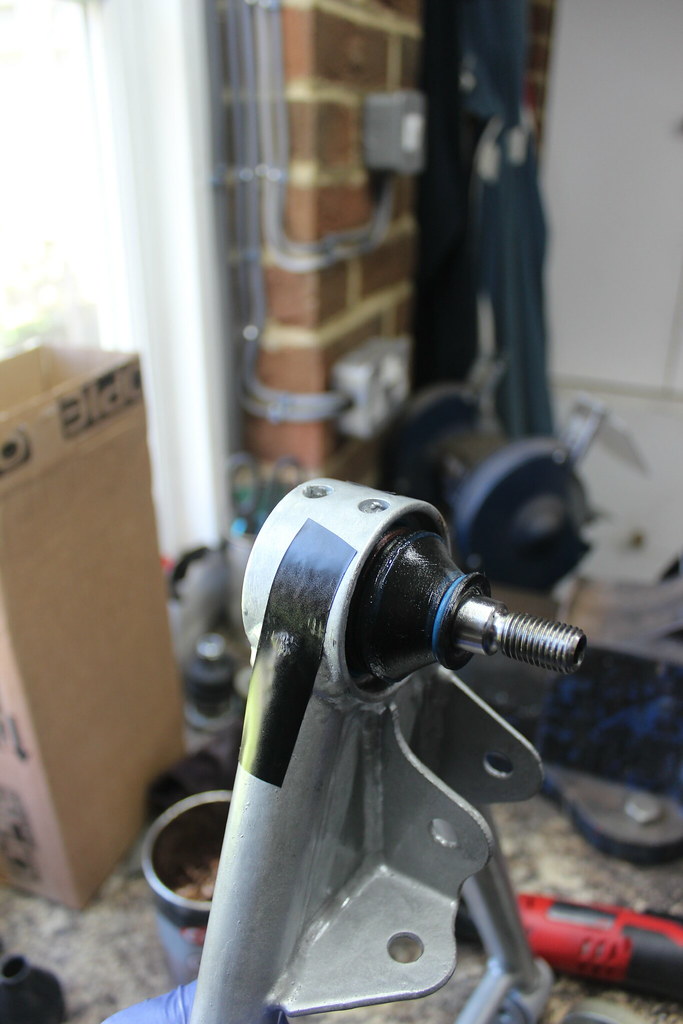
I also noticed when removing the joints that the bolts can come into contact with the wishbone so I placed some tape between the bolt and wishbone here to prevent any damage to the paint.
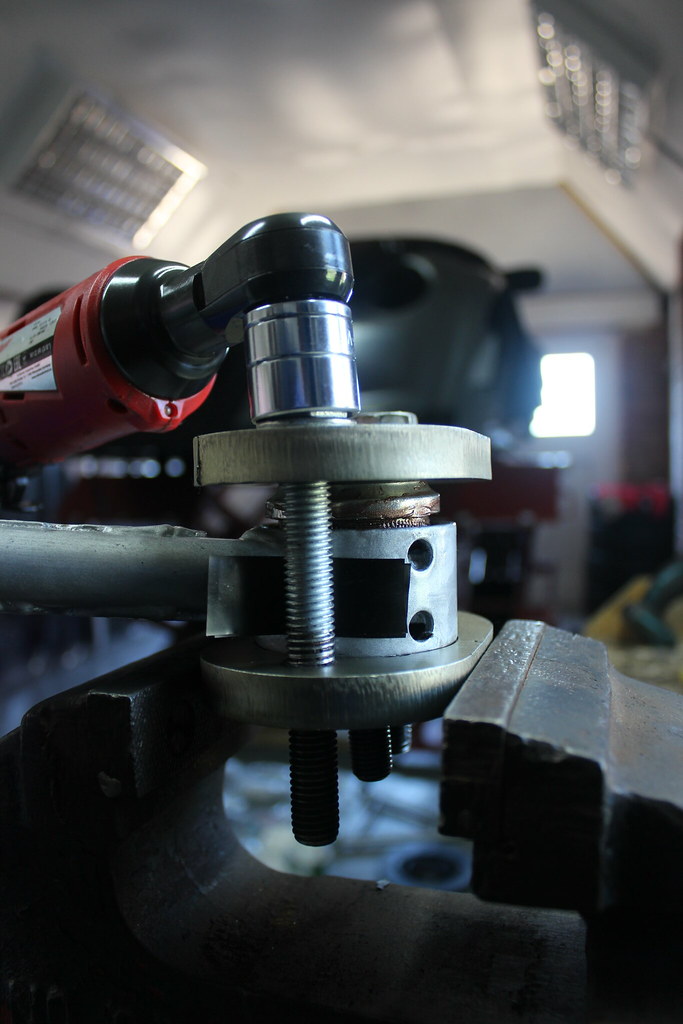
Joint almost in.
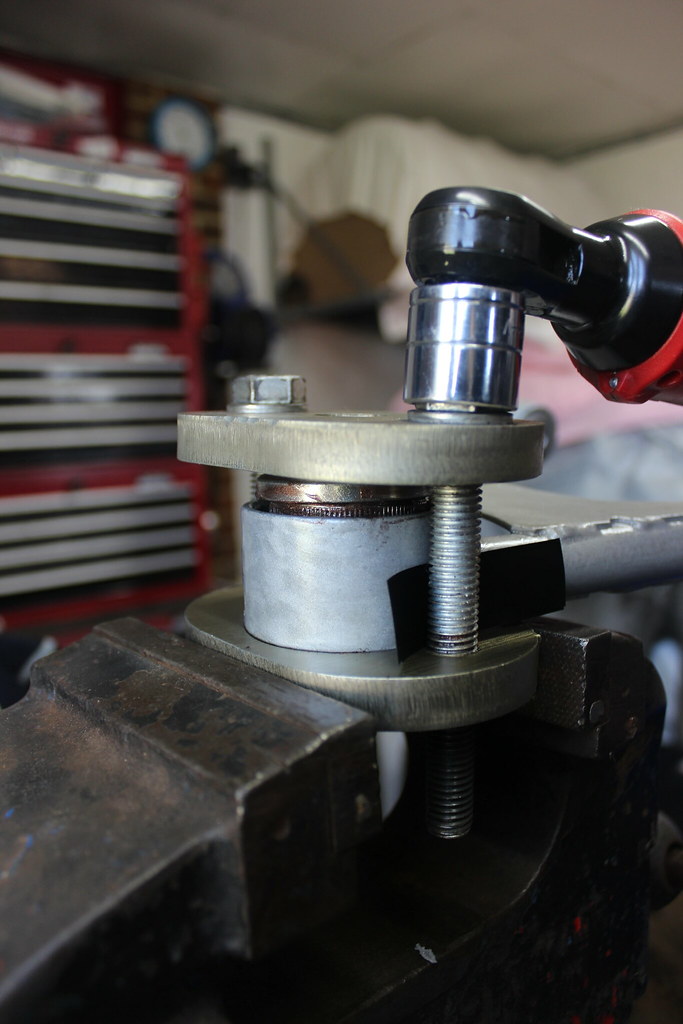
Done.
Just 7 more to do.
The tape doing it’s job.
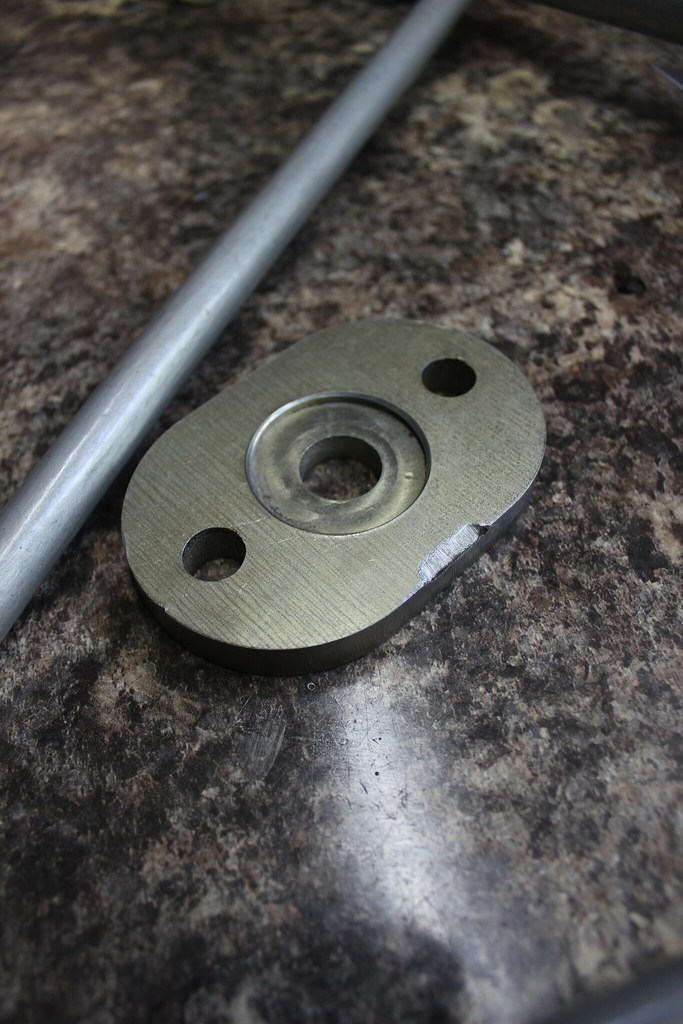
I noticed the ball joint tool would foul on the front lower wishbones so again to protect the paint I ground out a little chamfered section like this.
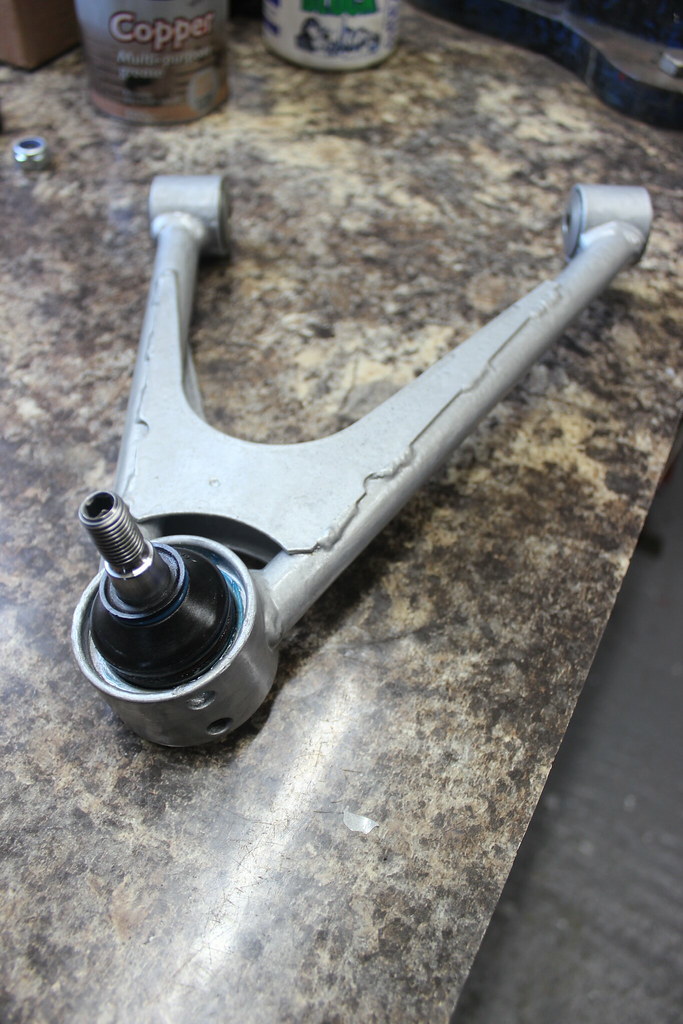
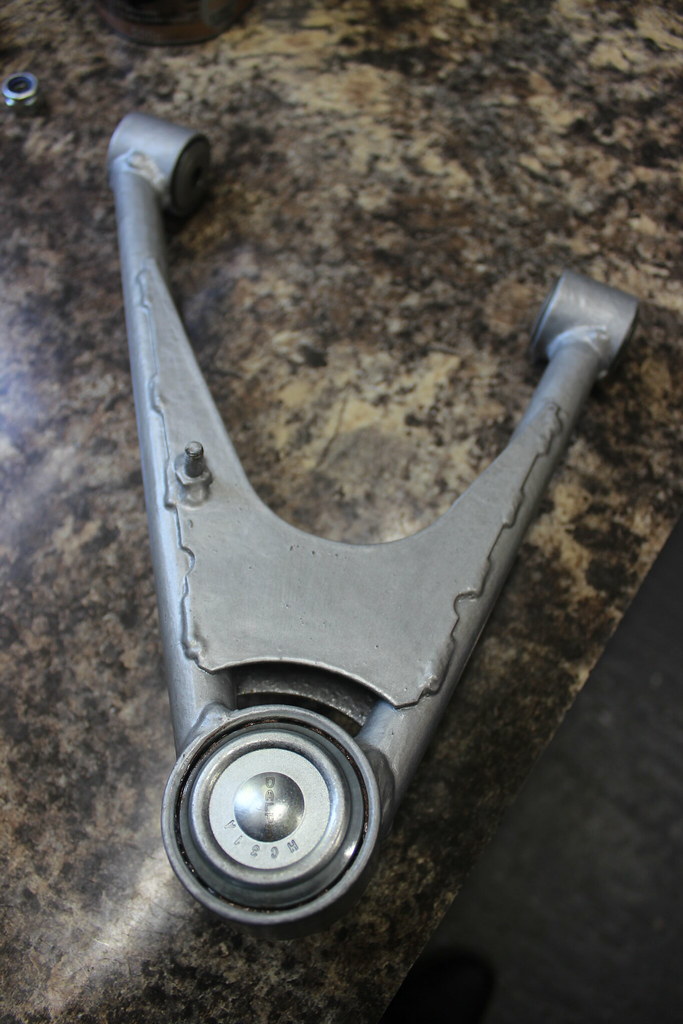
In position.
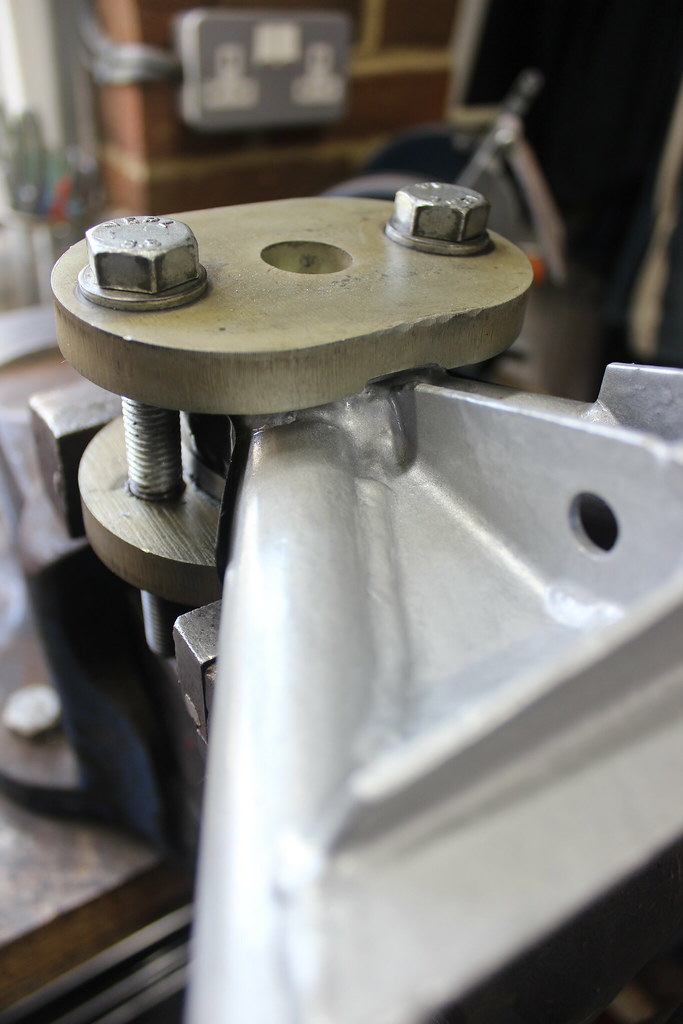
How they should look when fully pressed in.
With all of them done that’s another step closer to getting the Elise back on the road.