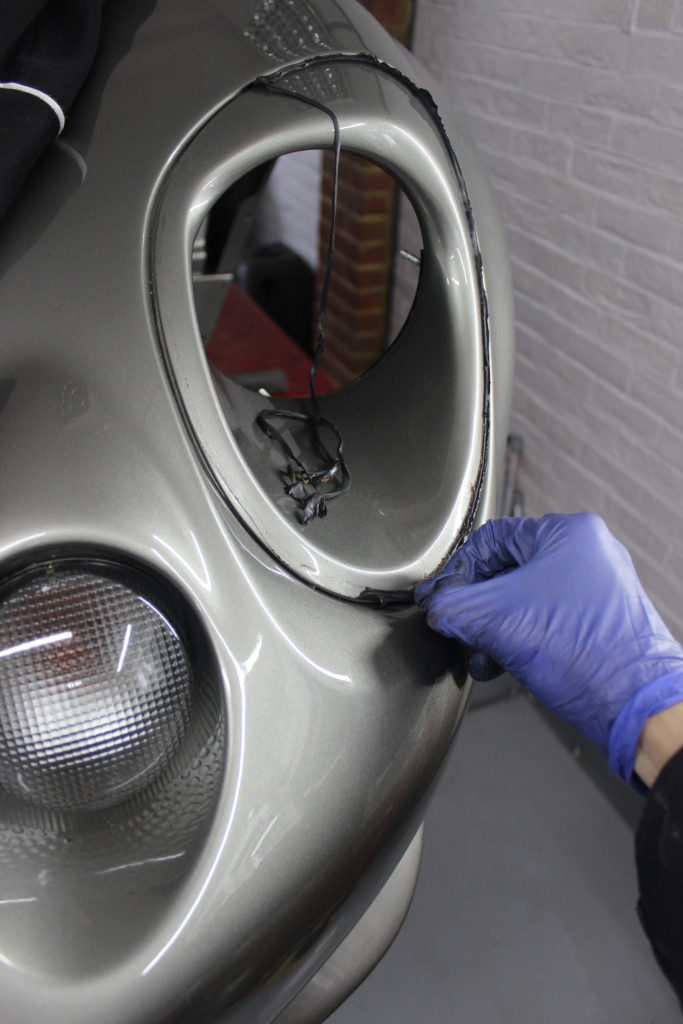
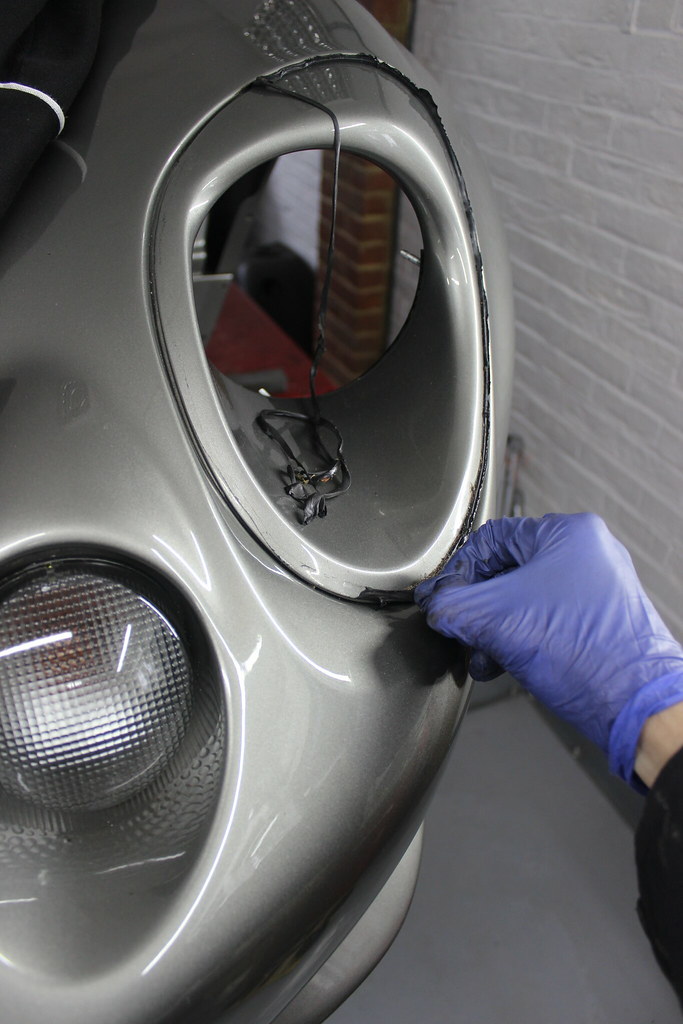
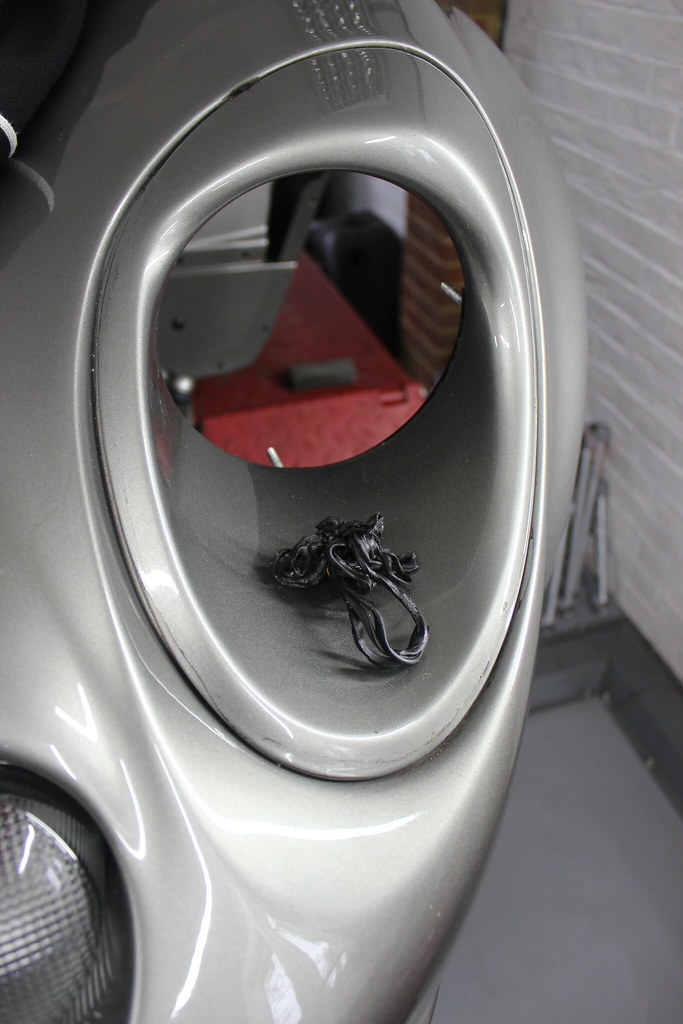
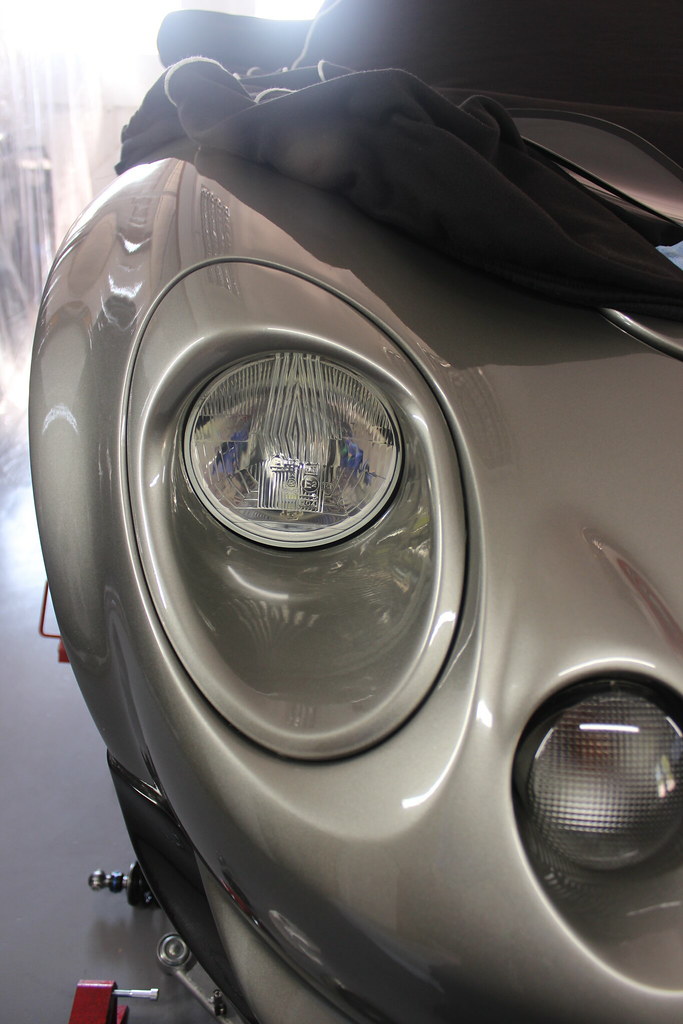
The headlamp covers had been fitted with the usual sticky black butyl type adhesive so removing them wasn’t a big problem fortunately. It just requires a little bit of heat to soften it then once I had an edge lifted with my fingers the covers peeled off quite easily.
Most of the adhesive was left on the car. Again, removing it wasn’t too much trouble. It pretty much just peeled off. What did require some care and attention was making sure not to rub or drag any of the grit or dirt stuck to the adhesive across the paintwork.
Same the other side.

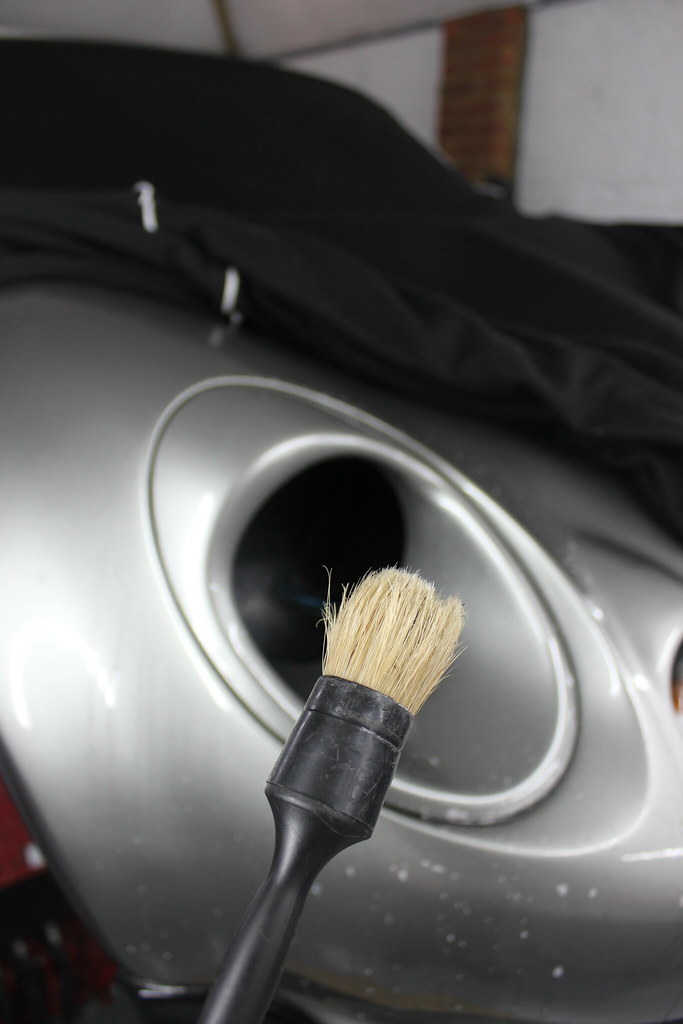
Both sides then got a wash and rinse using a soft wheel brush to carefully remove any grit or dirt left.
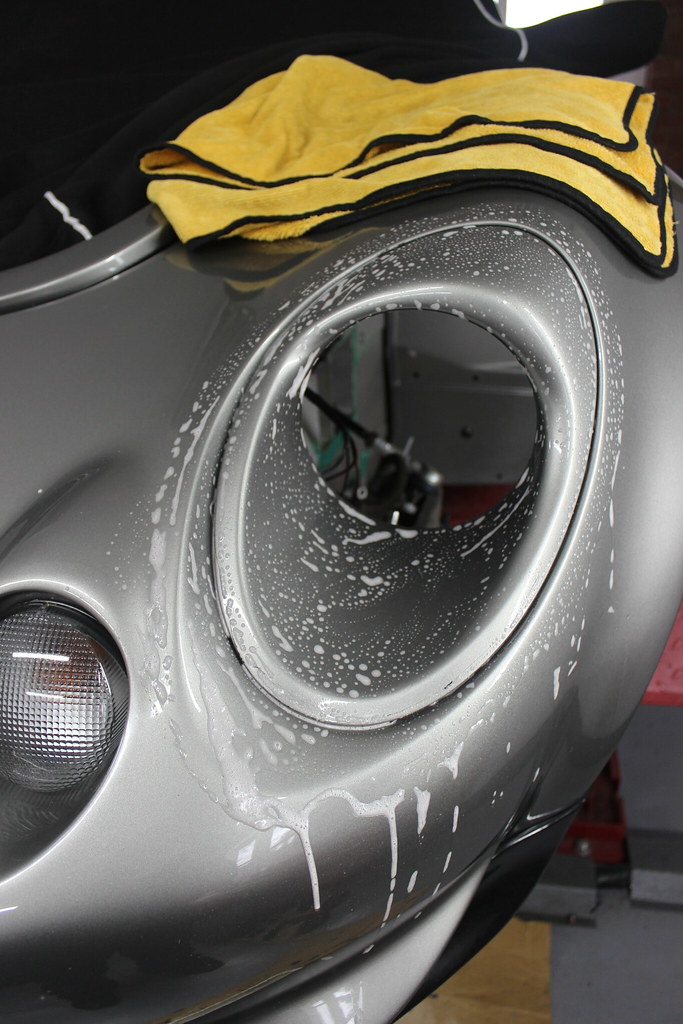
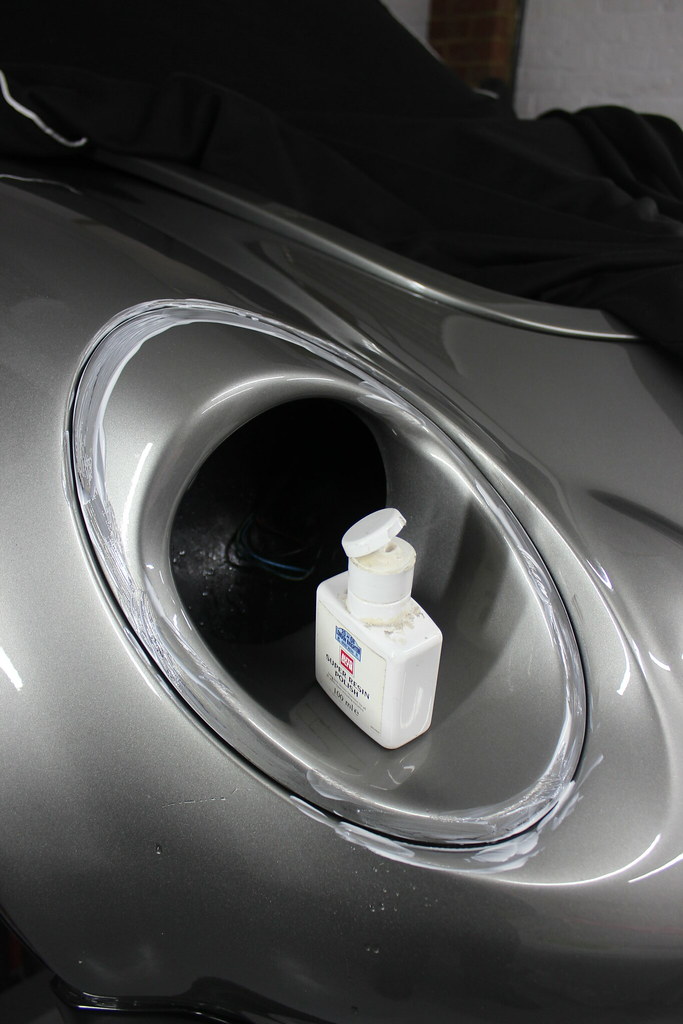
After that, any remaining adhesive was removed using some Super Resin Polish.
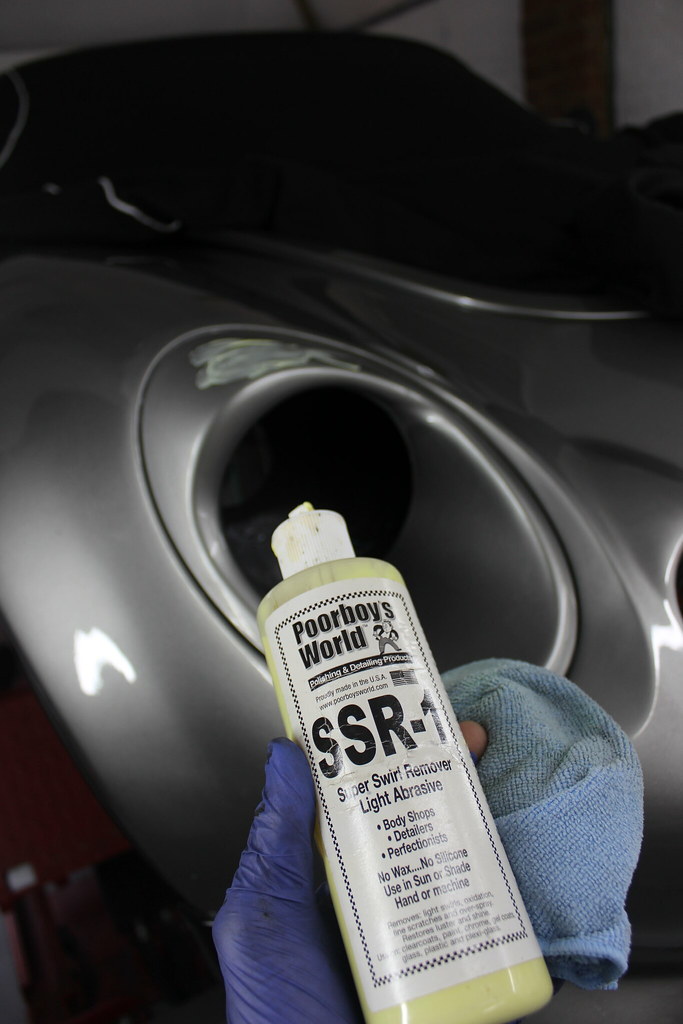
I also went over the whole headlamp bowl with some SSR1 by hand. It is a very fine cut so removes any light scratches or swirls to bring the shine up.
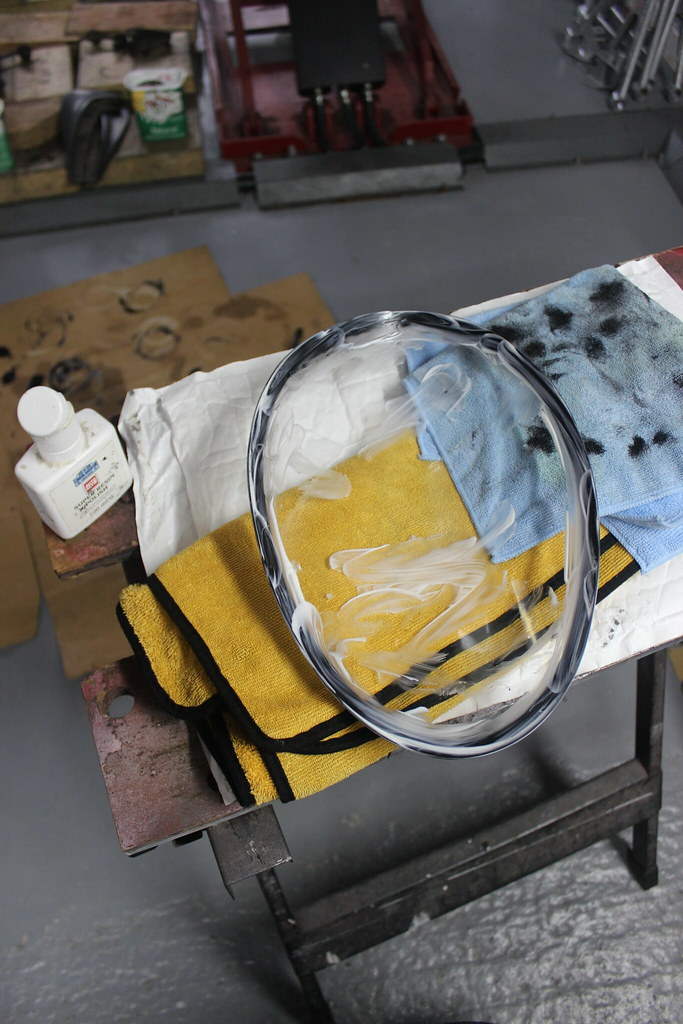
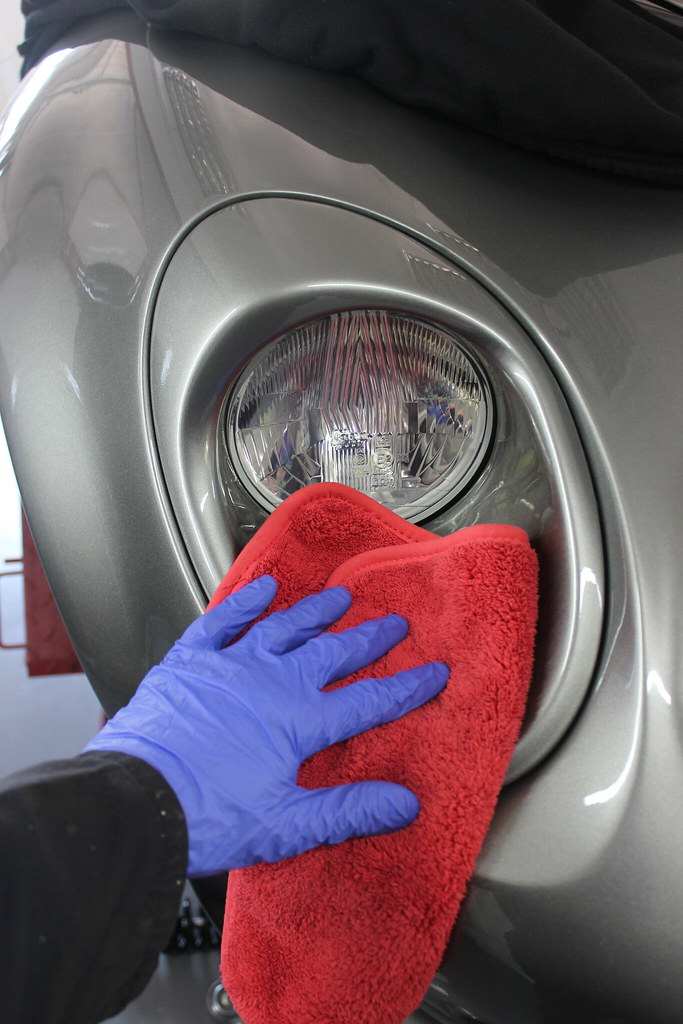
I then went over the whole area with Super Resin again as it leaves a layer of protection behind.
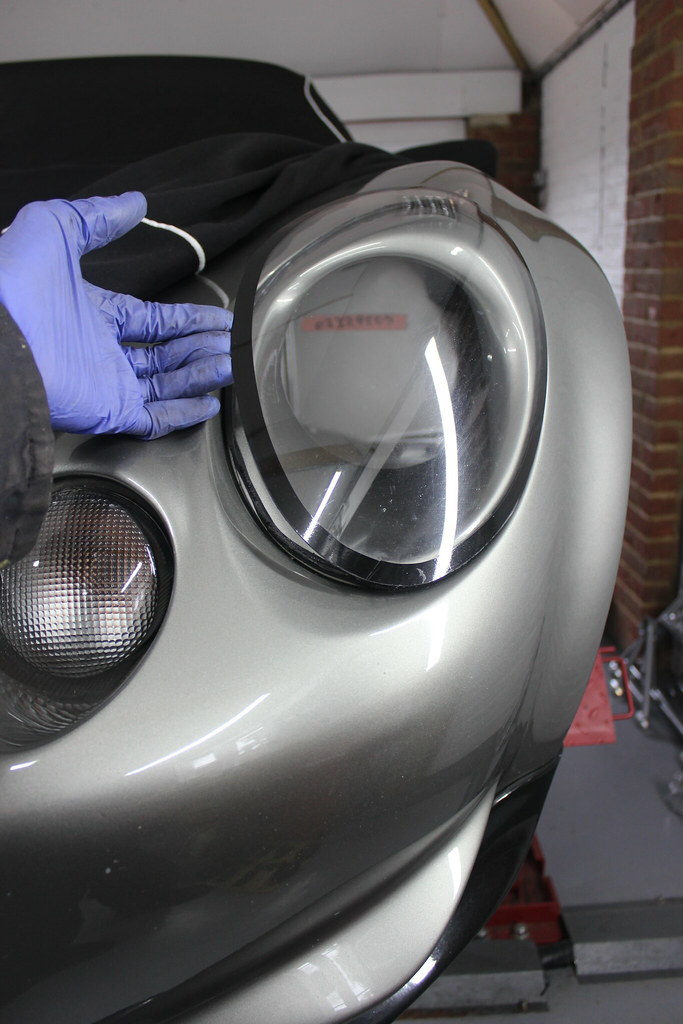
The headlamp covers got a good clean and polish too.
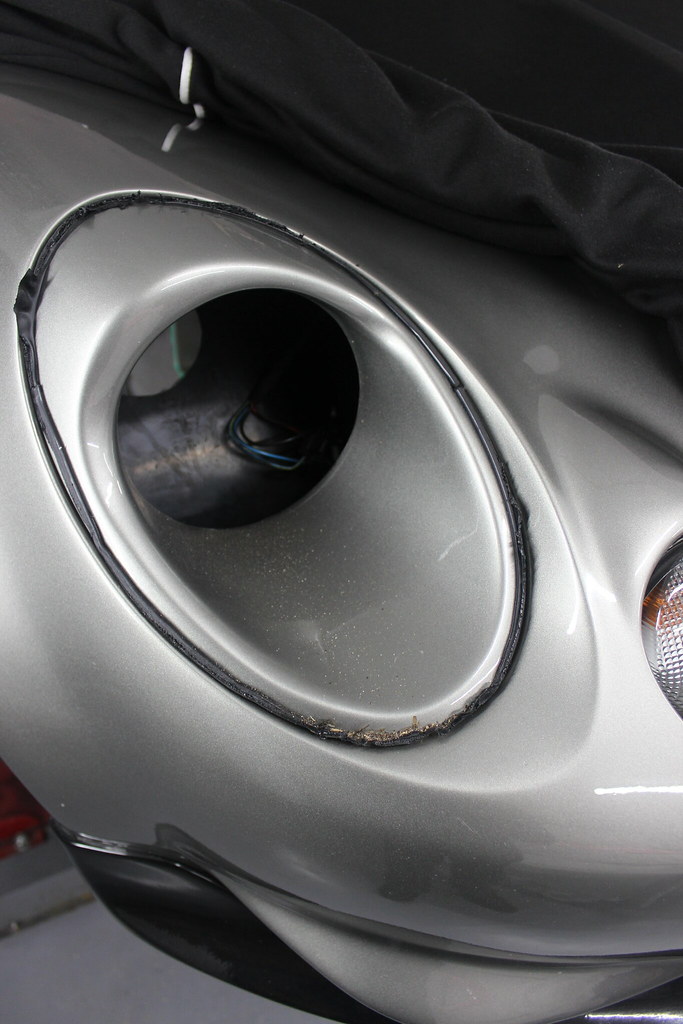
So after a good buff off I got to fitting the headlamp covers back on. I chose to use the same butyl adhesive as had been used before as, if done properly, it should seal very well and will allow the covers to be removed quite easily without any damage to the paintwork.
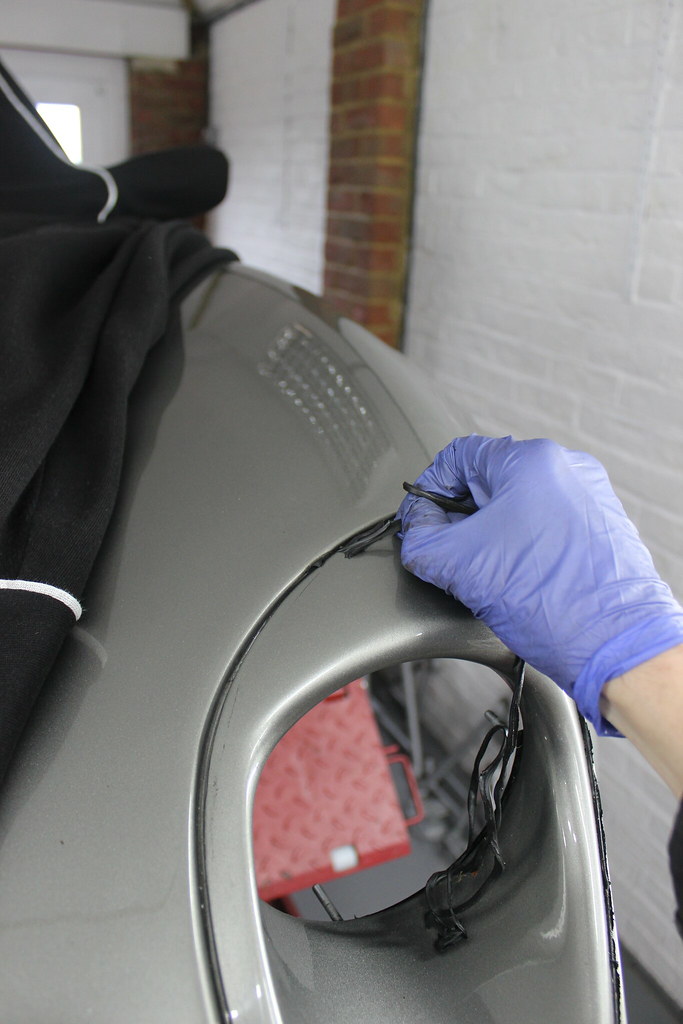
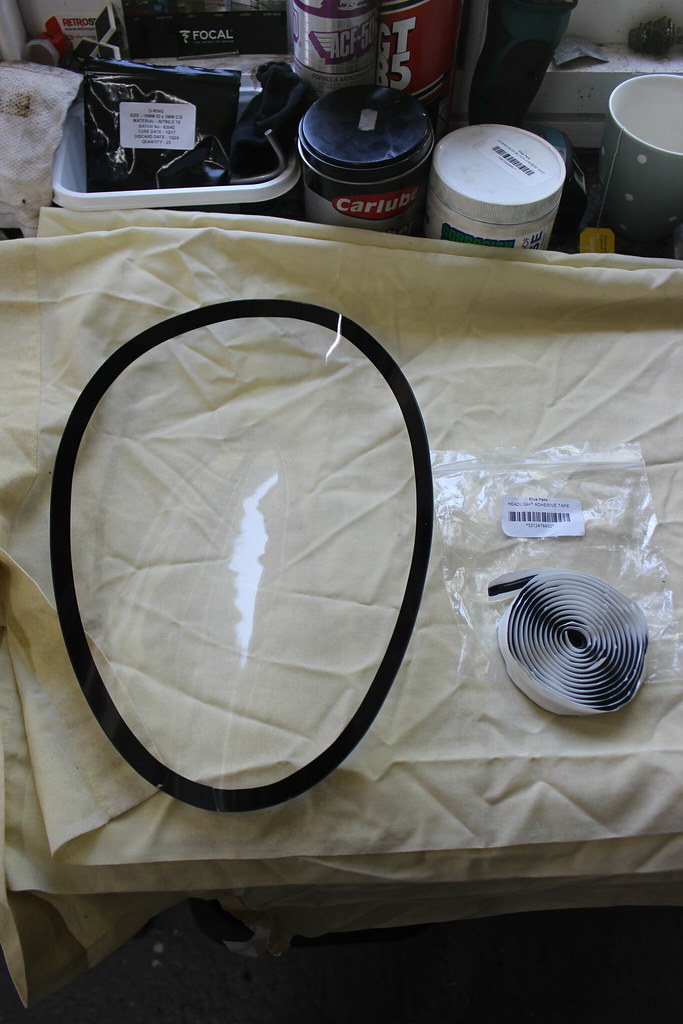
The butyl adhesive comes in a roll like this from Elise Parts. I applied it to the headlamp cover neatly around th edge as it needs to be hidden behind the black trim tape on the cover when its fitted.
This was a slightly awkward job as once the adhesive touches the cover it won’t come off again without stretching or smearing and generally just getting a bit messy. That’s why there are no pictures of me applying them. I also got my glamorous assistant to help as another pair of hands really helped with holding the role of adhesive leaving both my hands free for applying it neatly.
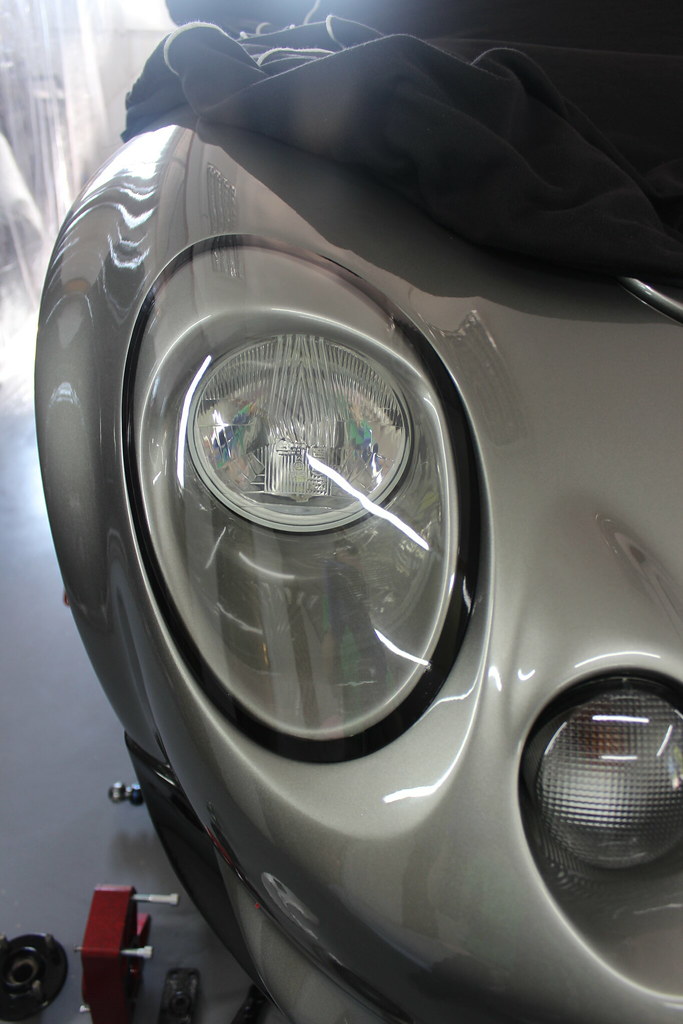
After placing the headlamp cover with adhesive onto the car and being sure I was happy it was in the right place I used a heat gun at a slight distance to gently heat the adhesive around the whole of the covers edge. The heat softened the adhesive so the cover could be pressed down and flush with the bodywork around it.
Other side on too.
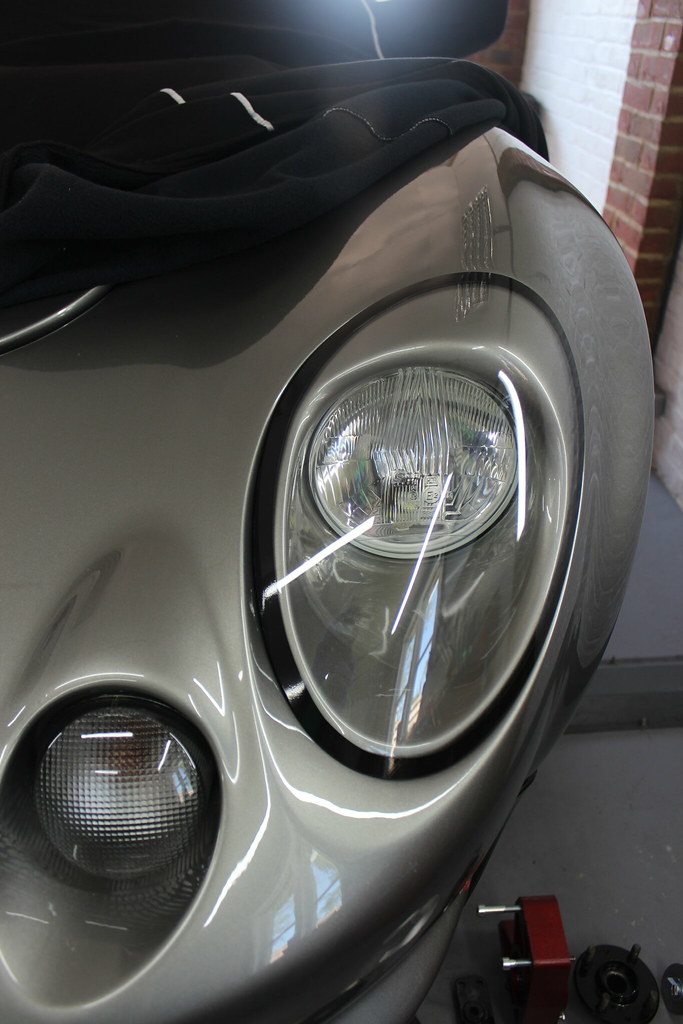
Well that’s another little job that doesn’t cost much in parts or time but just needed doing to get the front of the car looking smarter on close inspection. Plus I should have no trouble with water getting in there when washing now.