
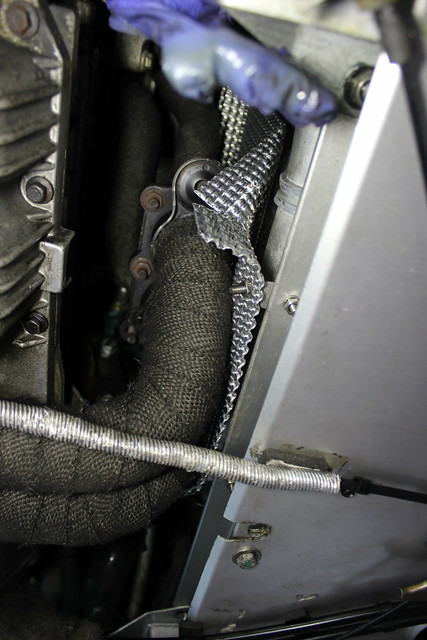
As I’ve said previously, it got a bit hot in the Elise drivers seat on the hottest summer days and I wanted to do what I could to keep heat from the exhaust at bay. One thing being heat wrapping the exhaust which you can see here and the other being fitting a more effective heat shield to replace the fairly tired original Lotus one.
Here’s the original heat shield as it came off.
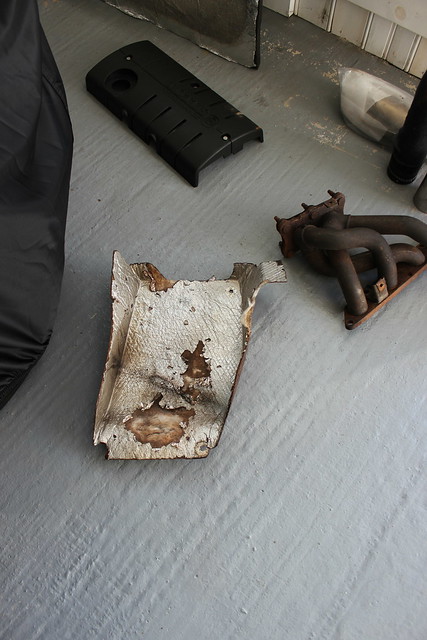
Over 20 years old now, pretty tired looking and not really doing it’s job as well as it once did or as well as a replacement with more modern materials could.
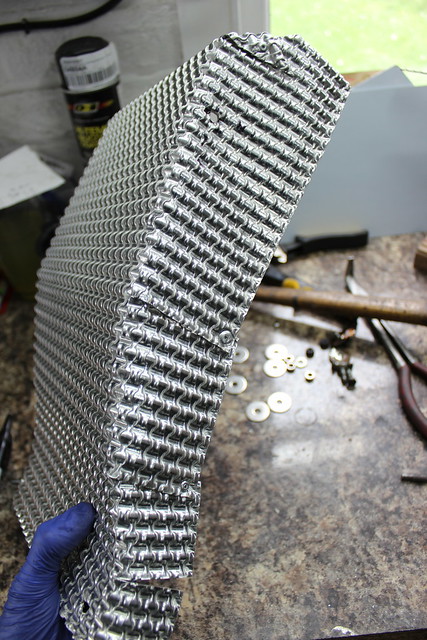
I could have just formed something out of plain thin aluminium sheet but thought I’d get some Nimbus heat shield. Nimbus heat shield is a lightweight, thin aluminium sheet sort of embossed to give it a 3 dimensional shape. Without being pressed into this shape the very thin aluminium would not be rigid enough for the job yet, as it is thin, it remains malleable enough that it can be easily formed by hand. The embossed shape also gives it some sound deadening properties which won’t make a huge difference in a noisy S1 Elise but it can’t hurt.
It can be bought as G1 or G2 sheet meaning it is single or double layered. Considering how little actual material you get it’s slightly pricey but after a look around I found the most economical way to buy just as much as I needed, so no wastage, was through an eBay seller who sells G2 Nimbus as a sheet cut to 300 x 400mm. This isn’t enough to completely replace the original heat shield but I had a plan for shielding the alternator better than the original shield shape did but I’ll get to that another time.
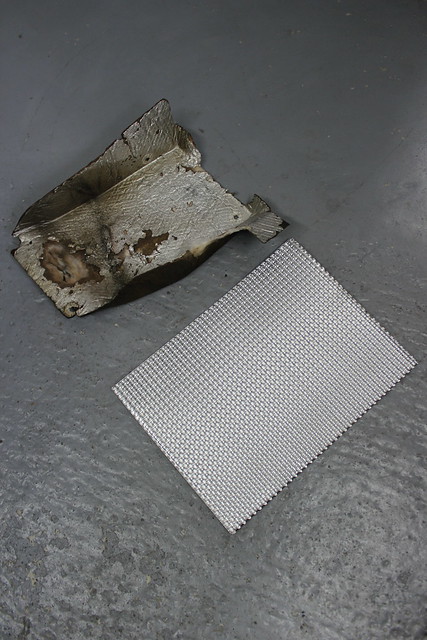
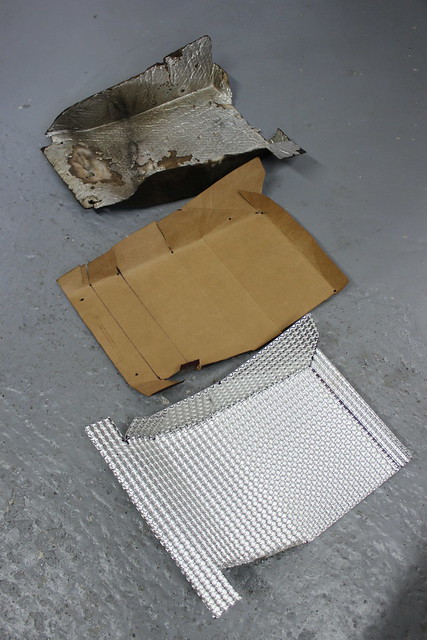
The original Lotus exhaust heat shield and the G2 Nimbus sheet.
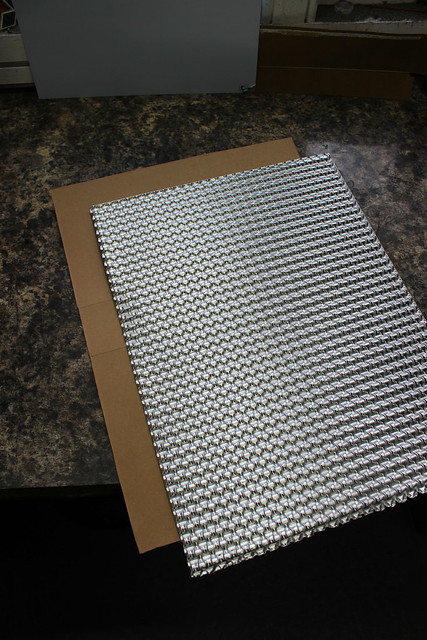
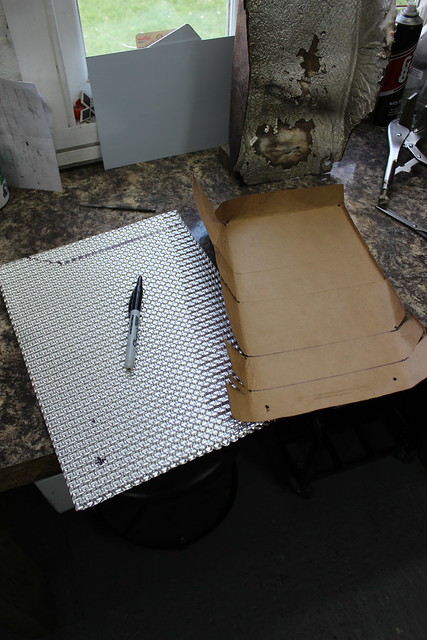
Straight into some classic CAD (Cardboard Aided Design) then. The cardboard being a cereal box.

Cereal box cut down to match the size of the Nimbus sheet.
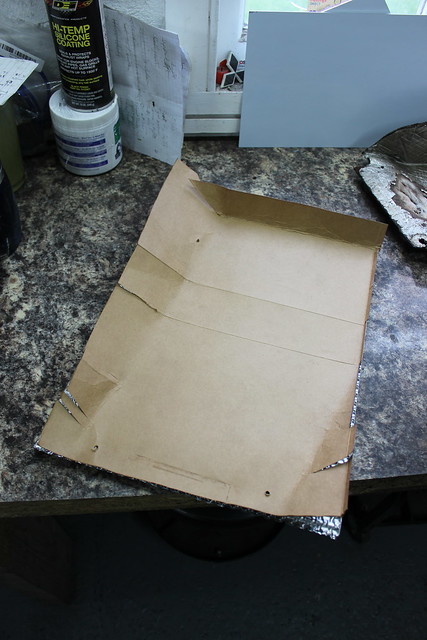
Next I laid the cardboard inside the original heat shield to copy it’s shape with a few folds and cuts.

You can see the sheet isn’t wide enough to reproduce the whole of the original heat shield but, like I said, I have a plan.

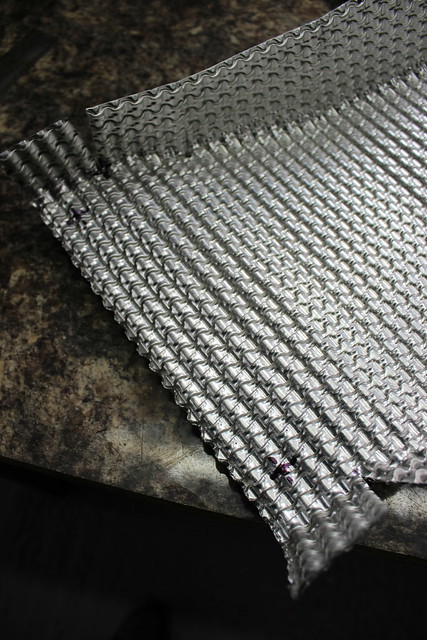
Now the cardboard copy can be placed onto the Nimbus sheet and the shape and cuts can be marked on it.
Mounting holes taken from the original too.
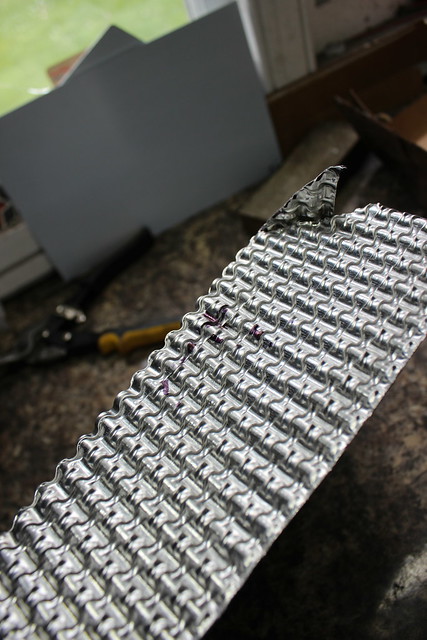
Some cuts.

After some forming, all done by hand as this stuff is very easy to bend and shape. Pretty much there.
Now some test fitting and fine tuning of the shape.


Lower mounting holes marked, ready to be punched through with a pointy thing.
A little tab to fold over and fit a rivet for some added rigidity.
A few rivets fitted to any overlapping sections.

The original mounting brackets cleaned up and some new stainless fixings.


The last test fit.
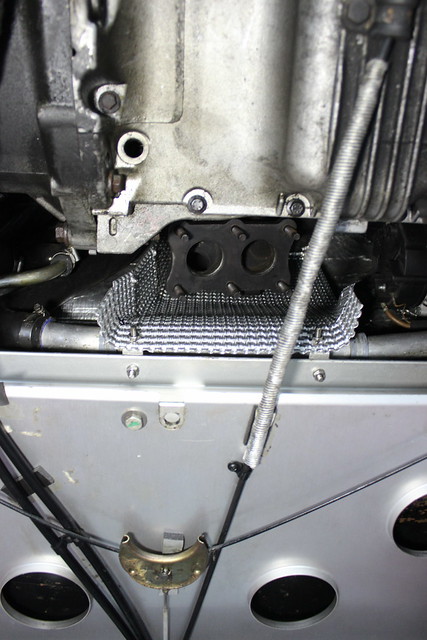


All fits fine without touching the exhaust and all the exhaust bolts can still be accessed. Now it will have to come off again while I fabricate the next bit.