After a few days wait my mate Steve turned up with a box for me. 🙂

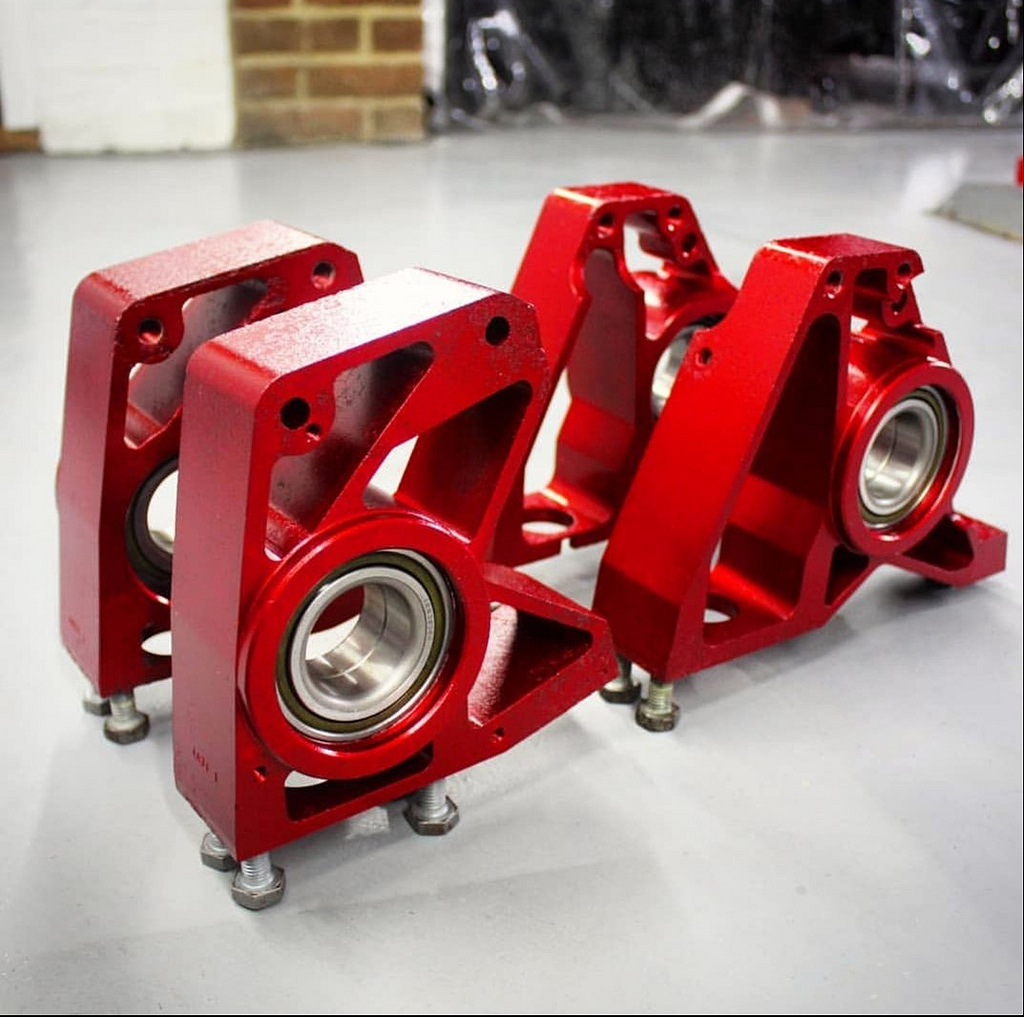
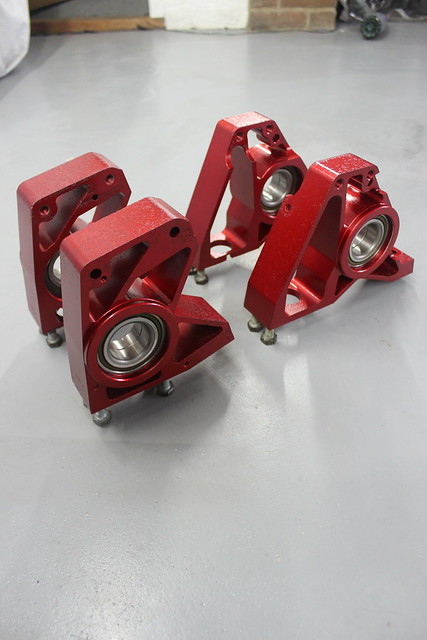
I'm really happy with the colour, it ties in nicely with the original red seats in the car and means they will stand out a little under the car. Though nobody else is likely to ever see them I will no doubt see them quite a lot given my liking for pulling my cars apart and putting them back together again!
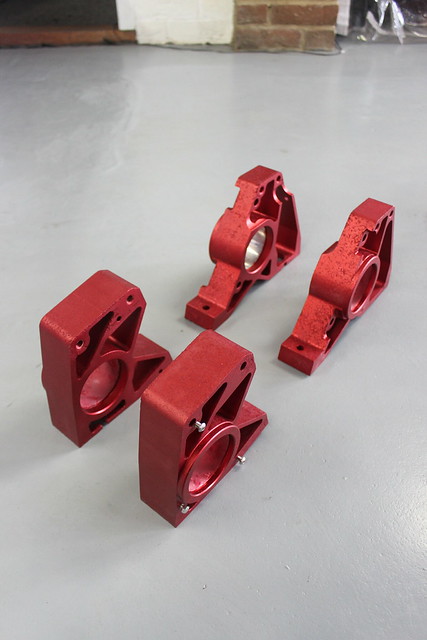
As expected the coloured anodising has slightly highlighted the pitting on some of the surfaces but I always intended to give them a clear coat of lacquer which should help with the finish and will obviously provide another barrier against the elements.
POR-15 Top Coat is what I chose for the additional layer of protection as it's a hard wearing clear lacquer that should survive much better than a standard bodywork lacquer. I figured that if I gave them a few coats now though, I'd risk damaging it when pressing the new bearings in. So I opted to press the bearings in first and mask them for painting later.
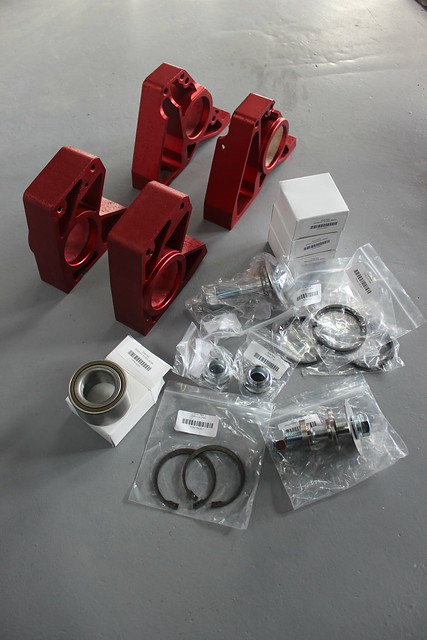
New bearings and circlips.
Bearings in the freezer the night before.
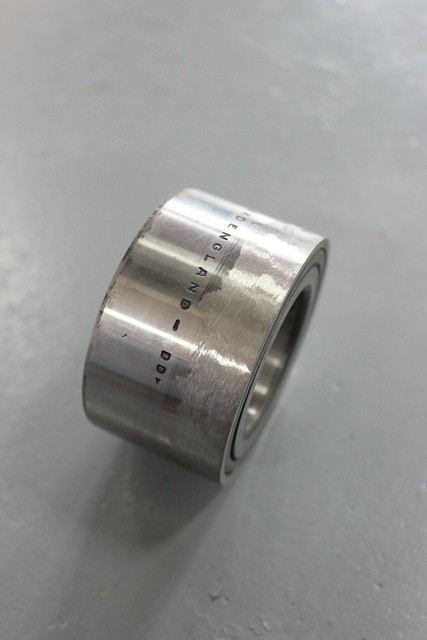
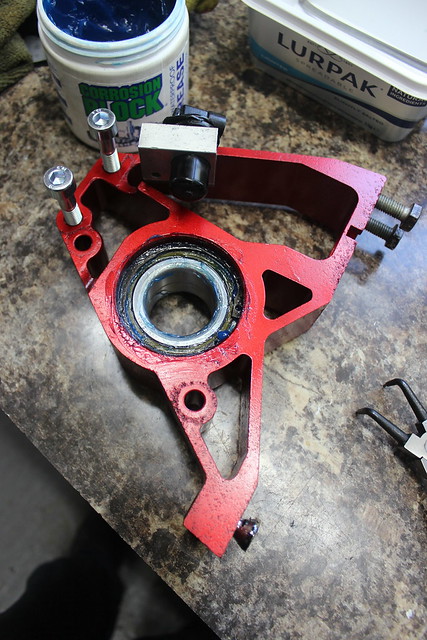
I ground down one edge of an old bearing so I could use it for pressing in the new bearings.
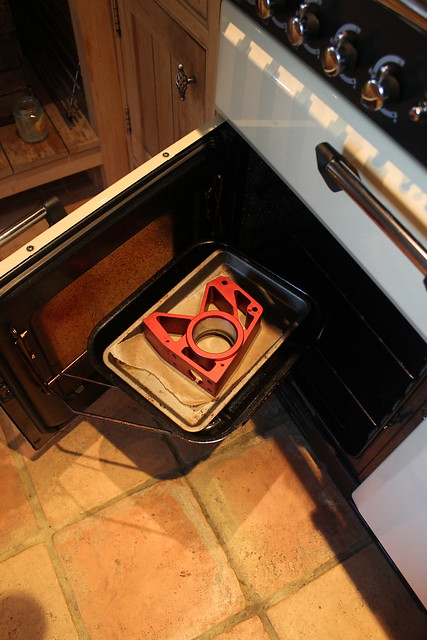
First hub carrier going in the oven for 15-20 mins at 90 degrees.
I didn't take loads of pictures of pressing the bearings in like I did when removing them as this is basically the same process. This also needed to be done fairly quickly while the bearing was still cold and the hub carrier was still hot so I didn't want to be messing about with cameras when there is limited time to get the bearing in.
One of the bearings fitted showing the ground down old bearing.
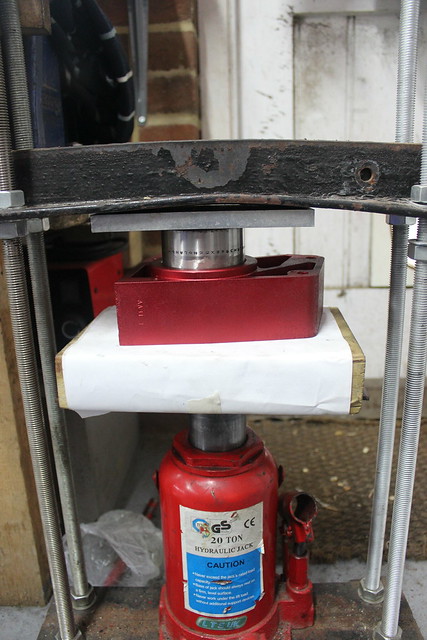
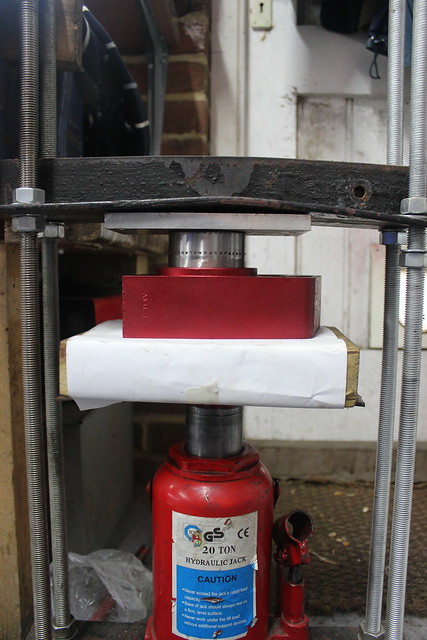
This also required a bit more care in getting everything square compared to when removing them as the bearing needs to be kept straight when starting to press it in. I placed a 4mm thick sheet of steel under the block of wood to prevent the bottle jack just compressing the wood and a 12mm thick piece of aluminium at the top so I could position it to keep everything square. The wooden block prevented any damage to the anodising.
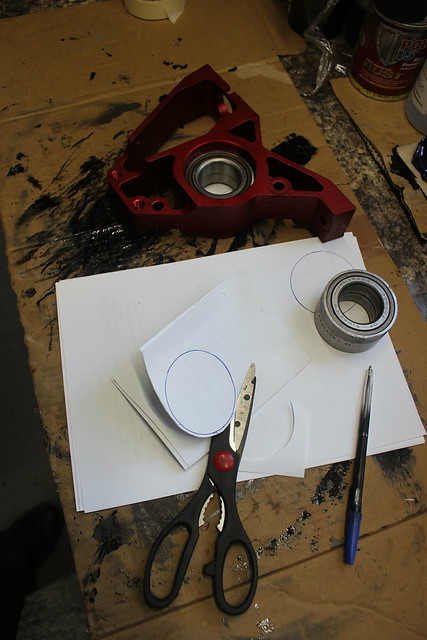
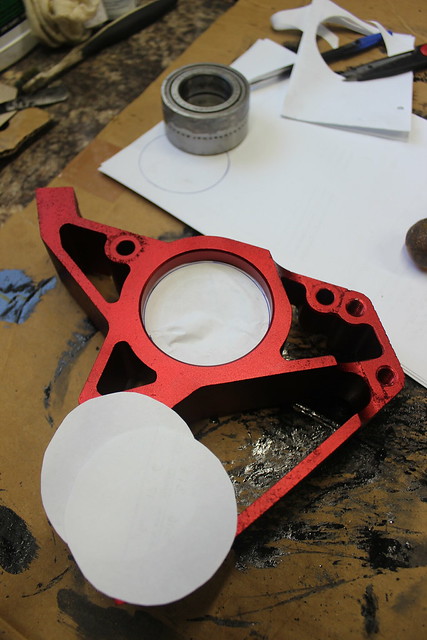
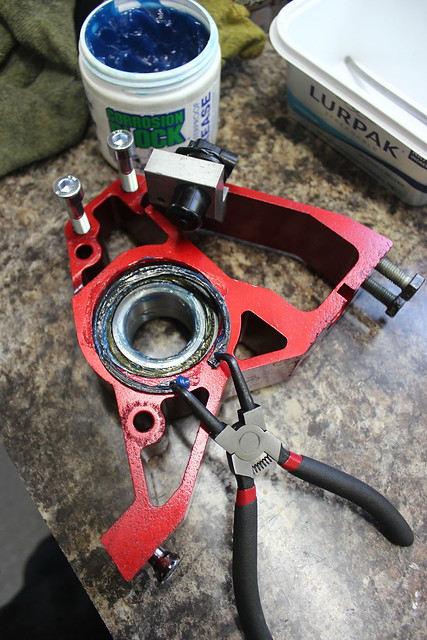
With all the bearings fitted I cut some paper discs to mask the bearings when spraying the POR-15 Top Coat. I cut them slightly larger than the bearing diameter so they would sit where the circlip fits.
Good to go.
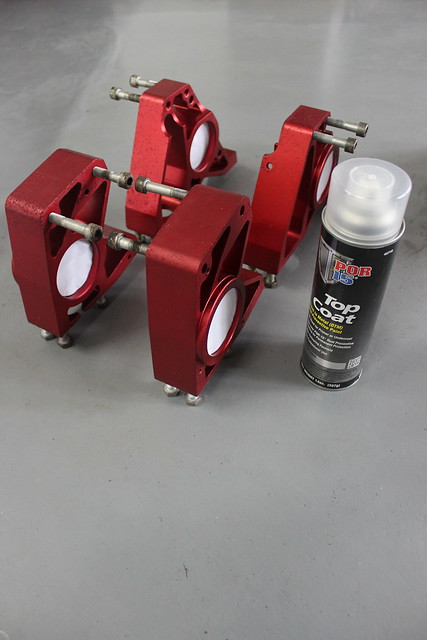
After a few light coats of POR-15 Top Coat.
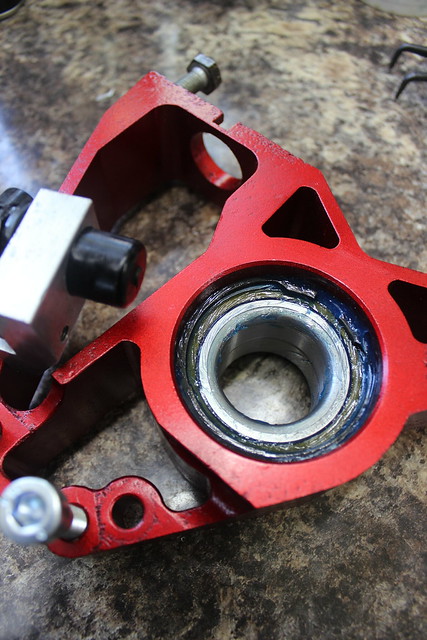
Once the paint had had a few days to harden I fitted the bearing circlips along with some grease to help prevent moisture and dirt getting in.
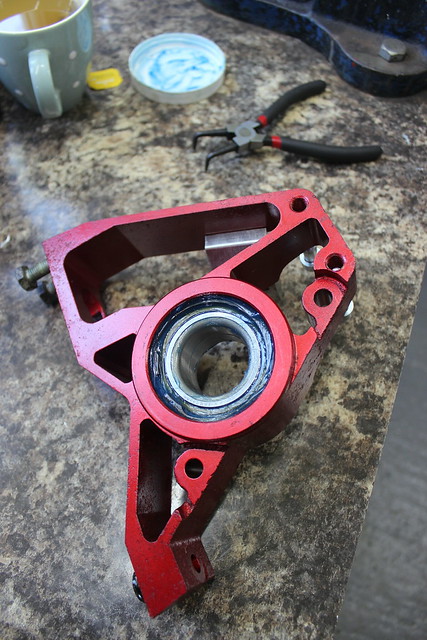
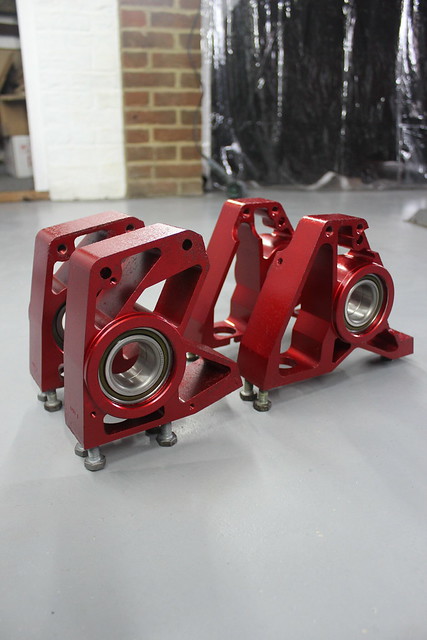
The hub carriers are ready for reassembly now along with a few other parts.
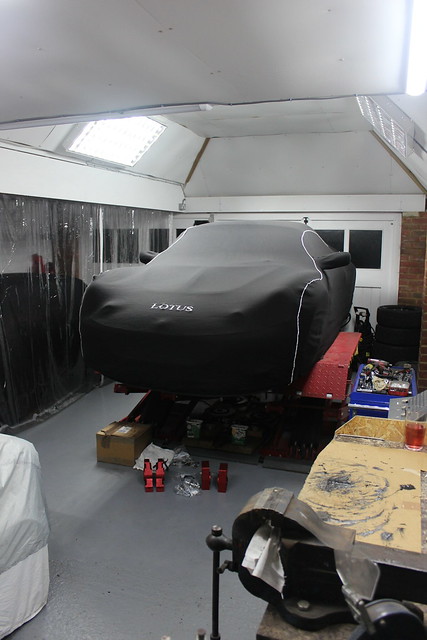
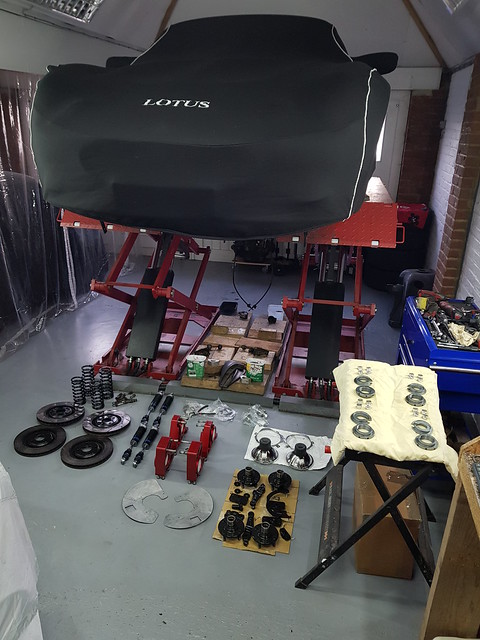
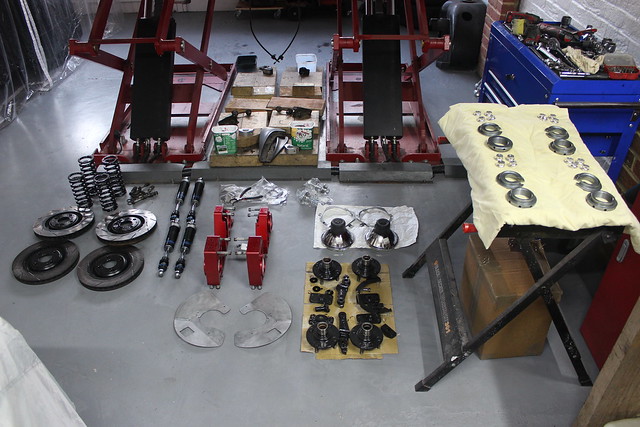
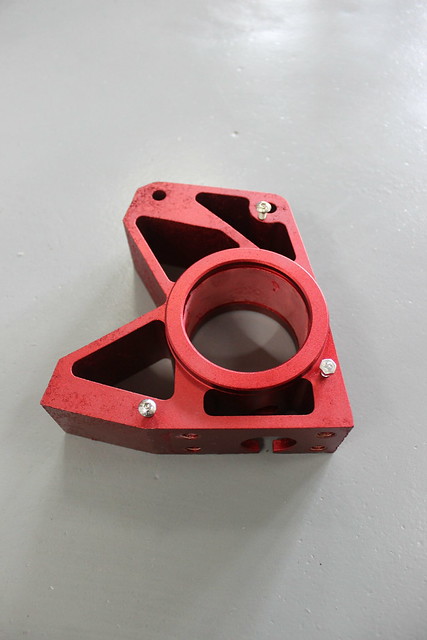
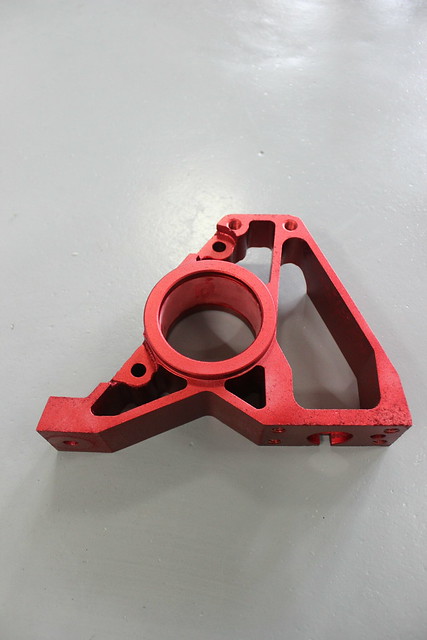
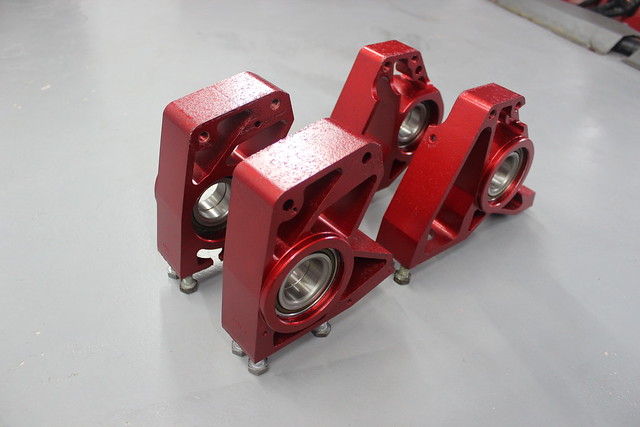
A few pictures I took along the way with parts starting to build up.