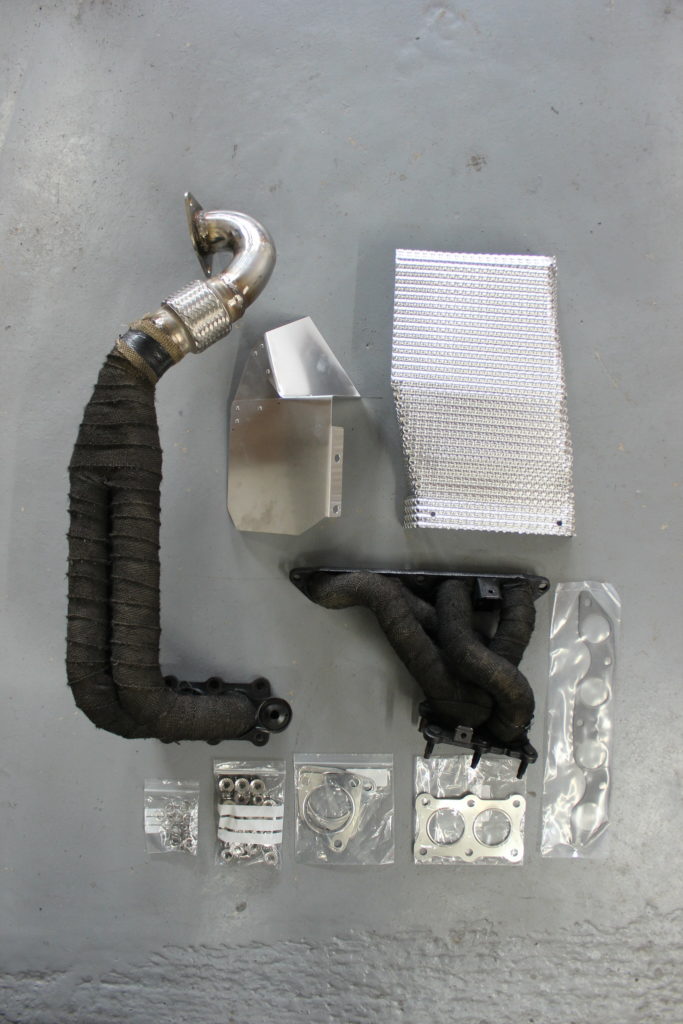
Having test fitted all the parts I fabricated to be sure I was happy with them (see here, here and here). The exhaust, exhaust heat shield and alternator heat shield could all be fitted for the last time with new gaskets and fixings.
Everything ready to fit.

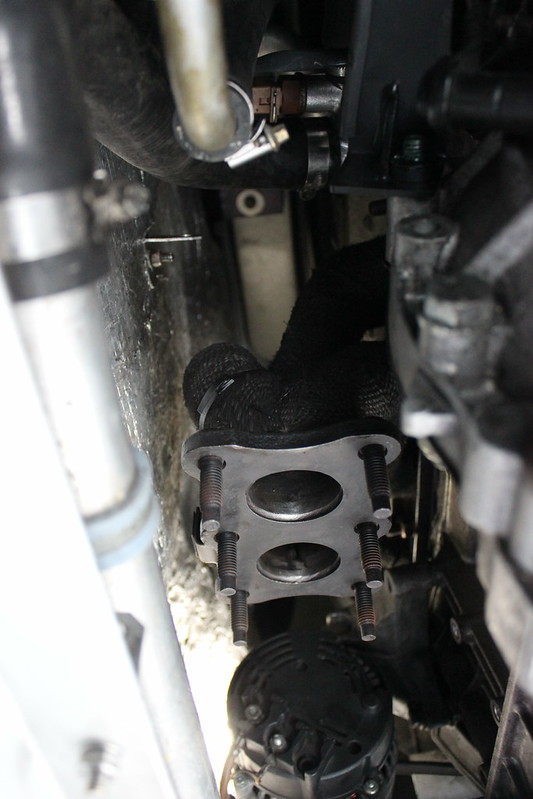
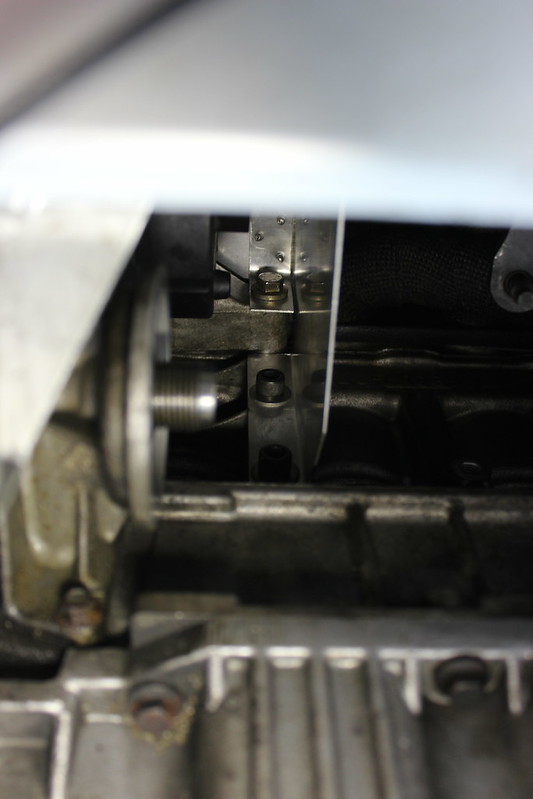
New exhaust manifold gasket in place.


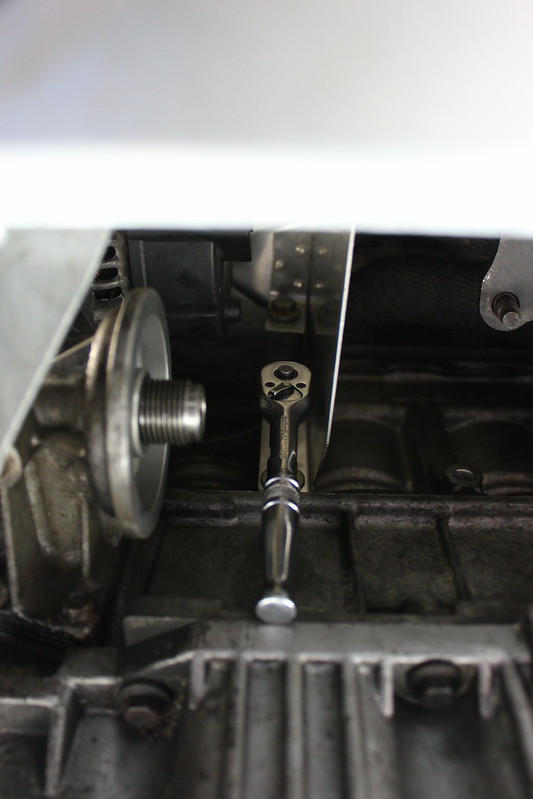
Engine mount undone to allow the engine to be tilted and give a bit more space to fit the manifold up into place.

My breaker bar wedges nicely between the engine mount and sump so I can lever the engine over a bit.
Manifold bolted in place. A mixture of accessing the nuts from above and below was best for this.
Alternator heat shield on next.
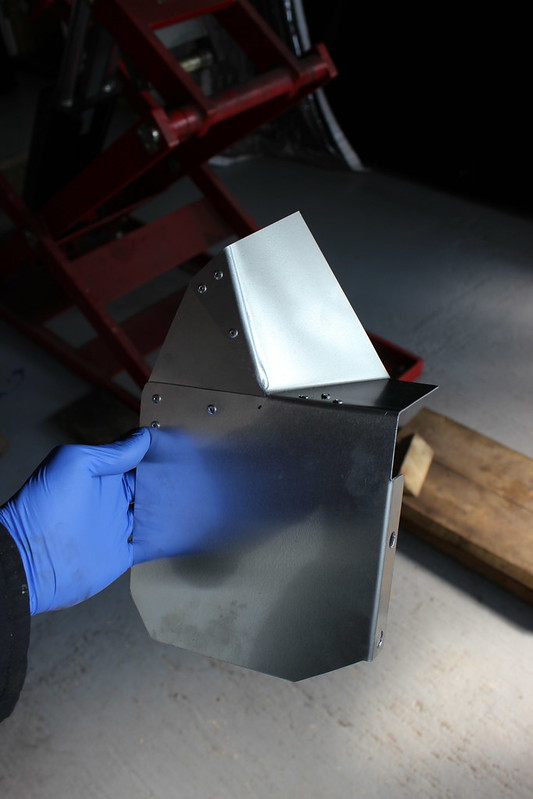
Slightly tricky access to the bolts but not impossible.

Reckon that’ll do the job.

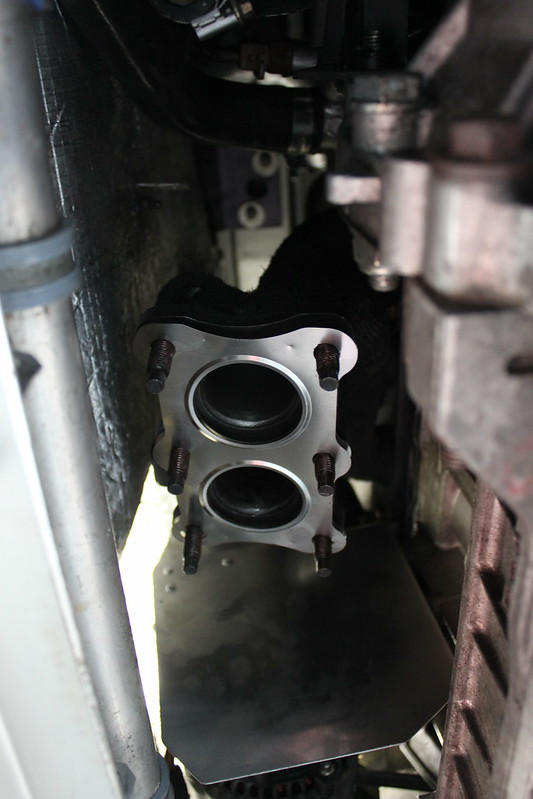
New manifold to downpipe gasket and new nuts.

New oil filter on.

Lambda sensor fitted to the downpipe.

The sensor that was in the original exhaust had been wrecked by someone attempting to remove it before. I had a couple of spare lambda sensors from other K-Series engines so, though I wasn’t sure if they were working or not, I fitted one just to try. The next job on my list was to sort out a lead etc for reading the ECU so I could check if the sensor was working or not and get a new one ordered if need be.
Downpipe fitted up and tightening up the nuts with various combinations of extensions.

At this point I put some fresh oil in the engine and ran it so I could go round all the joins and check for any leaks. I could also check that my welds weren’t leaking at all. This is why I’d not yet fitted a proper tie to the last bit of exhaust wrap.

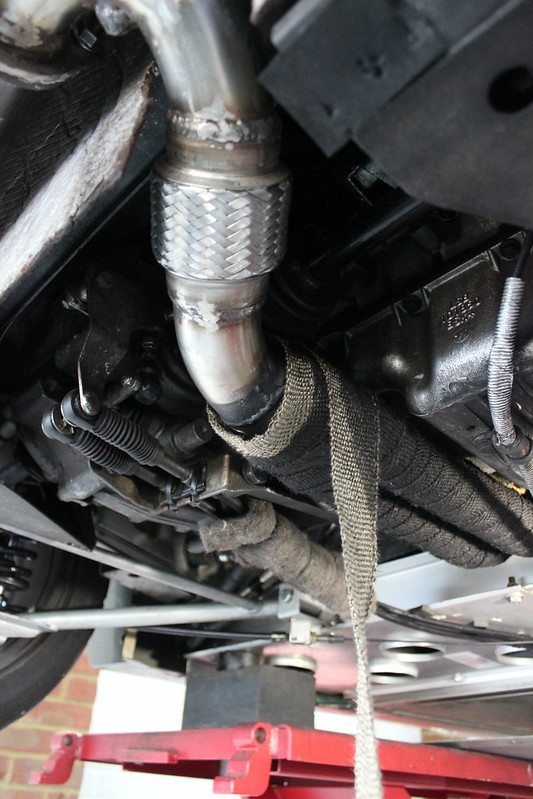
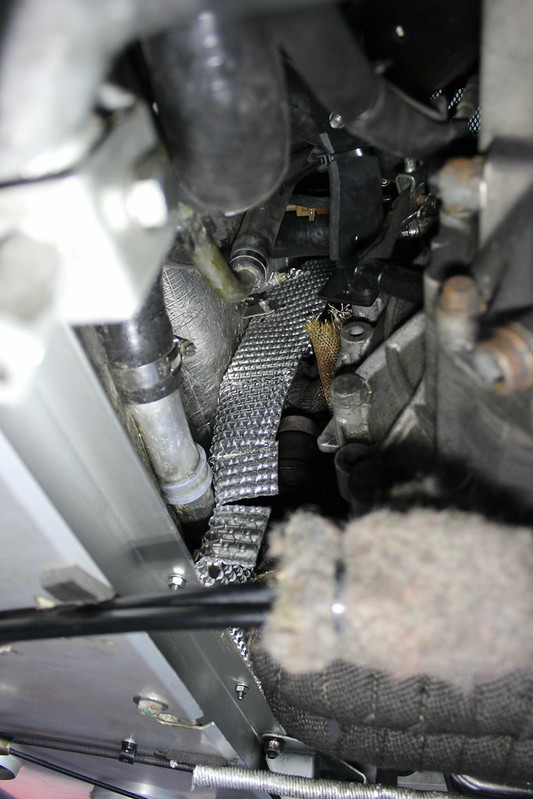
No leaks found so I finished the exhaust wrap properly.


I let the engine run for a while to get the exhaust hot.
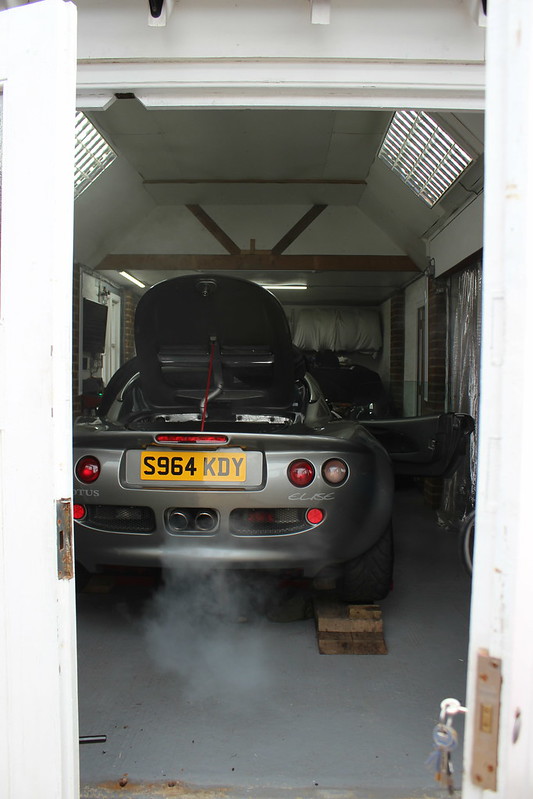
Lots of smoke from the heat wrap and paint.
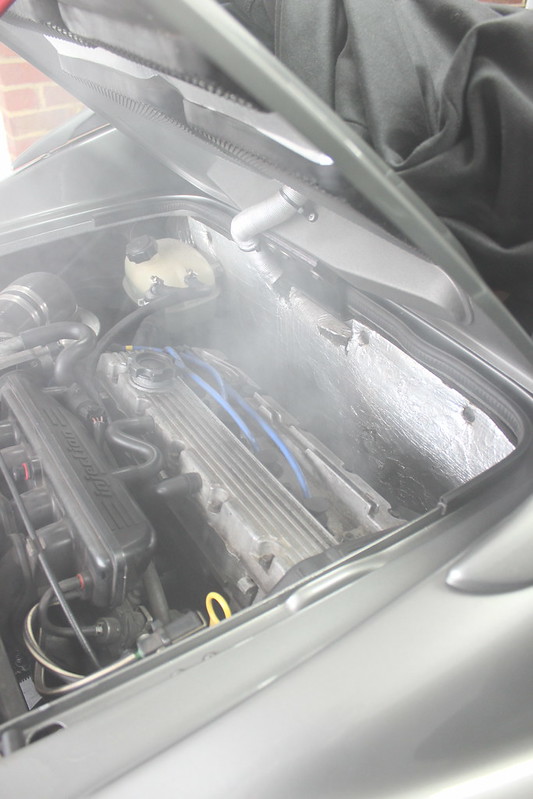
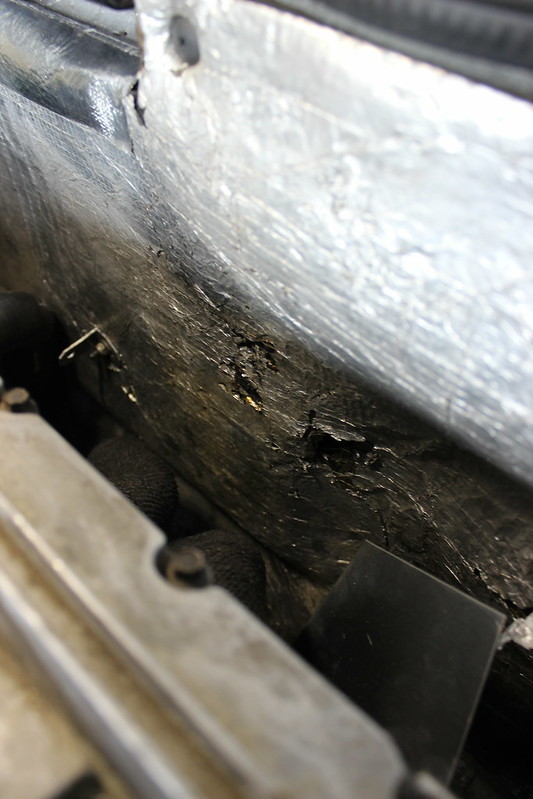
I’d noticed the reflective layer on the bulkhead insulation was looking a bit tired in places so I ordered some silver reflective heat tape to recover a few places.


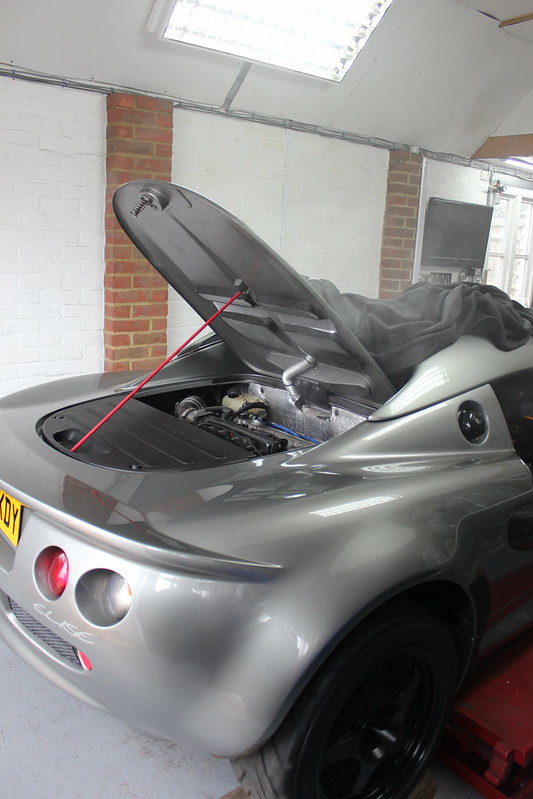
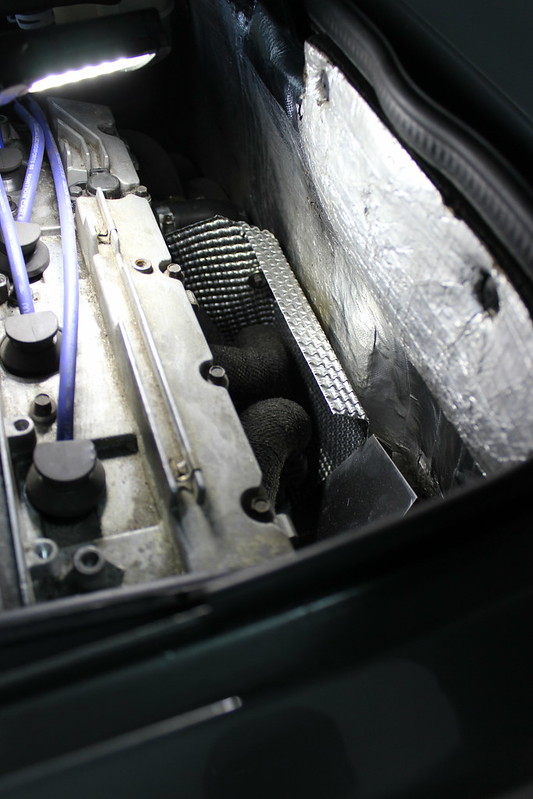
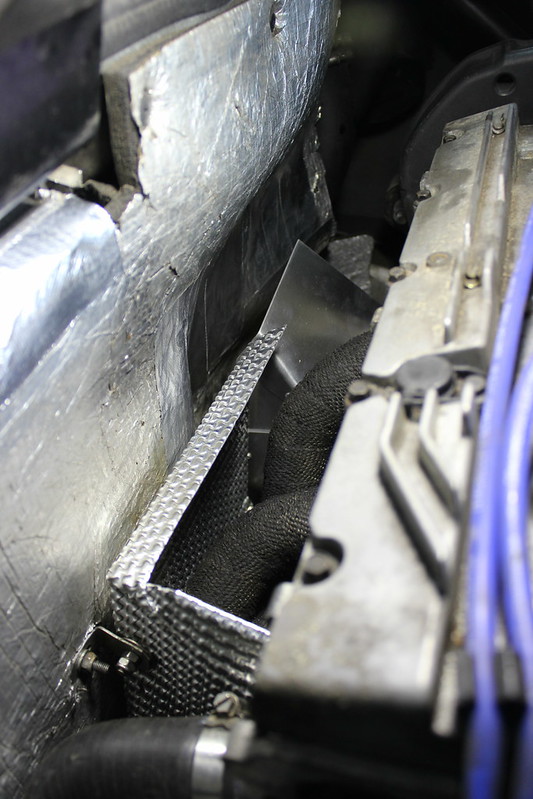
Now the Nimbus exhaust heat shield I made can go in. It fits in from above. I had already checked this in my test fitting plus this is the way the original one came out.


Heat shield slotted down and bolted into place.


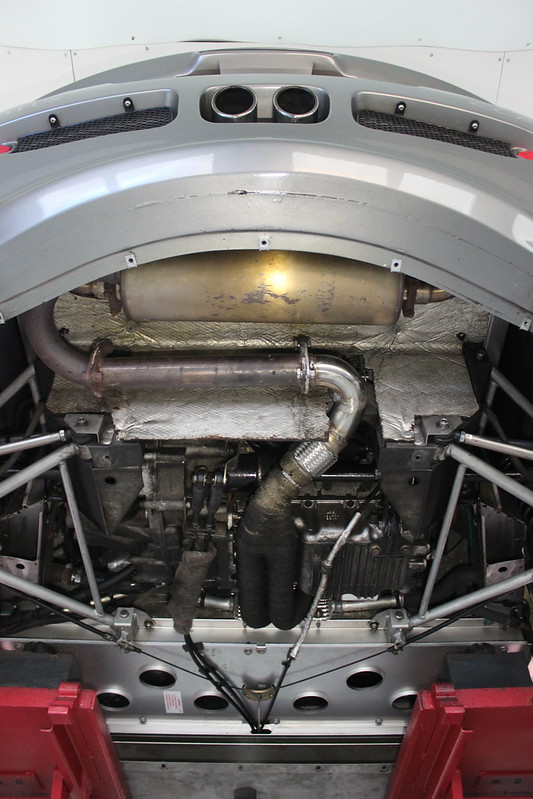

So that’s that project done. The exhaust join at the manifold to downpipe will surely be less prone to leaking now, the different downpipe design should be slightly better flow, not that I really expect to notice to be honest. And the alternator will be much better protected against being fried by heat from the exhaust. Best of all there should be much less heat off the exhaust getting to me when I’m driving. As I right this it’s now the end of the summer and I can say on the hottest days of this summer I didn’t get nearly as hot when driving as I did last summer so I’m very happy it was worth all the effort. 🙂