There are plenty of Elises out there that get used all year round but mine won’t be one of them, at least during my ownership it wont. This particular Series 1 Elise is a very tidy example and I intend to keep it that way. Unfortunately the state of UK roads in winter and the salt used when it’s icy just makes a mess of the underside of cars so it’s best to keep the Elise clean and dry in the garage over winter. Also, in my opinion, the Elise just isn’t the tool for the job of getting around winter roads in my area. Something with some nice low end torque, all wheel drive, a proper heater, screen demister and relative comfort compared to the Elise is what’s required, which is why I have the Forester STI.
Before I parked the Elise up for winter there were a few things that needed doing to prepare it. Starting with a good clean.

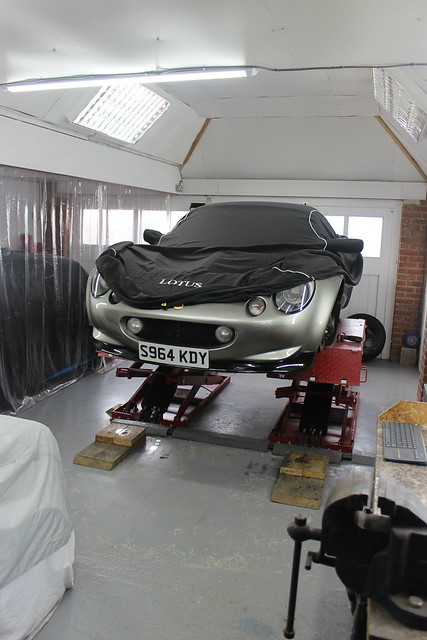
That includes a clean of the underside. So up in the air.

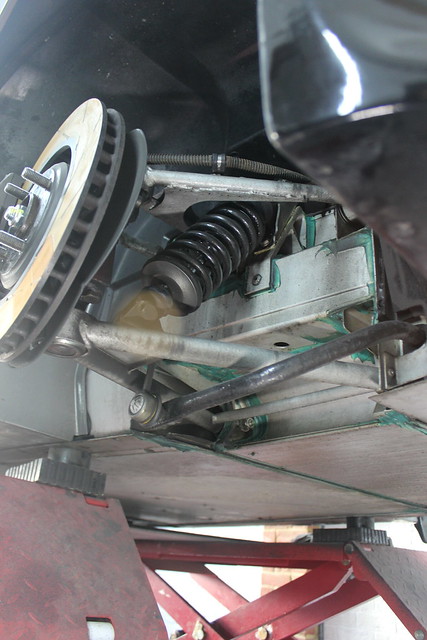
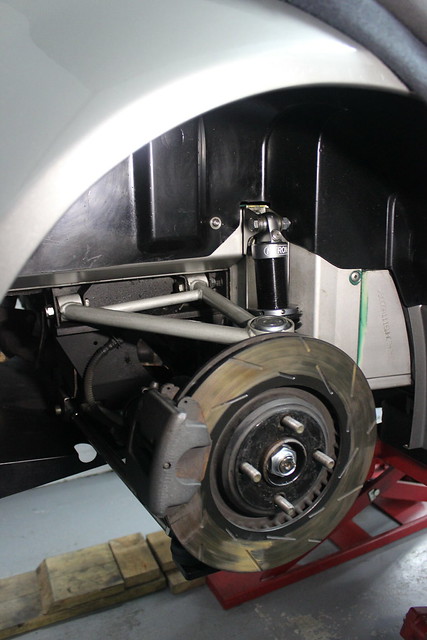
Before removing the wheels I took the opportunity to give everything a wiggle and general inspection. There really shouldn’t be any problems, having just done a complete suspension refresh in spring, but it’s good to check and make sure everything is as tip top as I would expect.
Wheels off next to get a closer look at everything and allow access to as much as possible for a quick wipe down.

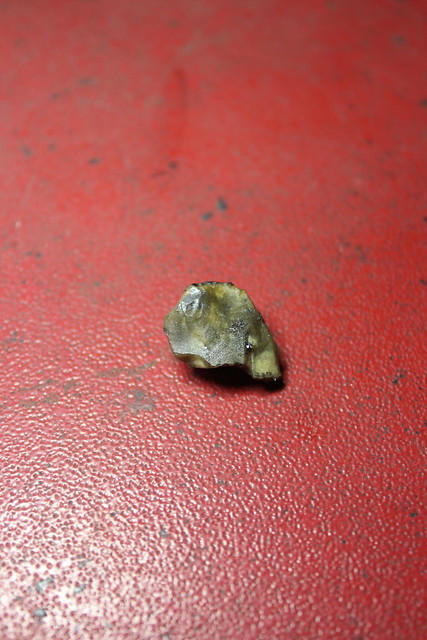
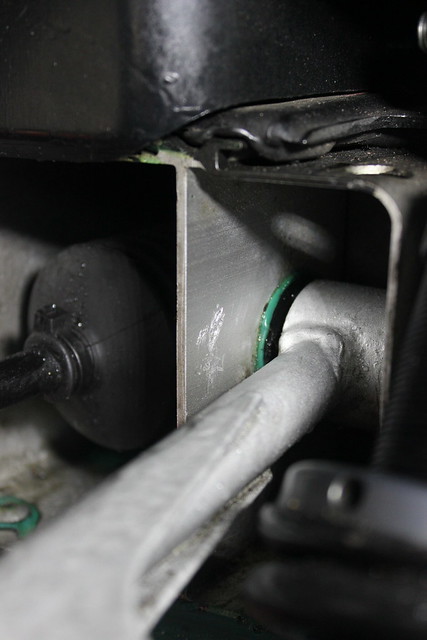
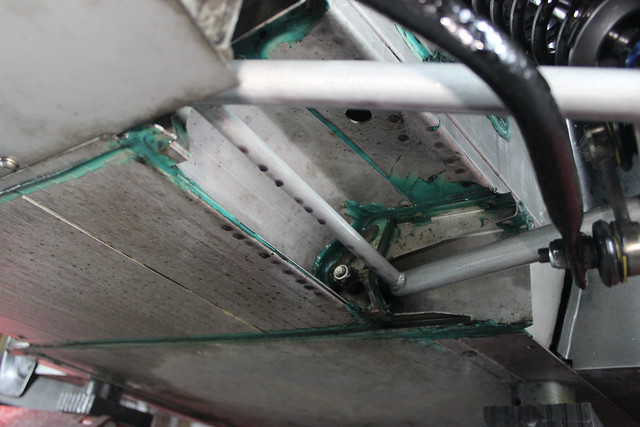
Straight away I found something. A piece of gravel stuck between the top wishbone and chassis that had damaged the paint on the wishbone and marked the chassis. Very annoying as it was all very tidy but pleased I found it before it could do any real damage and there’s nothing I could have done to stop it.


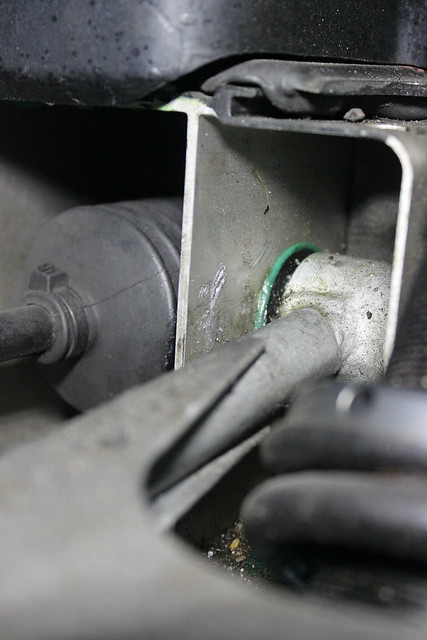
After removing the stone I cleaned and prepared the area of damaged paint on the wishbone and repainted it with some of the silver POR-15 I had left over. This is one of the advantages of having painted the wishbones myself as repairing the paint finish with little issues like this is easy. I also cleaned the little area of surface damage on the chassis and applied some silver POR-15 as clearly the anodising will have been damaged.

Not pretty but better that it’s got a layer of protection back on it than not.

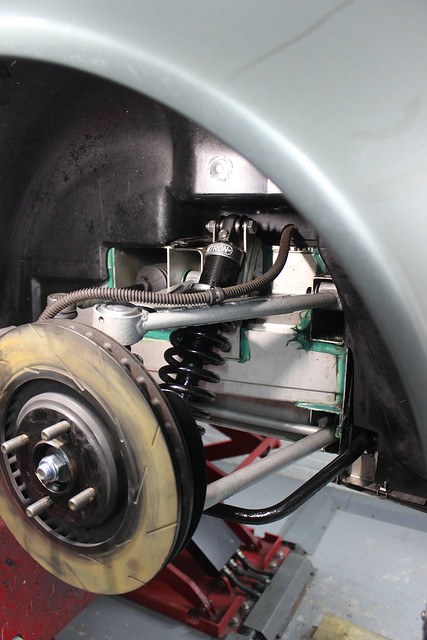
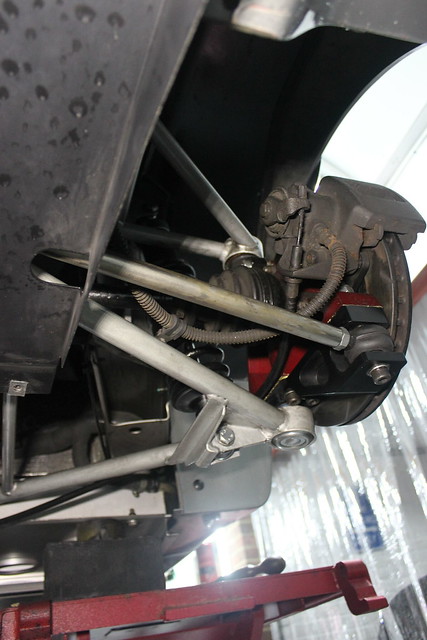
After completing the suspension refresh I sprayed a layer of ACF-50 over pretty much everything underneath as an additional layer of protection. A down side of this is that brake dust and general road dirt then tends to stick to it so everything gets grubby quick quickly.


The good thing though is that it can be wiped clean very easily with a cloth and a few squirts of WD40 to help remove any of the the more stuck on grime.
Everything cleaned up quite well after a quick wipe.


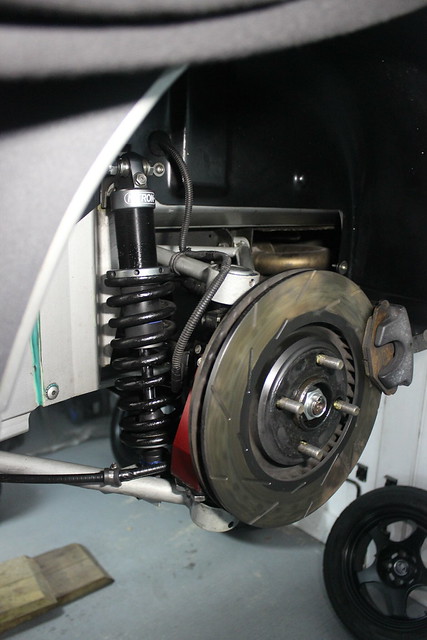

I also removed quite a few stones and debris from various places.

Lastly I went over everything with a layer of ACF-50…..

…..and left the excess to drip off overnight.
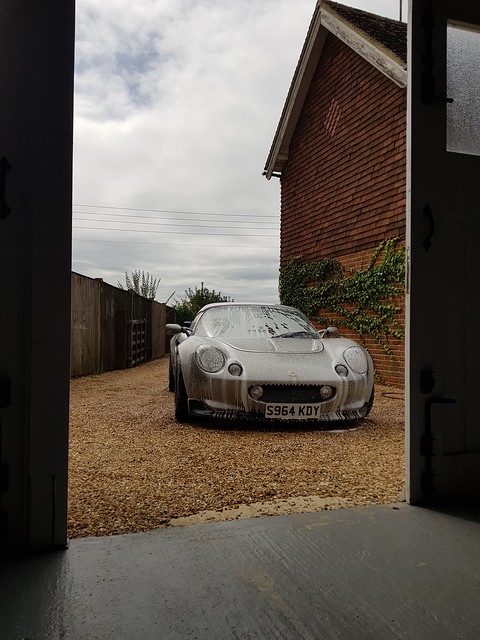
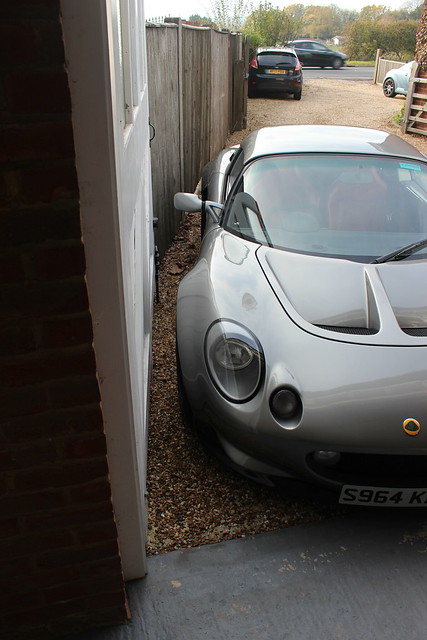
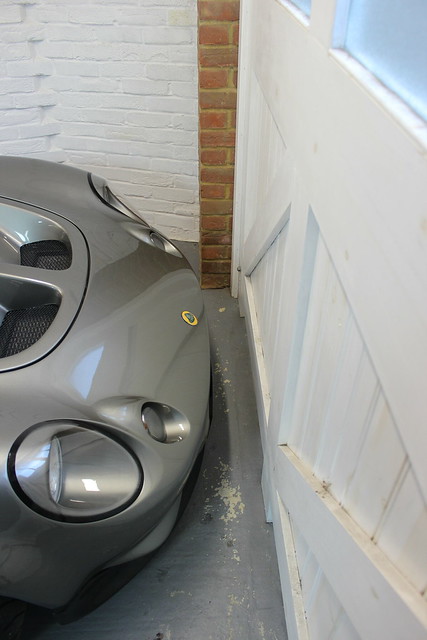
I wanted to get stuck into some bodywork restoration on Jem’s Mini so I would need it to be on the lift over winter as it was likely to be a long job. If I was going to be doing that then the Elise would have to fit in the Mini’s space which I’d never tested out before. From measurements it was clear the Elise would fit in the space but what I wasn’t sure about is how easily or if at all it would get through the door as the angle of the fence means the car has to approach from an angle.
With the help of Jem and my brother as a couple of pairs of eyes to make sure I didn’t hit anything we tried forwards first.
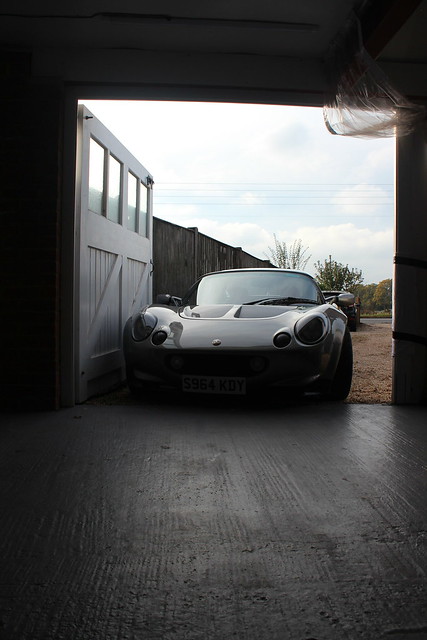


It went in quite easily in the end. The only problem was it was quite far over towards the main working area around the lift.
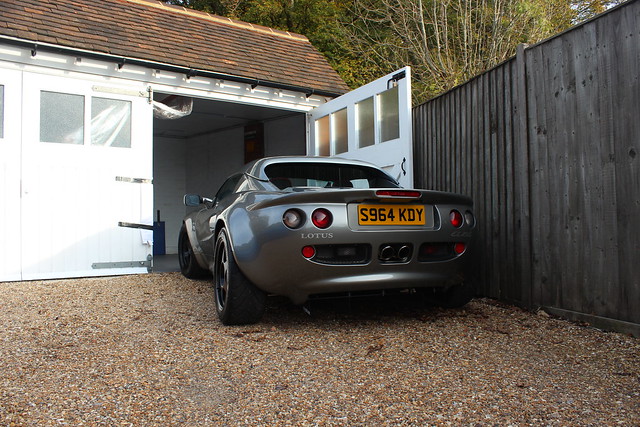
It wasn’t too bad but I thought I might be able to get the Elise further over if I reversed it in. So we gave that a go.


This was also not too much trouble and the Elise ended up a decent amount further over so plenty of working room around the lift.
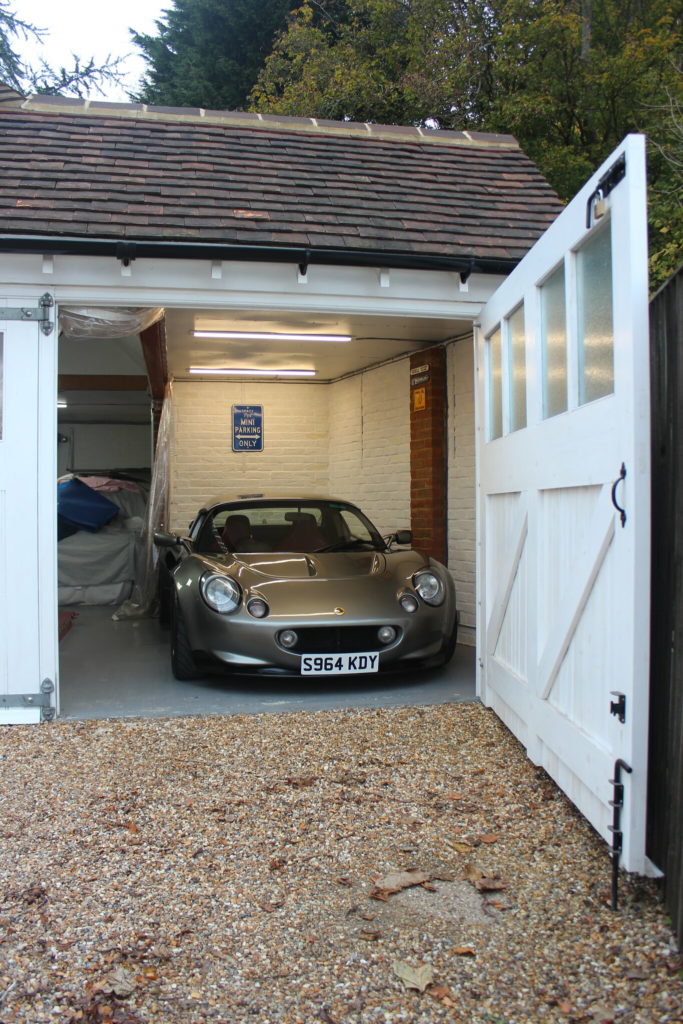
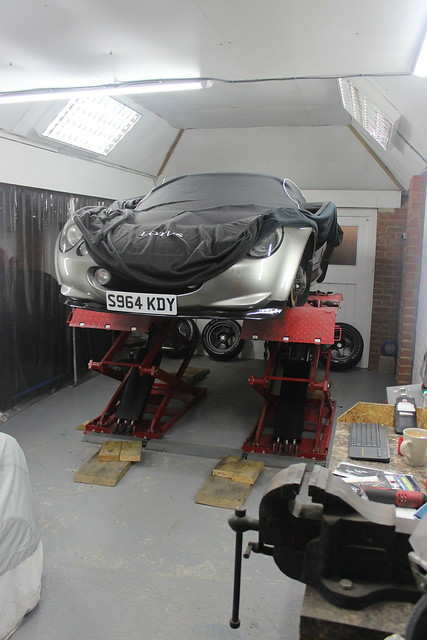
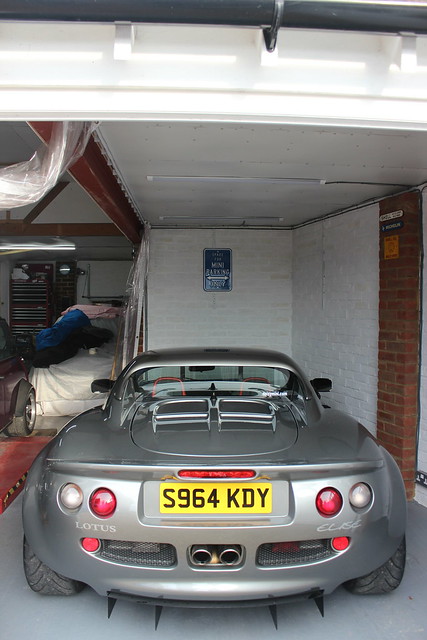
I actually fits in the ‘Mini Parking Only’ space quite well.

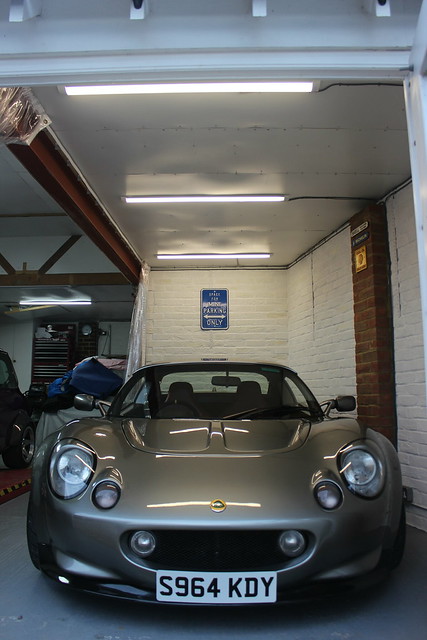

It’s a fairly tight fit but it fits.


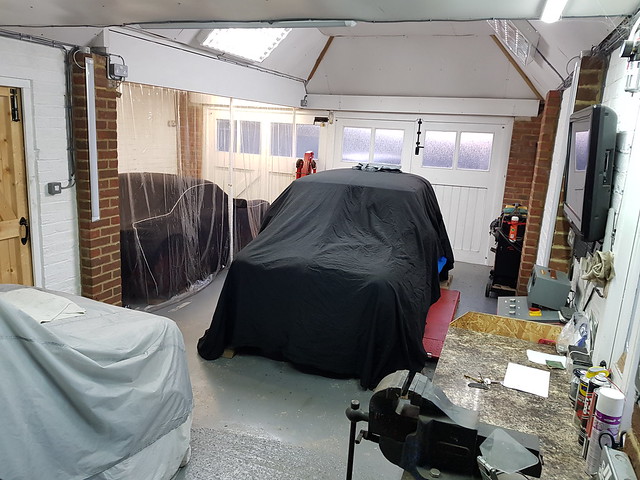
So this is where it would spend winter, clean and dry, separated from the serious mess I was about the make on the other side of the garage.

I did a couple of other things as part of the Elise’s winter storage. One was to fill the fuel tank up, this is in theory to prevent any moisture condensing in the exposed area of the steel tank causing it to rust. The other was to over inflate the tyres to about 45psi to prevent flat spotting the tyres.
Now I had no excuses to avoid dealing with the tin worm in the rear of Jem’s Mini, I was going to have to start cutting it to bits.