
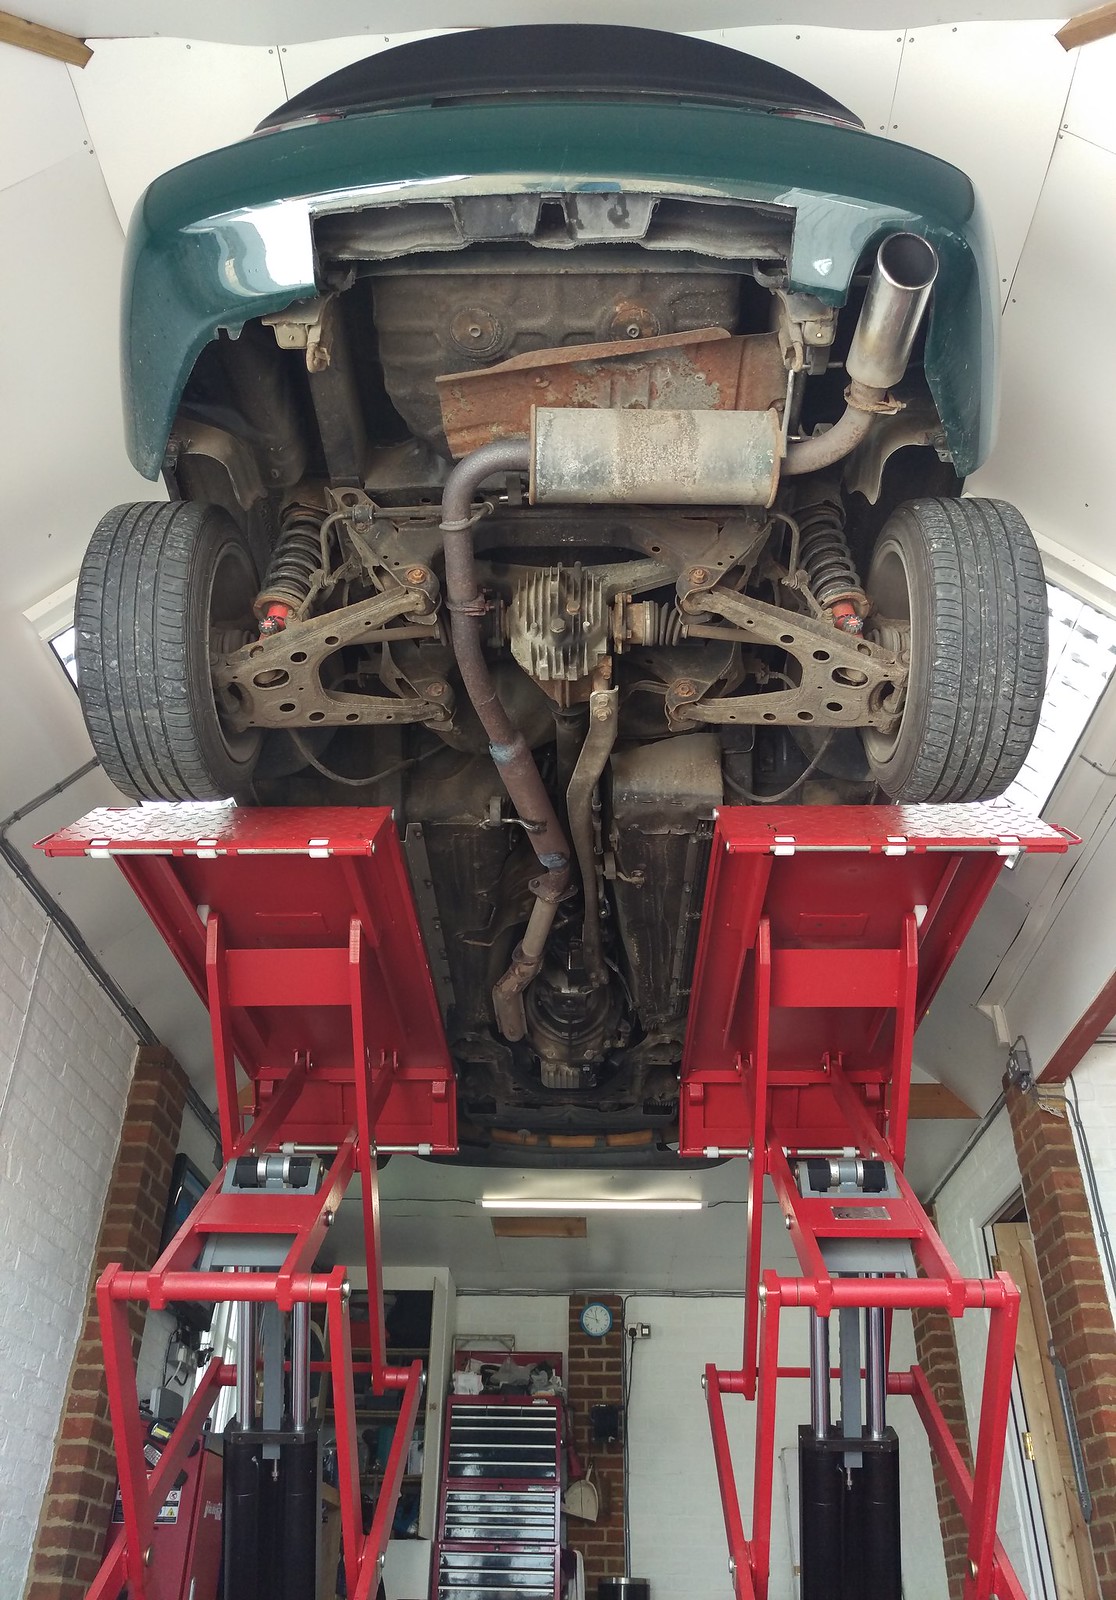
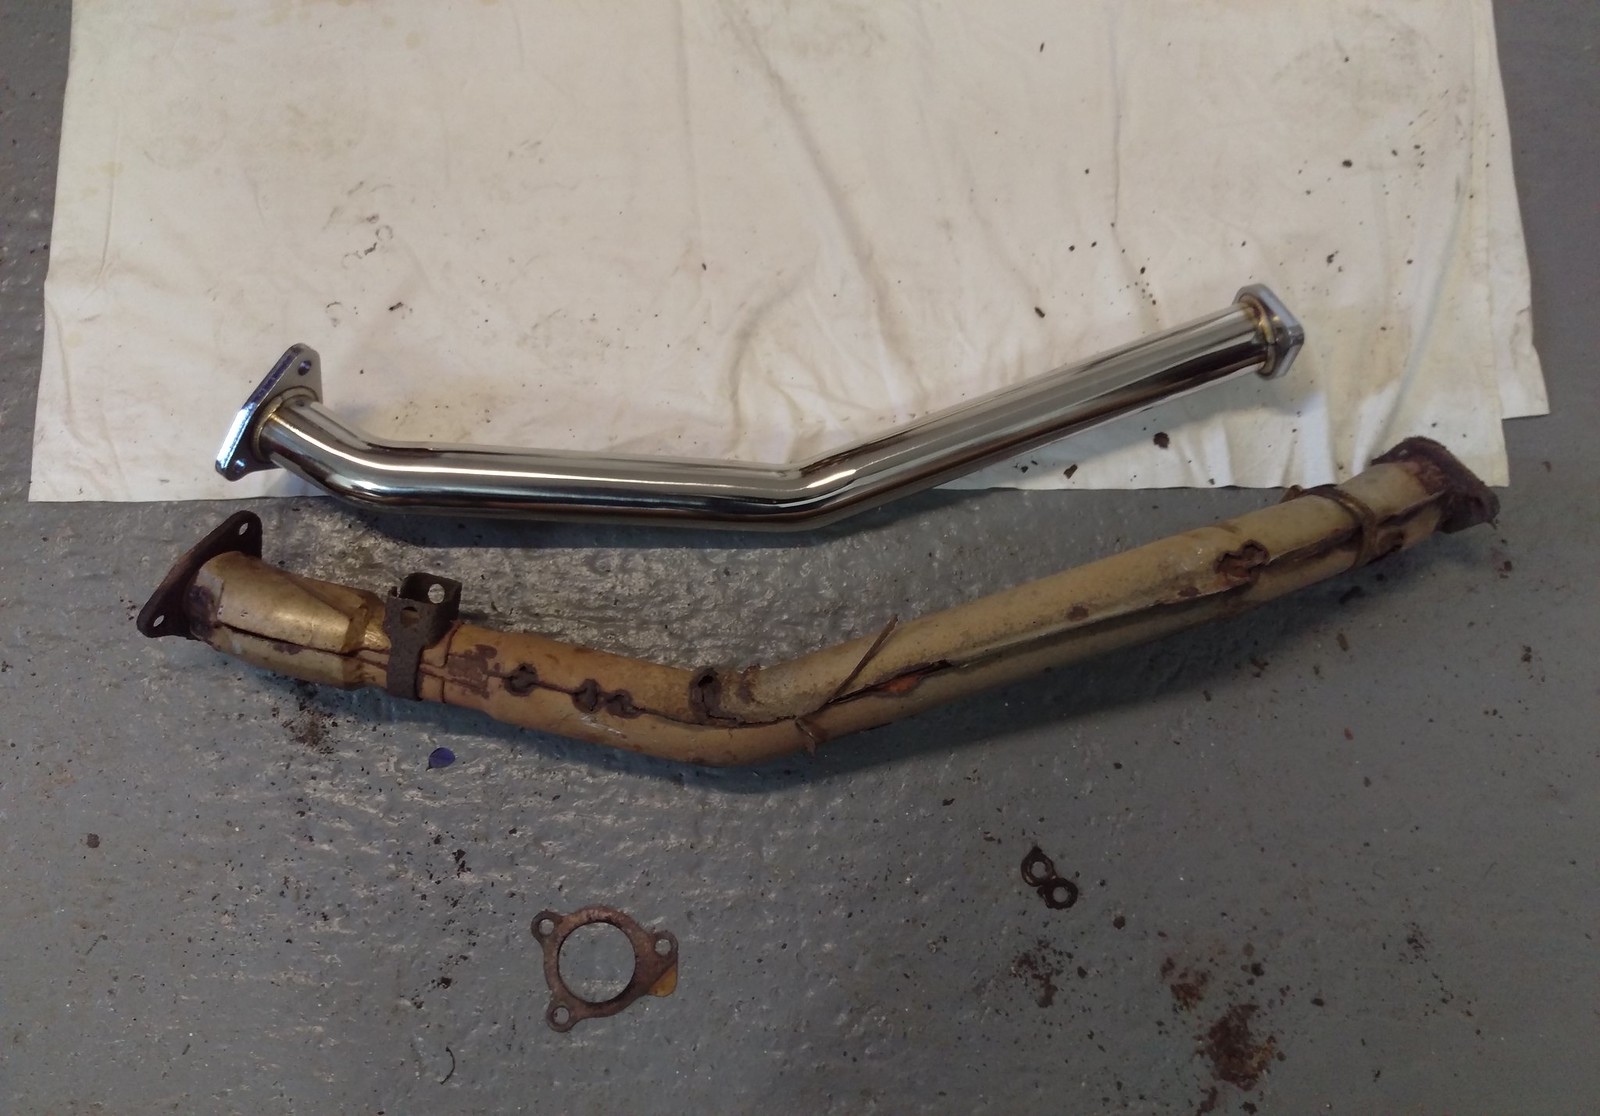
The exhaust was not the greatest when we bought the MX5. It consisted of the standard manifold, standard down pipe, some kind of bodged de-cat pipe and a mild steel cat back system that I think was just a cheap pattern replacement part. When we first got the car I did a bit of reshaping of the exhaust to get it to fit better and stop hitting the drive flange. Then, when I fitted the wideband lambda, I fitted a proper de-cat pipe at the same time. The one thing the exhaust did have going for it was it sounded quite good, without being too loud. So I patched it up a couple of times mostly to fix damage from speed bumps catching the underside and rust making things worse.
Well I heard it leaking again the other day so I gave it a quick look and quickly declared it was beyond rescuing anymore. Rust had finished it off.
So I got straight on eBay, obviously! Found a few cheap stainless options there then checked out what the main MX5 parts suppliers could offer. After doing a little bit of research on some of the cheap Chinese eBay options I decided to take a chance on a T304 Stainless, manifold back, Chinese system from the eBay seller uk-performance-uk. The total cost was £200 which is a very decent price for a stainless steel system from the Manifold back including a de-cat pipe, center silencer and good sized rear silencer. Even if it wasn’t a perfect fit, at that price, I’d be happy enough to make it fit.
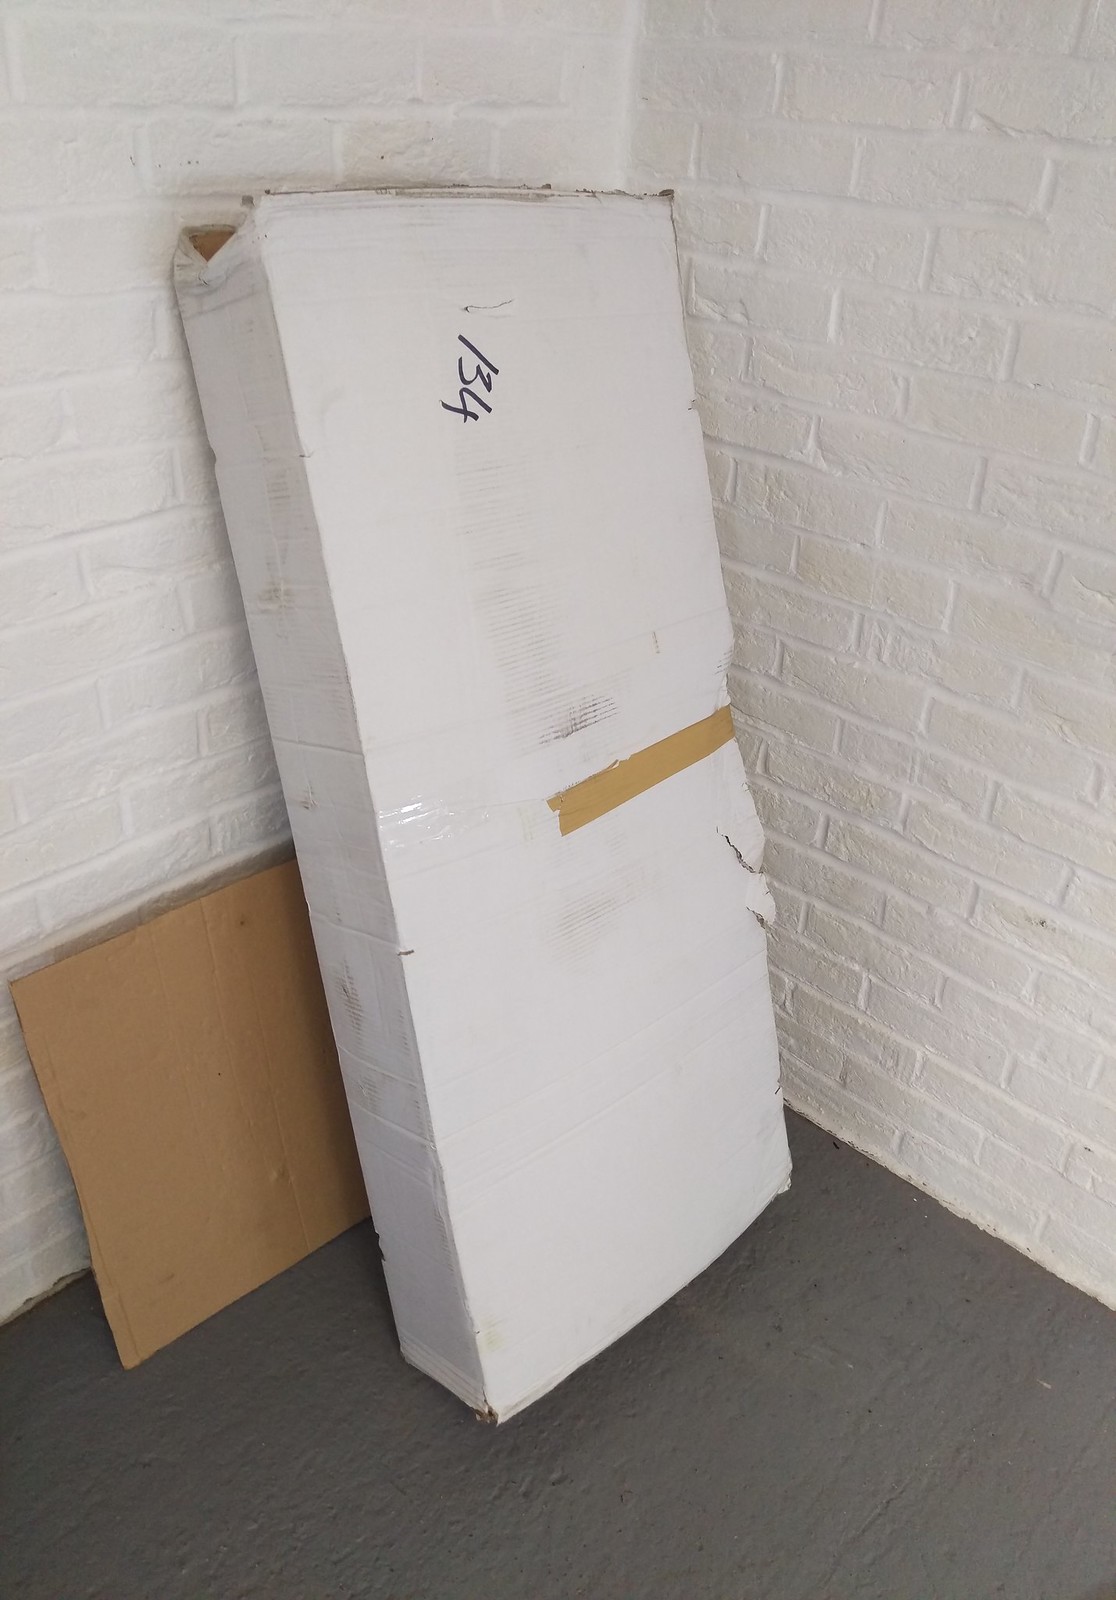
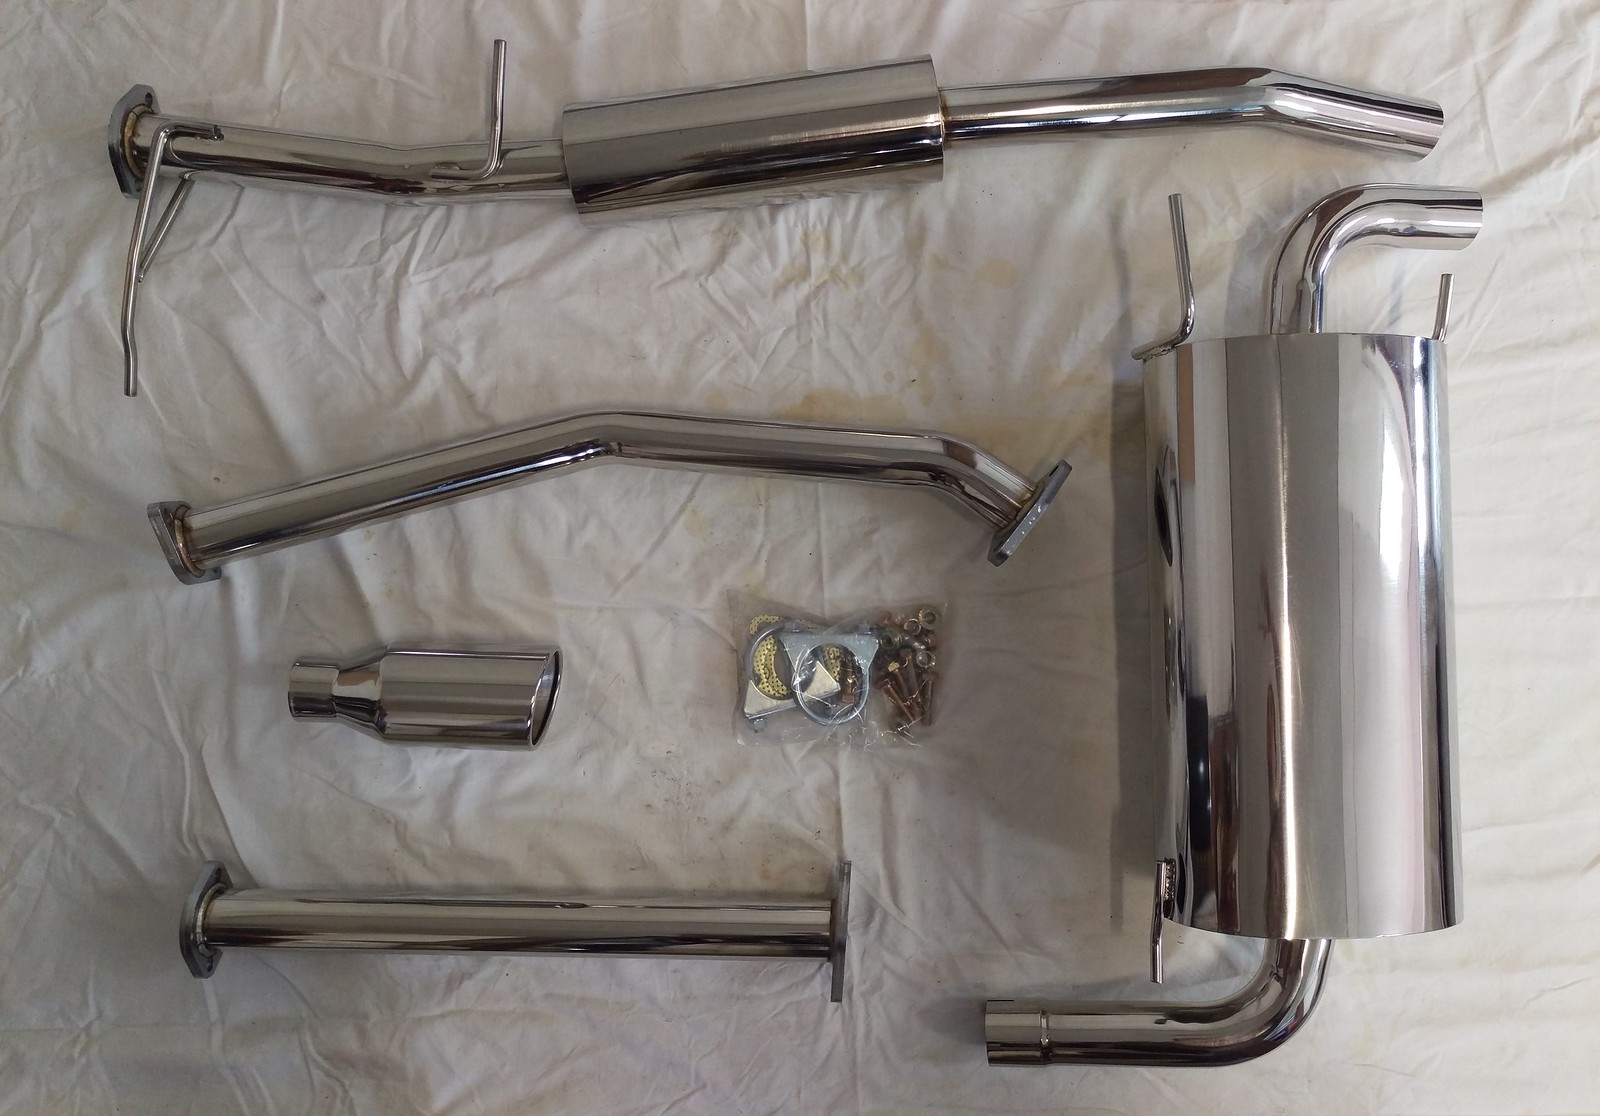
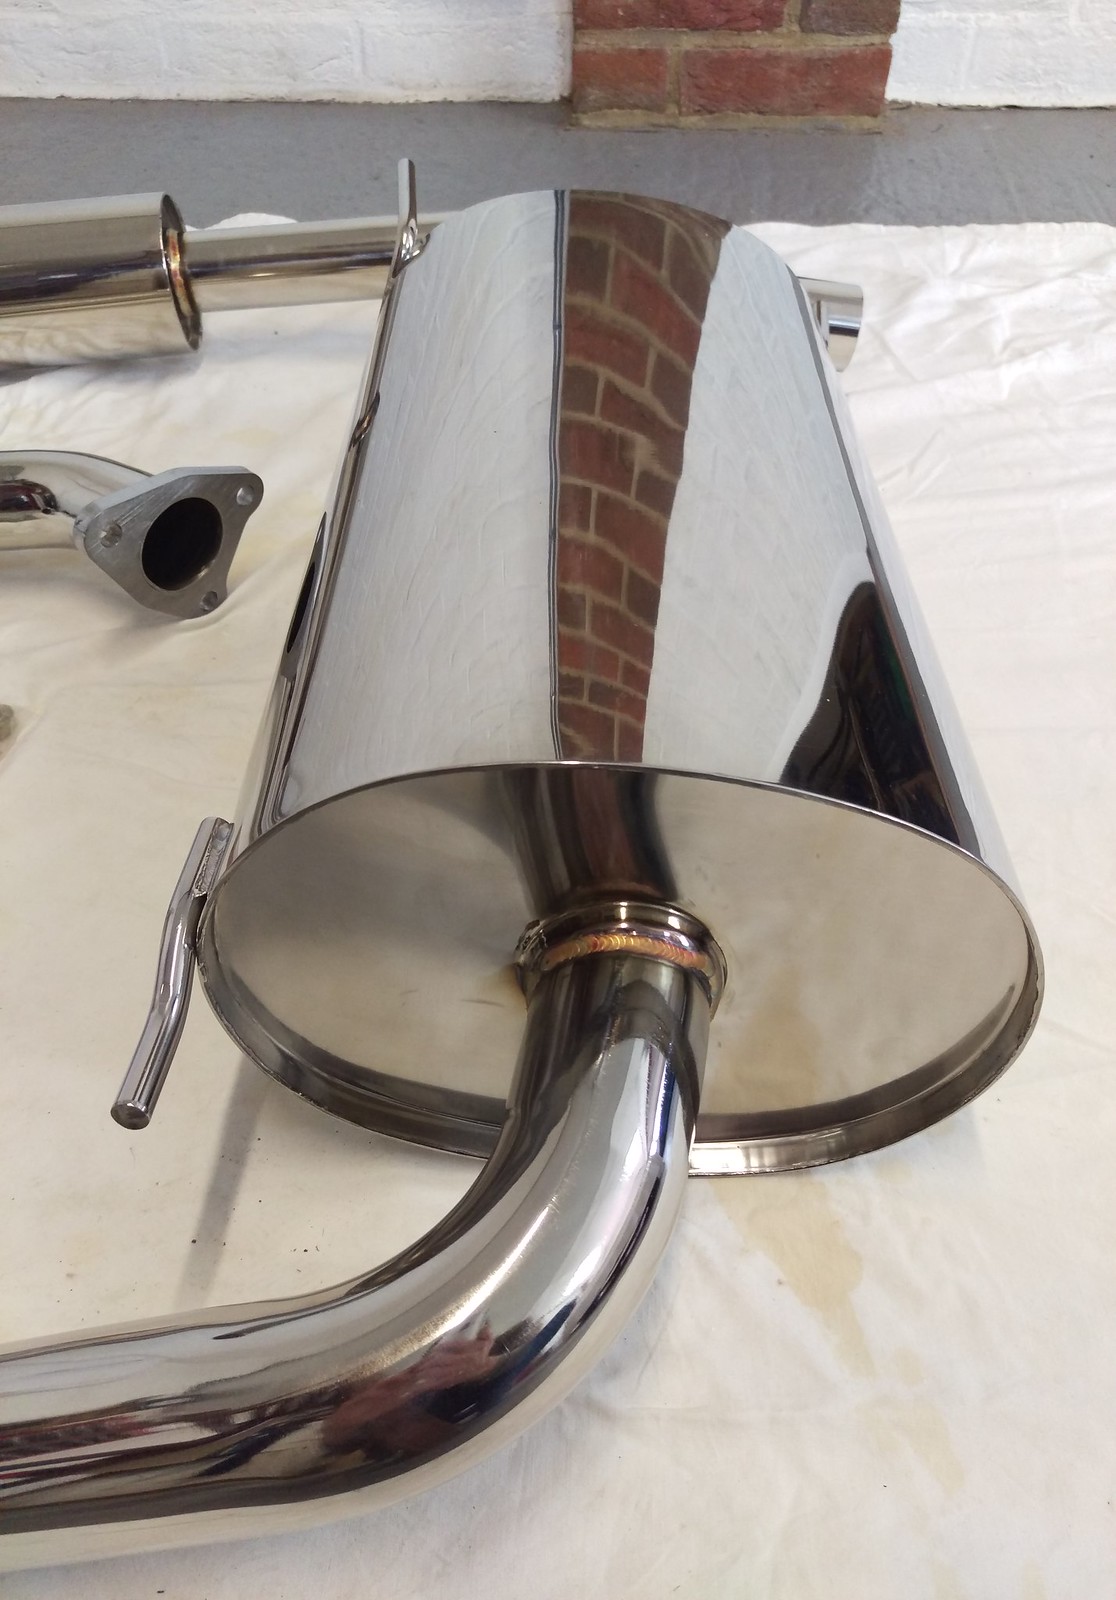
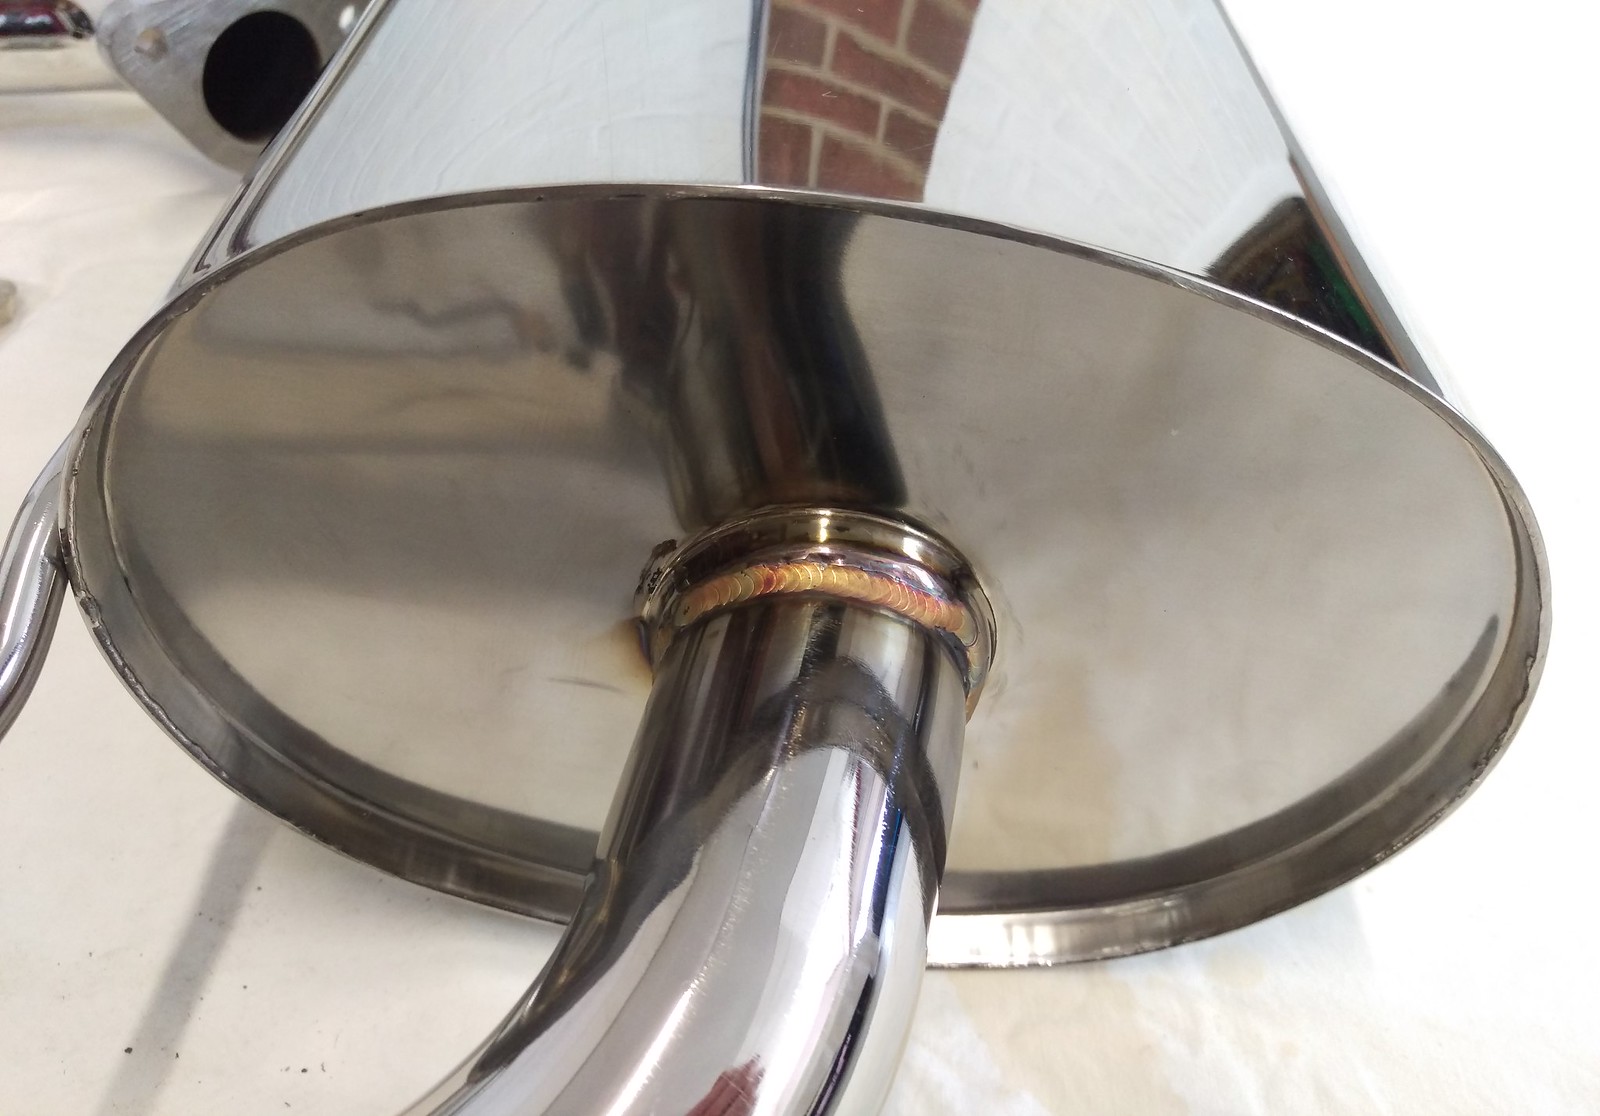
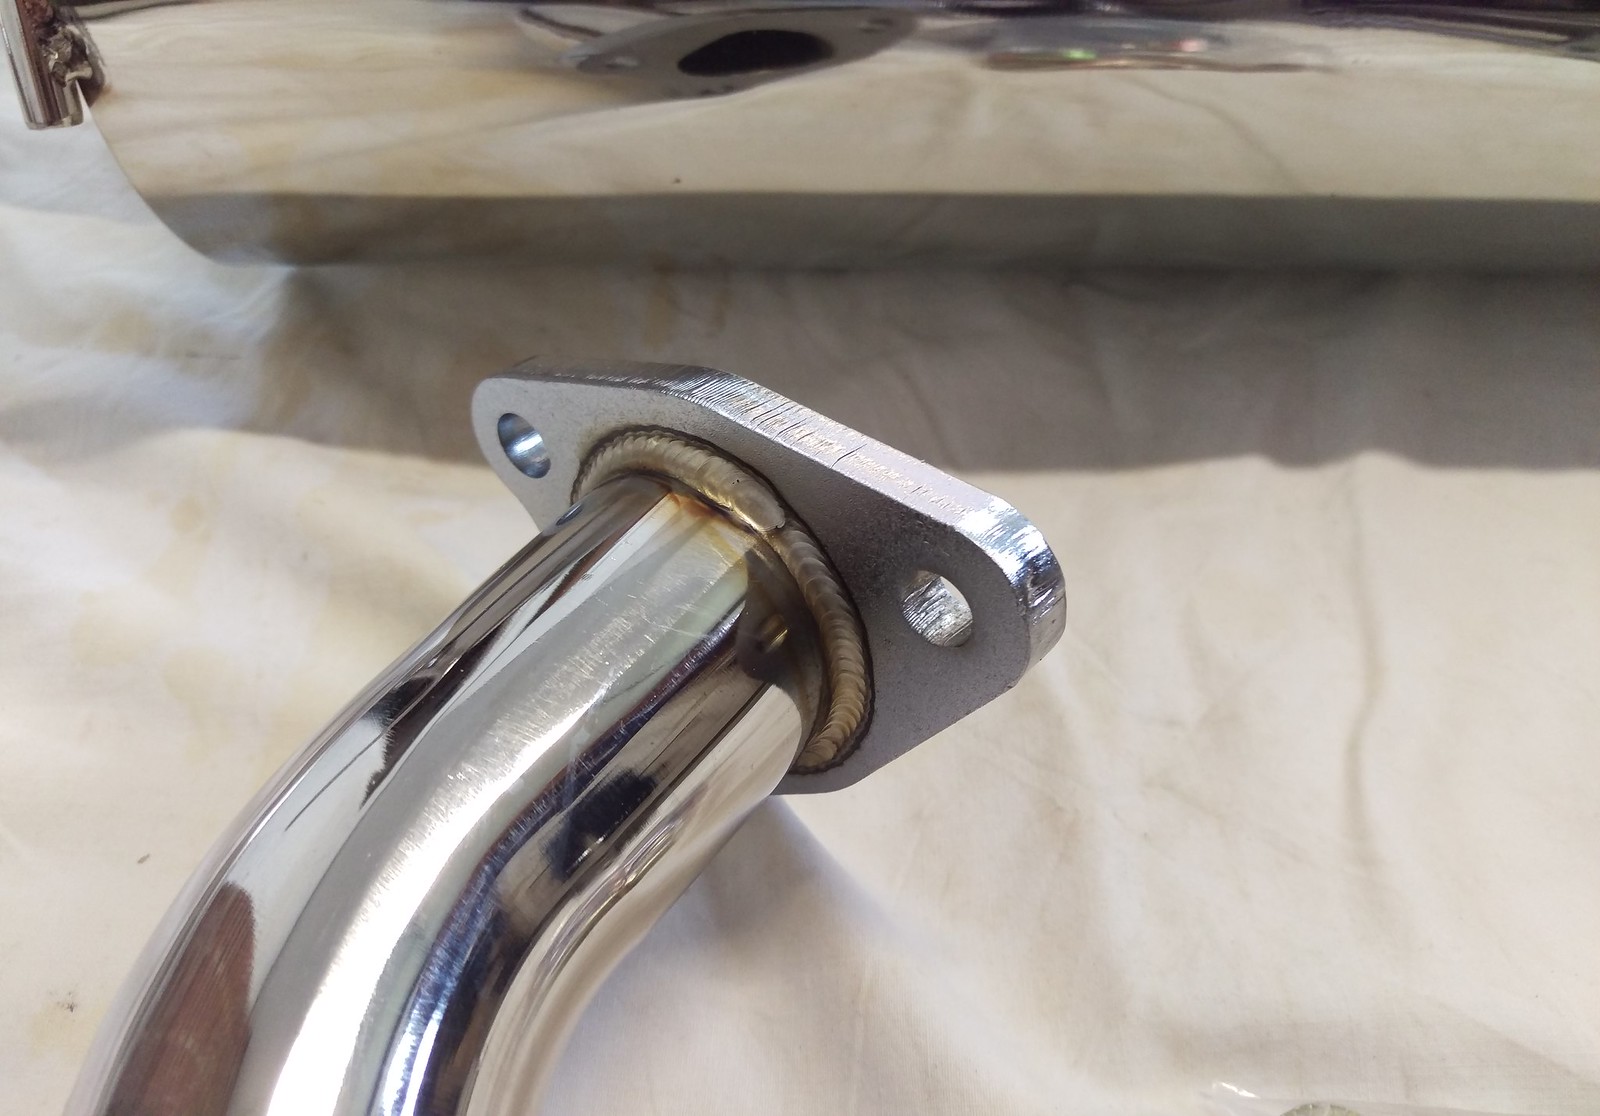
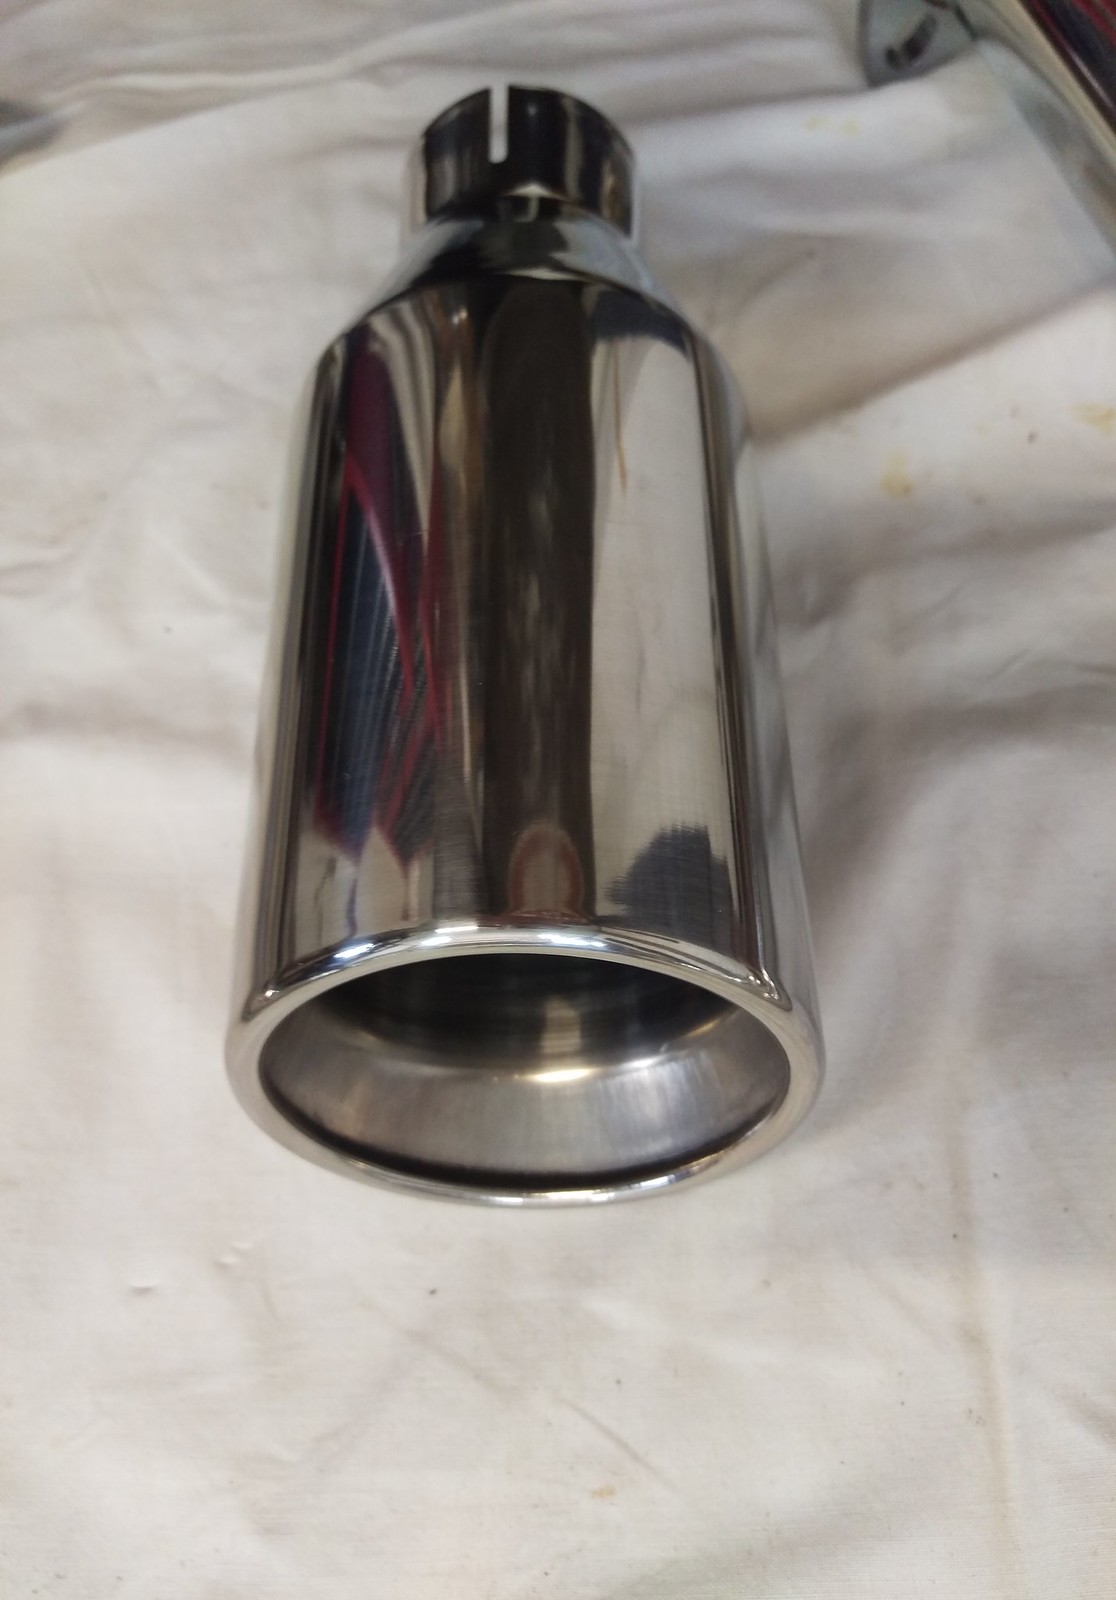
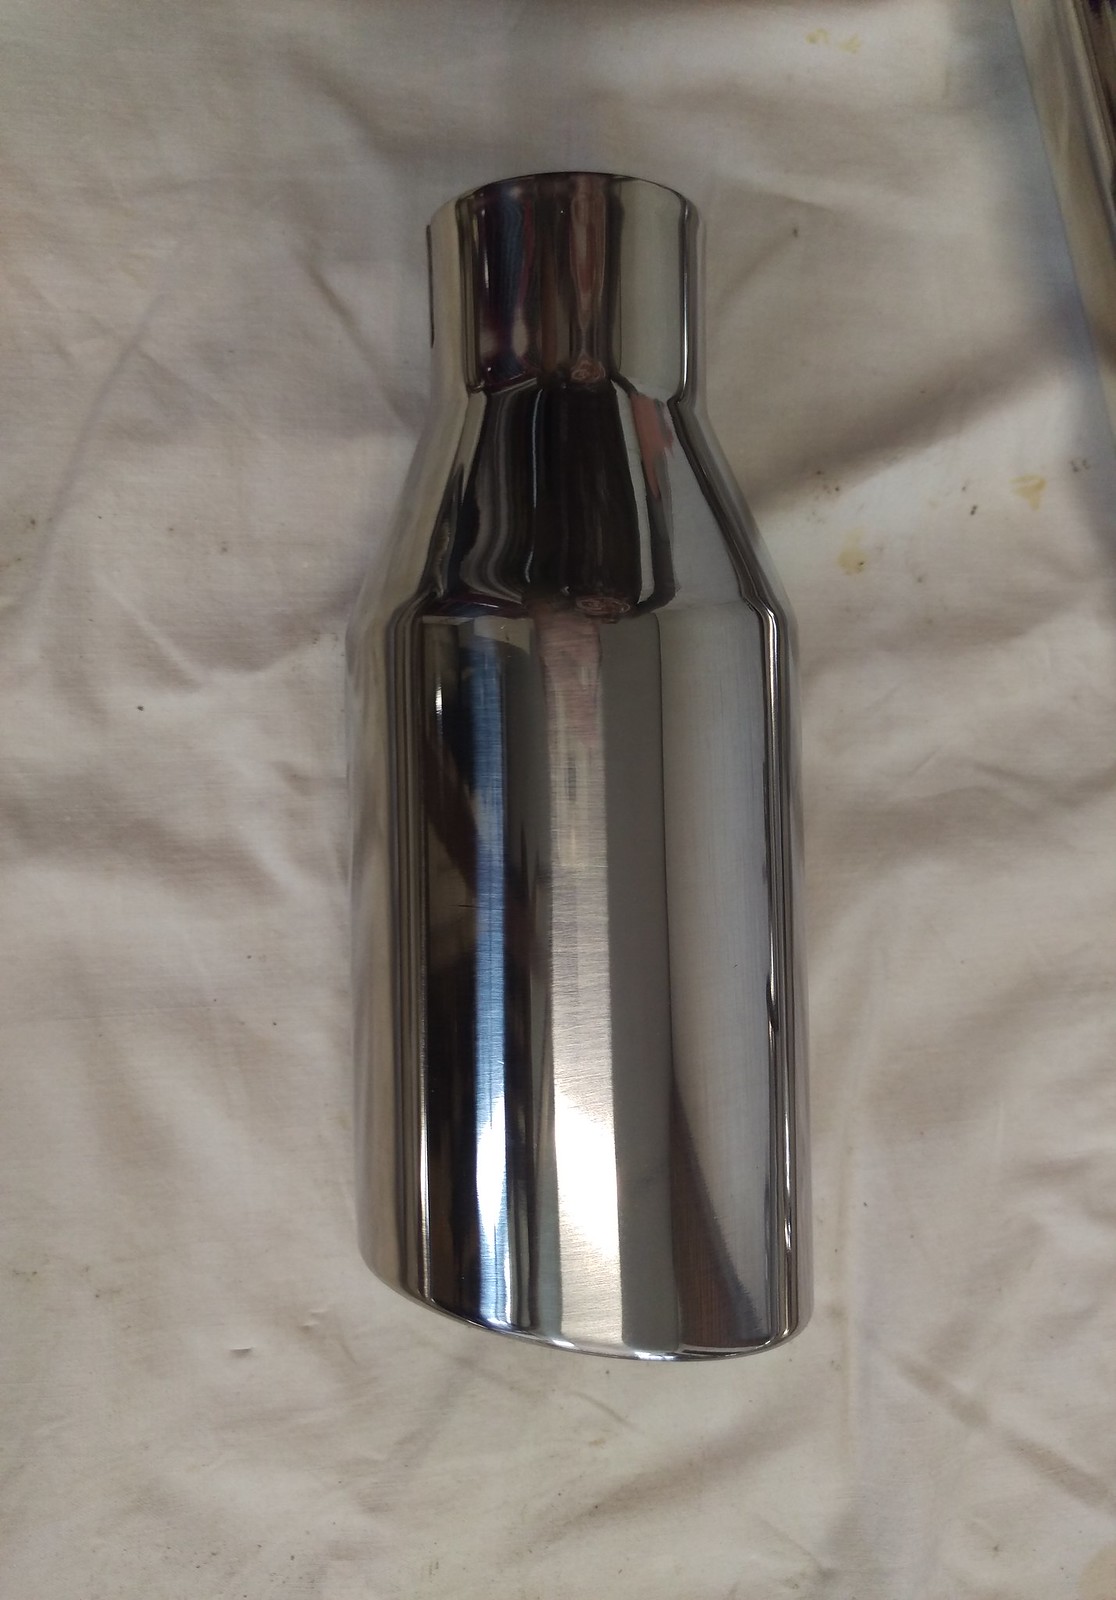
The new system arrived within a couple of days and it looks nicely made with tidy enough welds.
It was well packaged with enough protection to prevent any cosmetic damage to the nice shiny surfaces.
A few pics of the complete kit:

We thought we’d weigh the new system just out of interest. The best way to do this was to weigh me then add the complete exhaust including clamps and work out the difference. We did this a couple of times with the exhaust weight coming out at around 14kg.

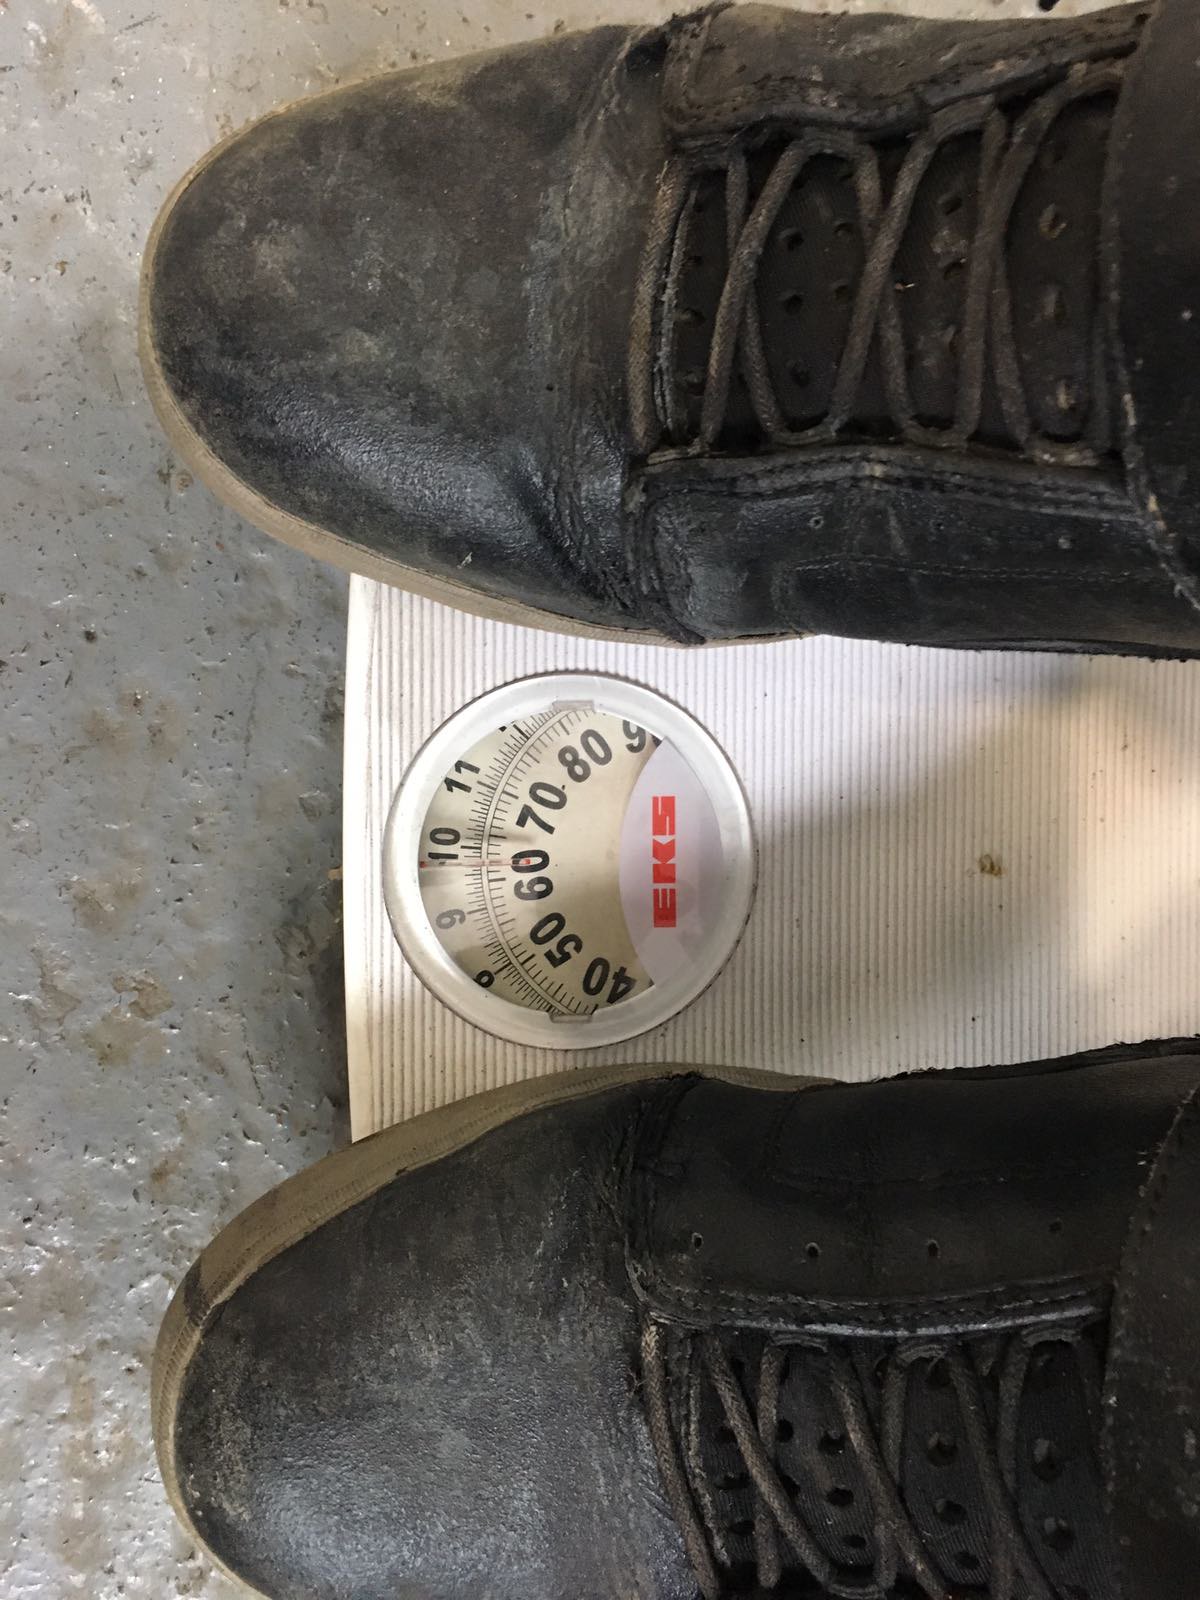
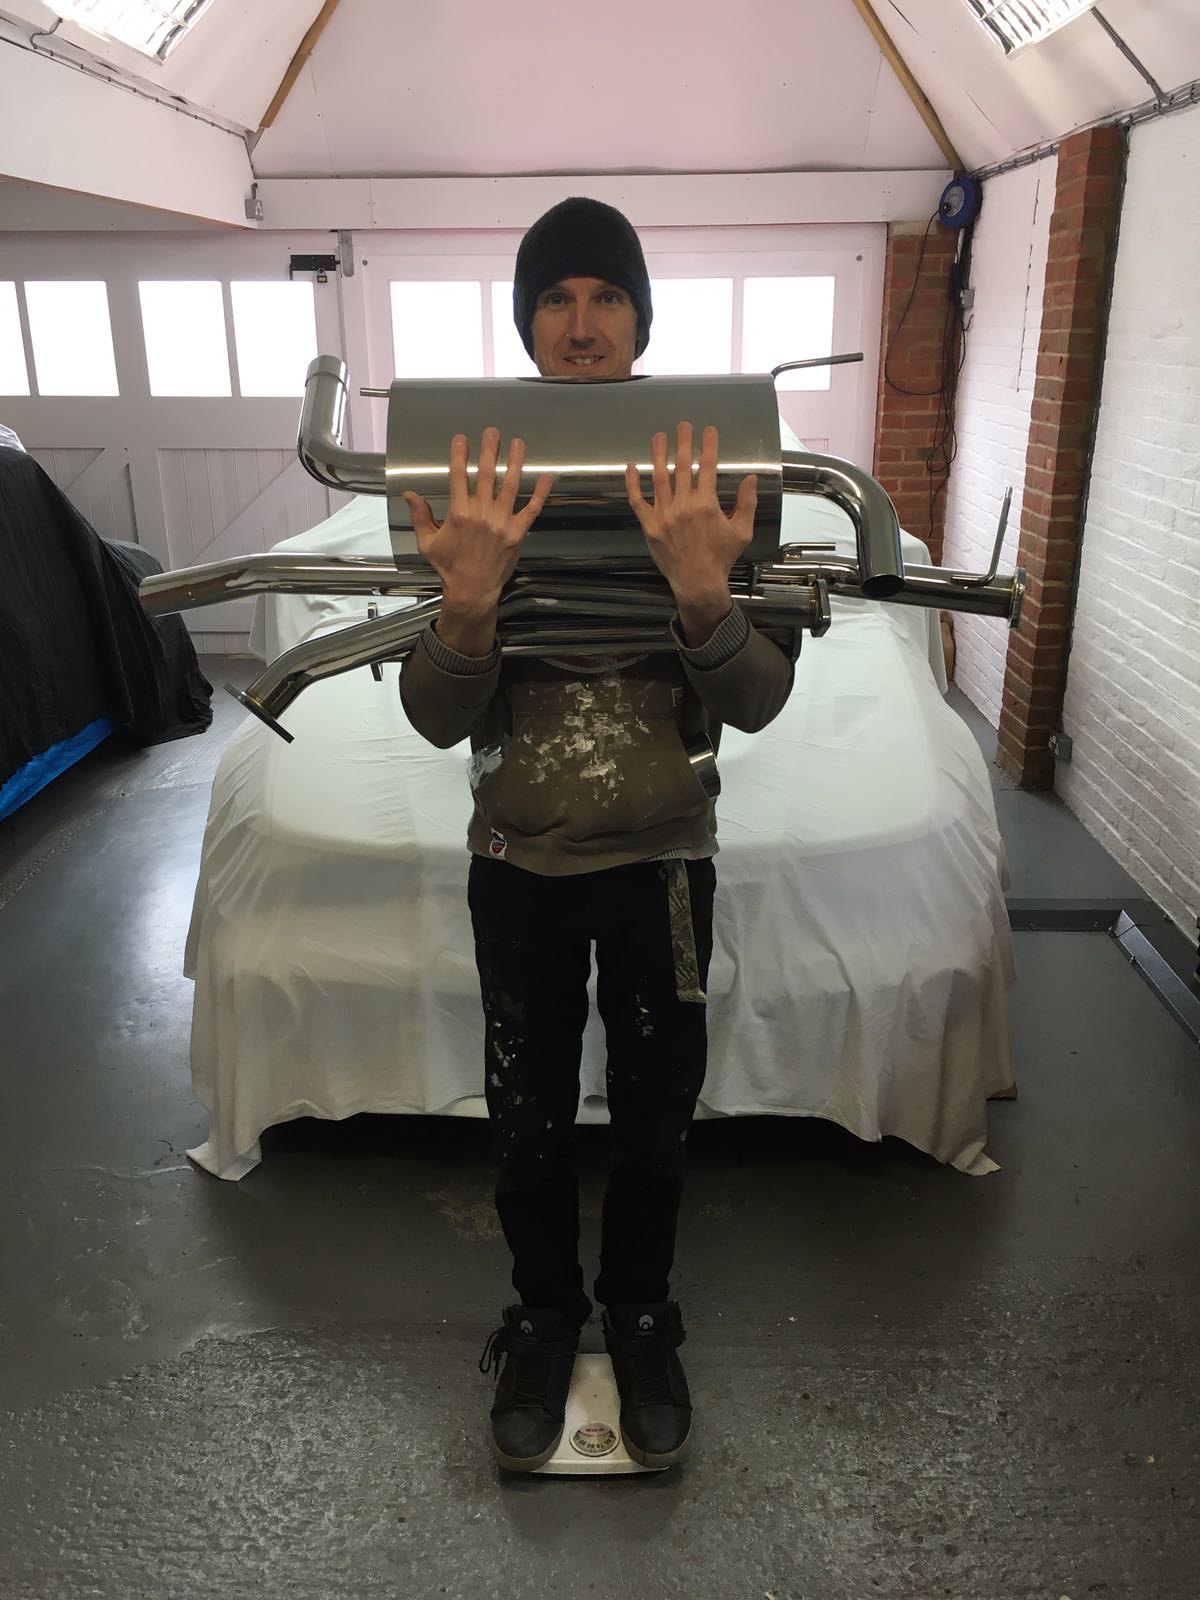
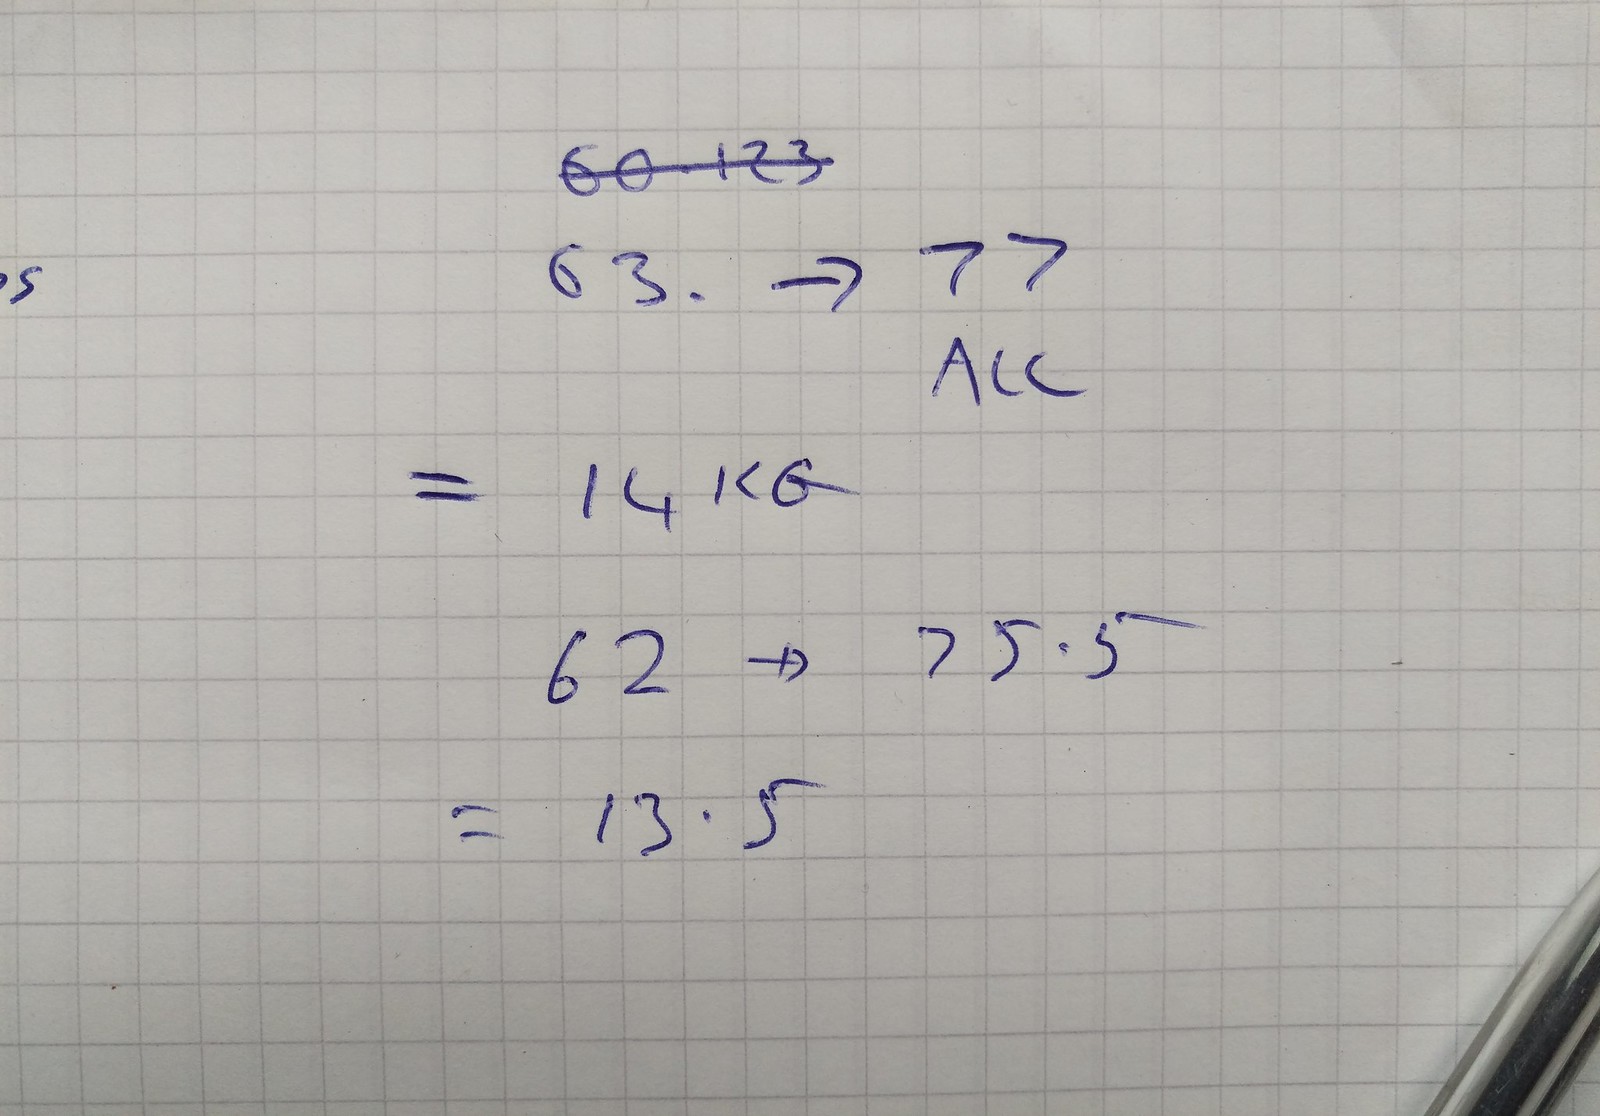
Well now we know how much an exhaust weighs.
Now we’d better get this ropey old system off.
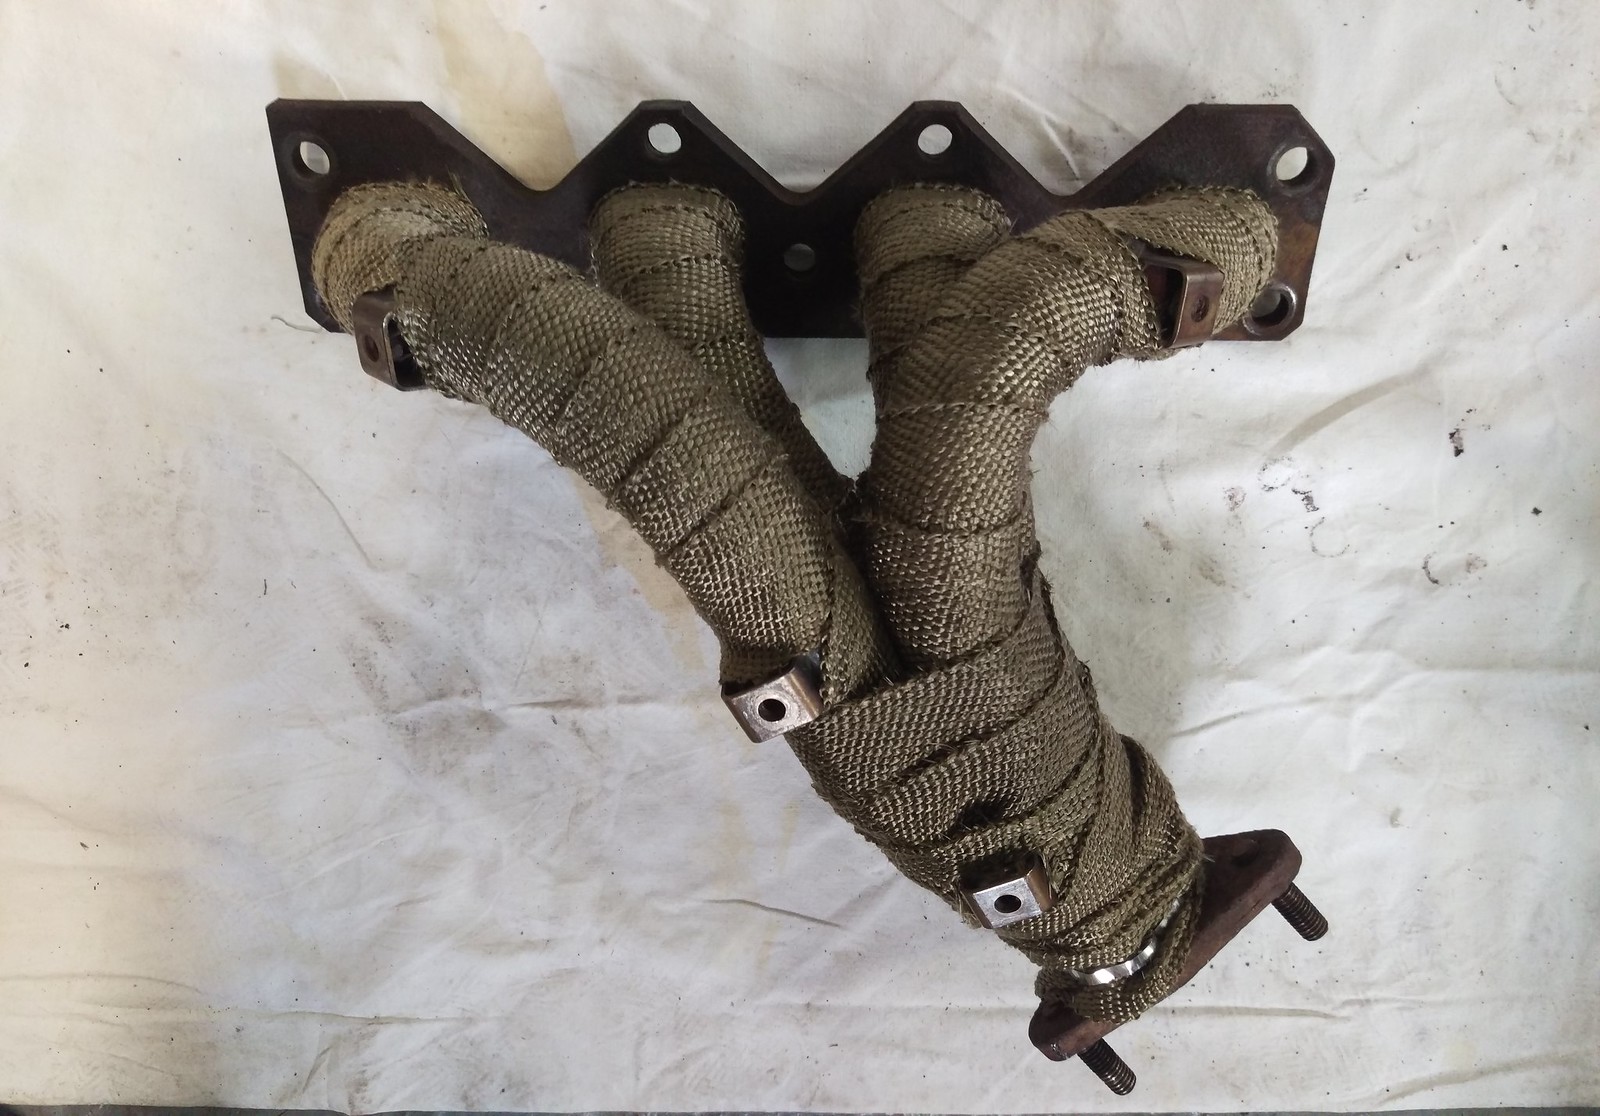
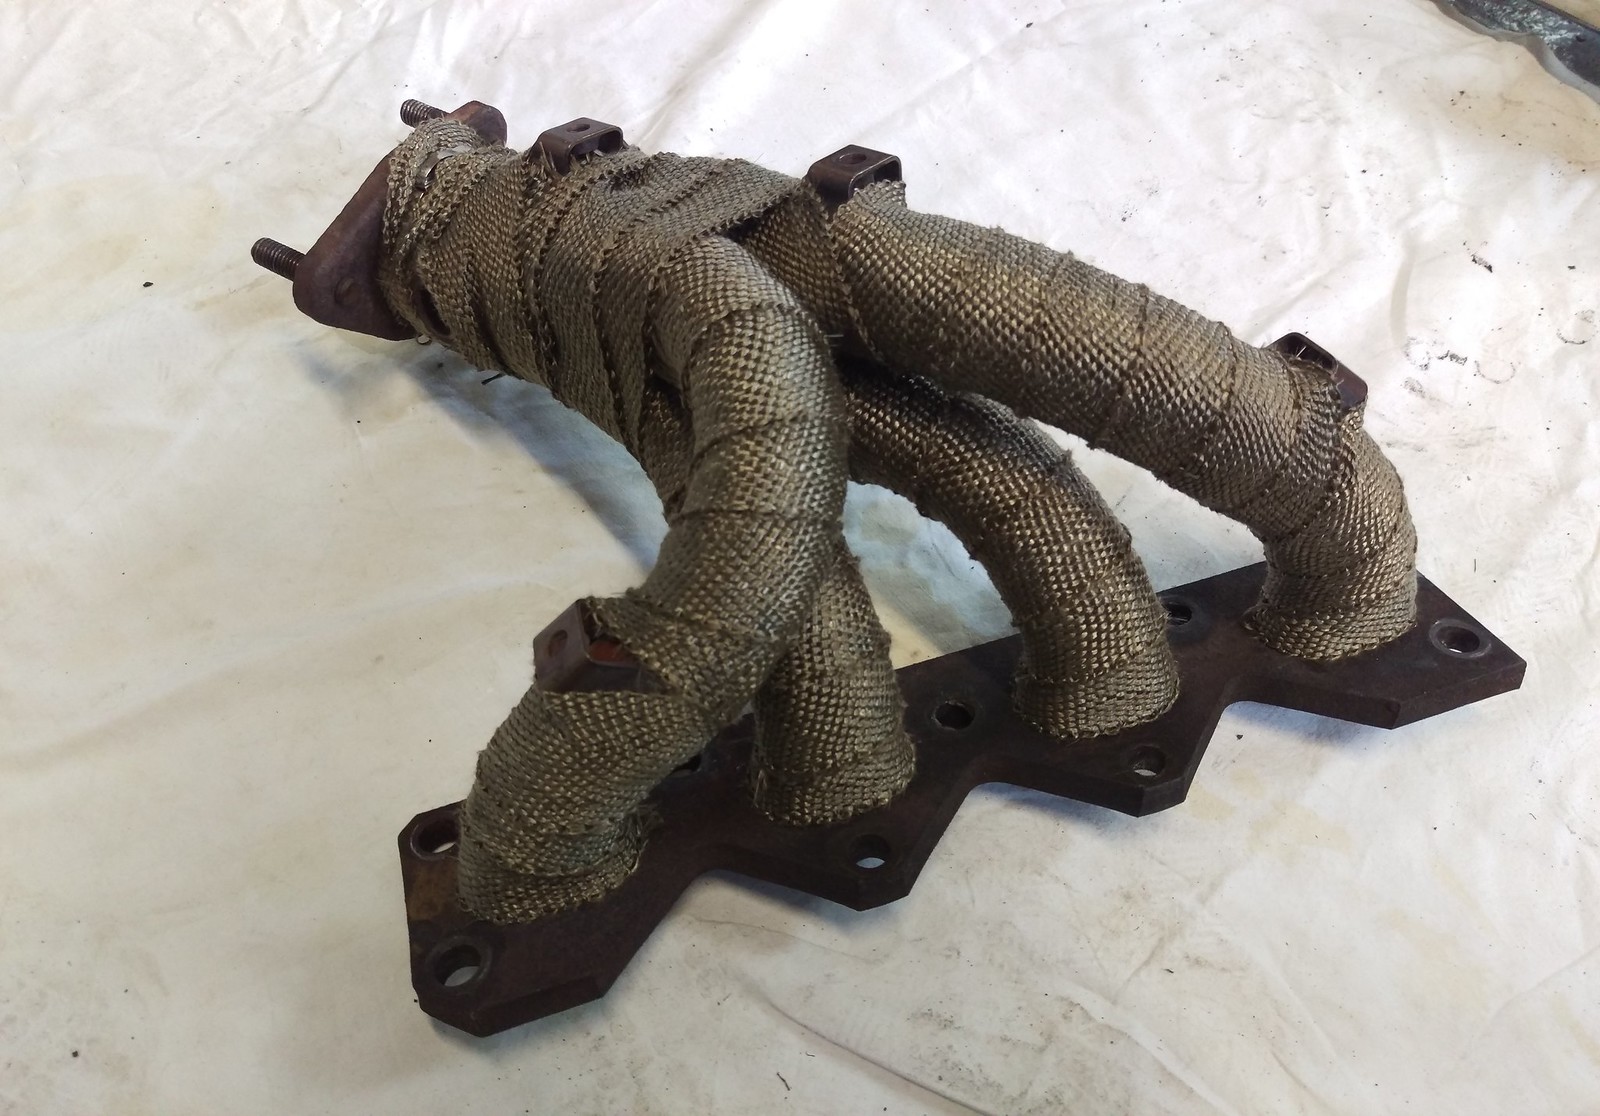
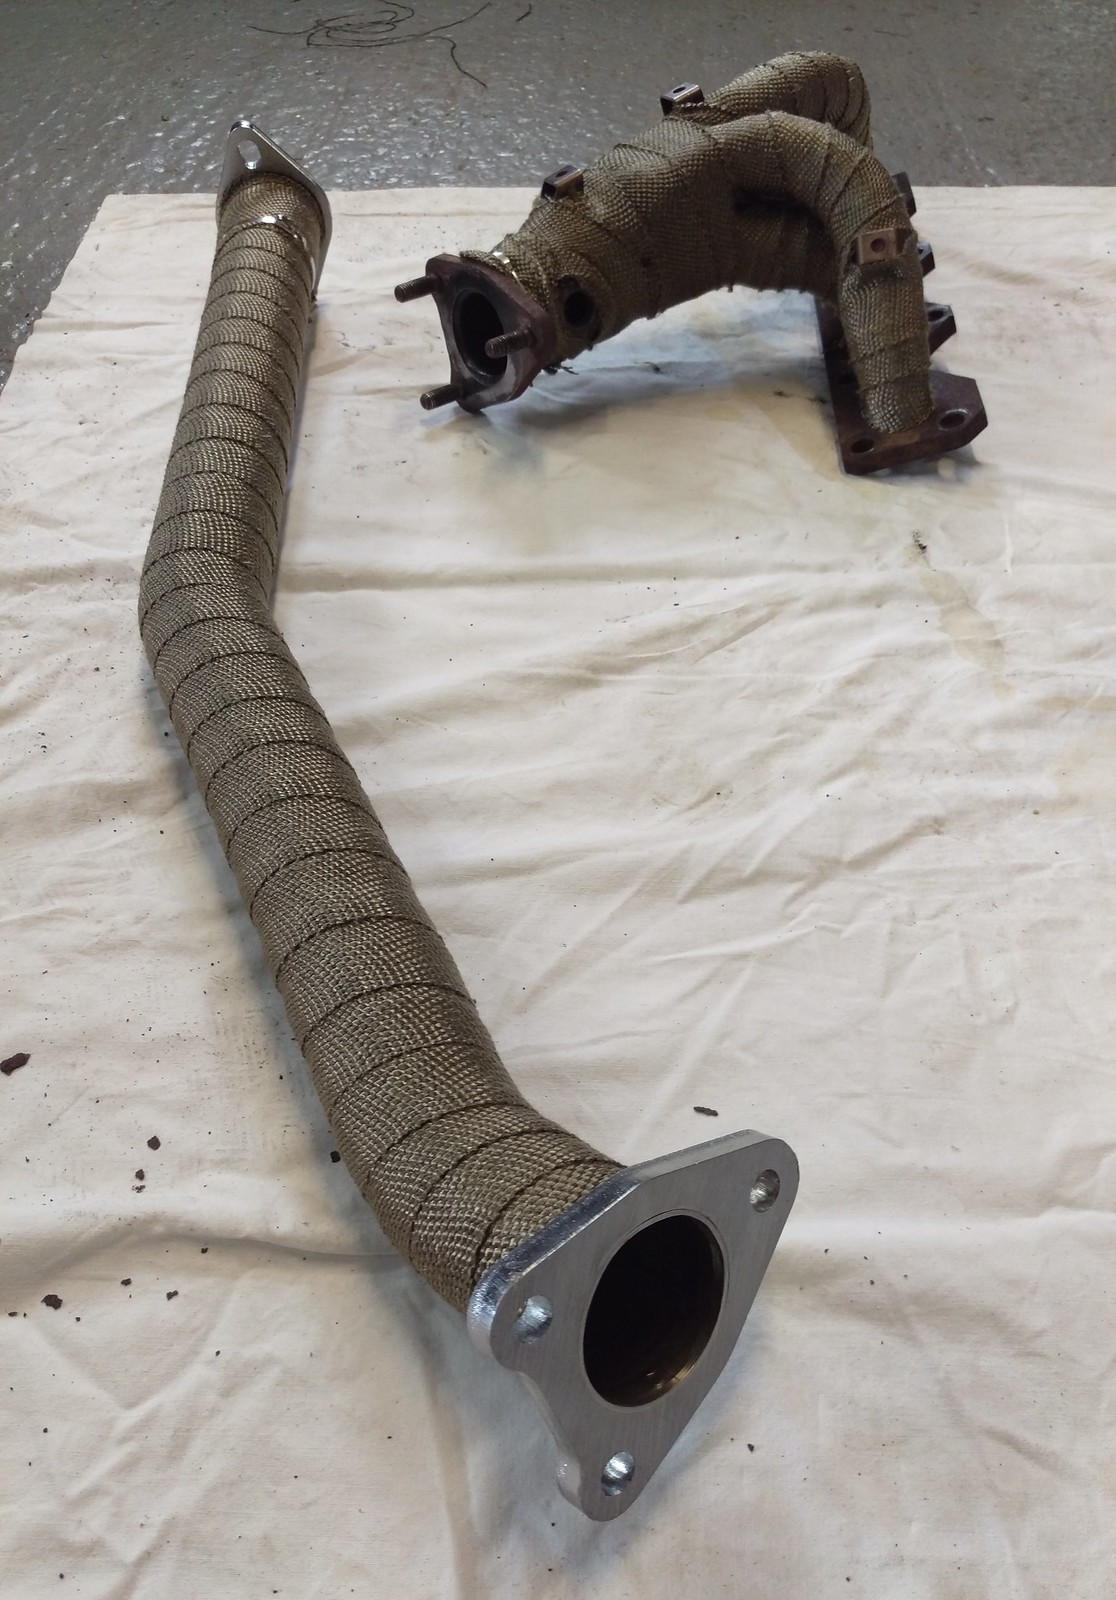
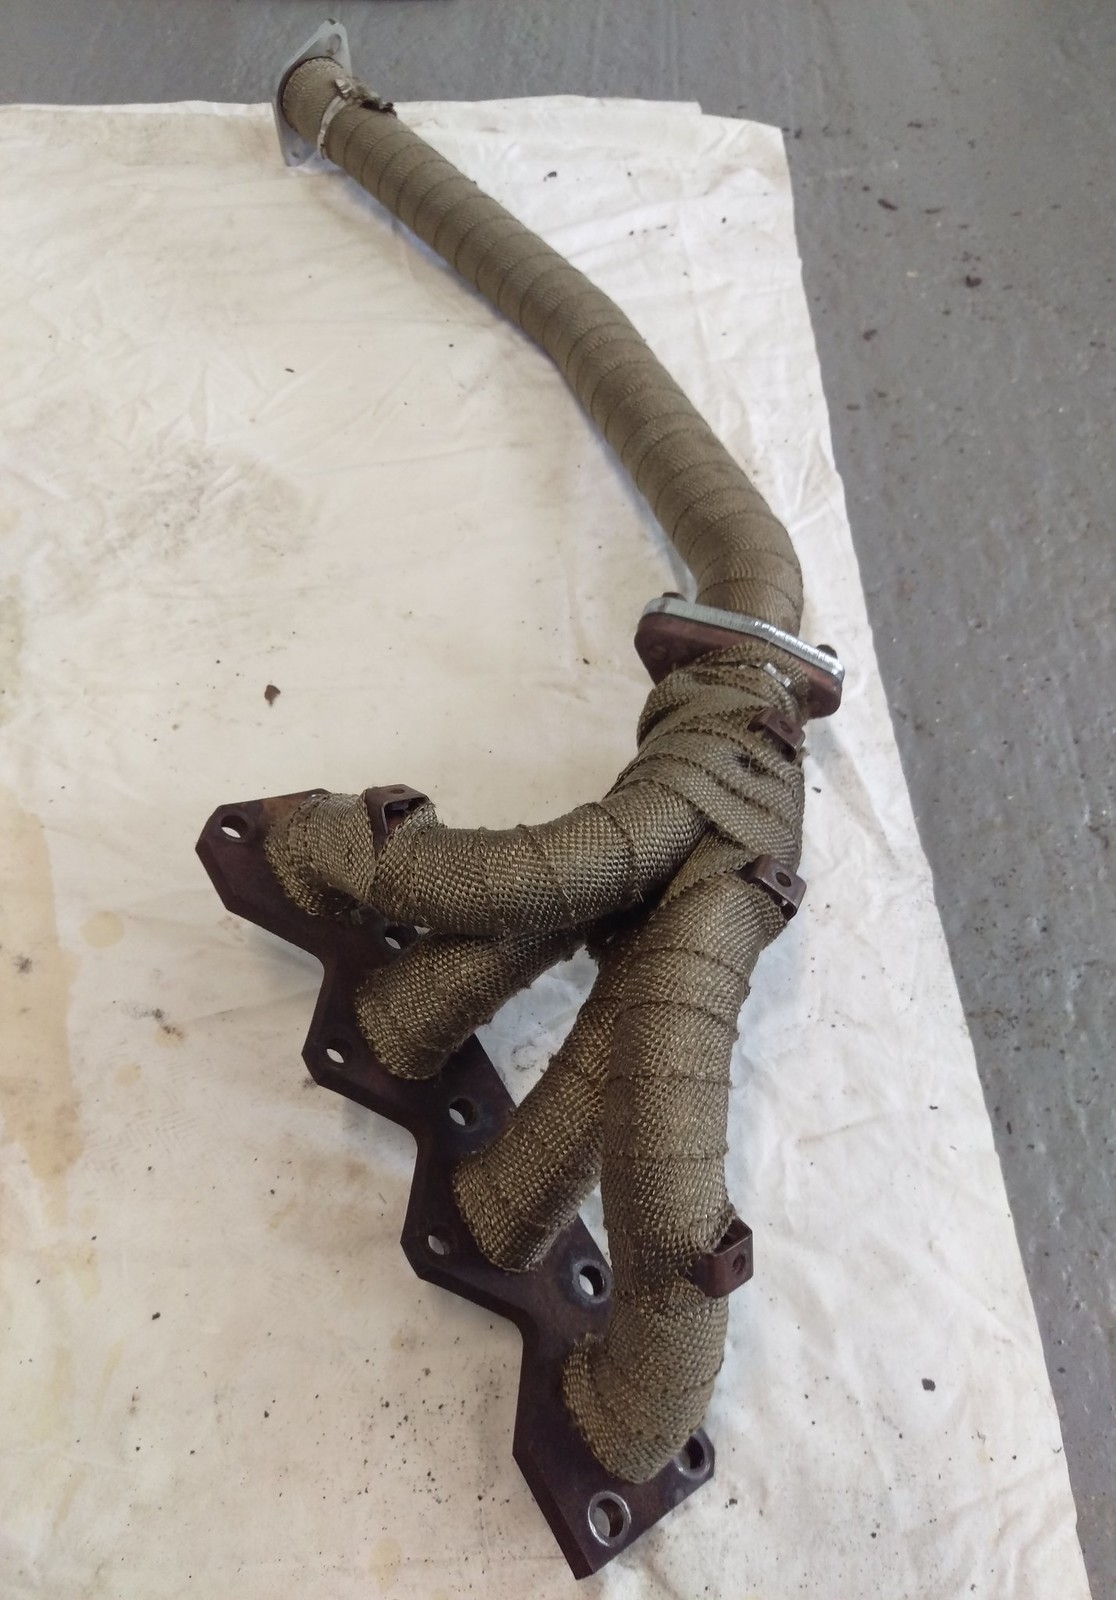
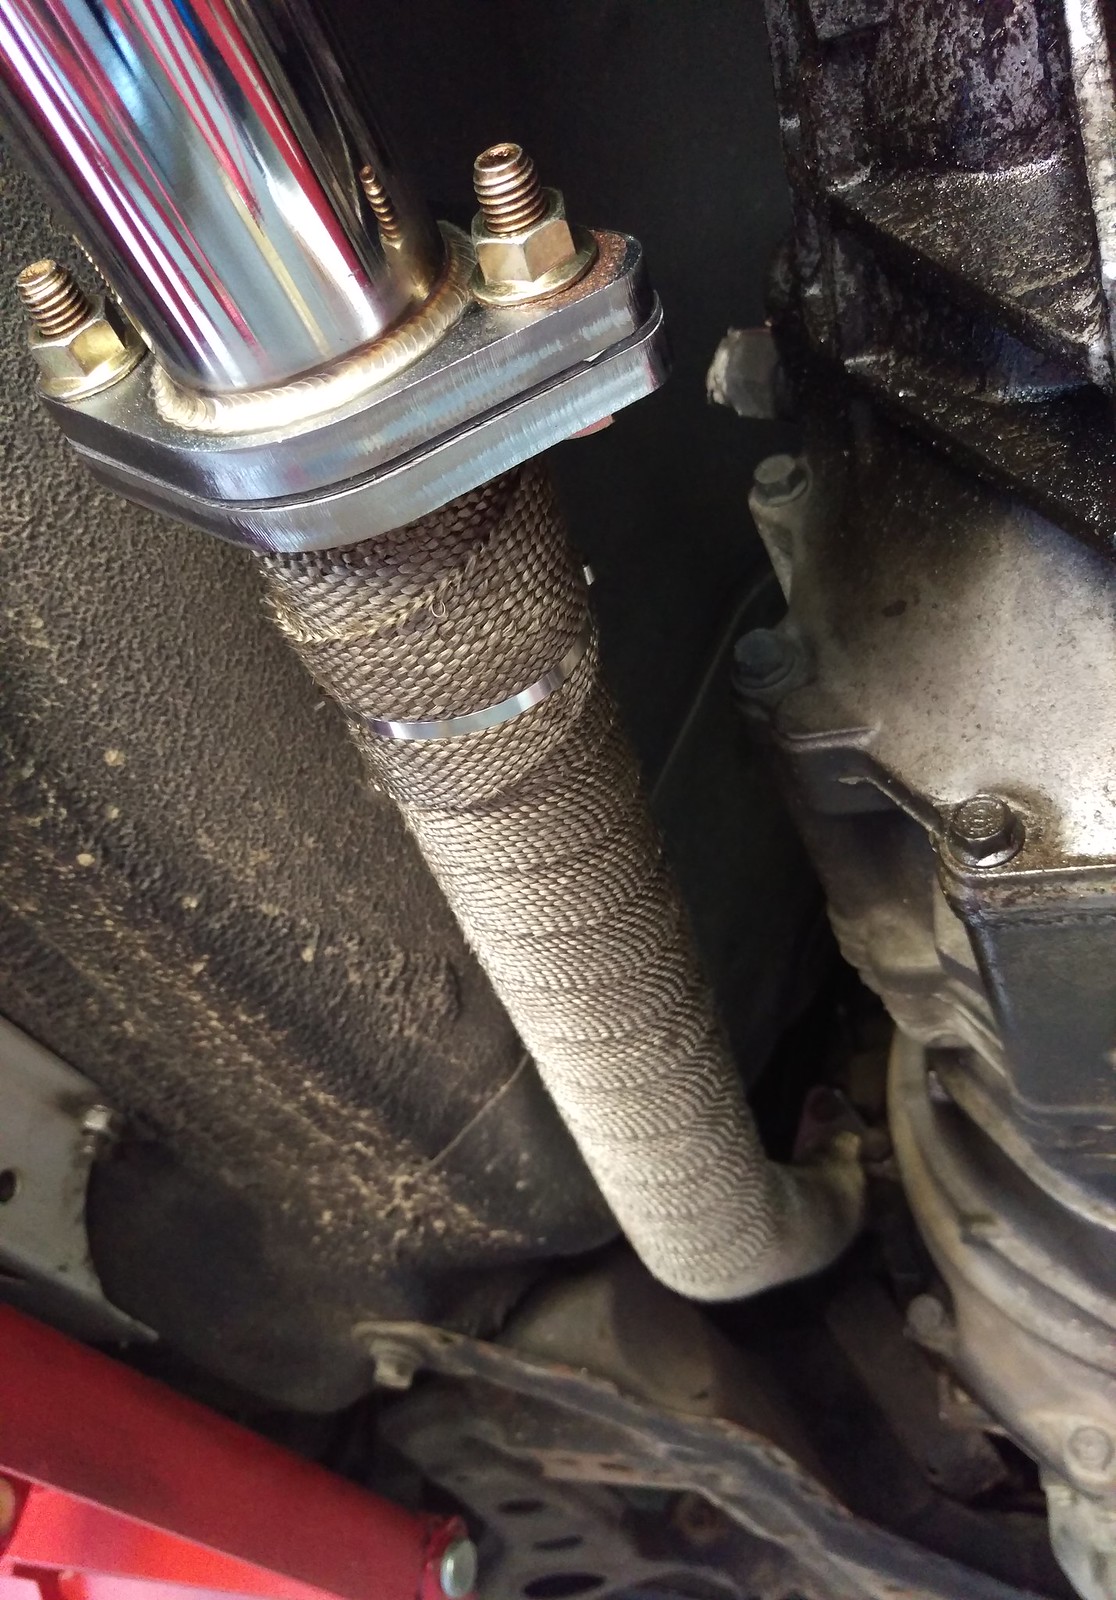
But before getting to fitting the new system we heat wrapped the original exhaust manifold. This was something I had been intending to do for a while as the supercharger will sit above here and I know there won’t be space for a performance manifold with the supercharger fitted so the best needs to be made of the standard manifold while trying to keep the heat from getting to the supercharger.
When doing this job it’s best to wear gloves and keep your arms covered or you’ll end up itching for the rest of the day.
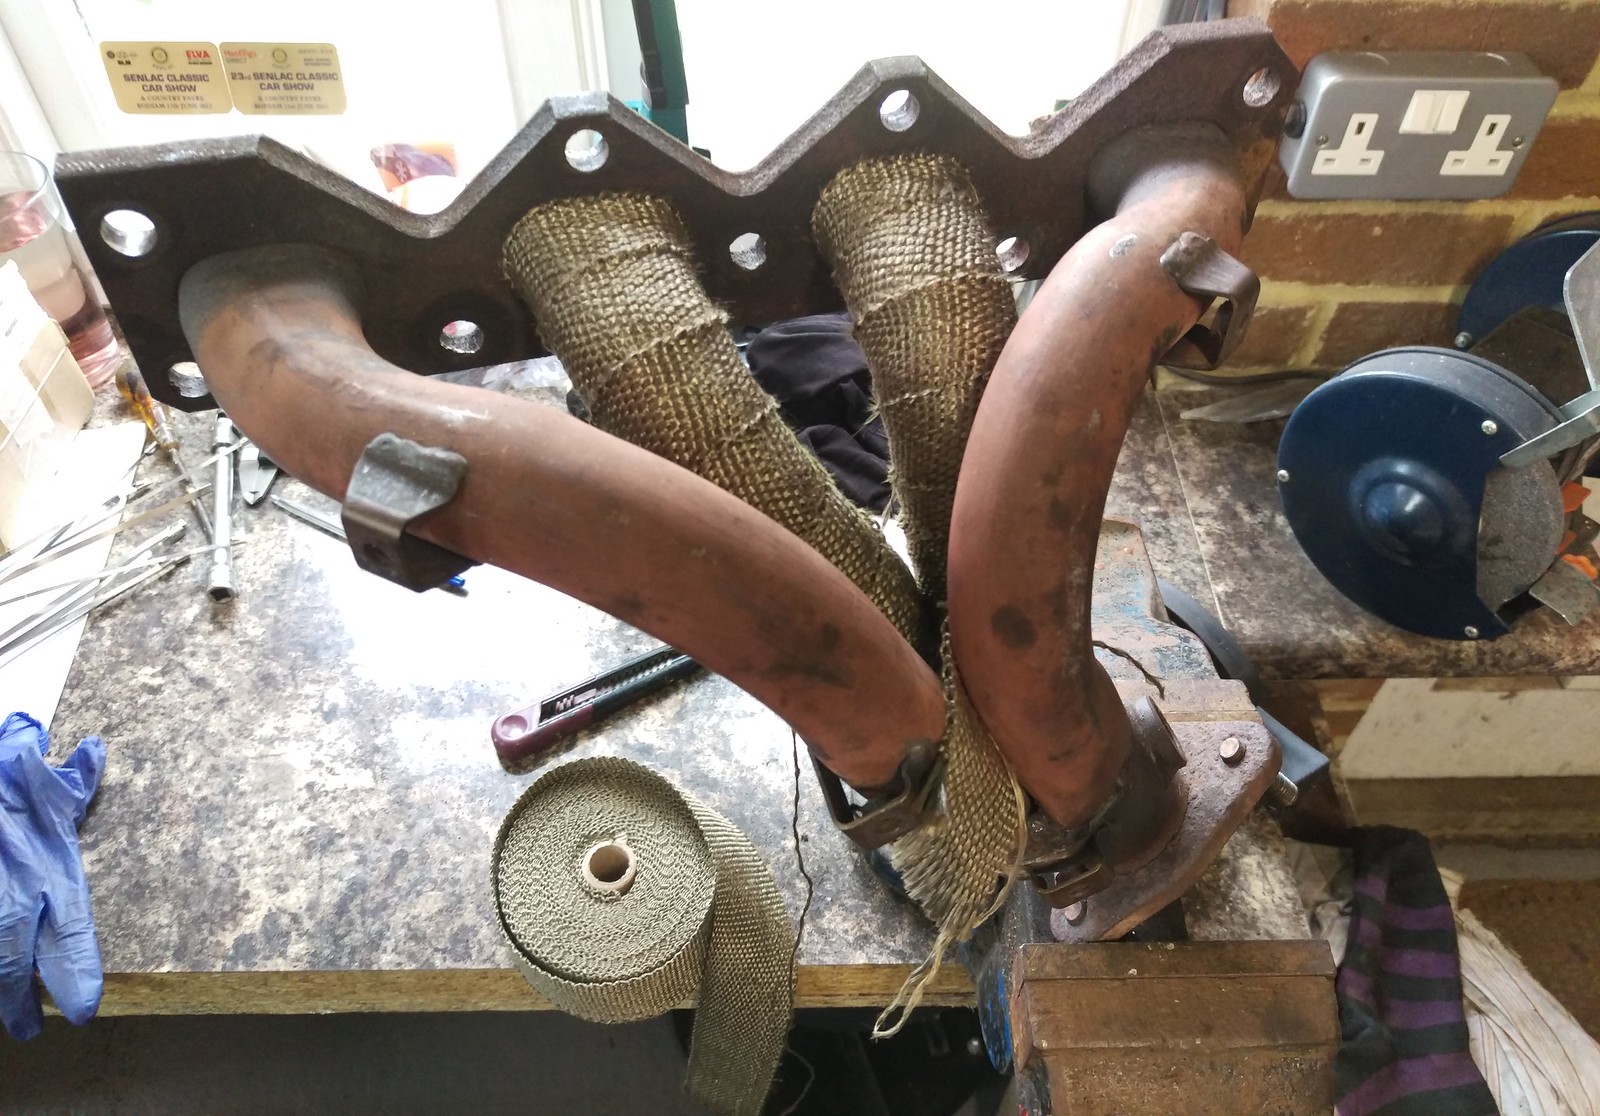
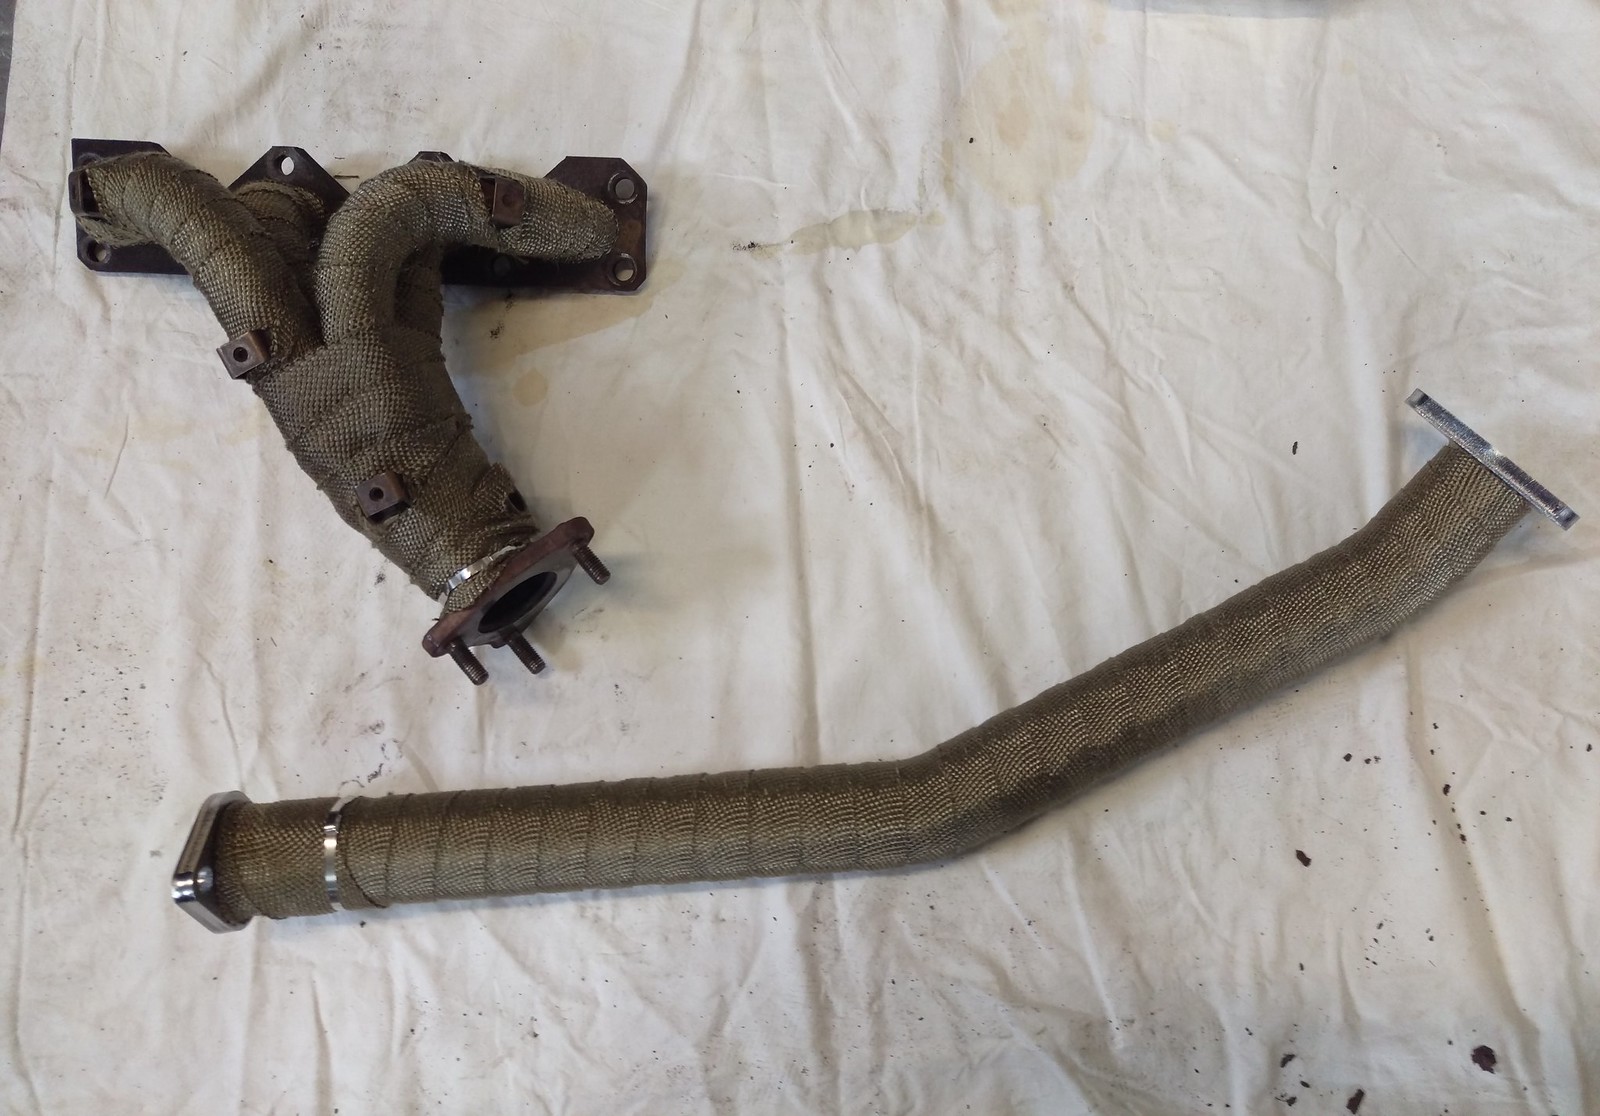
We had enough left to do the new down pipe too.

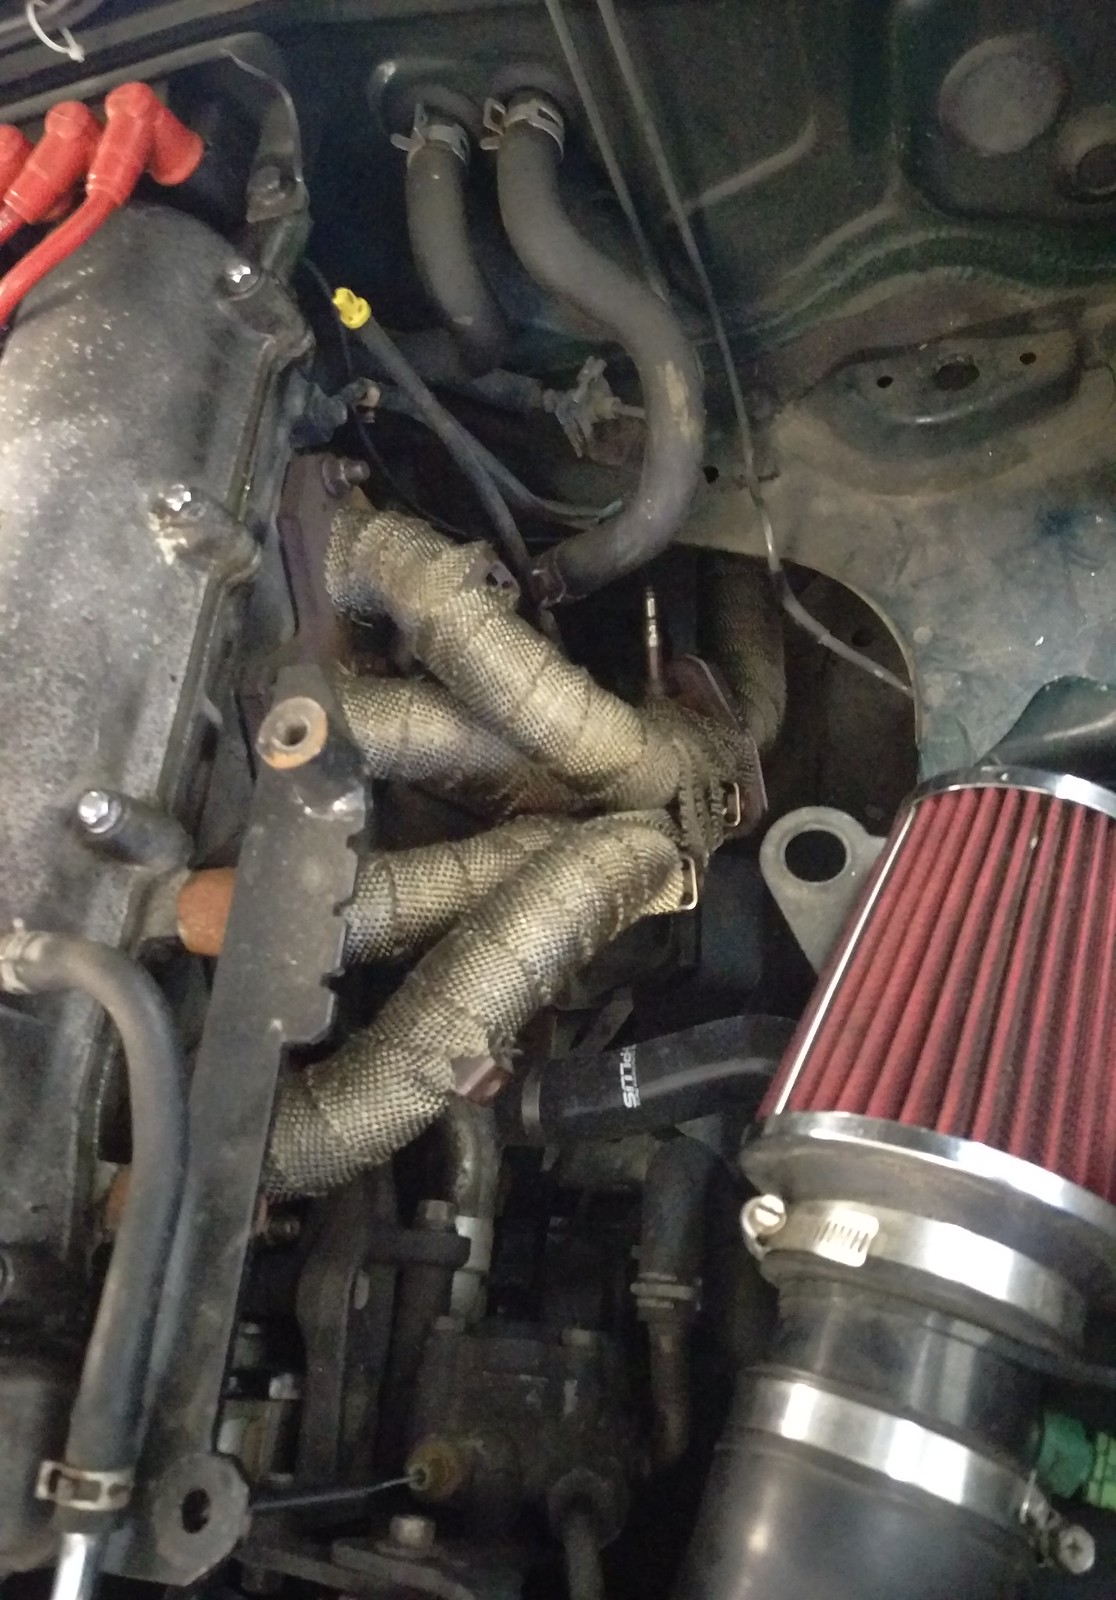
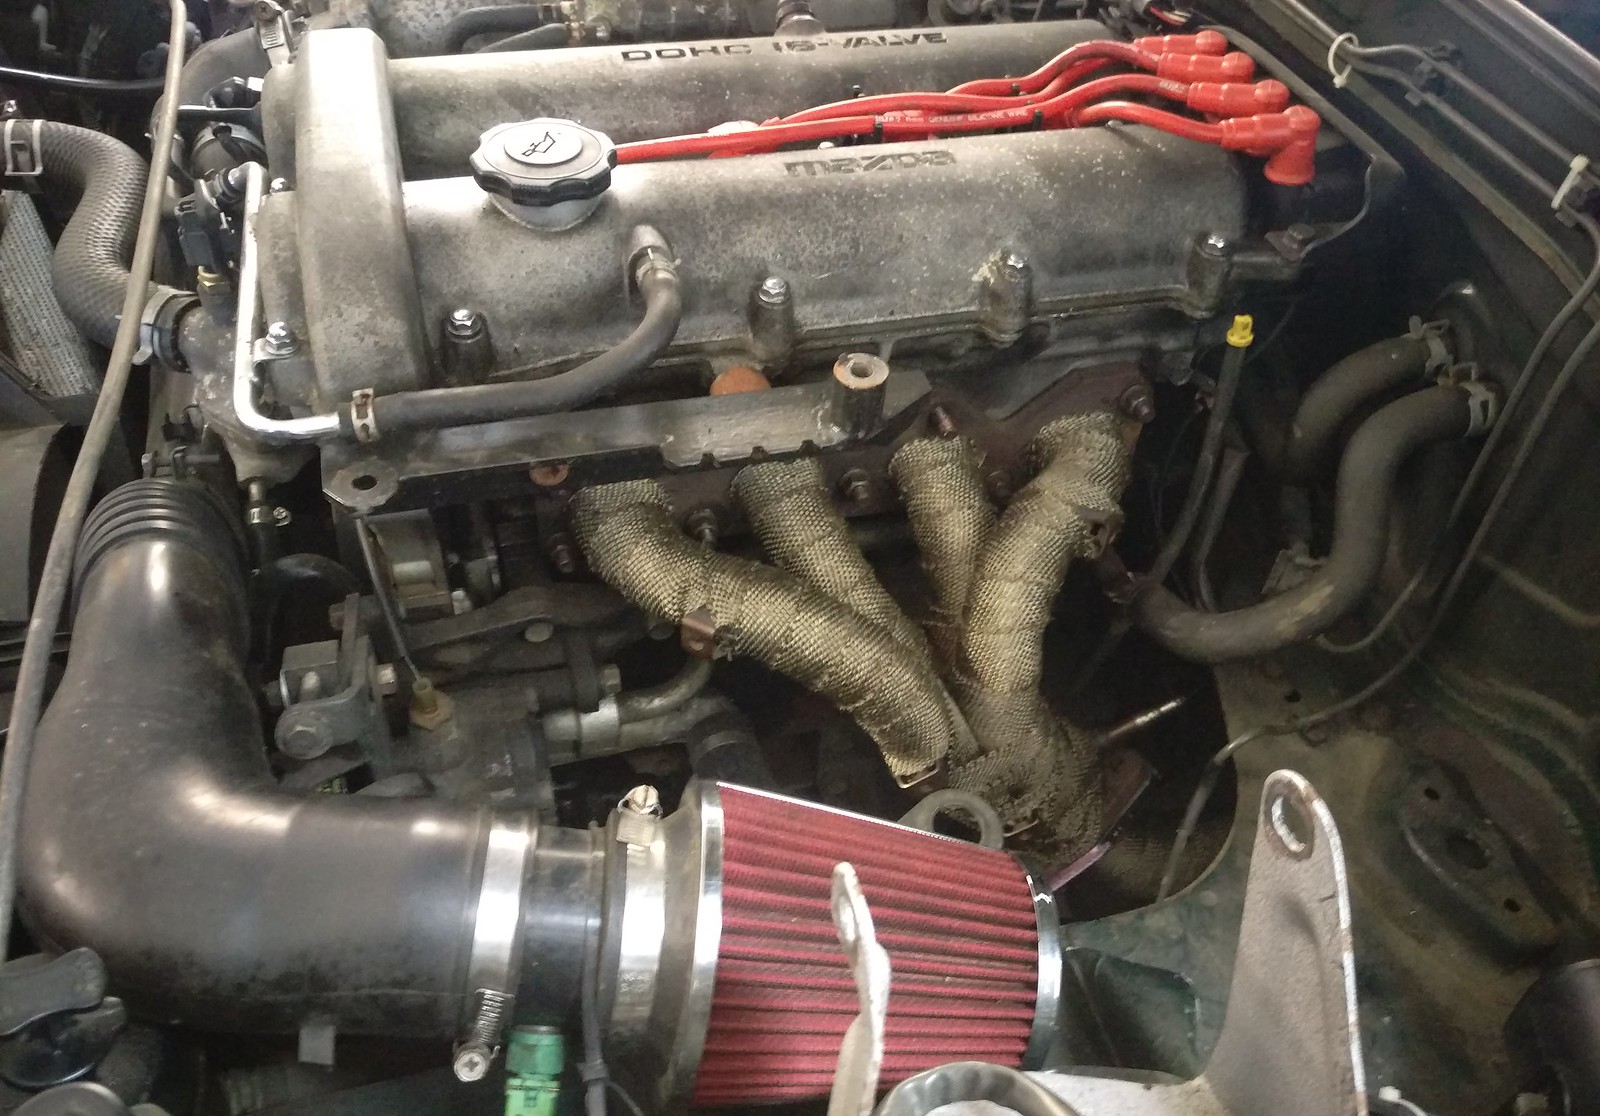
Time to get it all on the car and see how it fits.
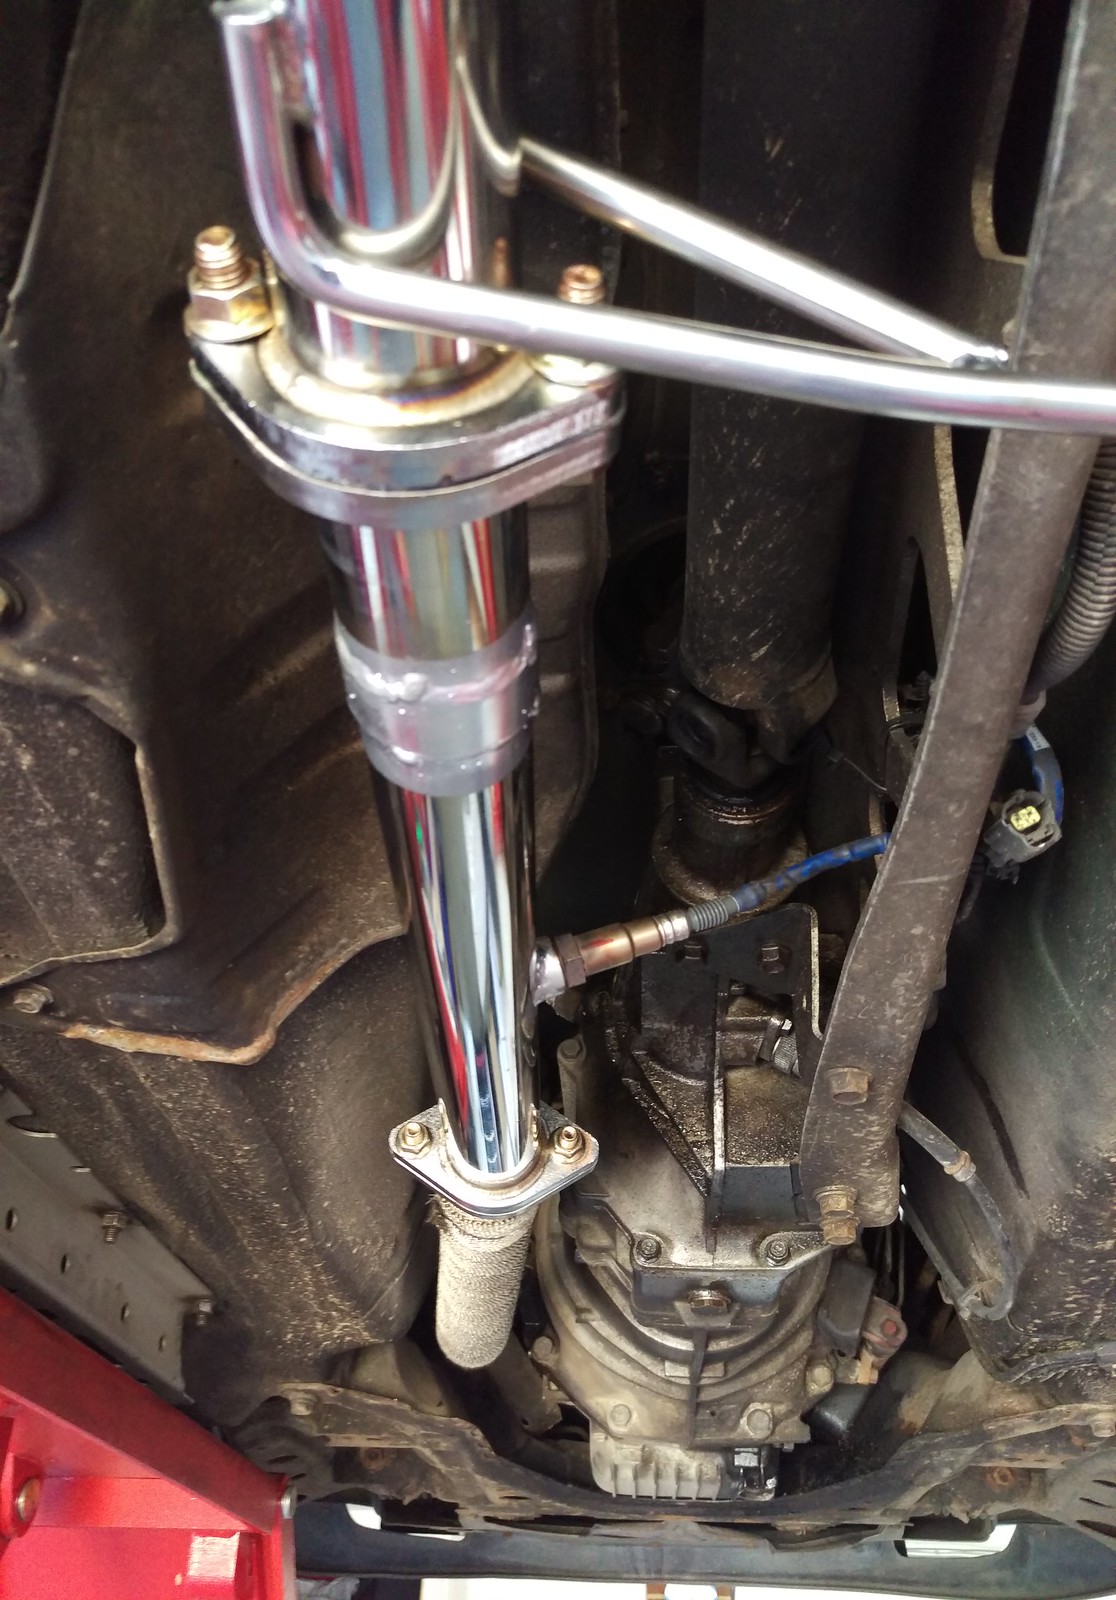
Manifold and down pipe went on nicely enough.
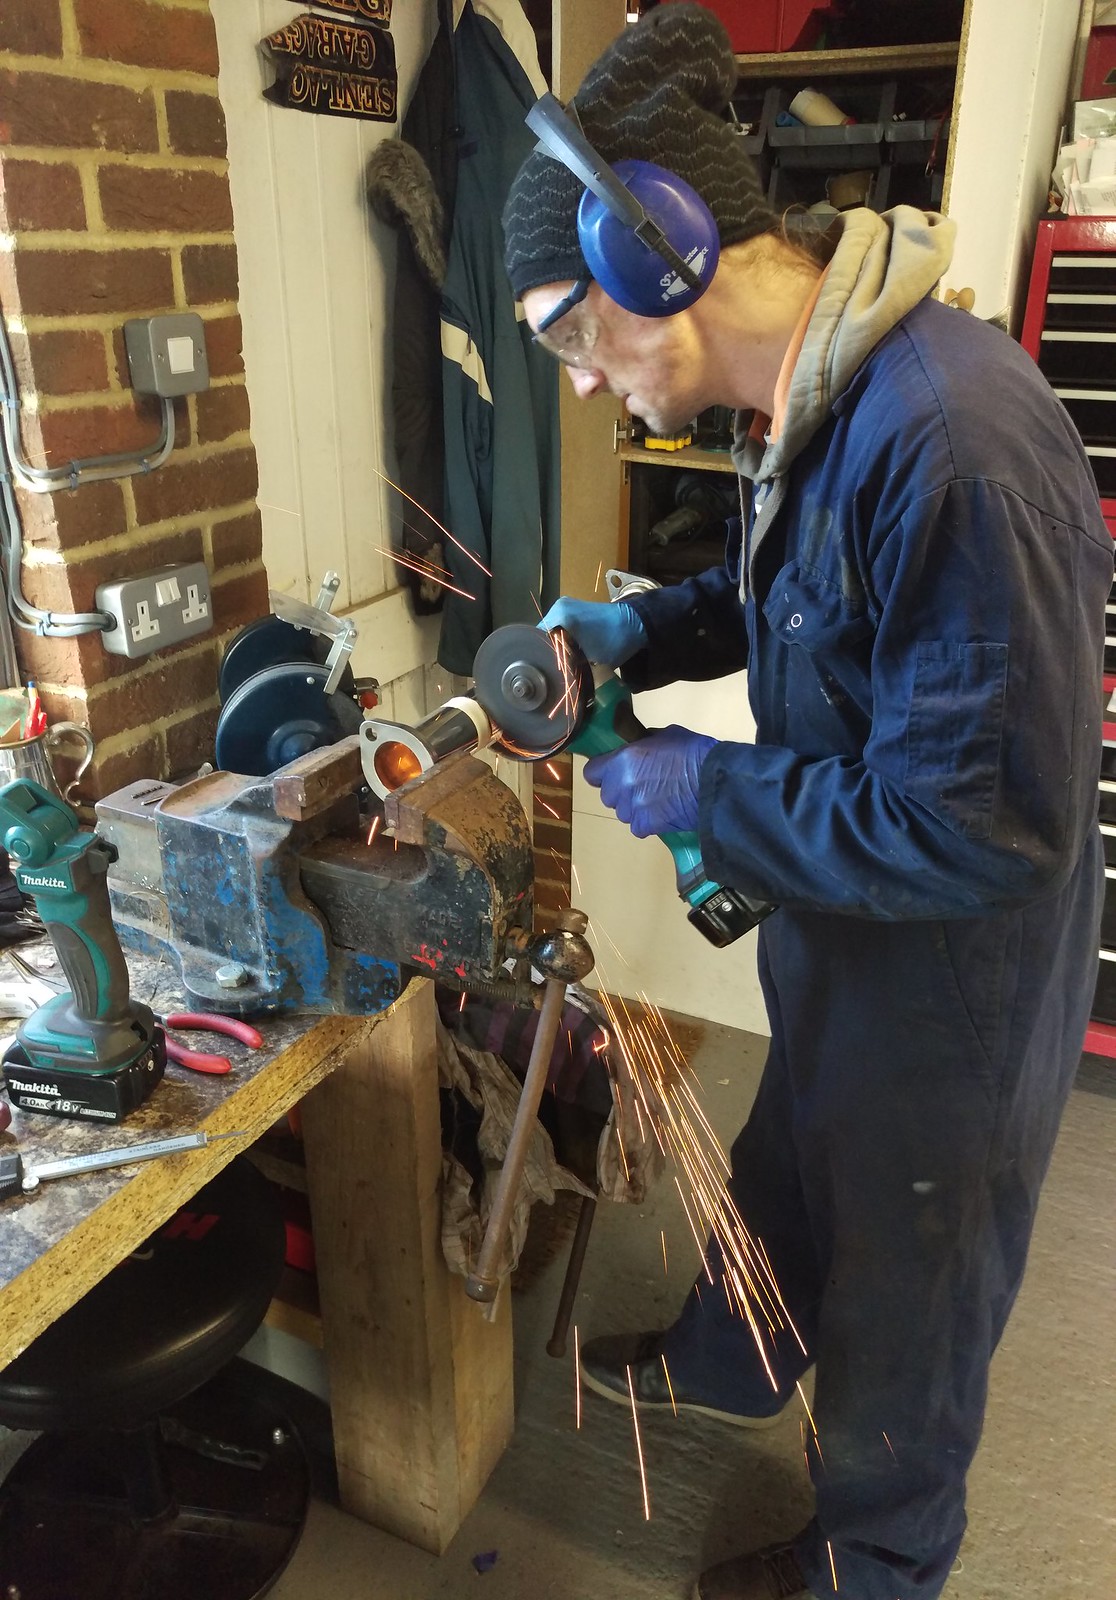
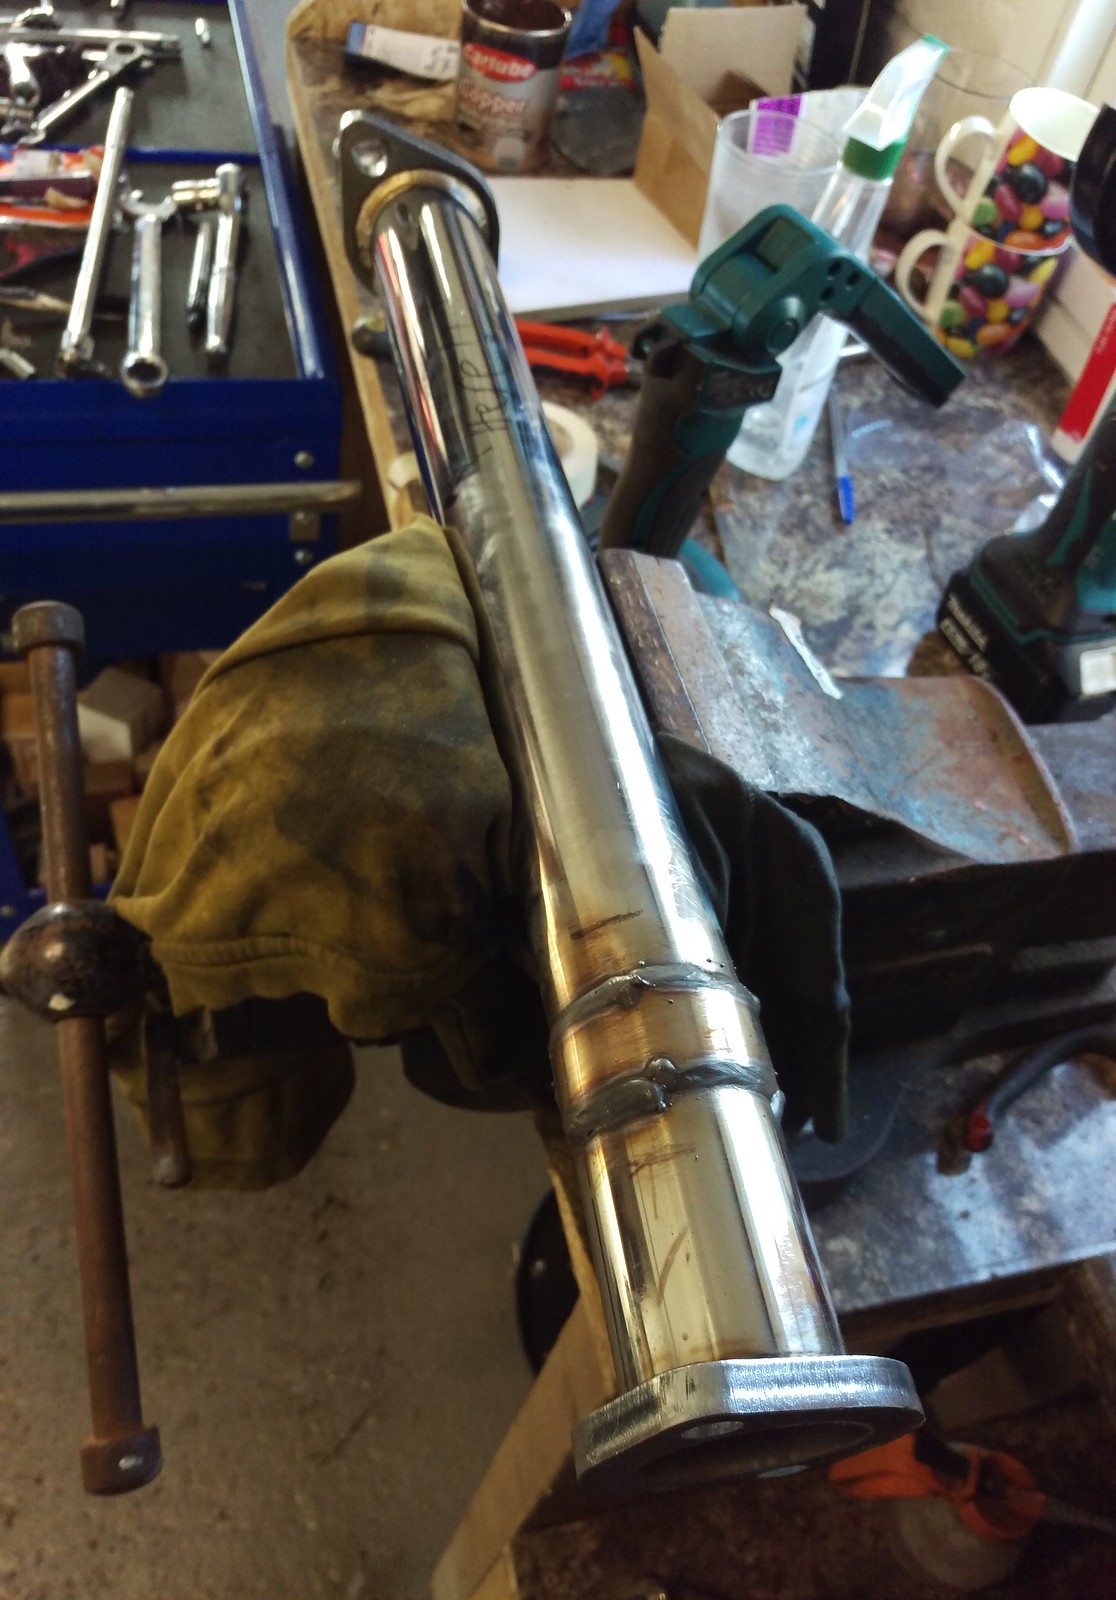
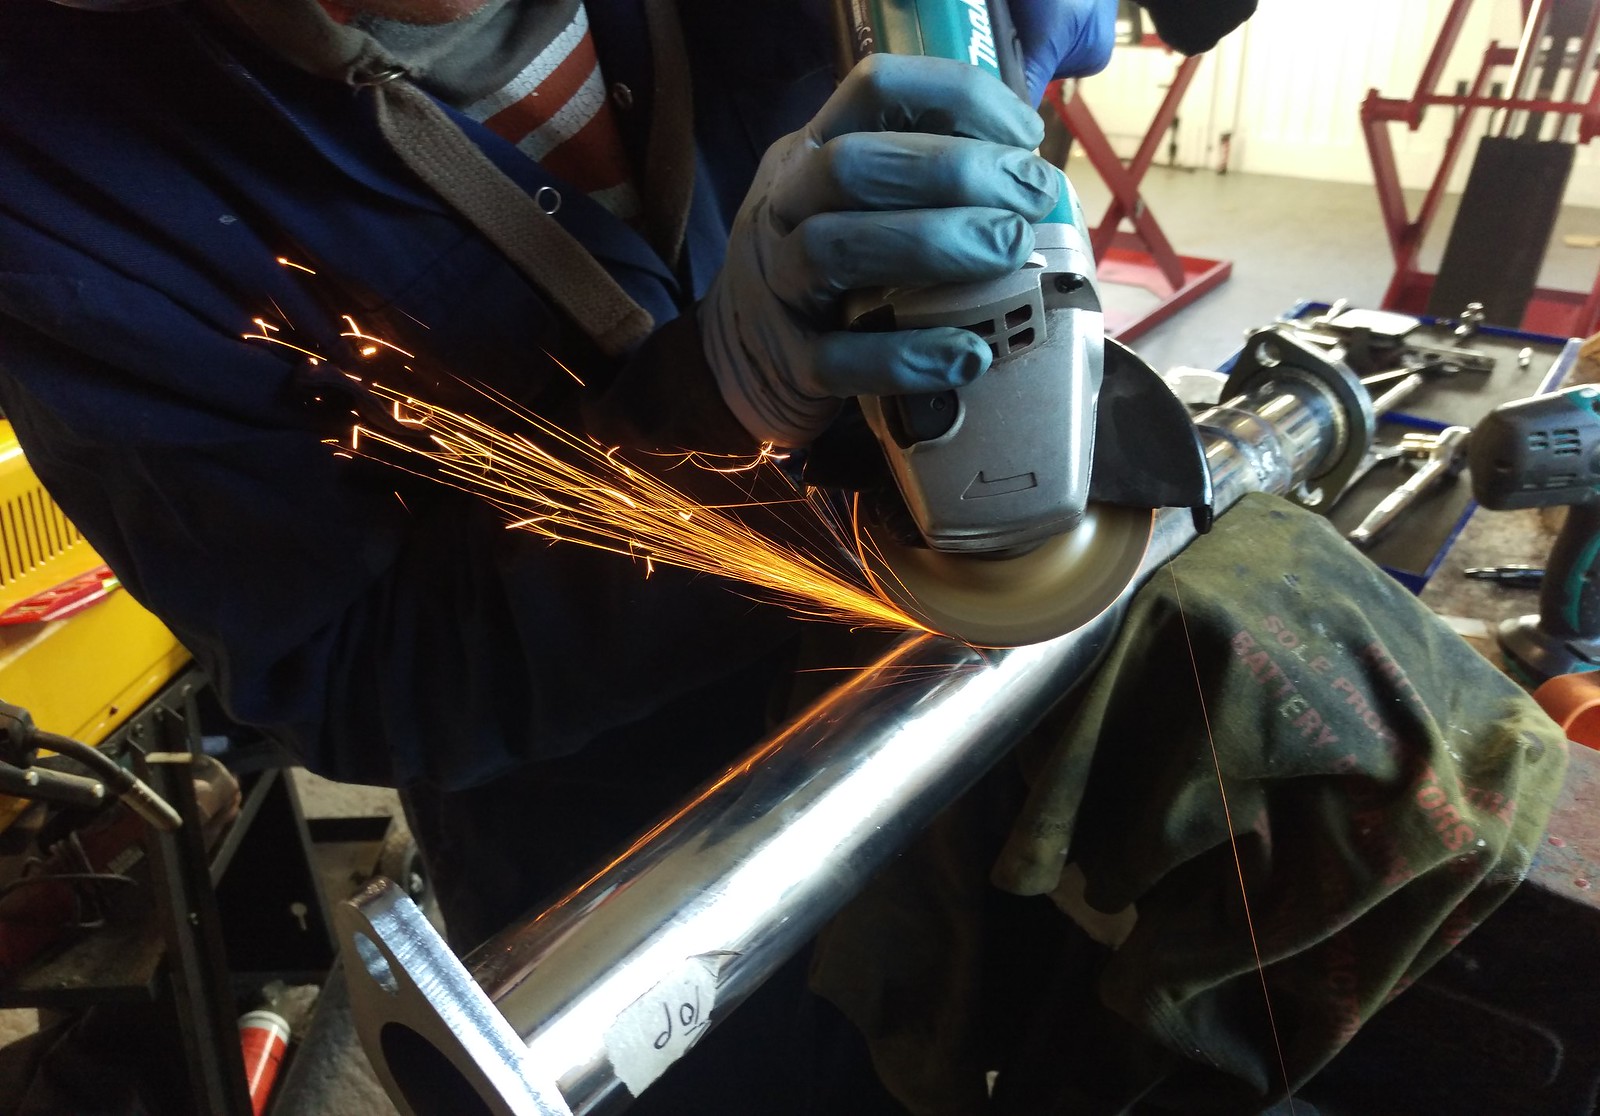
The next bit didn’t go quite as well as I’d hoped but sort of as I’d expected. We got it on the car and it did fit but not as nicely as it could with a bit of adjustment. It was pretty clear to see that about an inch removed out of the center/de-cat pipe would just bring the rear section into line. So I got the grinder and welder out.
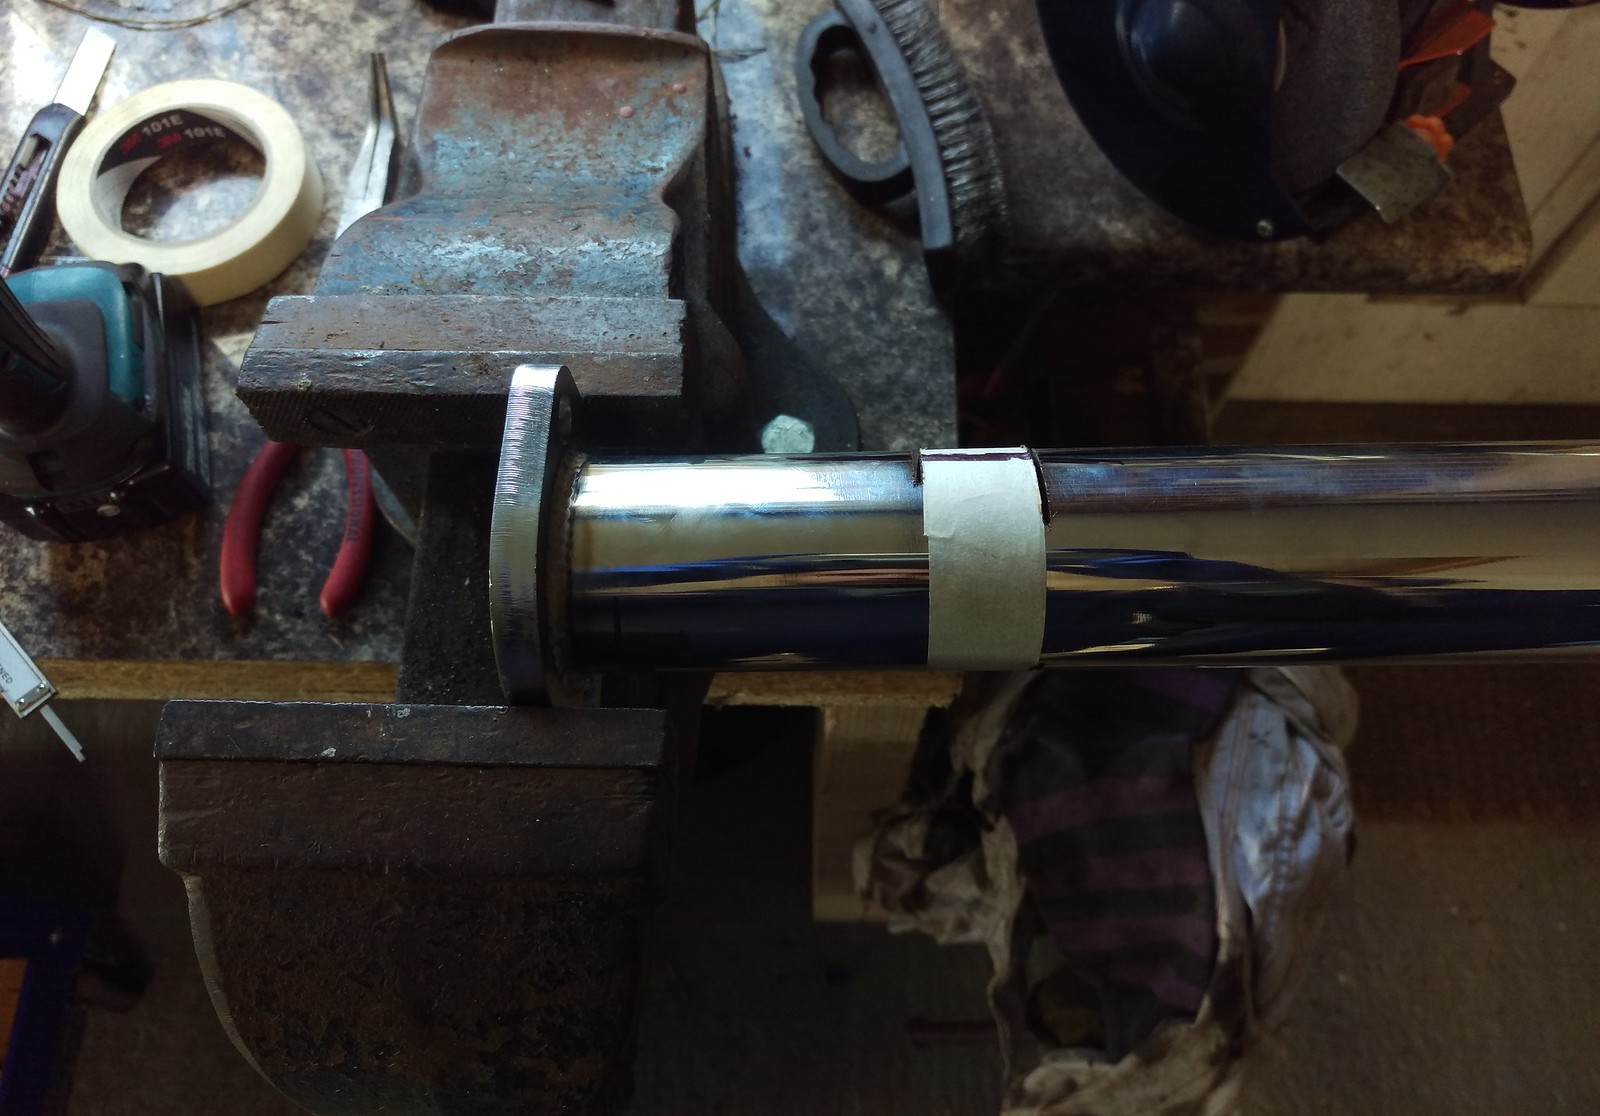
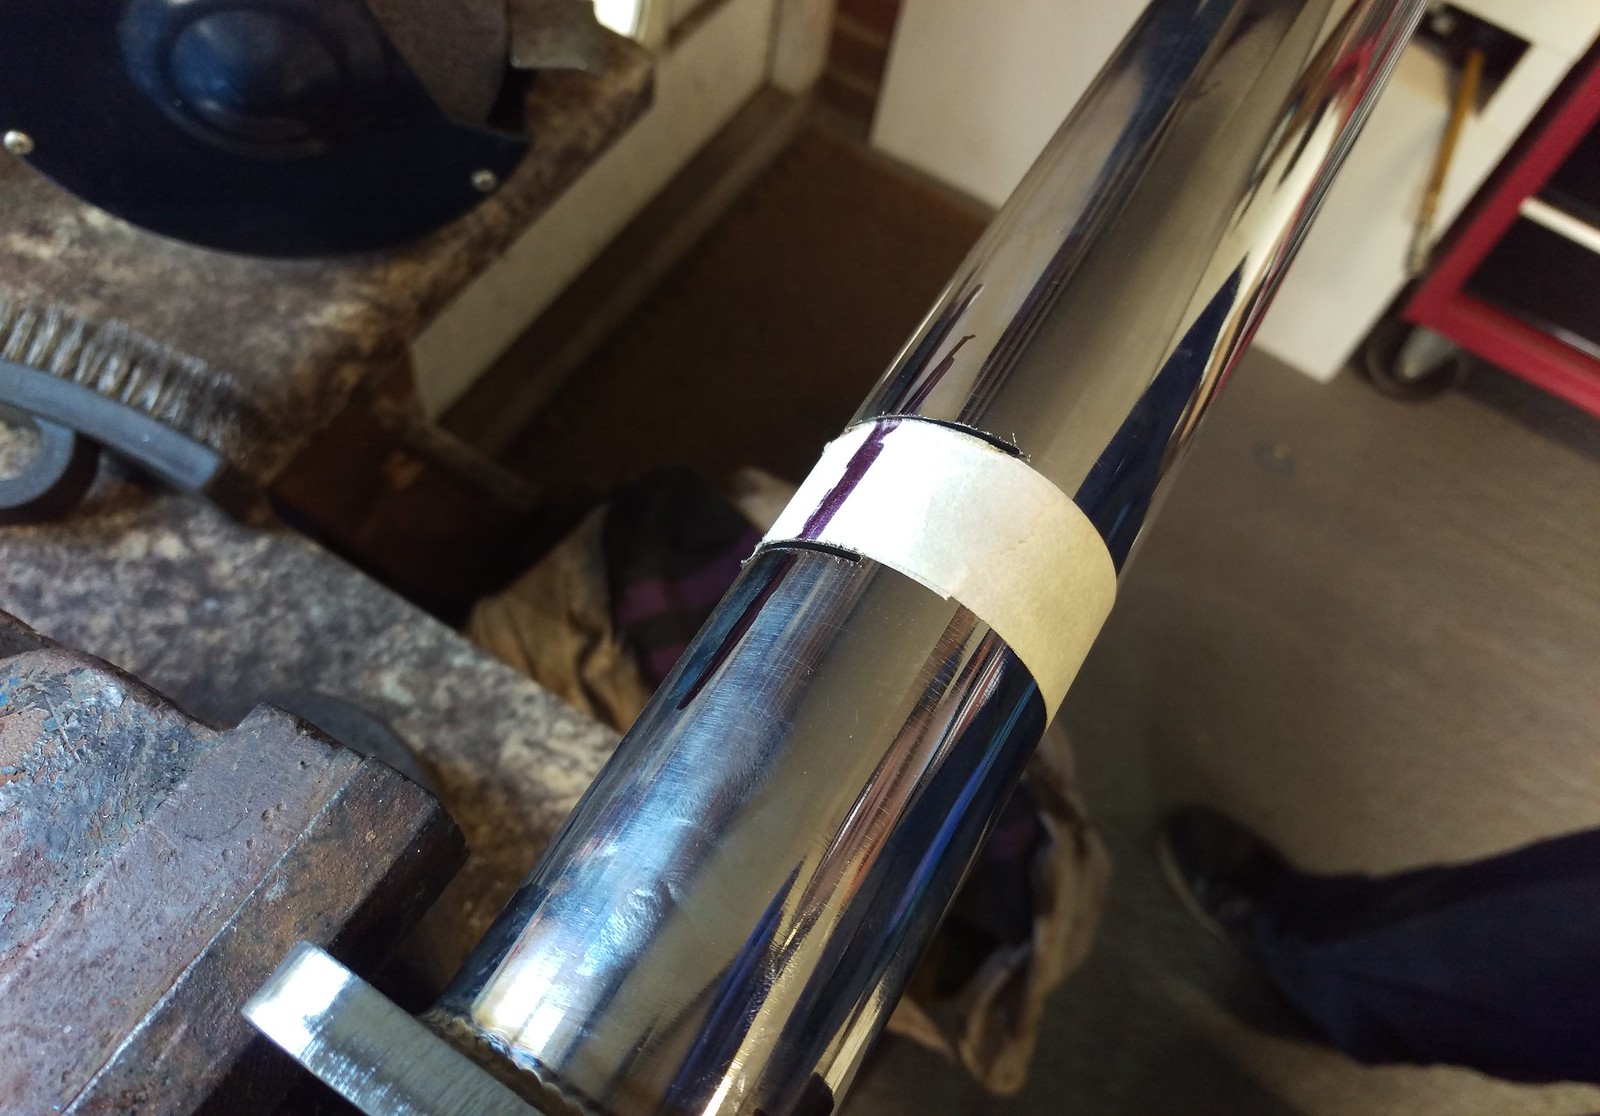
1 inch wide masking tape to mark the two cuts required keeping them parallel.
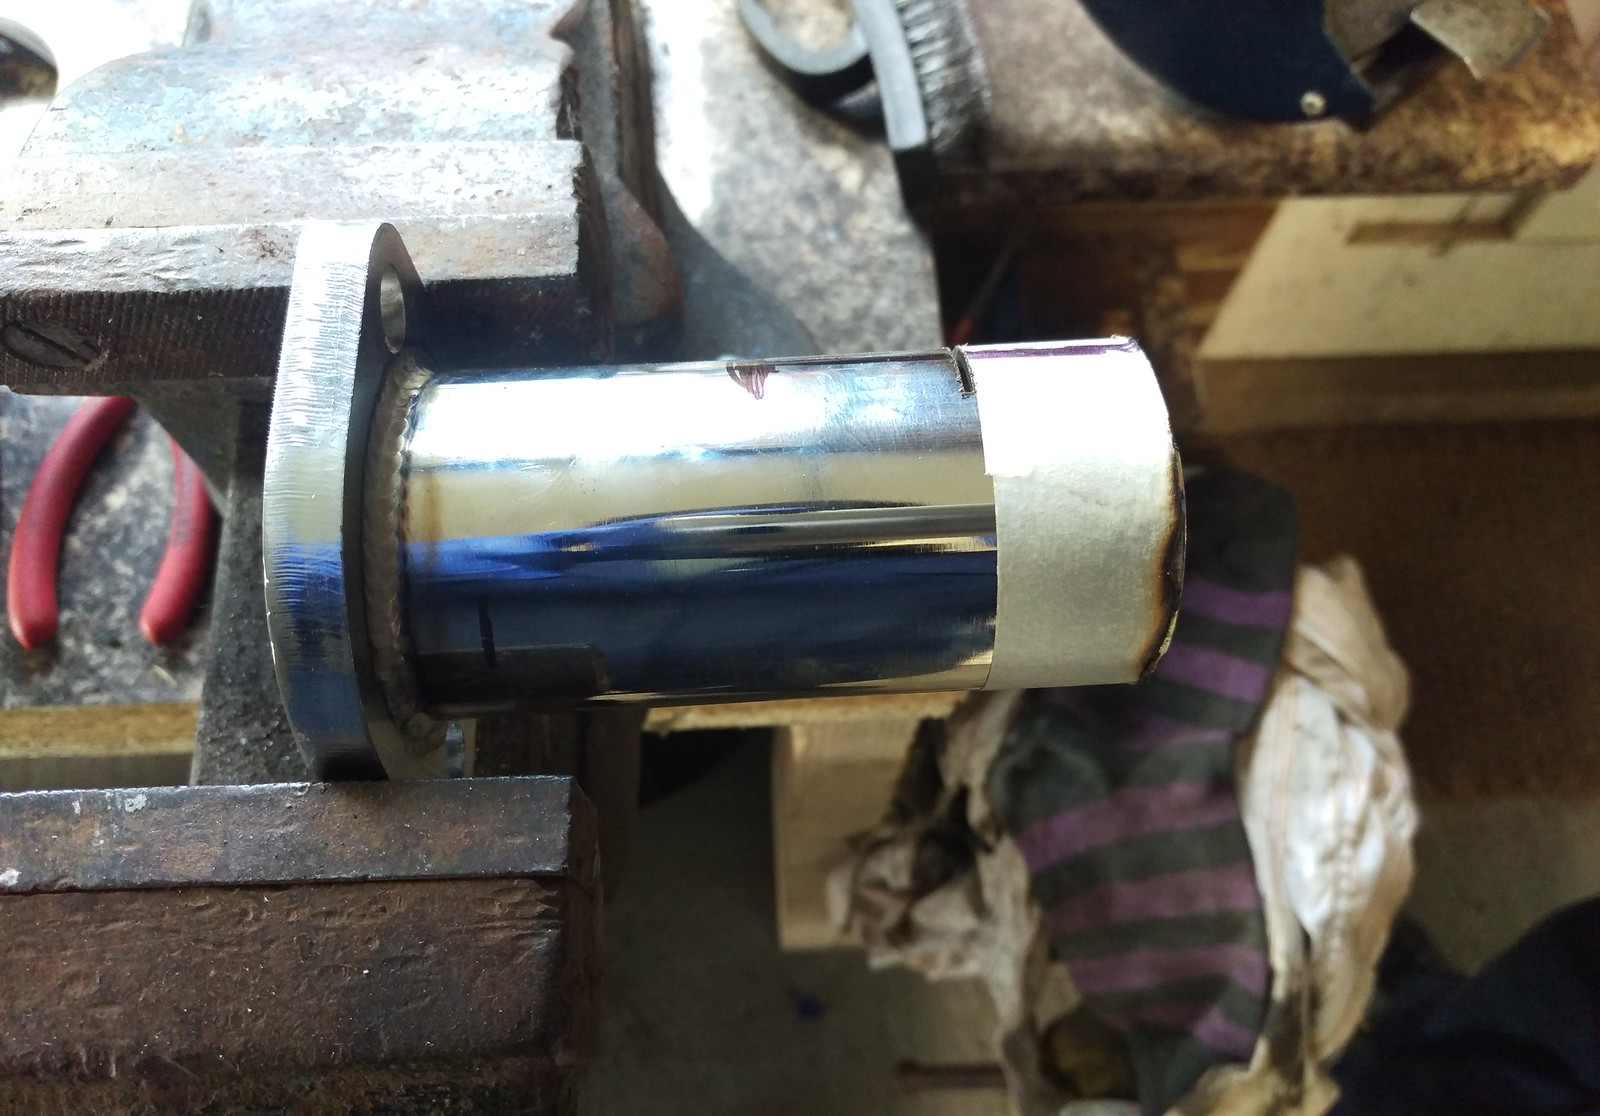
I then cut a slot in the section I’d removed so it could be opened out and used as an outer sleeve to rejoin the two sections. With the exhaust fitted back up we were able to get everything hung in place pretty well so I could tack the sleeve in place like this.
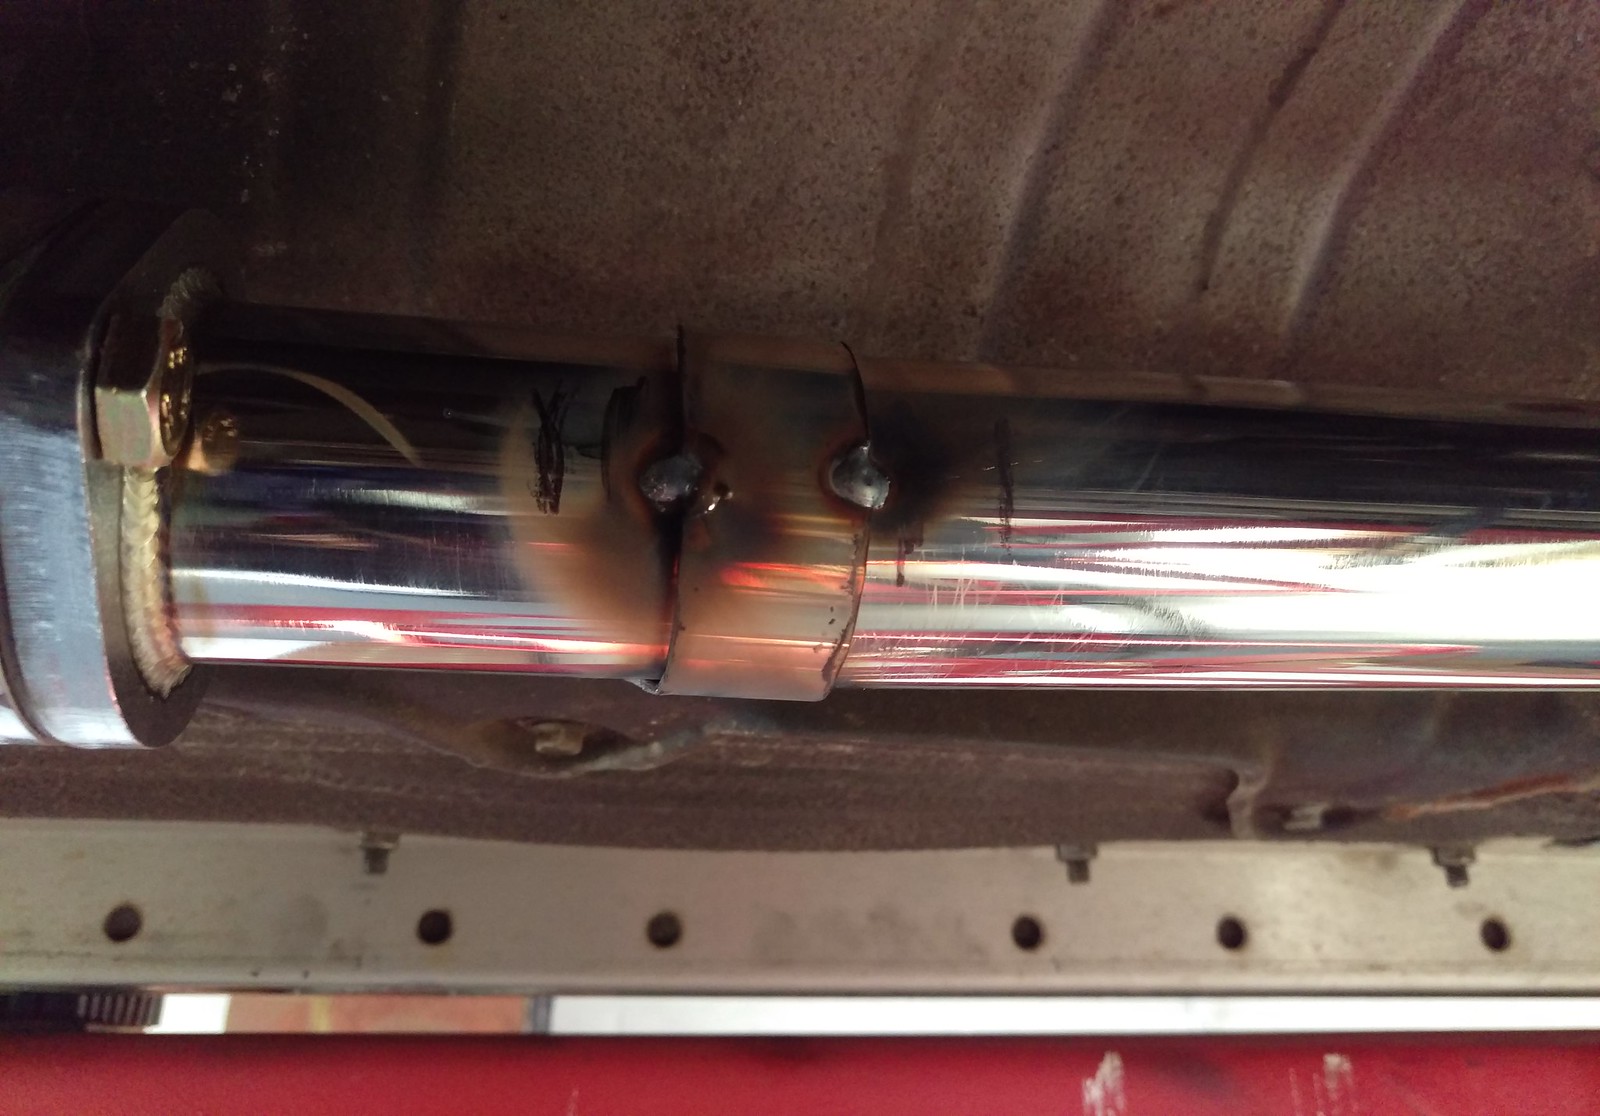
With that done it came off so I could weld it properly.
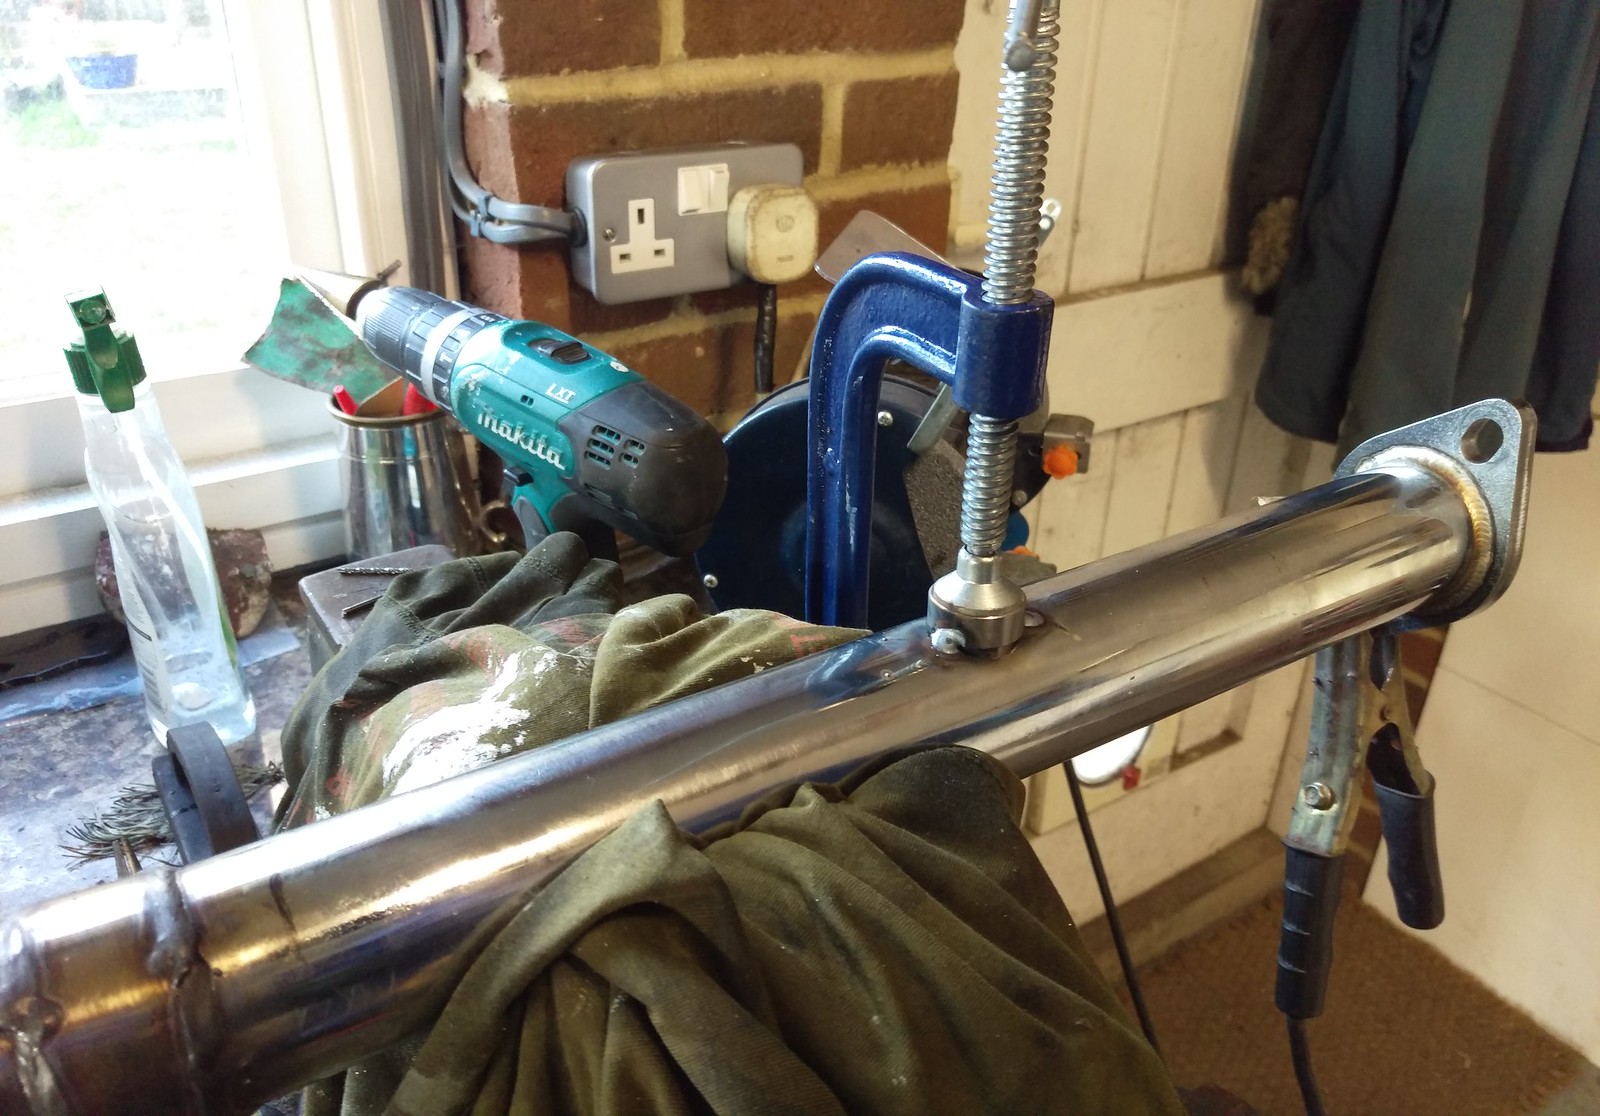
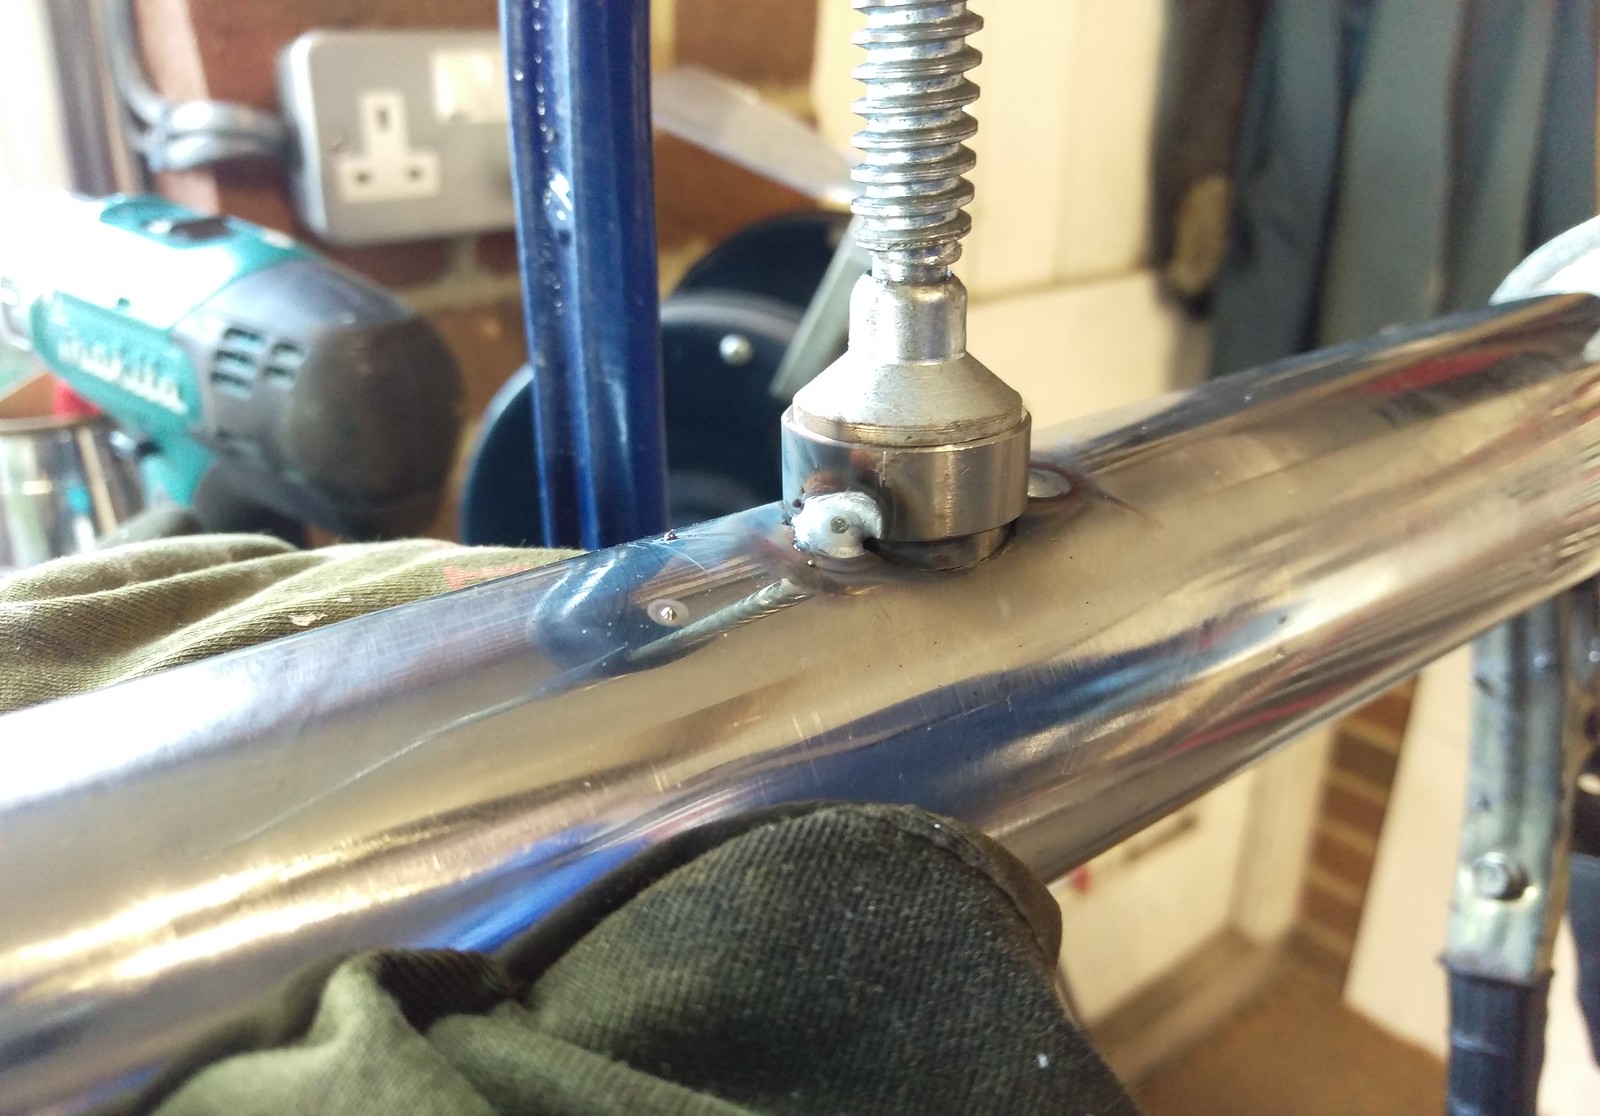
Next it needed the wideband lambda boss fitting. I started out with my step drill but it was going to take all day as it was just barely doing anything. So I got at it carefully with the grinder to thin the metal then finished it off for a neat hole with the step drill.
G-clamp holds the boss nicely in place for a couple of tack welds.
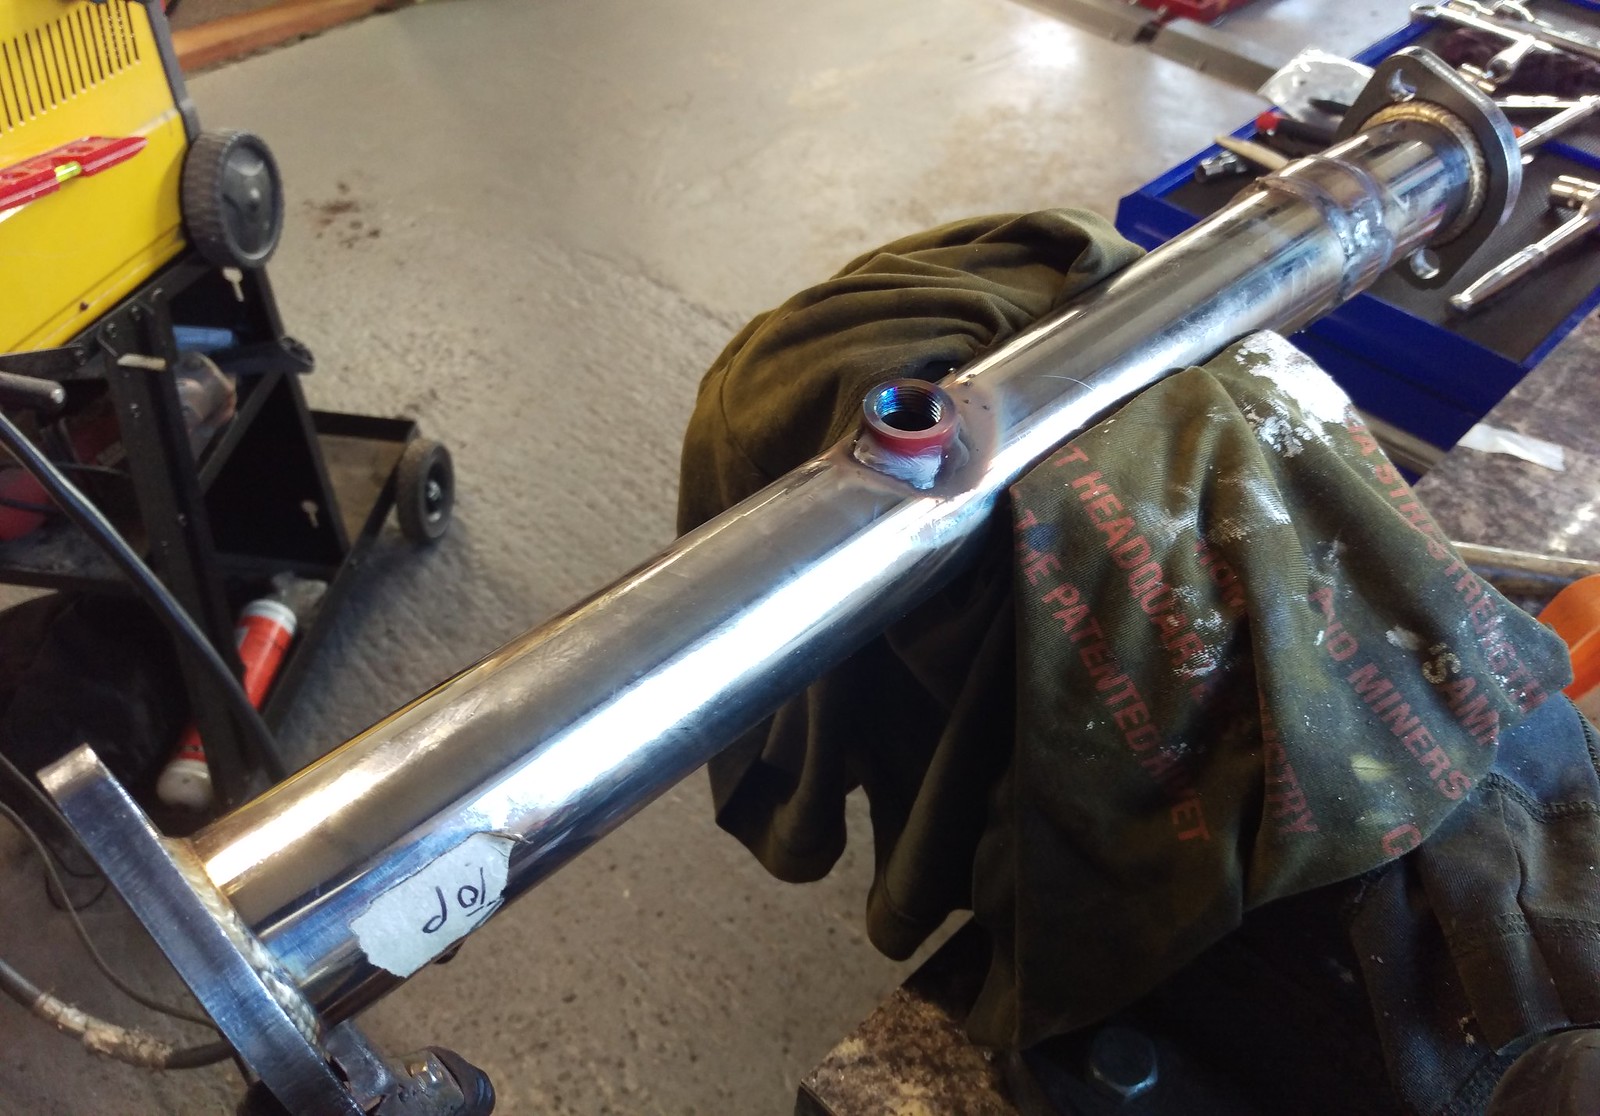
Done
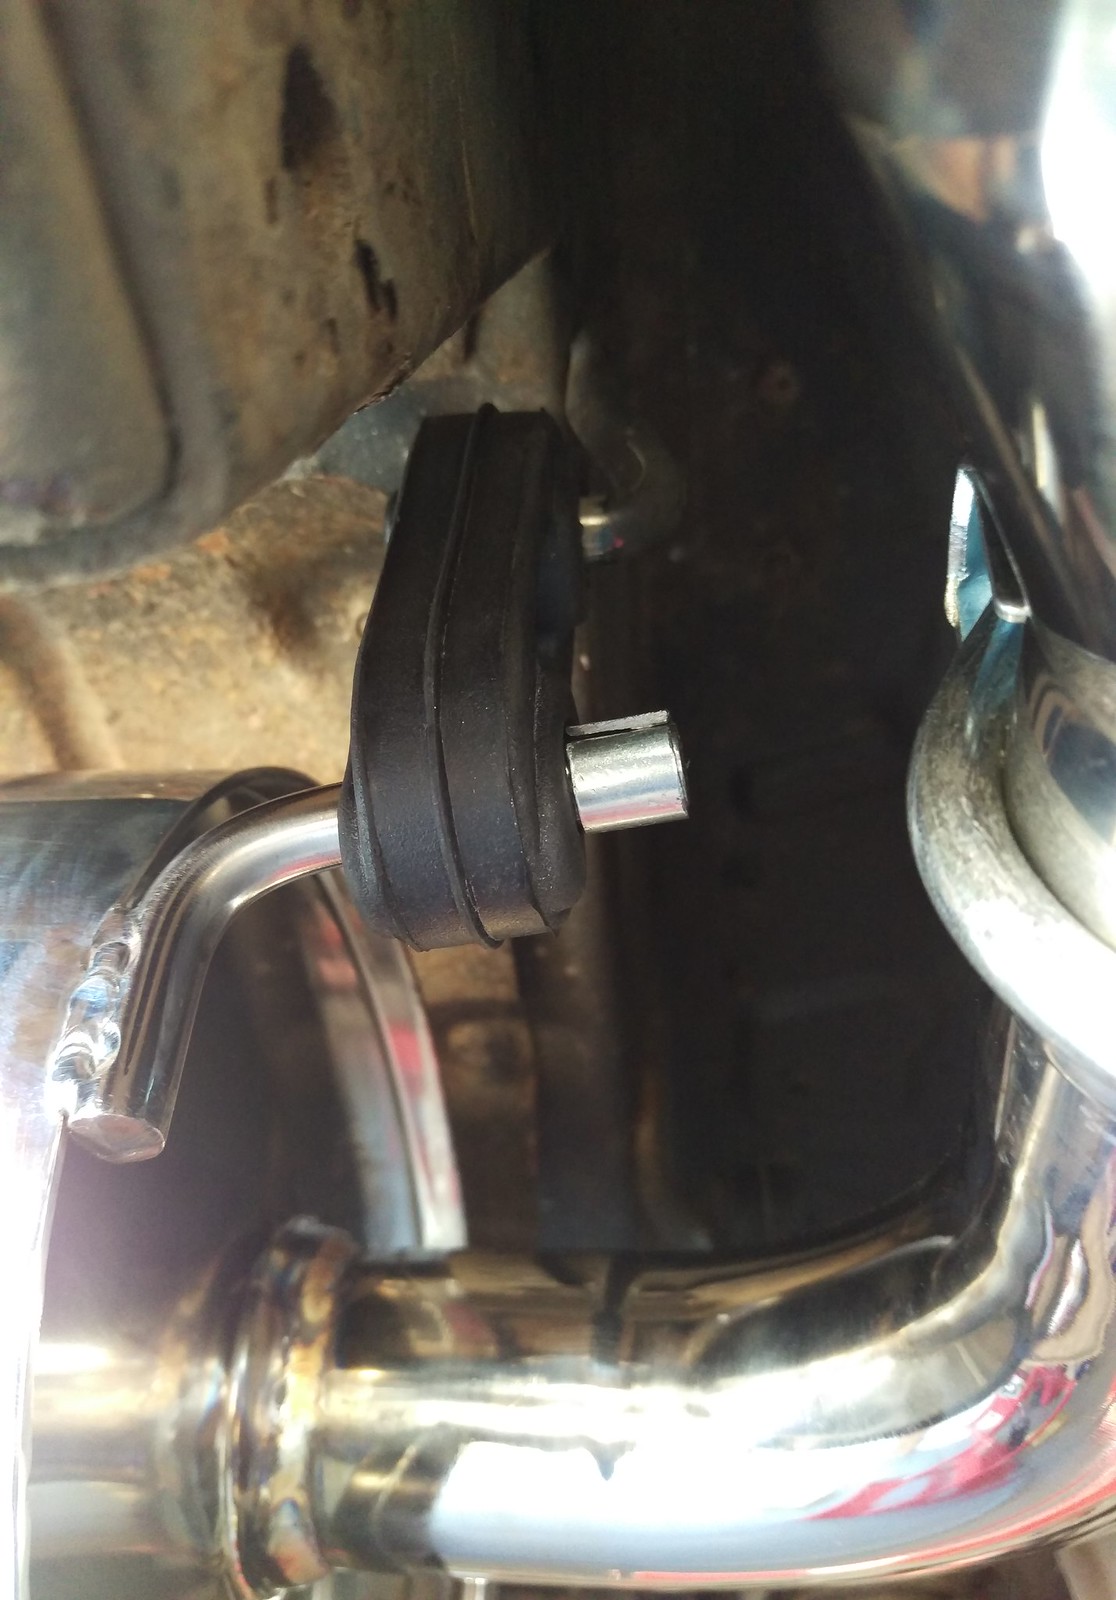
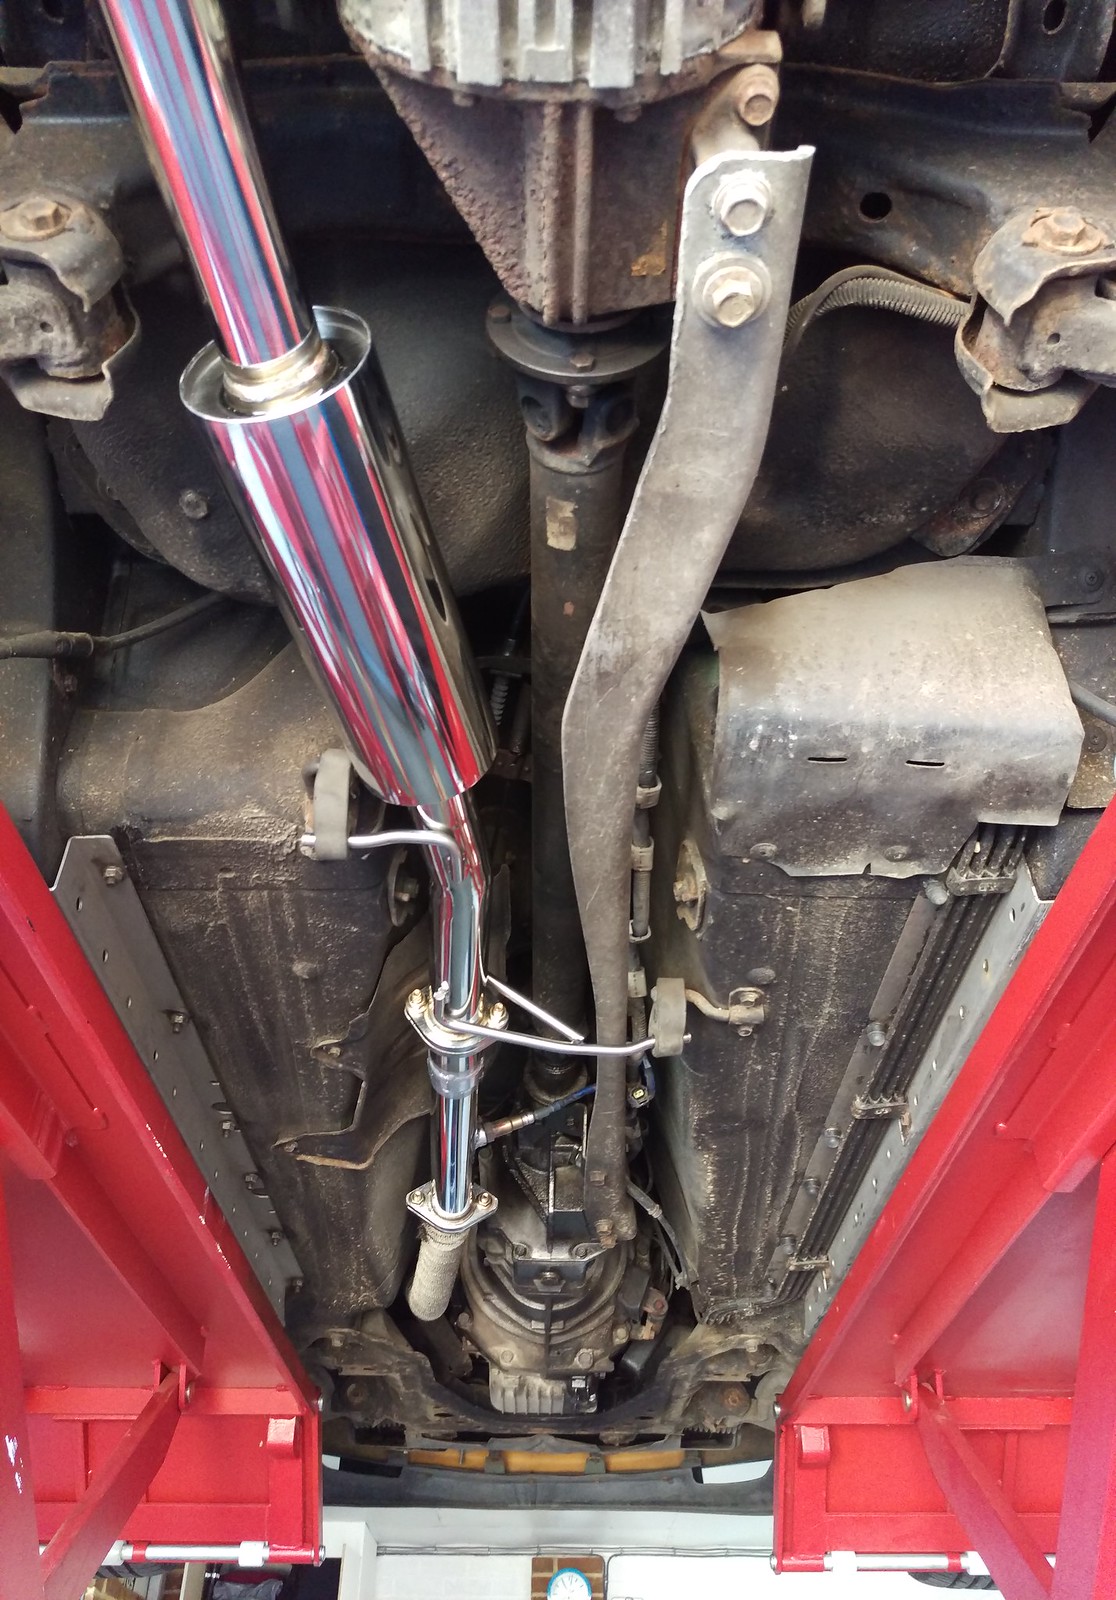
The exhaust hooks/hangers for the rear silencer needed a little bit of adjustment and I used some slightly longer rubber hangers from a Volvo, thanks to the helpful guy at my local Euro Car Parts shop.

The Volvo hangers came with some metal inserts that were too small to fit over the hooks on the exhaust but were useful to fit as a sleeve on the end, preventing the rubber hanger from slipping off, like this.
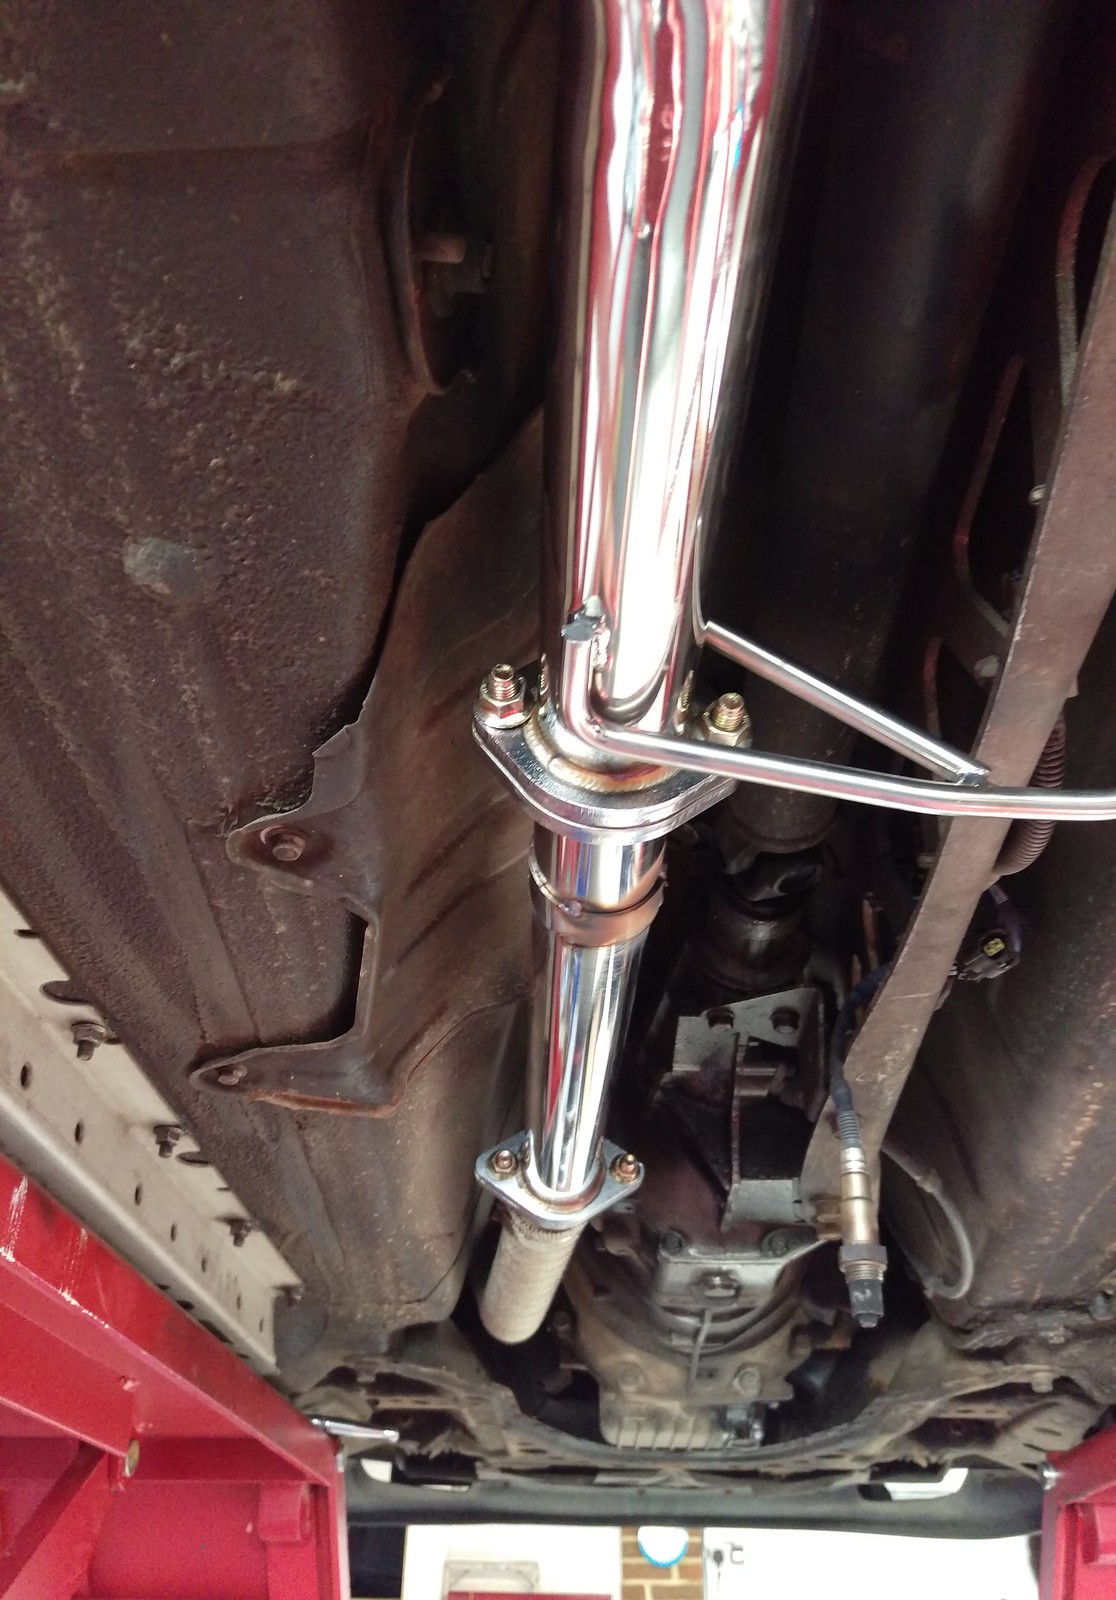
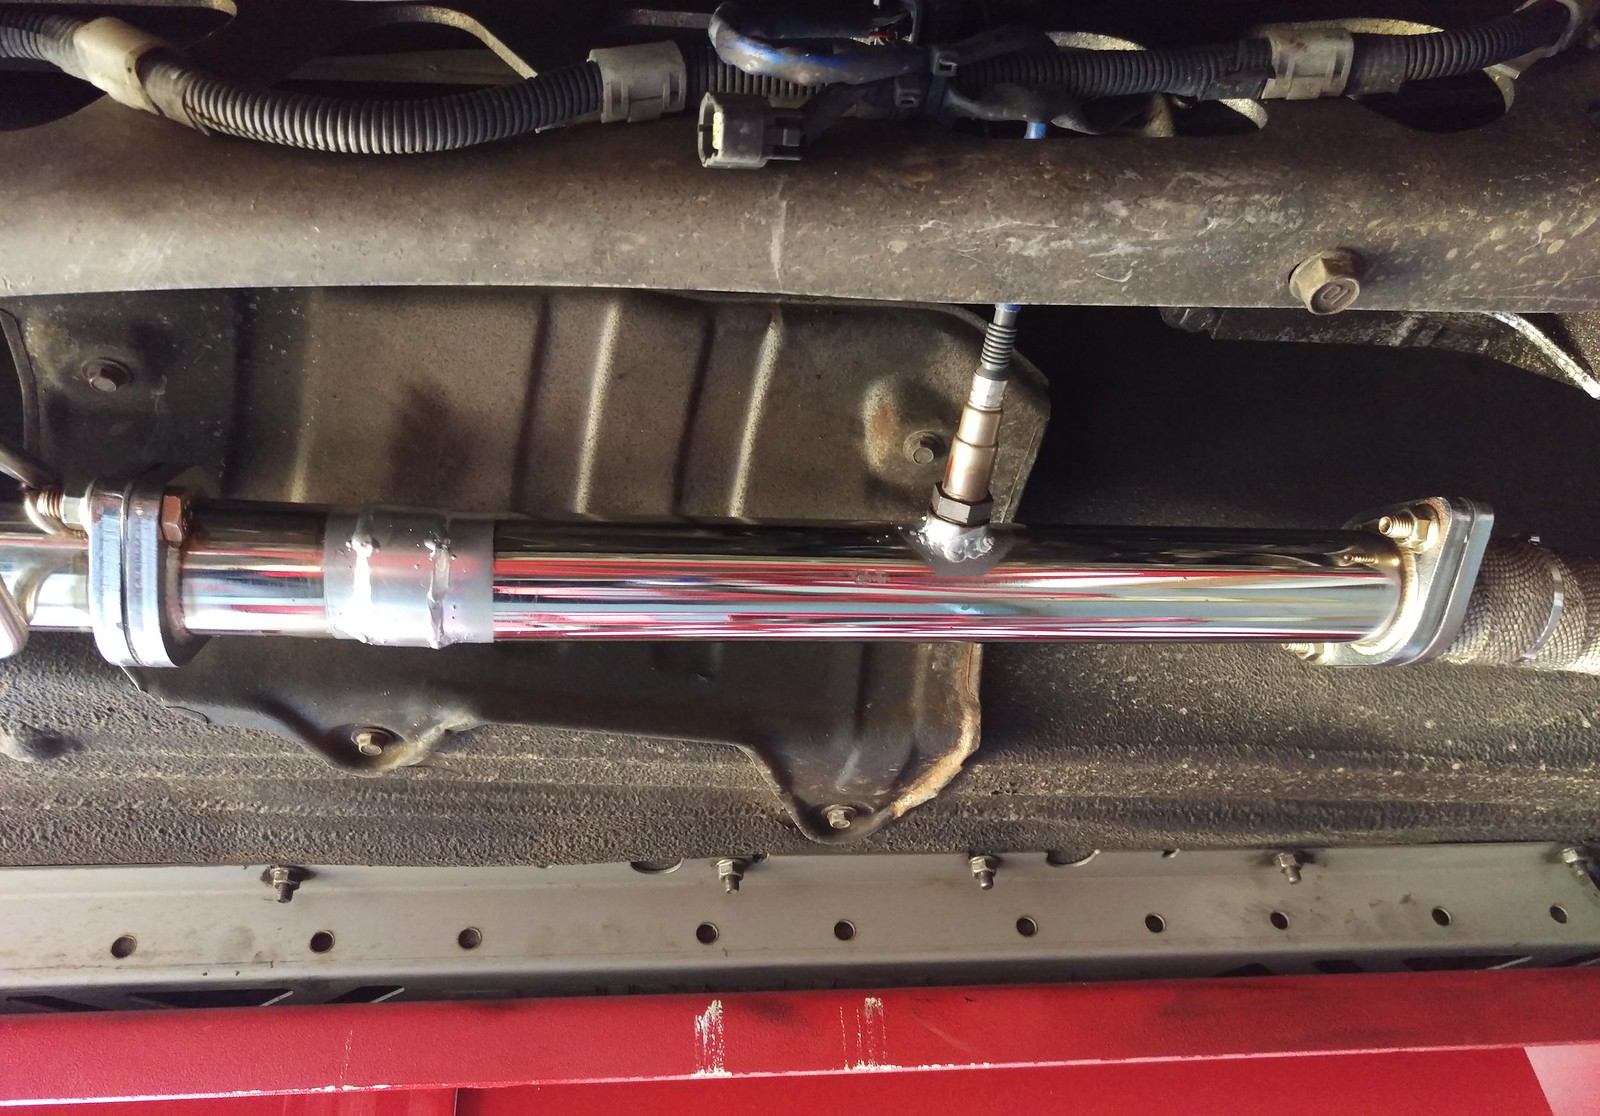
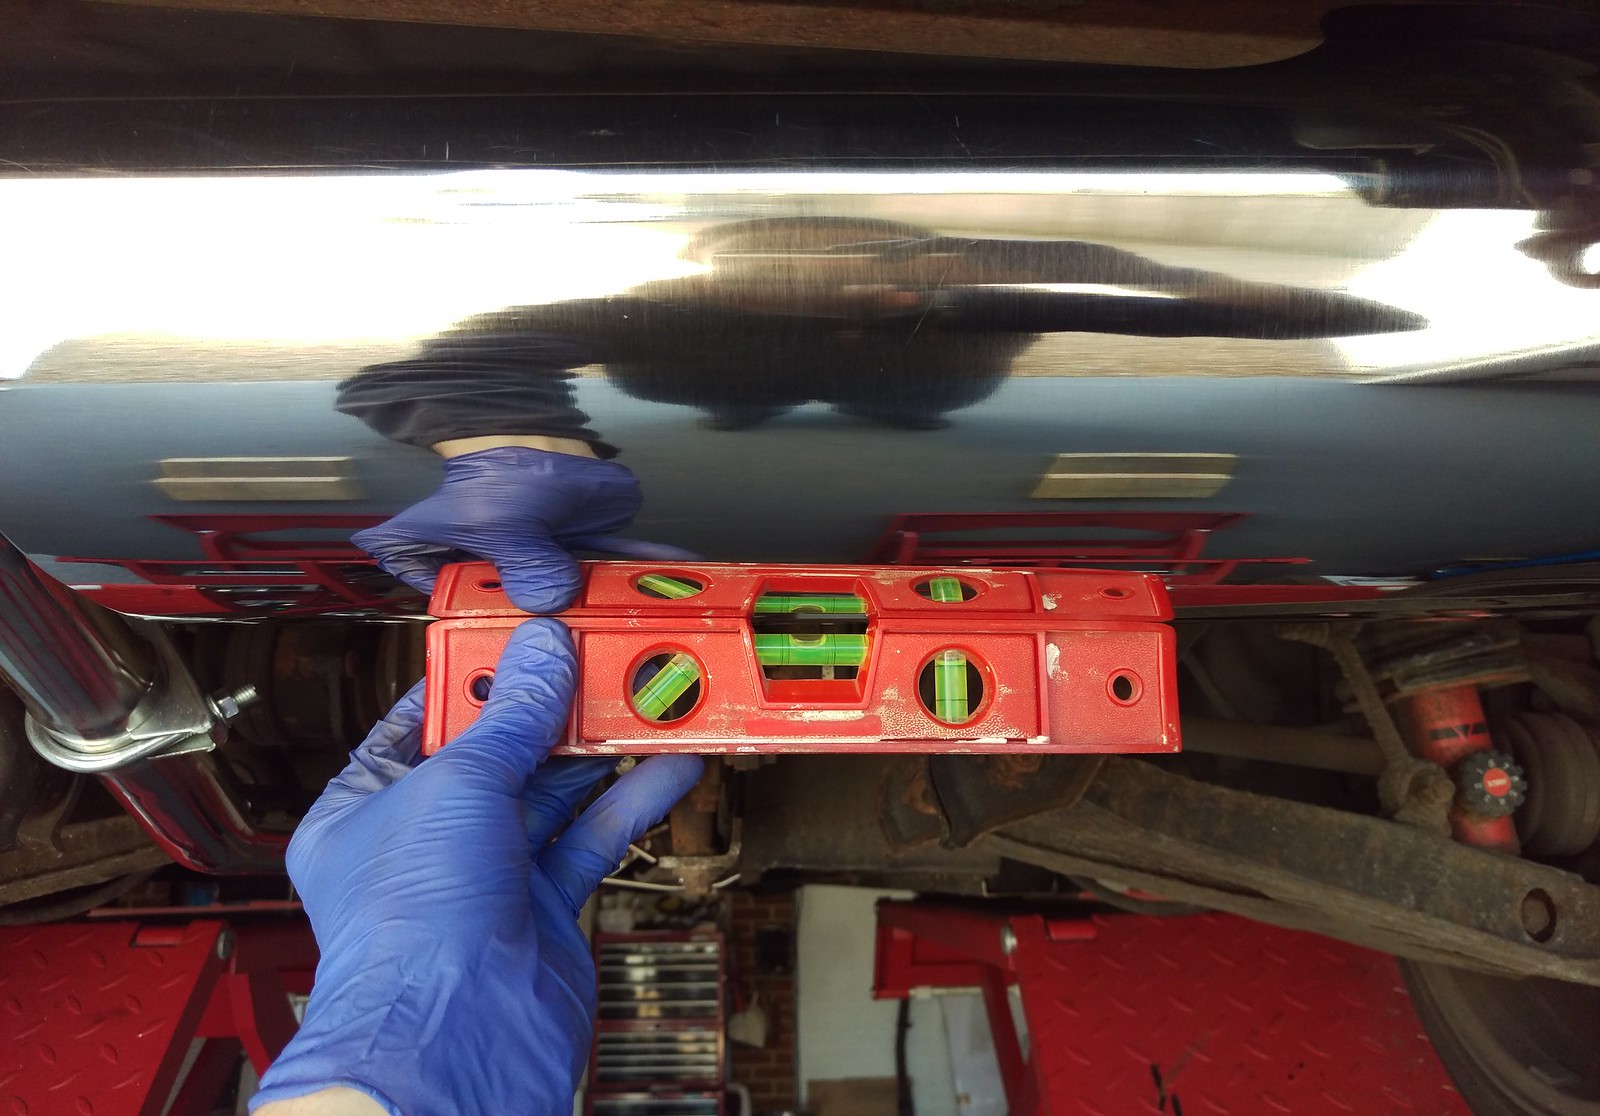
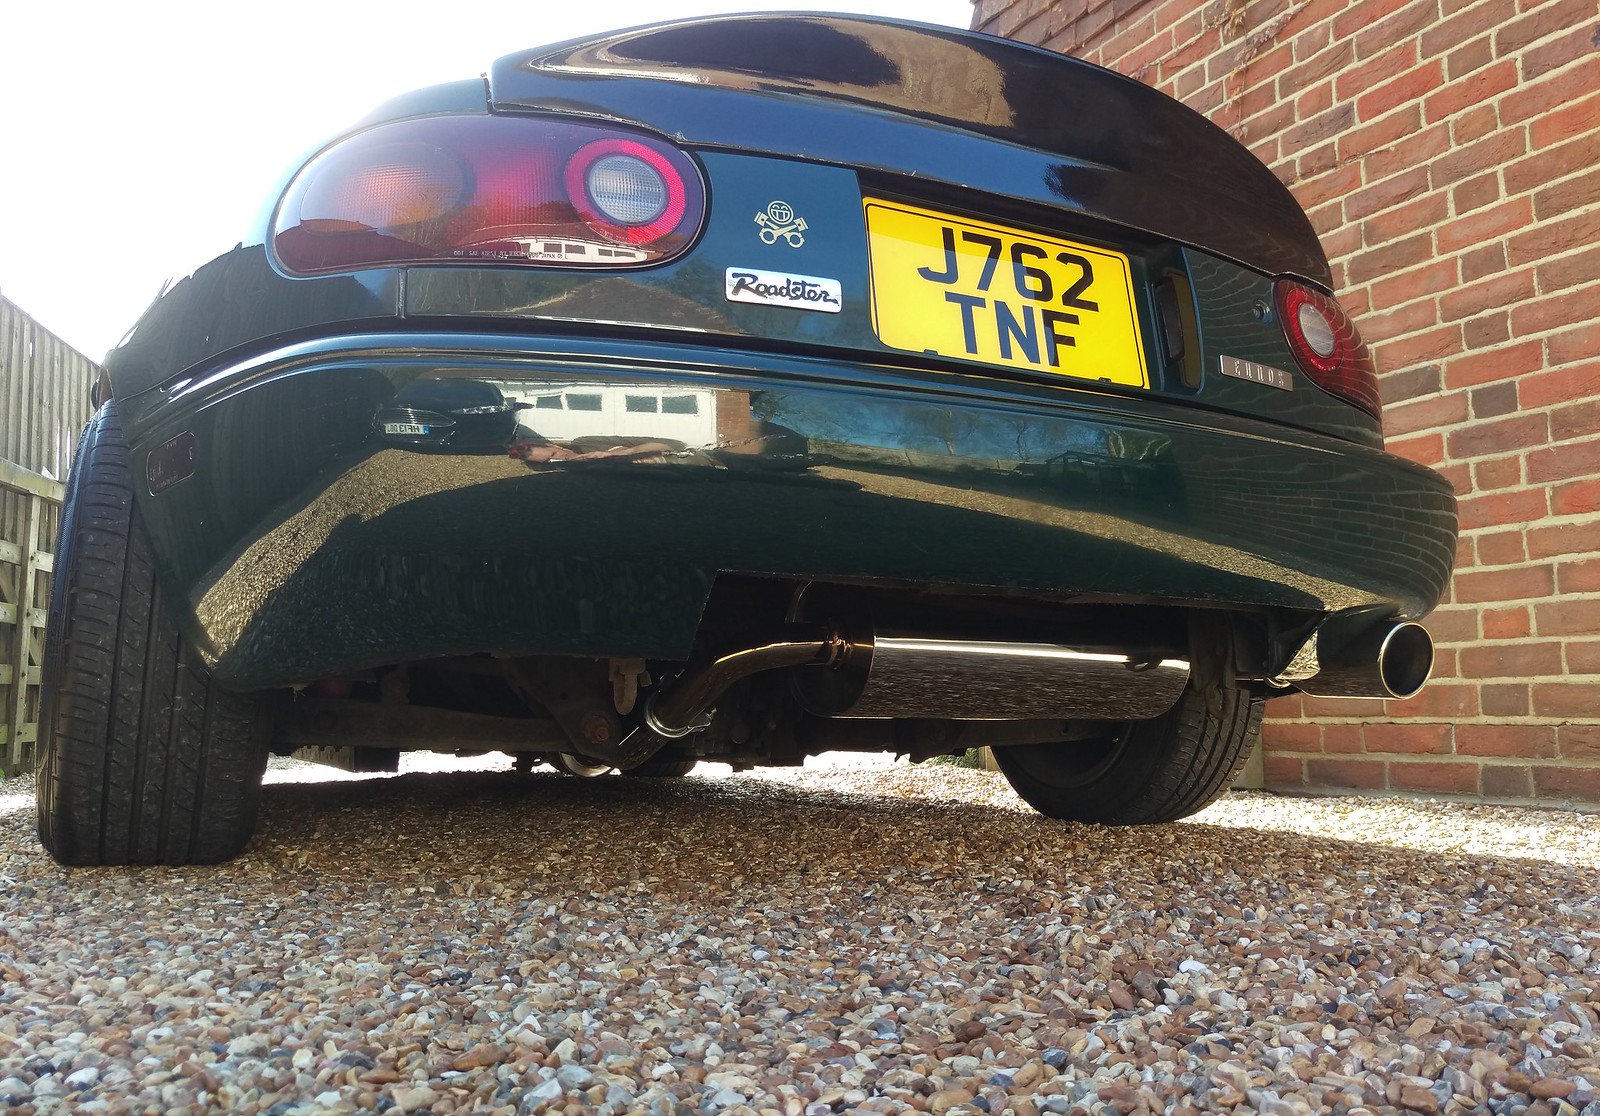
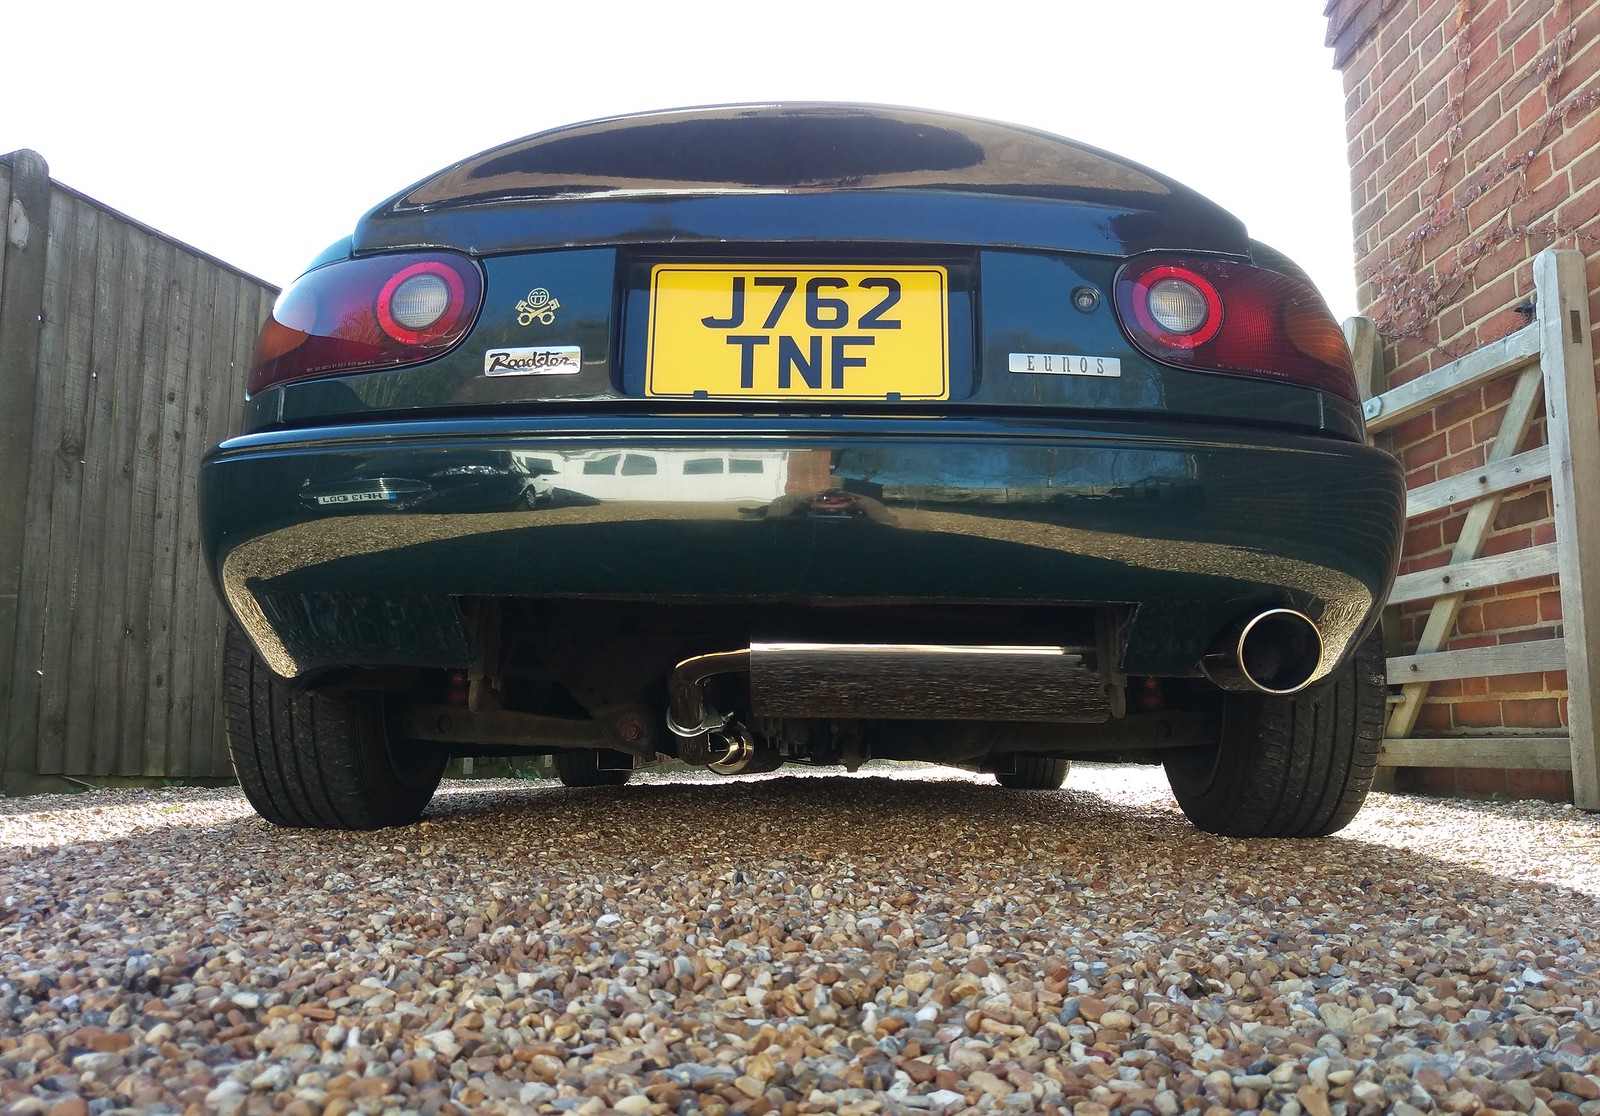
After a bit of fiddling and tweaking we got it fitting nicely. The rear silencer was even level!
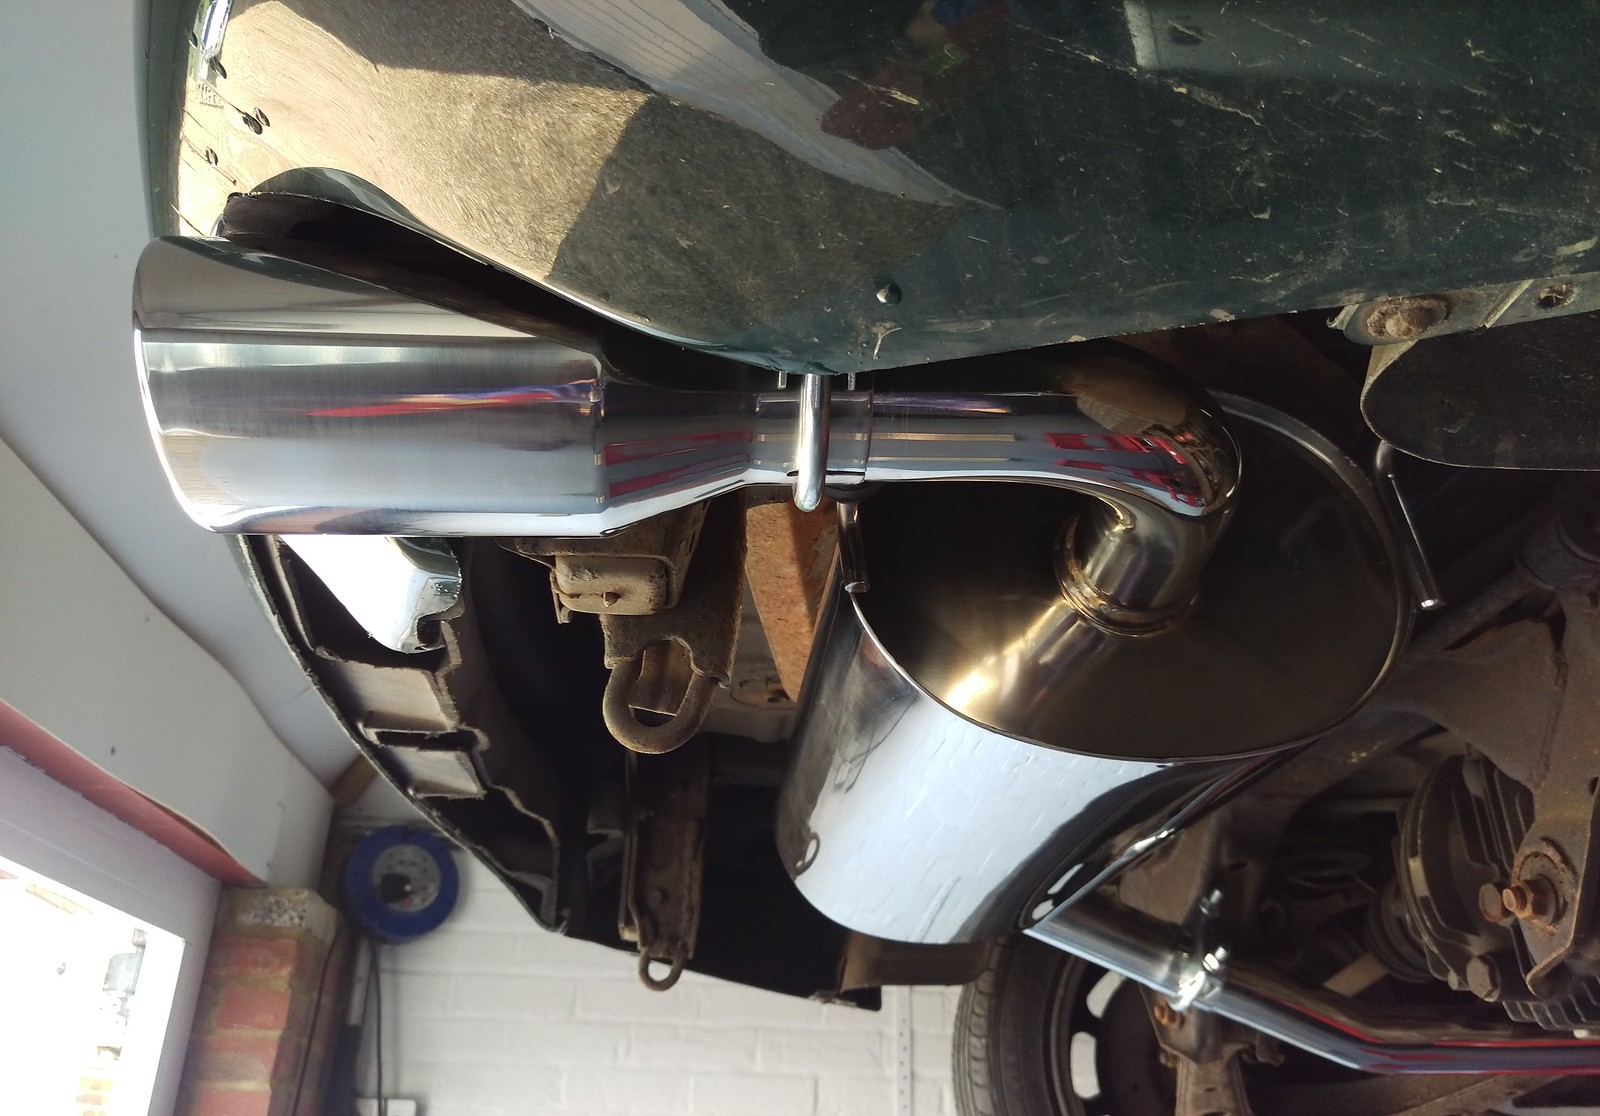
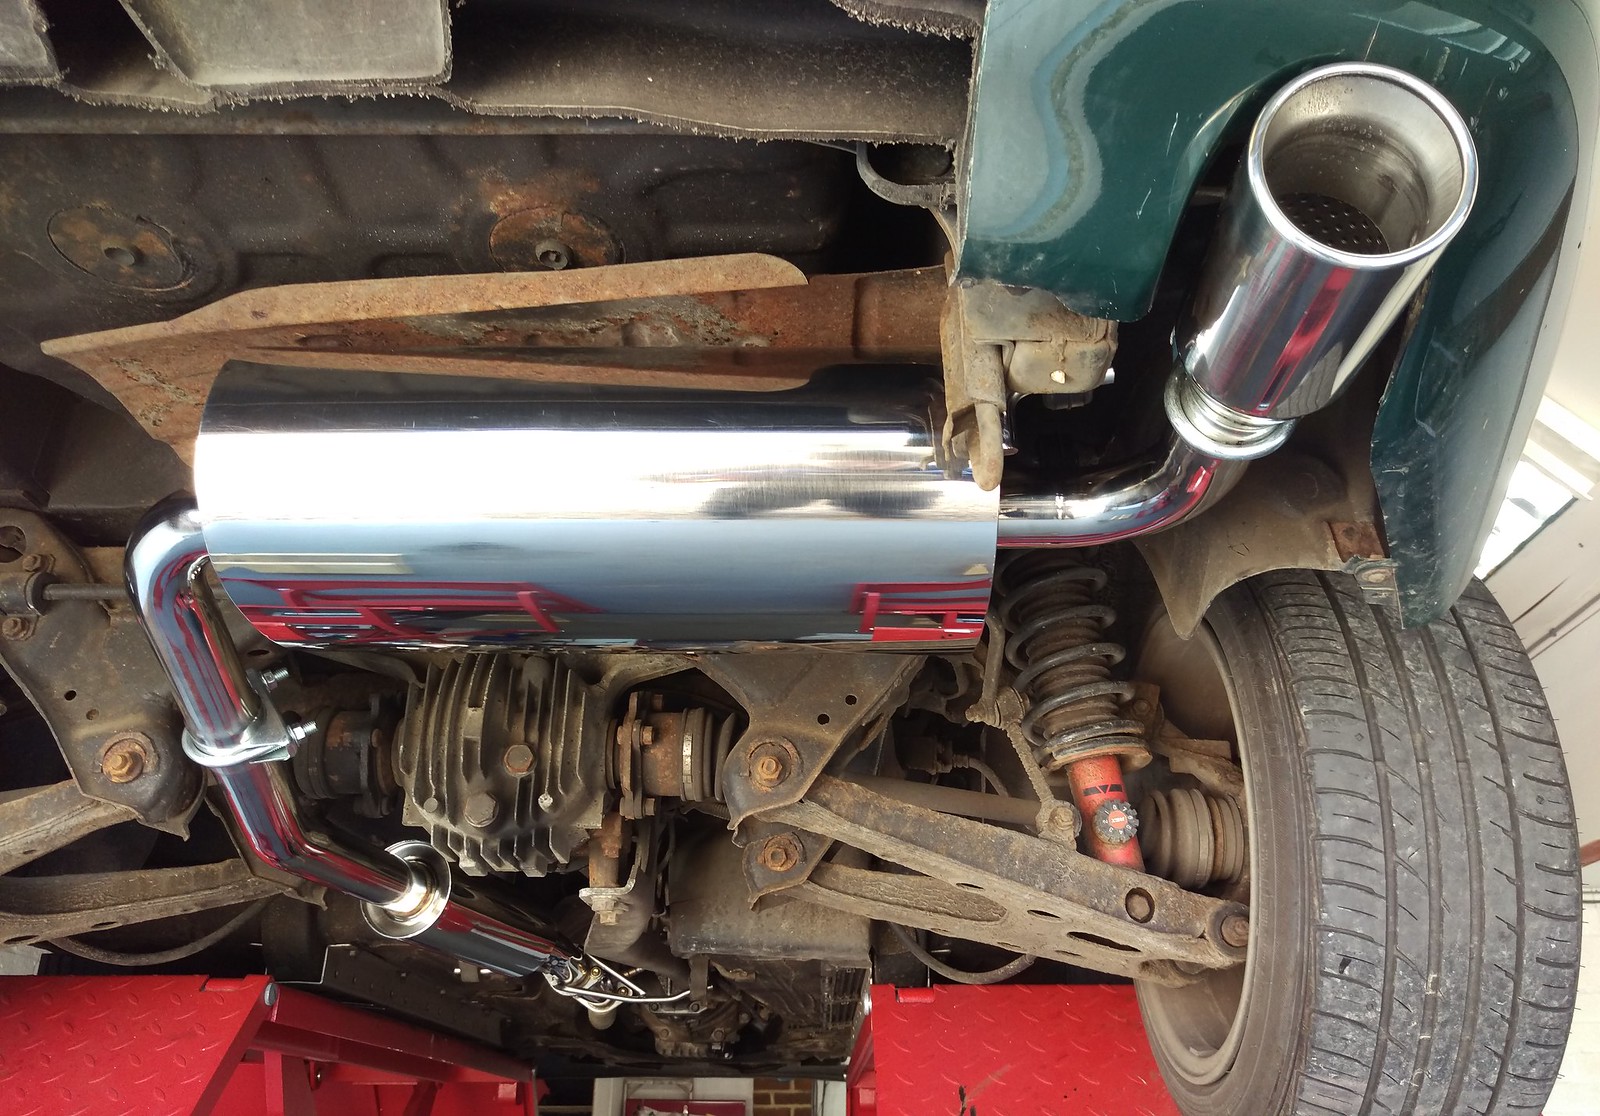
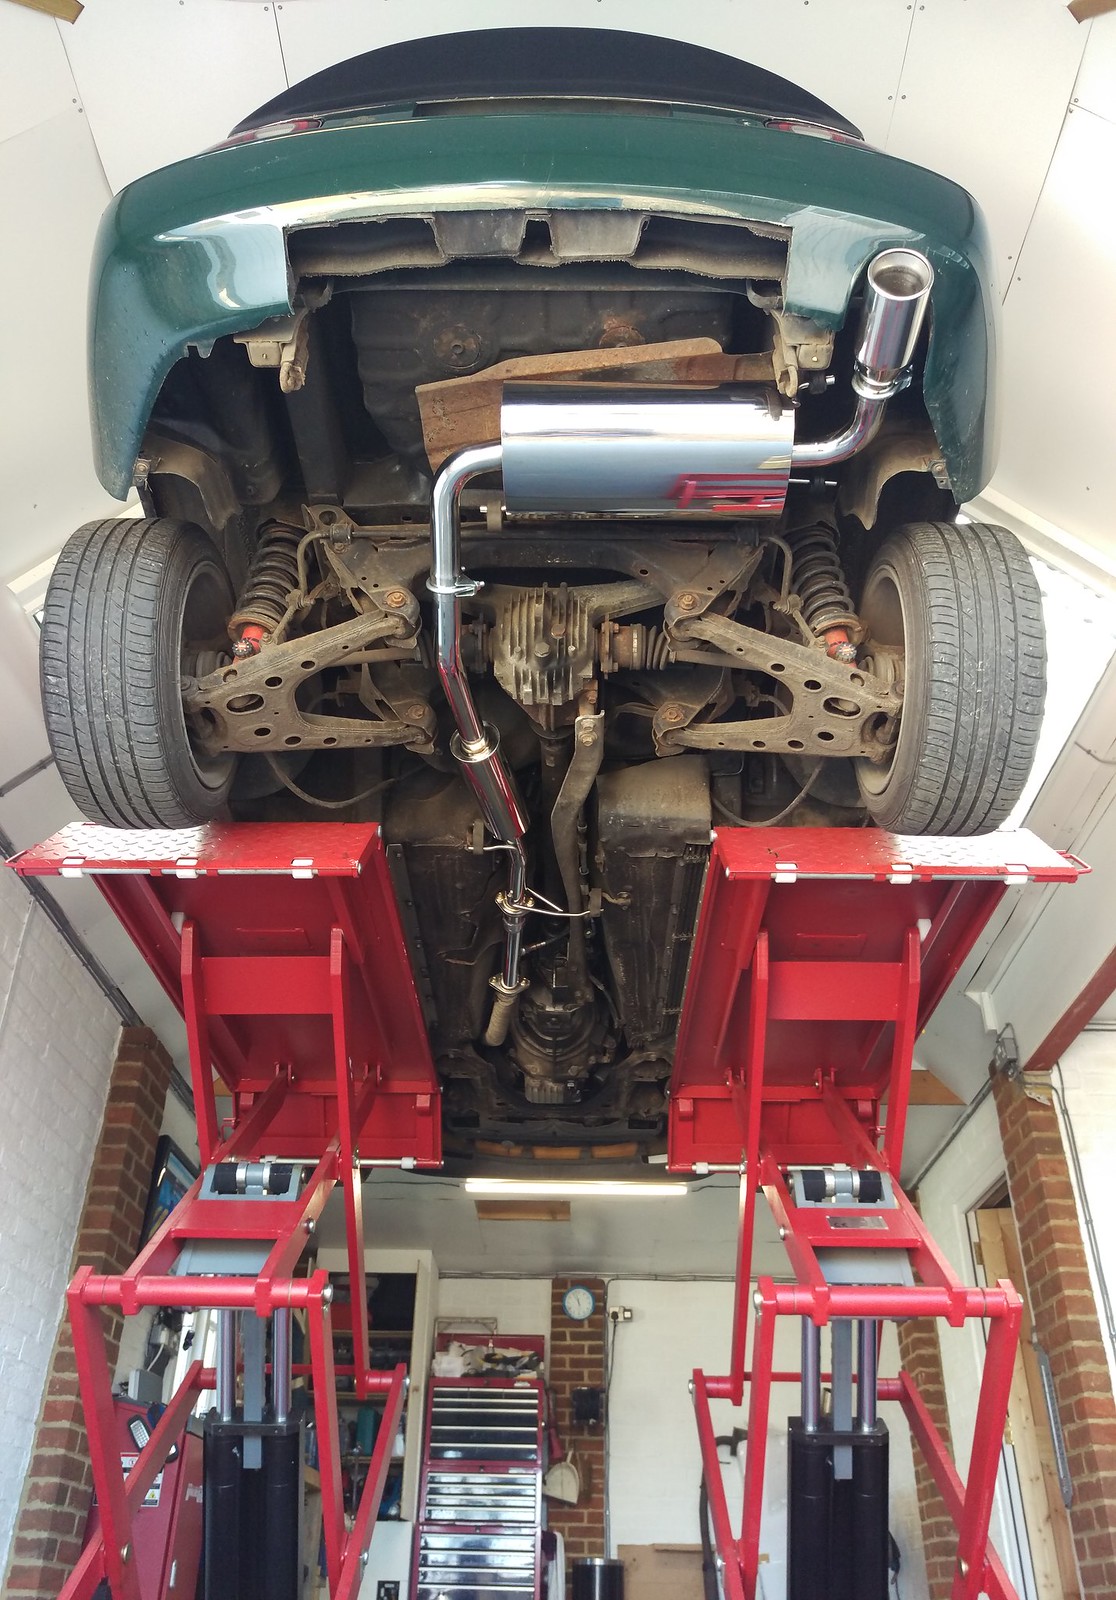
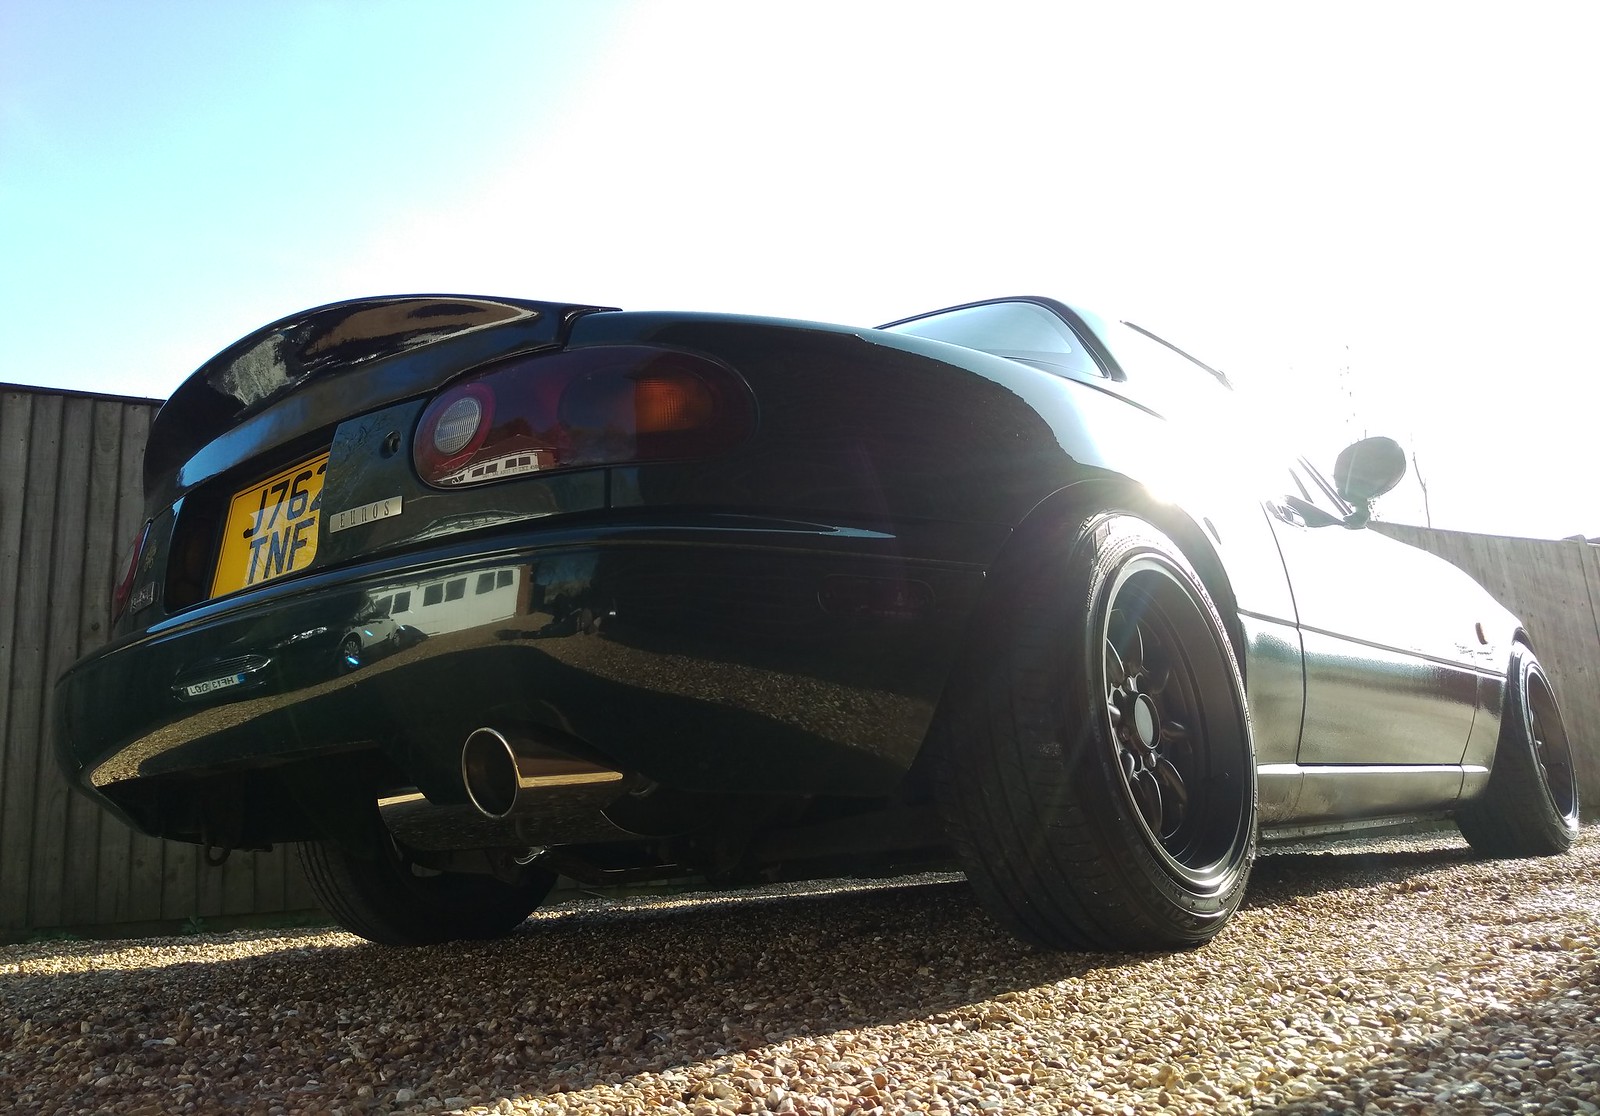
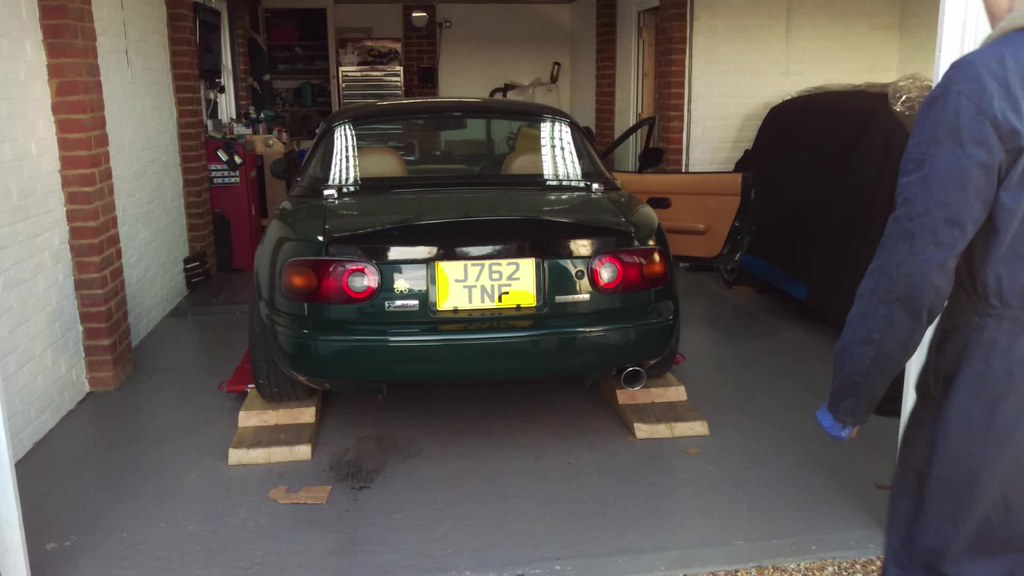
Car back on the ground for a few pics before driving it.
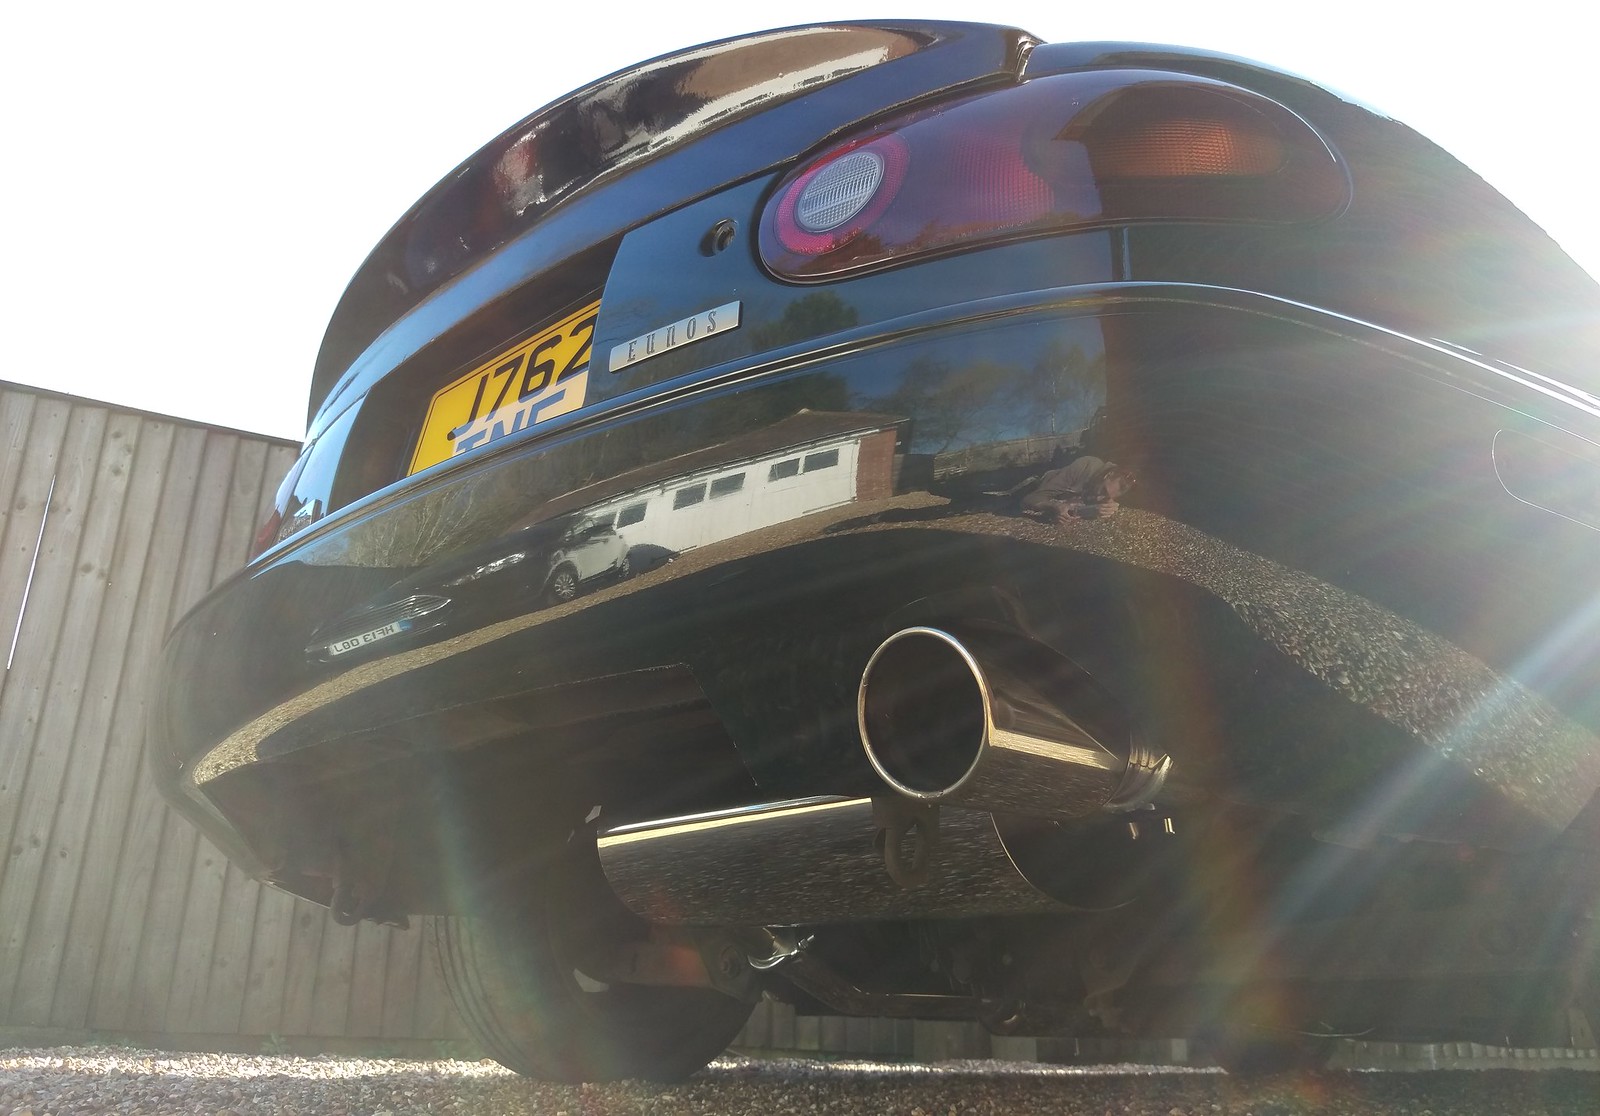
Here’s a couple of short clip of how it sounds.
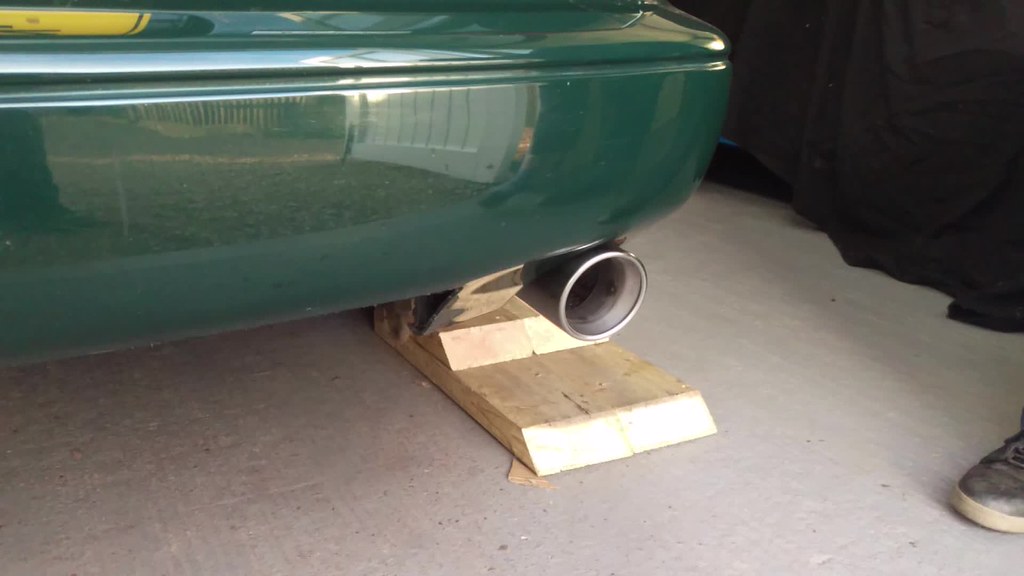
It’s certainly quieter than the previous exhaust system which was expected but initially a bit of a shame as me and Jem did like how it sounded before. But having driven it a bit, now I’ve got to like hearing more induction noise. But more than that I like the way it drives. I can only assume the old system was pretty bad or damaged inside meaning it was restricting flow because with the new system it drives noticeable better on part throttle at lower RPM’s and it revs out to high RPM’s more freely. Wish I’d replaced it ages ago now!
The obvious downside I found with this particular system was the fit. It wasn’t so bad that it made it impossible to fit and could have been fitted with some effort without the need to cut and weld it but trimming that inch out of the center section made it sit so much better under the car. To me that’s not a problem at all and I’m happy enough to do that considering the cost was less than many stainless systems that are just cat back. But I guess some people might prefer to spend more on a system that fits perfectly out of the box.
Another small problem I had was the tail pipe finisher rattling which was a bit of a pain but it was easily fixed by pressing in a thin bit of steel between the two bits rattling. I expect I could have had a replacement sent to me if I’d asked but I can’t really be bothered with that when it was so easy to fix.
Overall I’m happy our little MX5 has now got a stainless exhaust system that sounds nice, doesn’t knock on the underside of the car, drives nicely and will hopefully now be problem free. Time will tell on that last one but it’s been going 2-3 months now with no new rattles or problems.