As far as I knew the clutch in the MX5 was nothing special. It had clearly been replaced at some point but I had no idea what with or how long ago. So I knew there was a chance it might not be able to handle the additional torque the supercharger setup was going to give. But I had read that a standard 1.6 clutch and flywheel was capable of taking a fair bit of extra power and torque so I just figured it best not to worry too much about it until I knew the supercharger setup was running right and reliably with whatever torque it ended up at.
If the final setup didn’t end up that powerful then the clutch in it might have been fine but things went better than I expected power wise. The supercharger is capable of providing full boost from around 2k rpm which makes for quite a decent low down production of torque so anything more than maybe 3/4 throttle between 2k and 4k rpm the clutch would just give up and slip.
So it was time to upgrade. I did a fair bit of reading about what others had tried with similar setups. With the popularity of the MX5 and modding them being so common it means there are plenty of options out there. As ever though, I was just looking for the best option to do the job with no unnecessary expense or adverse effect on drive-ability.
A cheap option was to keep the 1.6 flywheel and clutch cover and just replace the plate with an XTD paddle item for £89. I read a few opinions from people who’d tried that option and apparently the clutch is not very progressive making maneuvering and town driving harder work than it needs to be and would make it tricky to get into reverse at times. I also read a few people who’d fitted them had problems with the springs in the plate touching the inner edge of the flywheel so it would not disengage at first and need some rocking of the car back and forth while in gear to free it up. I did also read though that they drive fine when on the move and would be a great cheap option for a track car for example but that’s not the intended use of our MX5.
A more costly option was to get an uprated clutch kit from Exedy or one of the other manufacturers to reuse the 1.6 flywheel or get a 1.8 flywheel too and get an uprated 1.8 clutch kit. The cheapest options would have been around £300-350. Not ridiculously expensive and some options would not adversely effect drive-ability but they would all have been a bit overkill for my needs.
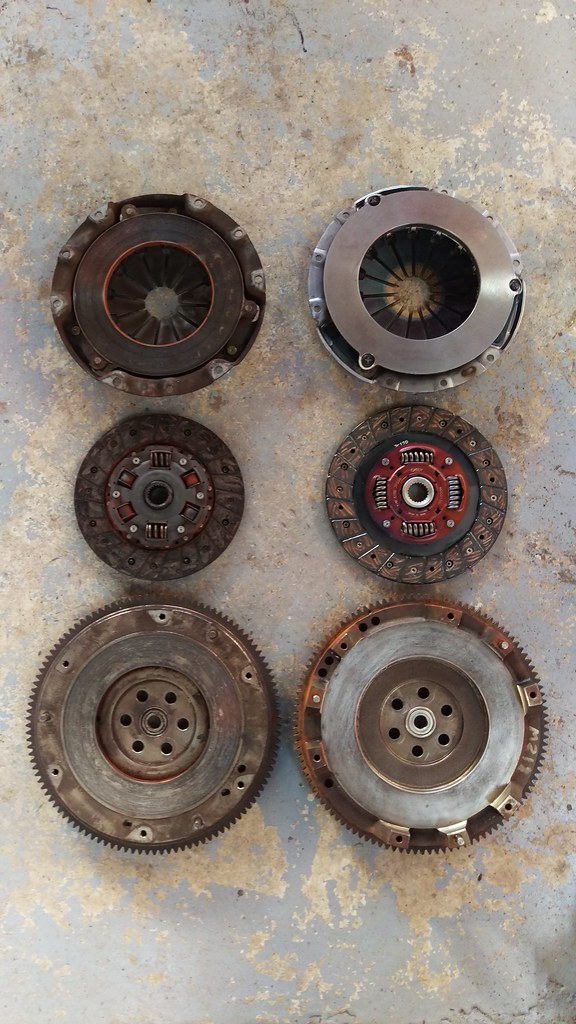
I also read that a good quality standard 1.8 clutch setup was capable of handling the kind of torque and power I think my setup is running (circa 200bhp at peak boost of 10psi). An Exedy replacement 1.8 clutch kit could be got for £130 and I found a very good condition 1.8 flywheel for £25. So that’s what I went with. Obviously being a standard 1.8 replacement means no change in drive-ability but the increased diameter and surface area of the 1.8 flywheel, clutch plate and cover should be enough to handle the torque.
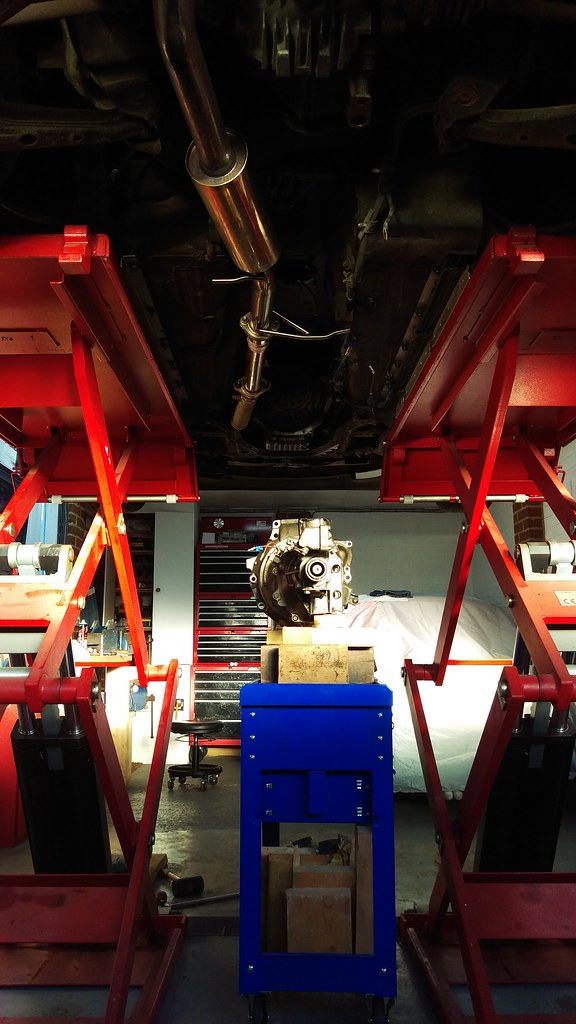
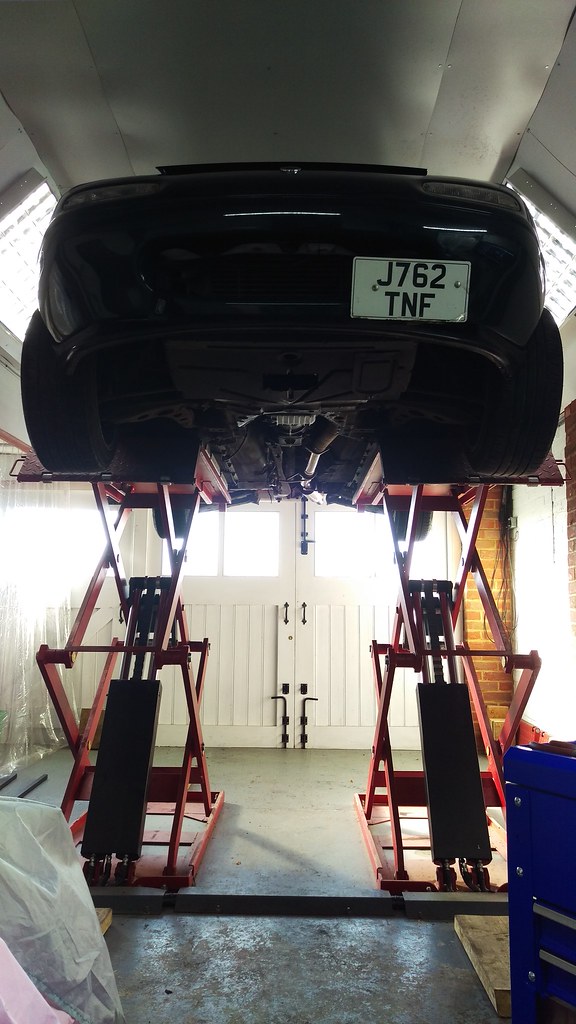
So on to the job. This is where I’m soooooooo glad to have a lift. I think every account I’d read about doing a clutch change on axle stands ended in ‘Never again, just pay someone to do it’ or something similar.
There are some good youtube videos and a few useful guides out there to check out though many are now ruined by photobucket blocking the images. So this is not intended to be a guide but I took lots of photos as I went and I find pictures are very useful for a quick look through to eye up doing a job before getting stuck in myself. So I will just stick the photos I took up as they may be useful to anyone who ends up here looking for info on doing a clutch change. Importantly they are not hosted using Photobucket though they are hosted by Flickr at the moment so lets hope they don’t go the same way as PB!
A guide I used can be found HERE
Some info on the PPF alignment HERE
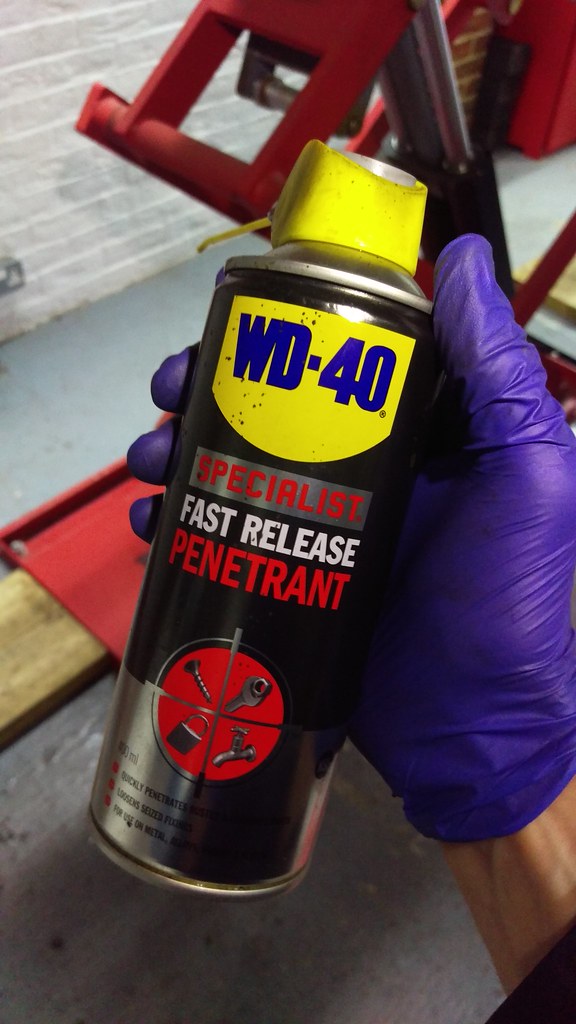
First job was to get the car up on the lift a couple of days before and cover all the bolts in some of this stuff.
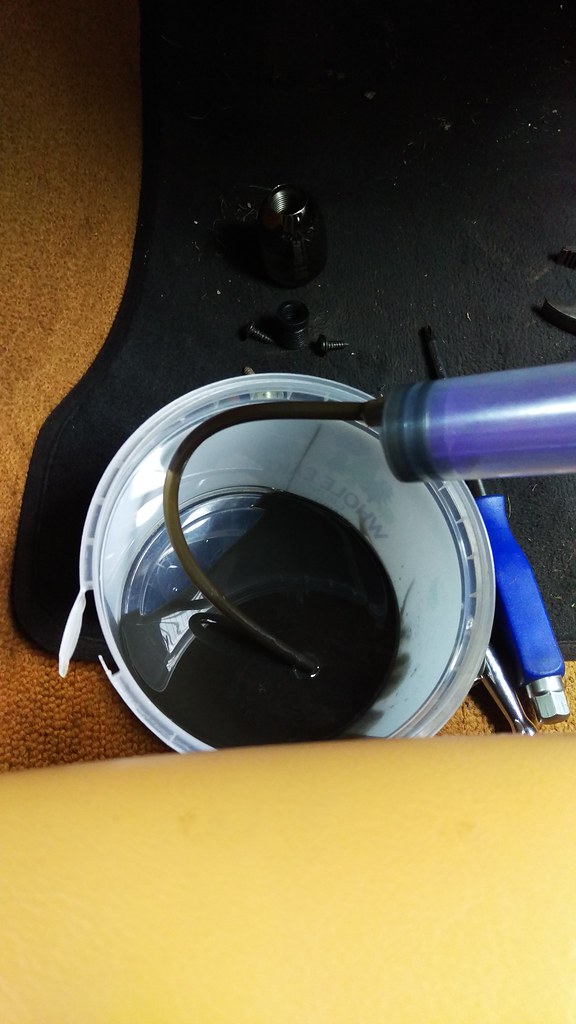
Then it’s finally the weekend and time to start pulling it apart. But first drain the gearbox oil. If you don’t do this the oil will spill out when you remove the prop shaft!
I also removed the turret oil.
Yuk. It’s not even that old!
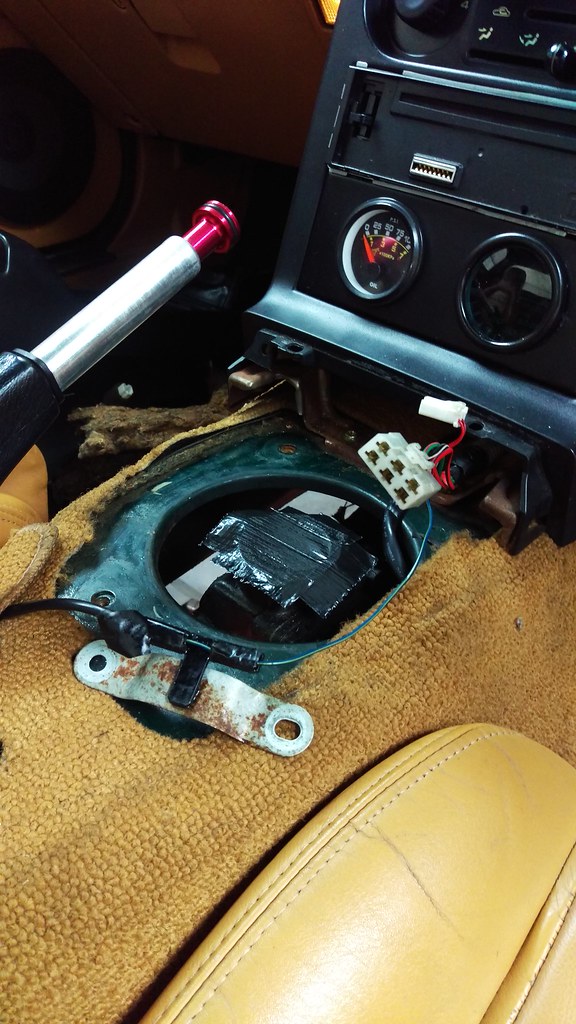
Some tape over the hole to stop crap getting in.
Bolts actually came out with no trouble! Front Bolt out here and using a screwdriver to remove the washer/insert thing.
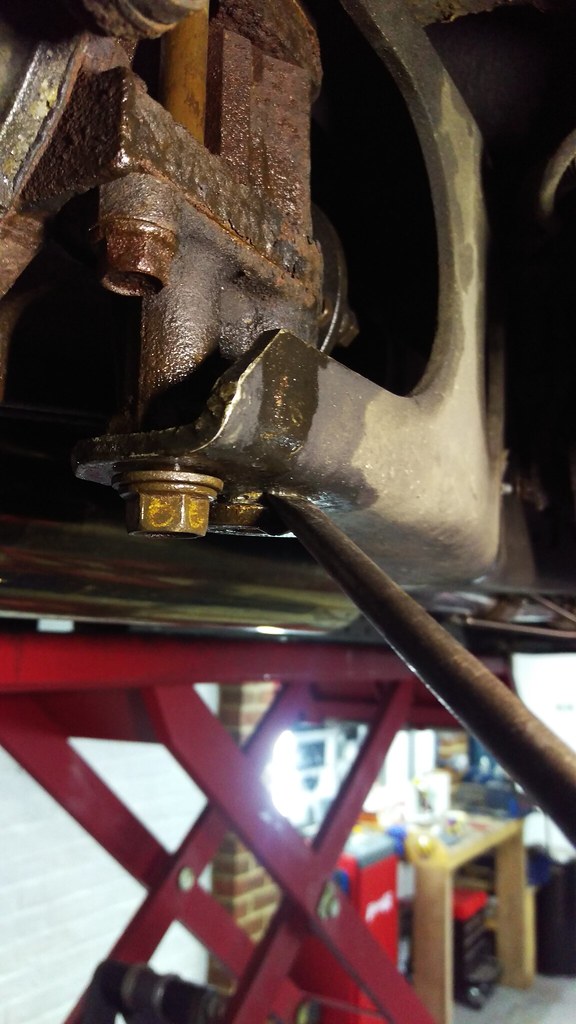
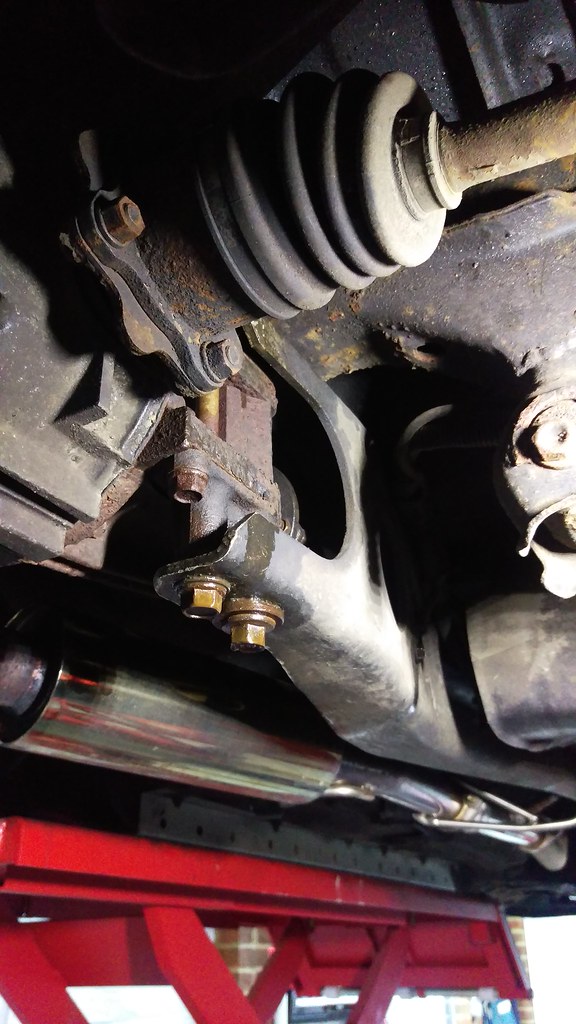
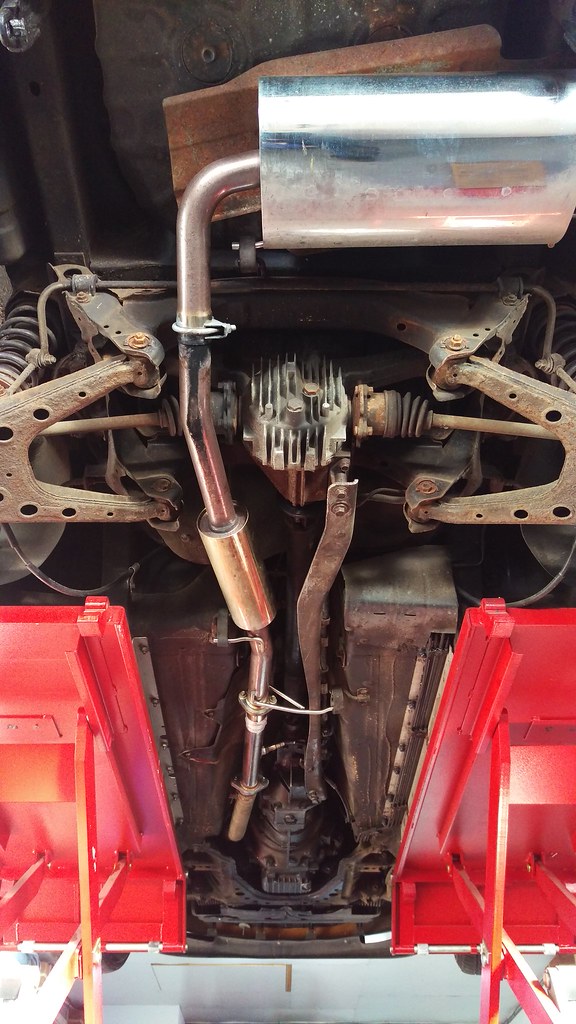
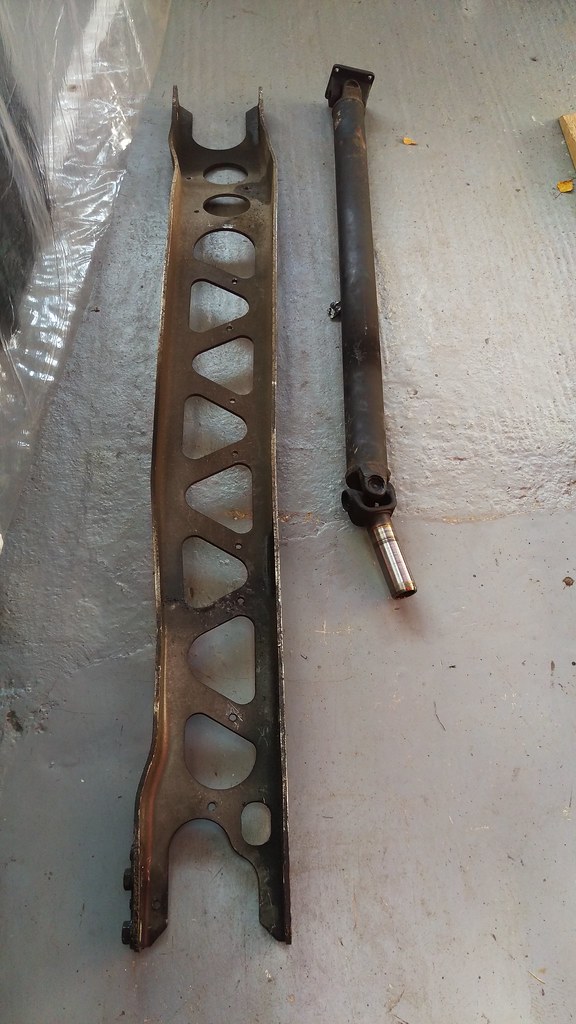
Front and rear PPF bolts out.

Prop shaft coming off.

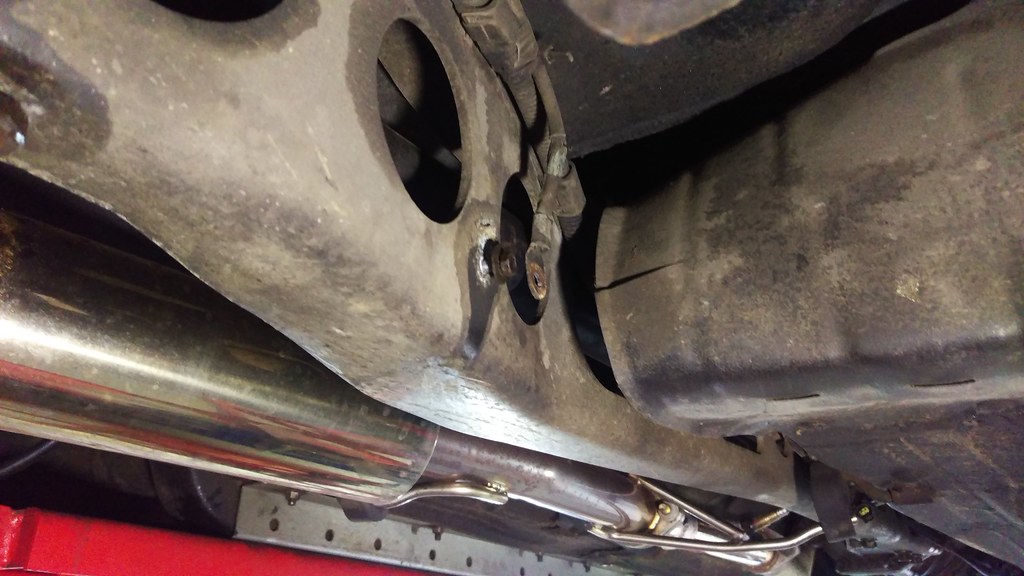
Earth strap removed and all wiring unclipped.
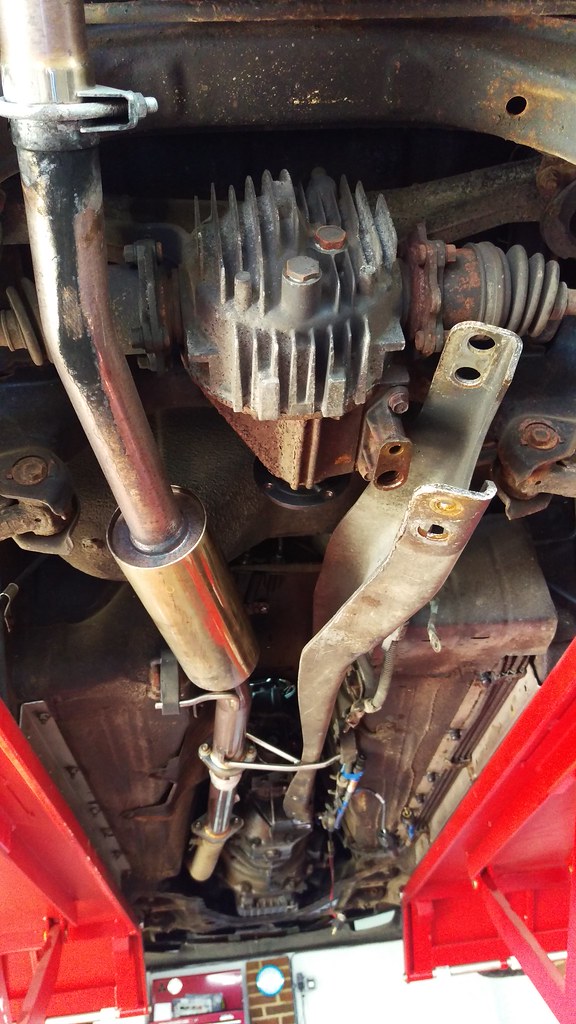
PPF and prop off.
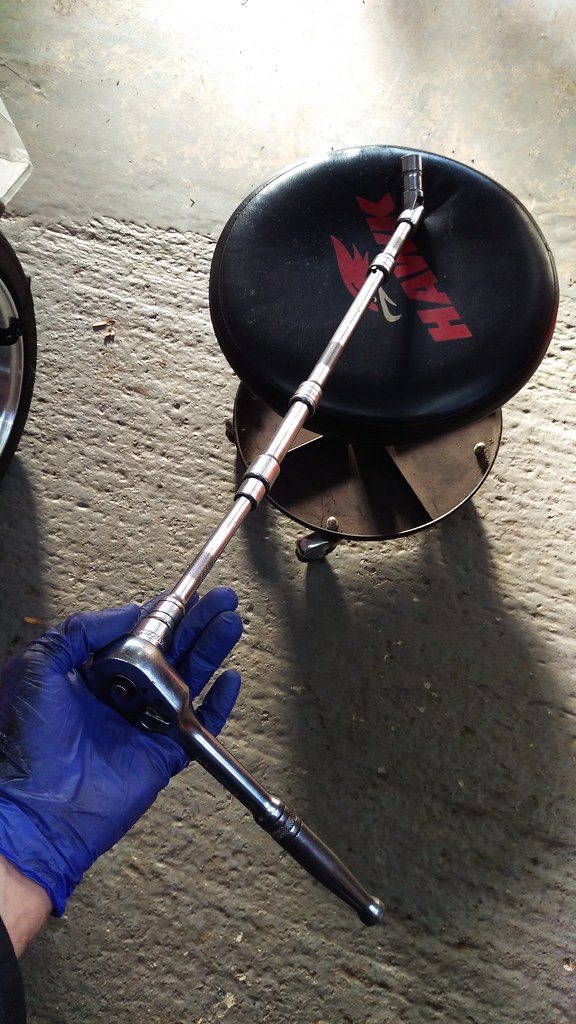
Time to undo the gearbox bolts. which is going to be a bit awkward in places but I found the best way to get at the ones up top was with this lot.
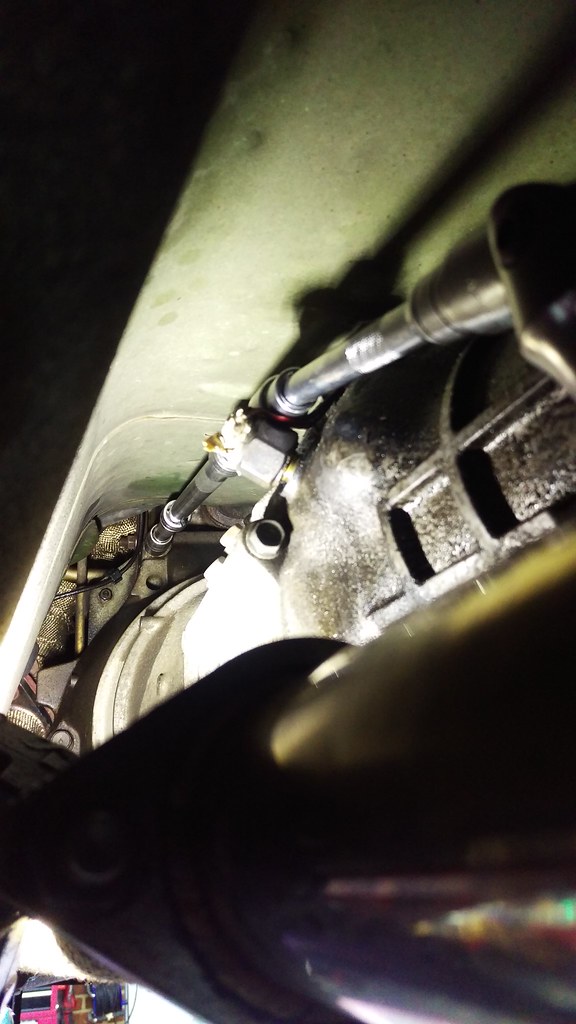

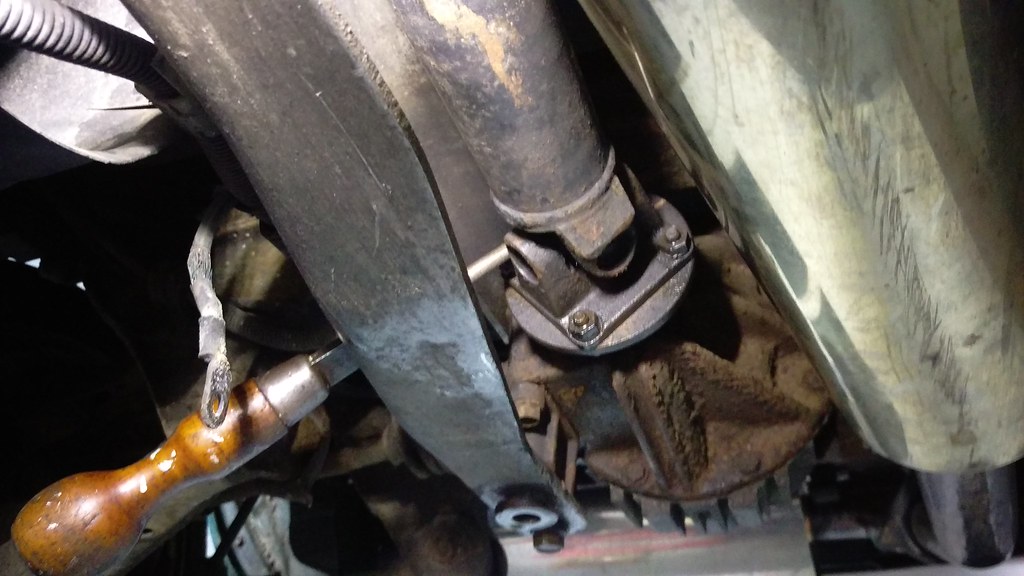
Other side. Clutch slave cylinder removed.
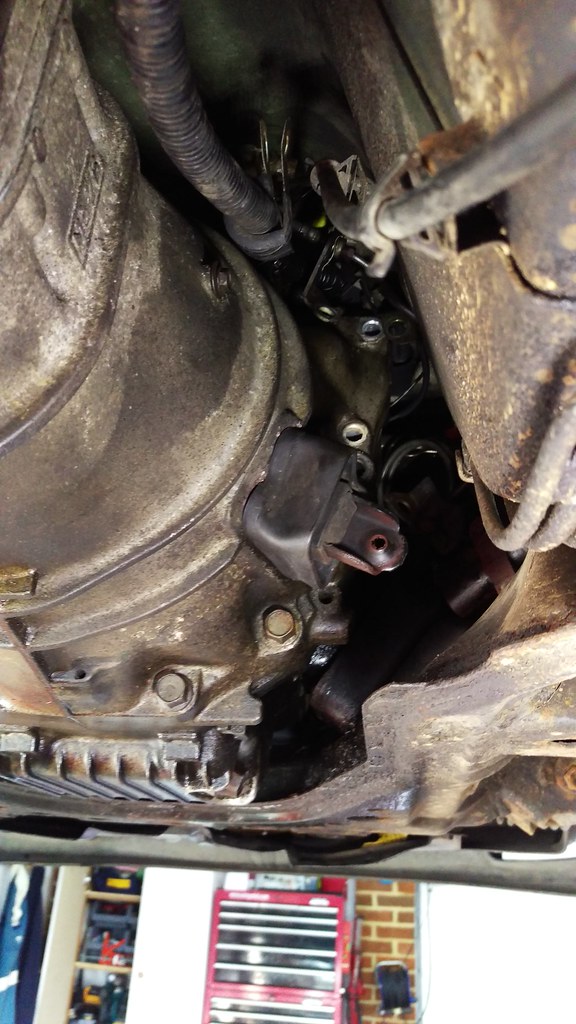
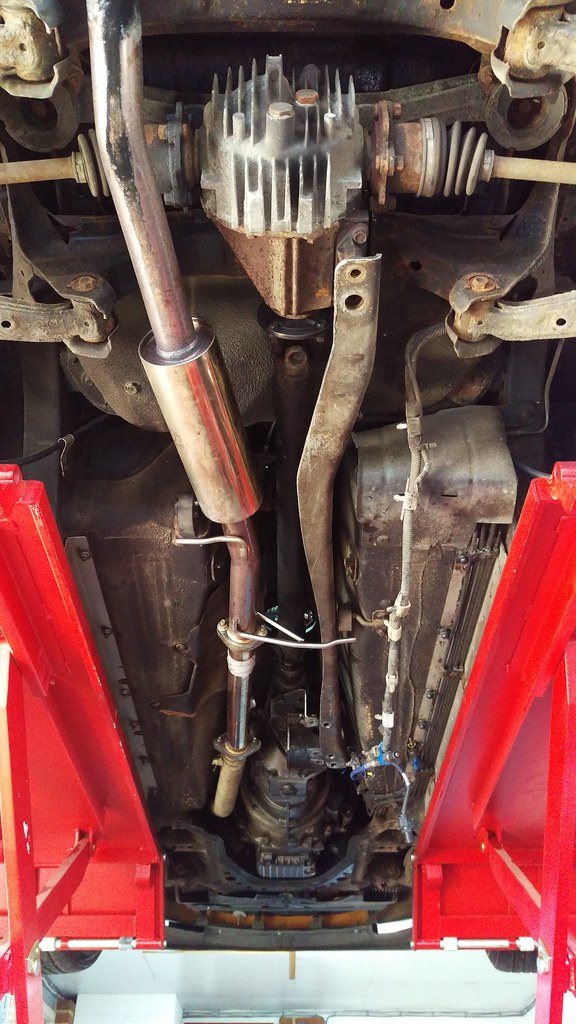
I didn’t remove the exhaust as just removing it from the manifold meant it could be moved to one side enough for the gearbox to go past.
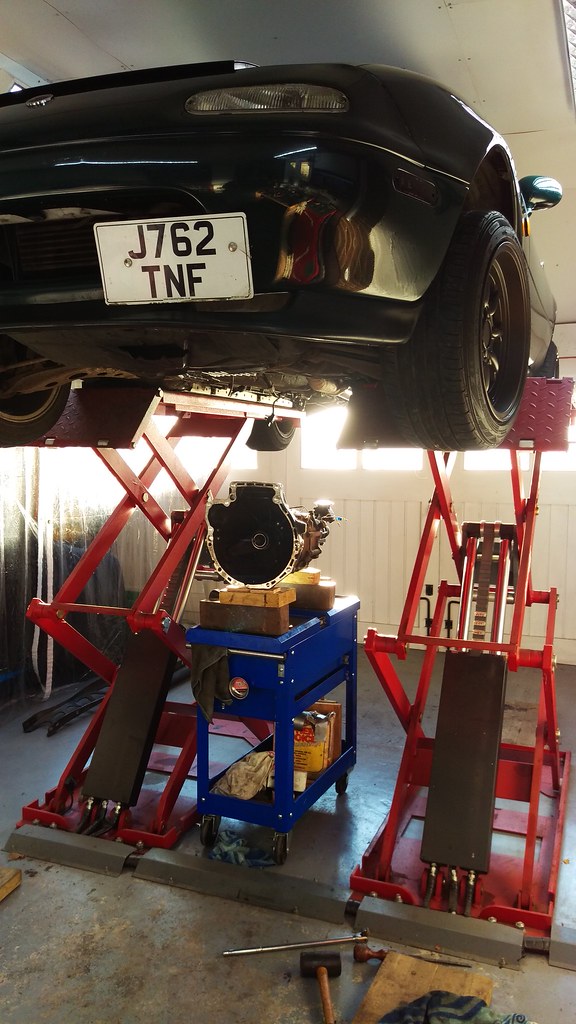
Next the box could come off. The plan was to drop the car and box down on to the trolley then lift the car back up leaving the gearbox behind.
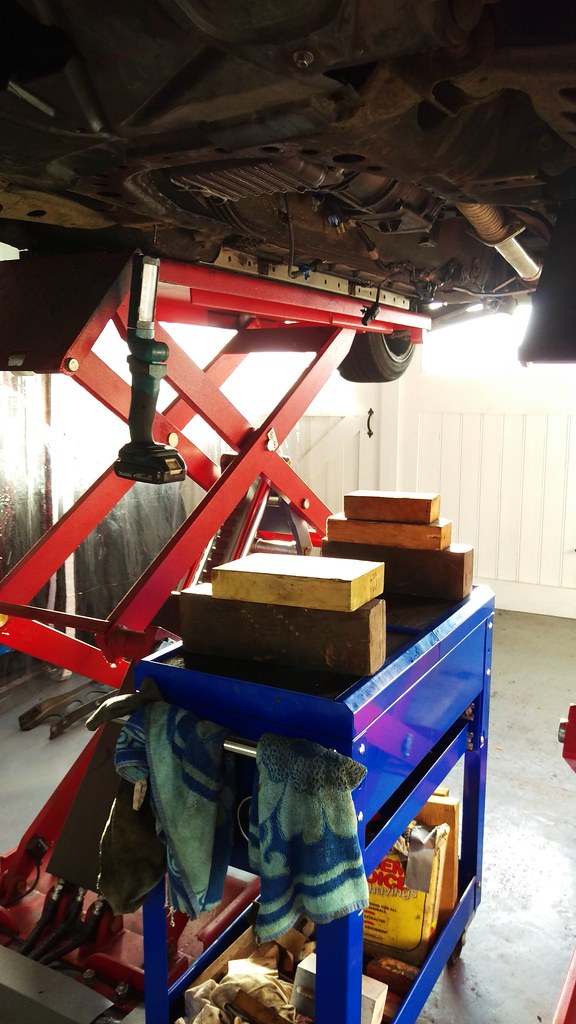
Like so
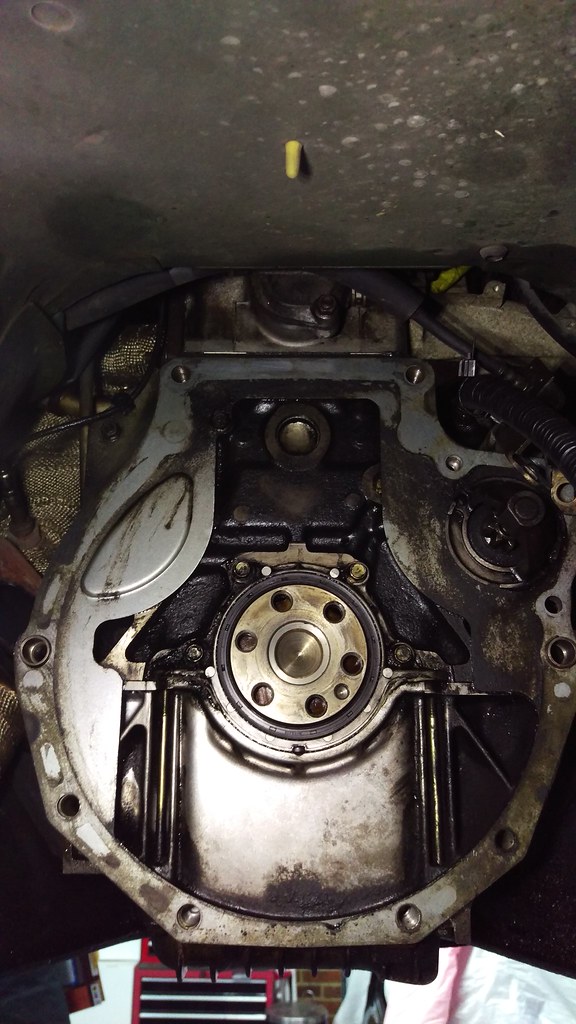
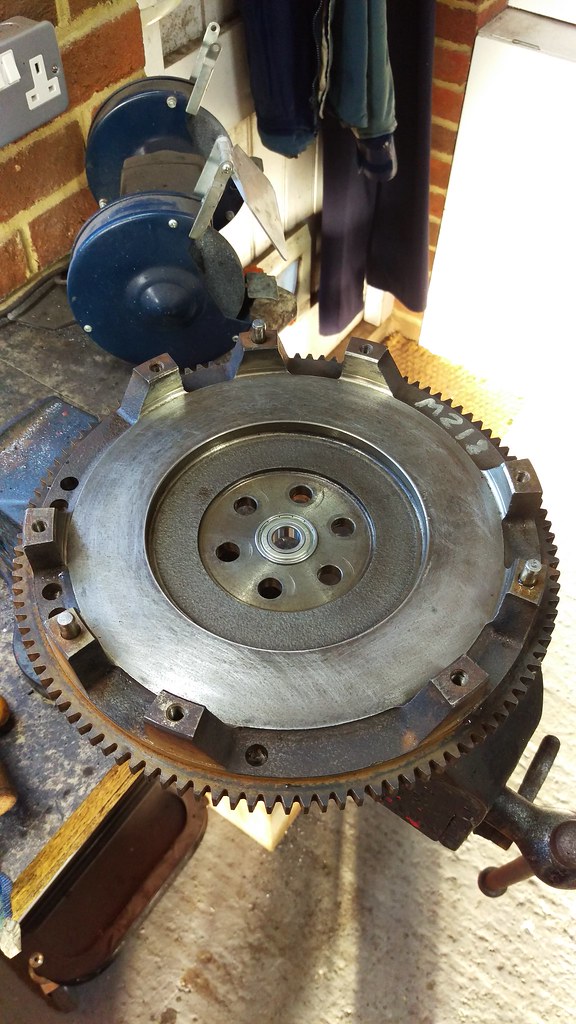
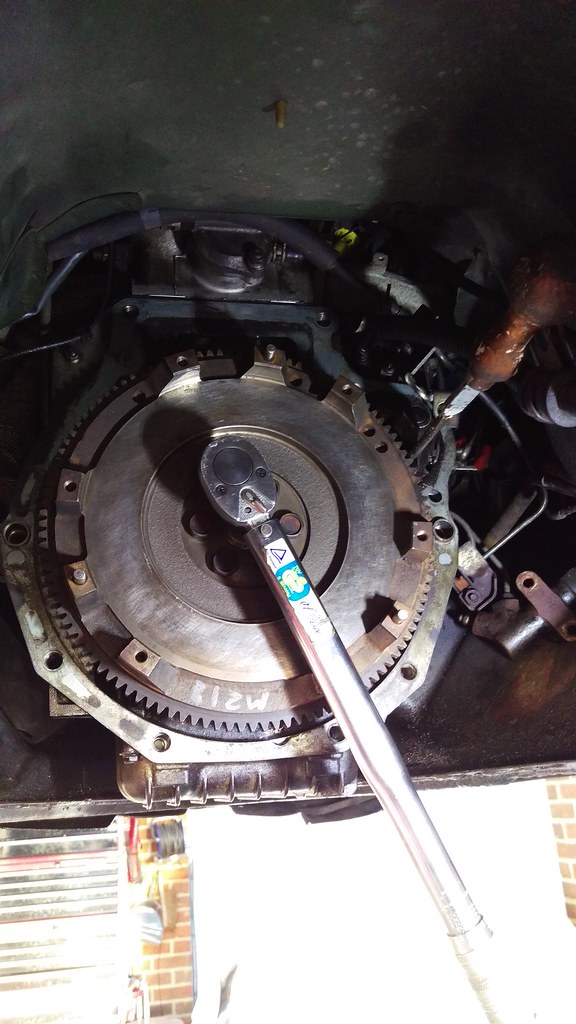
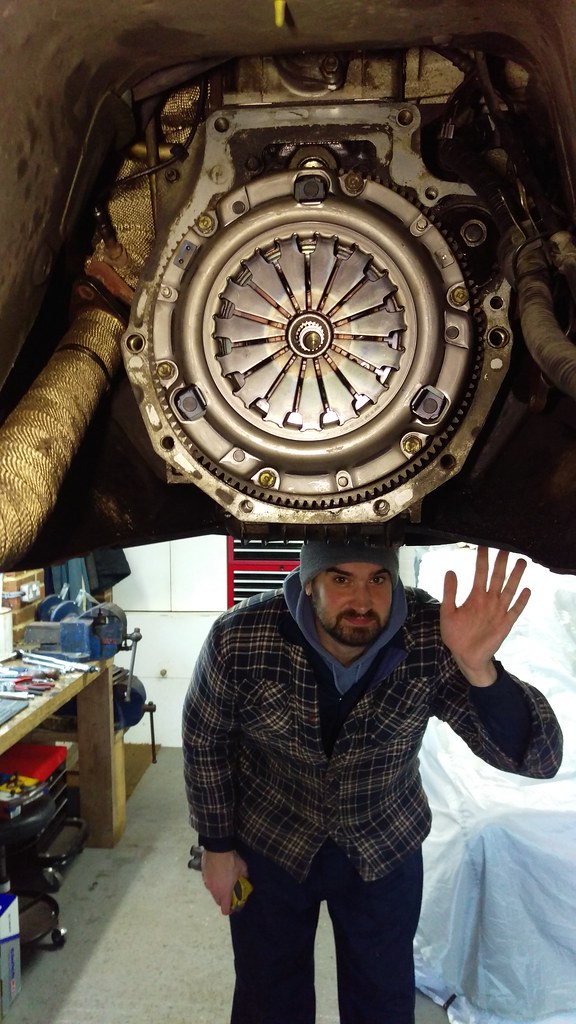
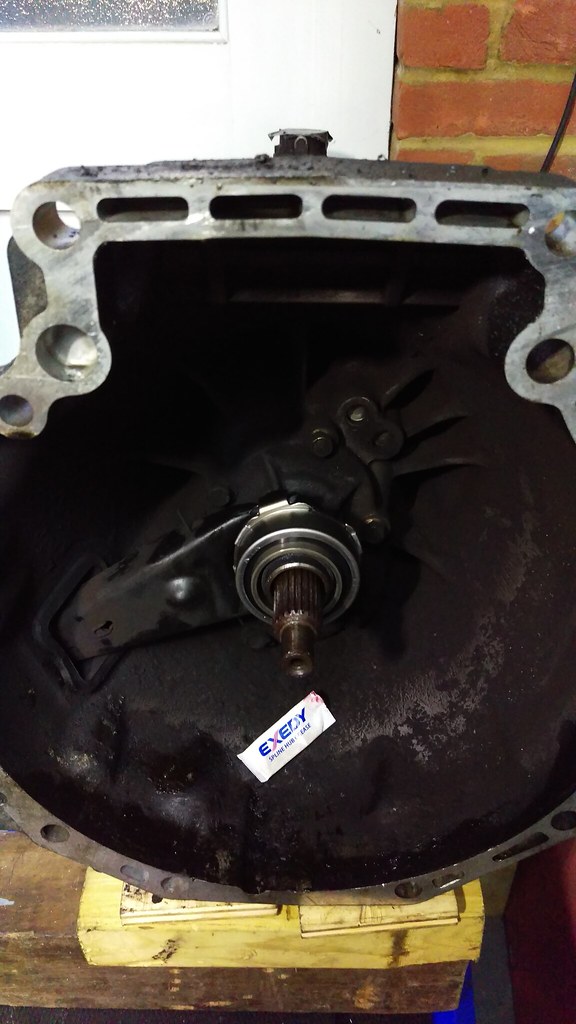
Clutch and flywheel coming off.
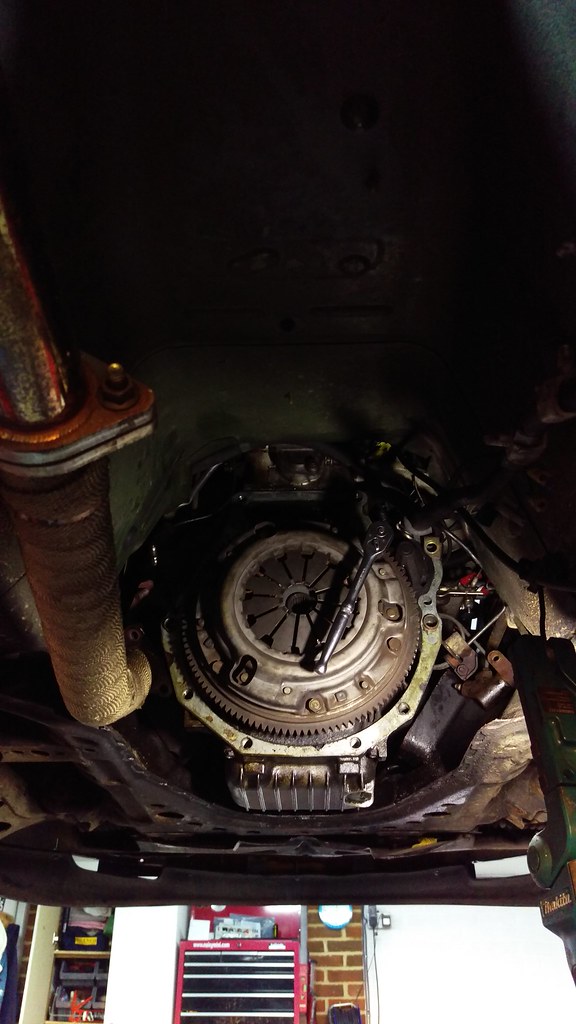
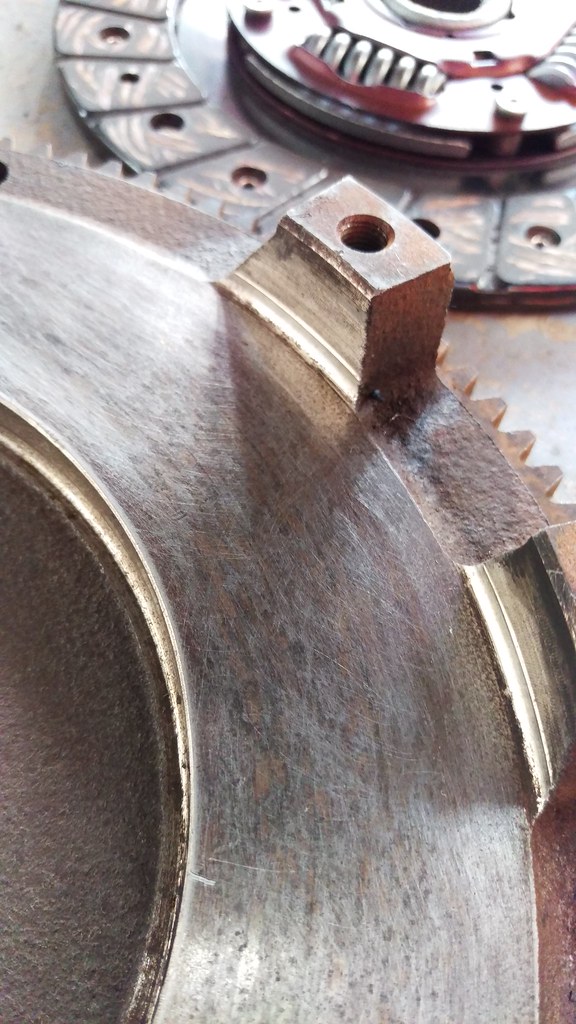
Flywheel not looking great

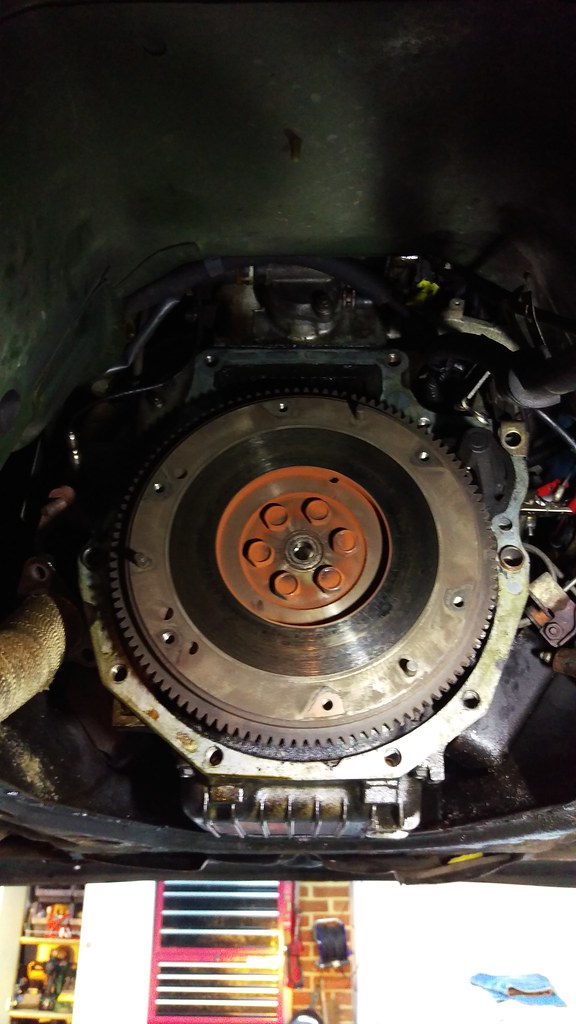
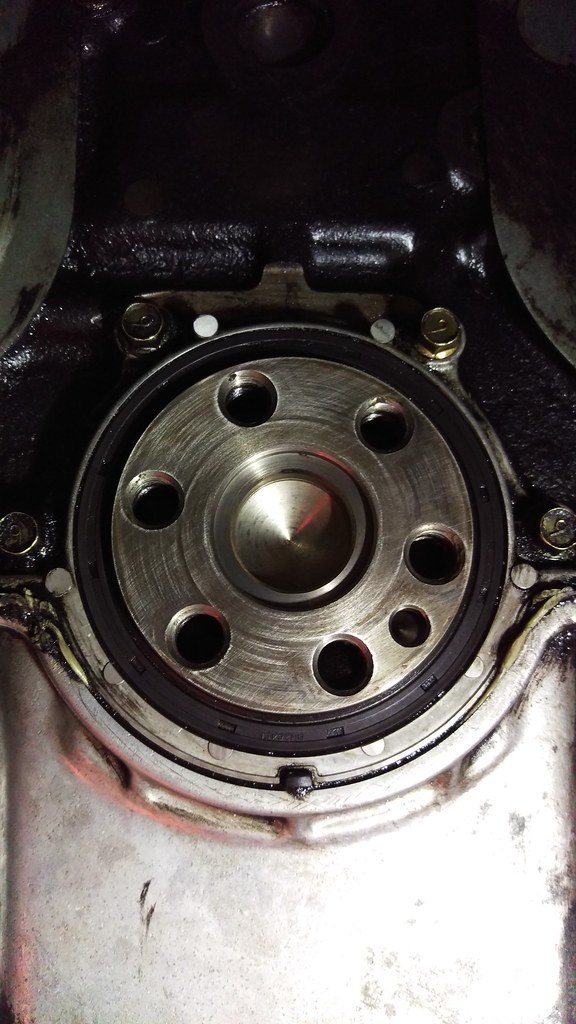
No leaks on the crank seal this end so not going to ask for problems trying to change it.
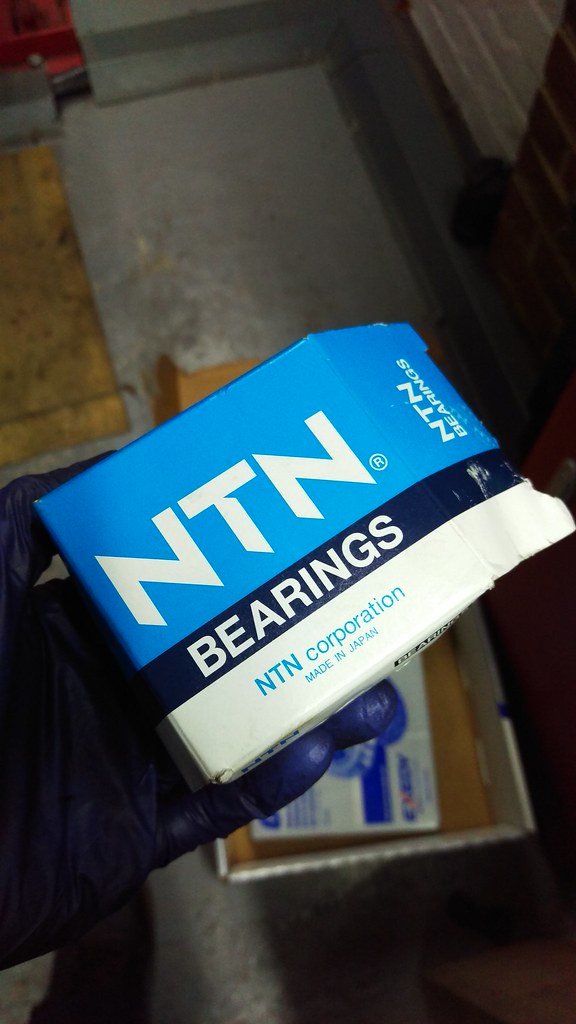
1.8 flywheel and new bearing.
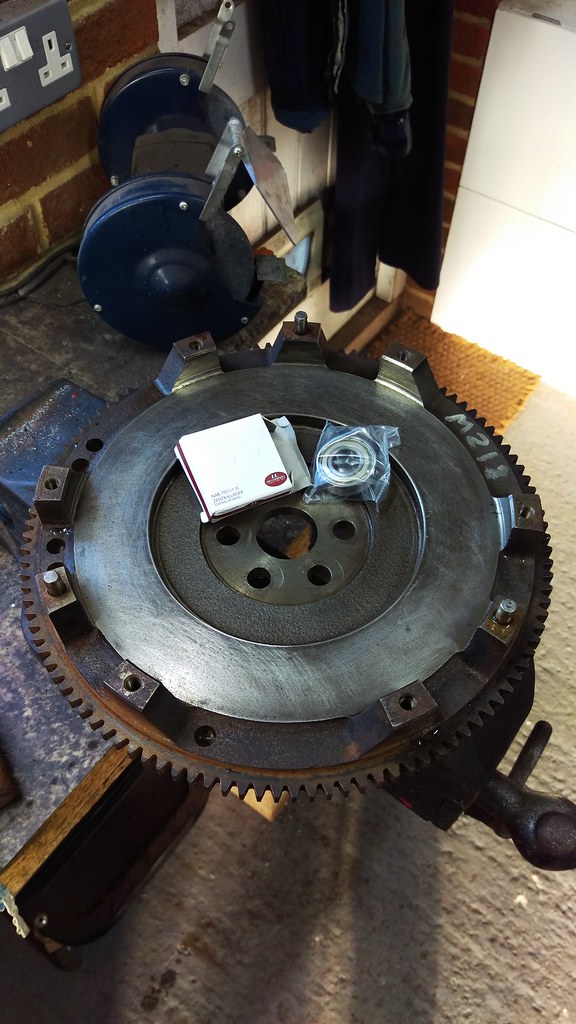
Nice clean face with no cracks.
New bearing fitted.
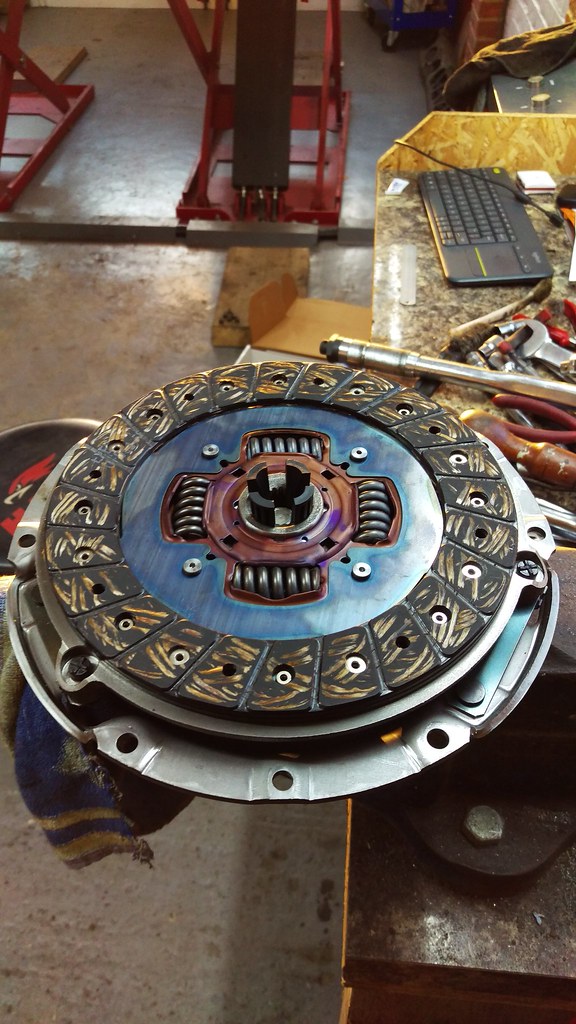
New 1.8 Exedy clutch kit.
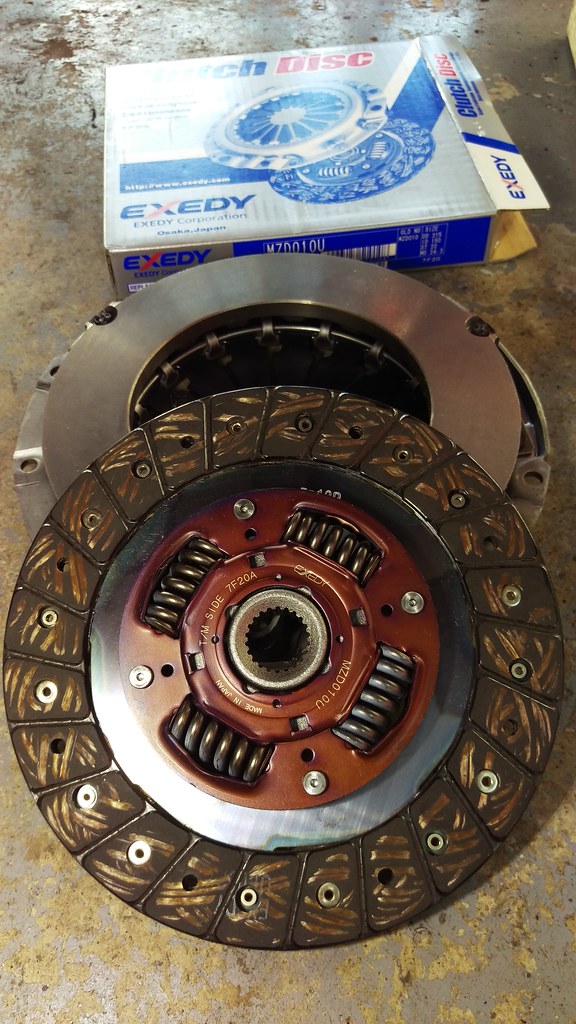
Comparison of size. Bigger is better!
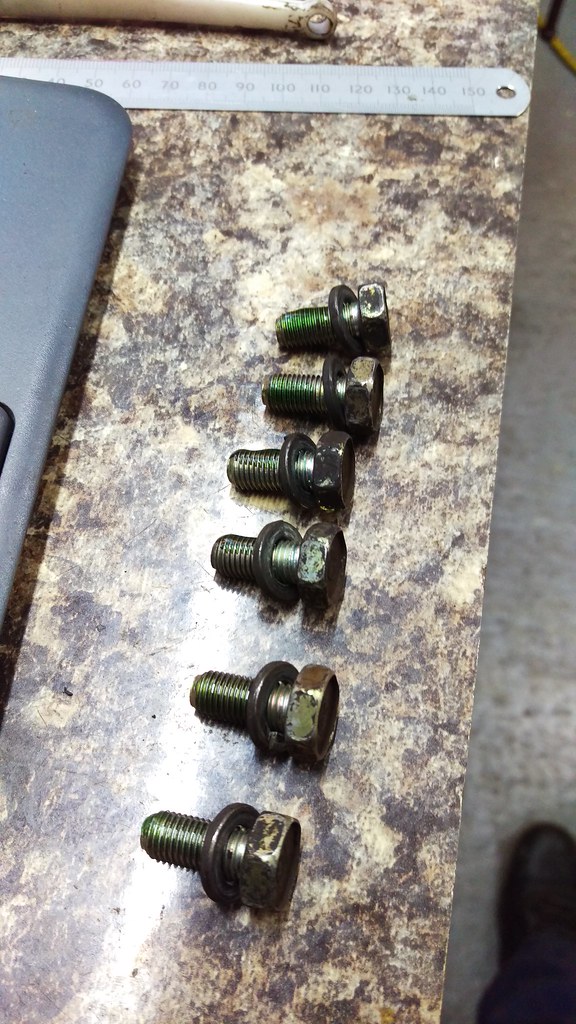
Threadlock applied to the flywheel bolts.
Torque ’em up.
Clutch alignment tool in.
More threadlock.
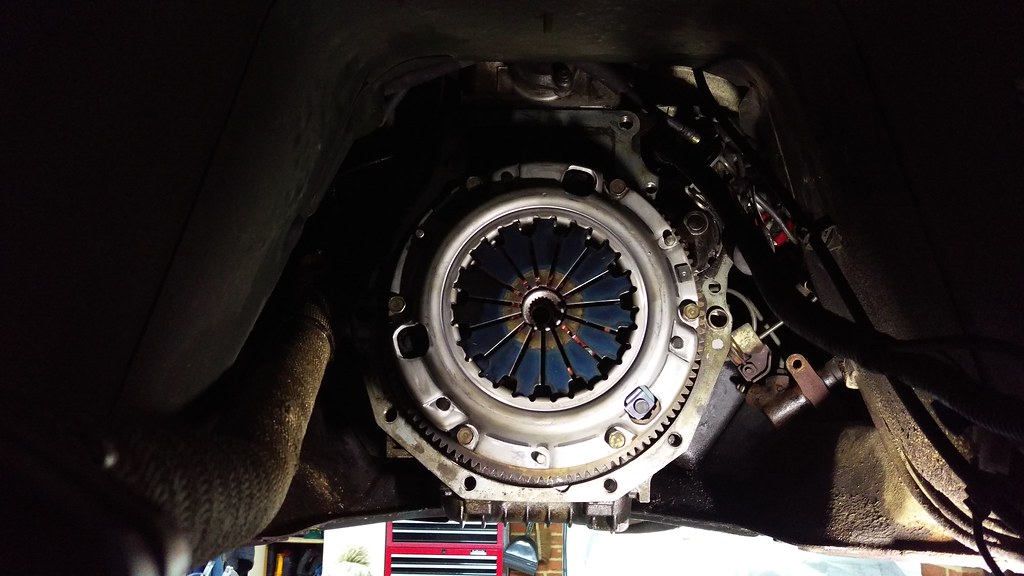
Clutch on and alignment tool removed.
Skip to the following morning when Townie came round to assist fighting the gearbox back on.
But first better get the new release bearing fitted.
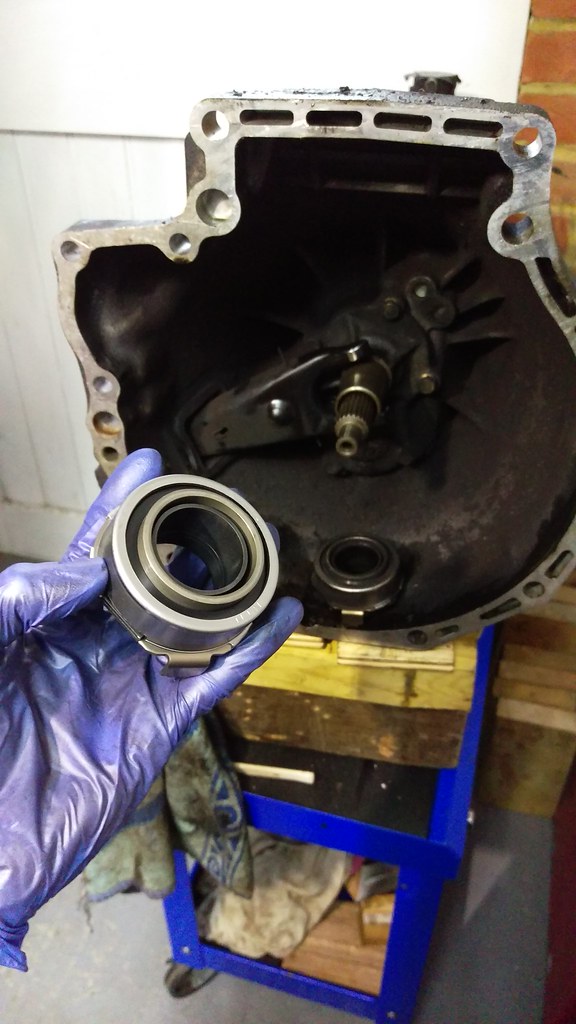
Ready to go back on.
My ‘glamorous assistant’ helpfully placed all the gearbox bolts in the correct pattern in a cereal box which helped with quickly getting the right bolts in place when my ‘not so glamorous assistant’ Townie helped fight the box back on.
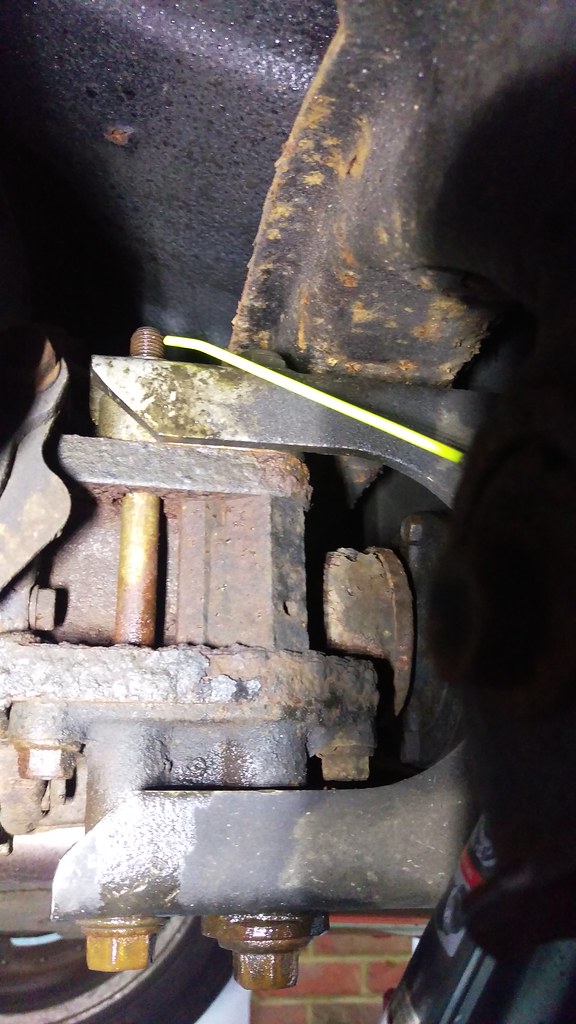
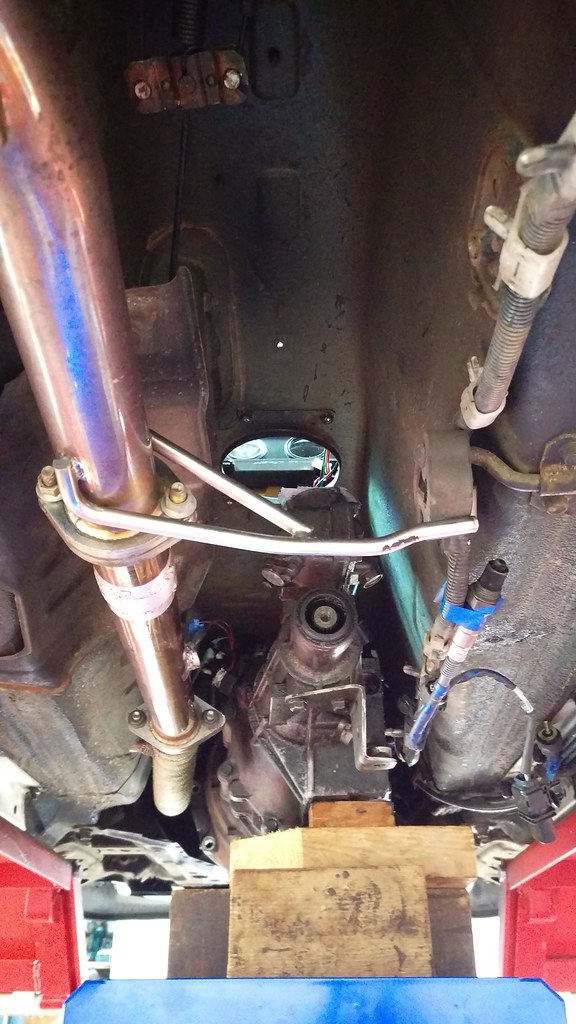
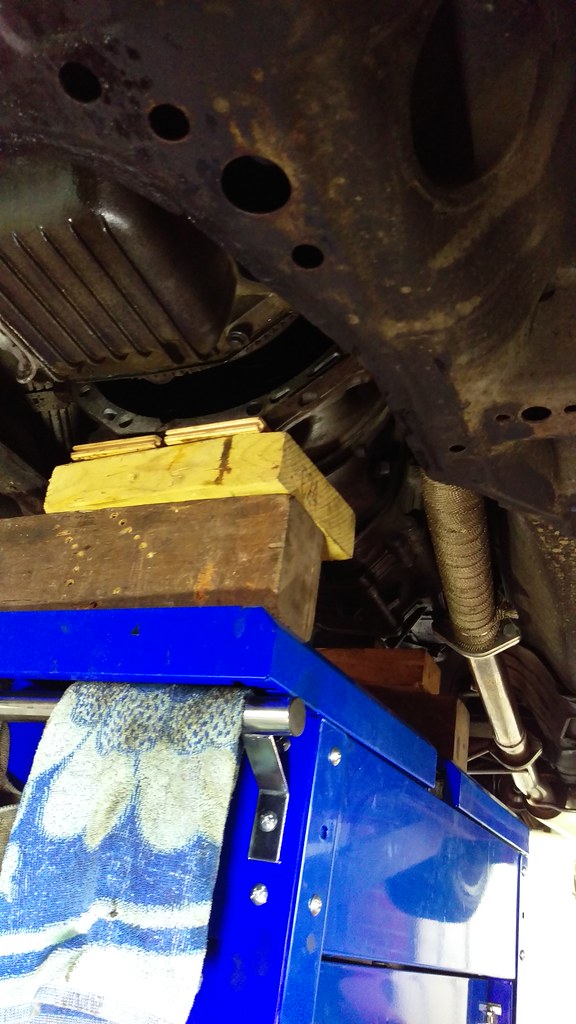
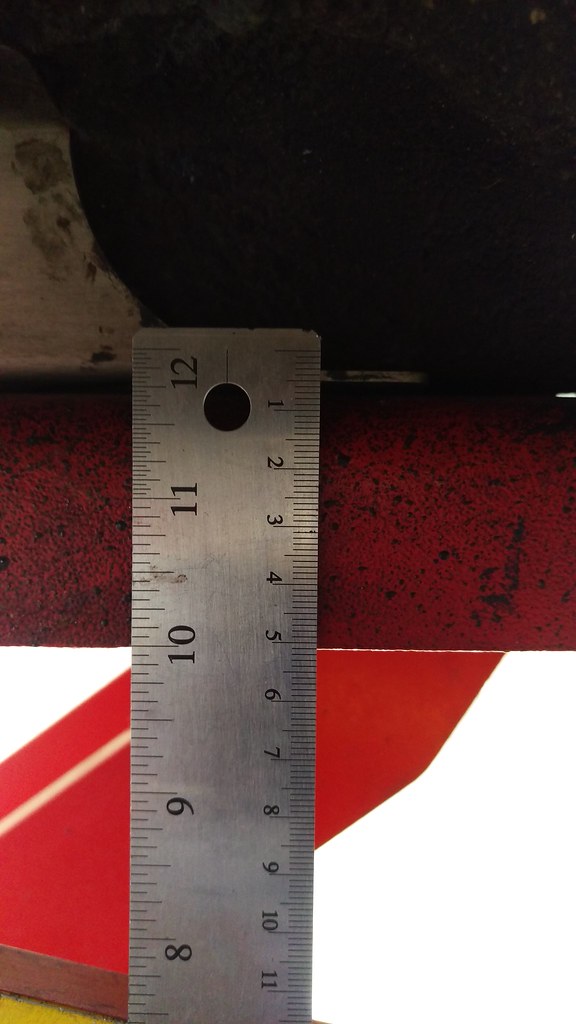
Having got the gearbox on the PPF needed to be aligned properly. With the diff bolts done up the PPF bolts at the gearbox end are left slightly slack so the gearbox can be tilted to the right angle by lifting the back of it up and down. I stuck a bit of wood under the rear end of the gearbox on the tool trolley so I could raise and lower the lift until it was at the right angle.
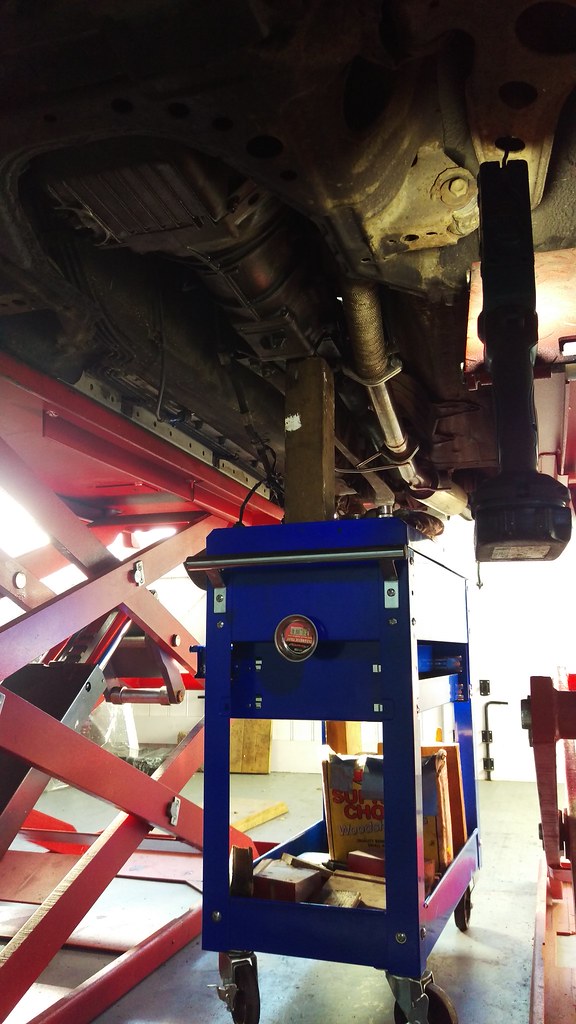
It needs to be set to the correct height compared to the bottom of the chassis frame rails. I used the lift plates as the reference and worked back from there to get the distance right.


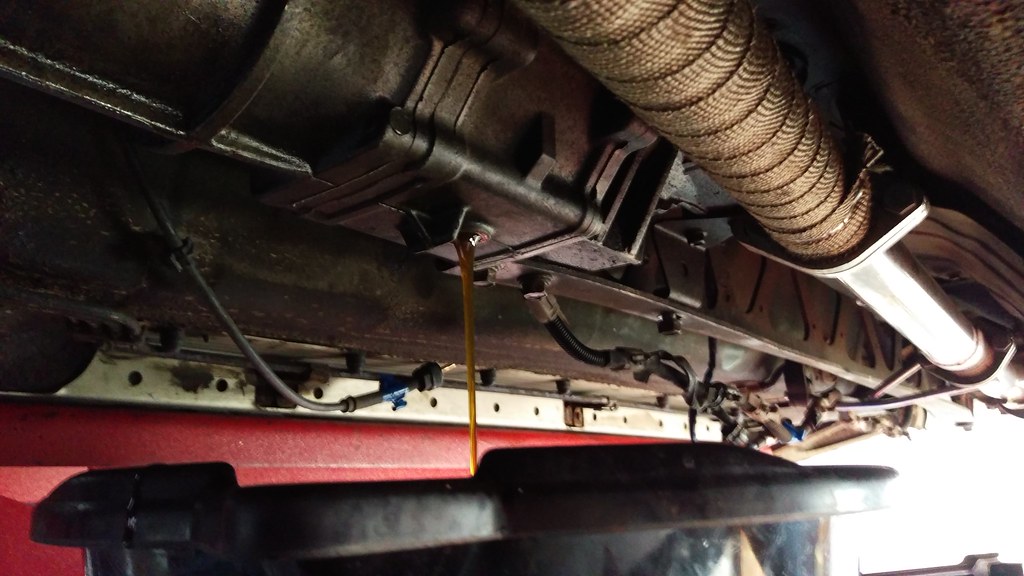
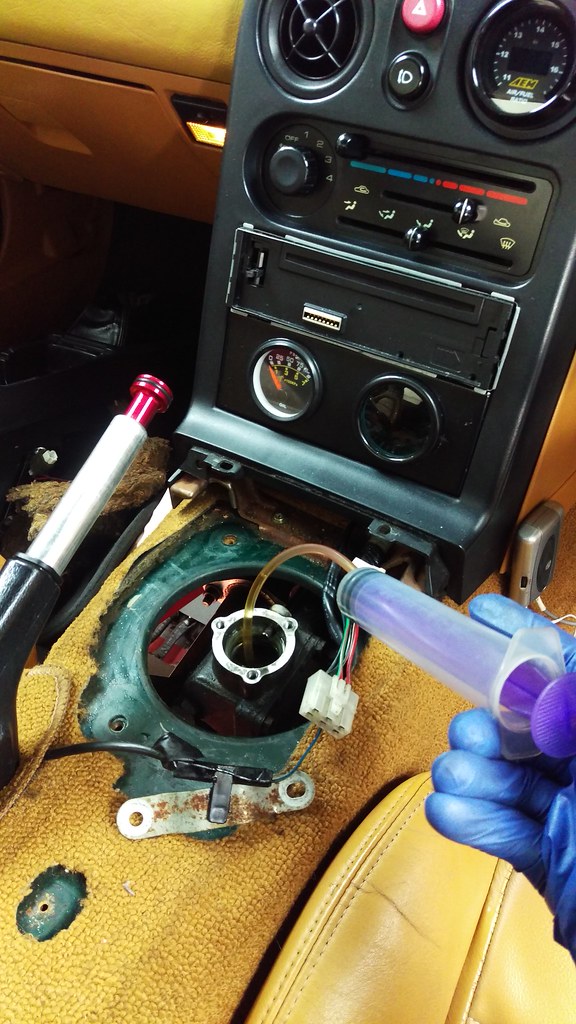
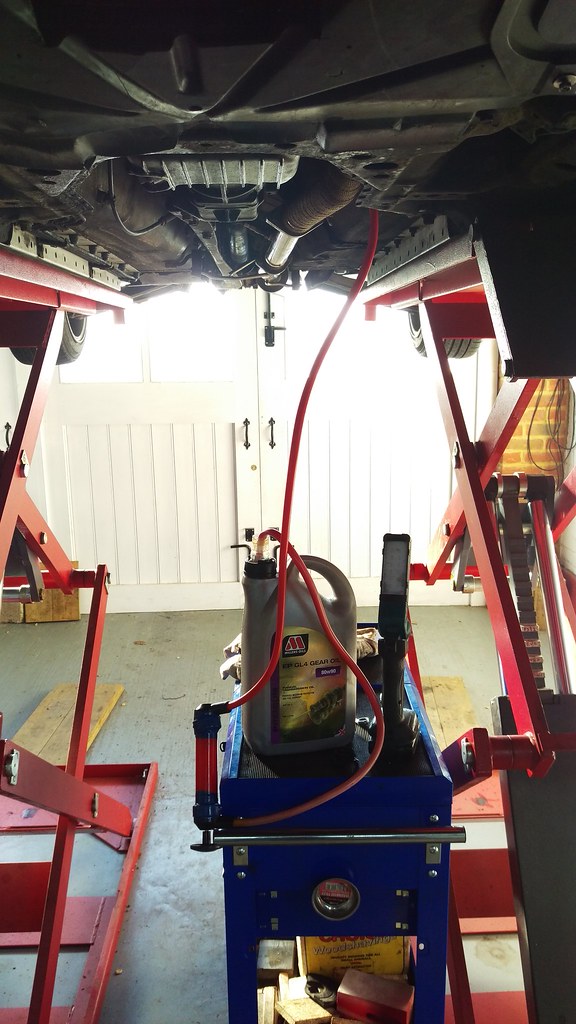
With that done it was time to get some new oil in.
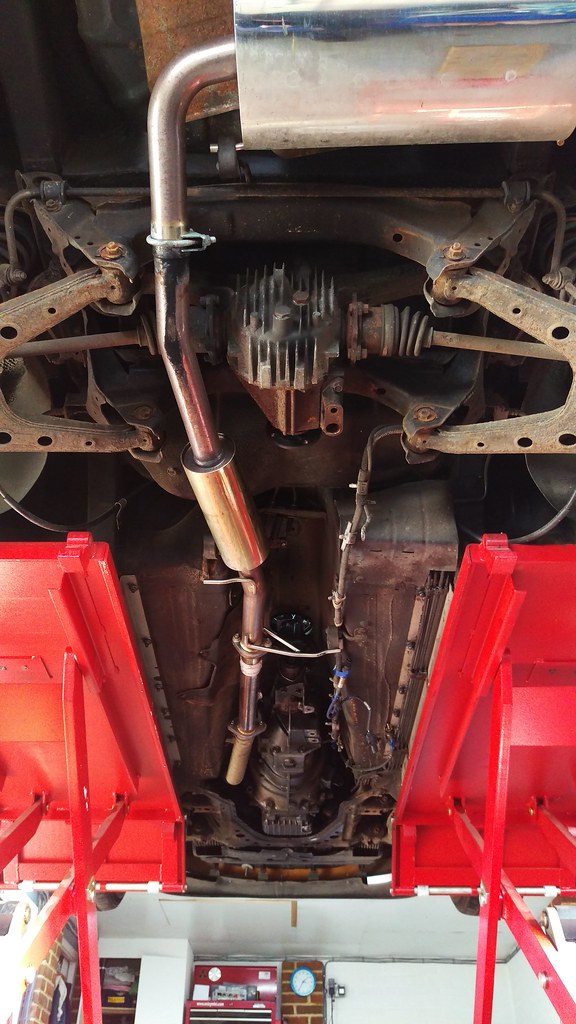
All back together.
All done.
Time to get some miles on the new clutch to run it in. 🙂