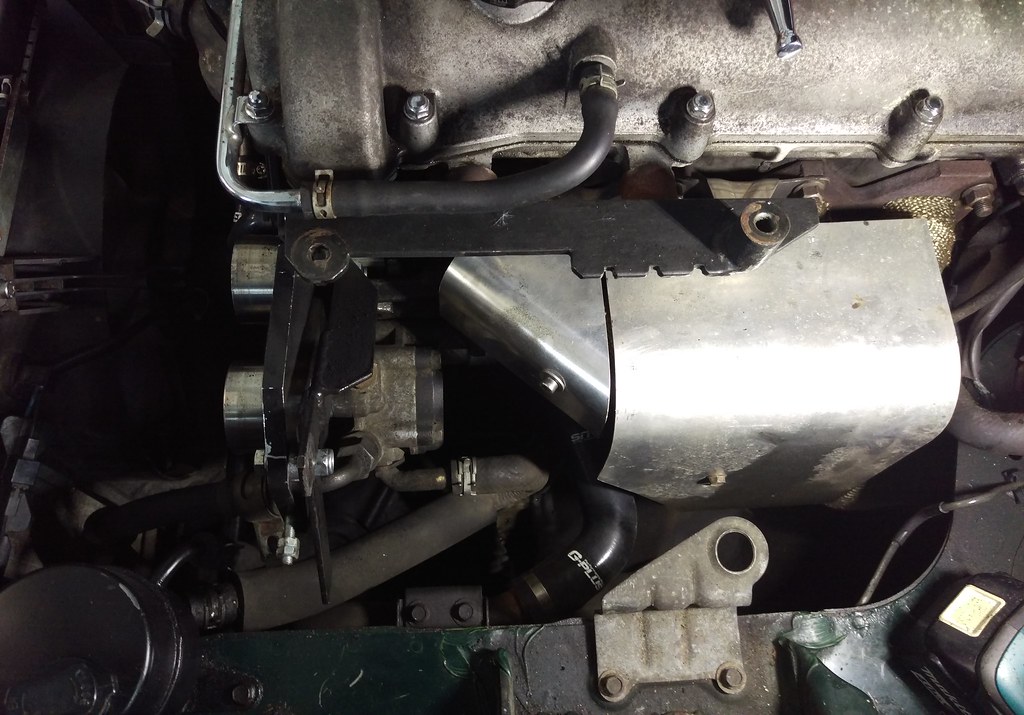
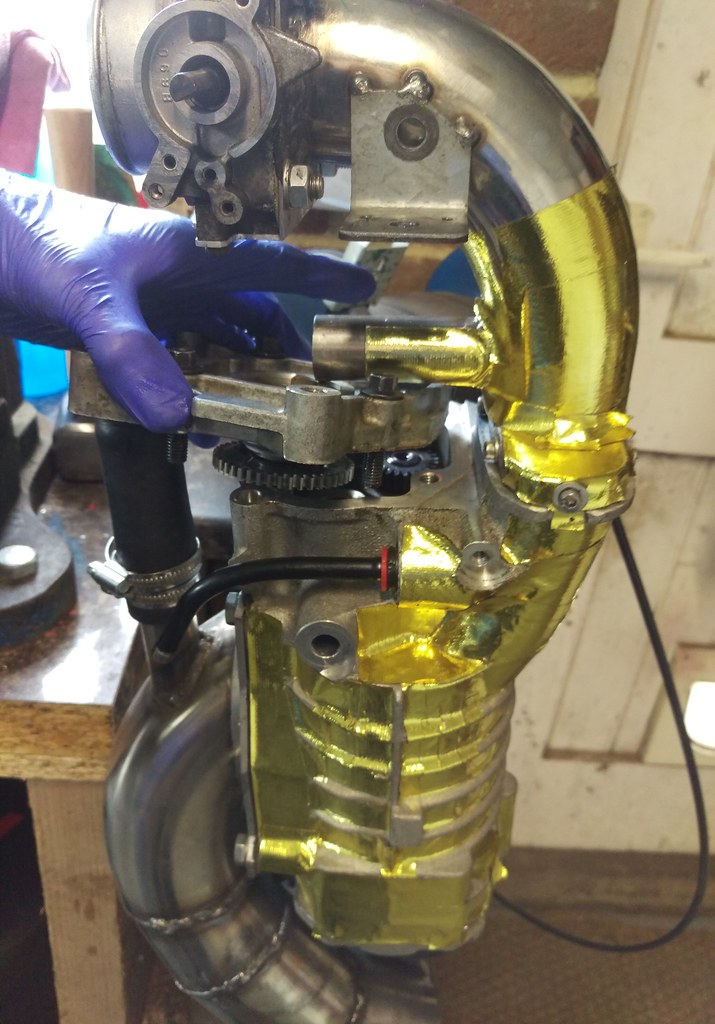
Having done a few miles in the MX5 now with the supercharger on I’ve been giving everything a regular look over to keep an eye out for any problems that might come up. Well I noticed the other day that it looked like there was a light coating of oil over the exhaust shield and chassis at the inlet end of the charger.
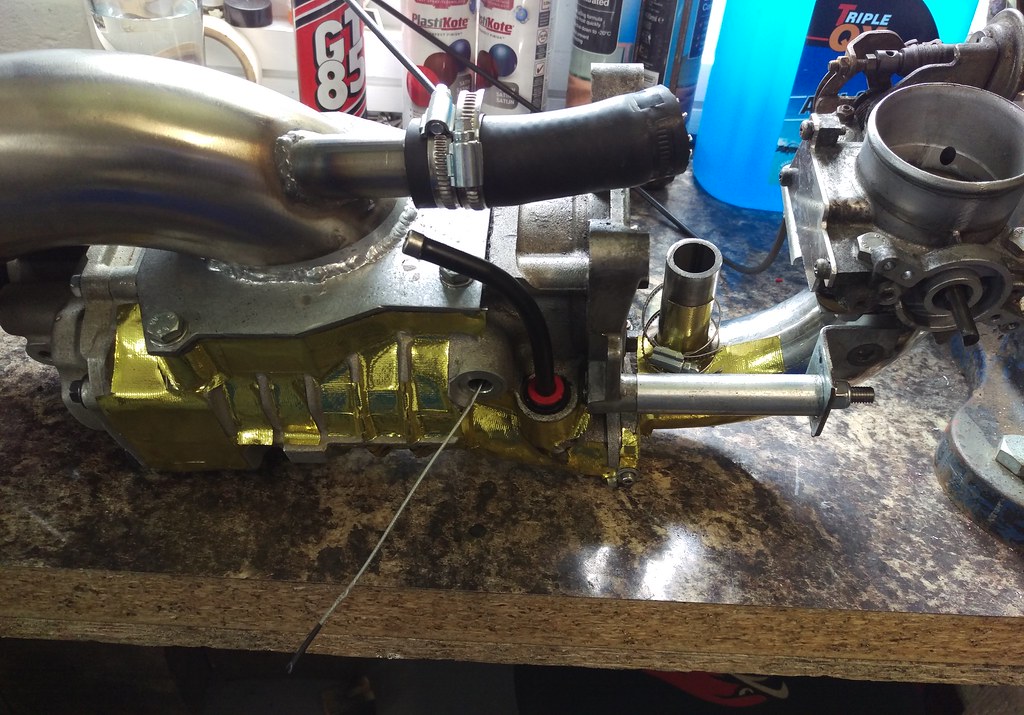
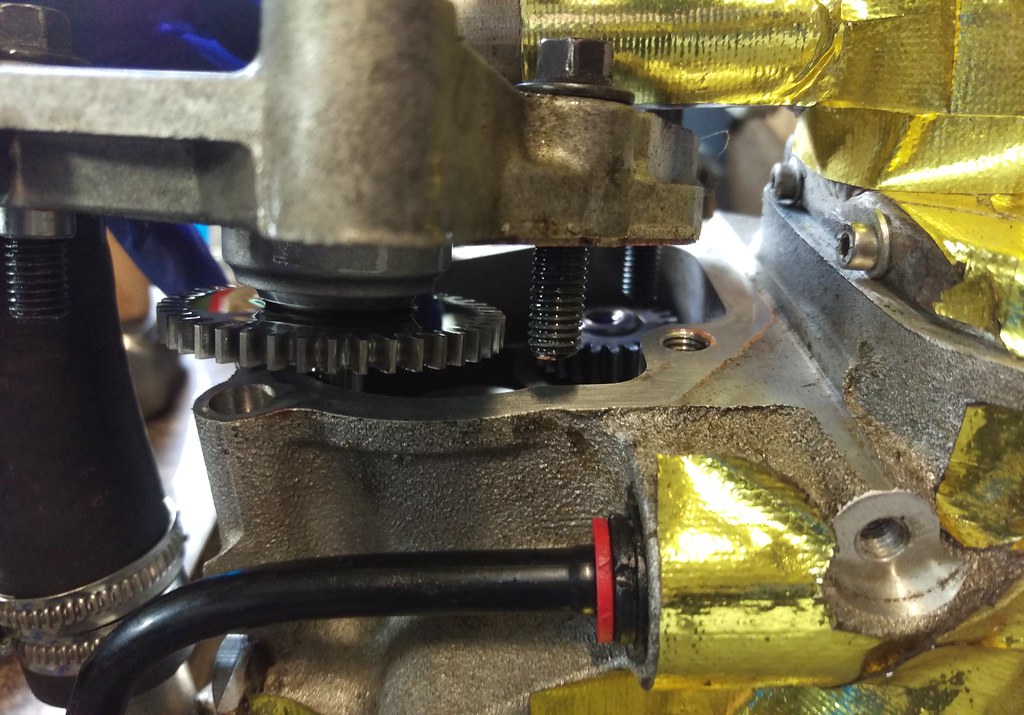
I never bothered removing the water pump drive, fitted for the Mini Cooper the charger originally came from, but it looked like it was leaking oil as is very common with these chargers so now was the time to get rid of it and blank the end off.
A quick feel under the charger found it to be quite oily.

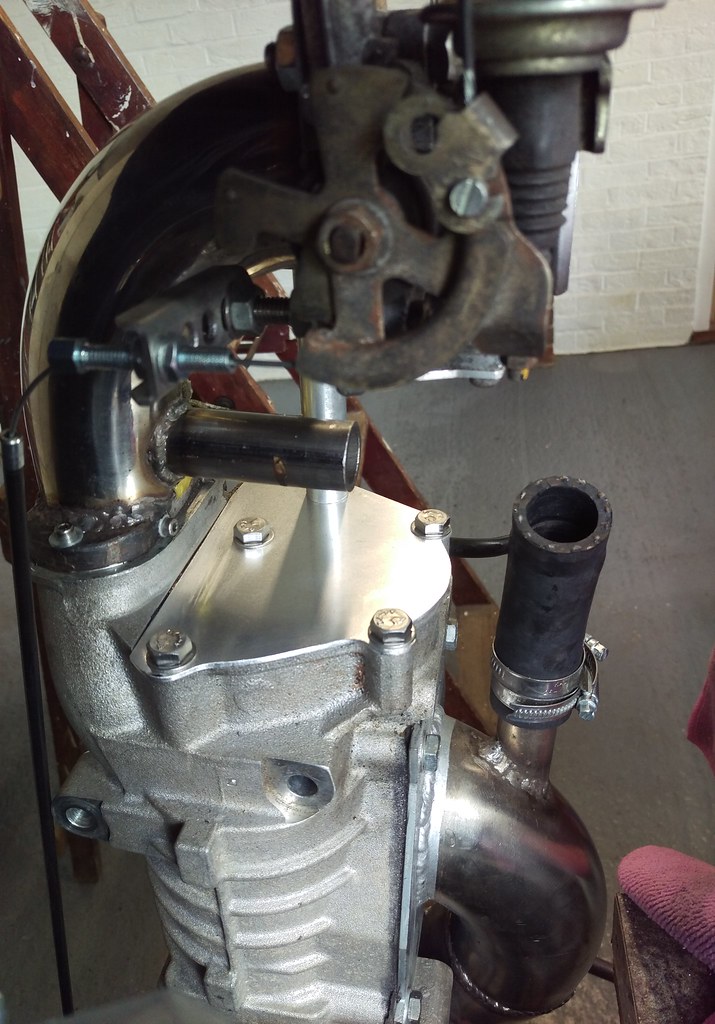
So I pulled the charger off. Here you can see the oil all down the exhaust shield.
The underside of the charger was a bit slimy with oil
here
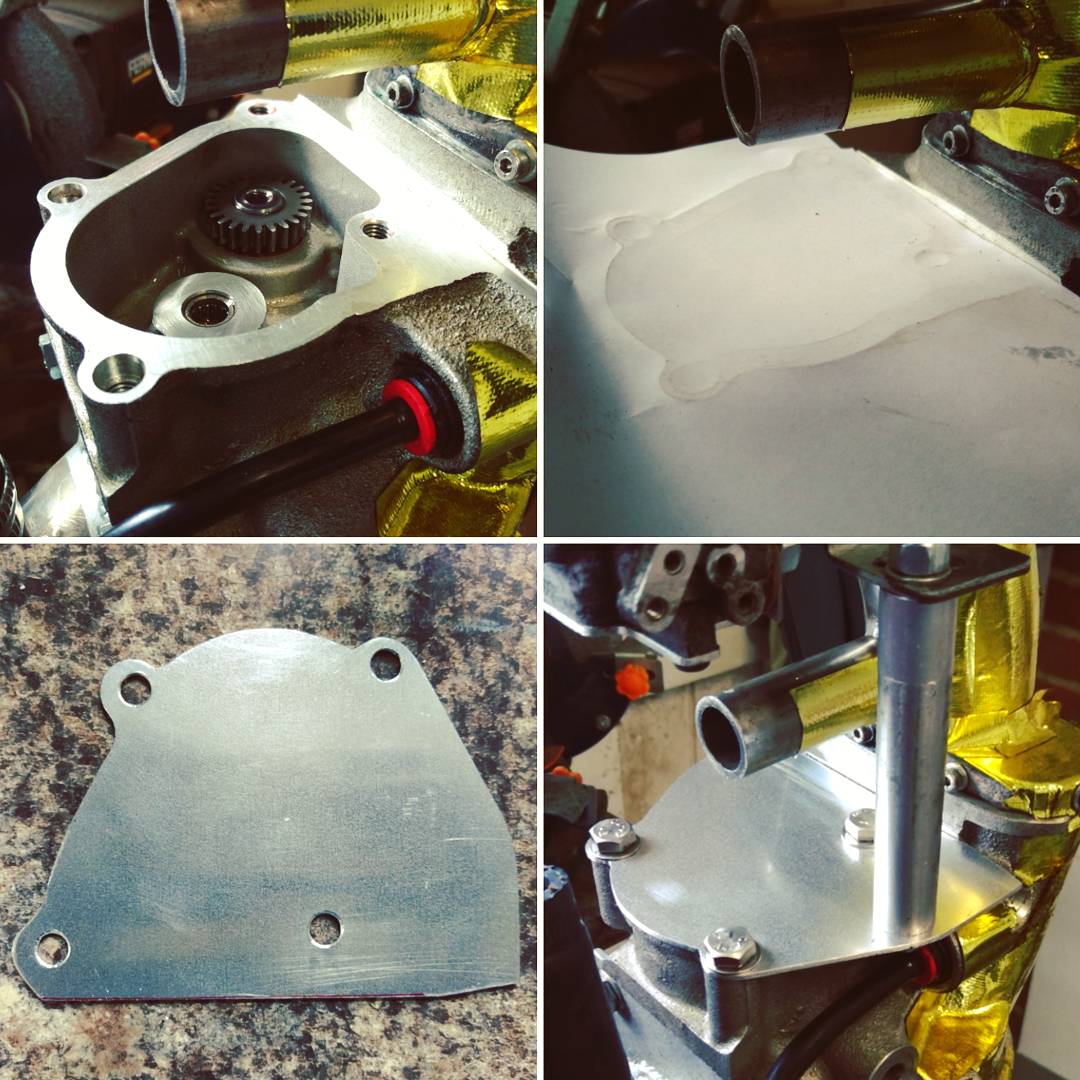
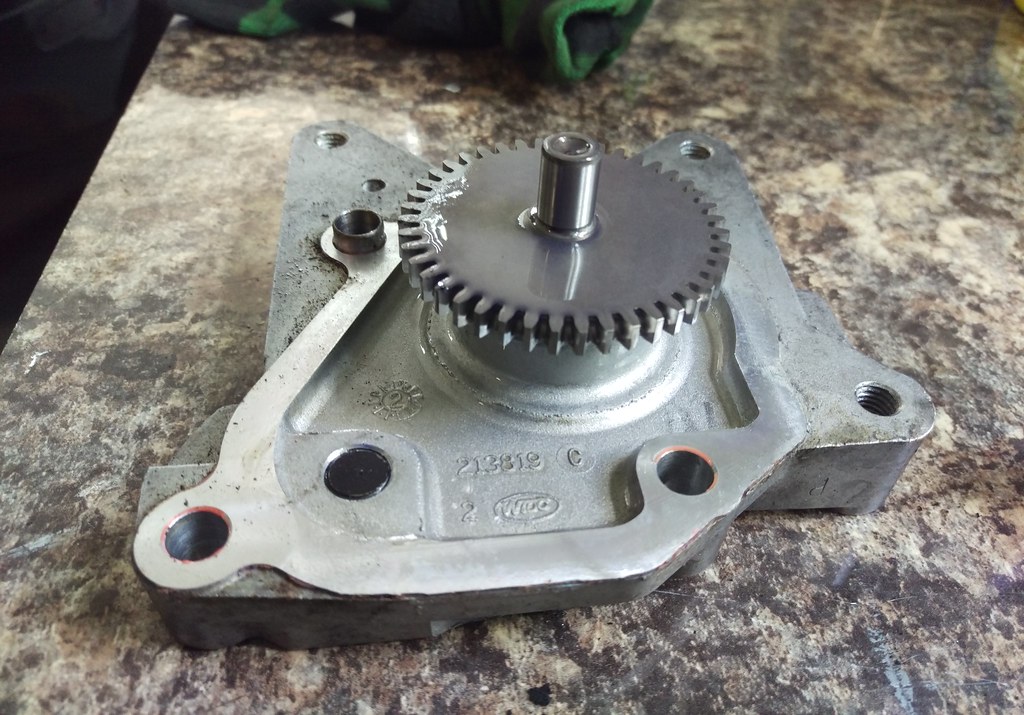
Off the water pump drive comes.
I was glad to find it would just about come off without needing to remove any of the inlet pipework.
Don’t need this any more.
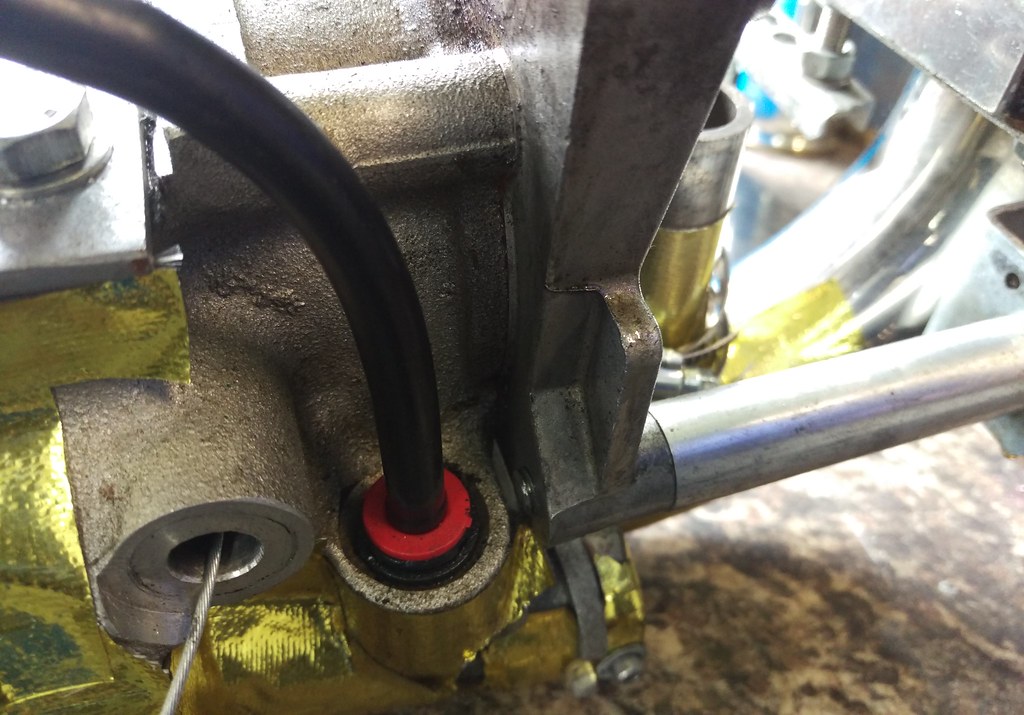
Oil removed.
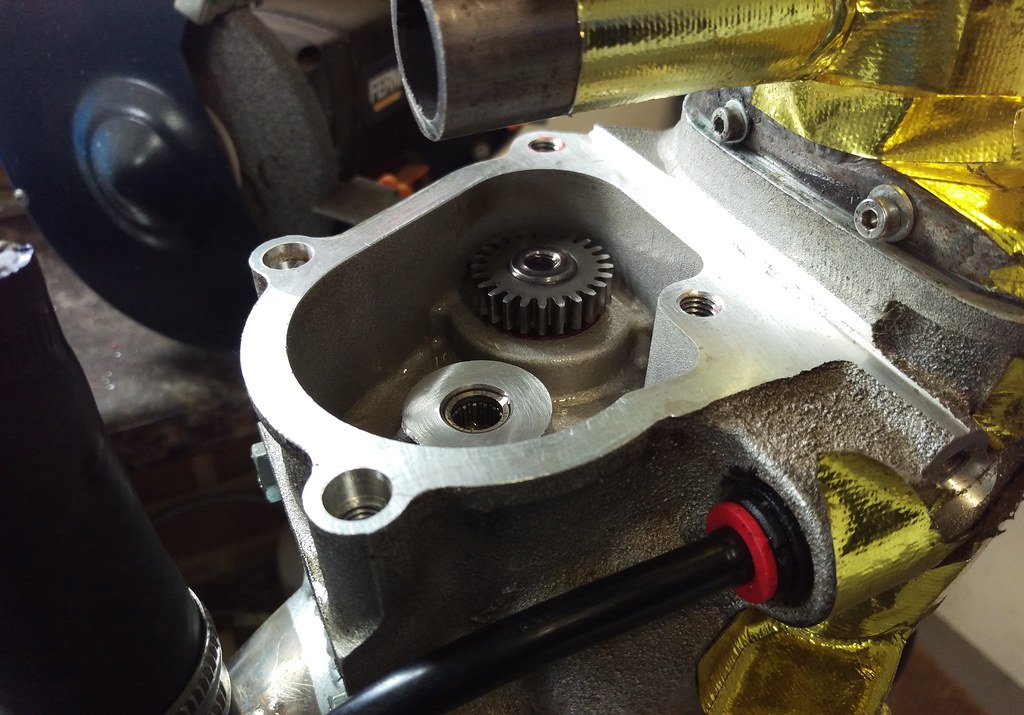
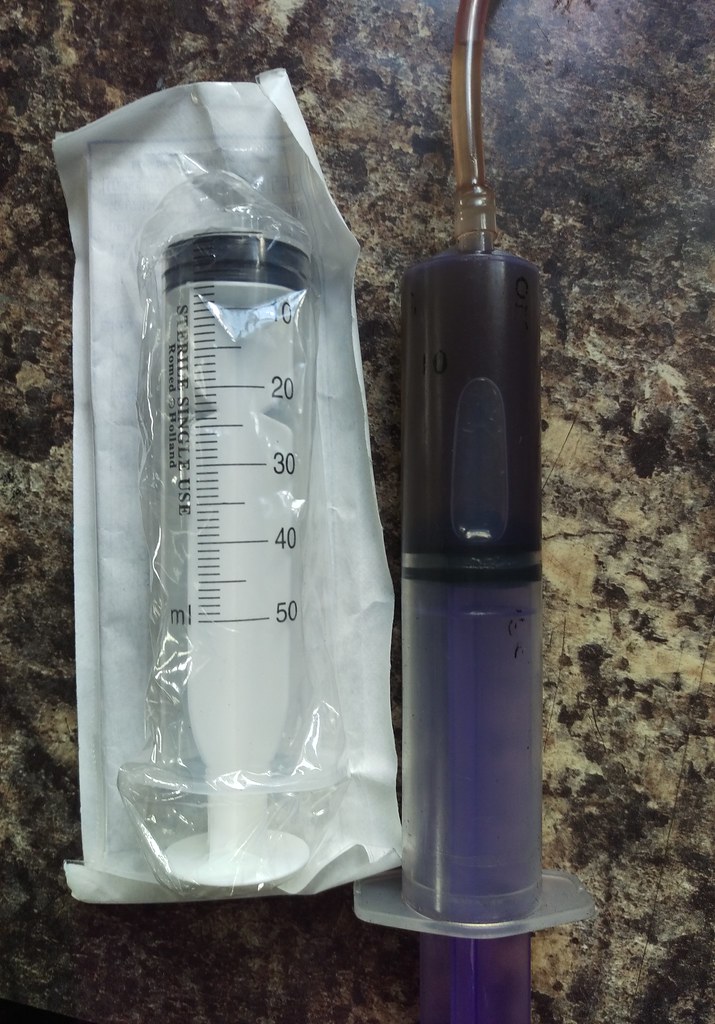
This end is supposed to be filled with 40ml so it looks like I caught it in time as hardly any had leaked out.
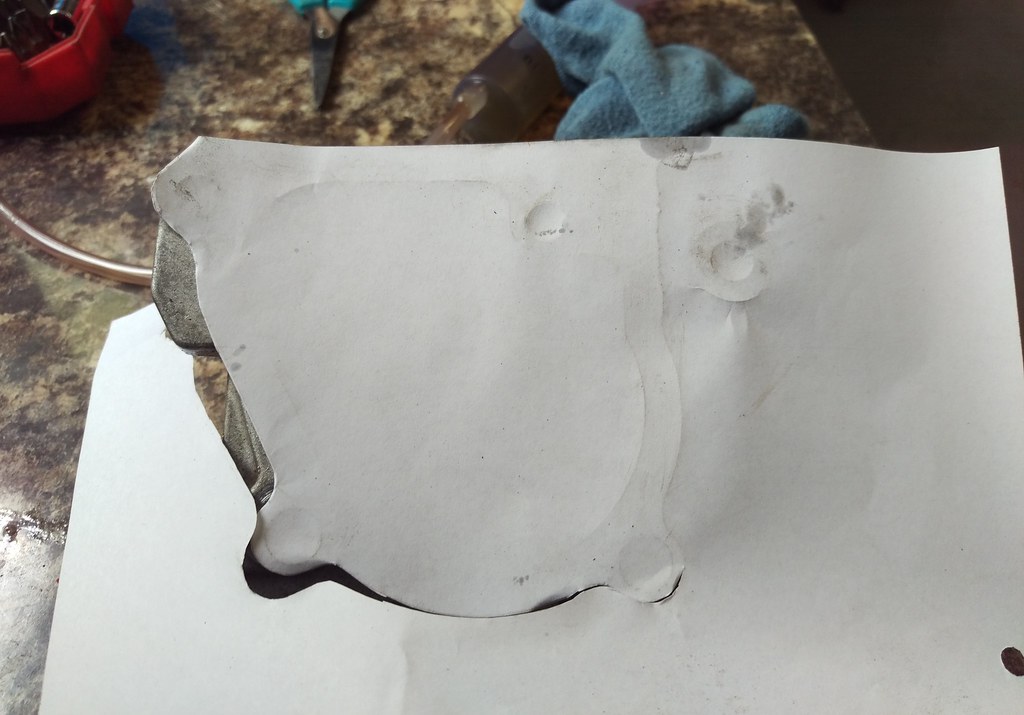
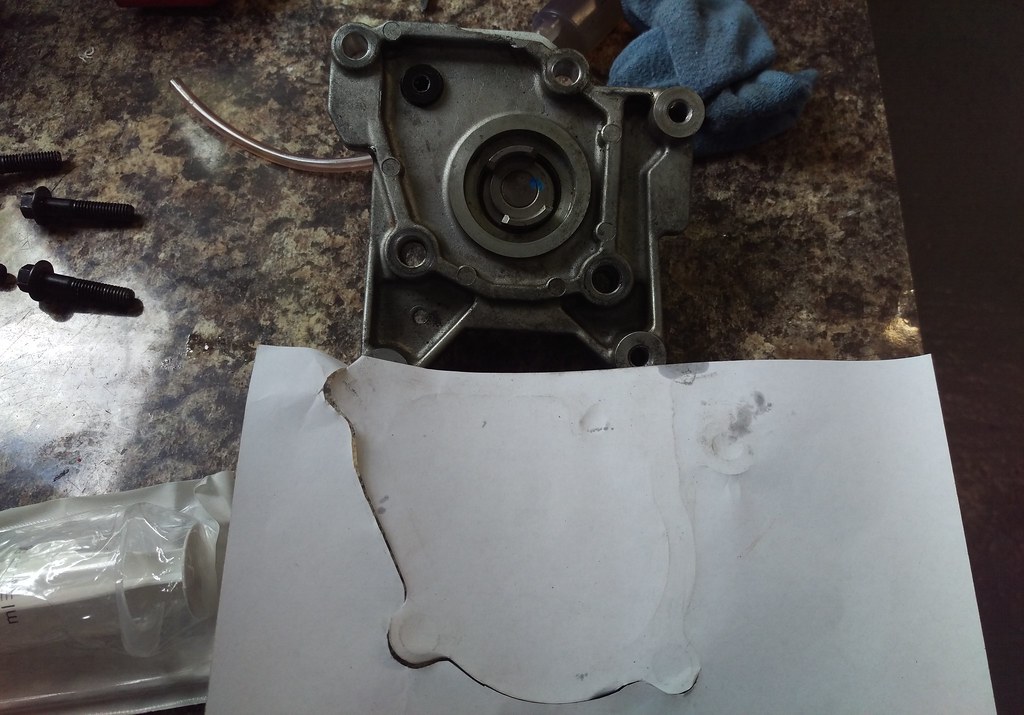
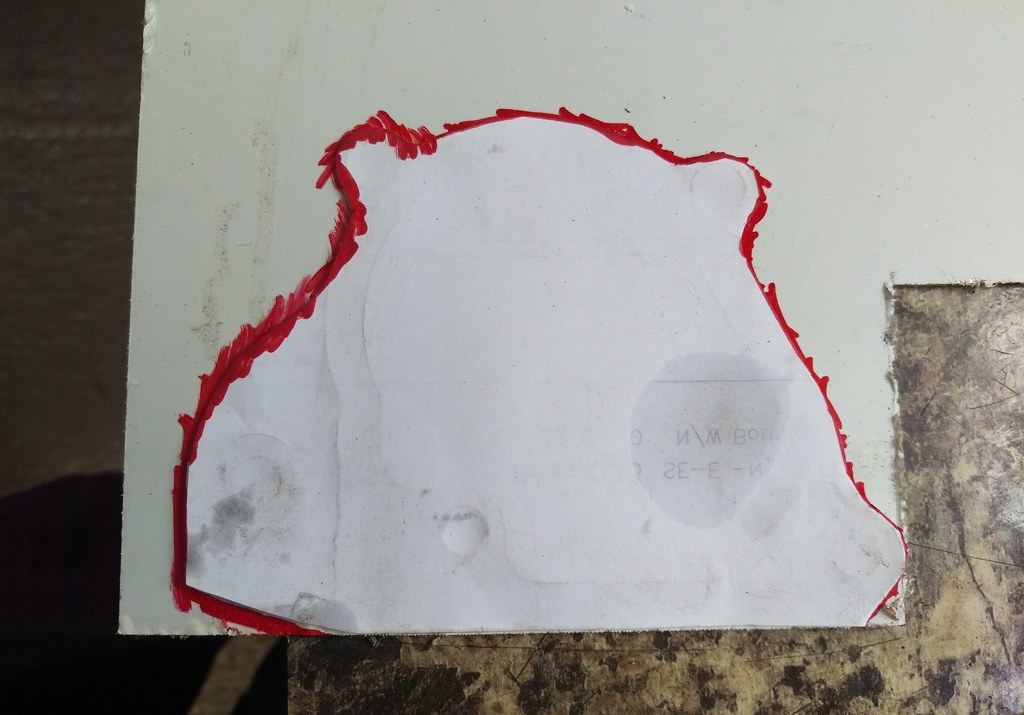
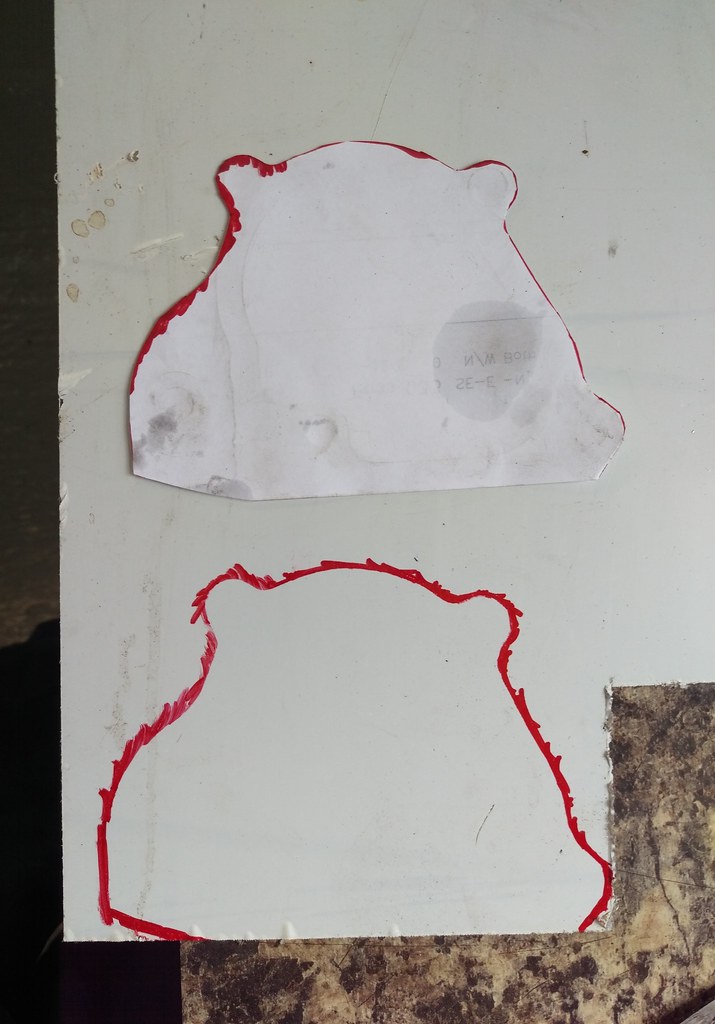
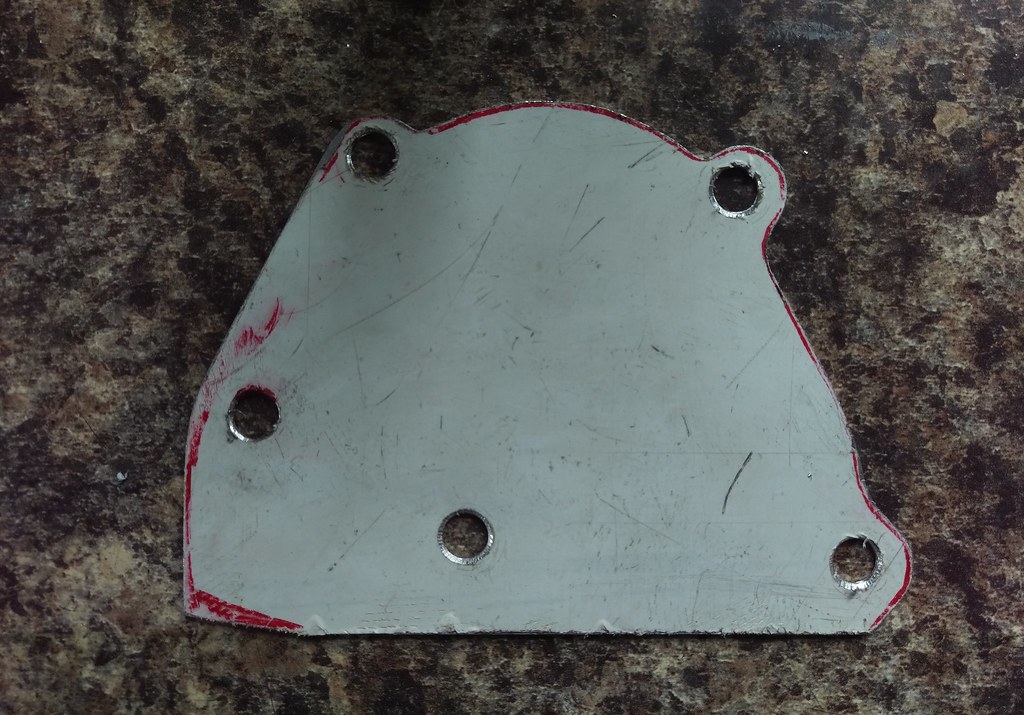
Making a blanking plate was a simple job. As usual I started with a template. The easiest way to make a template for this sort of thing is to place a bit of paper over the mating face and press down on it over the edges of the surface, being careful to keep the paper in a fixed position throughout.
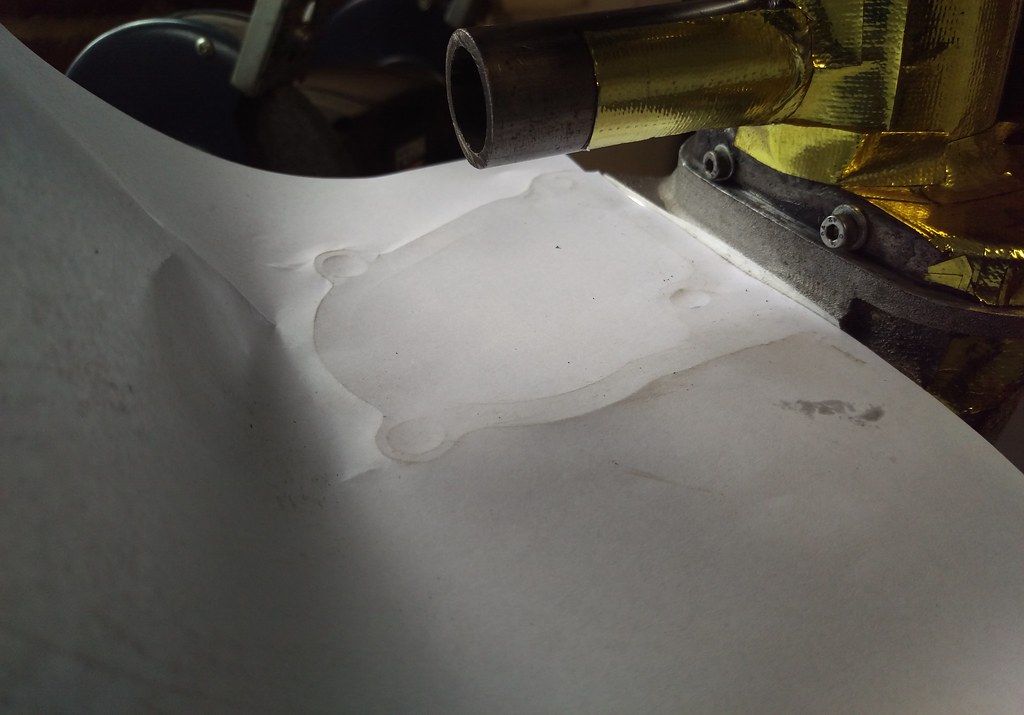
Then you can cut around the edges like this.
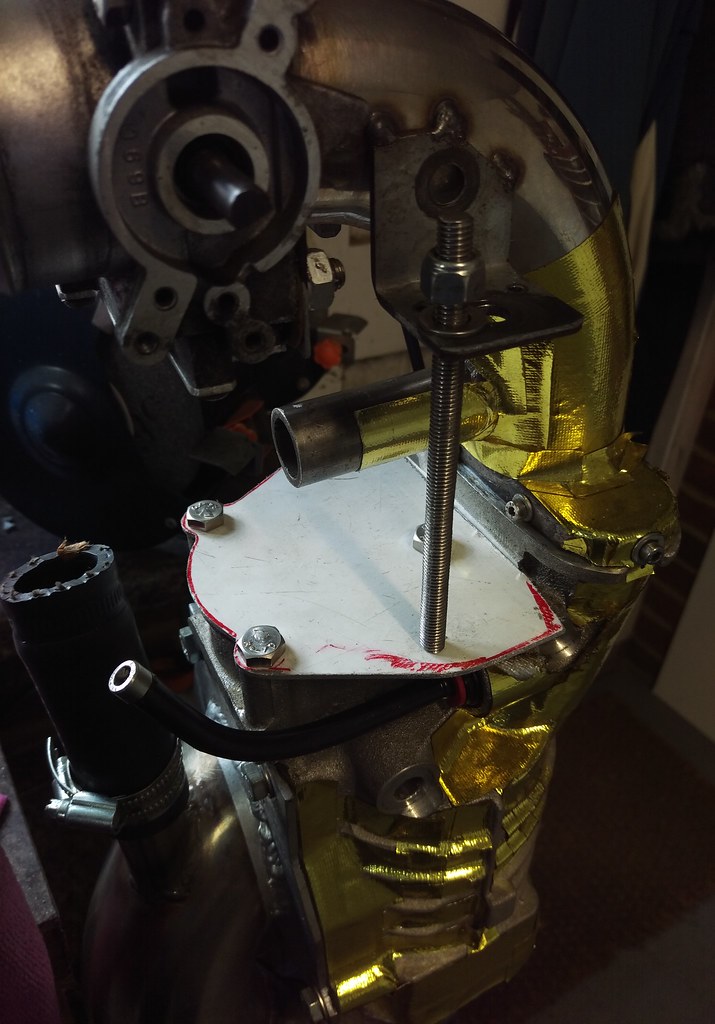
My inlet design for the charger was using one of the threaded supports on the water pump drive so that the weight of it all was not supported only by the attachment to the charger inlet. I didn’t want to lose this support with the water pump drive so I added to the blanking plate to keep the support.
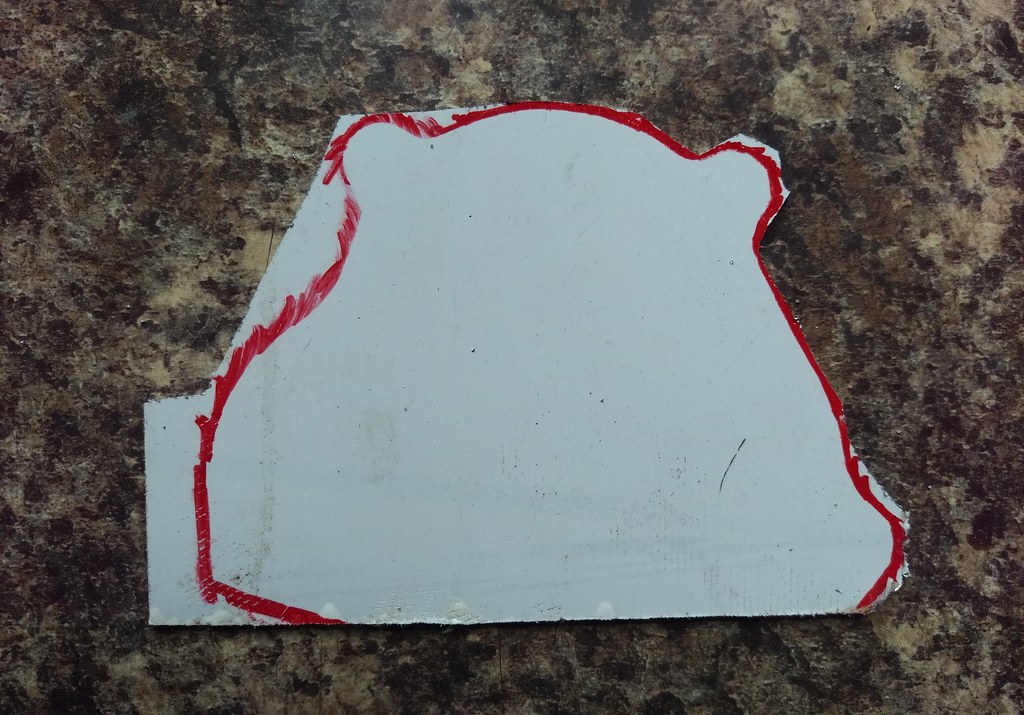
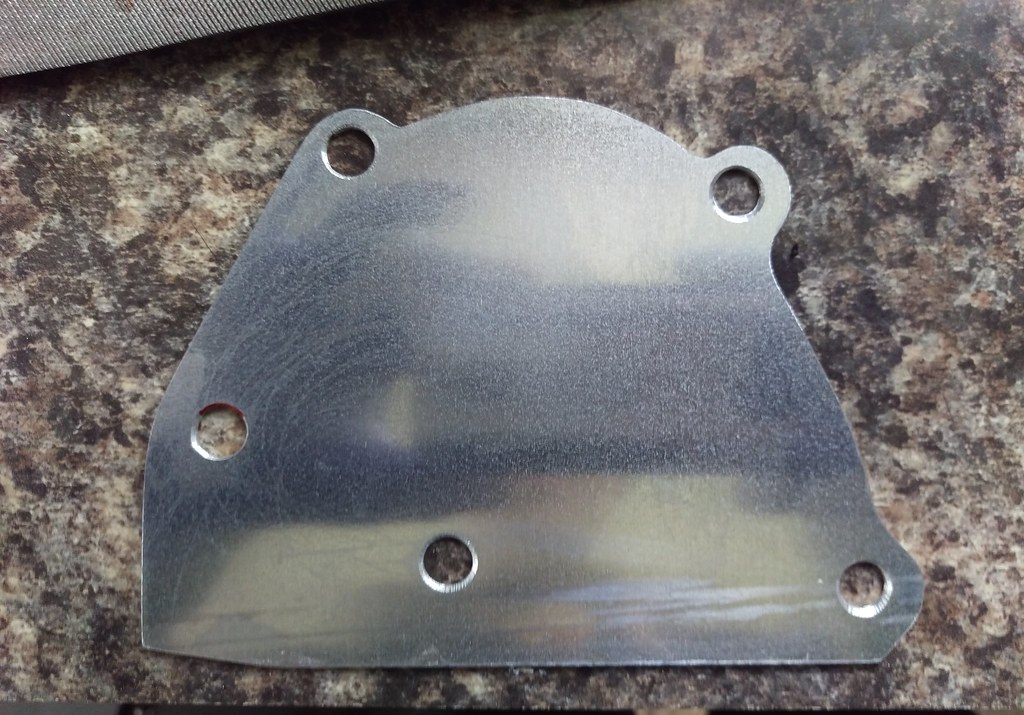
Now to put the template on to some sheet ali.
Roughly cut out
Holes drilled
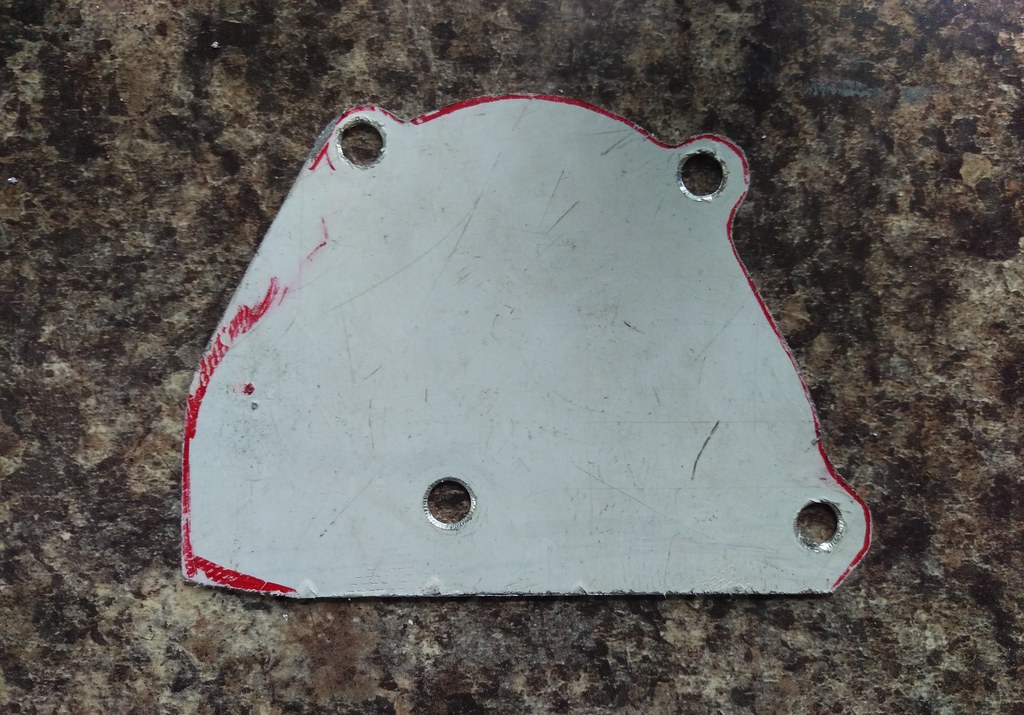
Bolted to the charger to mark the location of the inlet support hole.
Another hole drilled
After a bit of filing and tidying of the edges.
Some gasket sealant, maybe unnecessary but it will prevent any dirt and moisture getting in and I still put a bit of oil back in so everything keeps a coating of oil inside.

All done with the inlet support fitted back in place.
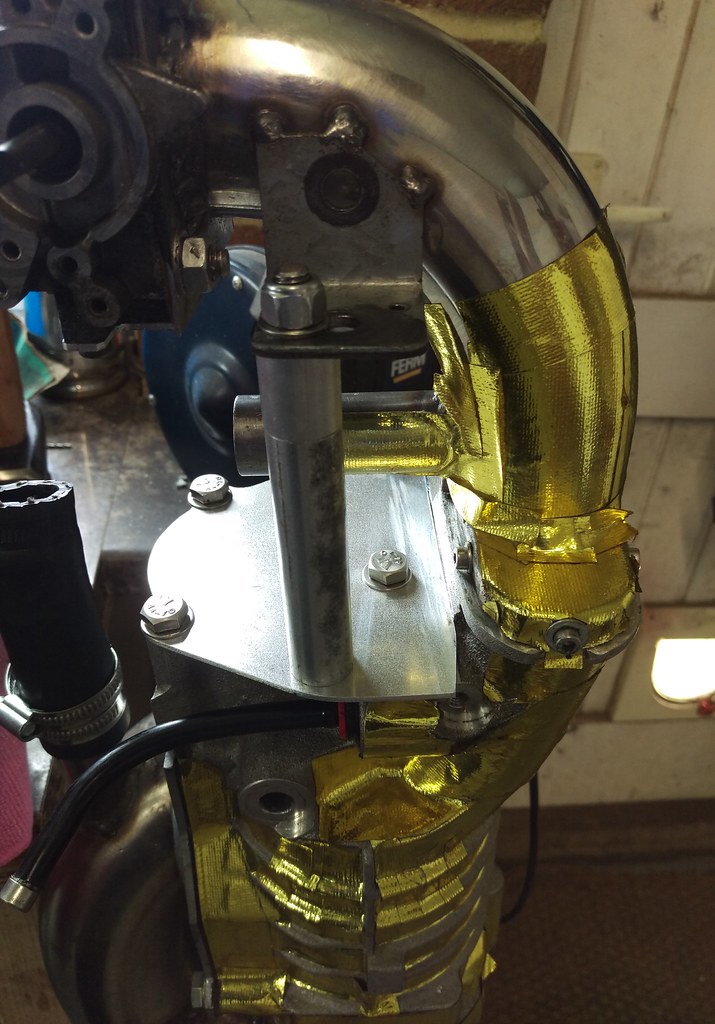
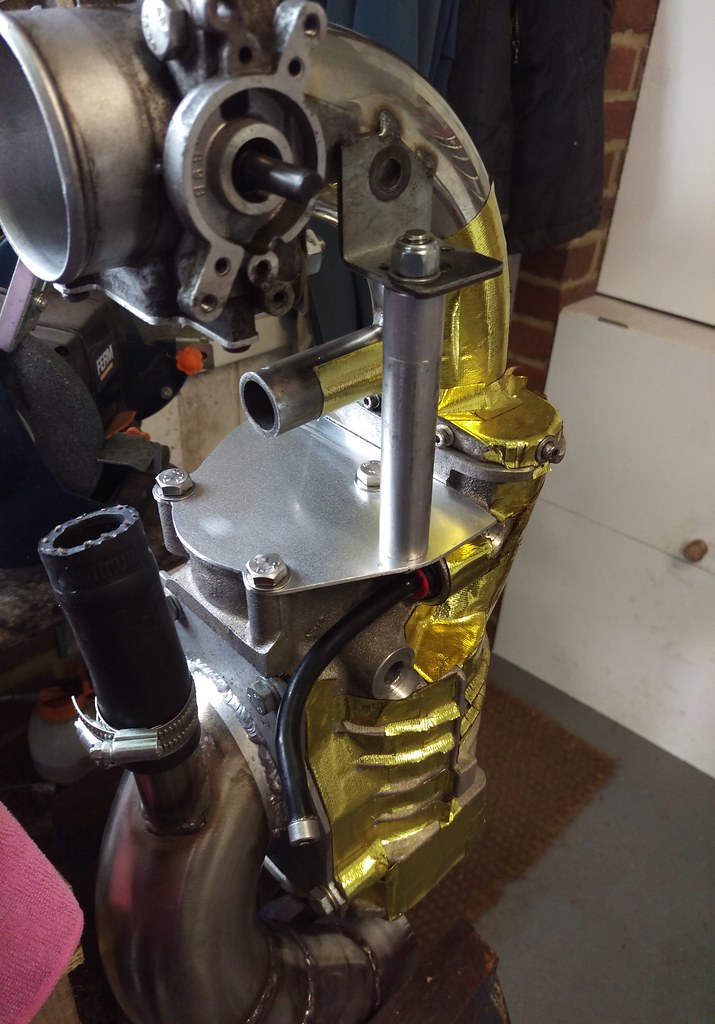
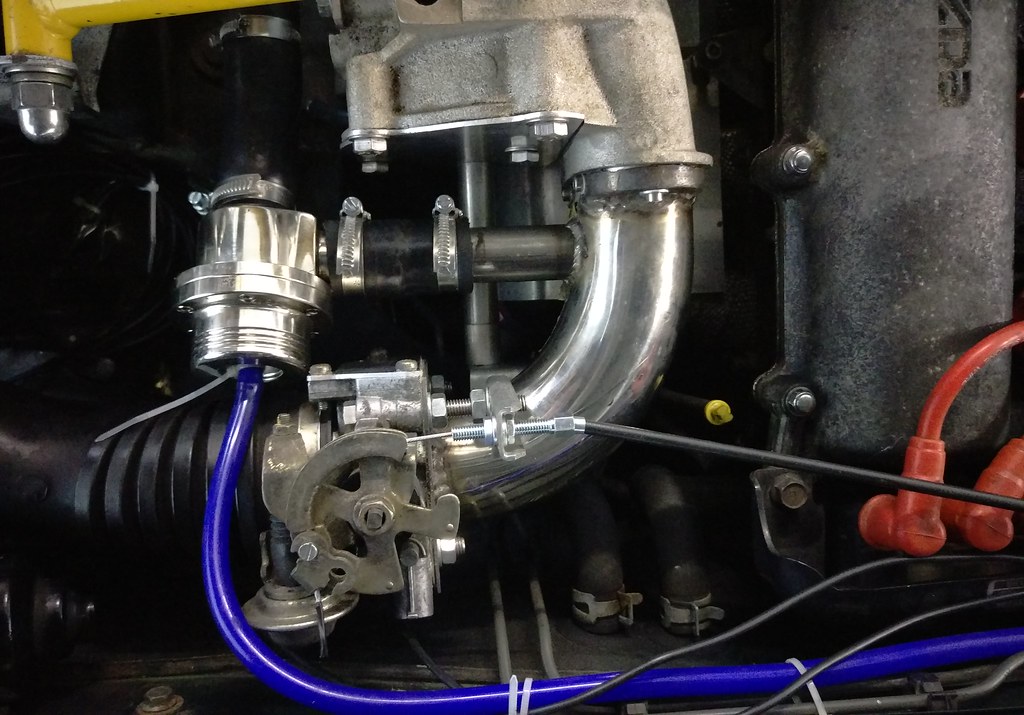
Back on the car
I like a nice easy fabrication job like this, now the charger isn’t leaking oil and driving an unnecessary water pump drive. 🙂