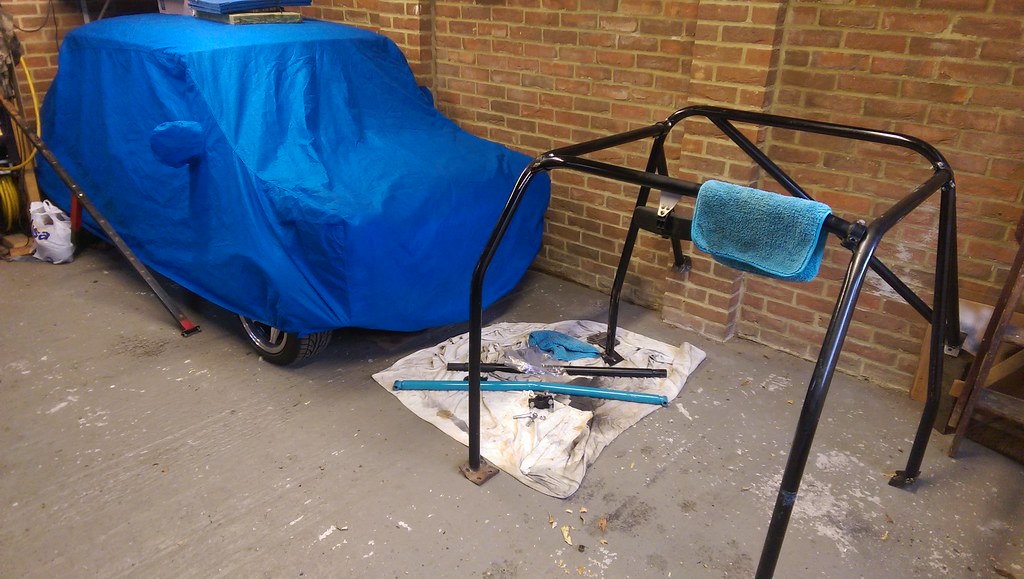
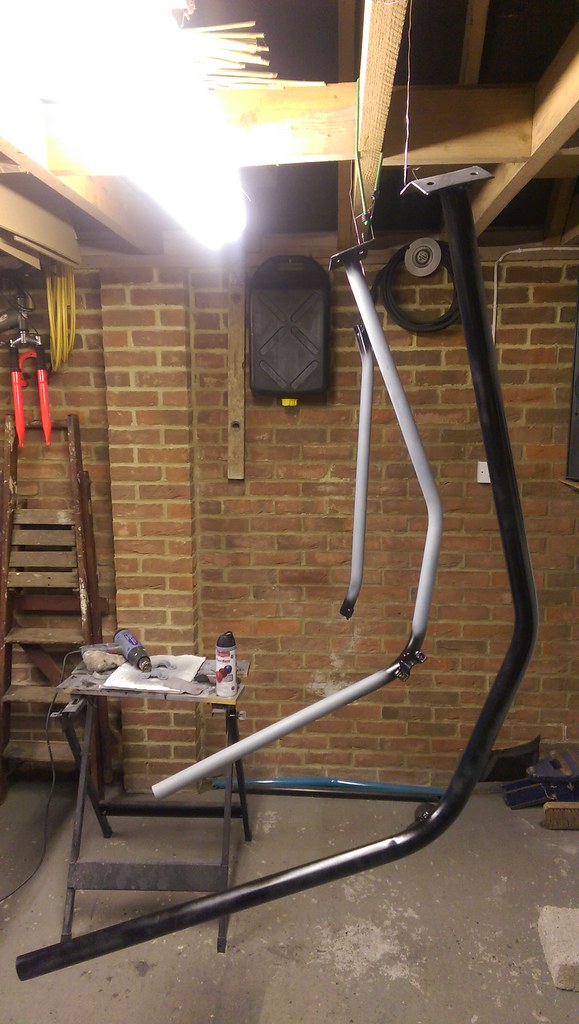
We always wanted to put a roll cage in Jem’s Mini for a bit of additional safety and to improve the rigidity of the shell. But I couldn’t fit one to the car with the old sills in the rusty state they were, it would have been pointless. Well since I’d replaced the sills I wasn’t making any real effort to find a roll cage but then one came up for sale locally having just been removed from a hill climb car. The car it came from was there for inspection so I could be sure it was straight and not previously involved in any crunches so I bought it.
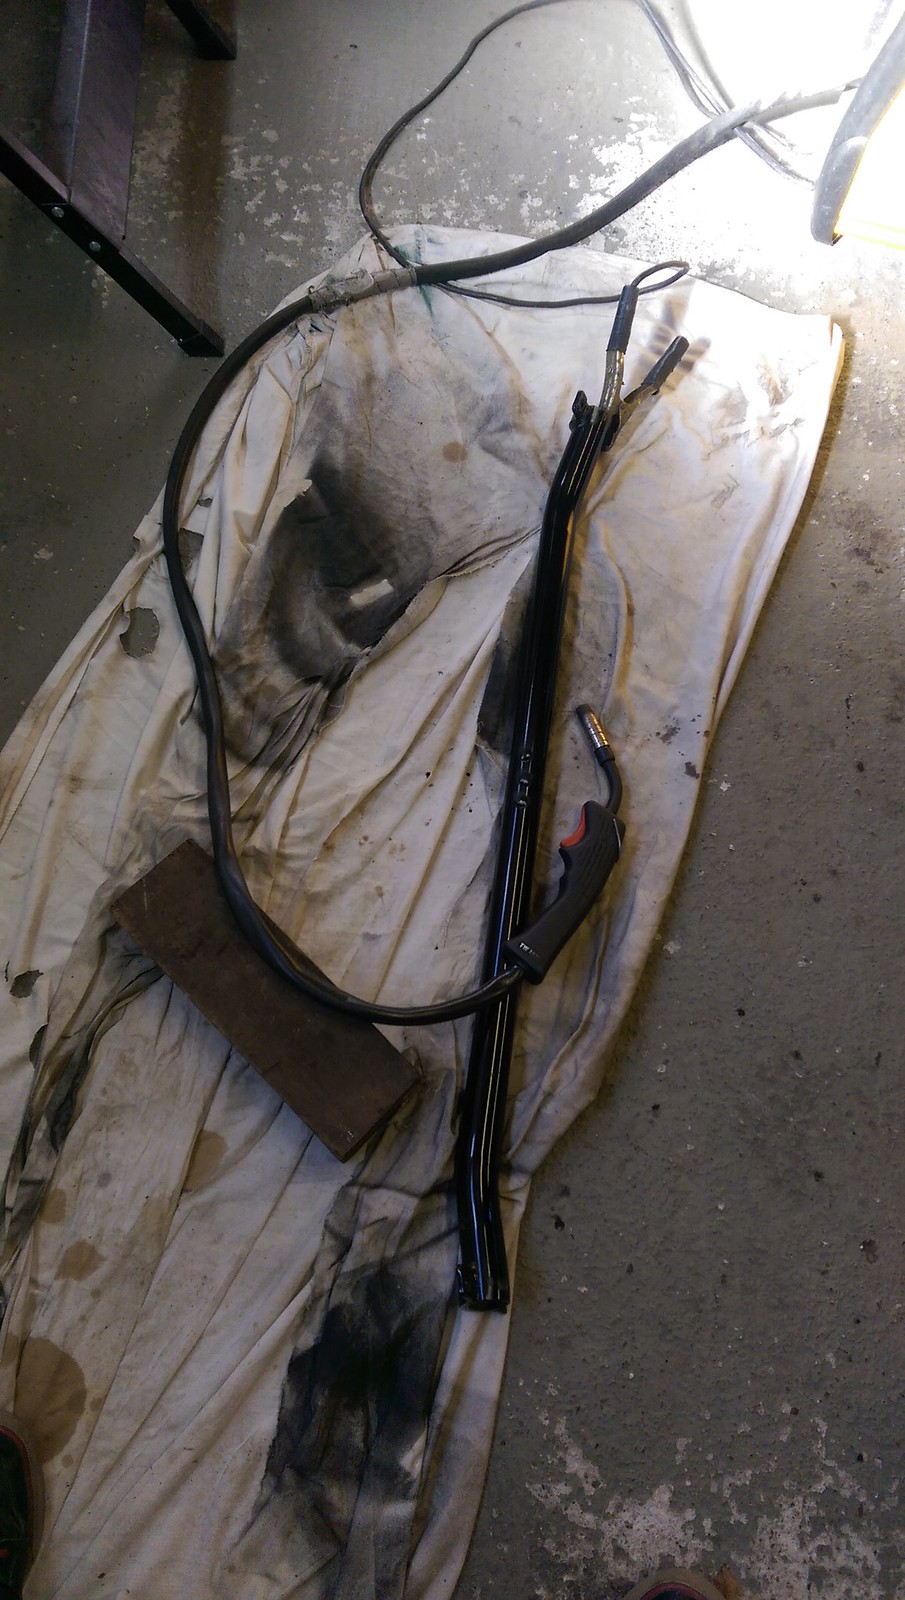
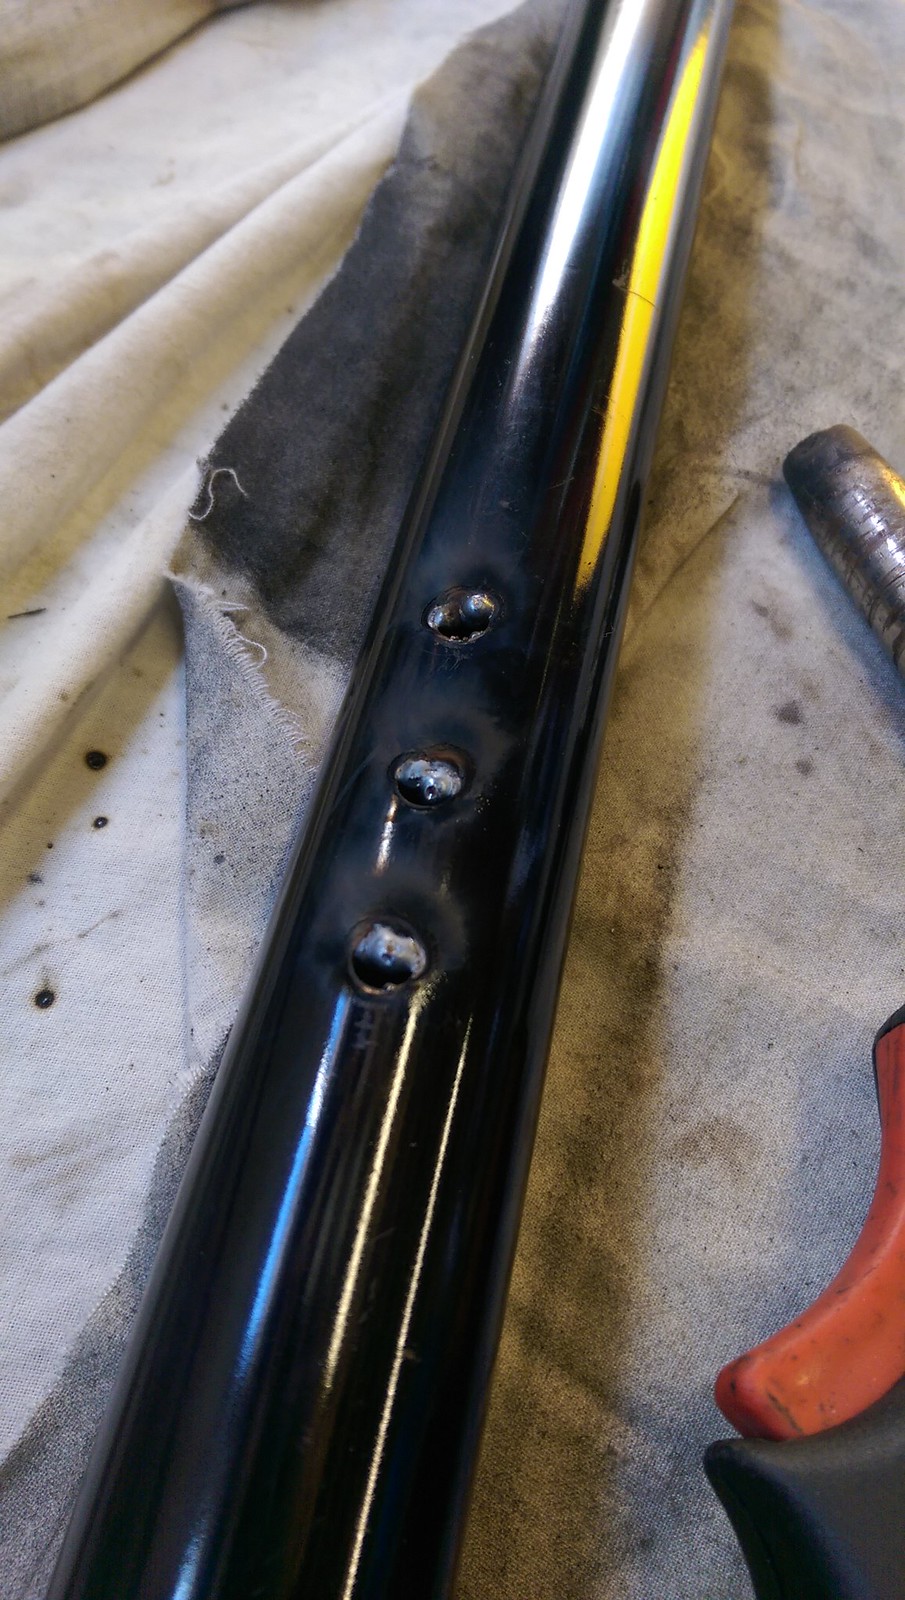
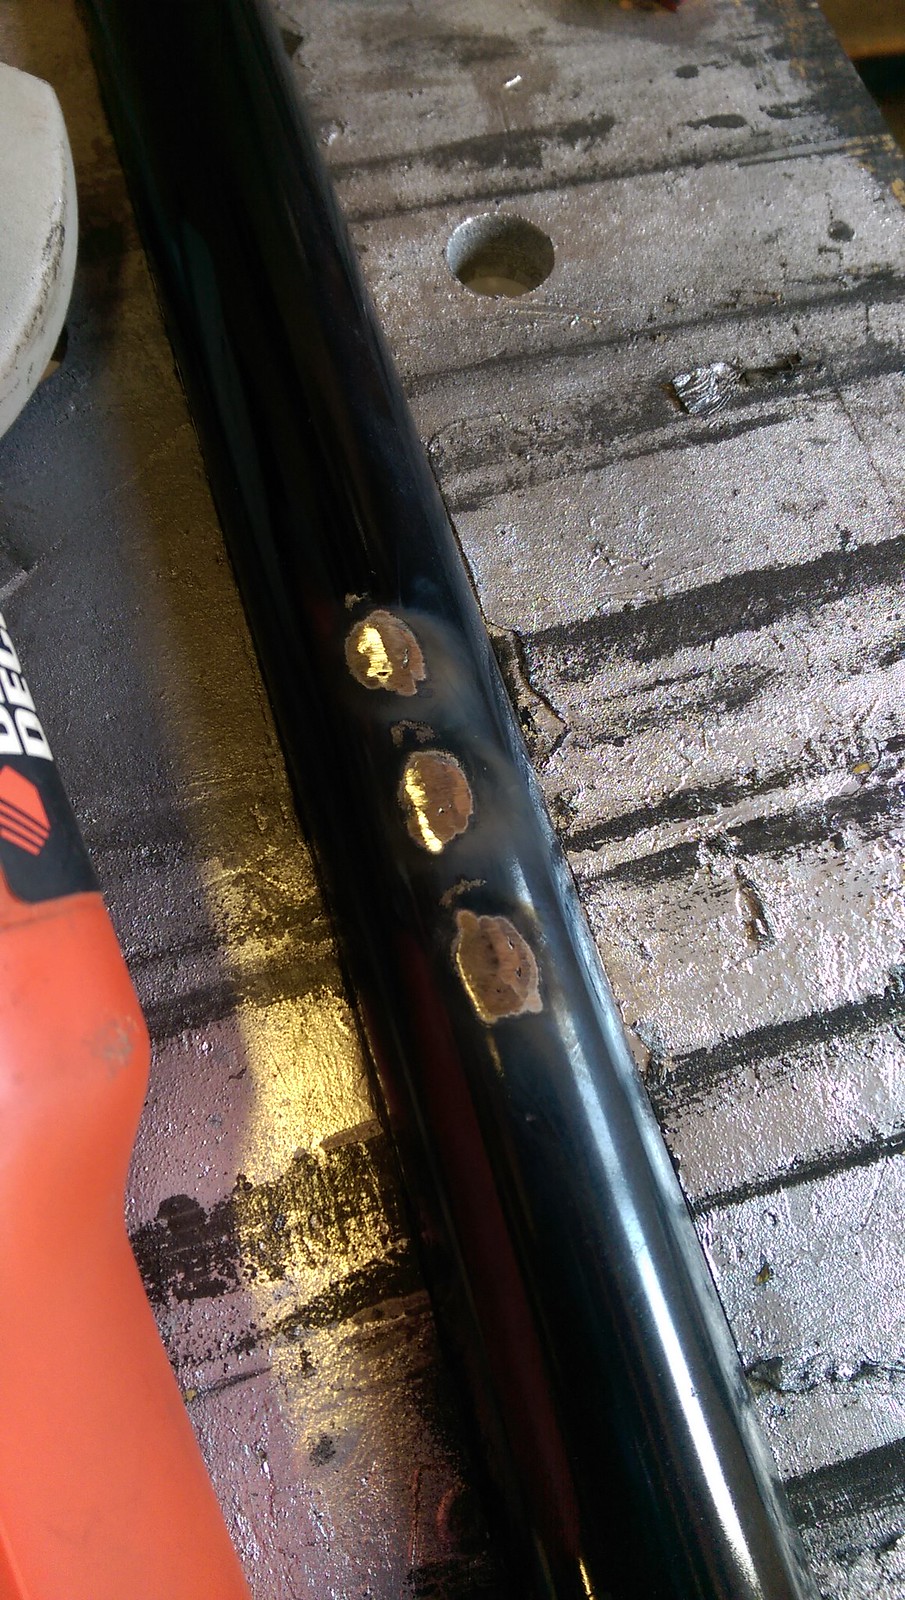
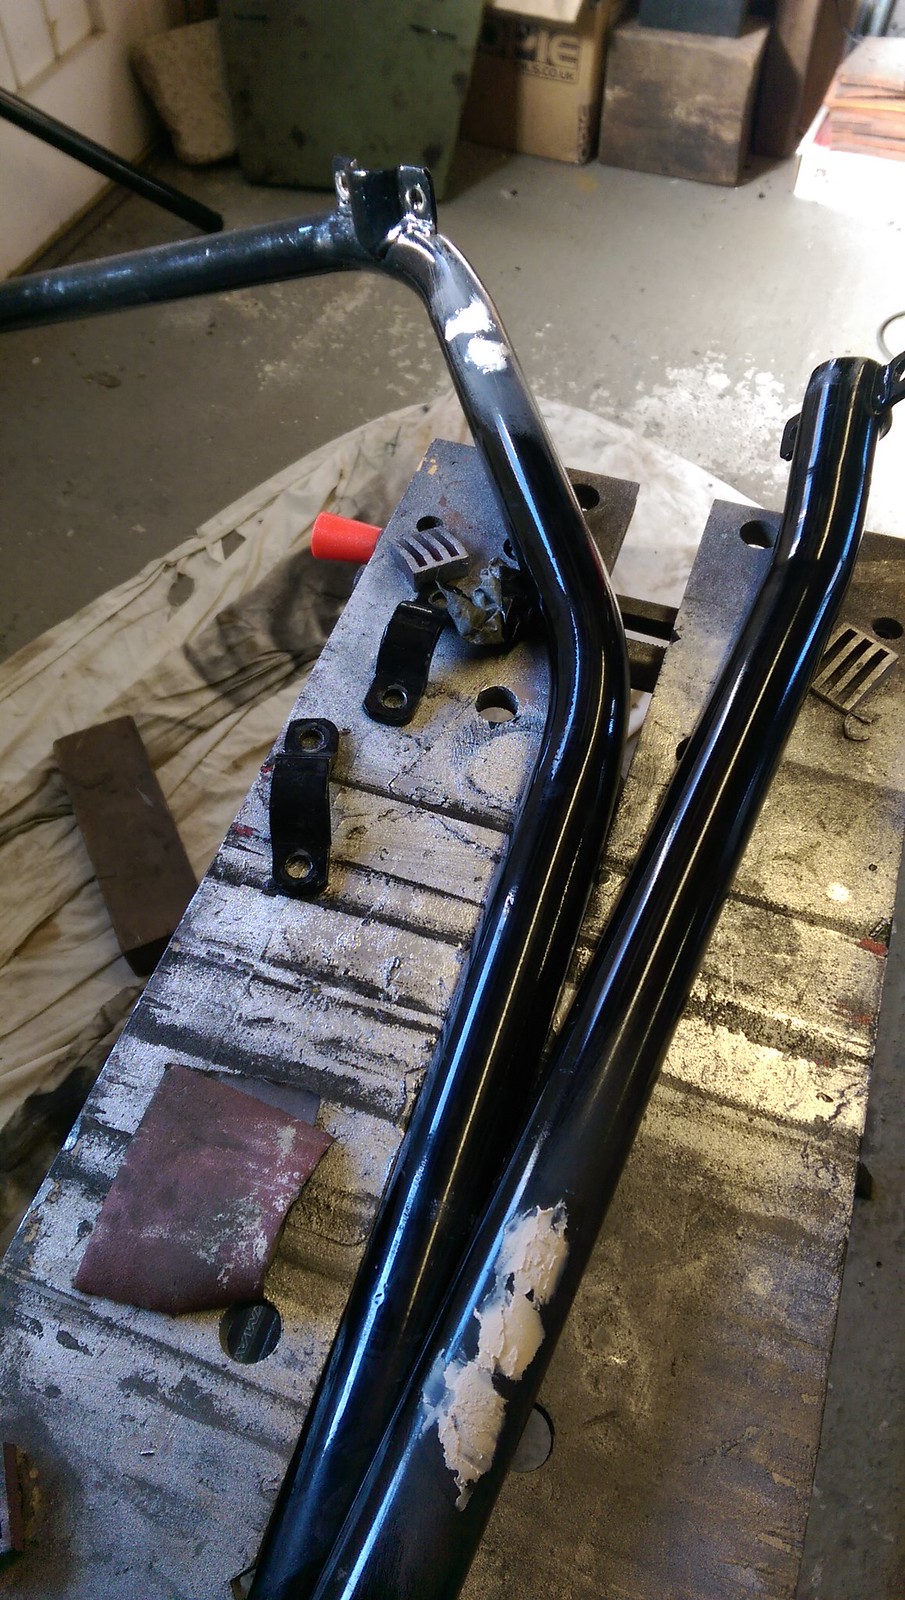
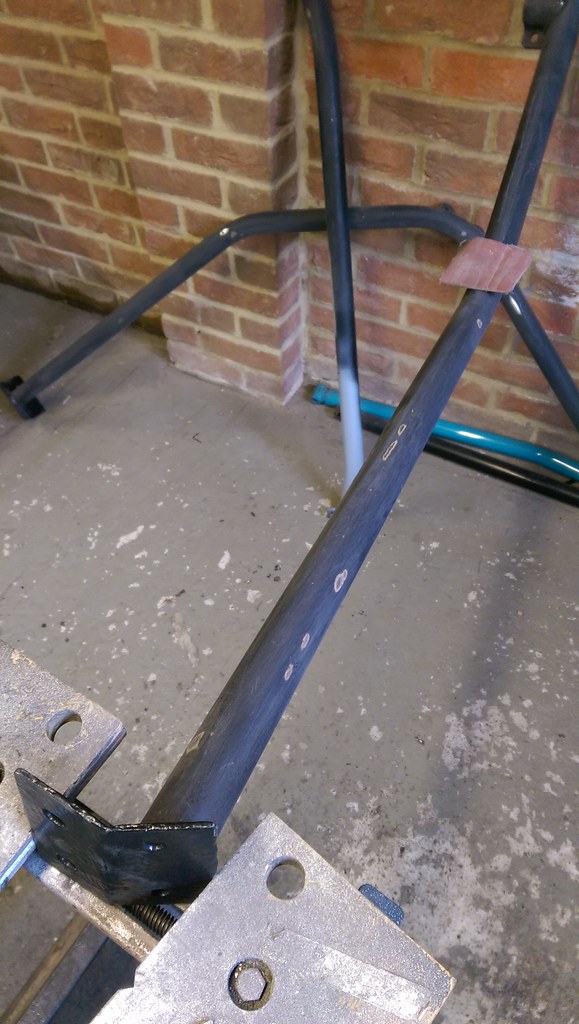
Having got it home I gave it a bit of a tidy up. It had had a few holes threaded in it for stuff like the rear view mirror which had been fitted to the front horizontal bar. So I filled them with weld and smoothed the repair so it would not be visible once painted.
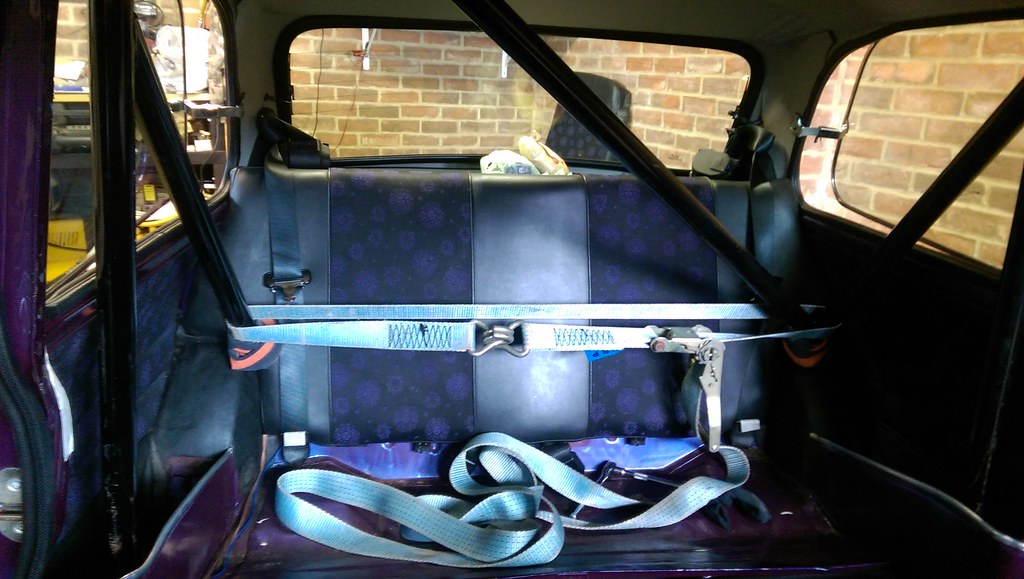
No point painting it before fitting it as it would only end up getting damaged so that’ll come later. I got the rear section in by myself which was a serious fight. I really should have got myself a helper but I did win the fight alone in the end, I always win in the end!
I got one of the ratchet straps we used to use to hold our karts to the trailer as they are good and strong. This has to be done to pull the rear legs in so the rear section of the cage will actually fit into the car.

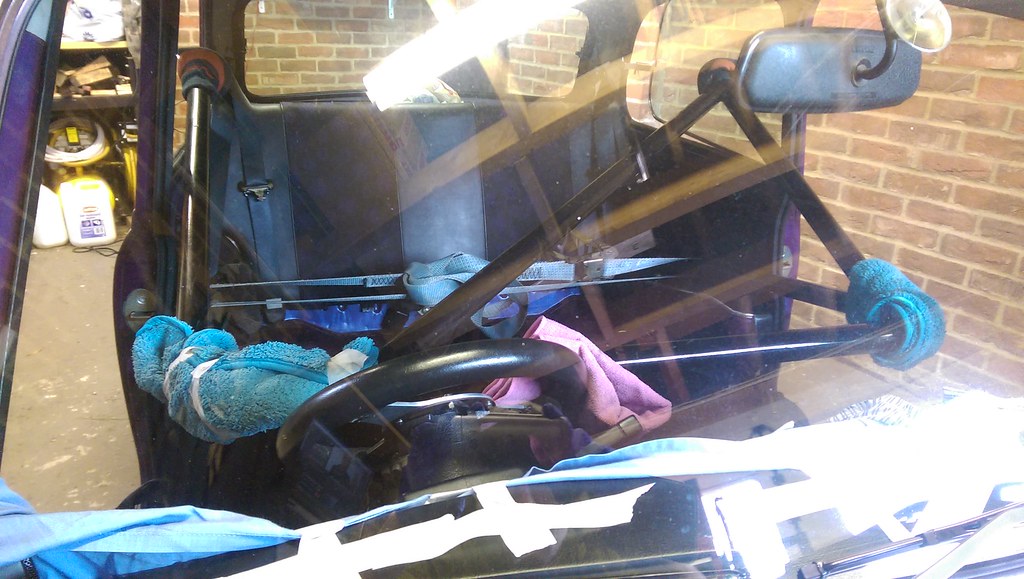
Getting it this far was hard work on my own as I had to be very careful not to damage the nicely painted dash I made or the carbon door cards. It was perilous! 😀
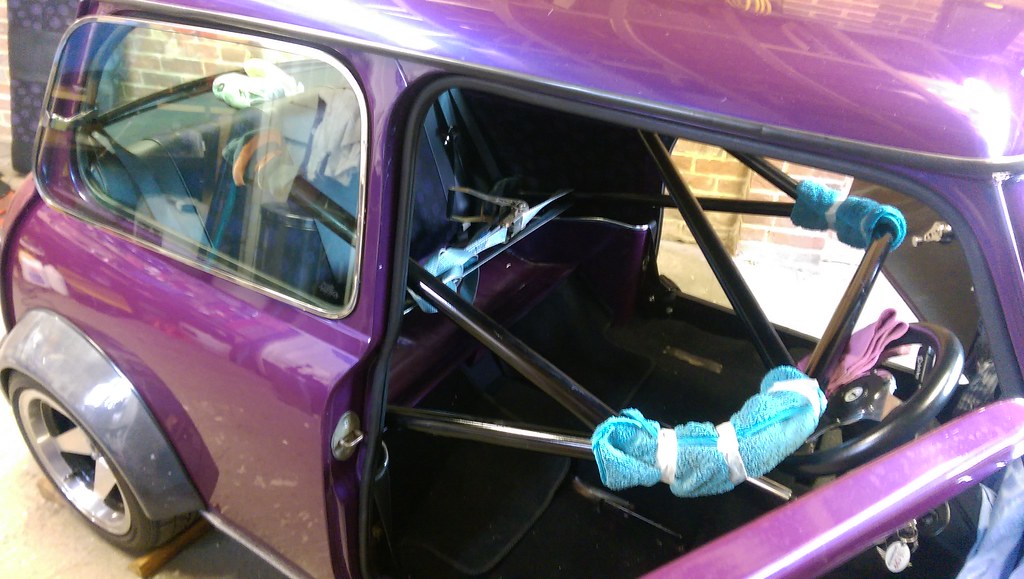
After another small fight it was in place.
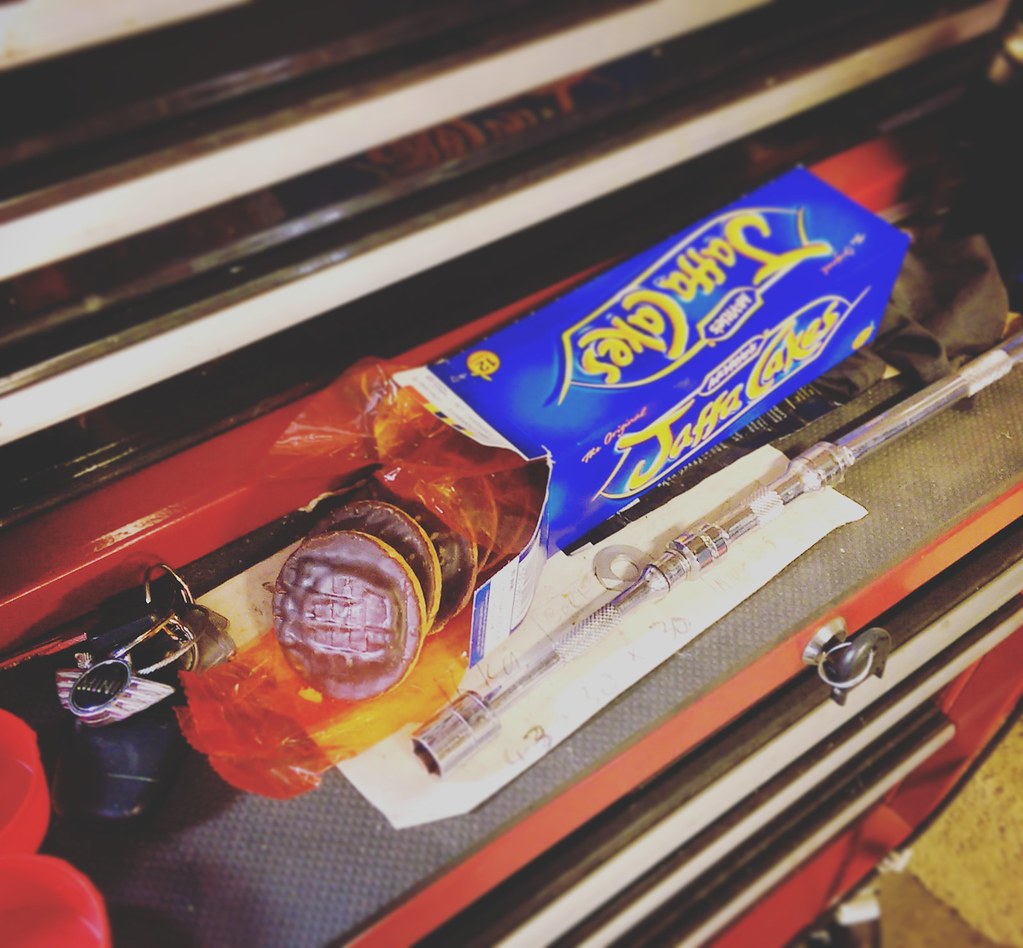
Time to celebrate with a garage snack!
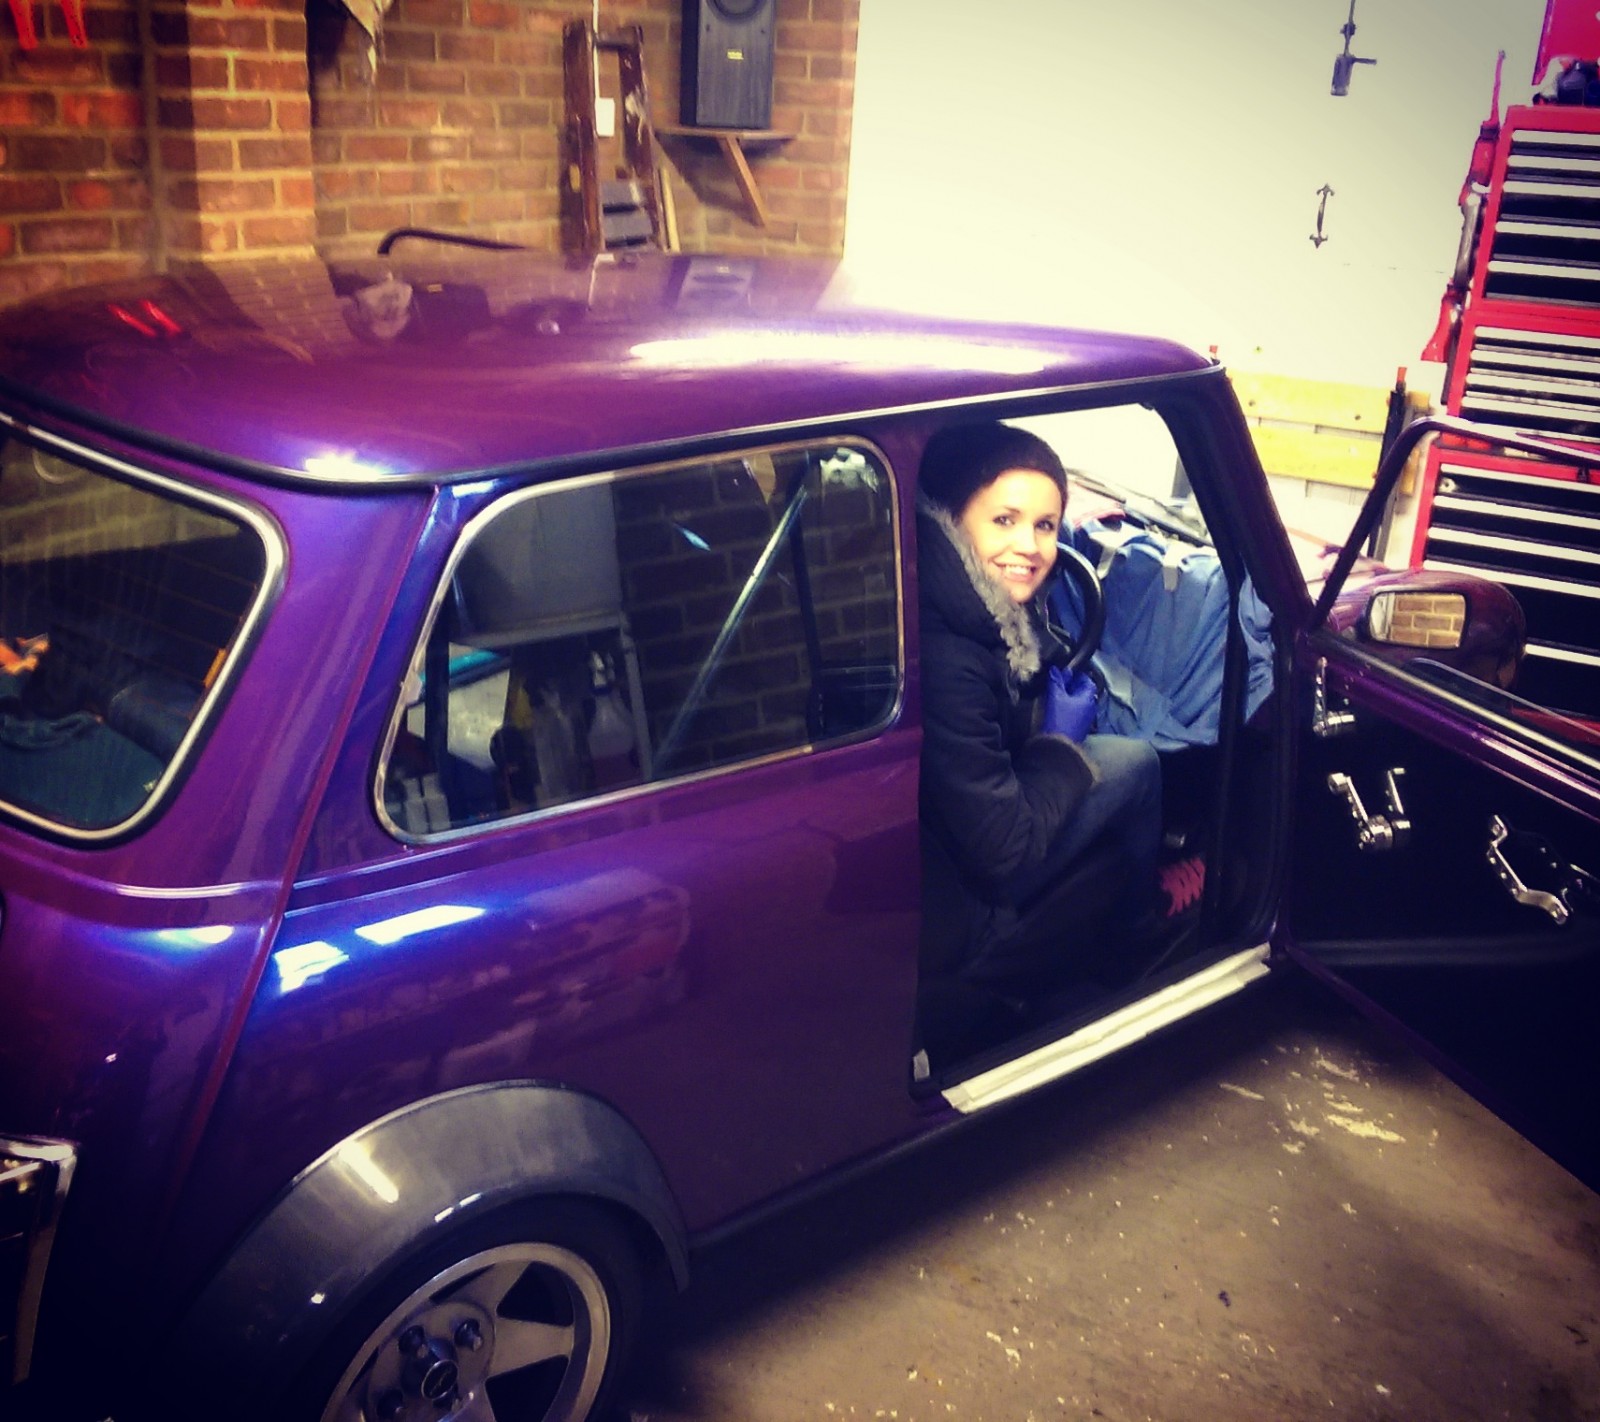
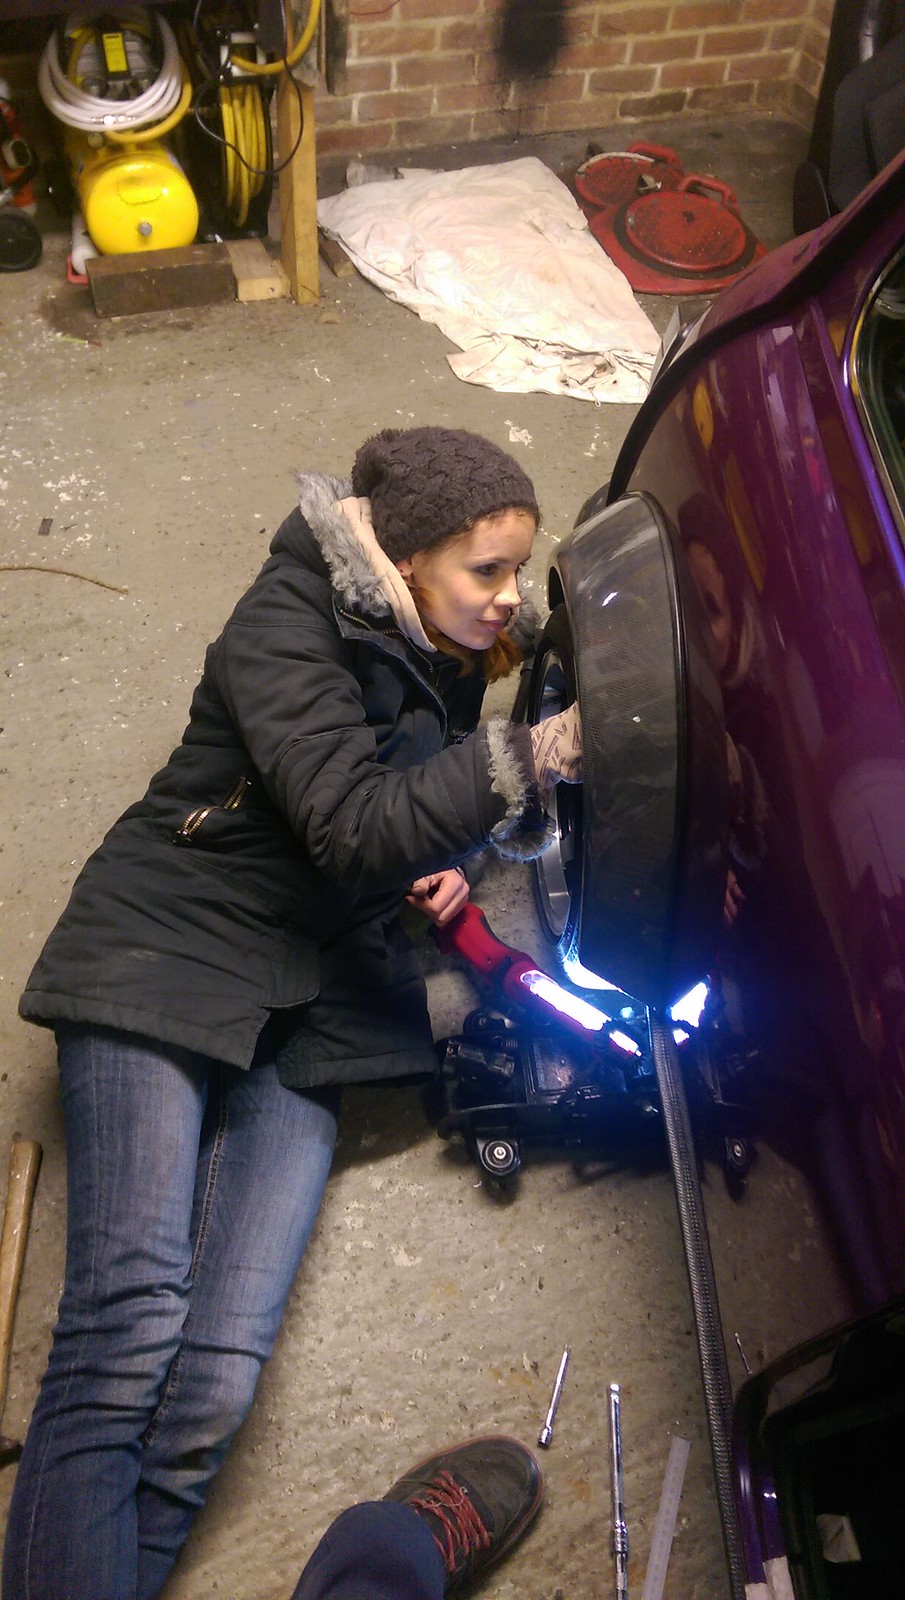
When it came to fitting, drilling and bolting I got my glamorous assistant to help.
After a lot of wiggling and forcing the cage about inside the car we got it to a point I was happy with so it looked straight or at least not as wonky as some are.
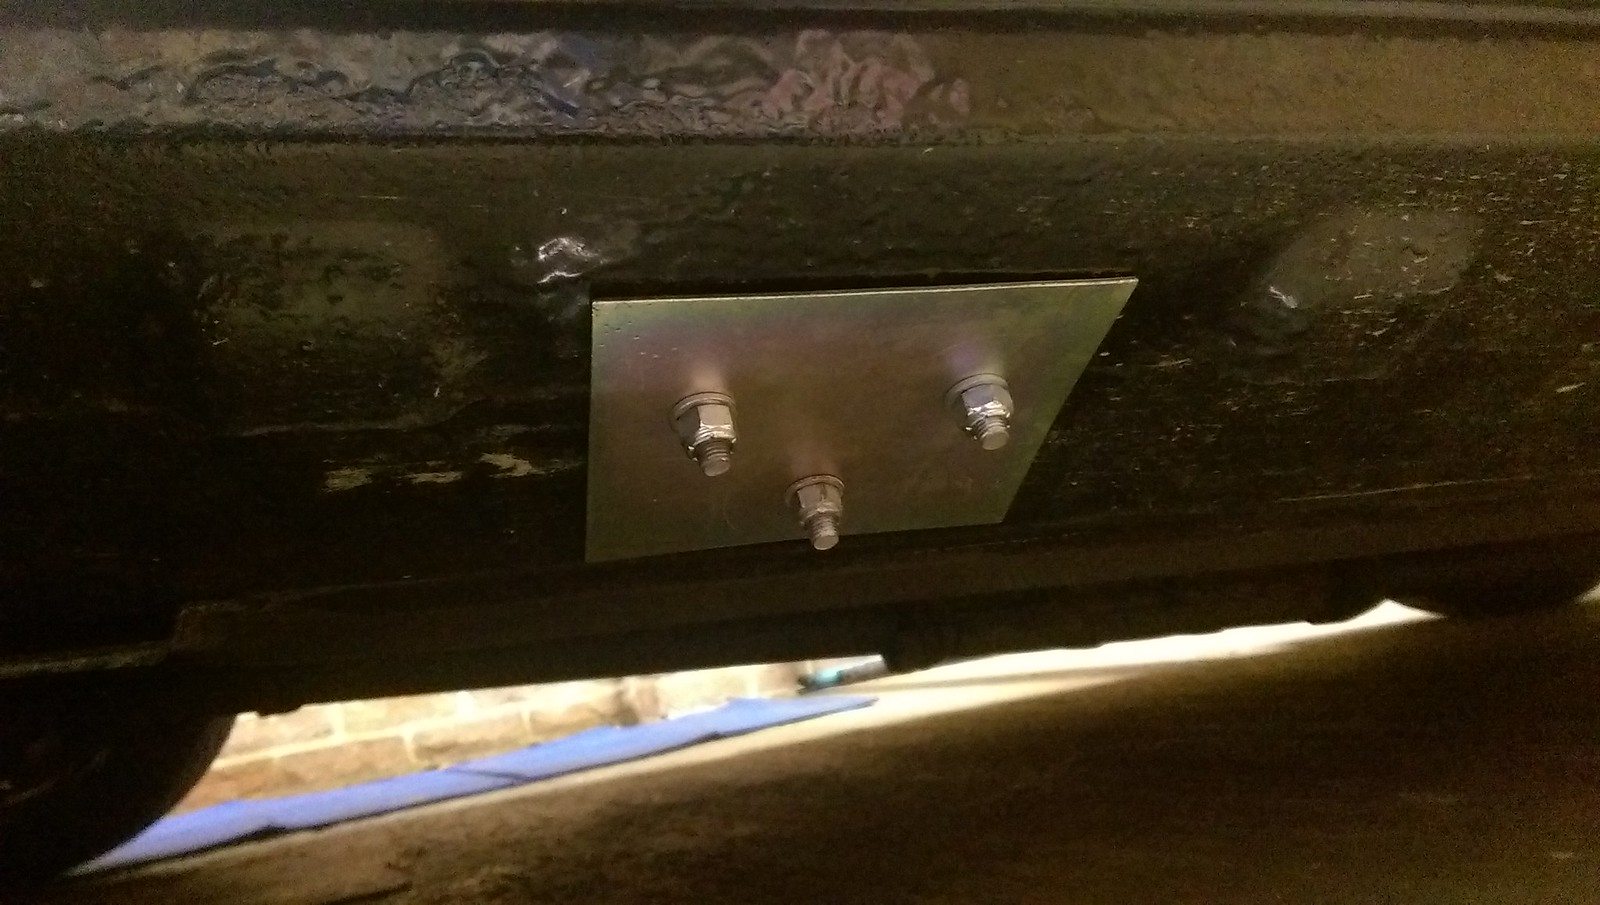
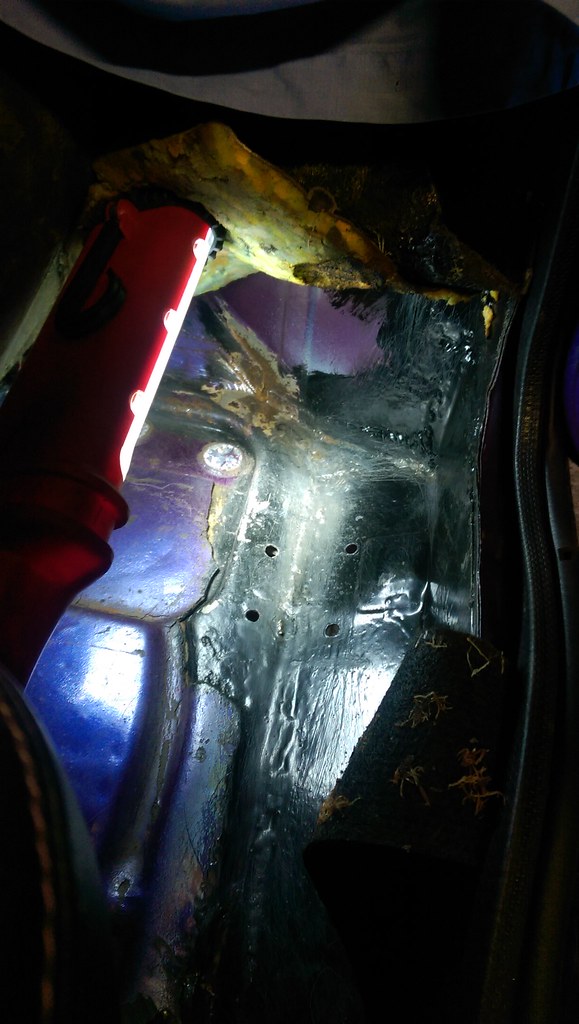
With all the holes drilled in the shell I made some plates to go on the outside of the sills to bolt through.
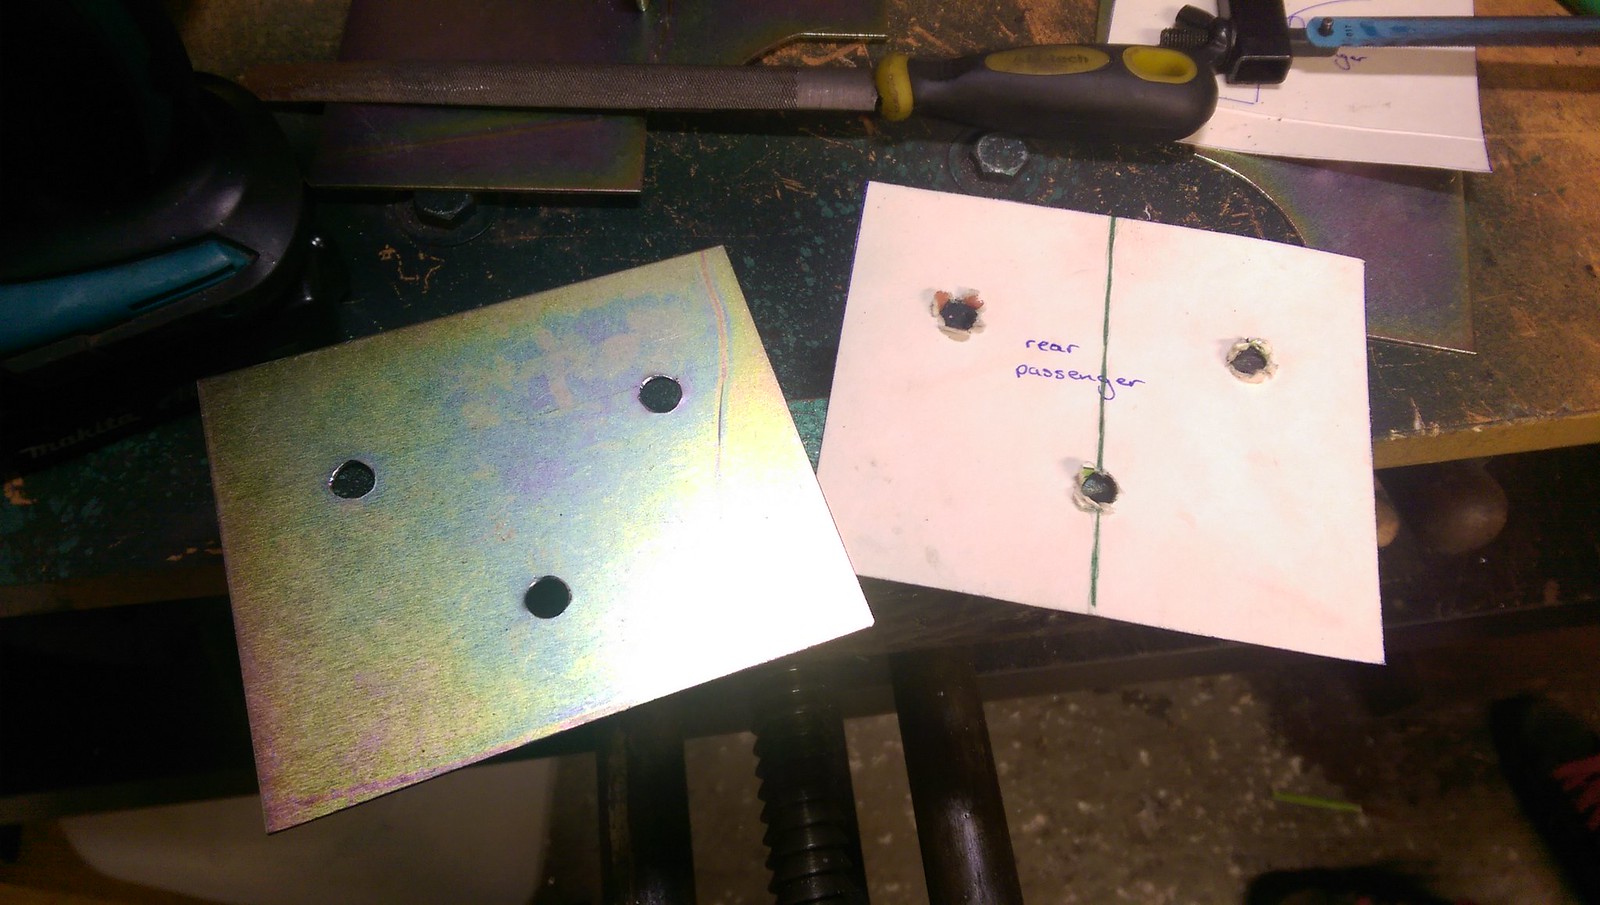
A bit of CAD (cardboard aided design) as usual.
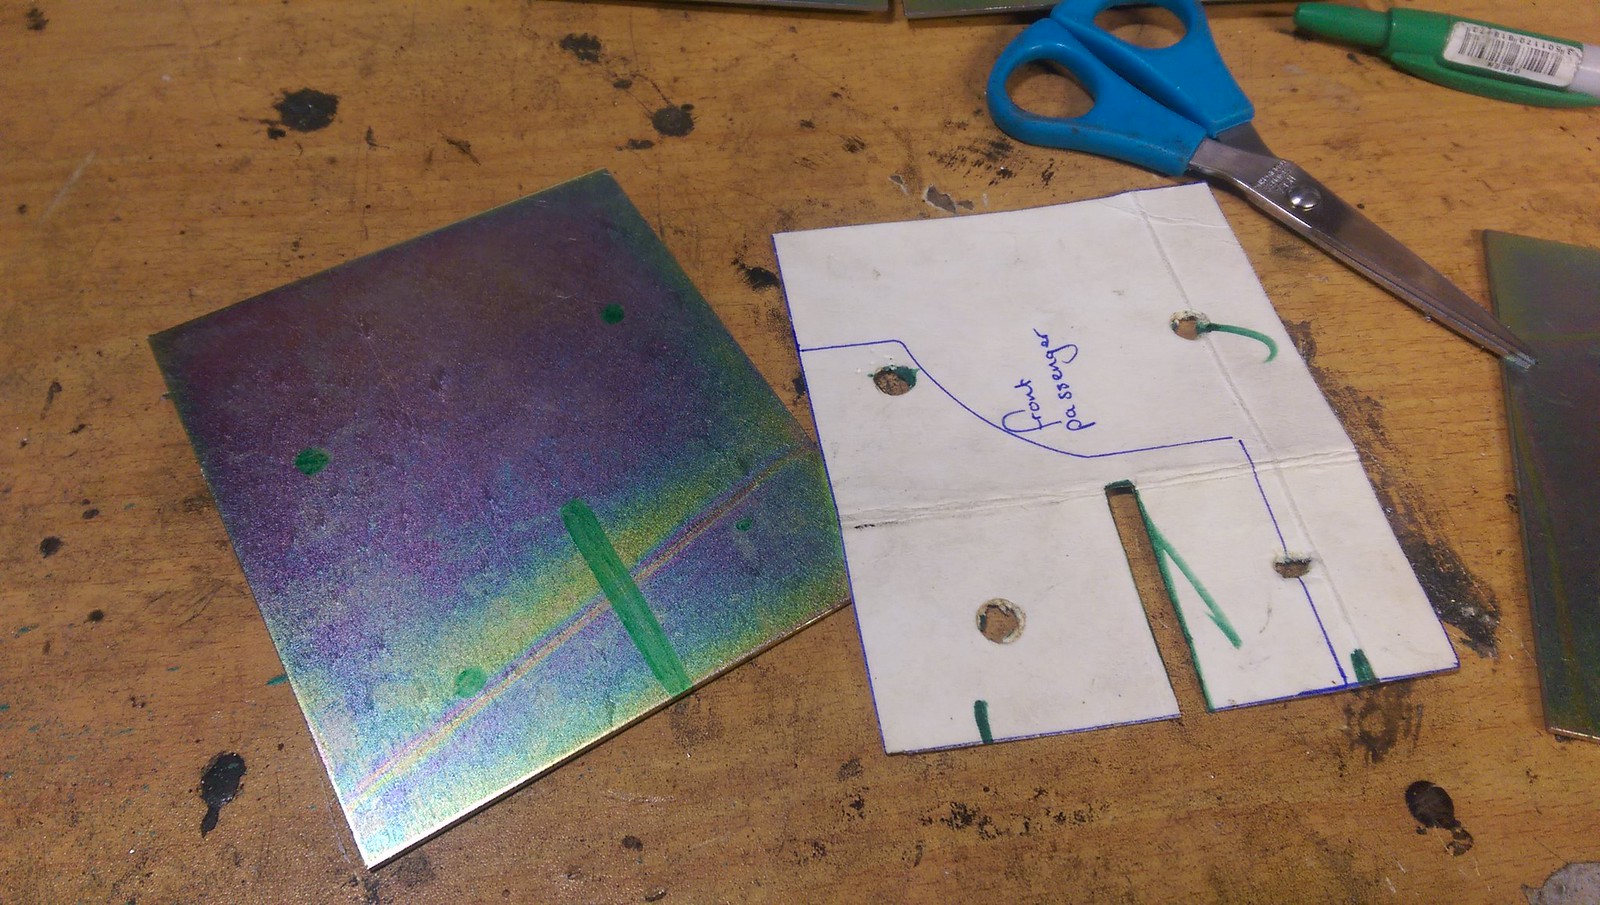
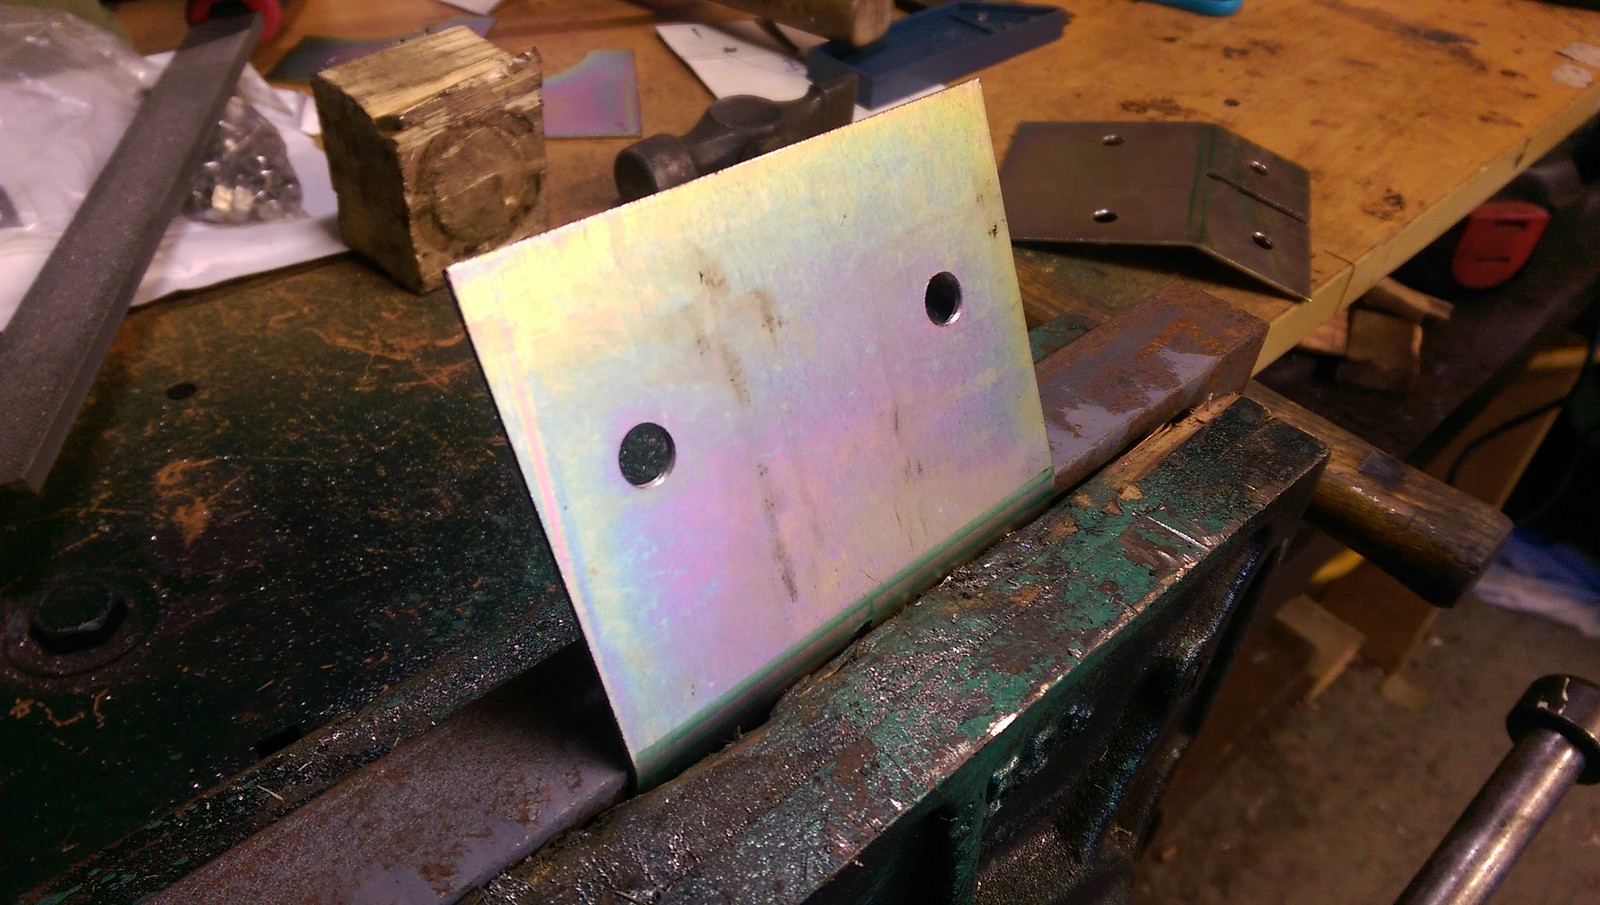
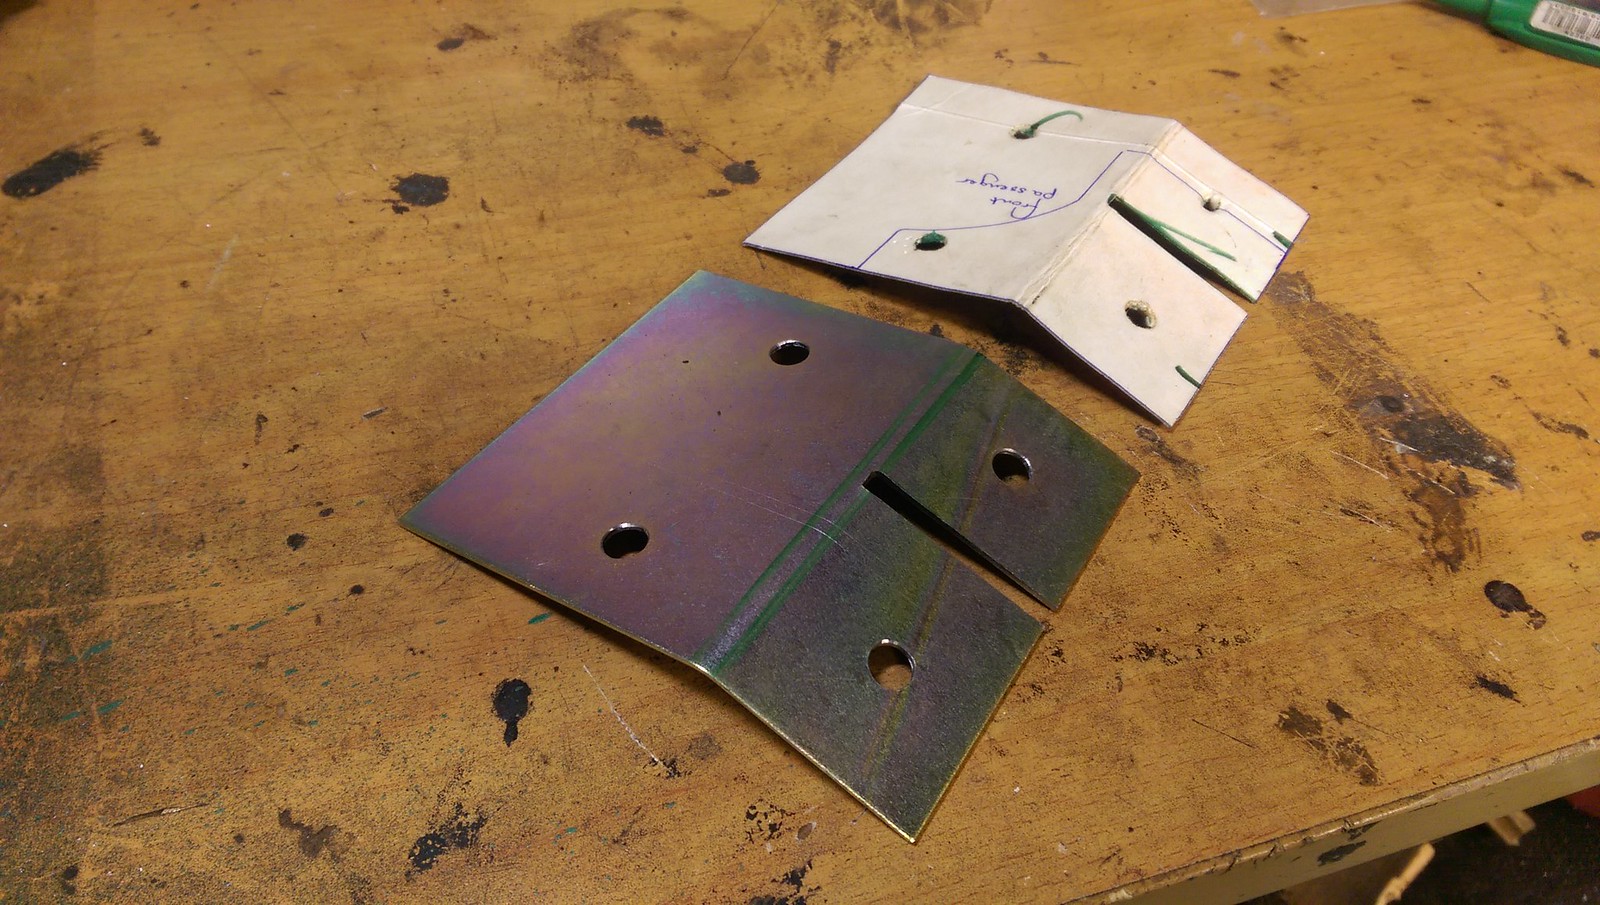
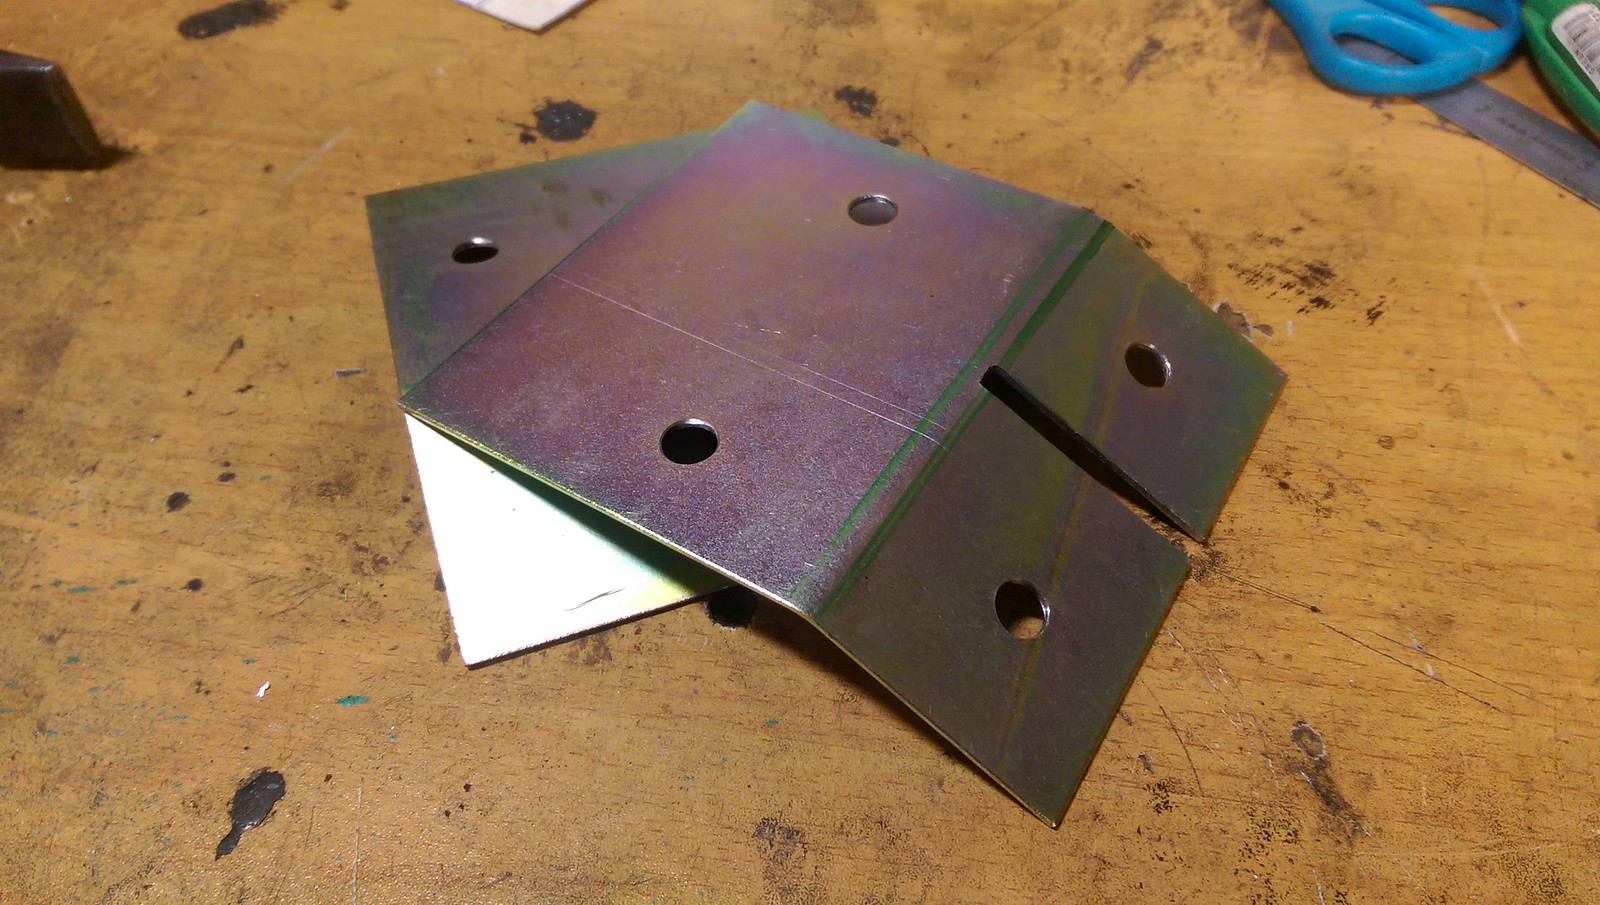
Template and finished plate.
Some more wiggling and tightening of bolts and the cage was fitted with plates in place.
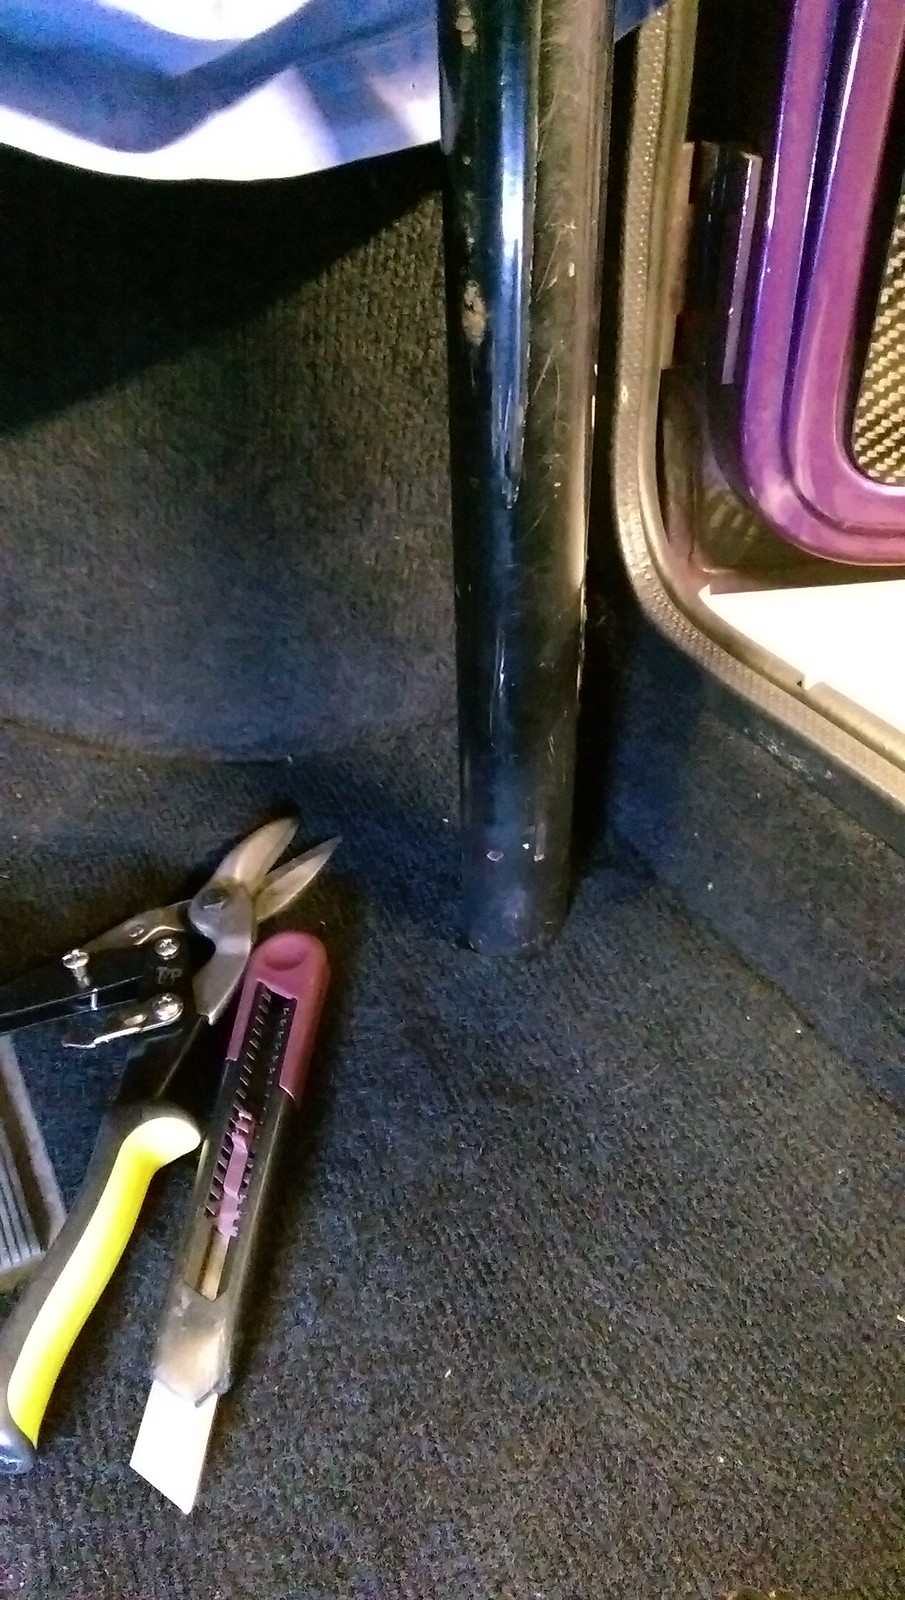
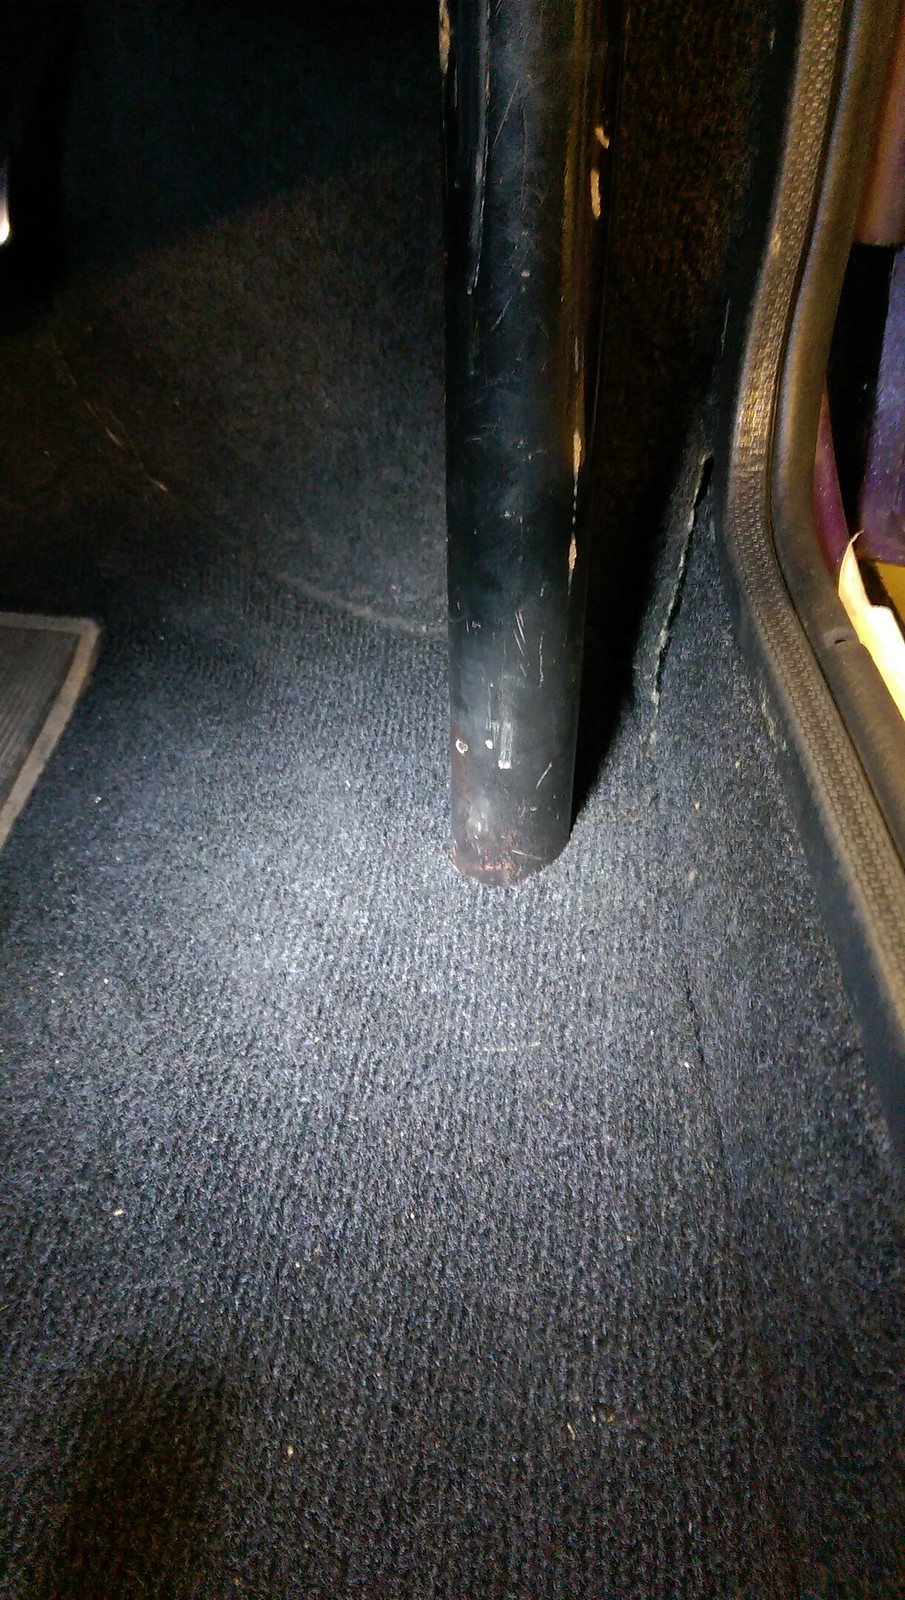
Trim the carpet for a neat finish
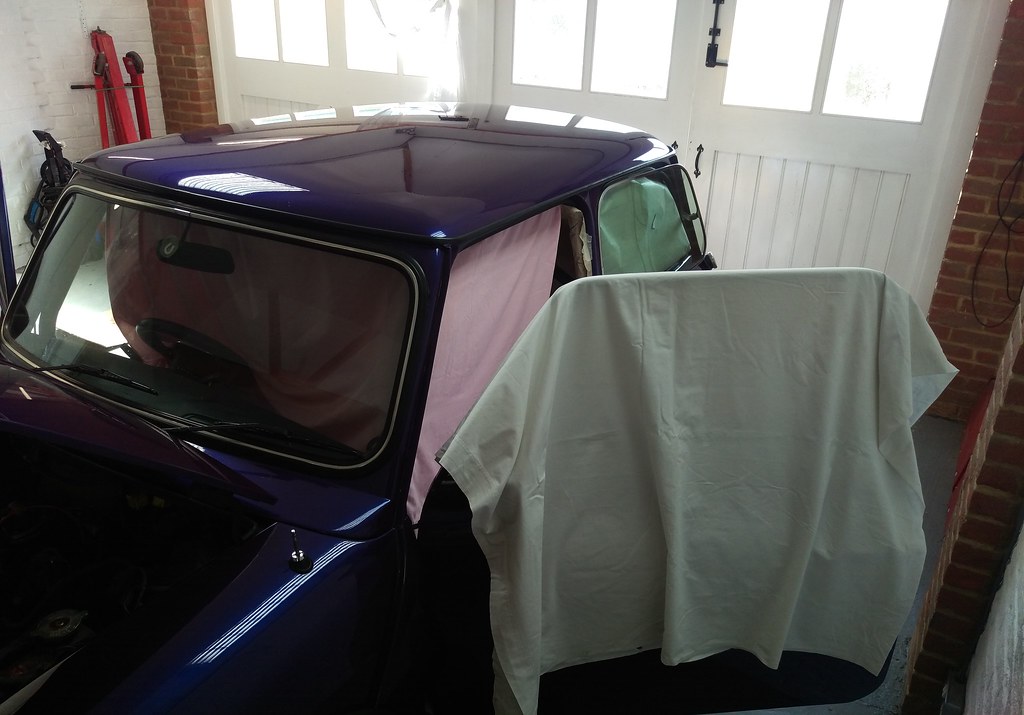
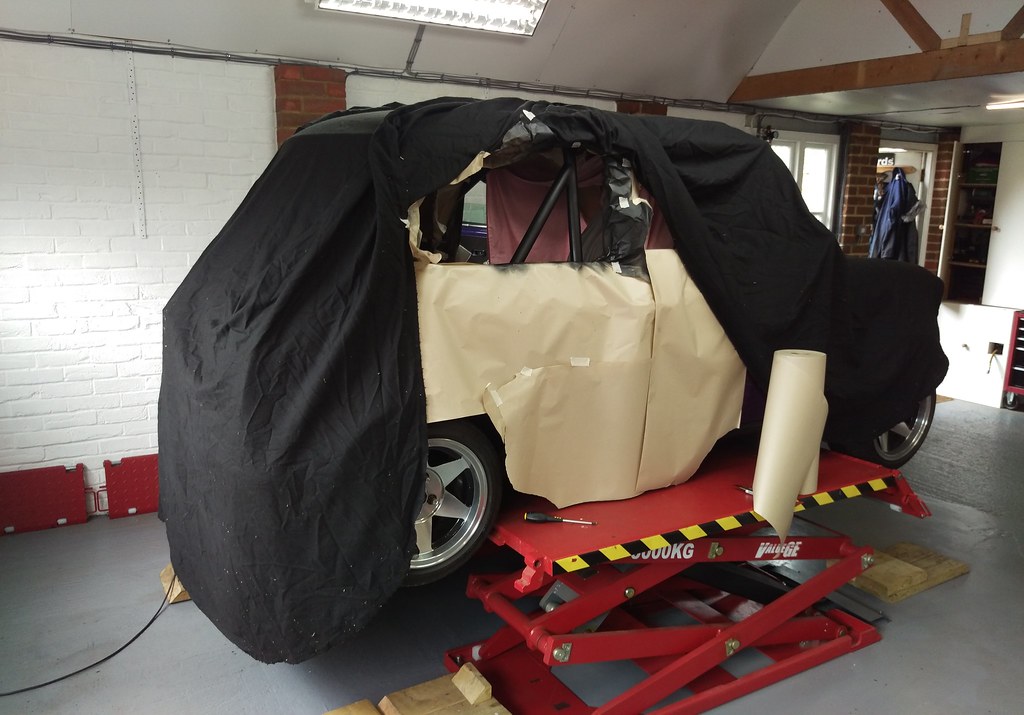
Now I had to take it out again for painting. Well the front half of it at least. I had considered removing the rear to paint it and refit it but there was no way I’d get it back in the car without making a mess of the fresh paint so I figured I’d just have to paint it in the car.
Prepping the previous paint
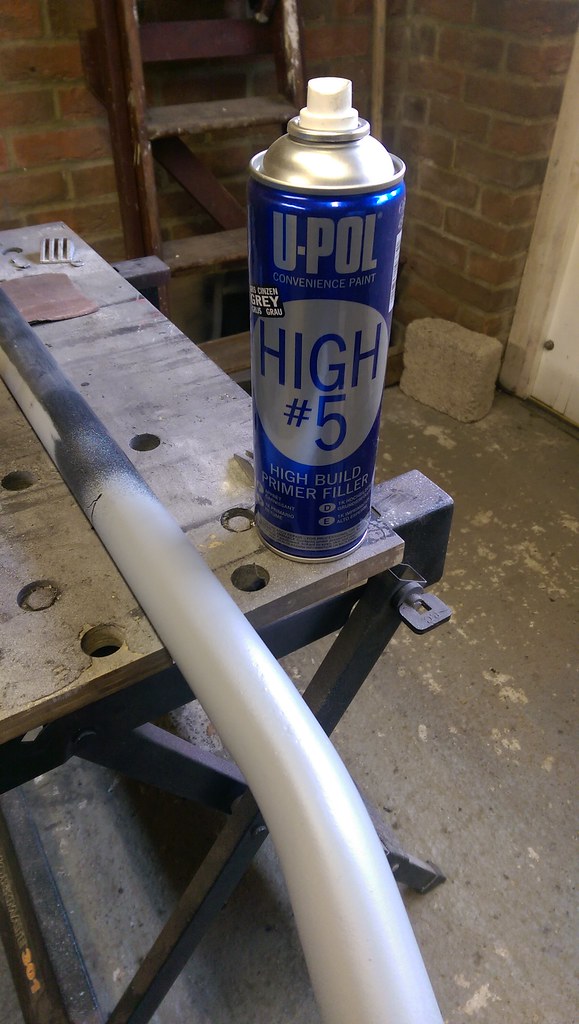
Some high build primer on the areas I’d filled.
More primer

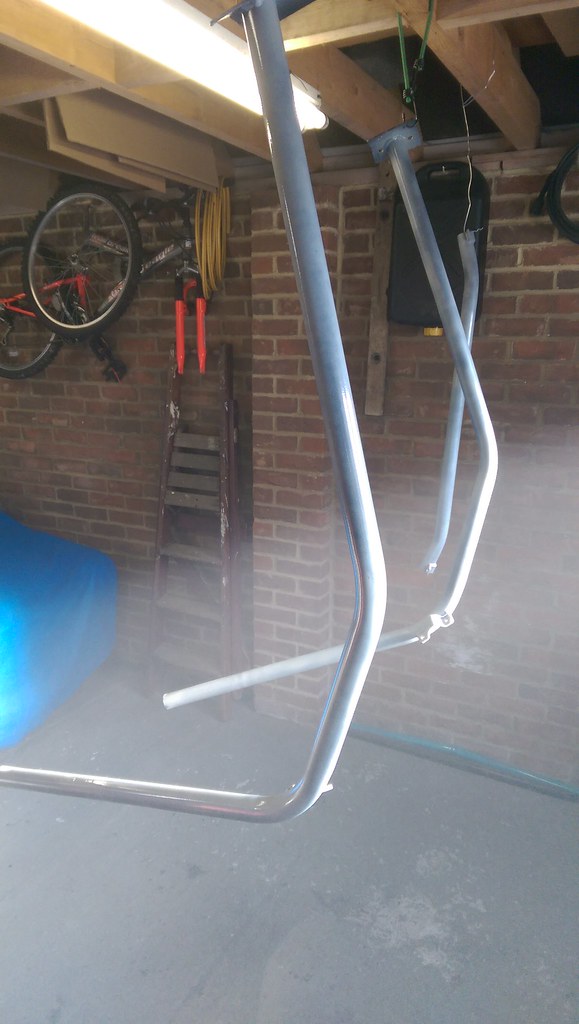
Satin black going on, starting in the awkward areas first.
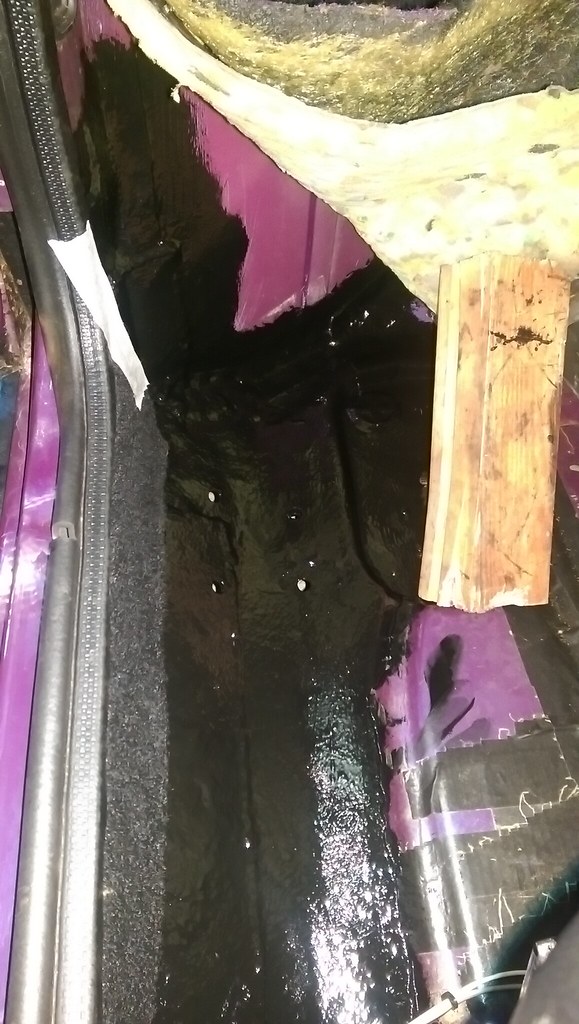
I also mixed up some more Rustbuster Epoxy 121 to paint the inside of the floor and the underside of the cage feet.
After leaving the paint a few days we got the cage back in then quite a lot of time passed (we extended the garage) before I was able to get round to painting the rear half of the cage. I got that done a few weeks ago.
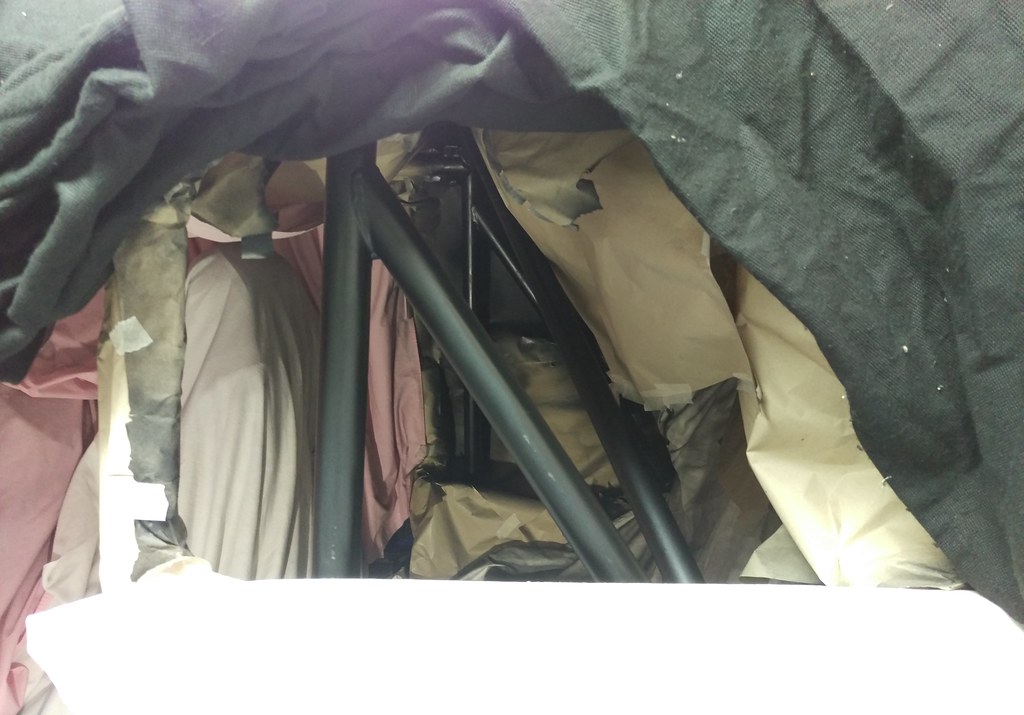
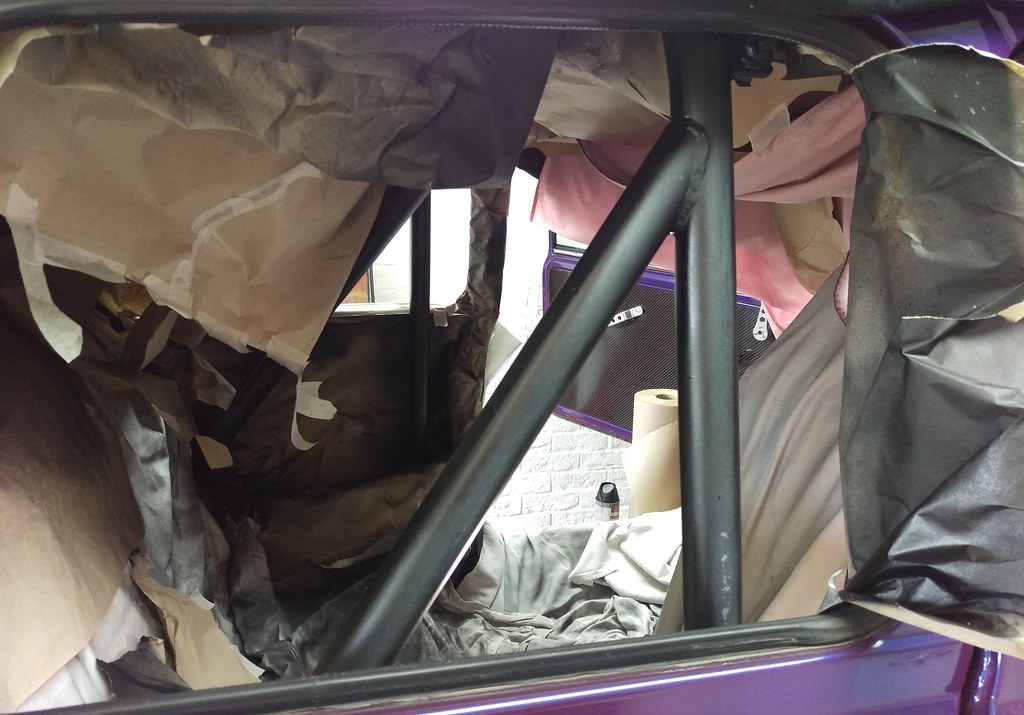
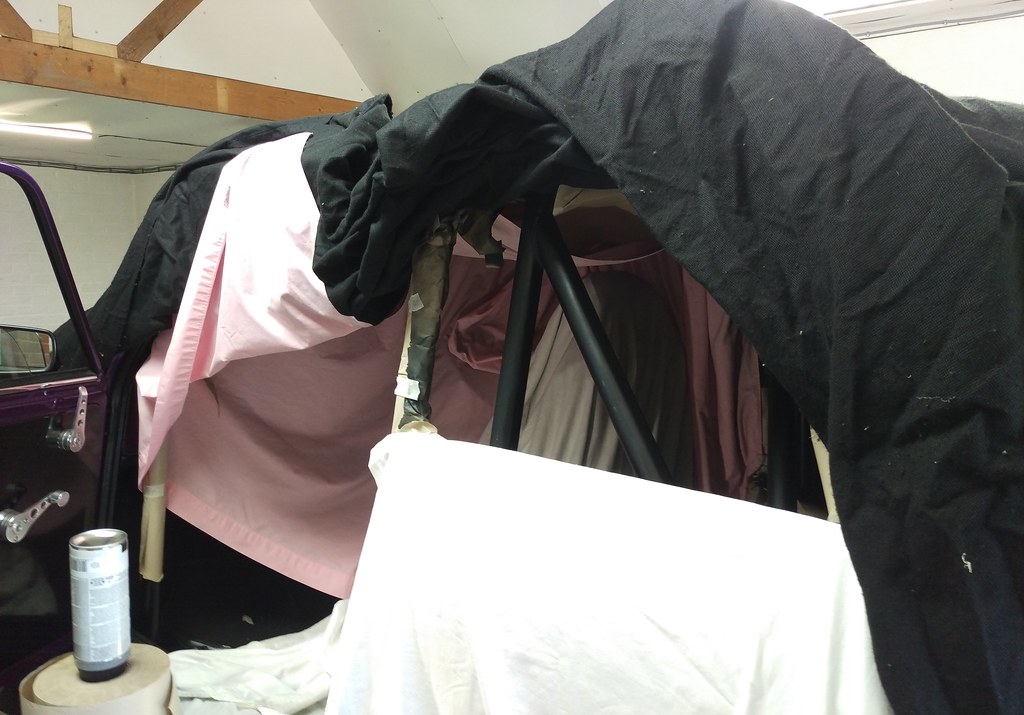
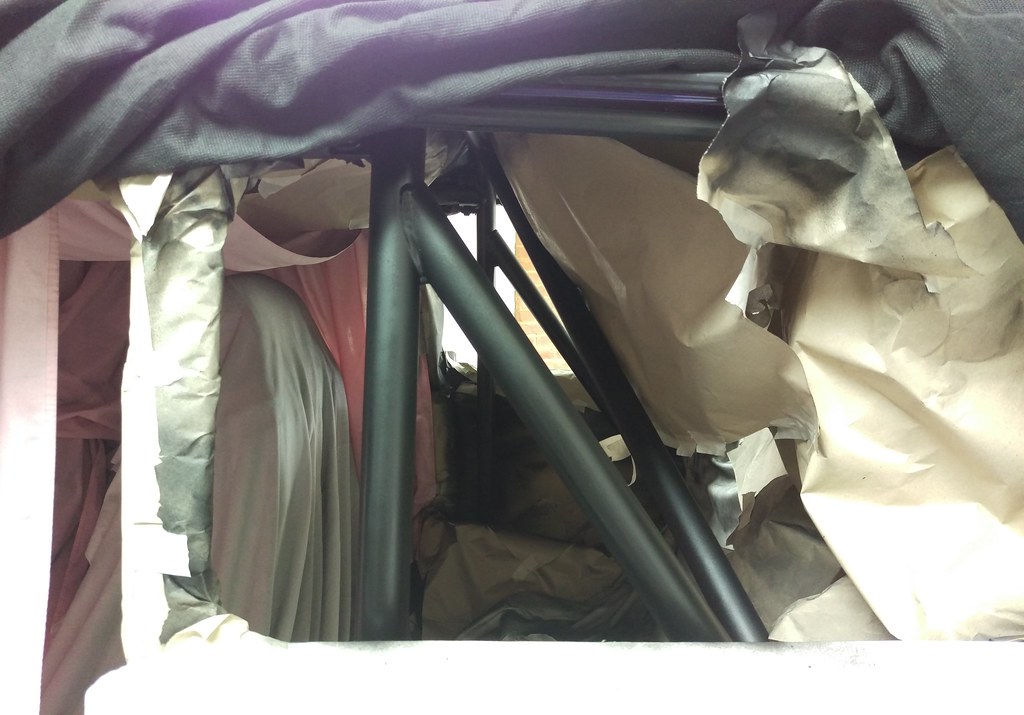
Masking the inside of the car was a pain.
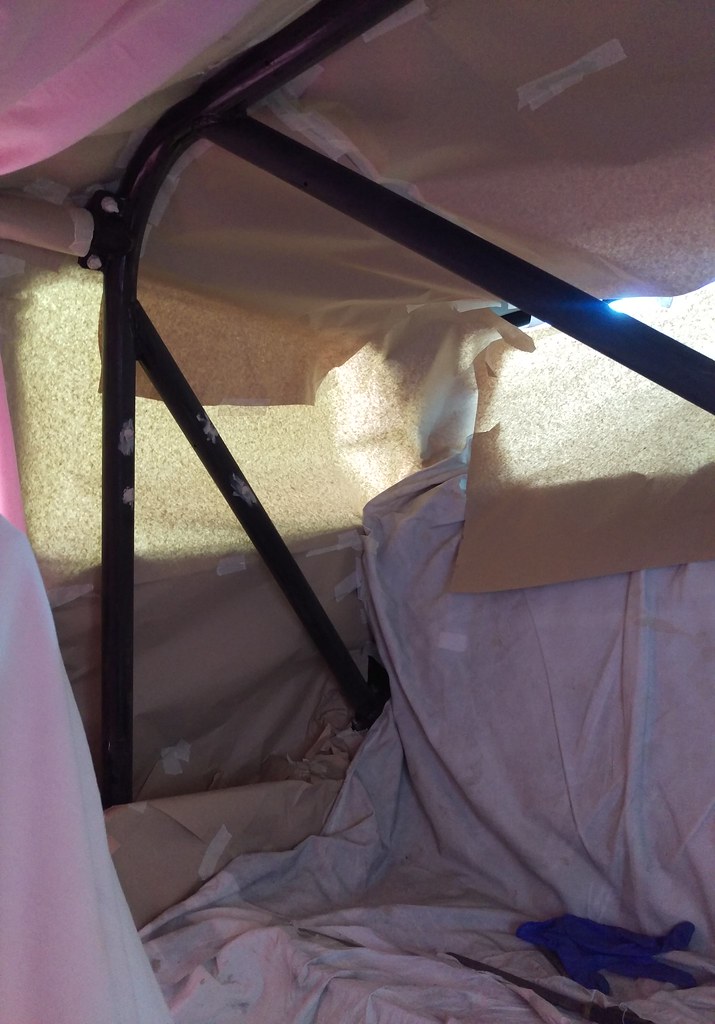
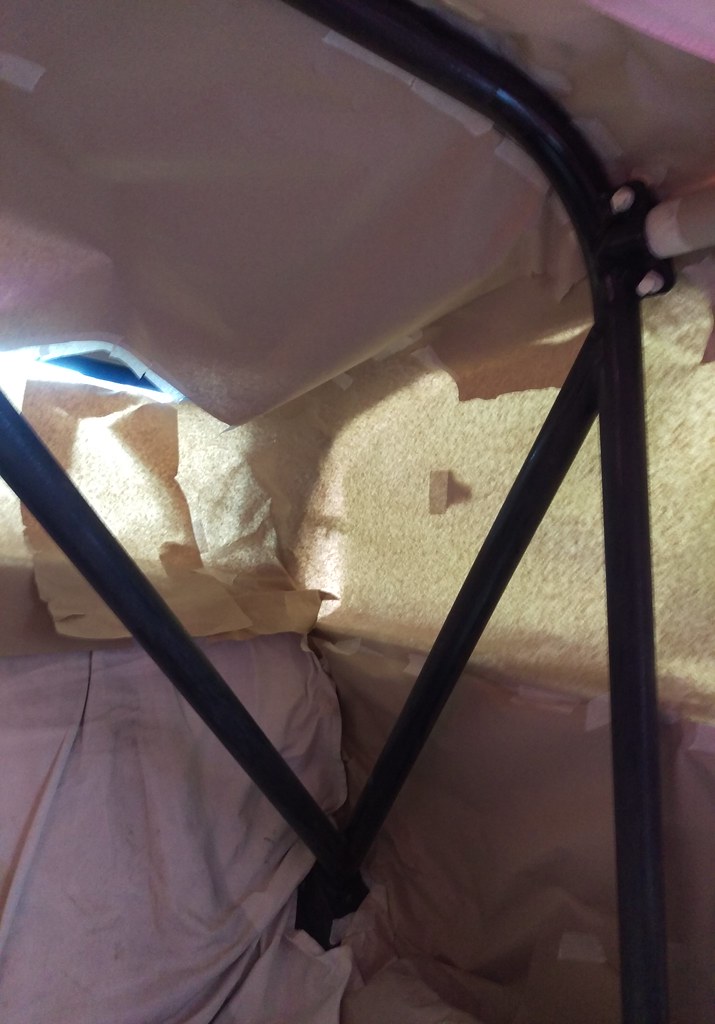

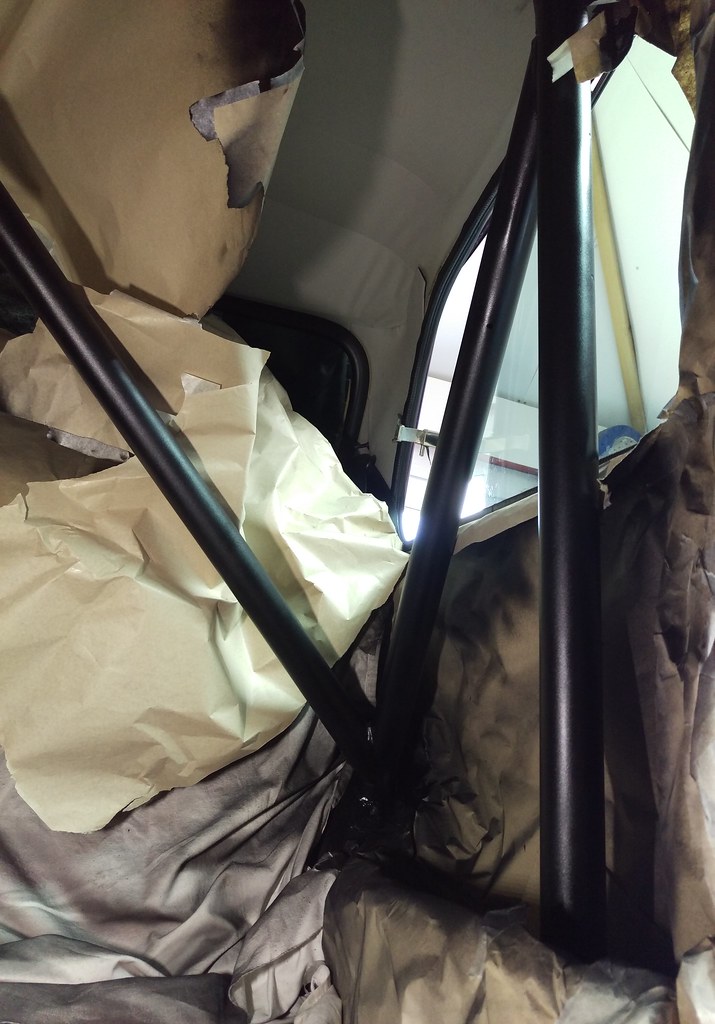
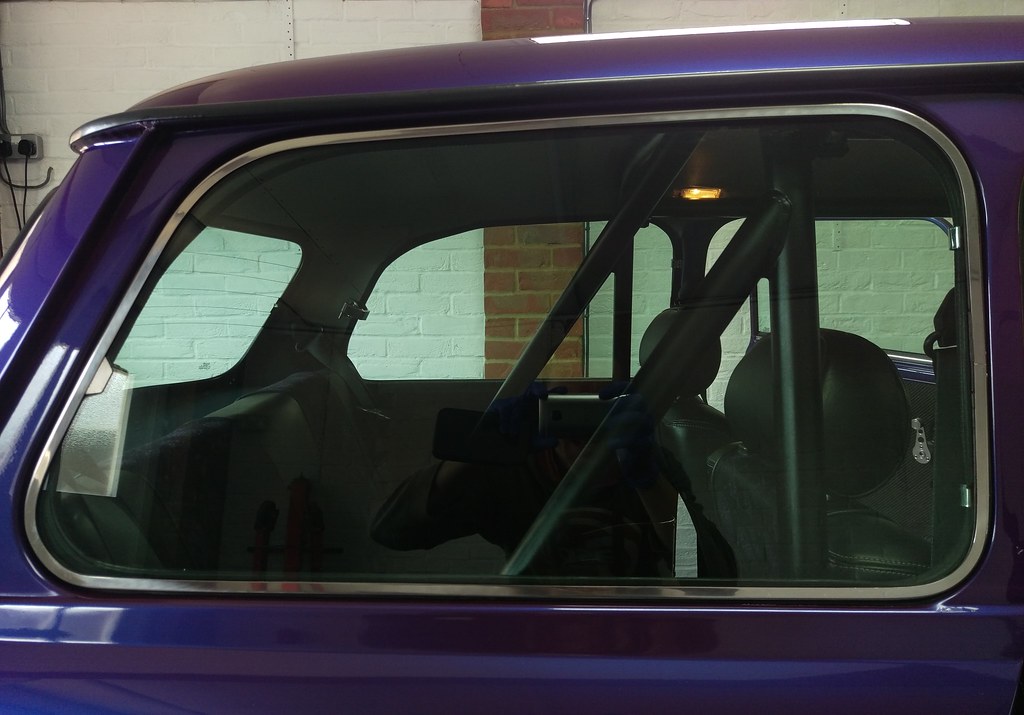
Painting the cage was the worst bit. I wore a mask but could still only do a small bit at a time as it was not nice in there at all!
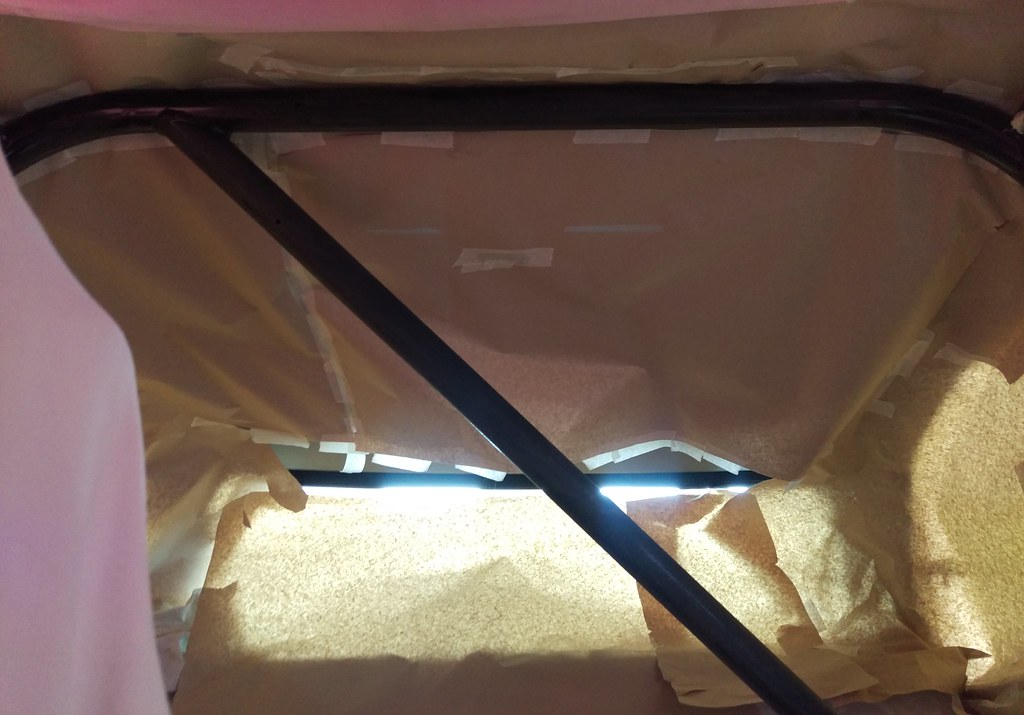
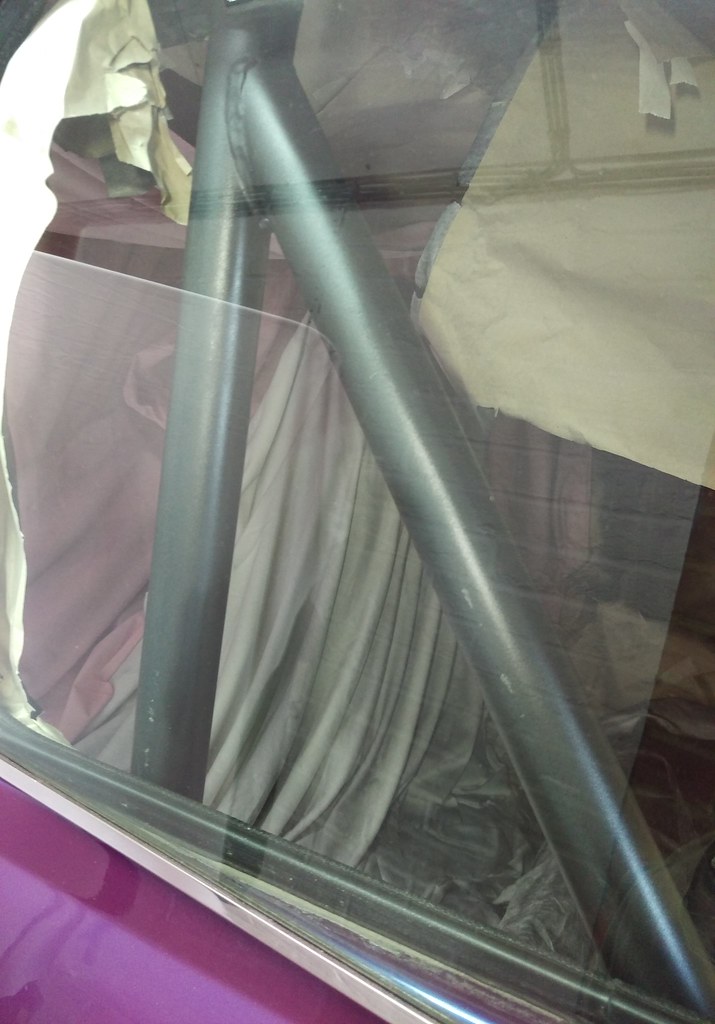
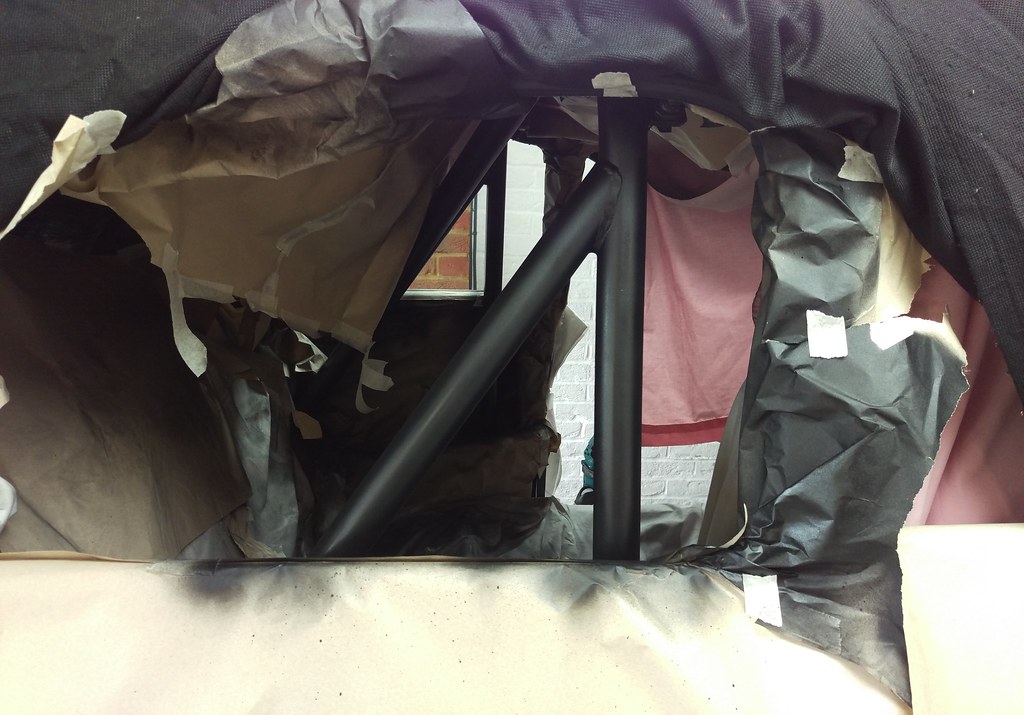
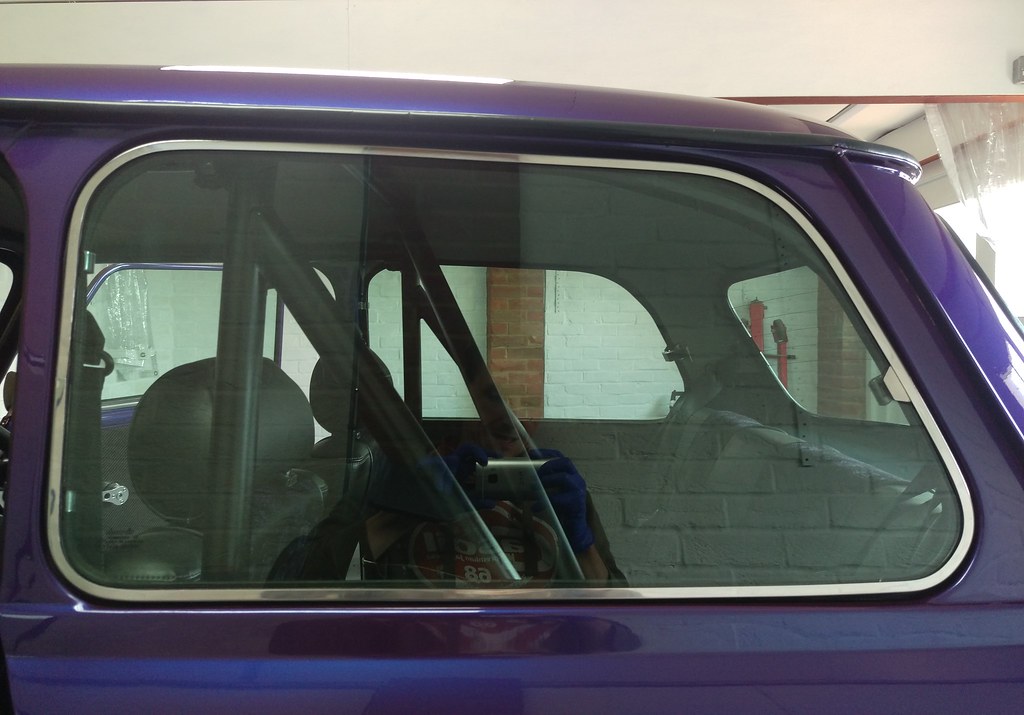
I hoped i’d be able to get enough paint around the bars at the rear windows to not have to remove the window to paint them. That didn’t work out so the windows had to come out and some more masking had to be done.
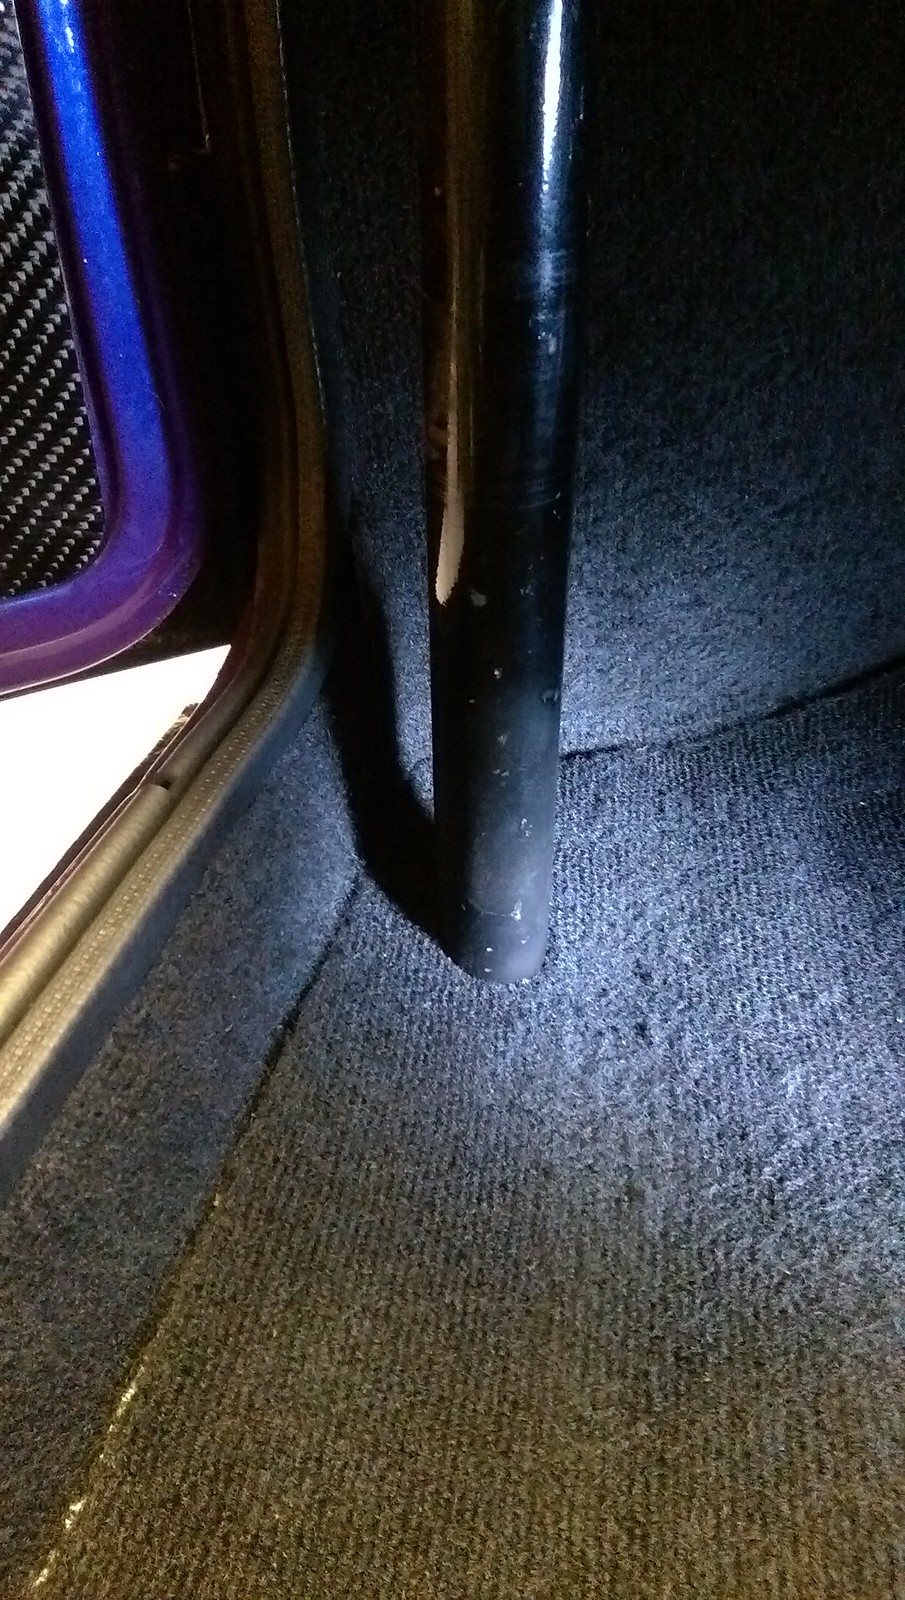
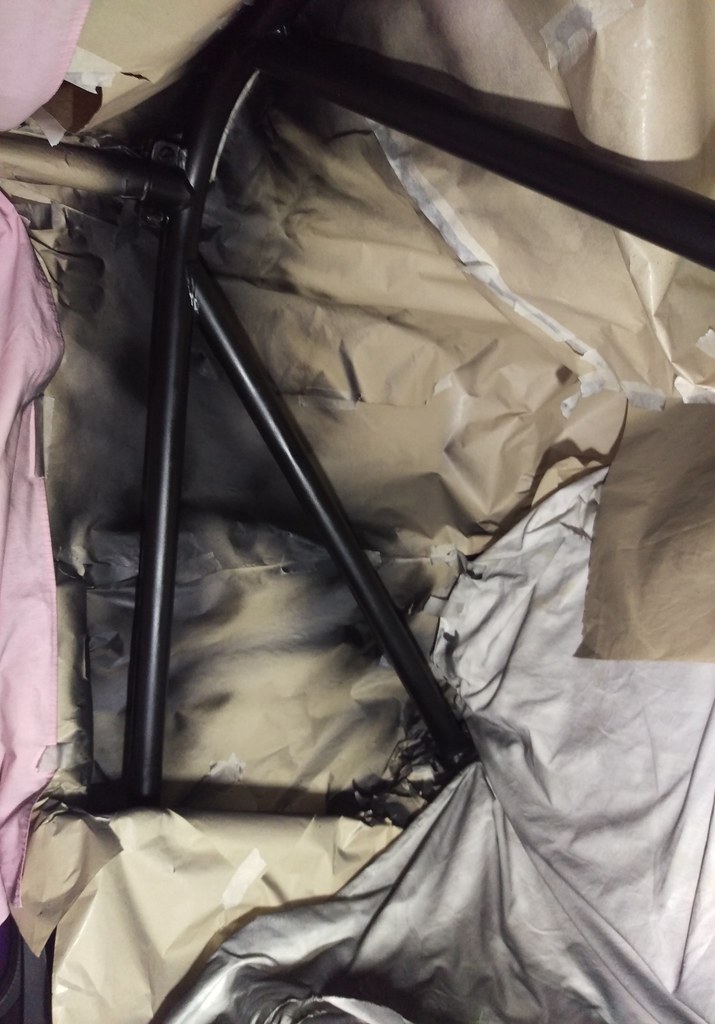
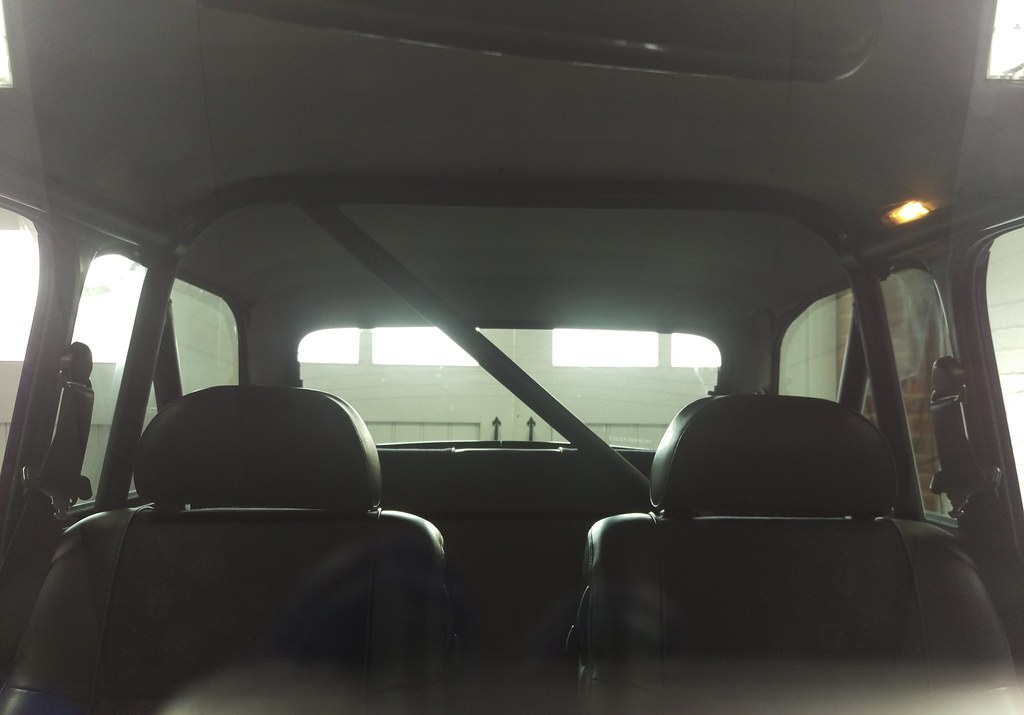
Painted
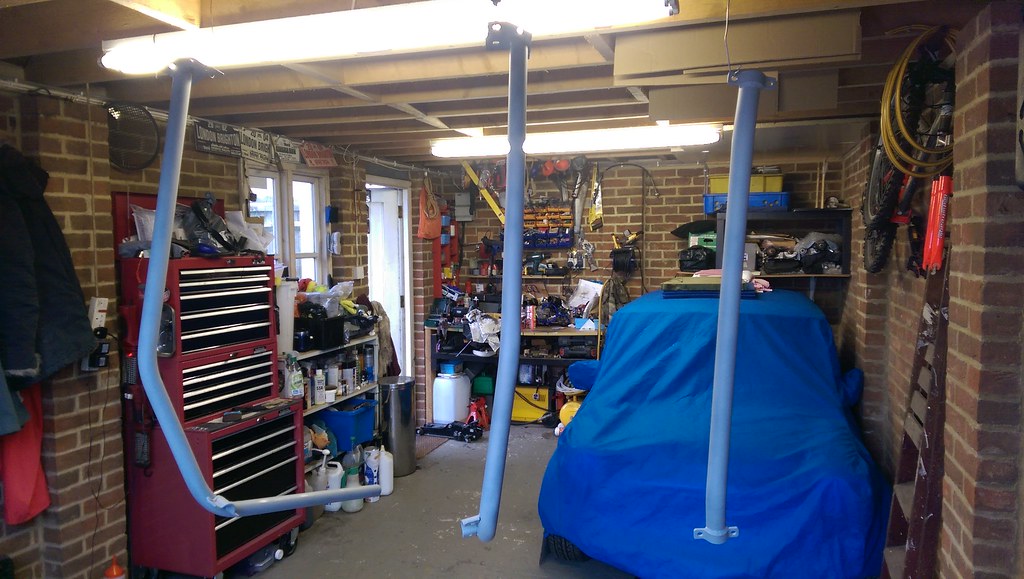
Finished at last!

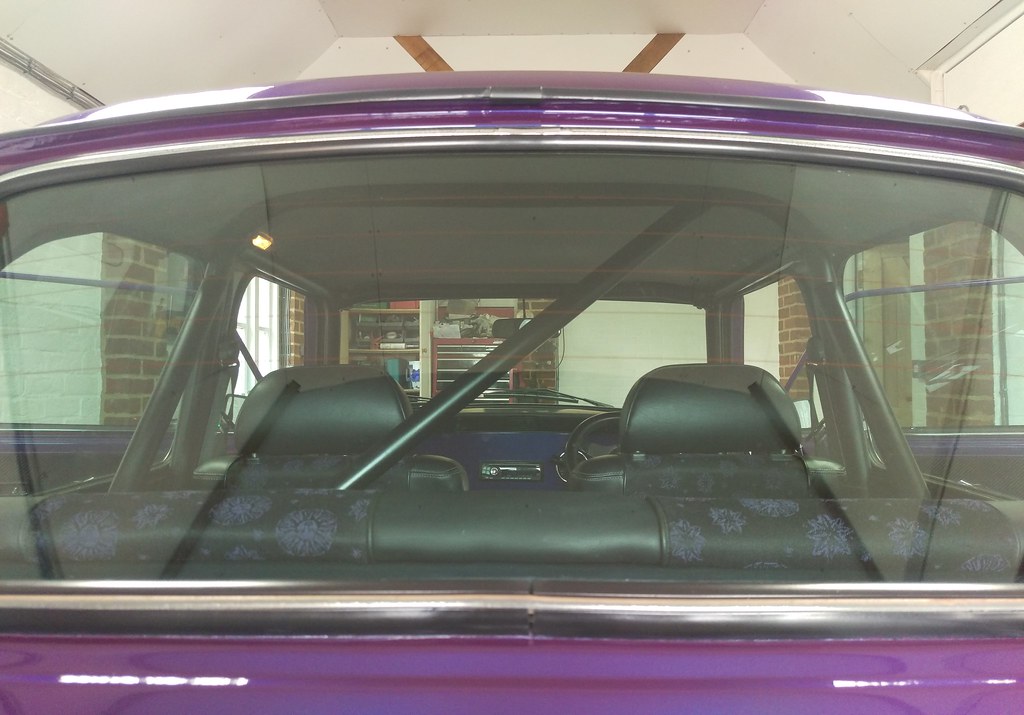
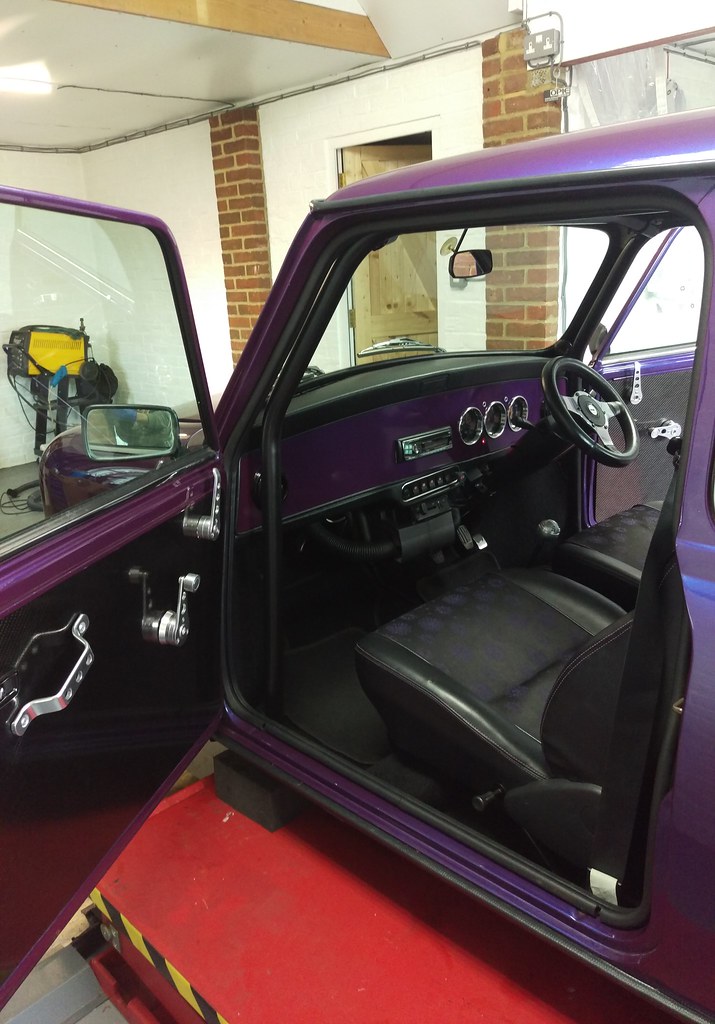
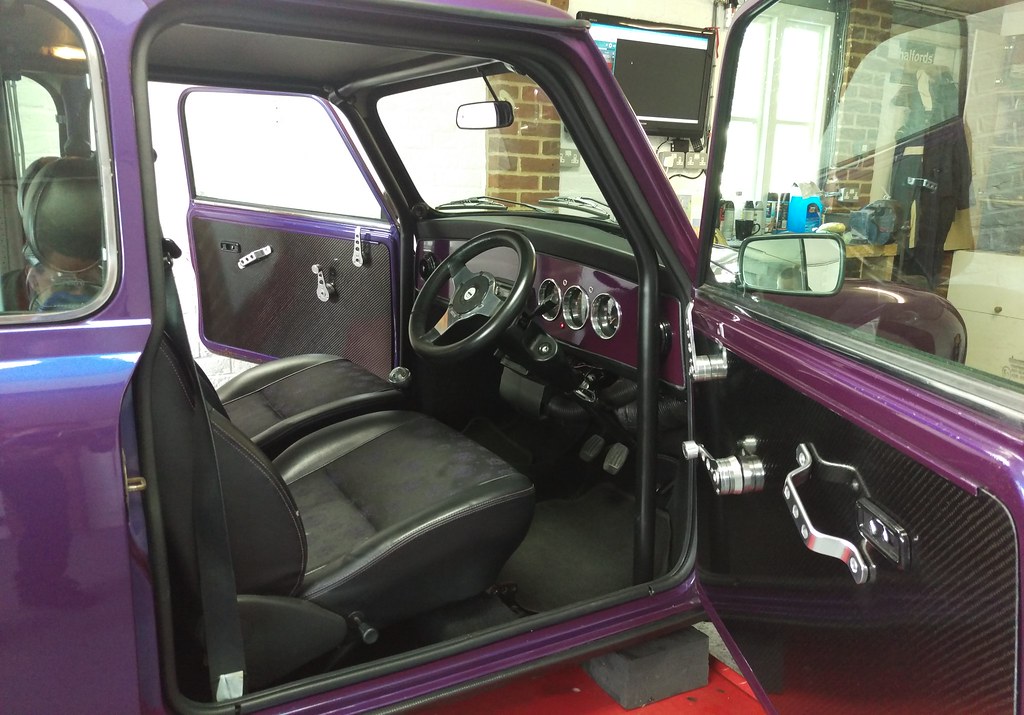
I’m pretty happy with the fit and finish of the cage overall and Jem’s happy with it too which is good. It certainly improves the rigidity of the shell and makes a noticeable difference to the drive.