
Having done my research, decided on the best overall treatment for the underside of the Forester and now got all the various bits delivered. There was nothing left to do but get on with it.
The first and very important part of the whole process was cleaning the underside properly.
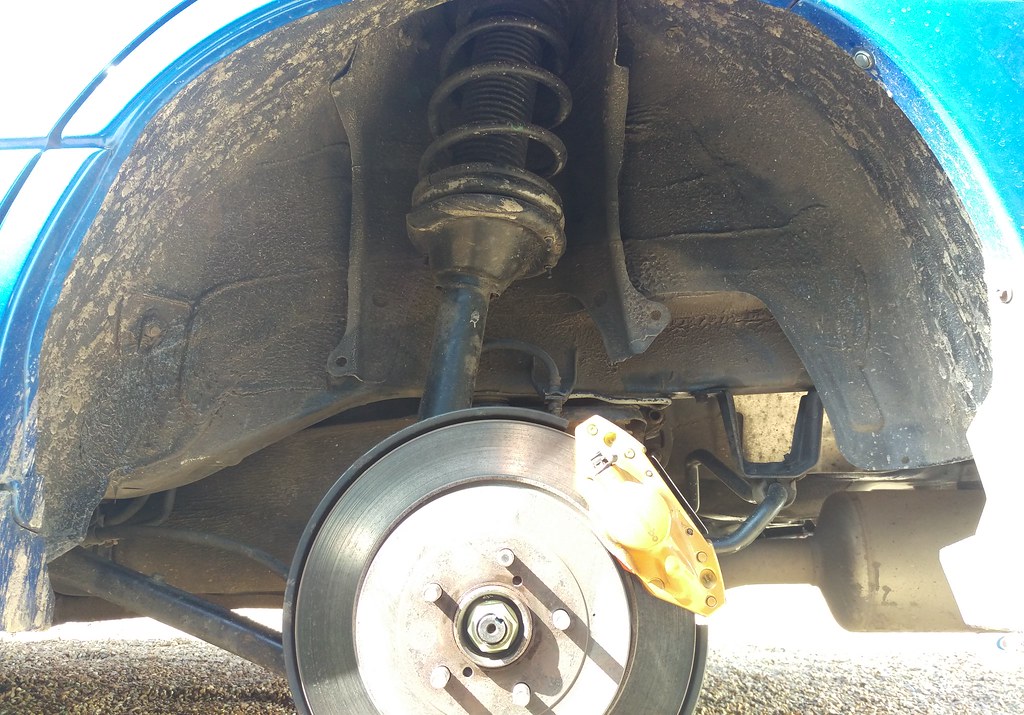
I started by using a fairly week mix of Surfex HD, the pressure washer and various scrubbing brushes to remove all the dirt and general road grime I could. Being a recently imported car meant it was not particularly dirty underneath by normal UK car standards anyway.
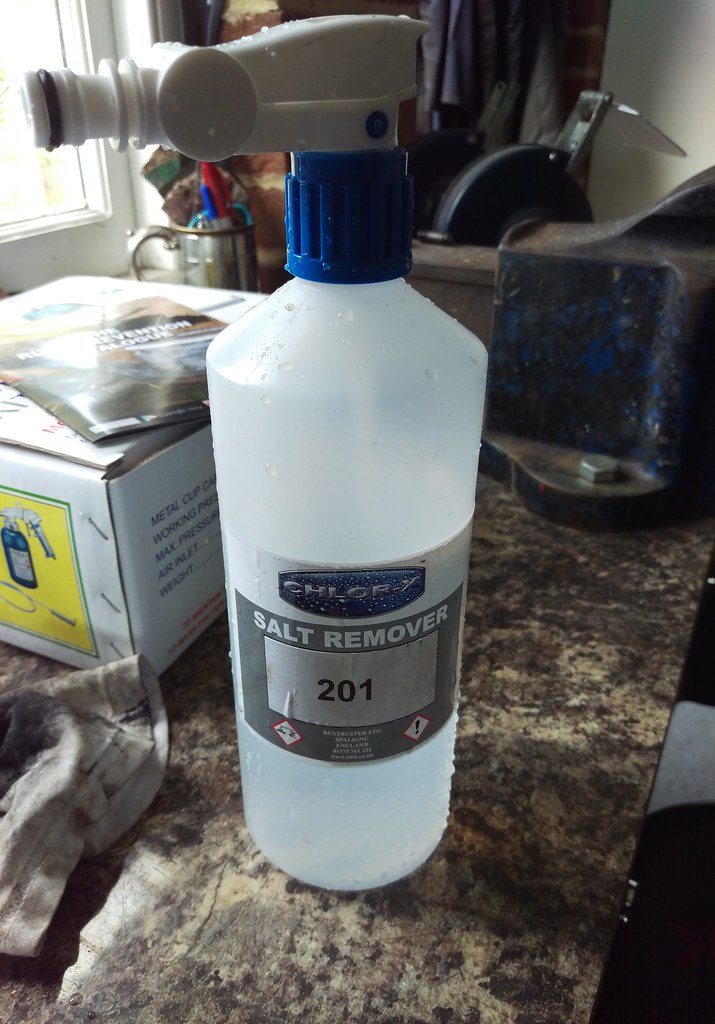
Then I washed the whole underside with the Chlor-X cleaner. This is to remove any salts that might still be on any surfaces as it’s not desirable to trap them in under the paint and wax layers that come later.
Finally I rinsed the whole underside with just water, really making sure I got everywhere I could.
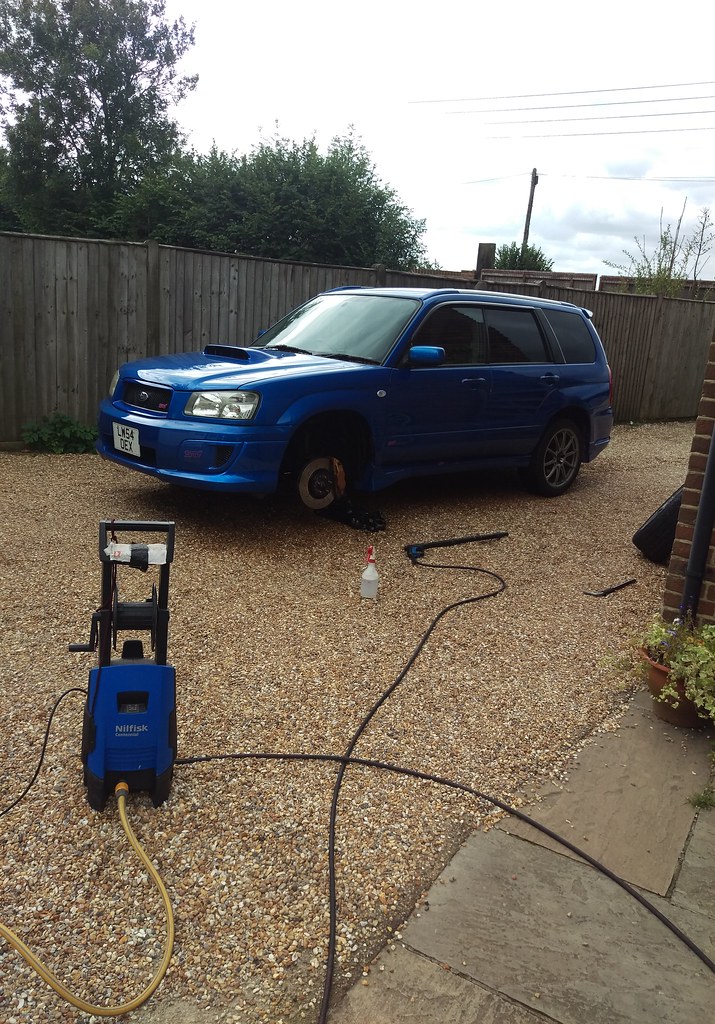
Obviously this was not something I was going to be doing in the garage on the lift however much easier it would be. So I just got the car up as high as I could and just got wet and uncomfortable, grovelling around on the driveway to give it a thorough clean. I did one corner at a time with the wheel off which gave me pretty good access.

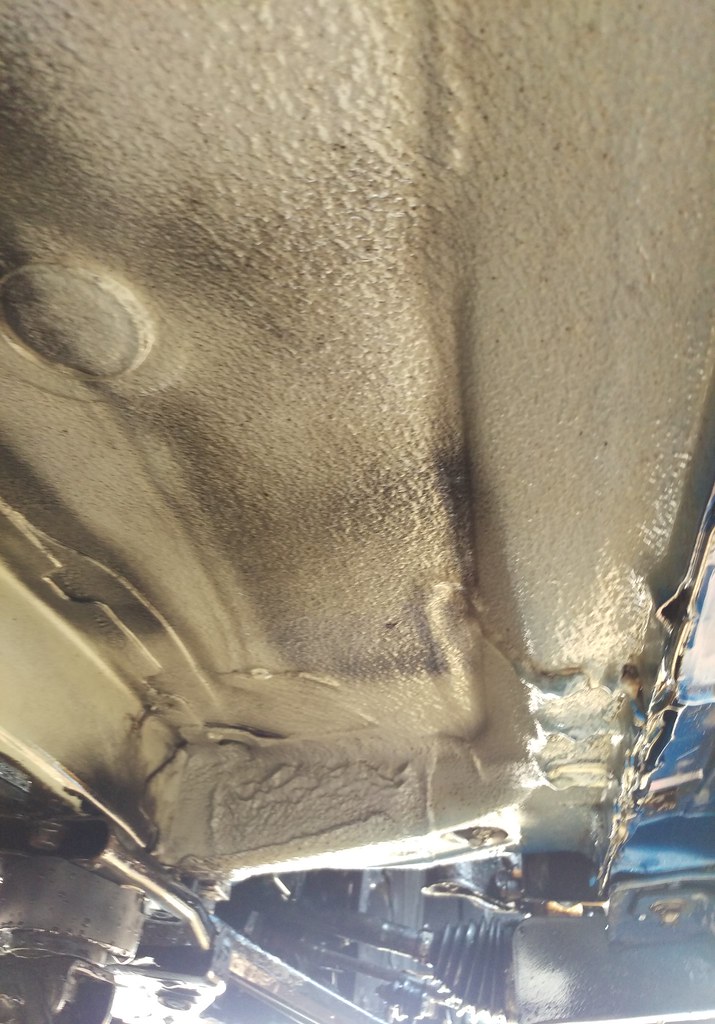
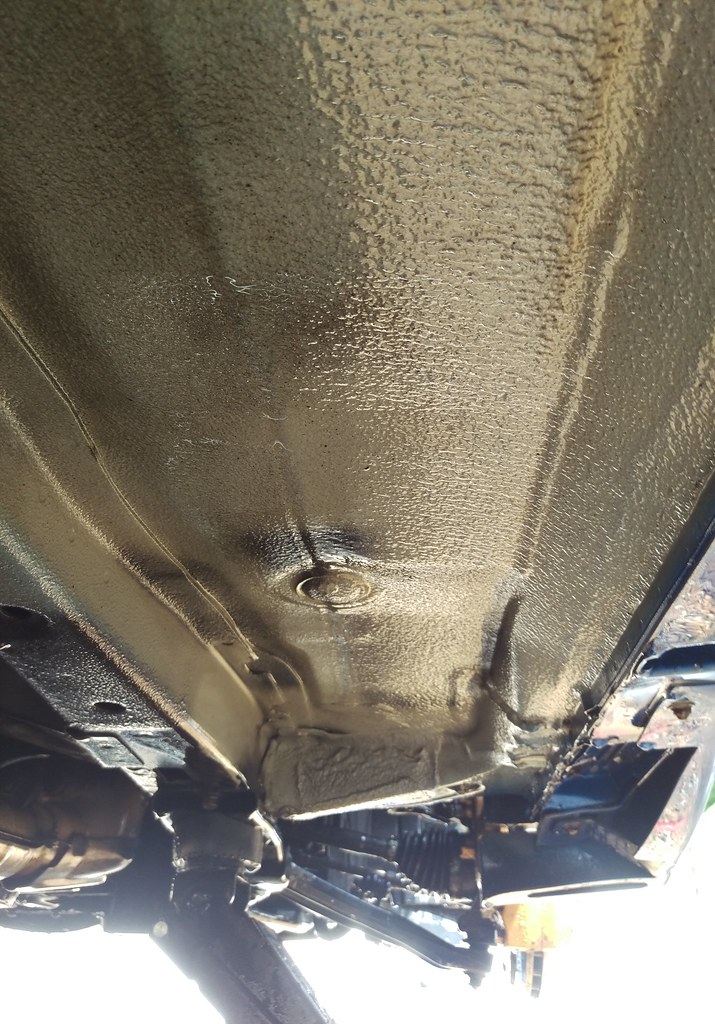
Here’s a before and after of the floor section. It started off with a layer of black road dirt like this.
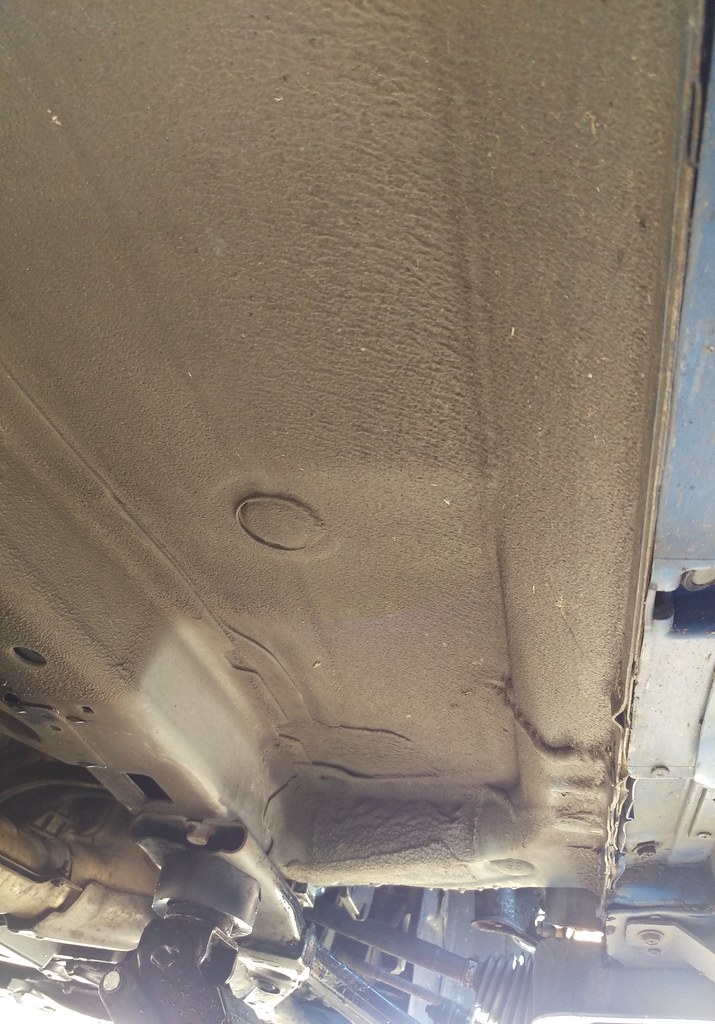
And behind the layer of filth was the original grey stonechip layer.
This is a pretty good example of why a quick spray underneath with some underseal often done by importers is just not good enough. All that’s going to do is stick to the dirt which will then peel off letting water in. Then the dirt will wick more moisture in which will be trapped by the underseal layer creating a pretty good environment for the rust to get started. This is not a job that can be done quickly, cleaning and preparation is just as important as the coating process.
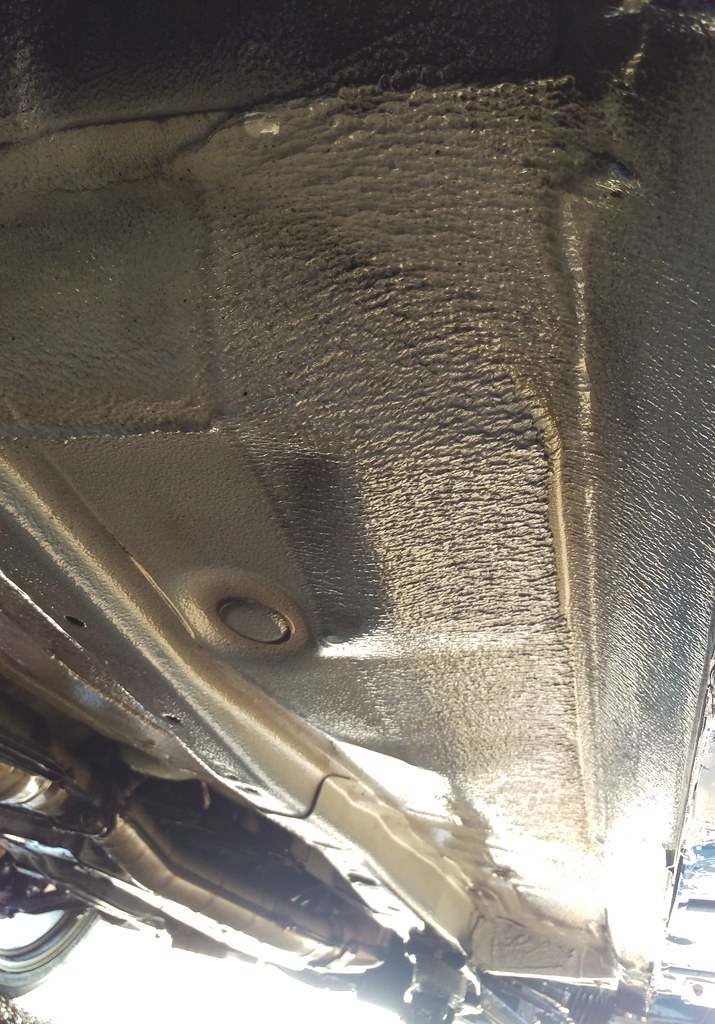
Other side.
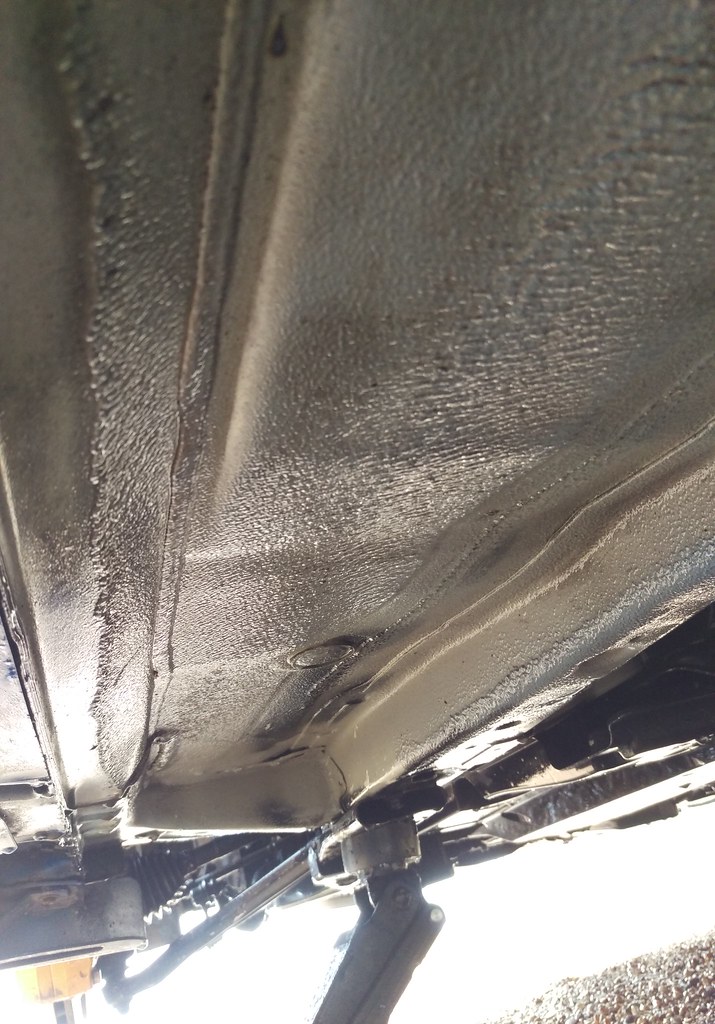
It looks as if there had been some factory applied black paint protection on some areas as it was over the ARBs and shocks as well as in the wheel arches. I guess it had helped for a little while but had started to crack and peel off very easily in some places.
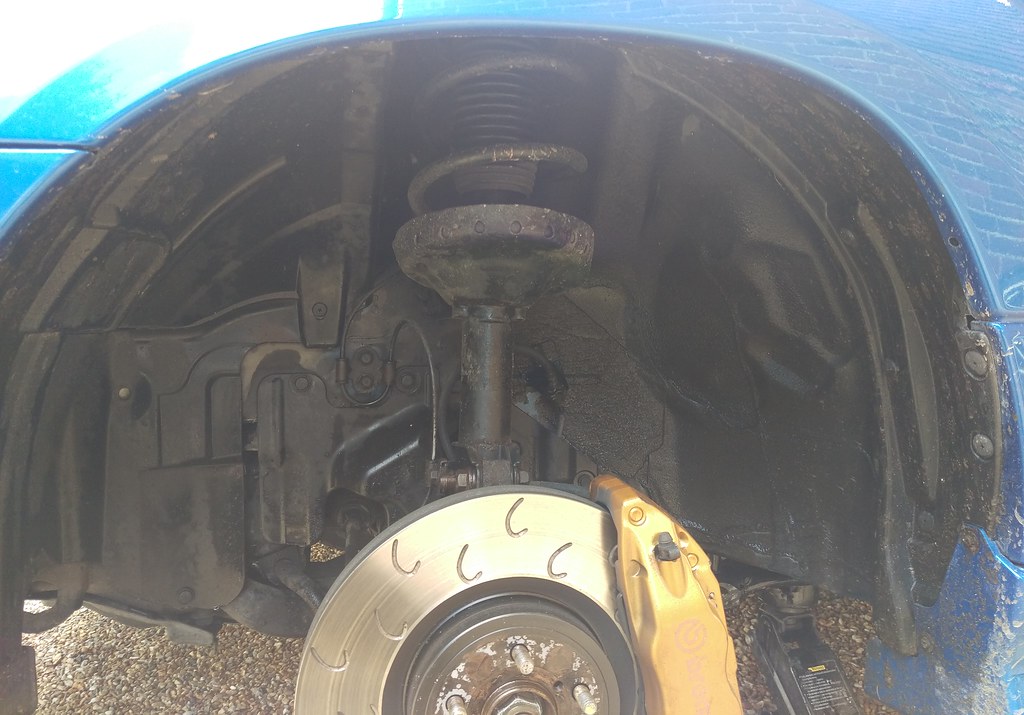
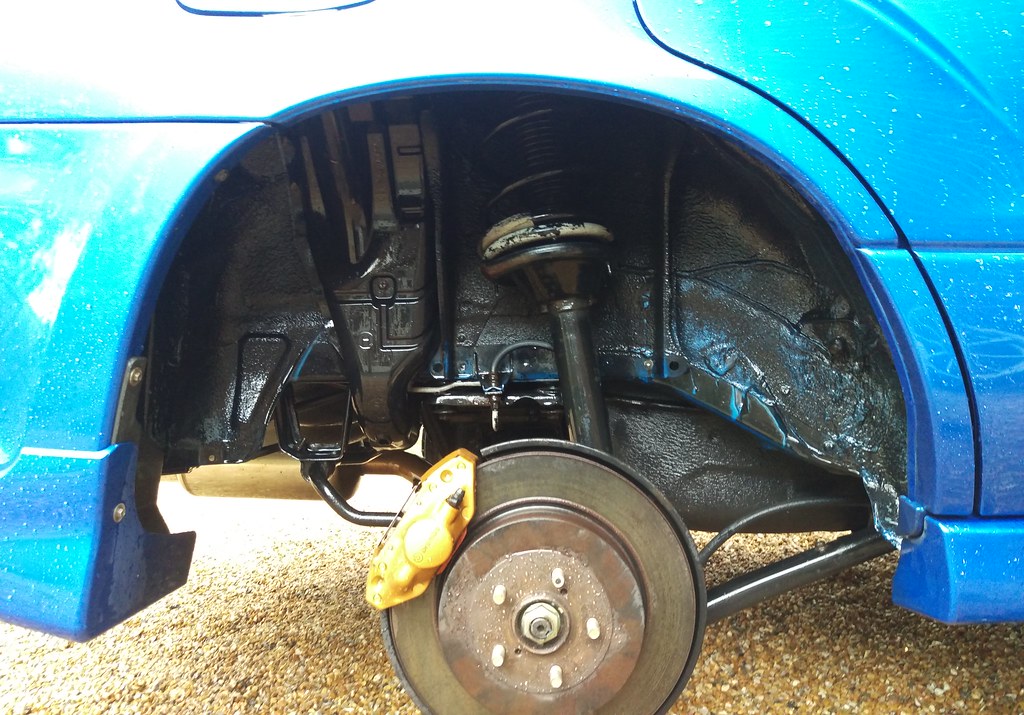
The pressure washer did a good job of blasting off any of the loose black layer revealing nice clean original blue paint.
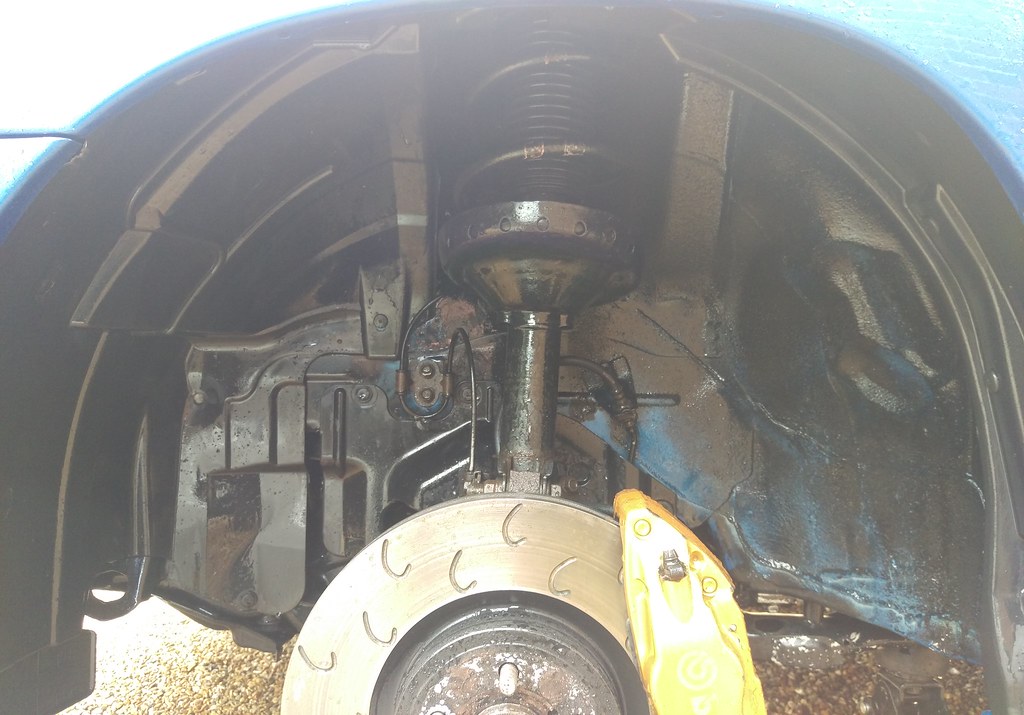
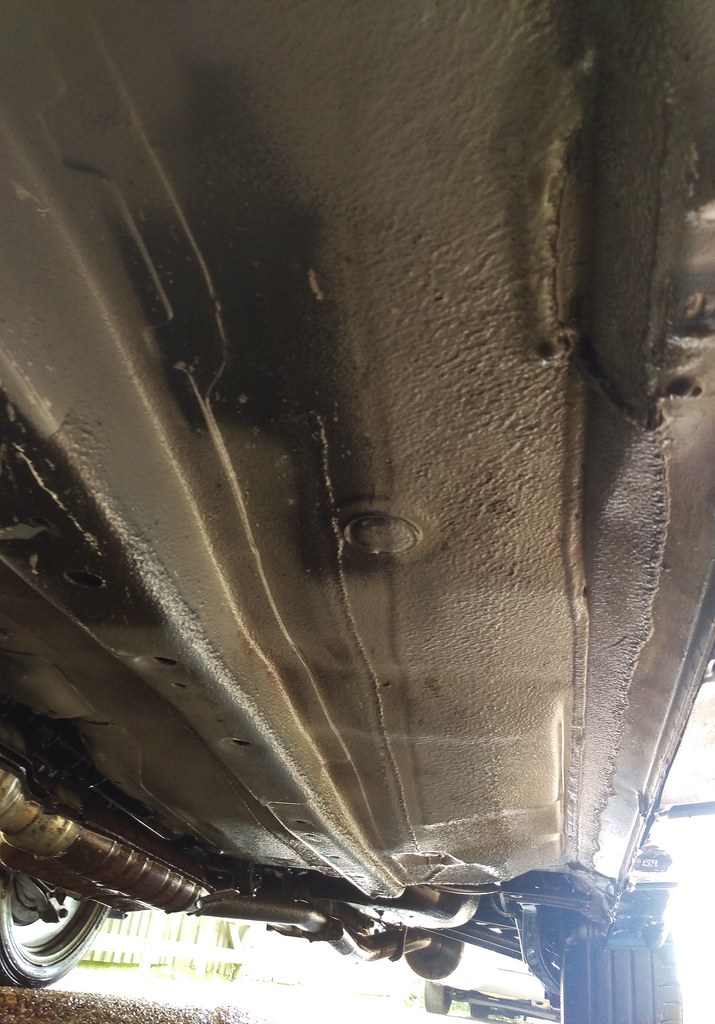
Same on the drivers side front.

All the road dirt, any loose black paint and road salts washed off.

On to the rear.

Left rear before, pretty dirty. Certainly wouldn’t be much point in just spraying underseal or stonechip over that.
After.

Right rear after.
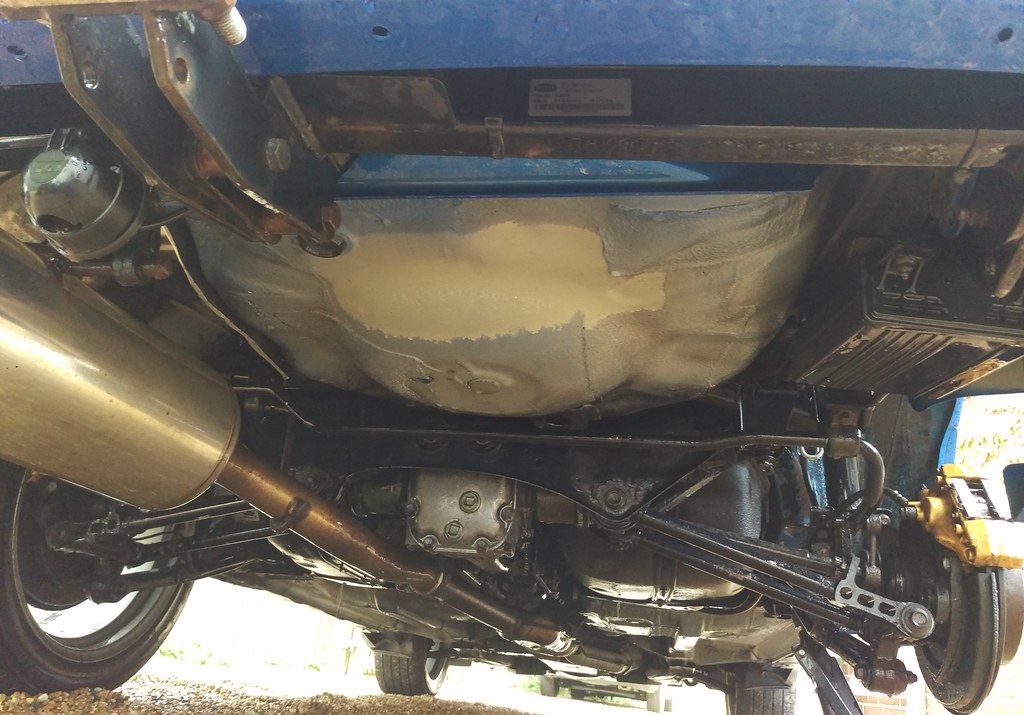
Under the boot floor. Very clean, much better than any of the cars I looked at that had been in the UK for a long time.
Well that was step one over but I had to leave the car to dry out before I could apply any coatings. I did this towards the end of summer when it was nice and hot and dry and I used the car for a couple of short journeys after washing it to make sure any trapped water could drain out. I also knew it would take a couple of days of stripping down the underside and masking things while being up on the lift in the garage which would also give it plenty of time to dry out.
Next job is pulling apart the underside…