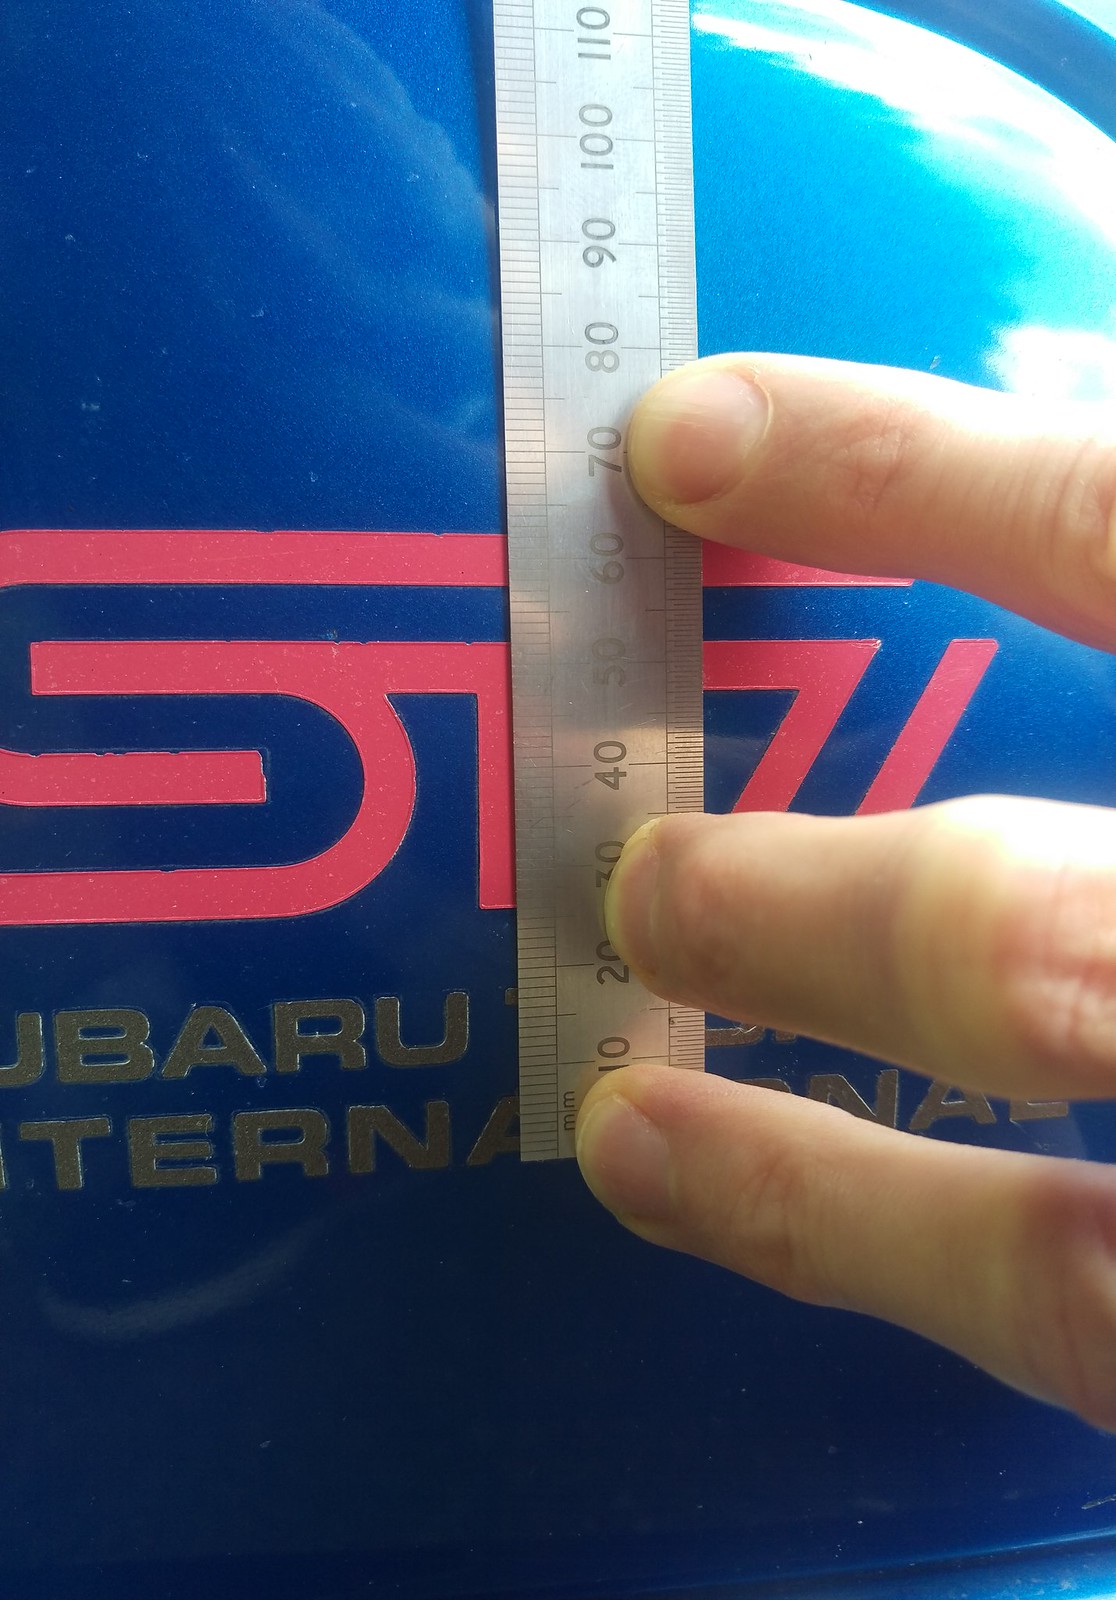
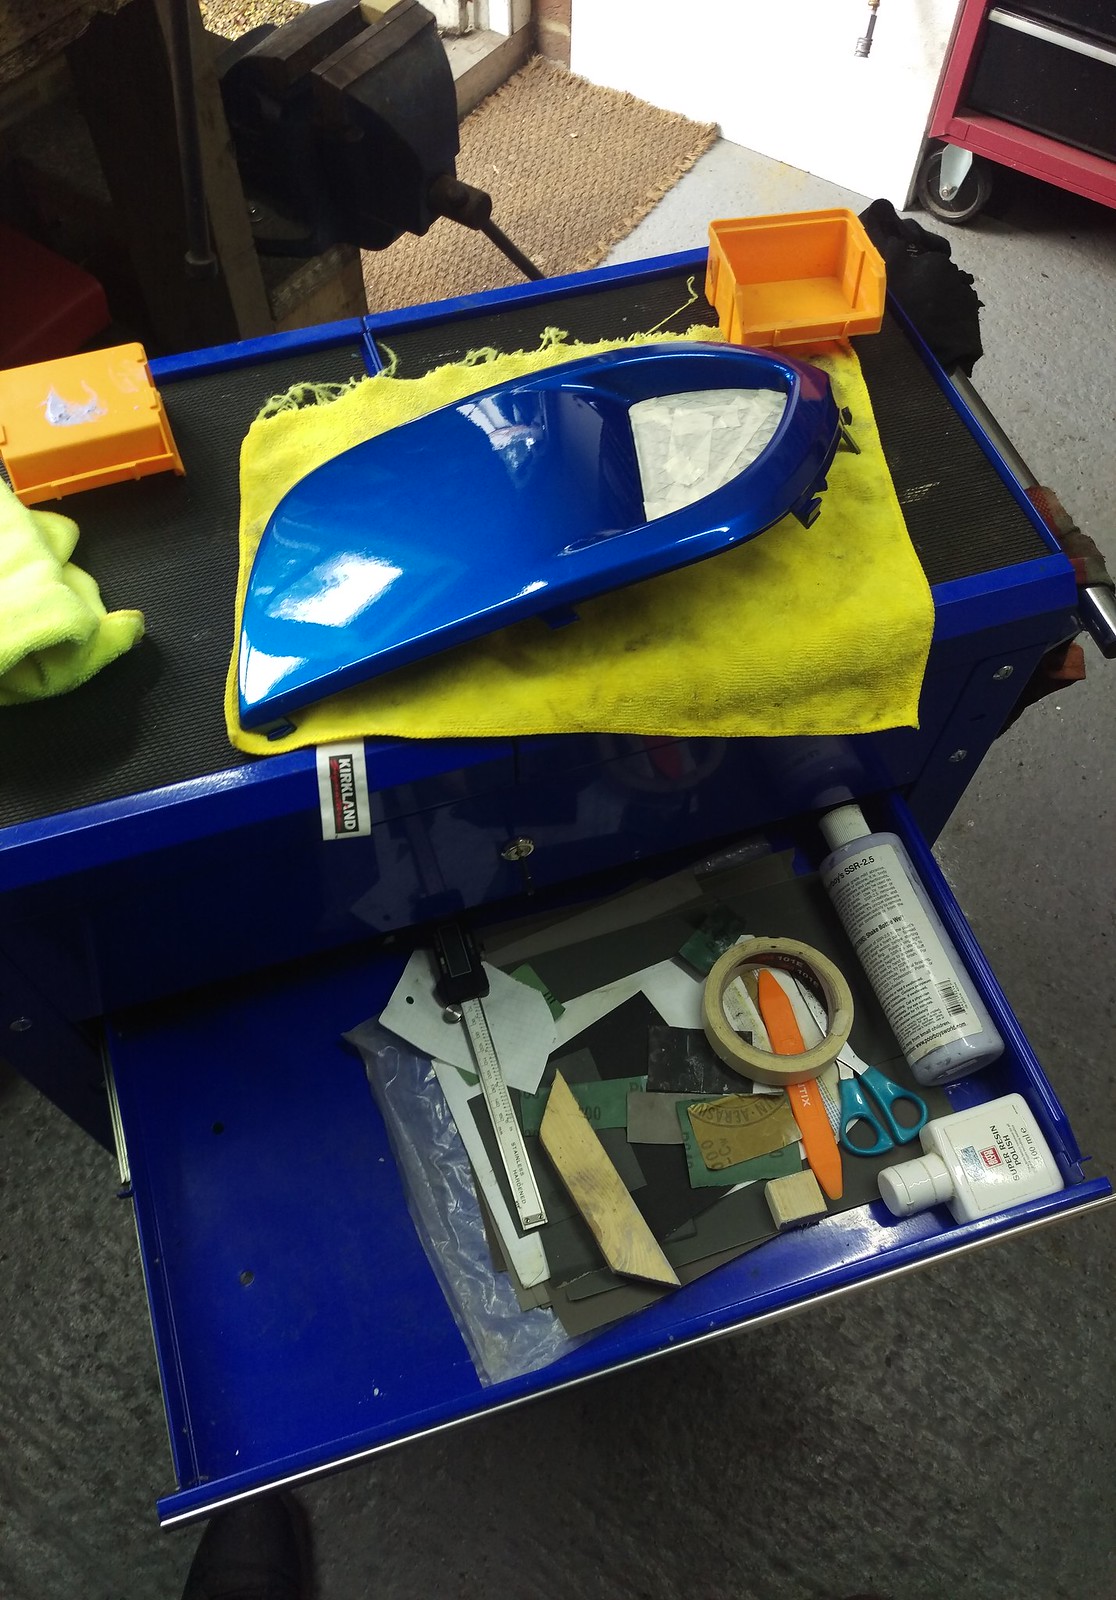
The left fog light cover could do with a new decal and a little freshen up with a layer of lacquer so I carefully measured the dimensions of the original STI decals and had an eBay seller make me some exact copies of them for me.
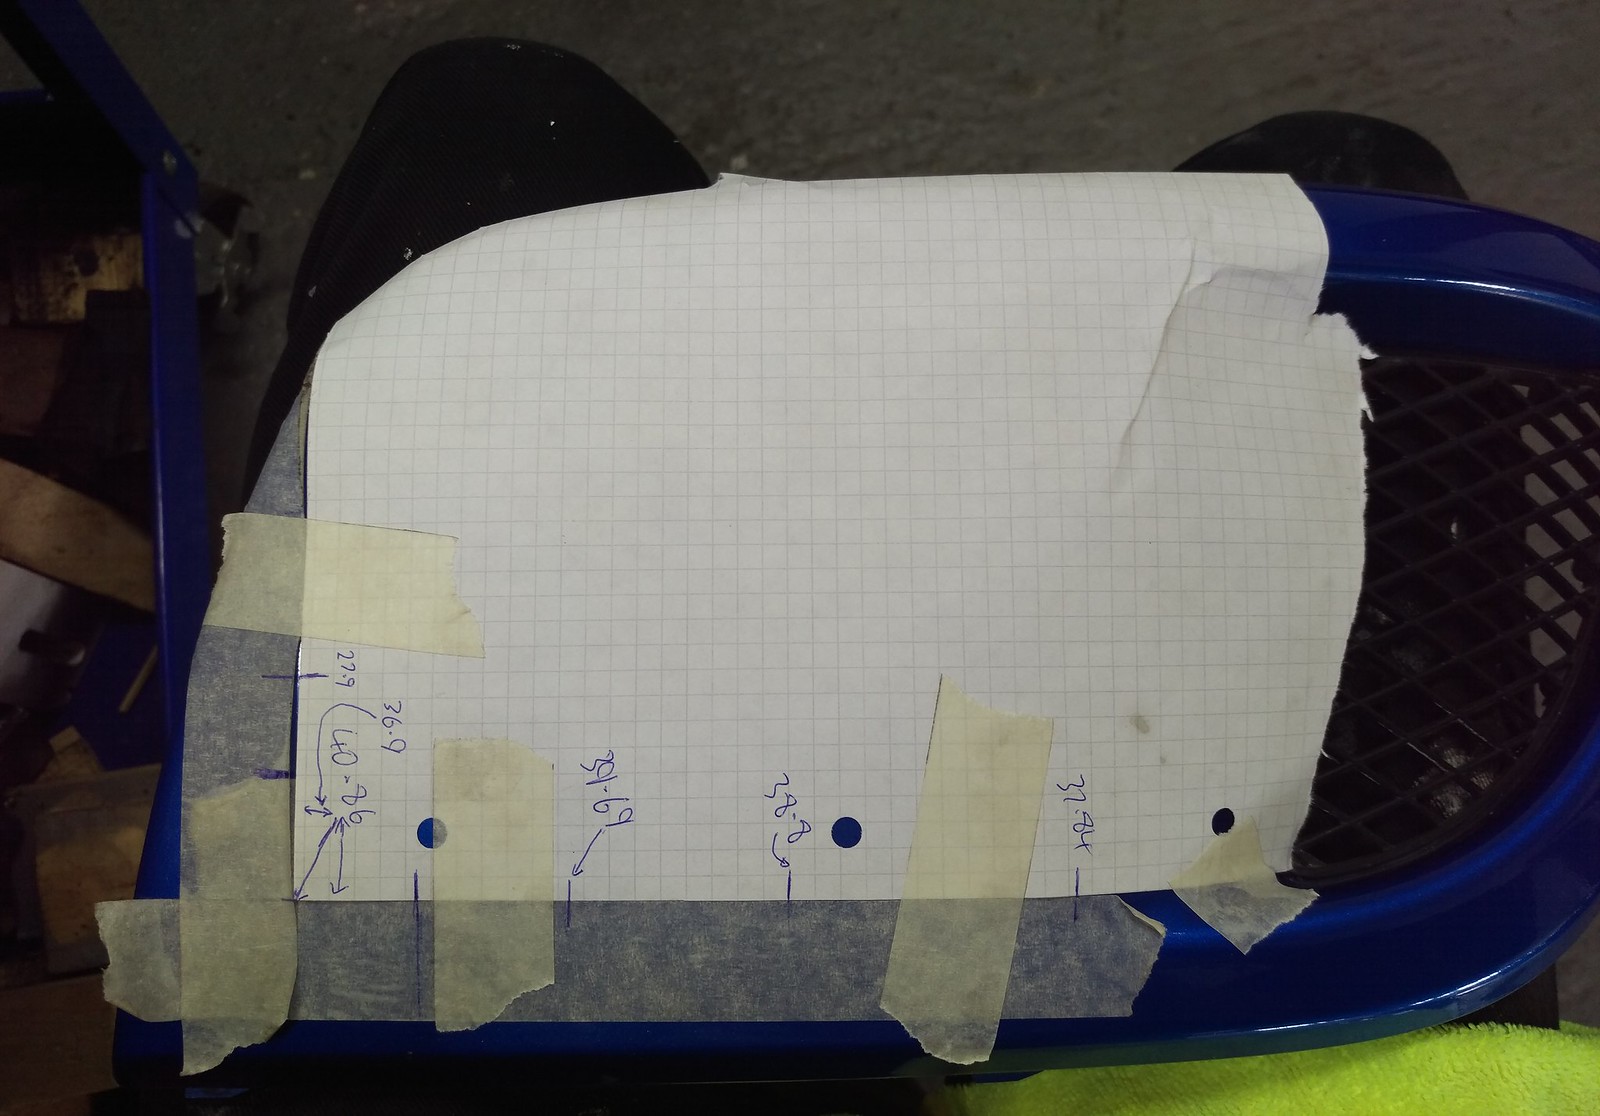
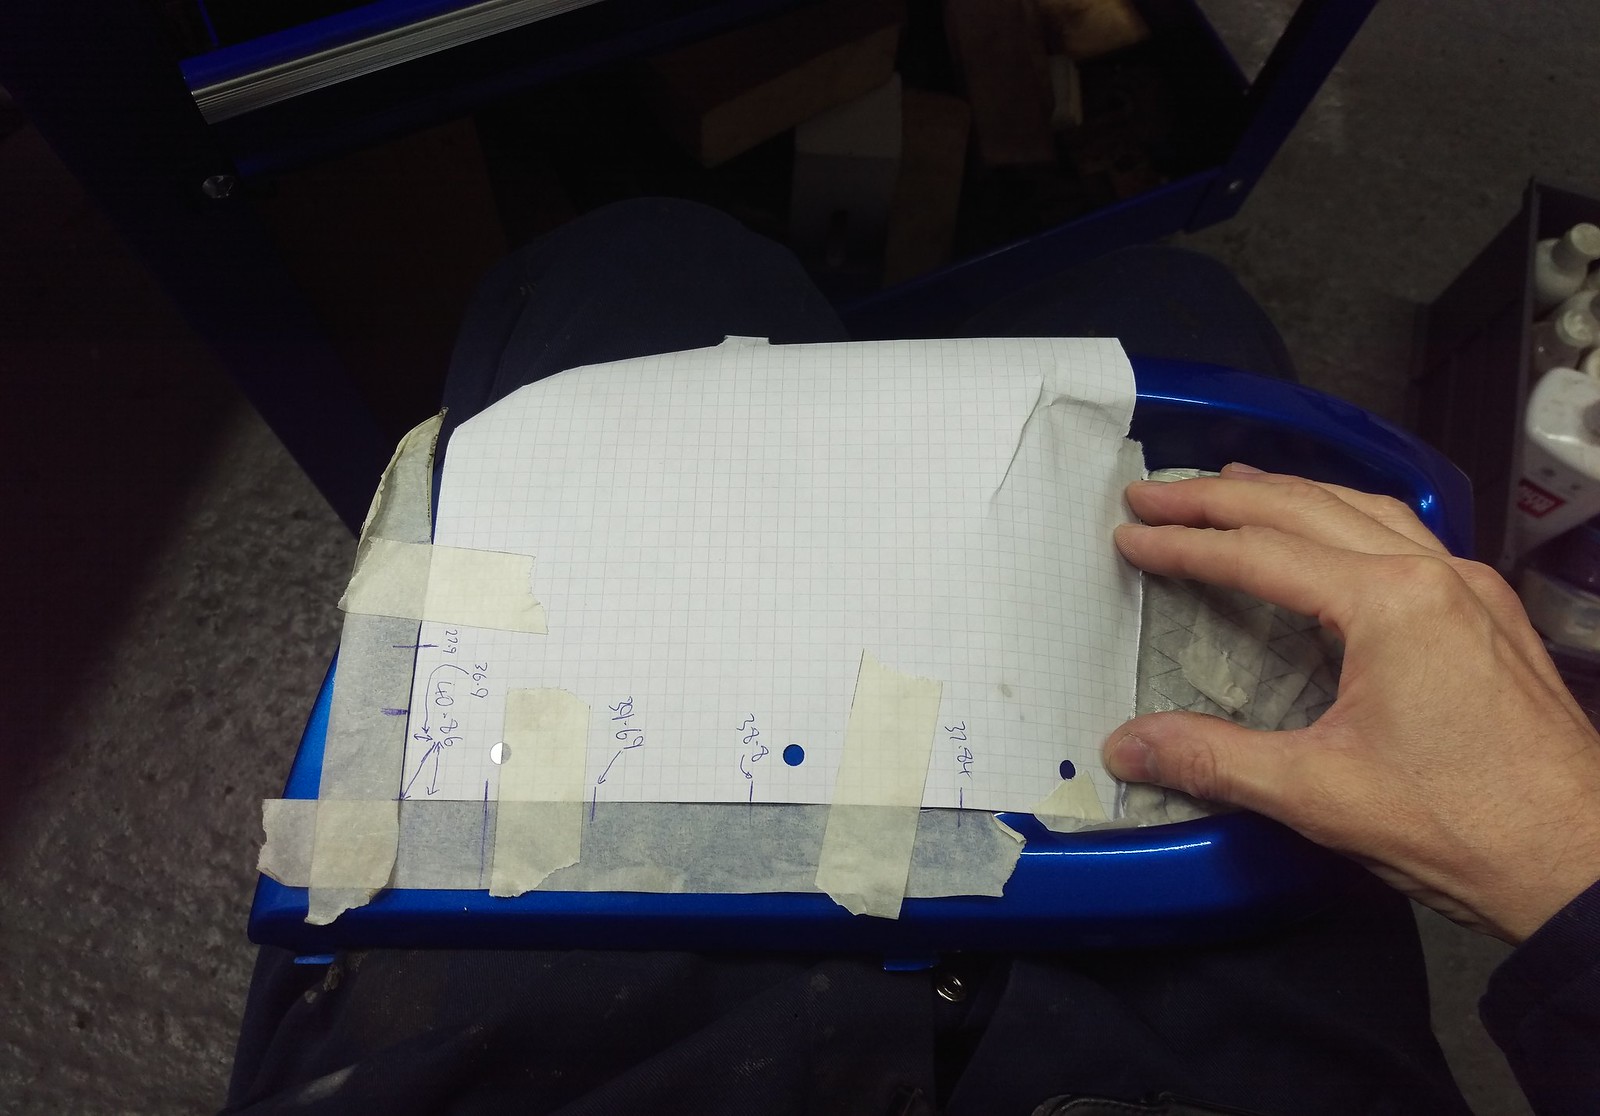
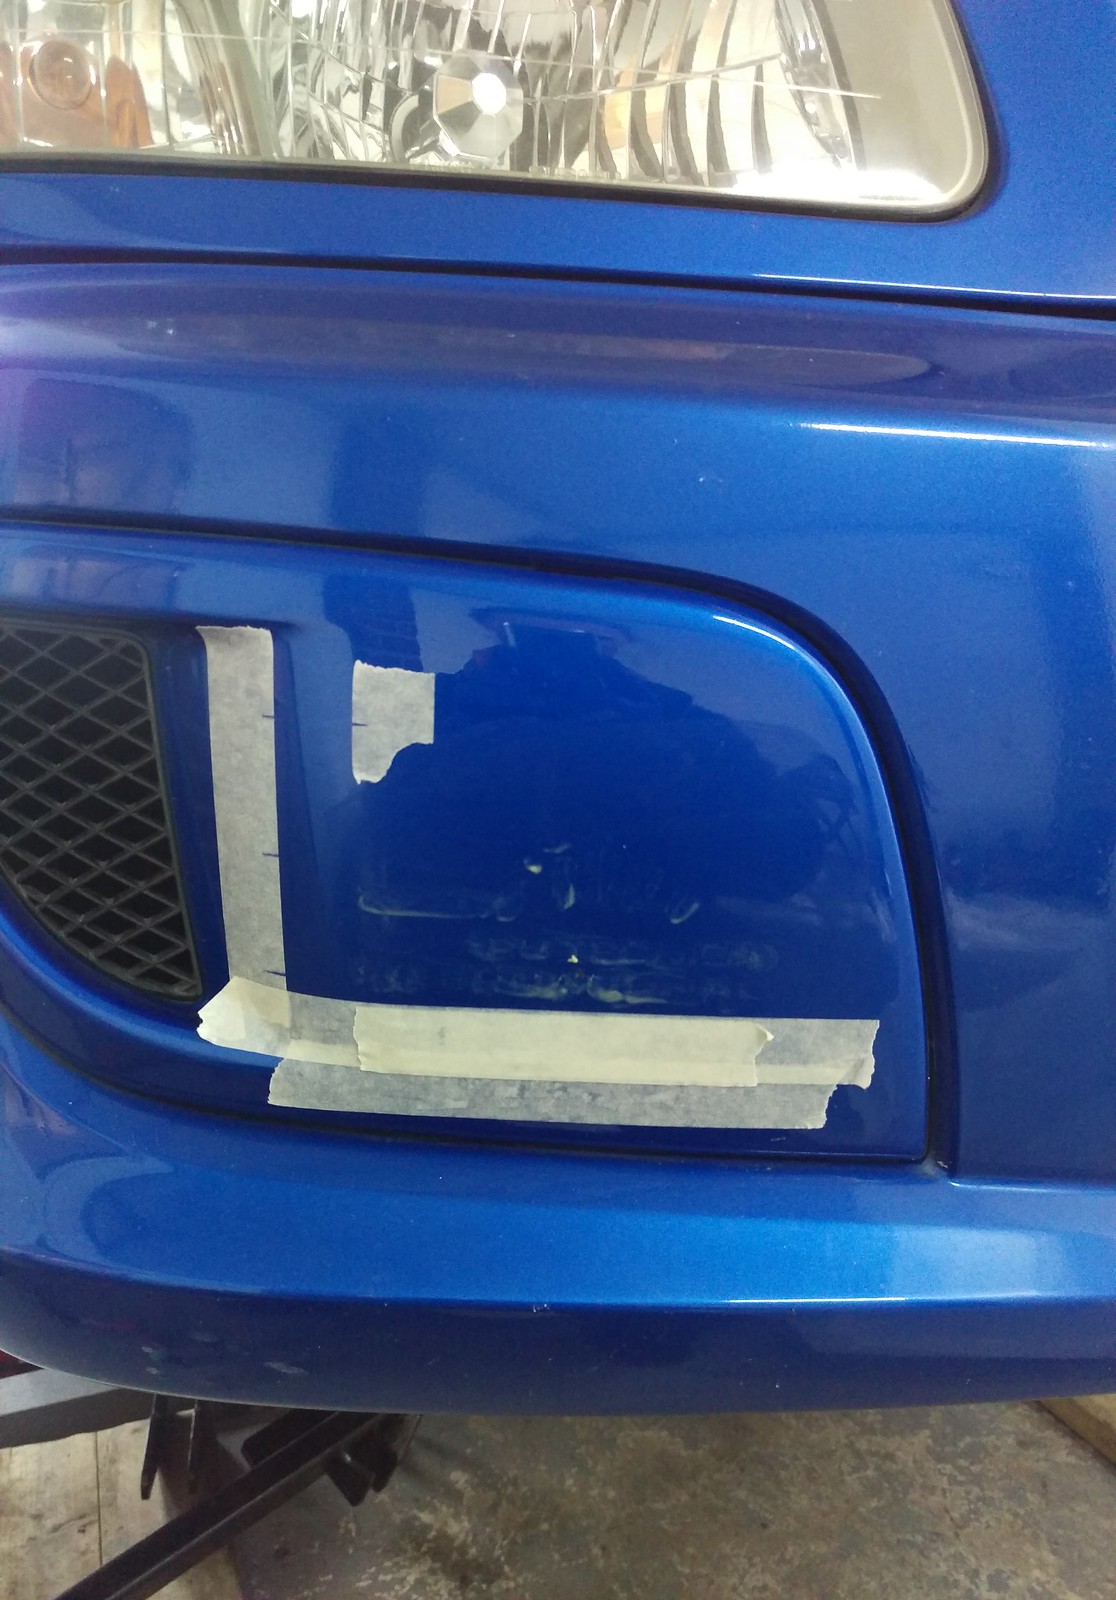
I wanted to make sure I placed the new decal in exactly the right spot. If I didn’t want to apply a coat of lacquer that would be easy as I’d just put some masking tape up to the edge of the decal, remove the decal, then position the new one up to the tape. But I couldn’t leave tape on there to paint so I put tape on then placed a piece of paper up to the tape and shaped it around the cover so it could be placed back on to the cover in the same position. I also wrote down measurements from the edge of the decal to the outer edge of the fog light cover so I could check them later on.
Like this.
Decal and masking tape removed, then surface given a light rub down with wet and dry to give the new layer of lacquer a good key.
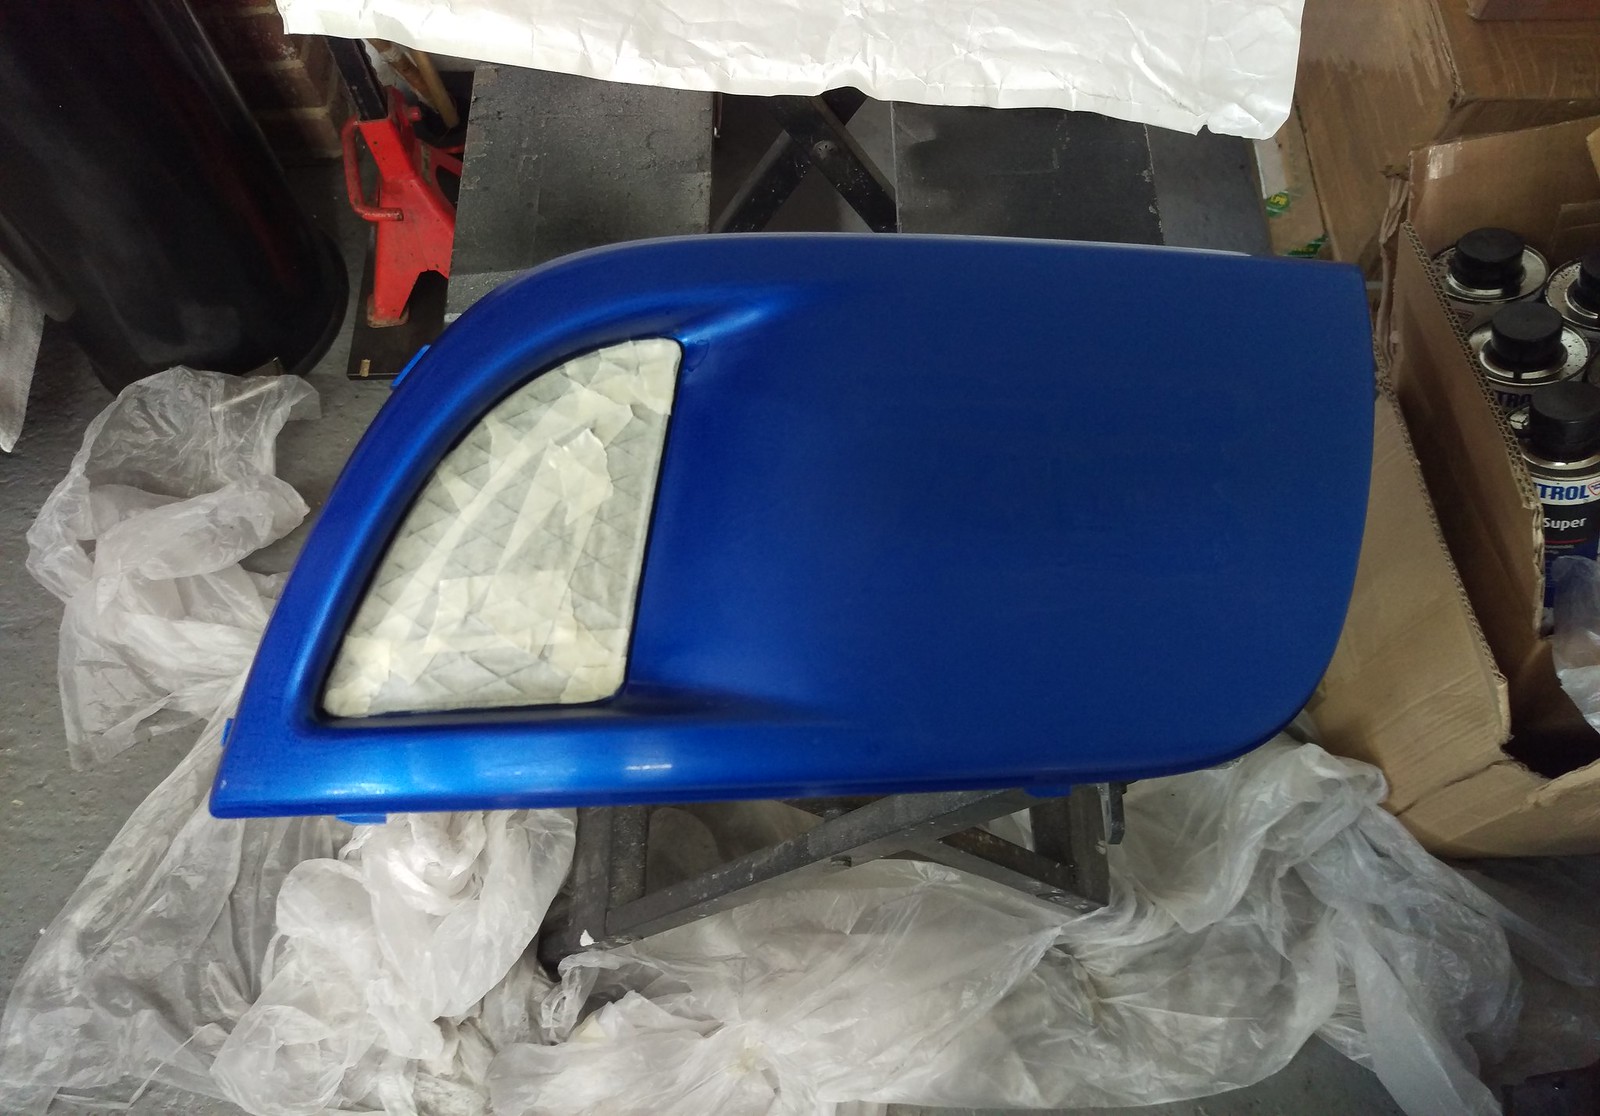
Couple of coats of lacquer.
Wet and dry and cutting compound to flat and polish the lacquer.
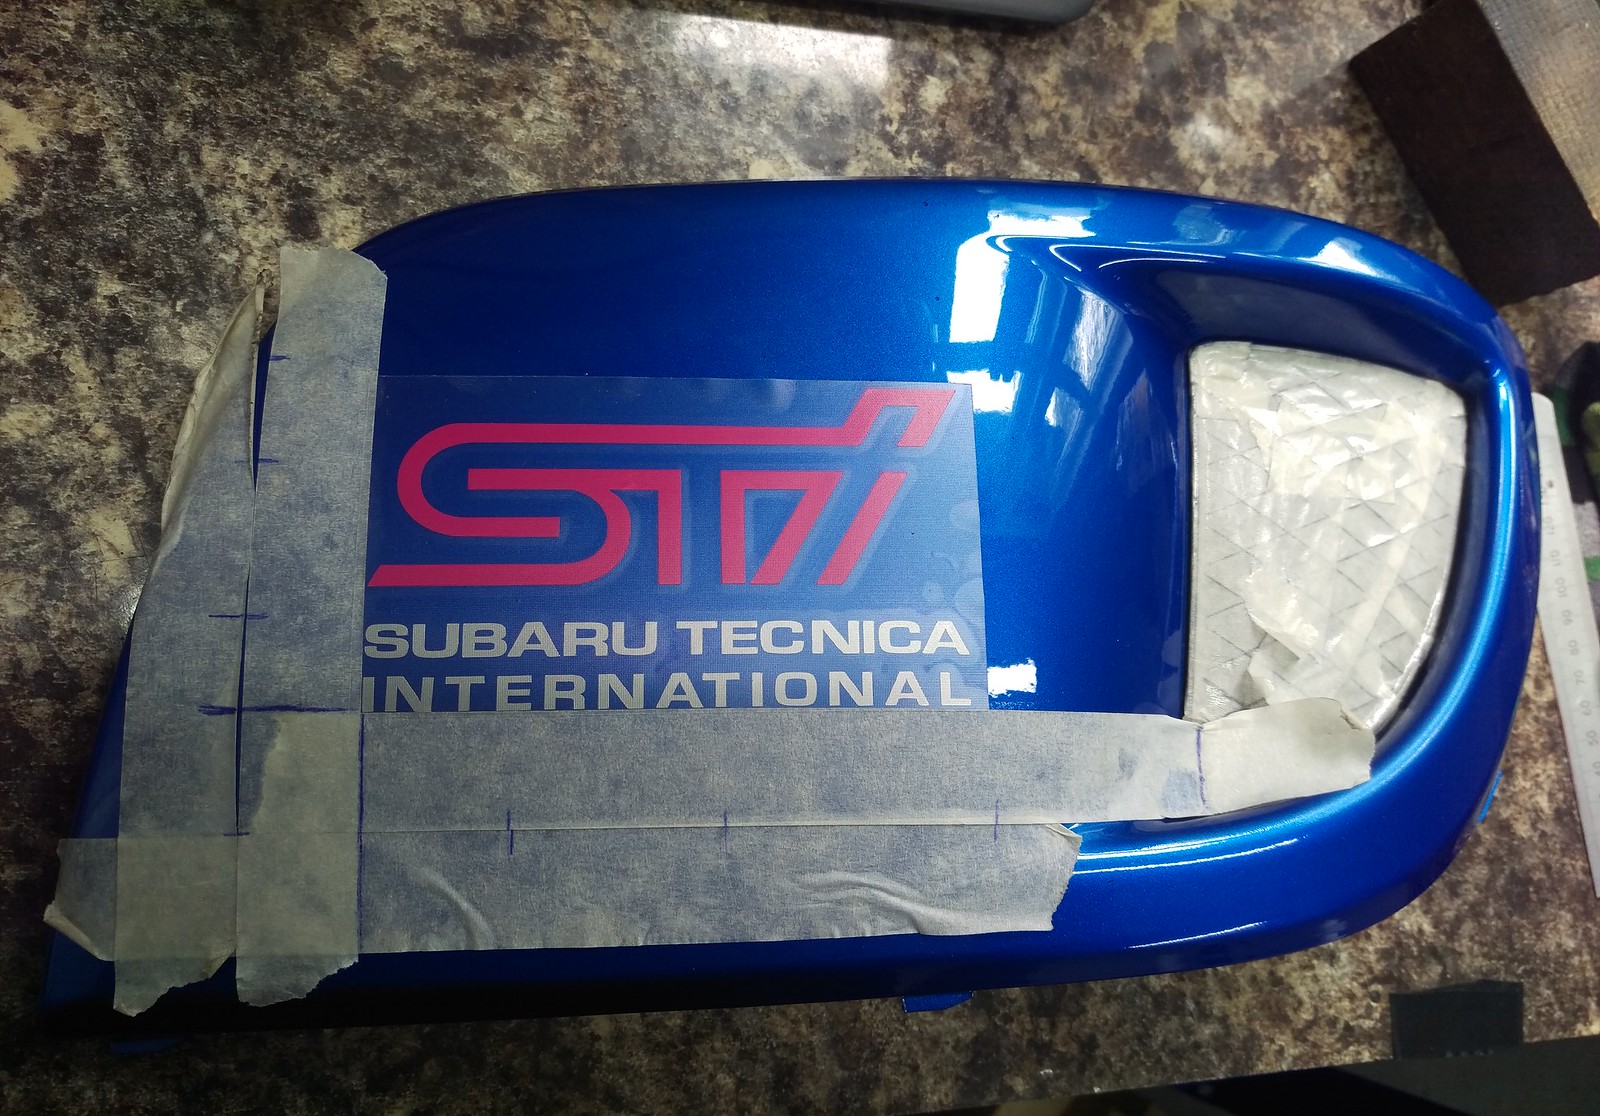
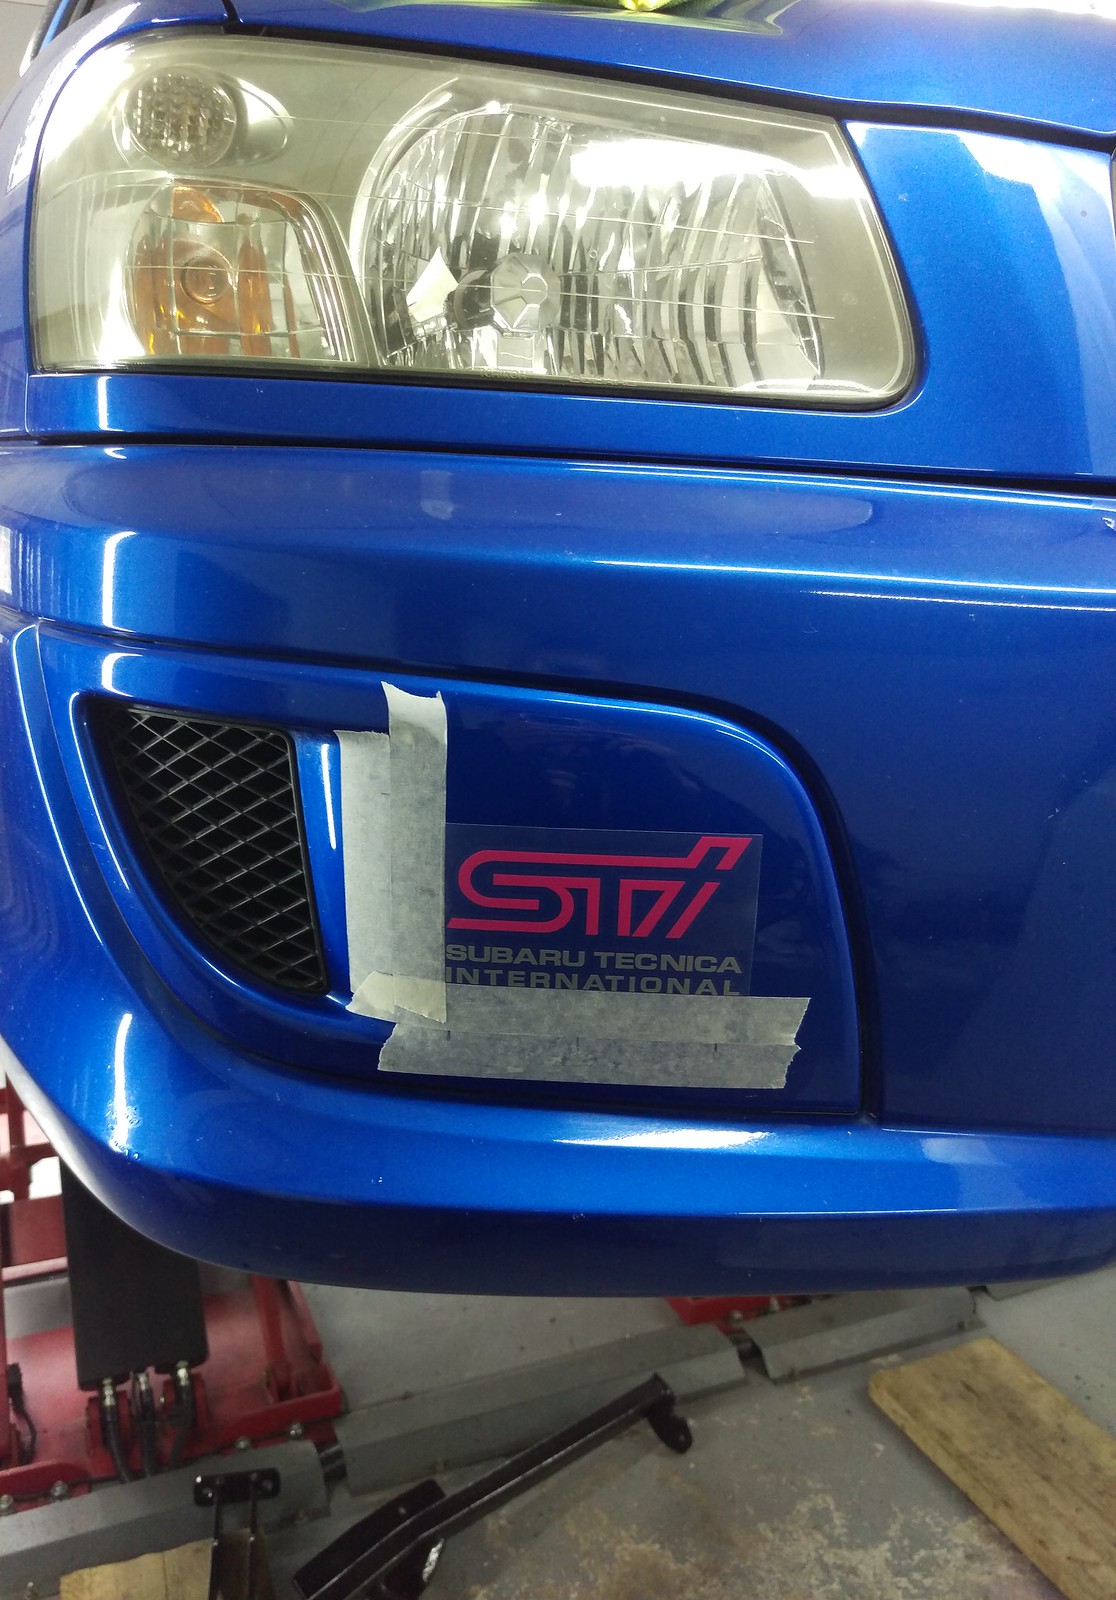
Paper template placed back on to allow the masking tape to be stuck back on just as it came off.
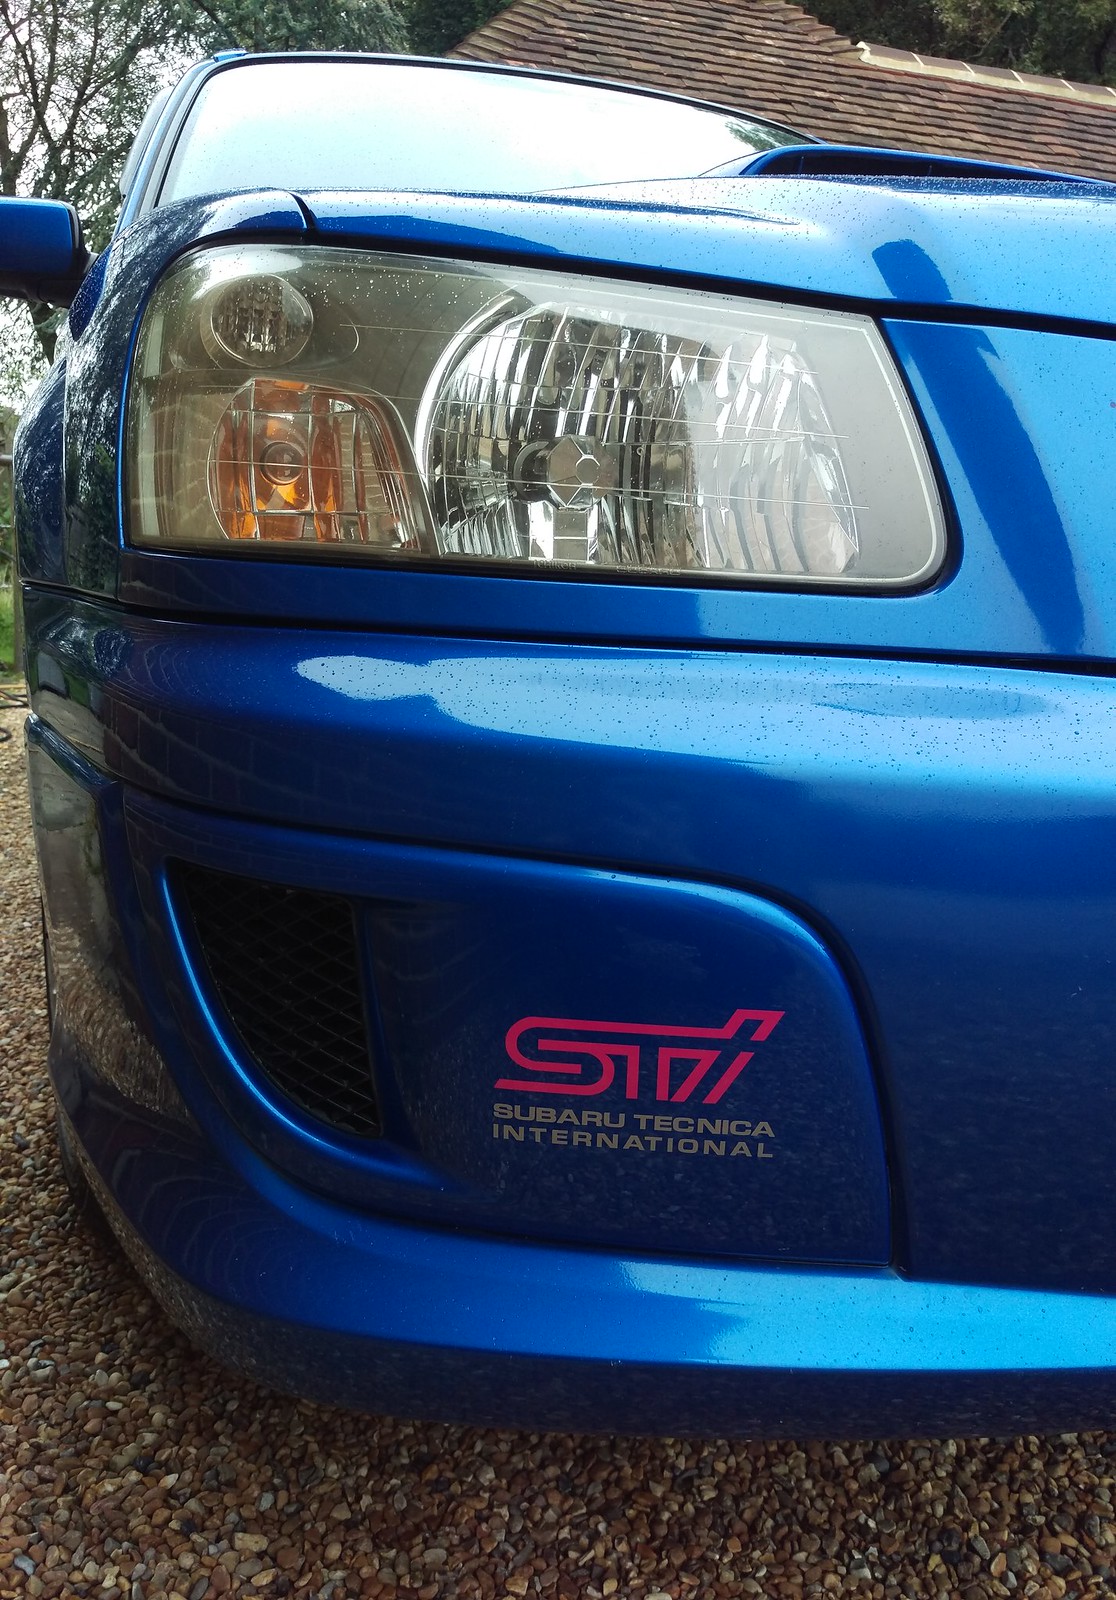
Decal applied.
The other side.
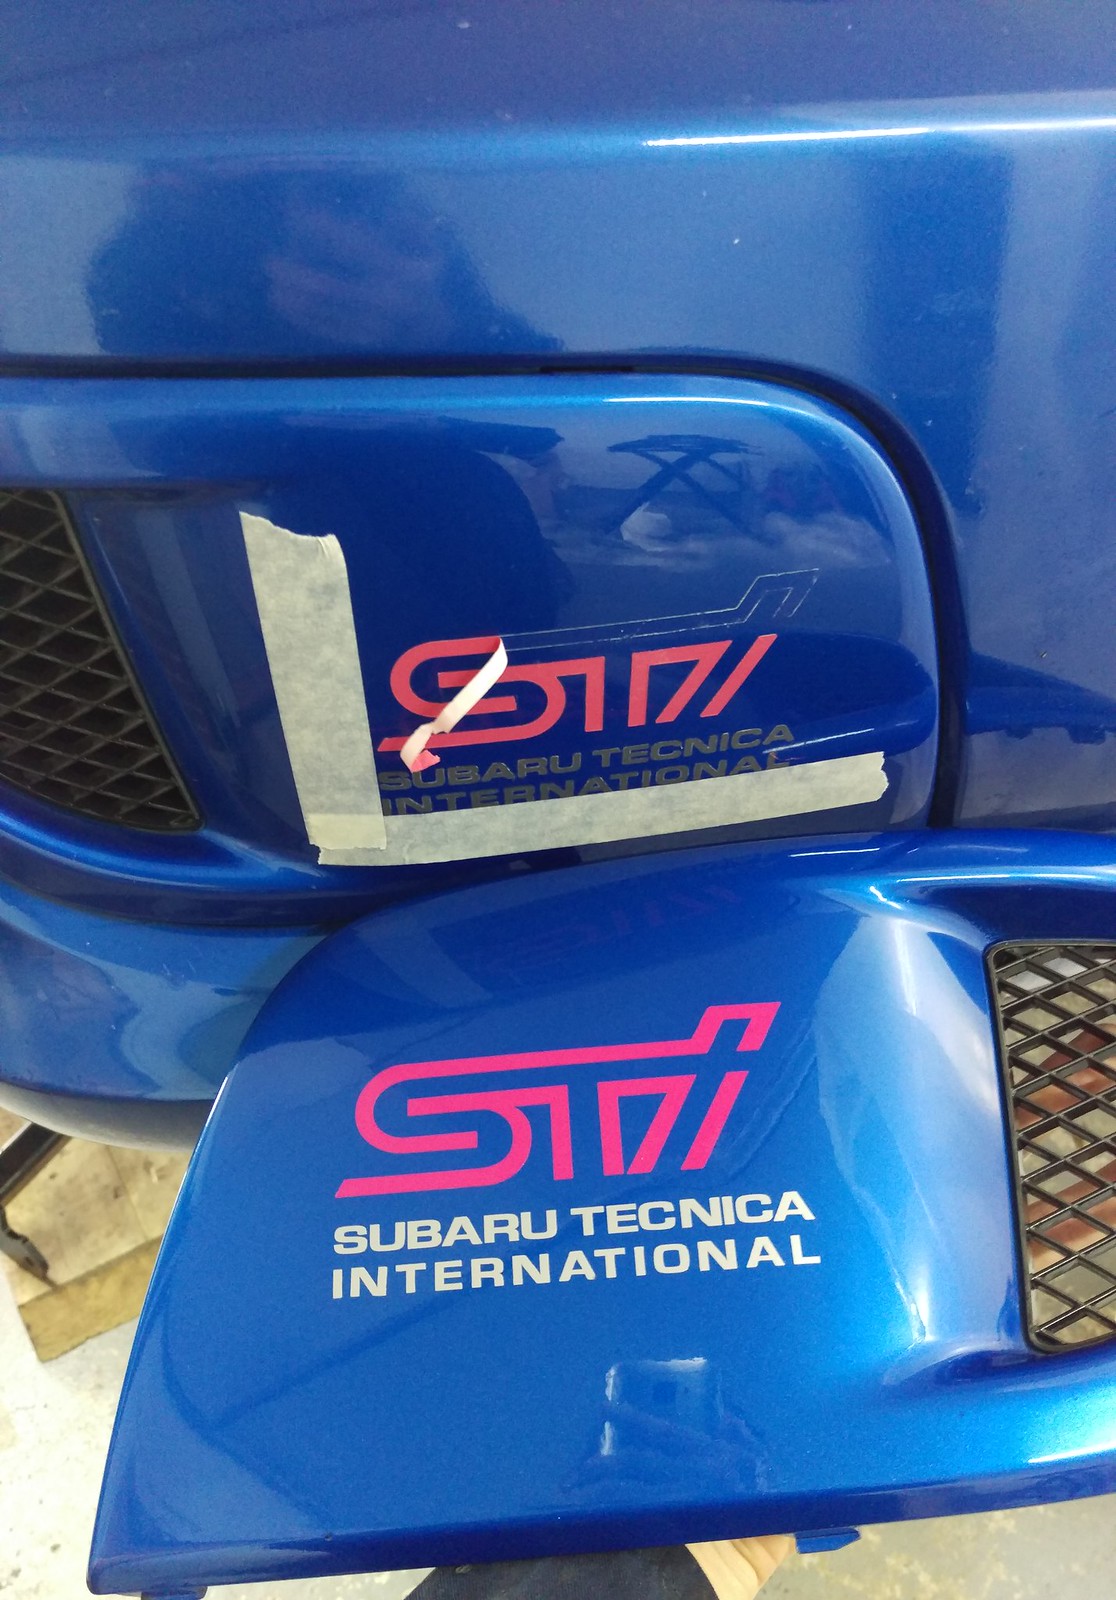
Decal coming off.
Didn’t need to lacquer this side so it was an easier job to get the decal positioned right. It just took a while to get rid of all traces of the original decal without damaging the paint. I tried a few things…
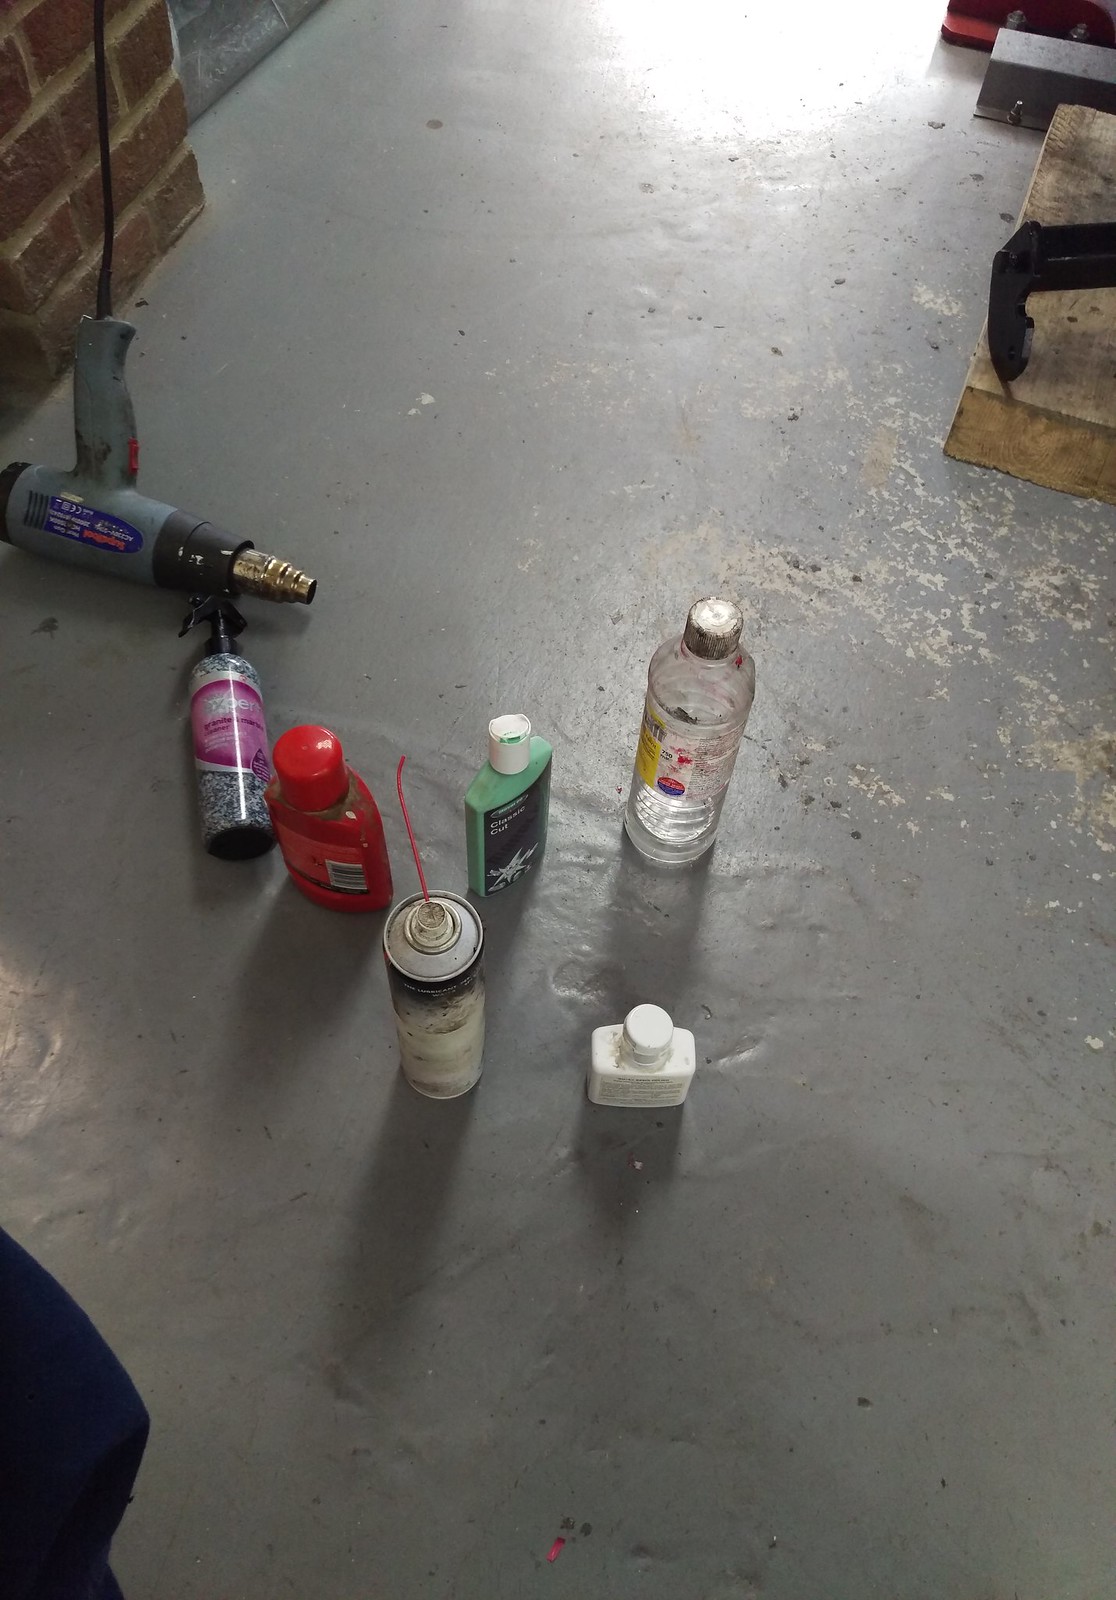
…until it looked like this.

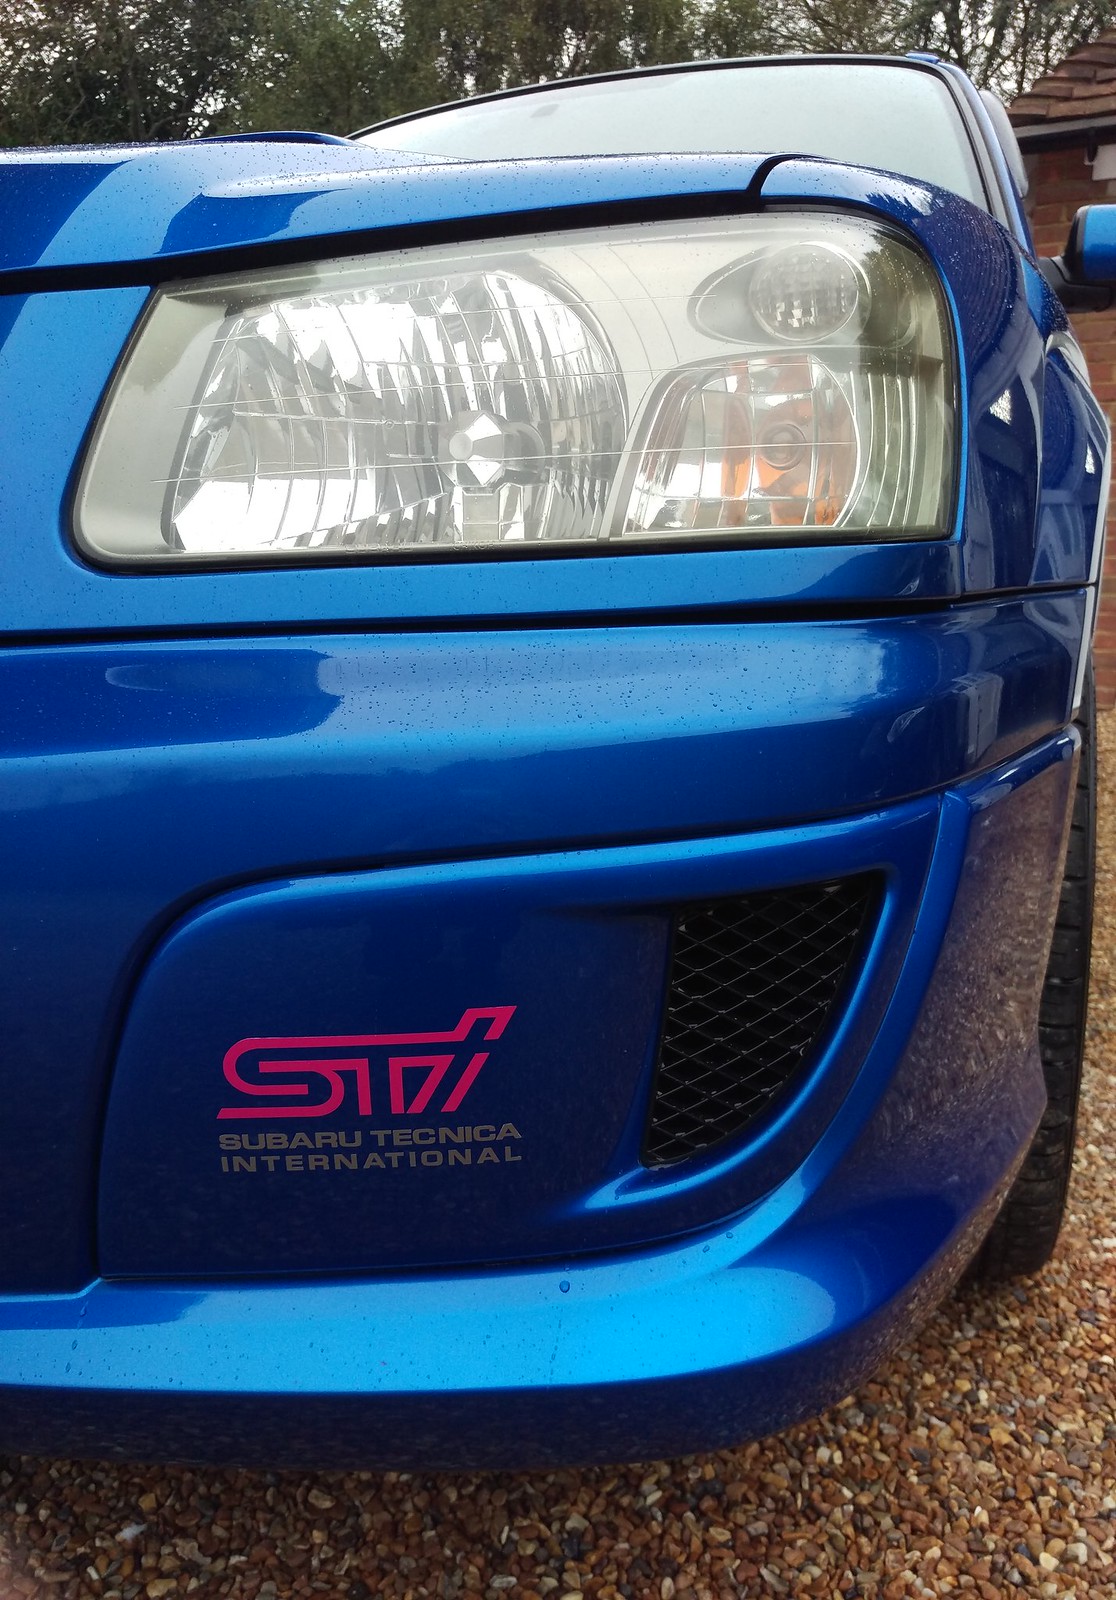
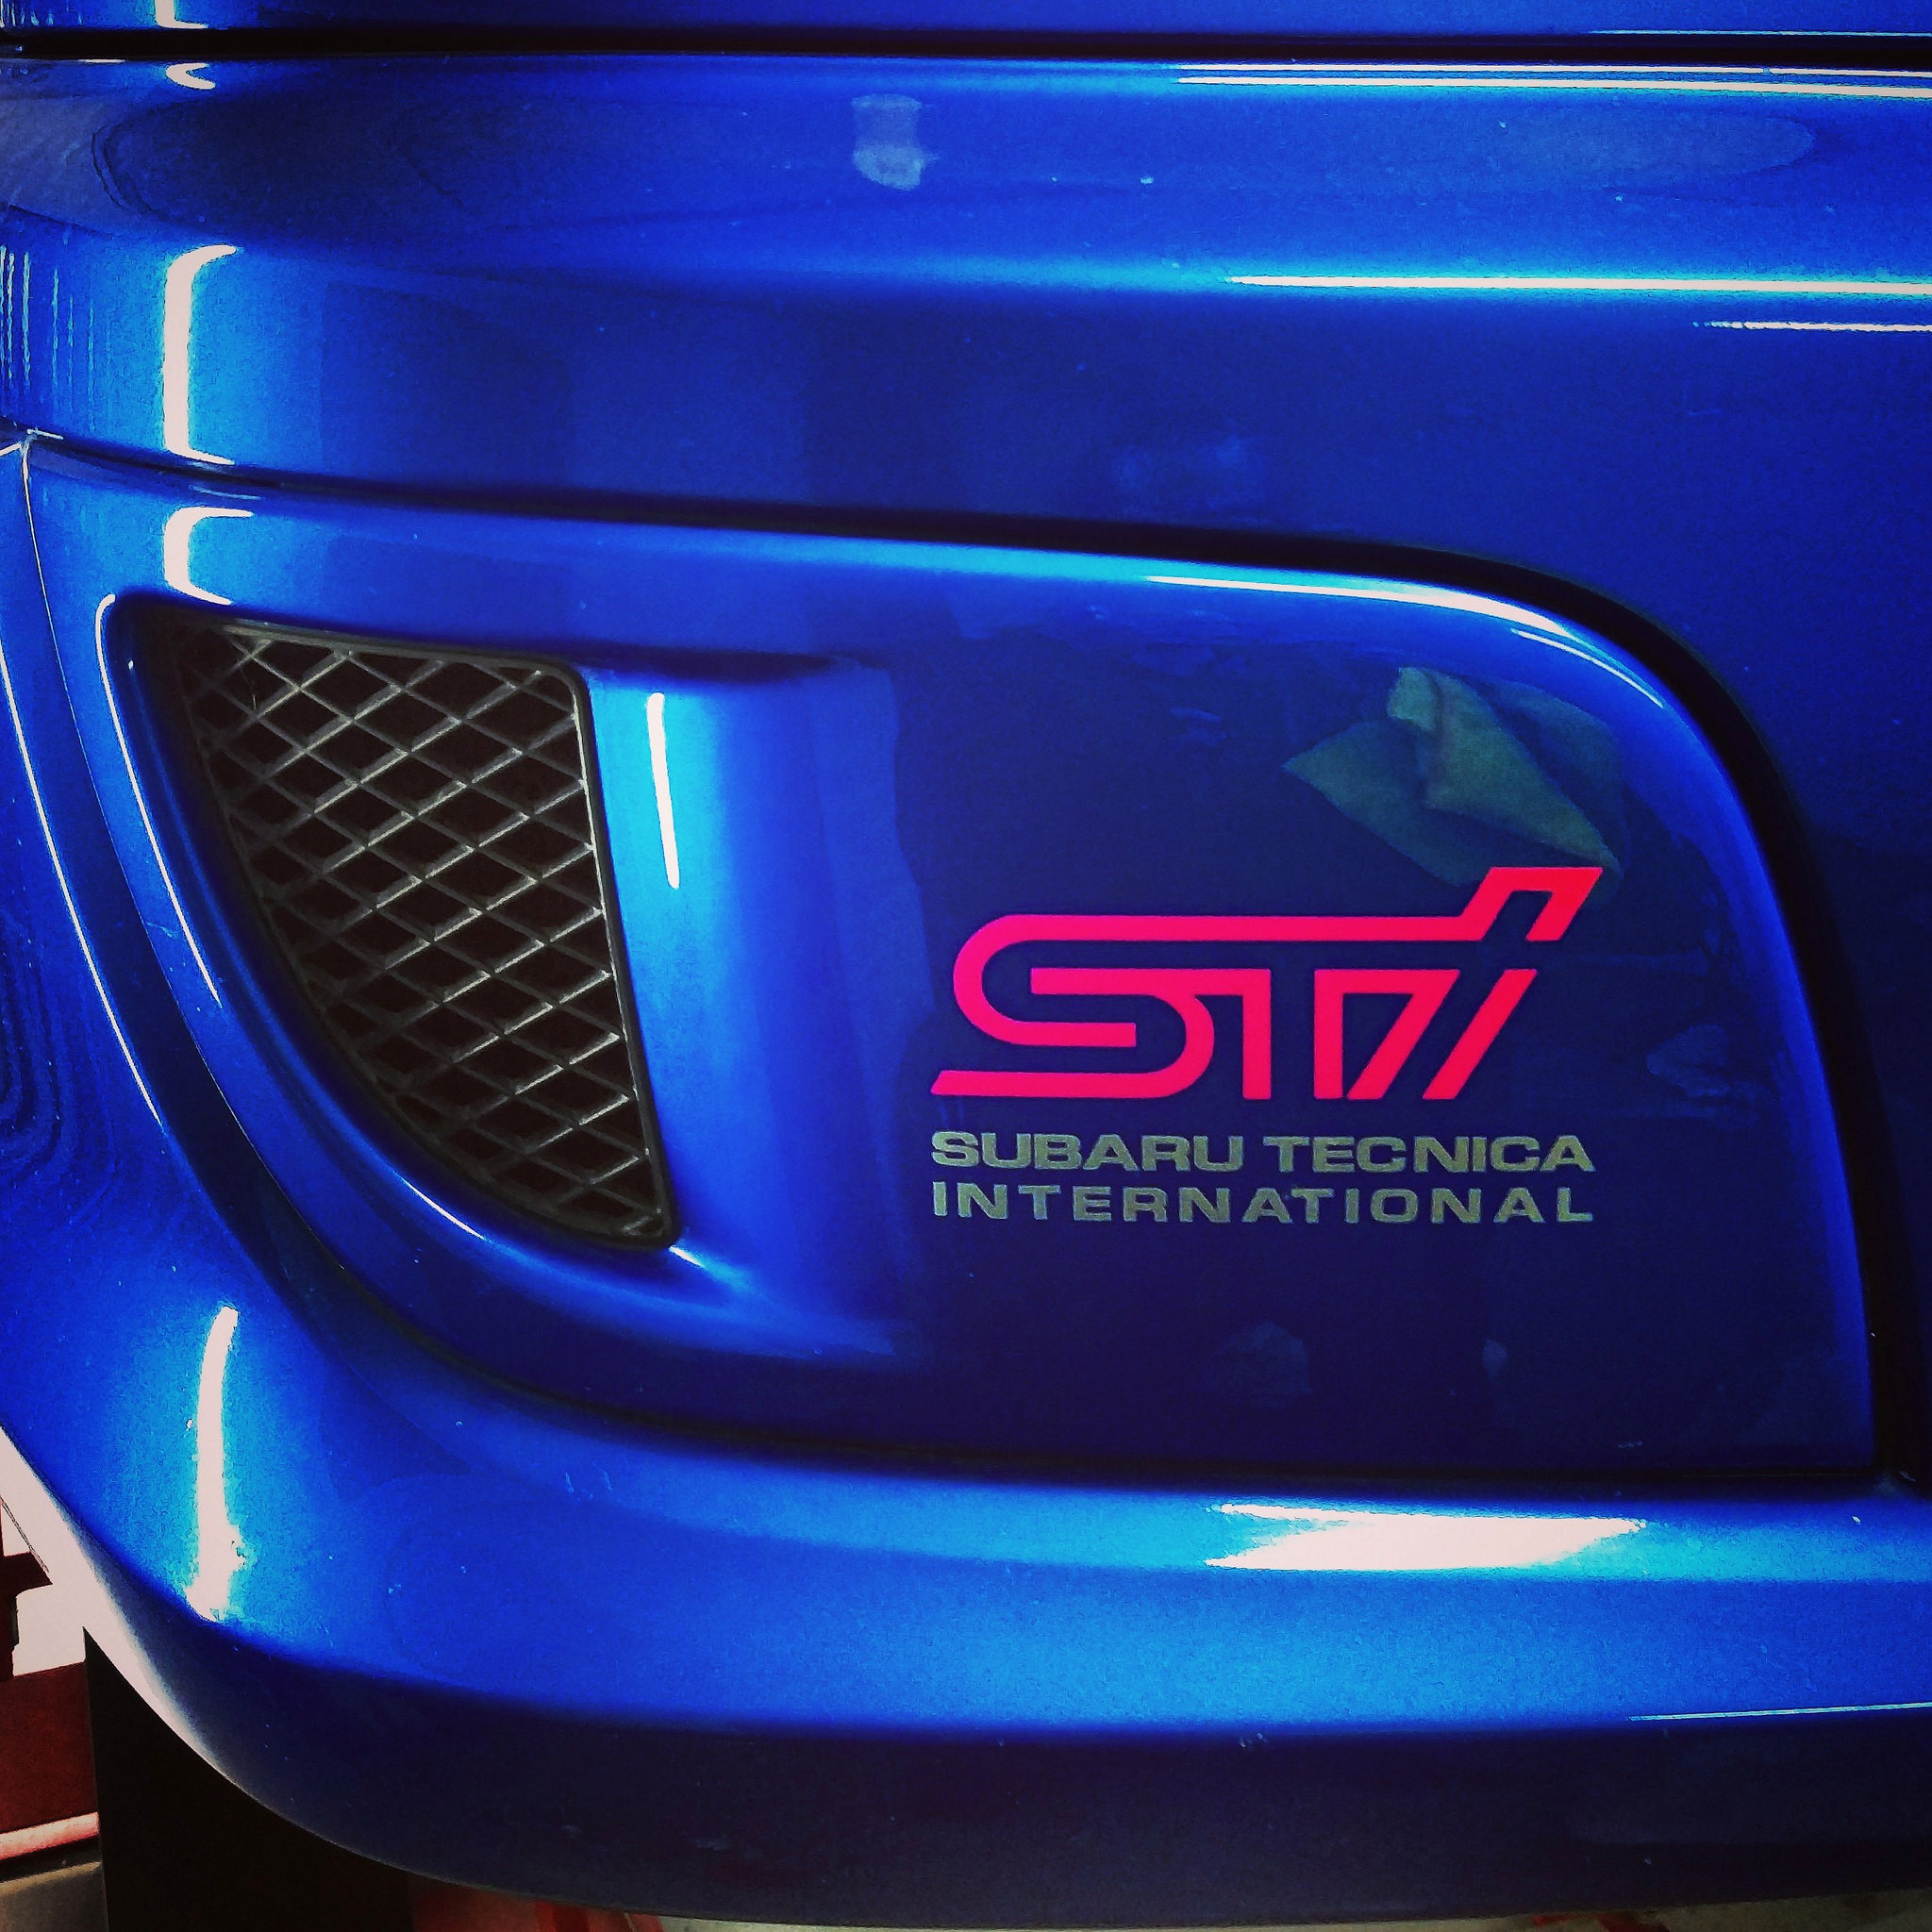
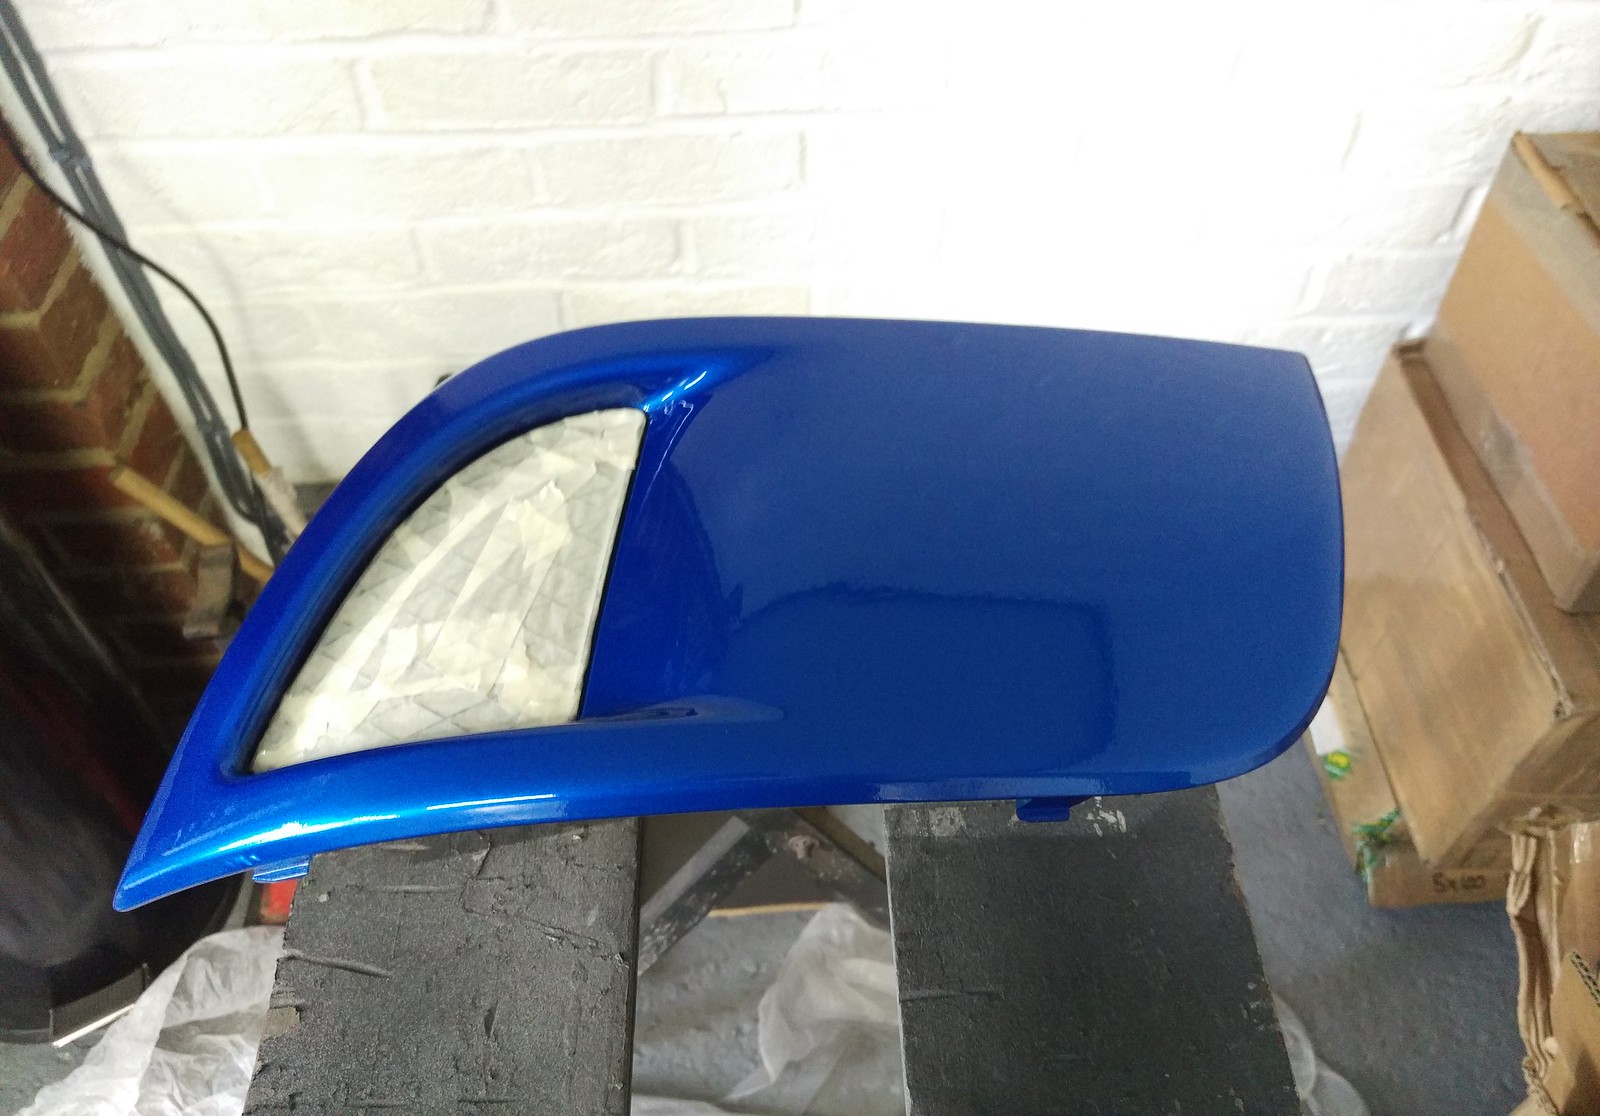
New decal in position.
Tape off and it’s done.
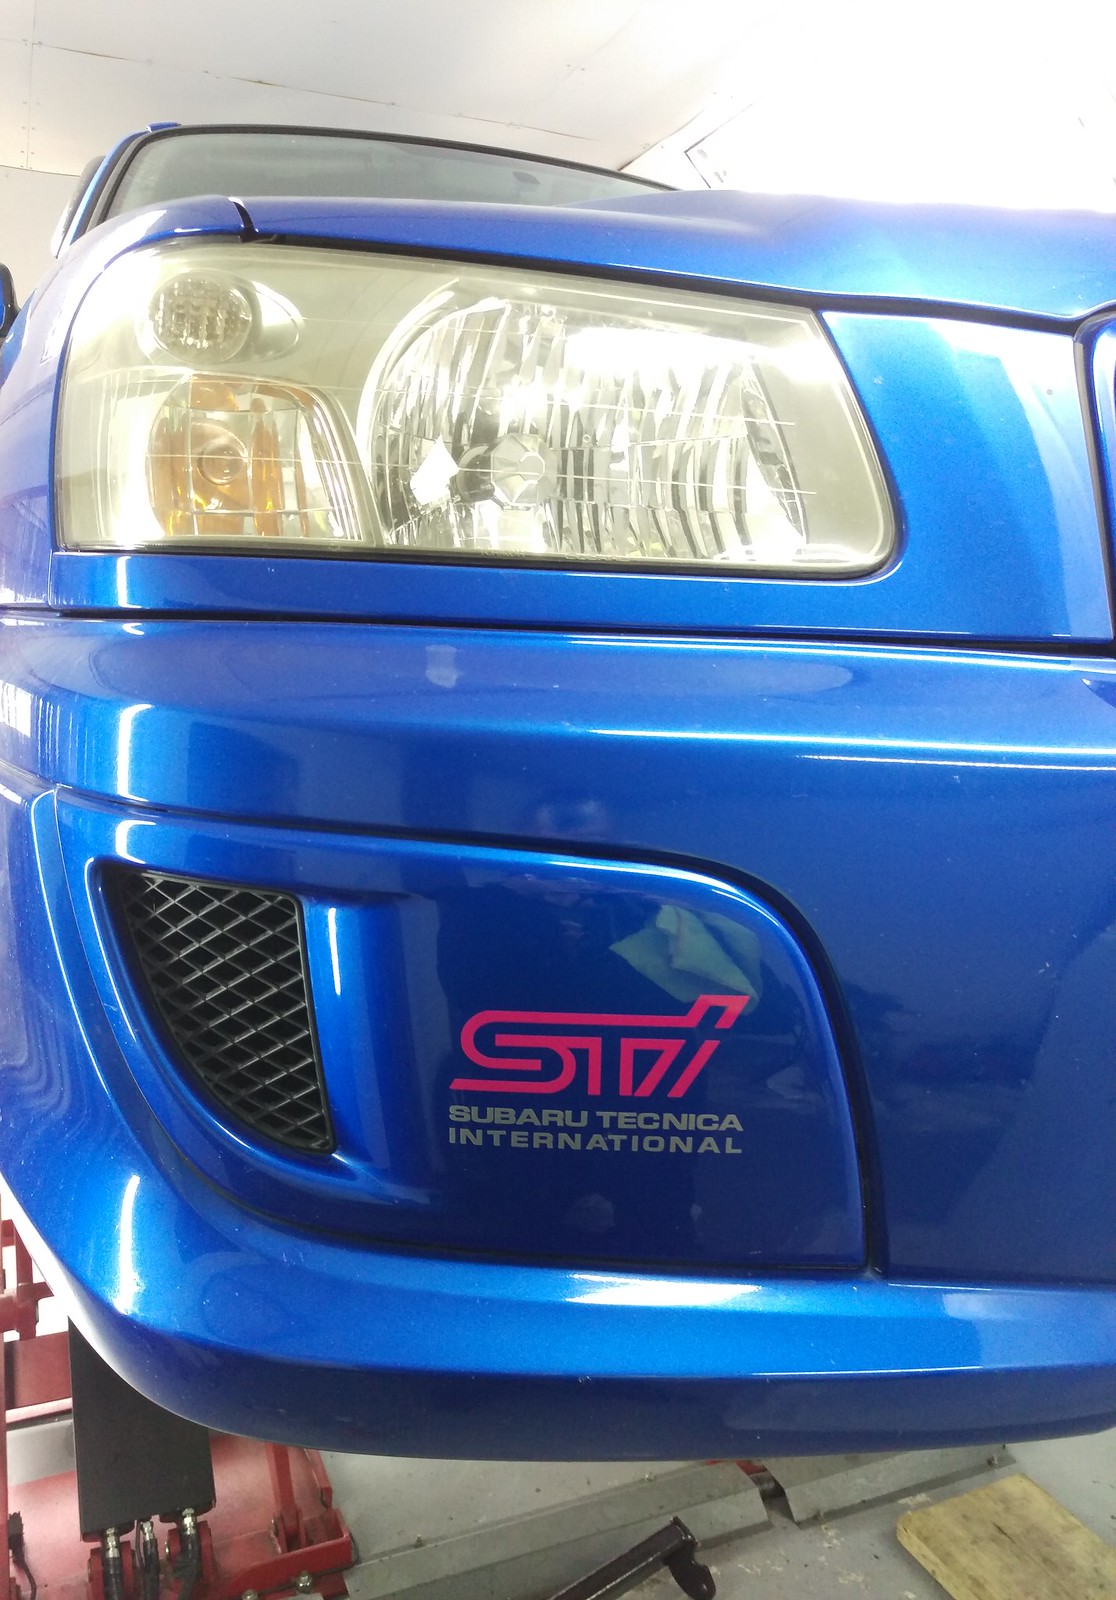
Much better.