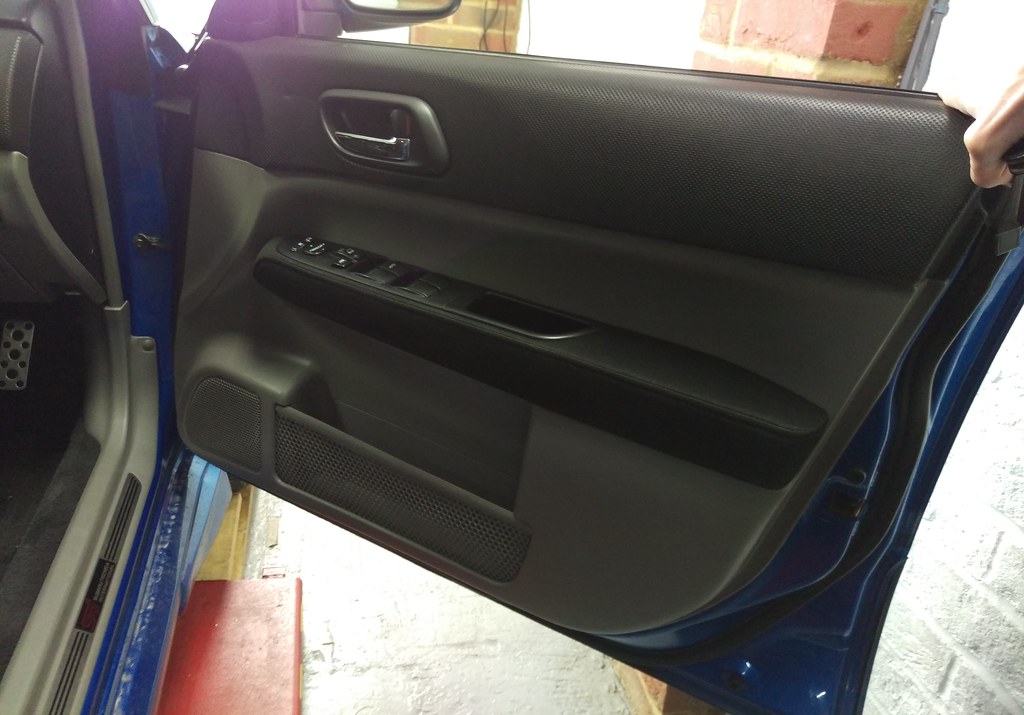
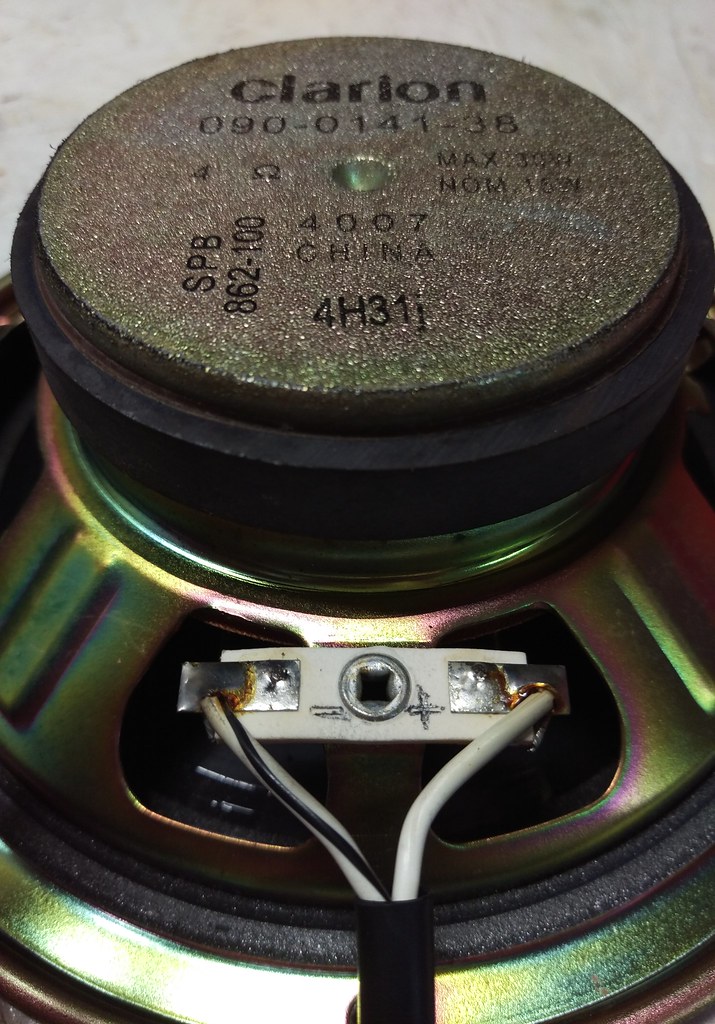
The speakers in the Forester sounded pretty rubbish. I assumed they were just old and were never that great but when I pulled a door card off to take a look I found it was worse than that. They had fallen apart.


Time for an upgrade then. I removed the speaker to measure what space was available for something bigger and better, not forgetting to roll the window right down to make sure any window mechanism was included in my measurements.

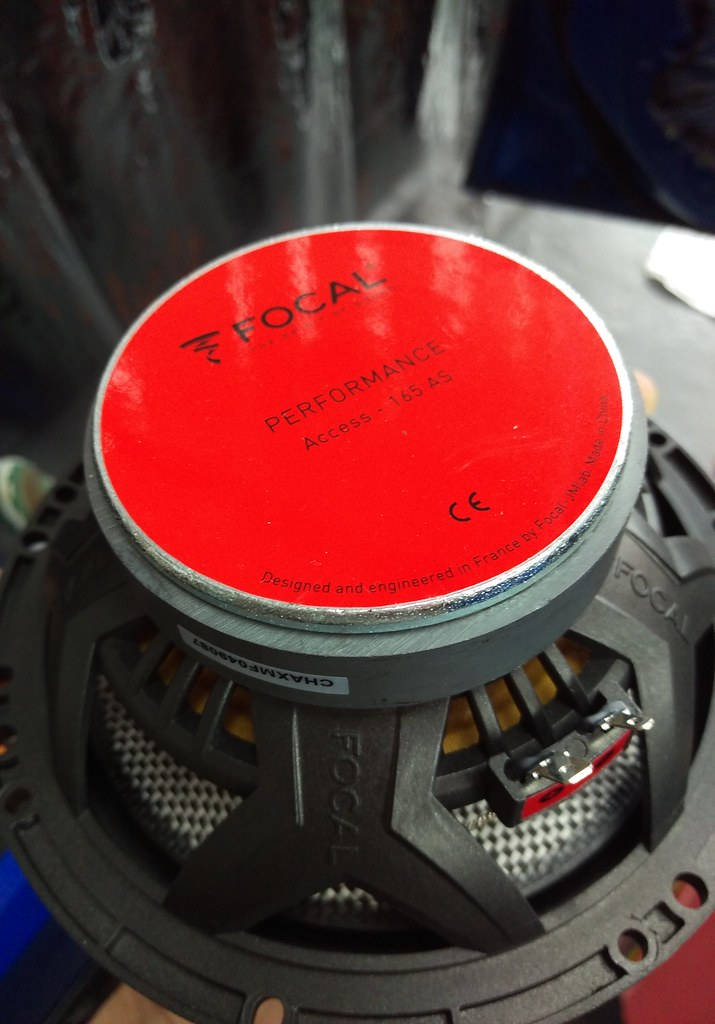
After a bit of interwebbing it sounded like a good replacement brand to go for is Focal. They have a good range for different budgets but all generally seem to be reviewed well. Plus they have good dimensioned drawings available on their website so you can be sure what you buy will fit.
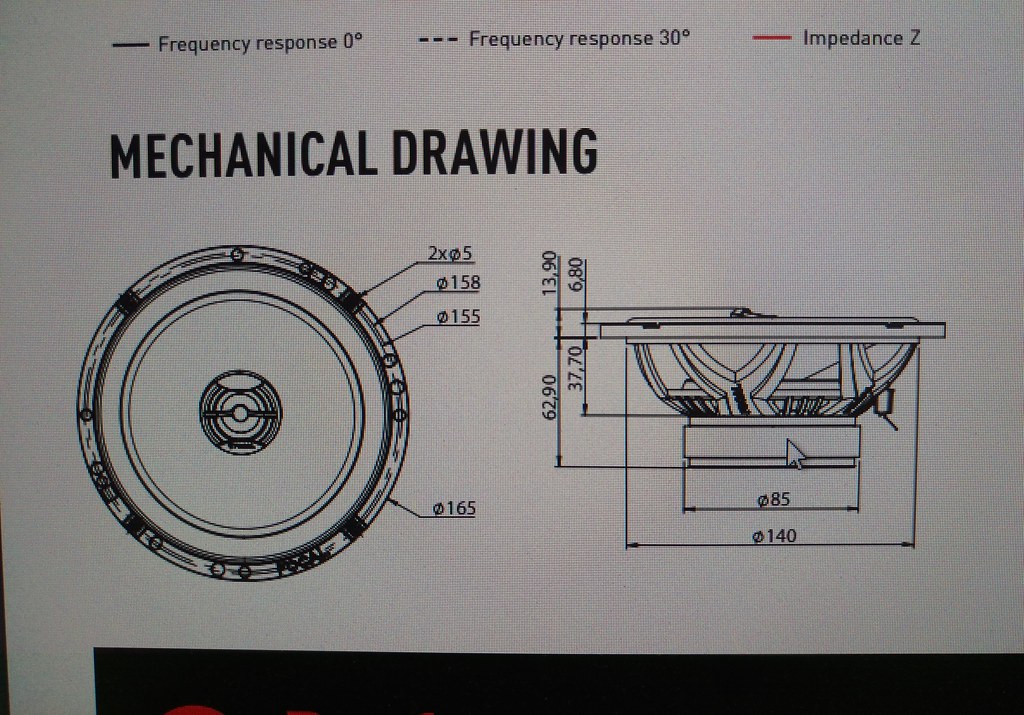
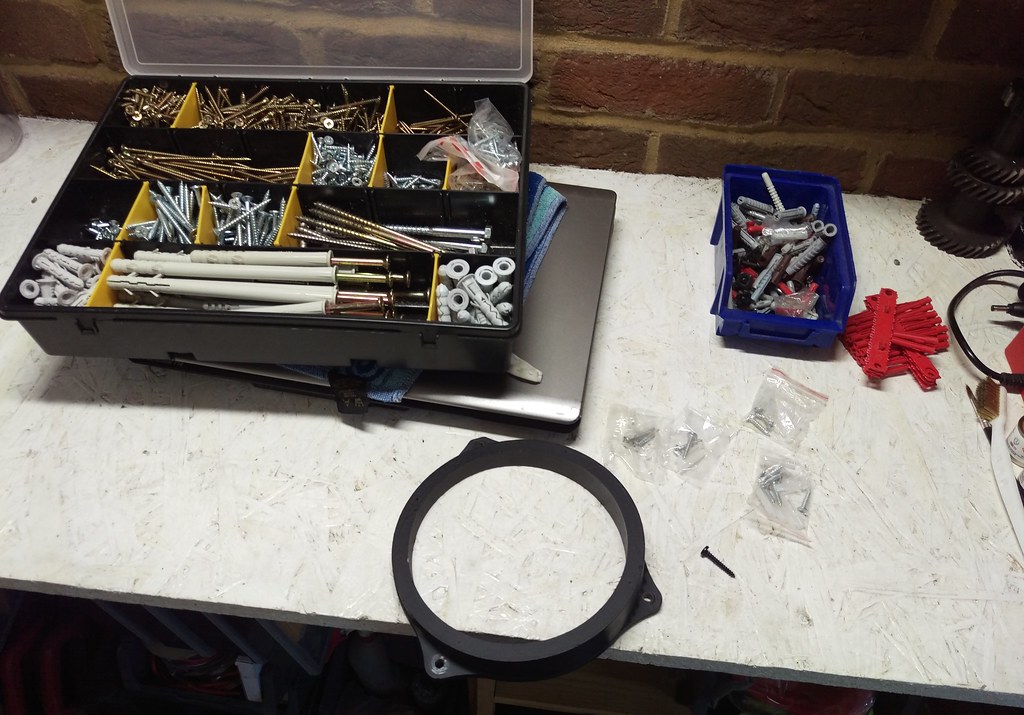
The space available meant it was possible to fit a 6.5″ speaker. The original speaker was a 5″ so the increase in size and quality should be a pretty decent improvement. I was considering making adapters for the larger speakers but I found some MDF ones on eBay for fitting a 6.5″ speaker to a Forester for less than 20 quid so no point in the hassle of making my own really.
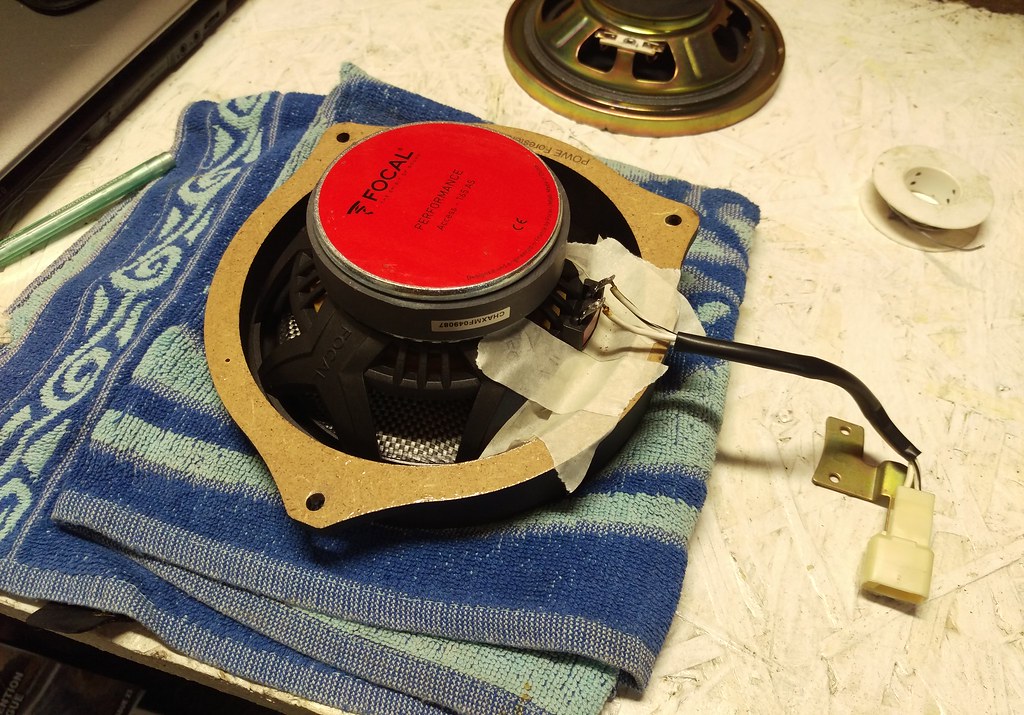
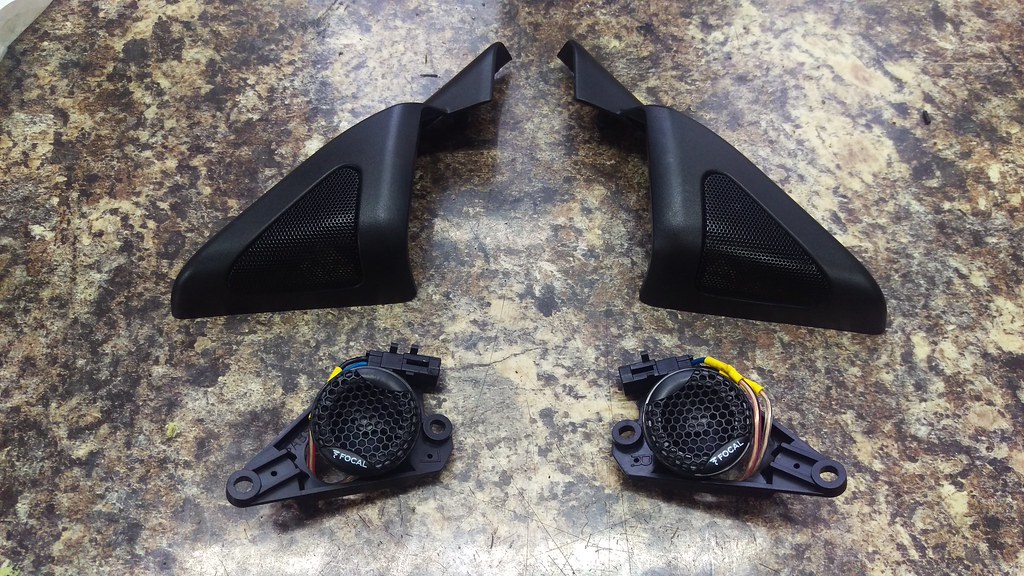
The speaker adapters and new Focal components.
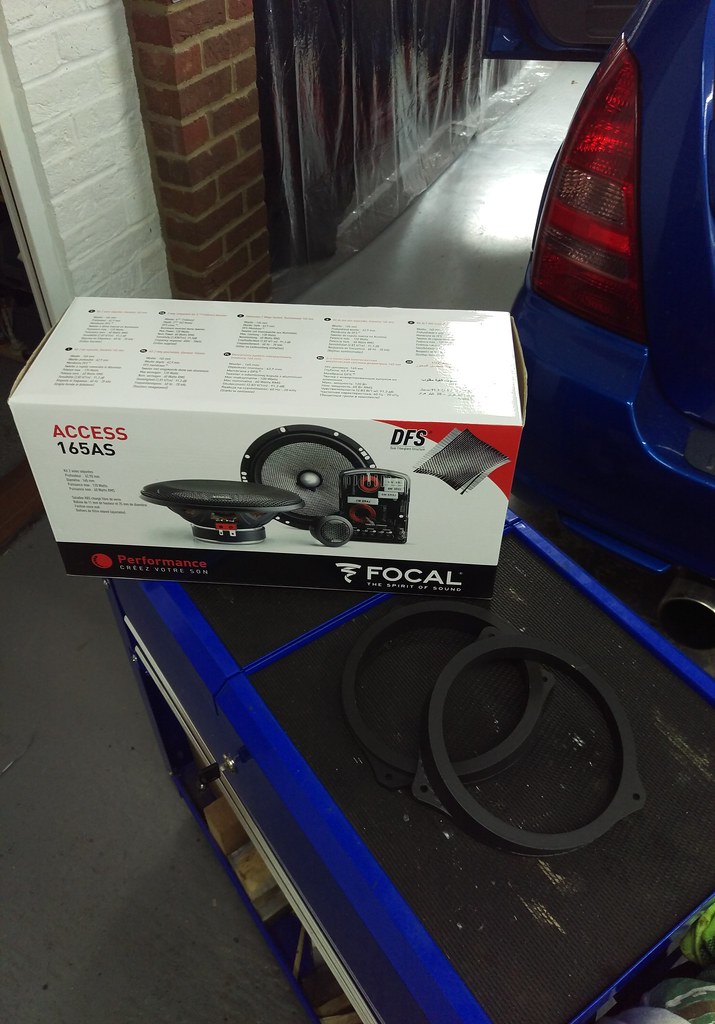
I went for the Focal Access 165AS. They come with a separate tweeter and crossover.
Door card off first then.
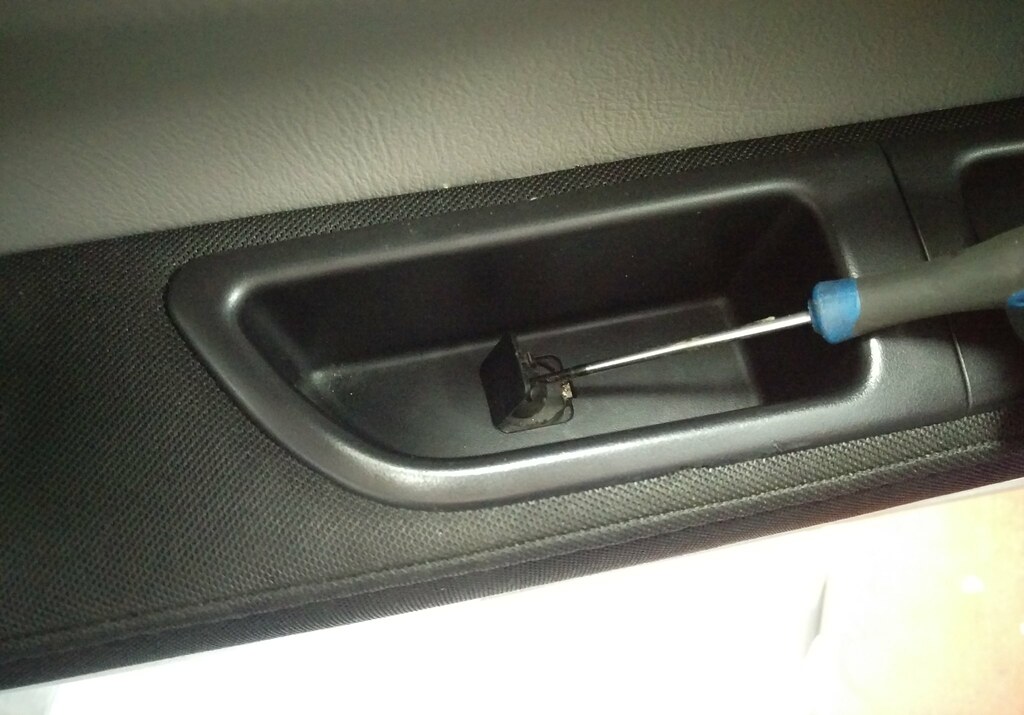
This little tab in the door handle needs lifting to remove the screw underneath it.
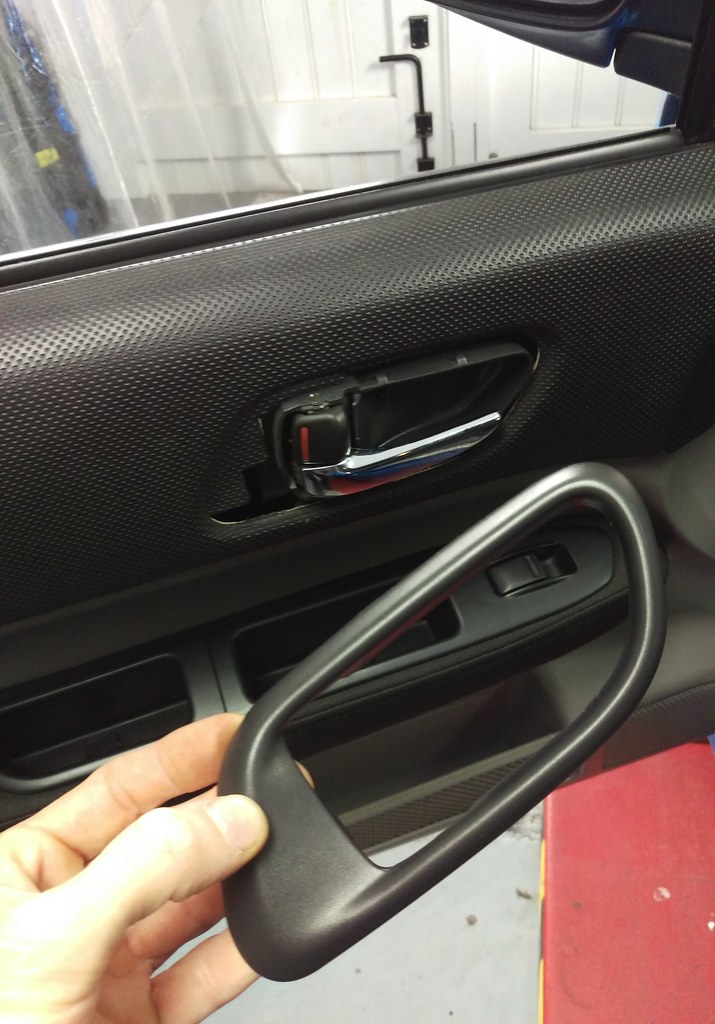
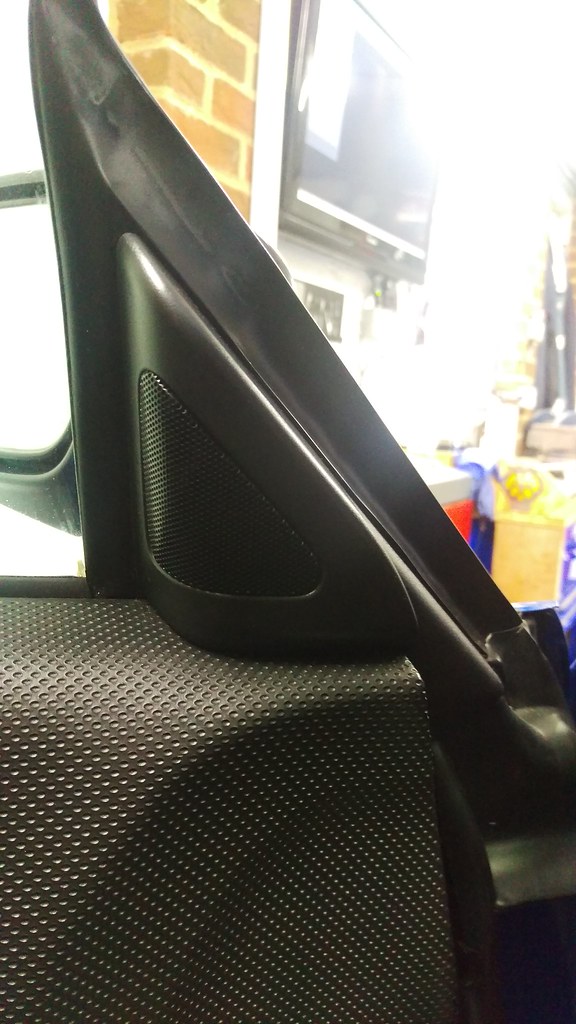
This plastic trim needs to be removed too. It’s a bit tricky and can be a bit brittle so needs to be done carefully to avoid breaking it.

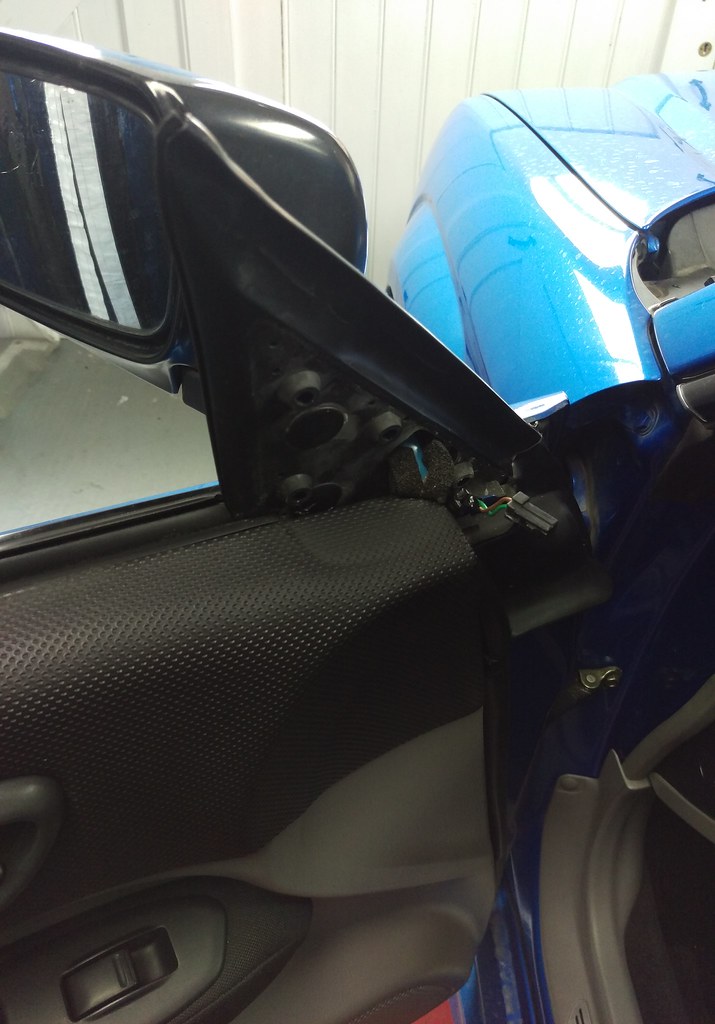
The tweeter and cover also need to be removed. They just pull away from the door.
Now the only thing holding the door card on are the plastic clips around the edges.

I started by getting my fingers in a position to pull the bottom outer edge away from the door until the clips pop out.

Once the clips are all popped loose the door card lifts up and out of the gap for the window glass.

Original speaker, not as bad as the drivers side but still not great.

Speaker and plastic mount removed from the door as one.
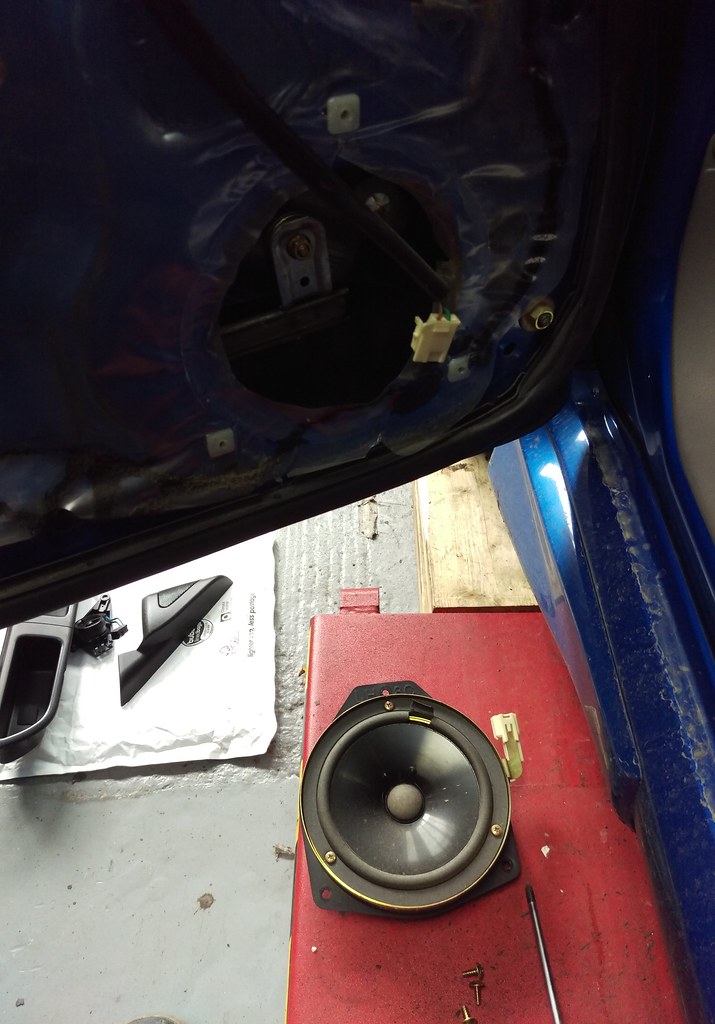
Old and new.
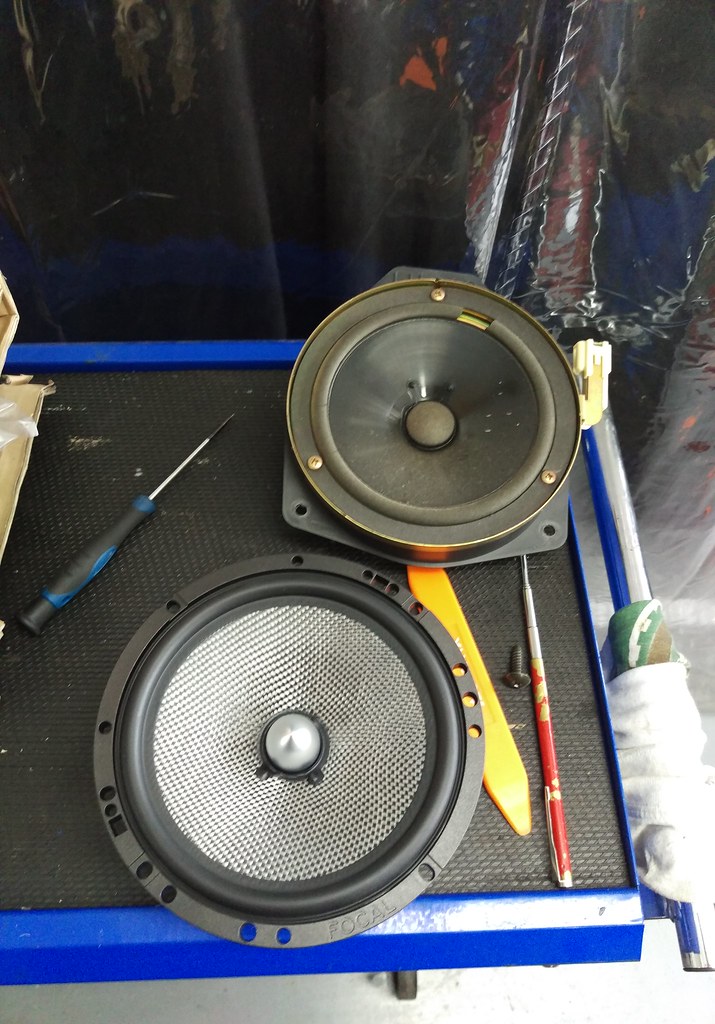
Much bigger magnet than the original speaker. Bigger must be better. 🙂
Marks for the screw holes made on the adapter.

The screws provided with the Focal speakers were very long so no good for the fairly thin adapters. I found some suitable in the various screws I keep for this kind of thing.
Pilot holes drilled to prevent the MDF splitting.

Speaker attached to the adapter now on to some wiring.

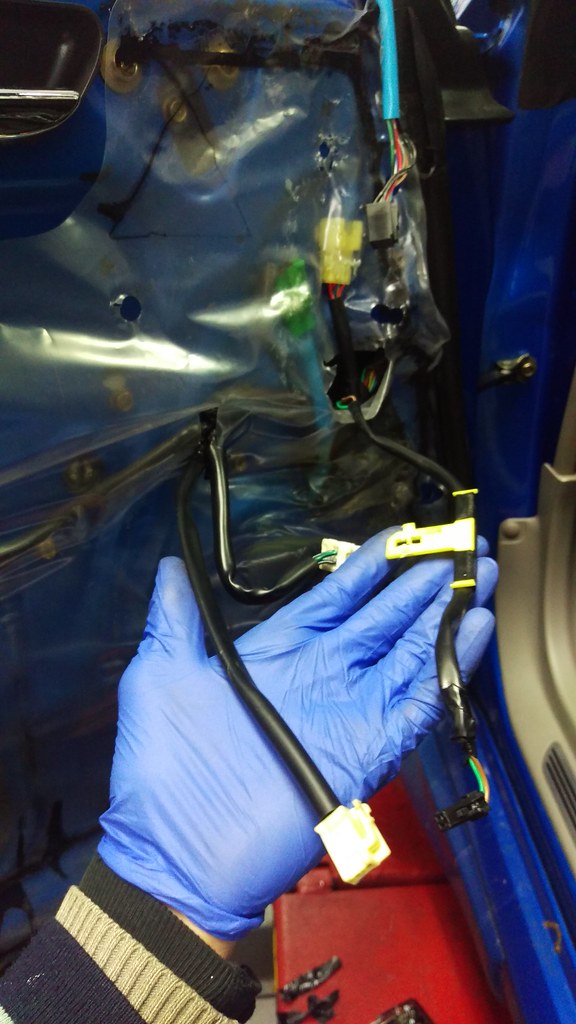
To make things as easy as possible in fitting the new speakers to the car the best thing to do is remove the plug from the original speaker and solder it to the new speaker.
Removed from the old and on to the new. Making sure the polarity is correct.
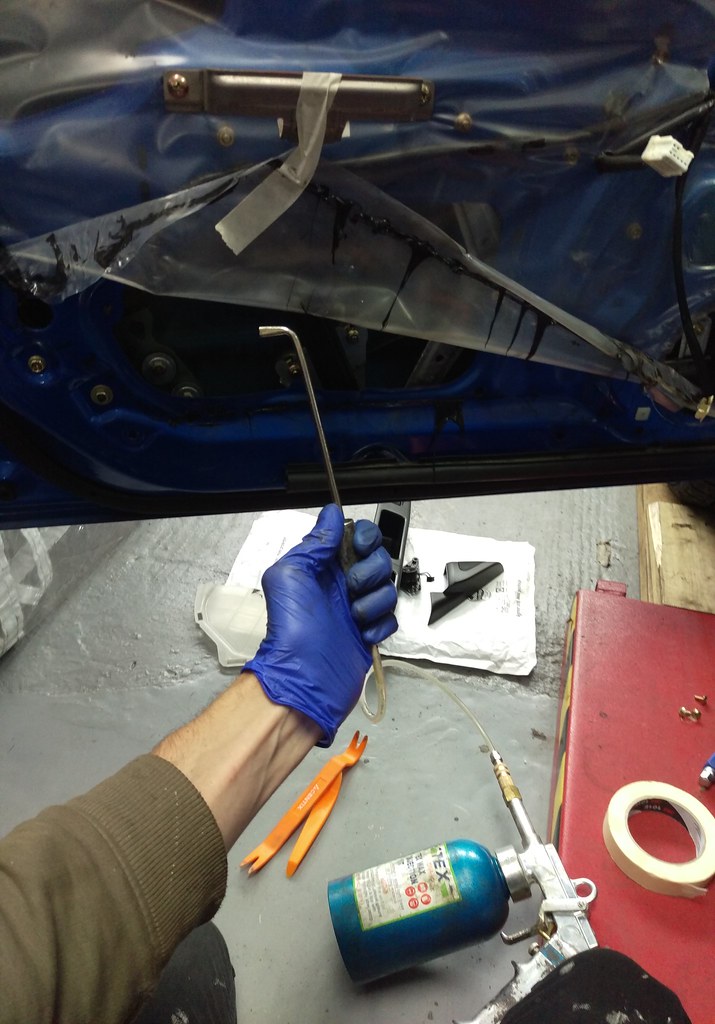
Now it can go back on the door but before I did that I took the opportunity to spray some wax in the bottom of the door as that’s a common place for all cars to collect moisture and dirt then rust from the inside out.
Mil-spec clear rustproofing wax thinned slightly with some white spirit.

Plastic liner pulled up out of the way.

Fan sprayer.
All awkward areas covered.


Back to the speaker fitting.
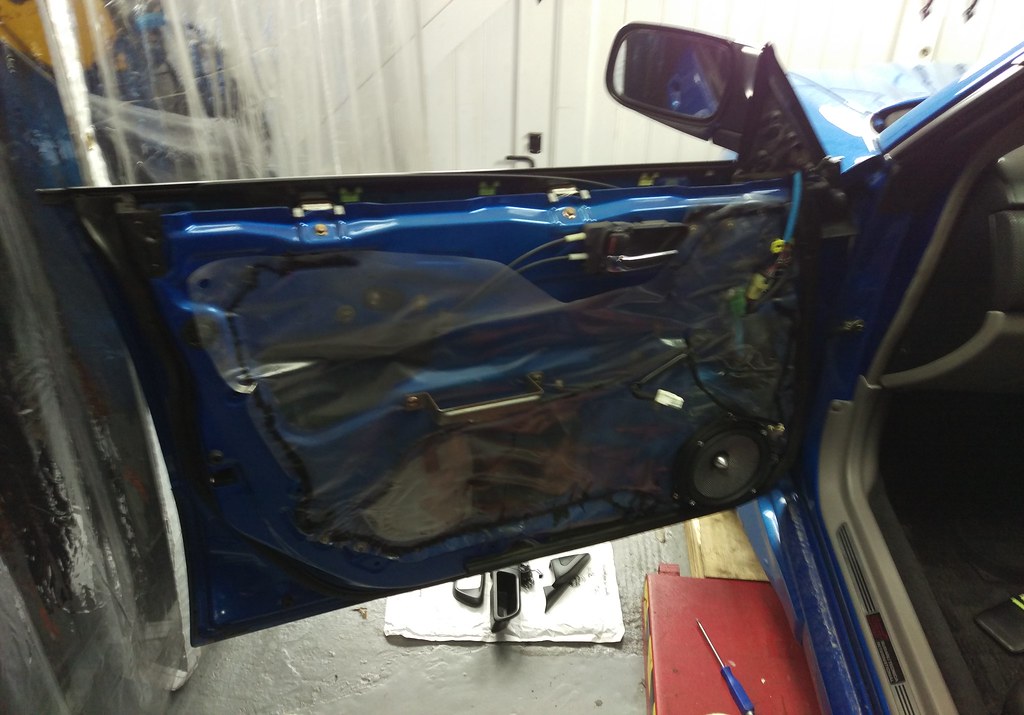

I ran out of time for fitting the tweeters and crossovers but with just this main speaker replaced it was a great improvement for a few weeks until I got round to the next bit.
Focal tweeters and crossovers.

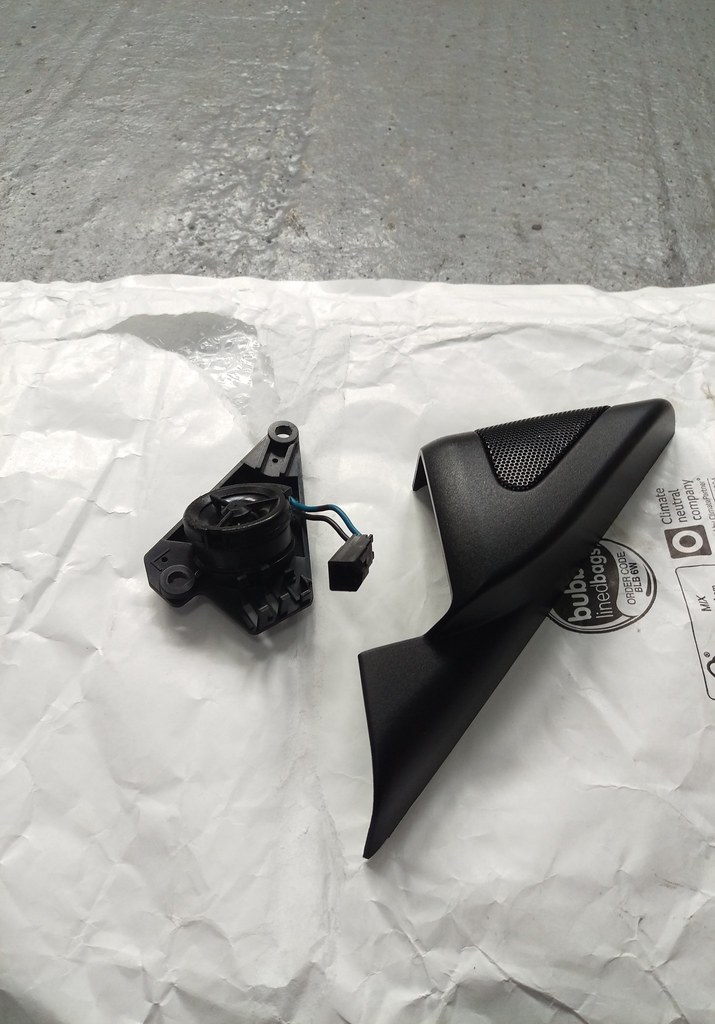
The original tweeter on it’s mount.
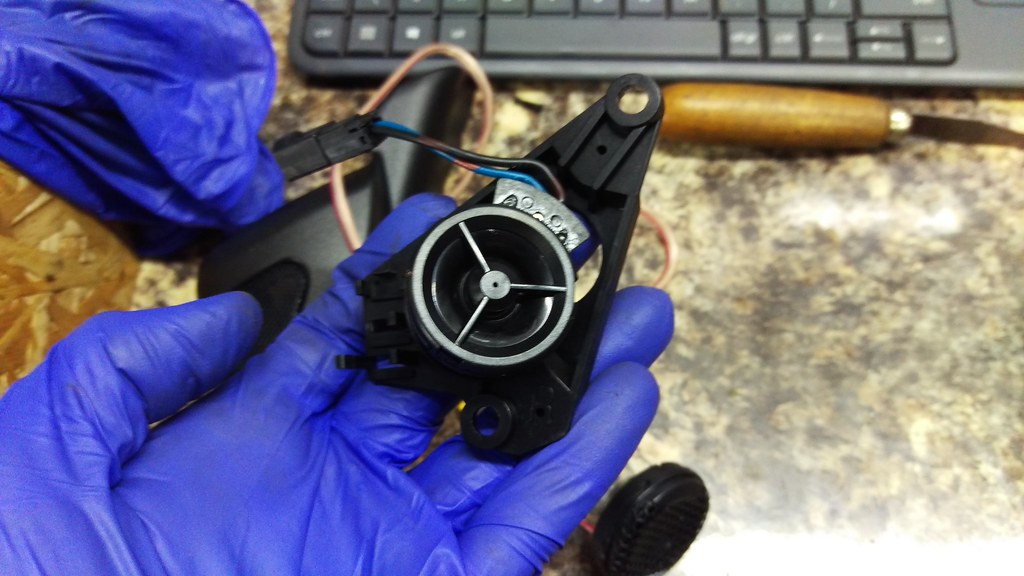
Screw removed form the rear of the tweeter.
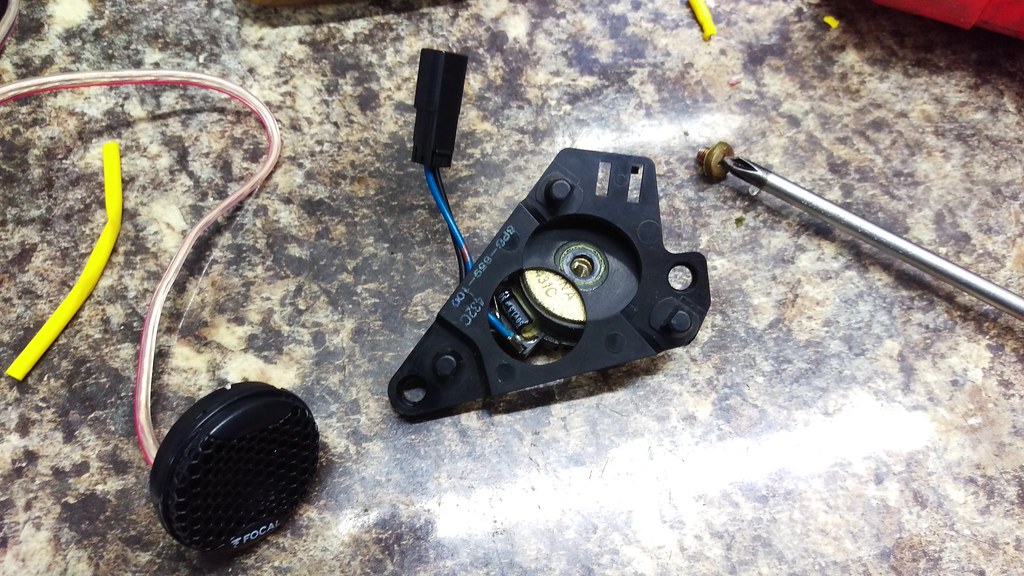
As with the other speakers, I removed the plug from the original tweeter so it could be soldered to the Focal one.


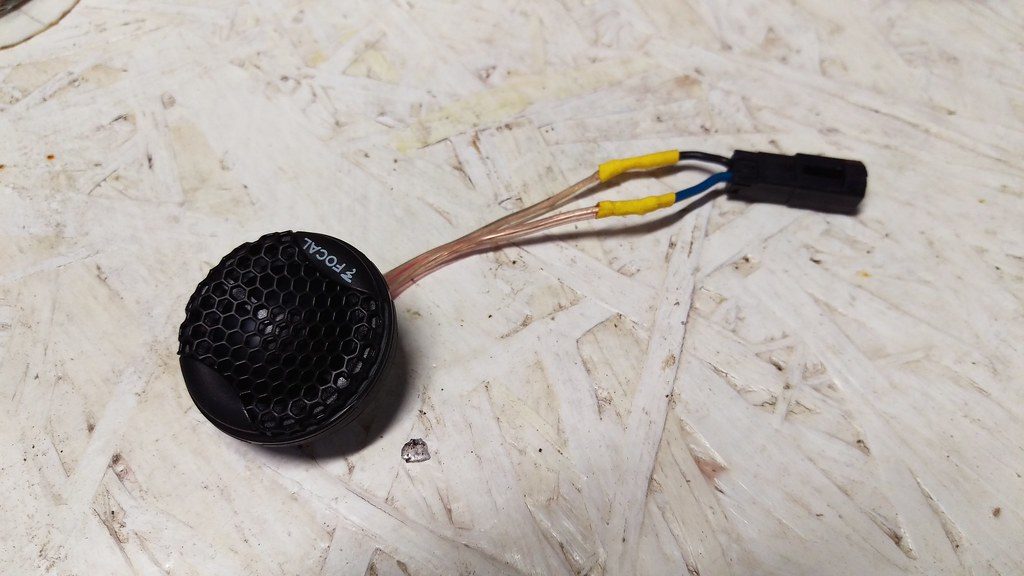
No thread in the rear of the Focal tweeter so the only way to attach them to the mount was to glue them. Glued and taped while the glue sets.
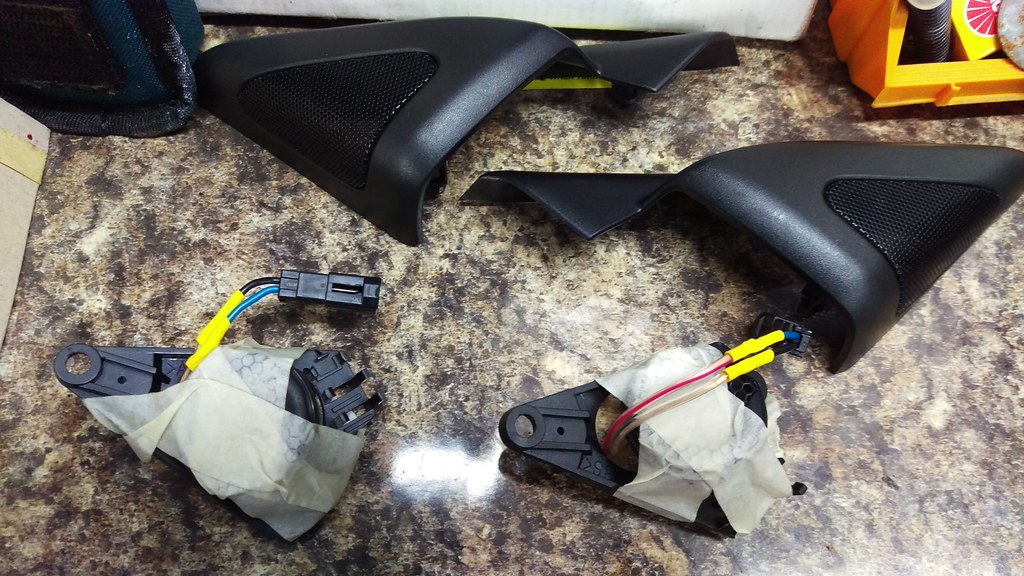

Back on the door.

The cover back on which just fits over the slightly larger Focal tweeter.
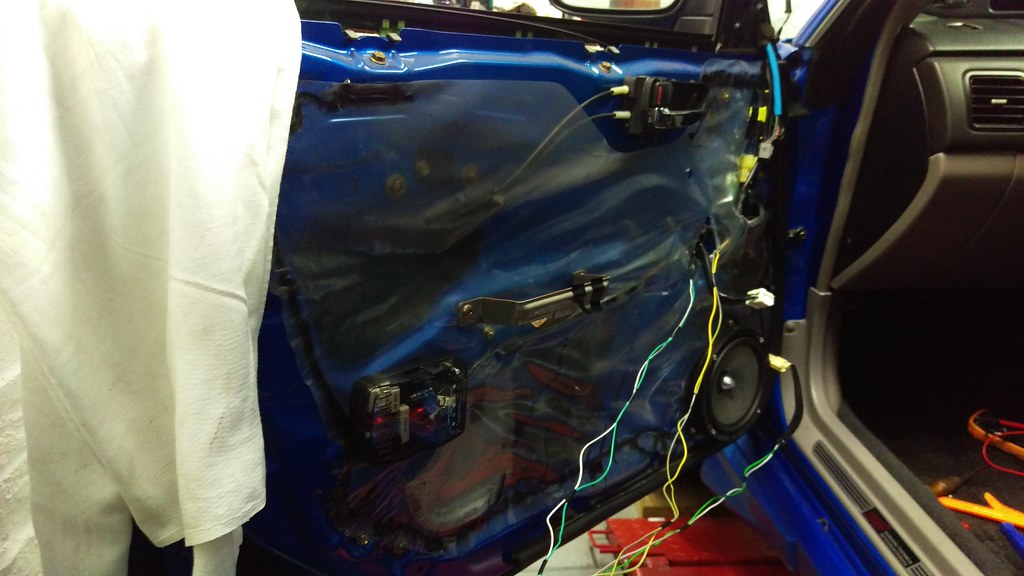
Now everything off again to fit the crossovers.

Speaker wires located so I could lengthen them to and from the crossover.
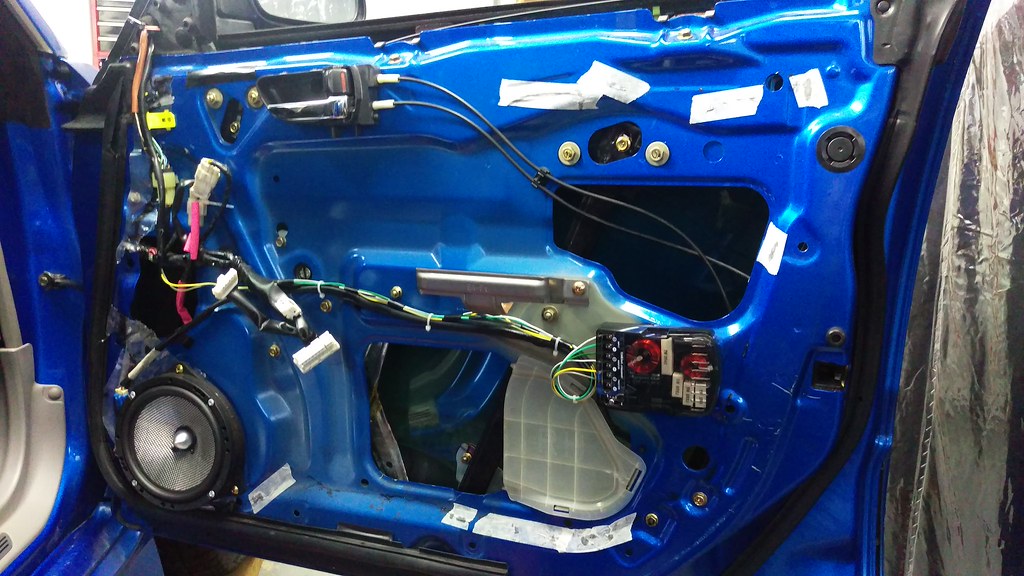
A perfect spot for the crossover to live.

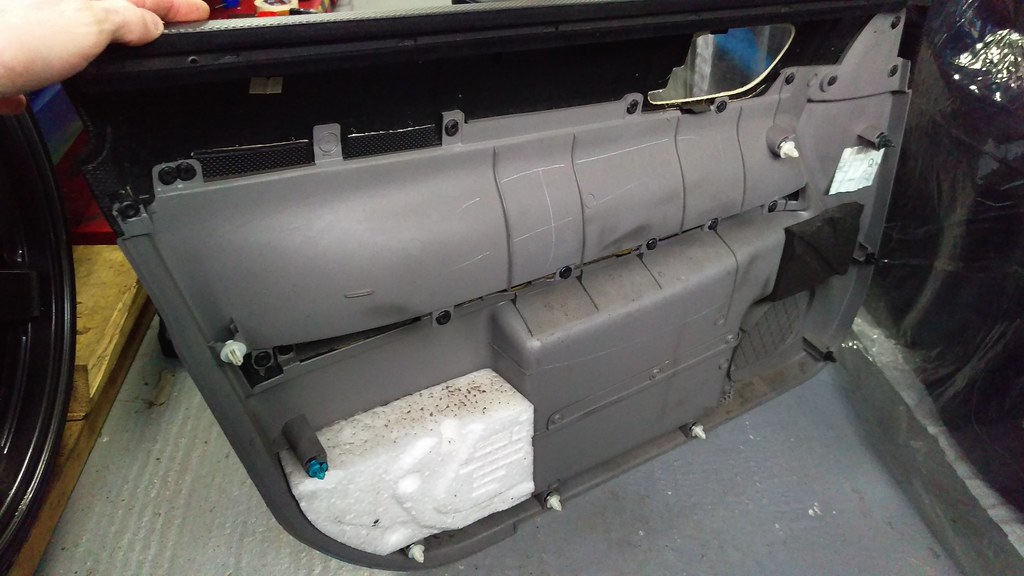
There’s a very useful little gap in the door card just above the white block of polystyrene. (The opposite door card but you get the idea.)
Wires lengthened and paired. 1 pair into the crossover and 2 pairs out for the tweeter and mid/bass.

Cut to length and tinned with a bit of solder.
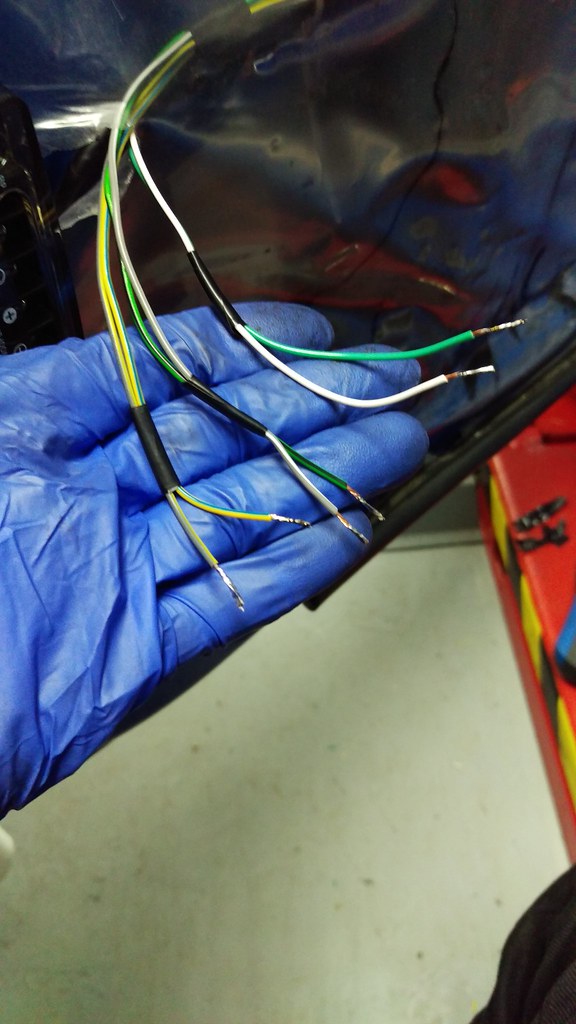

Wiring done.
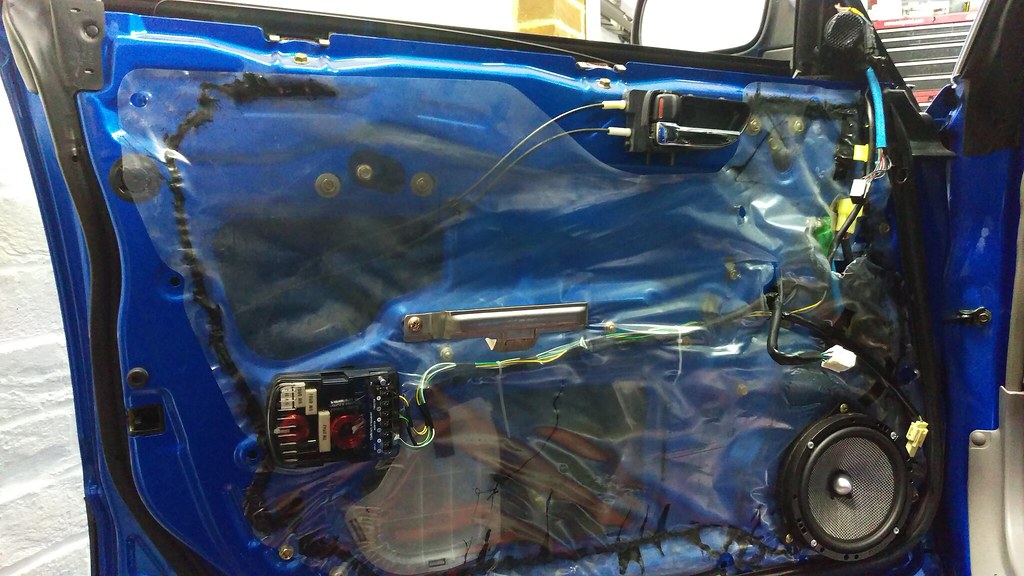
Same the other side.
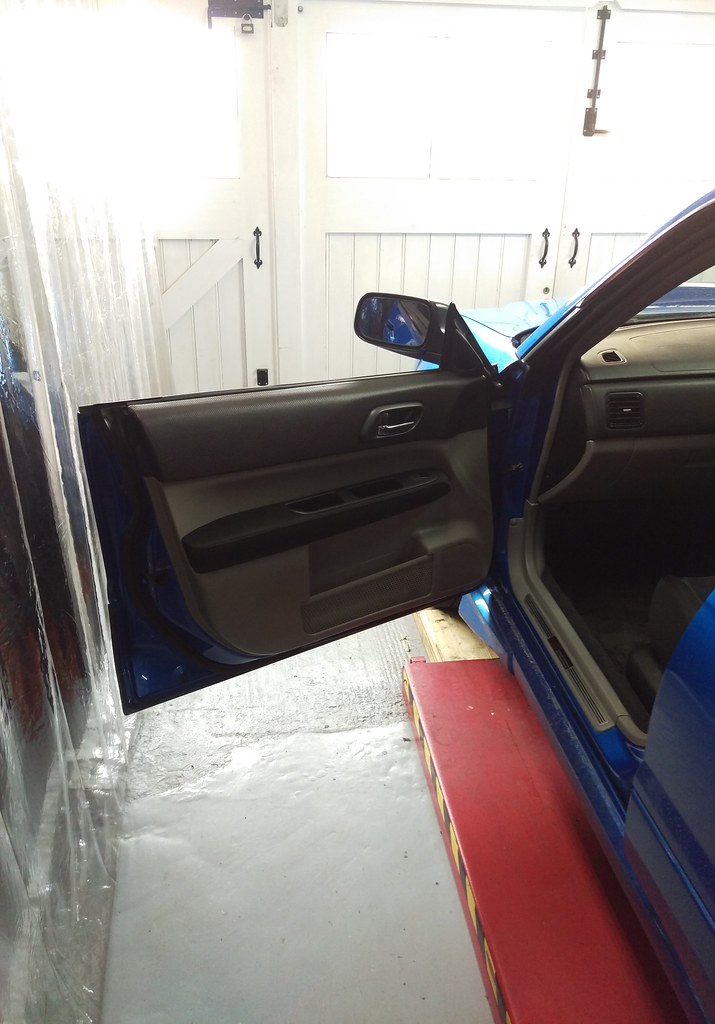
With the door cards back on everything looks factory standard but sounds way better! 🙂