
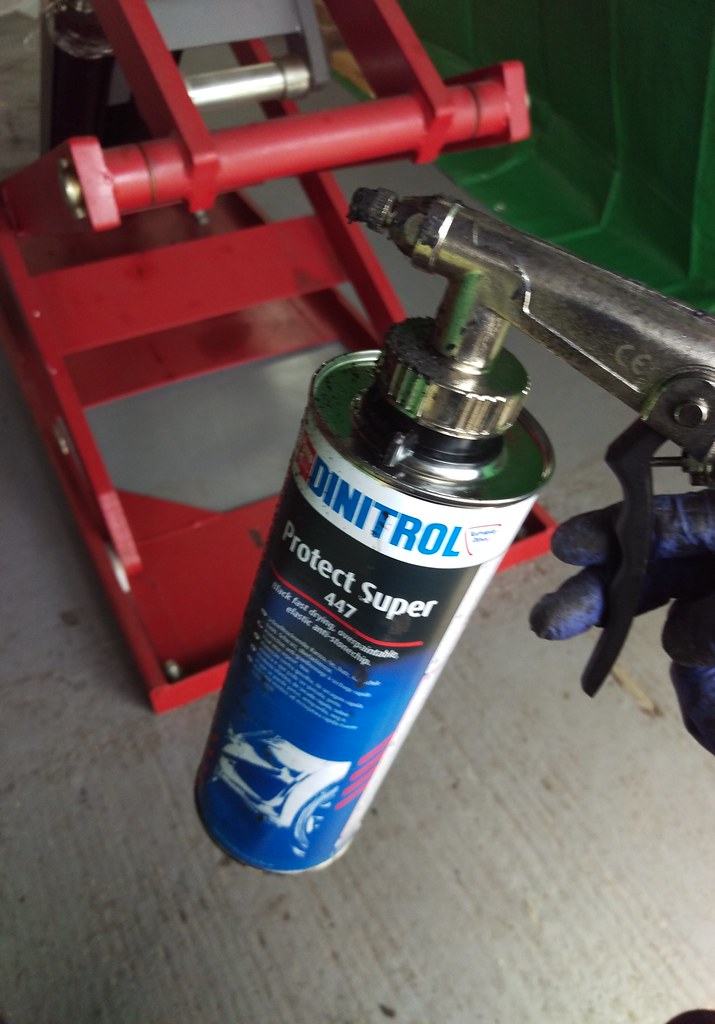
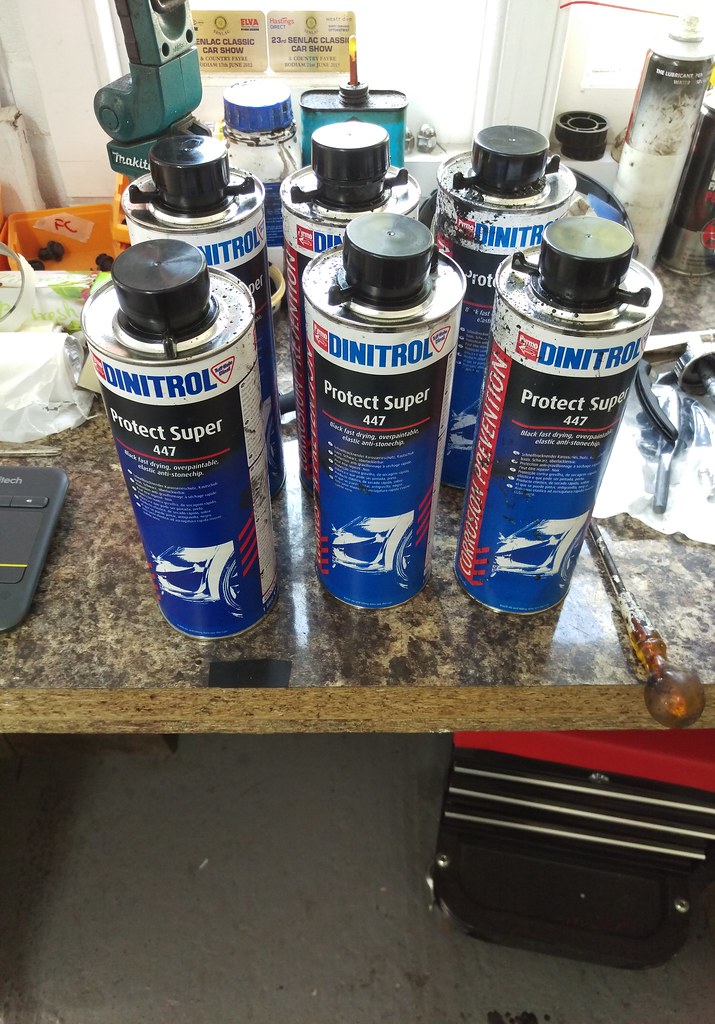
So the underside of the Forester has been cleaned, stripped of bits of trim and some suspension and anything I didn’t remove that I don’t want to spray has been masked. It’s finally time to start spraying the Dinitrol Protect Super 447 Anti Stonechip layer.
But before I got started I took some pictures of the condition of the underside as a record before the coating covers everything.
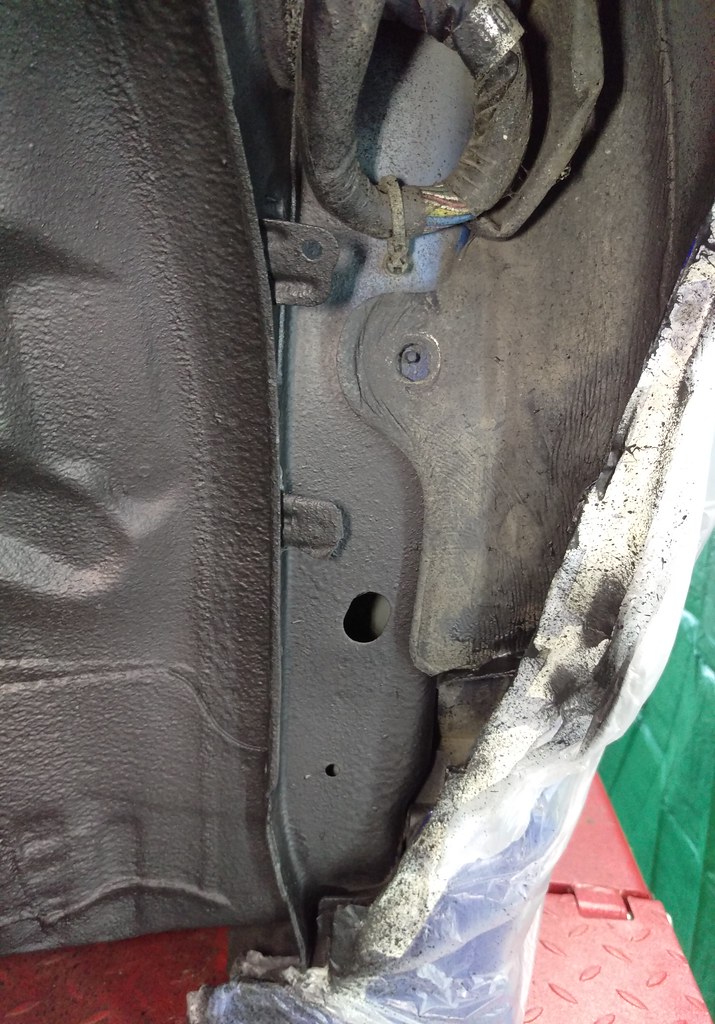
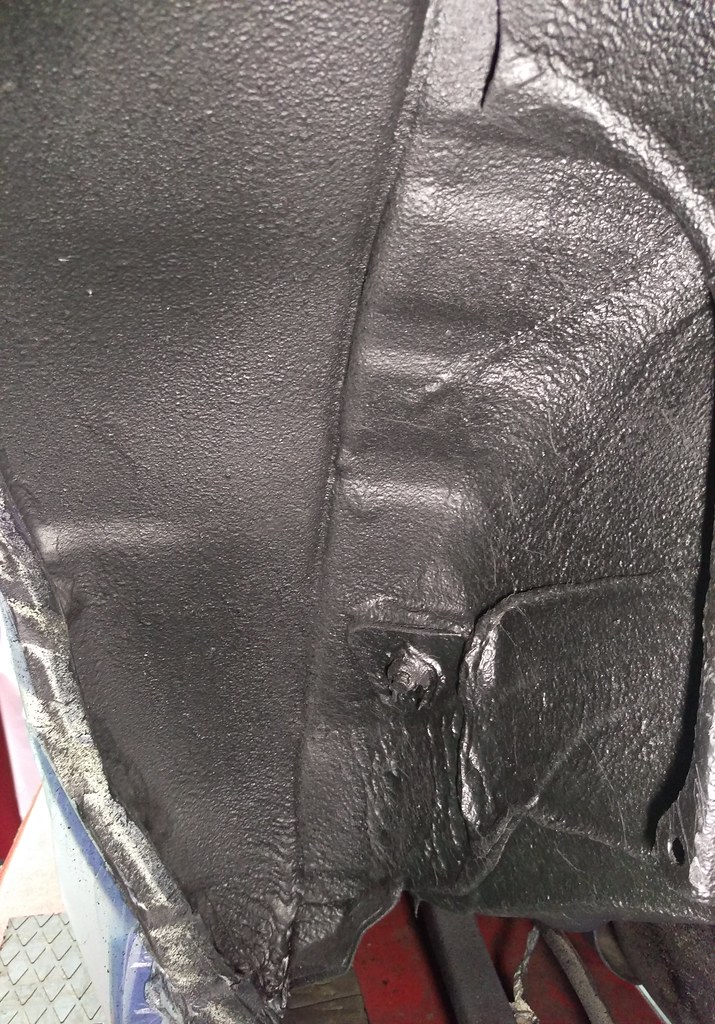
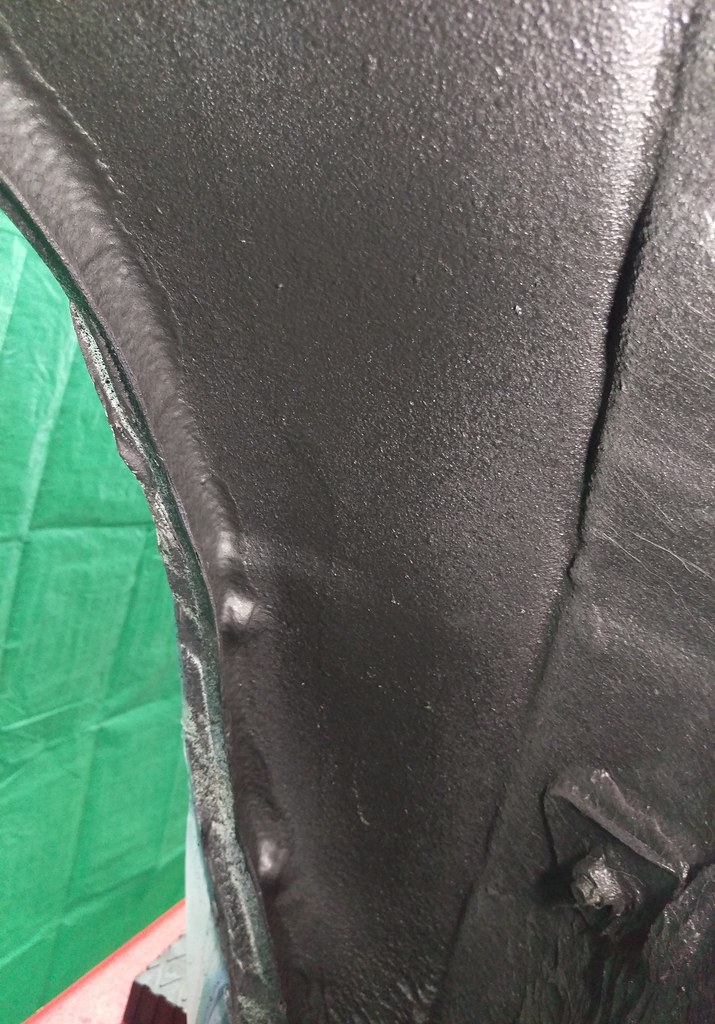
Left rear wheel arch. Nice and clean not even the beginnings of any rust.
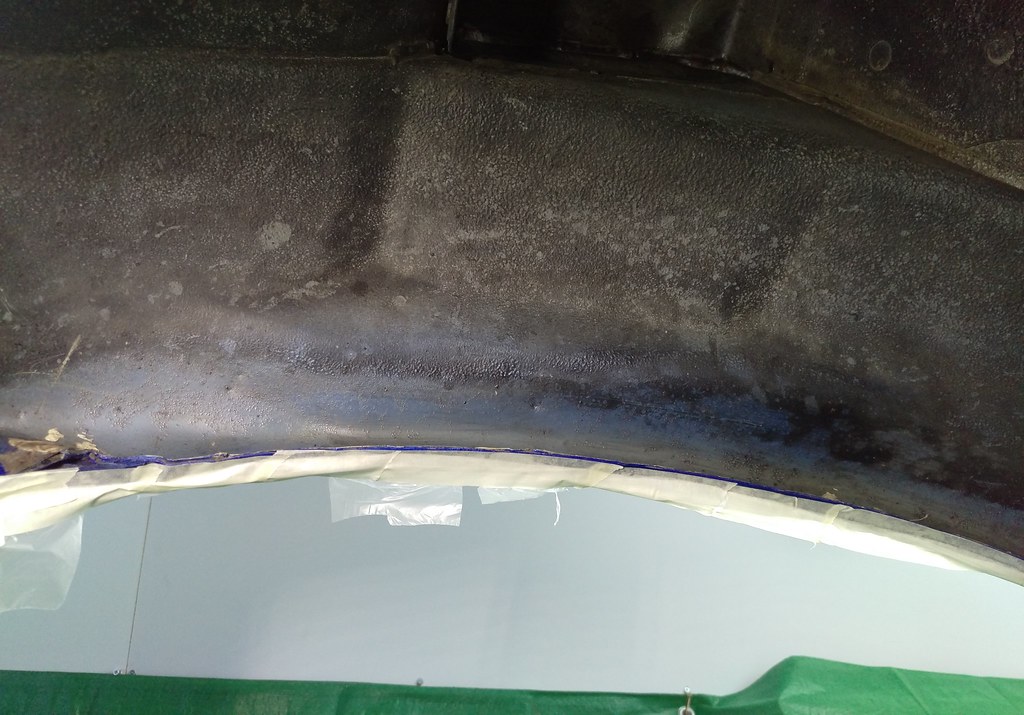
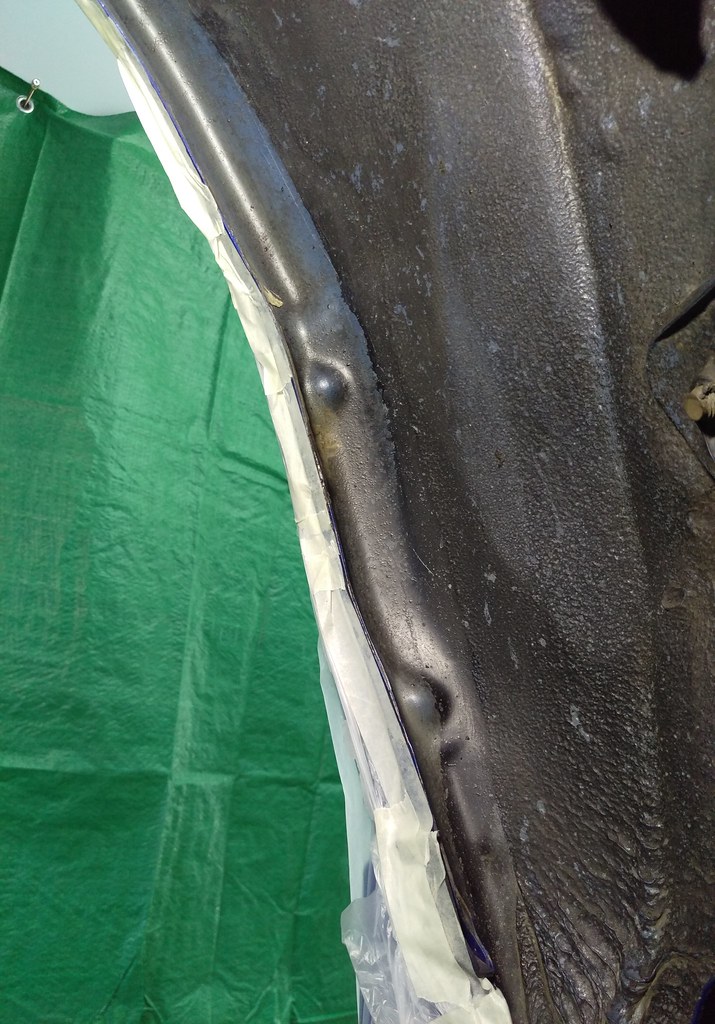

Right rear wheel arch. Perfect.

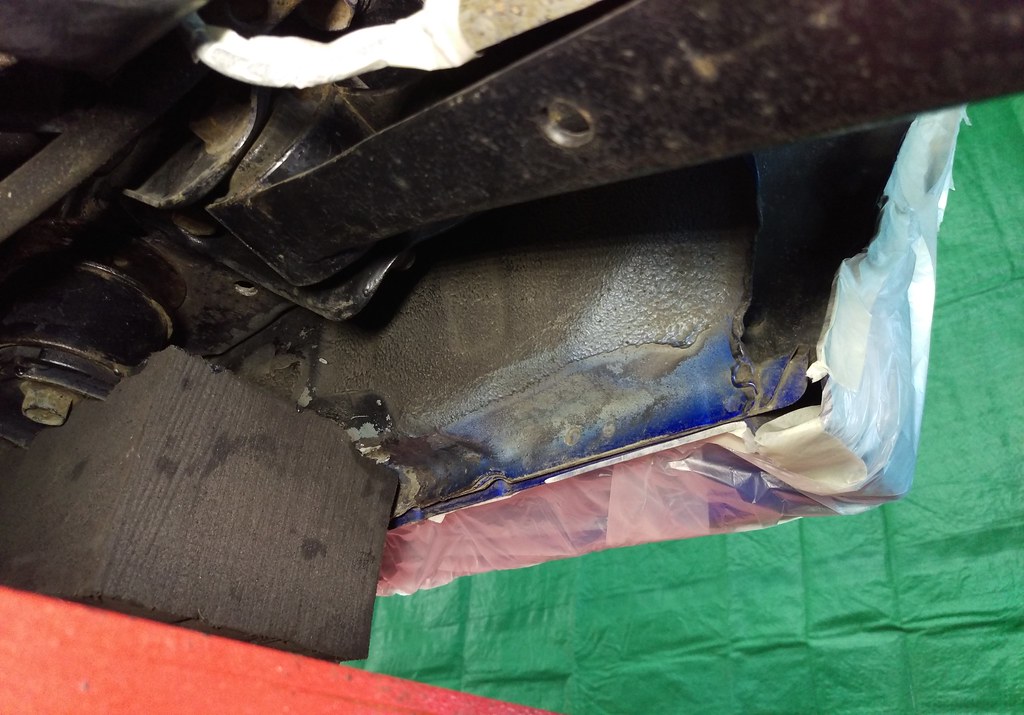
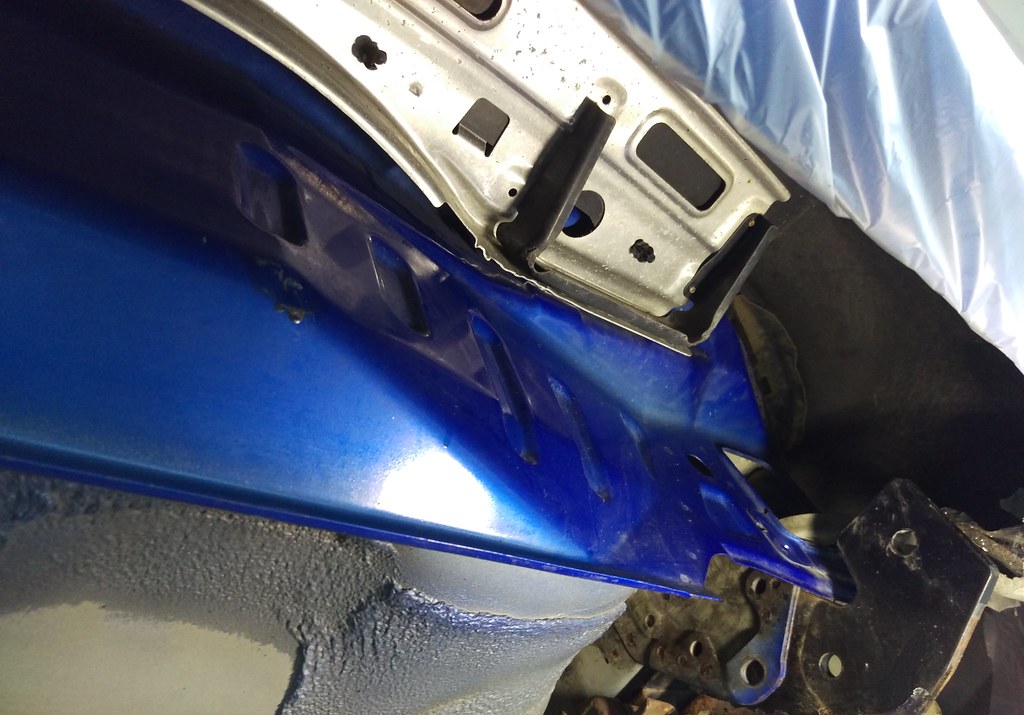
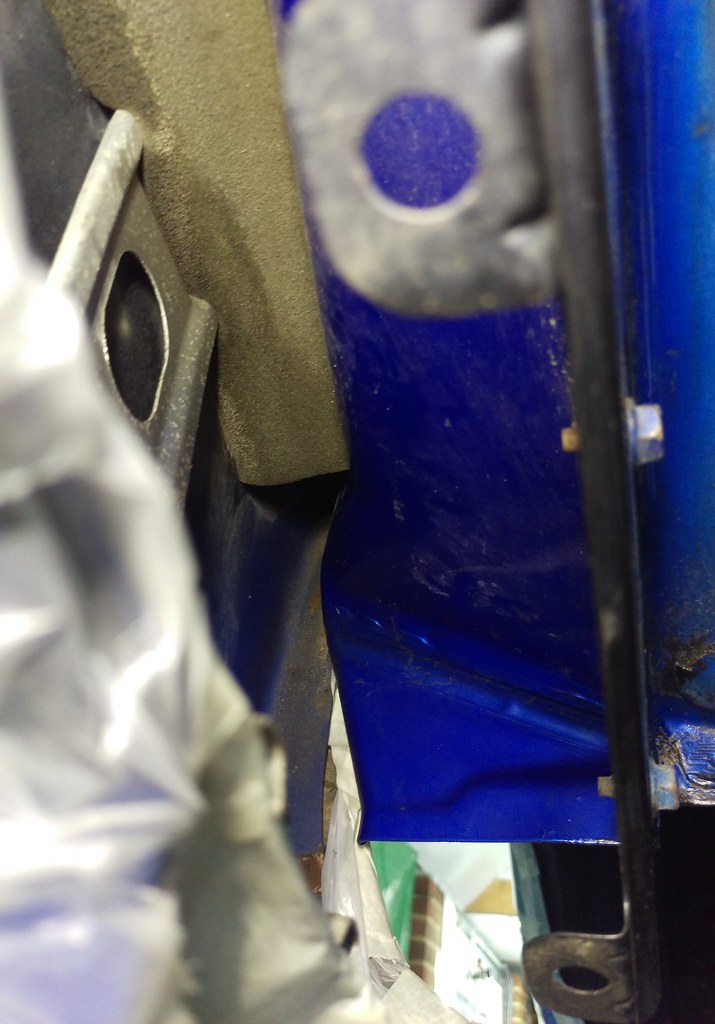
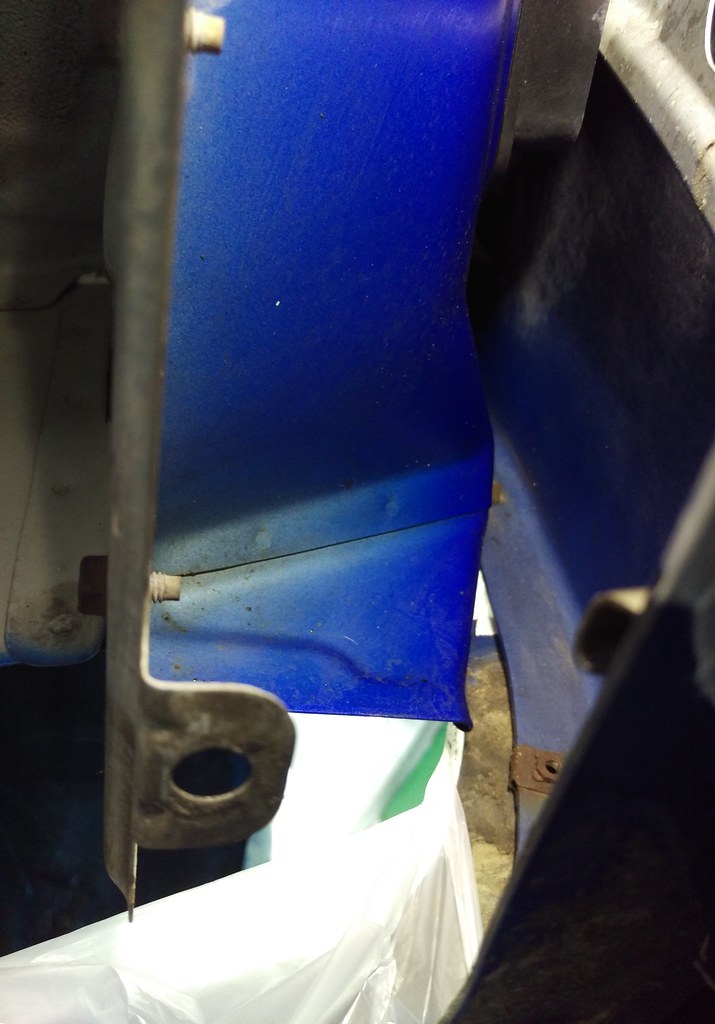
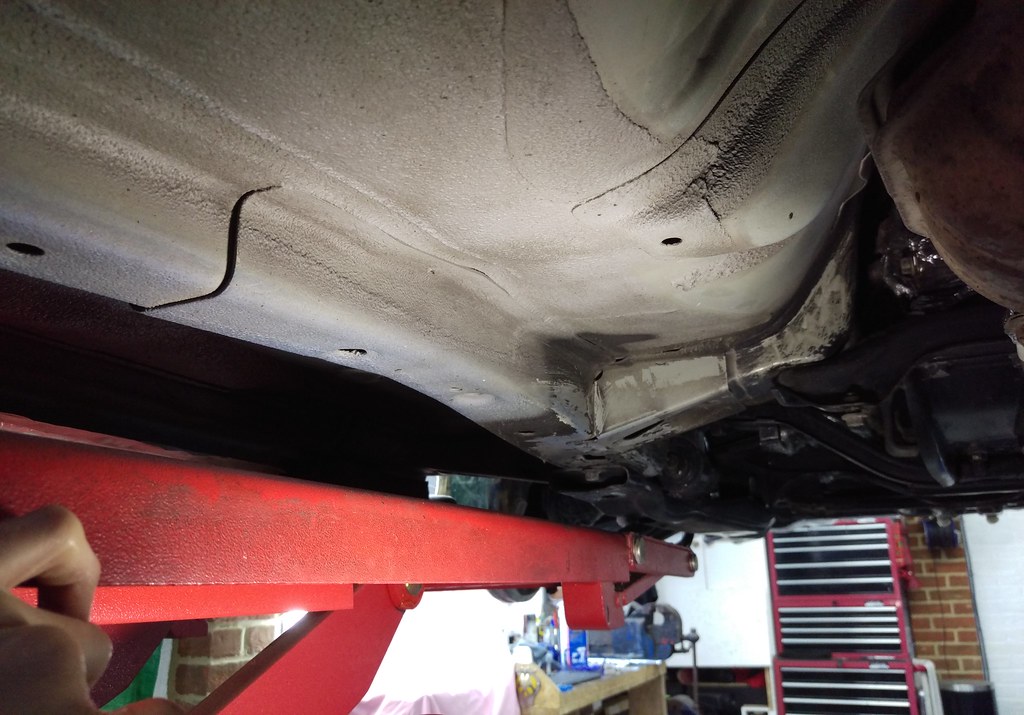
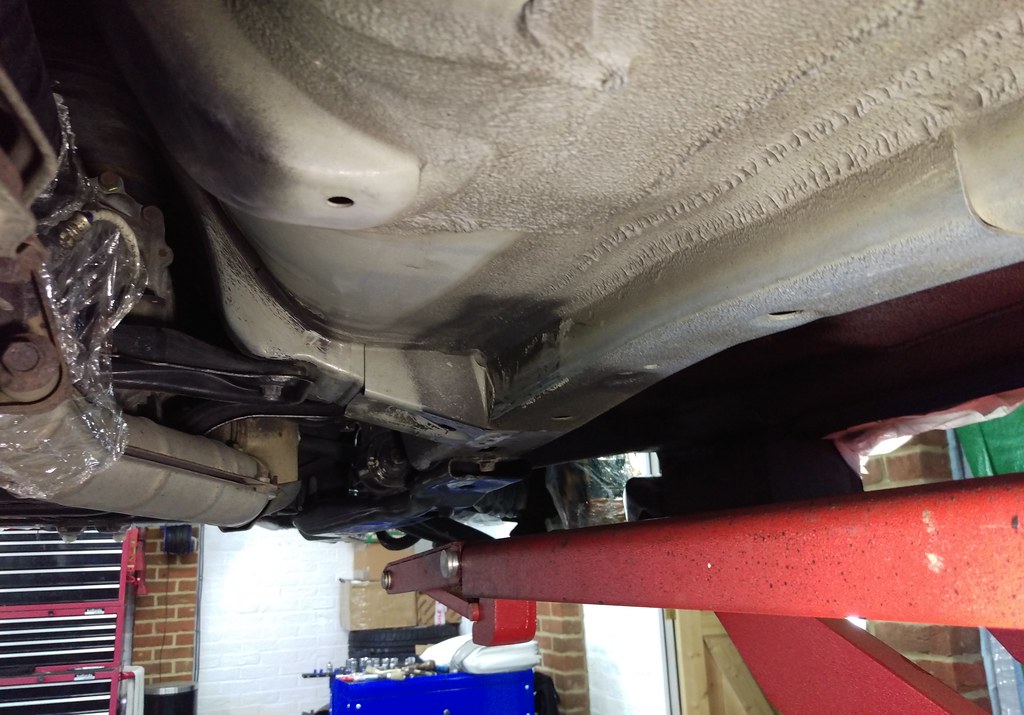
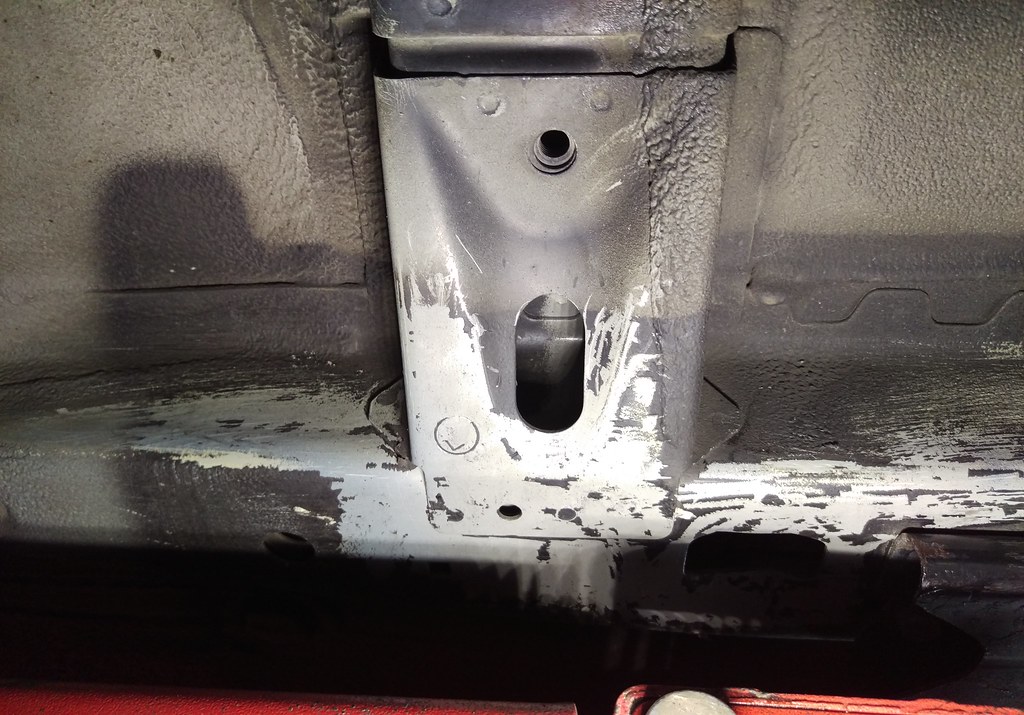
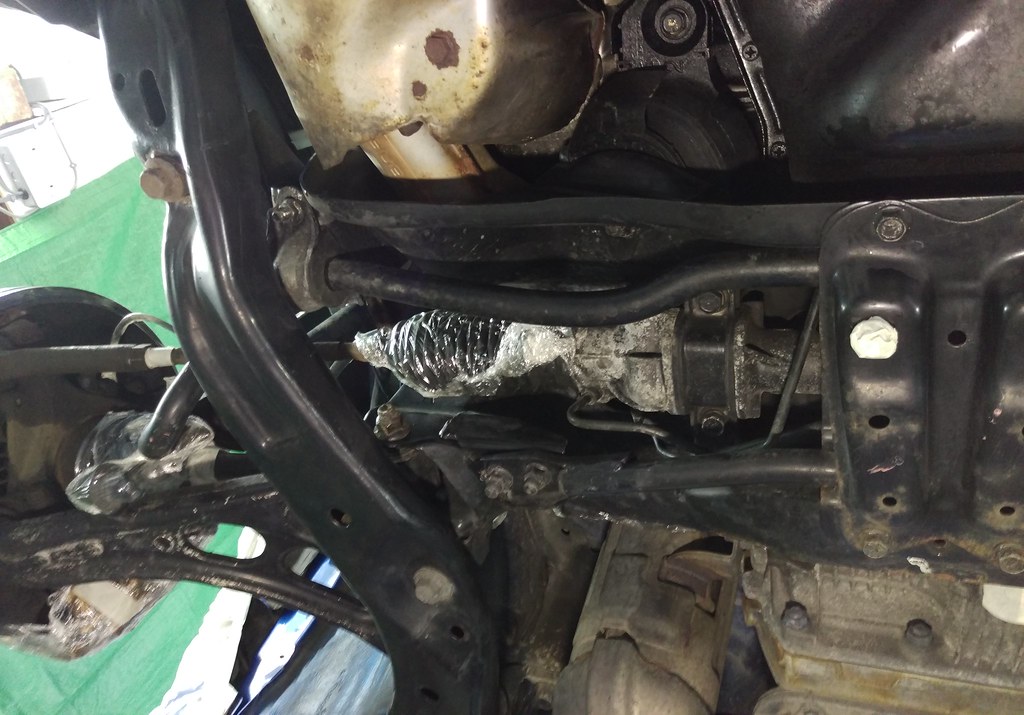
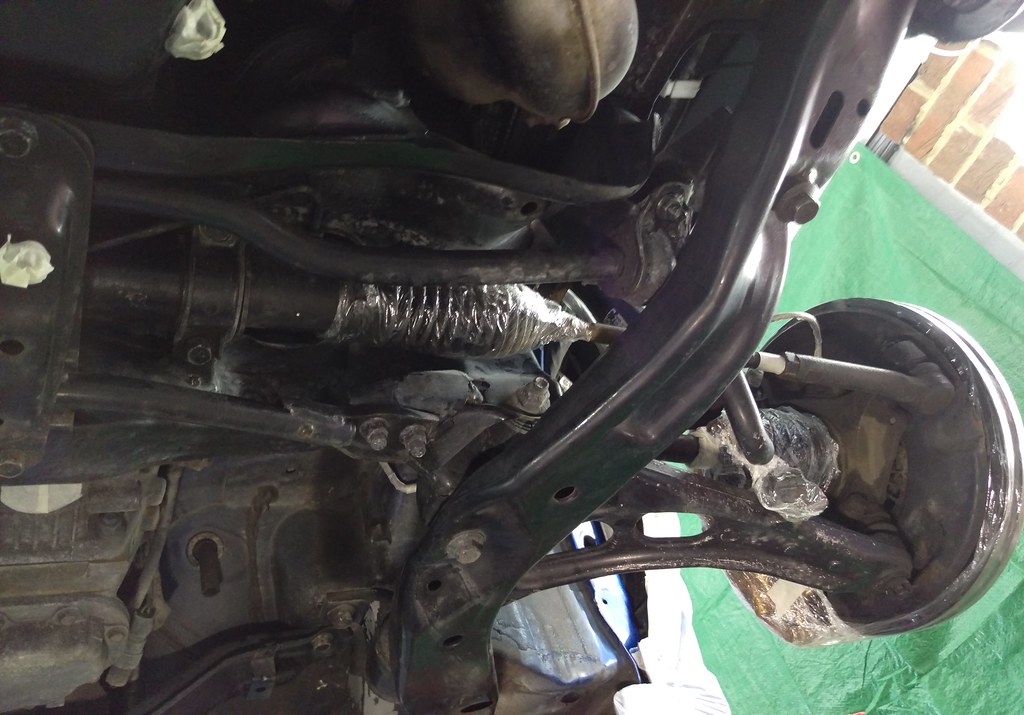
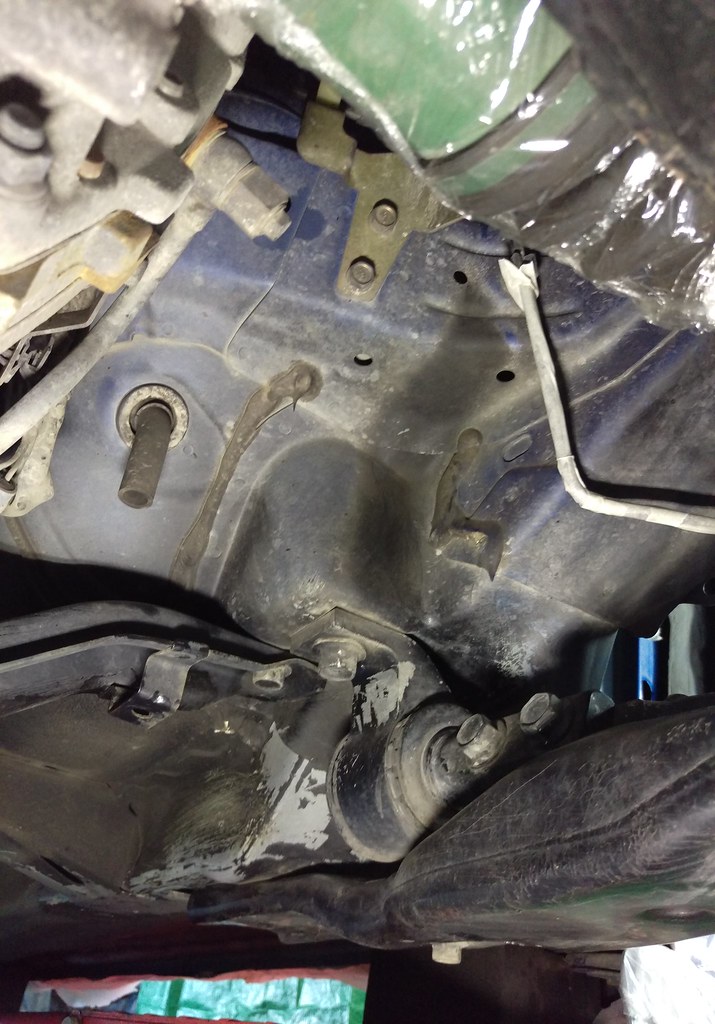
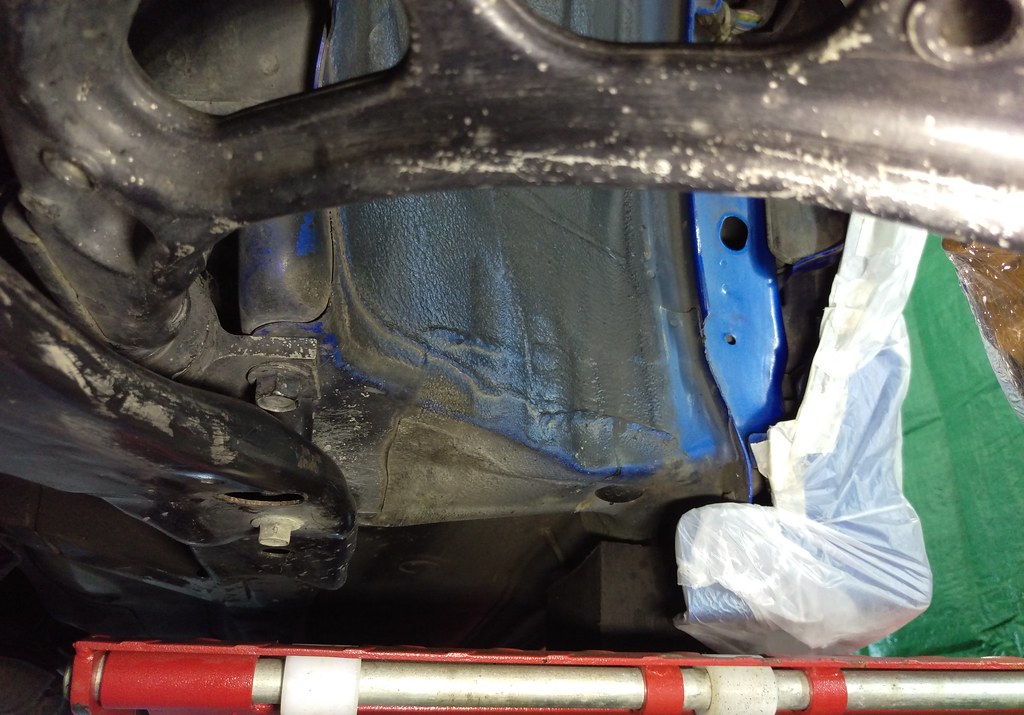
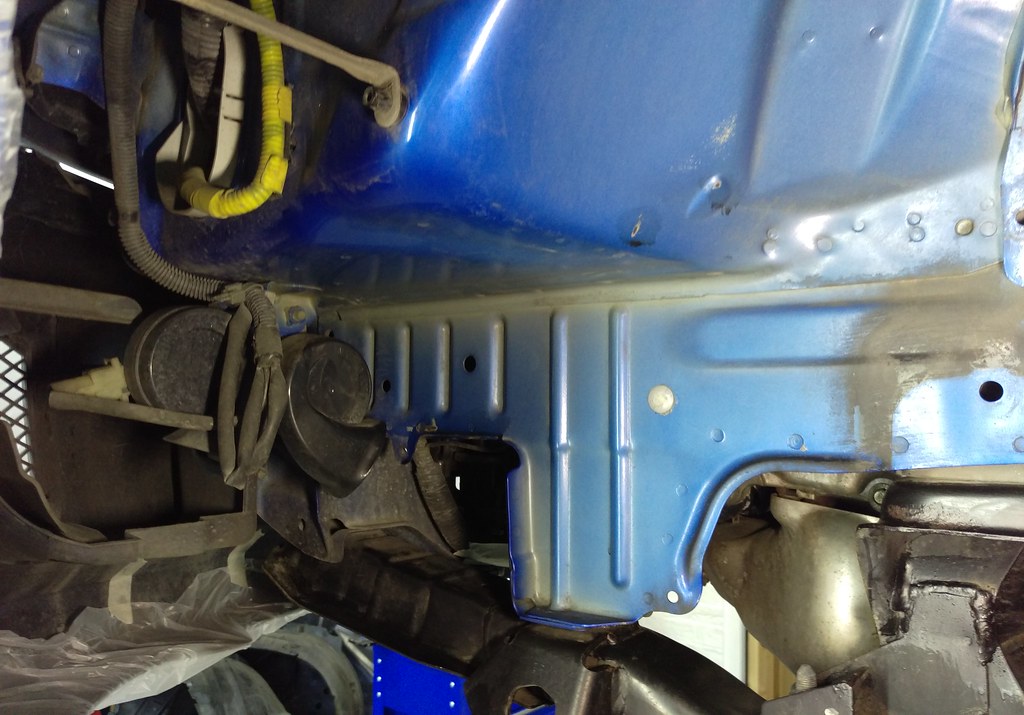
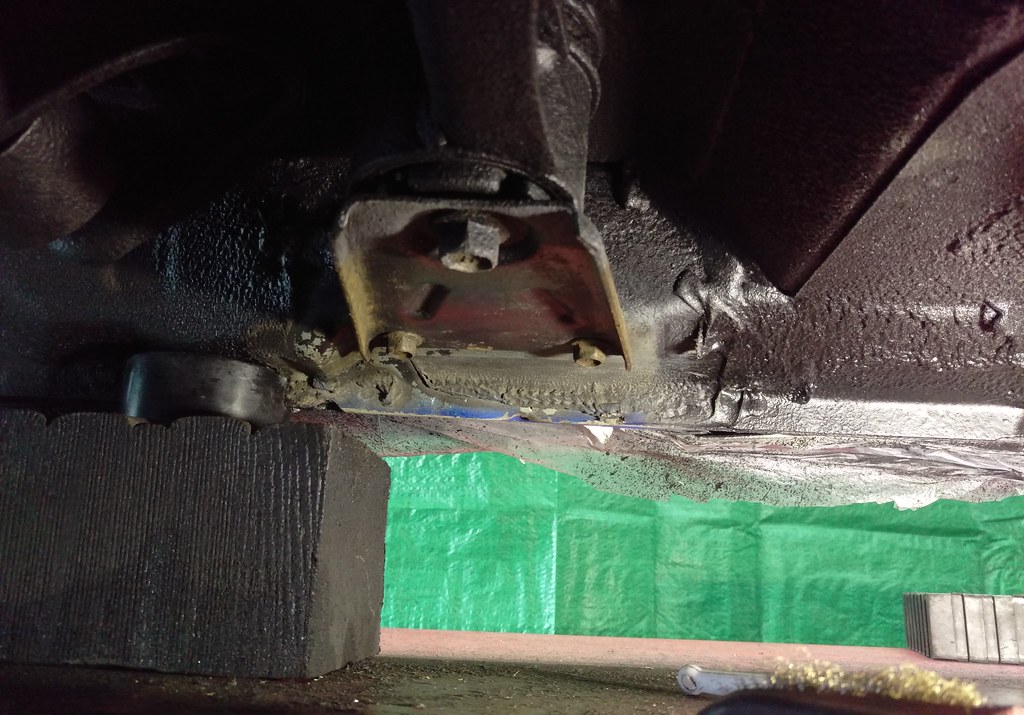
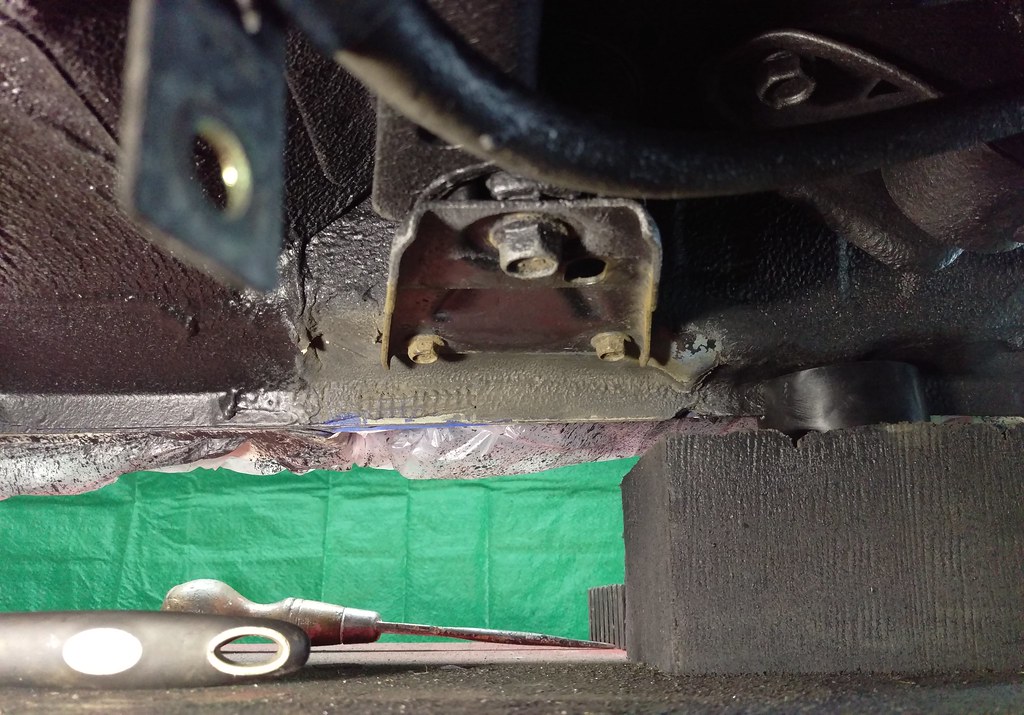
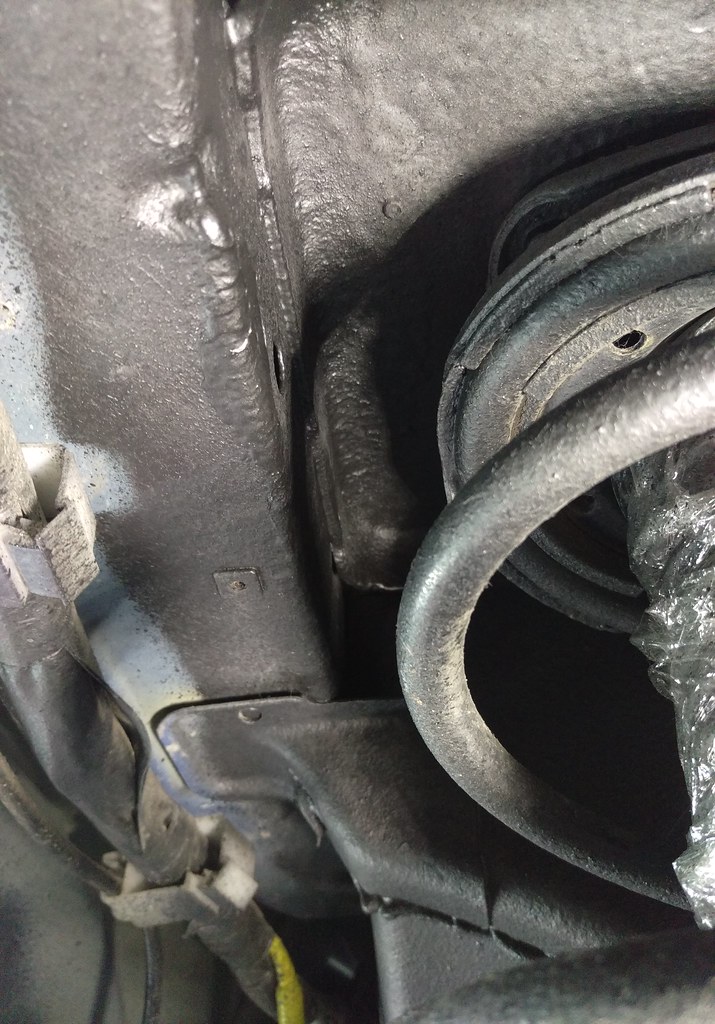
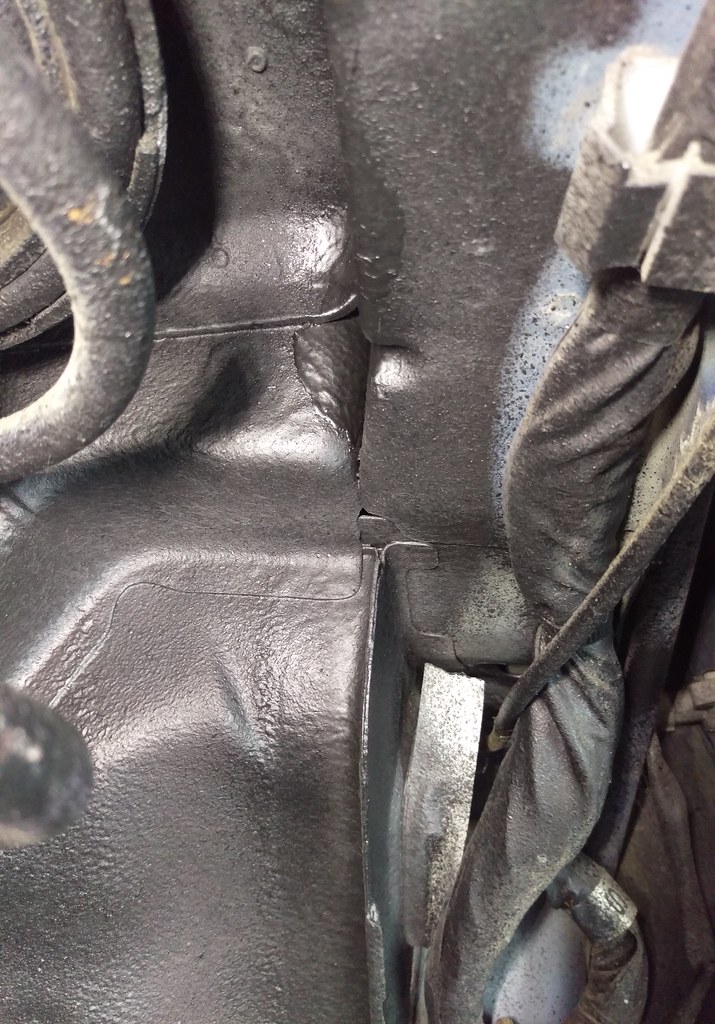
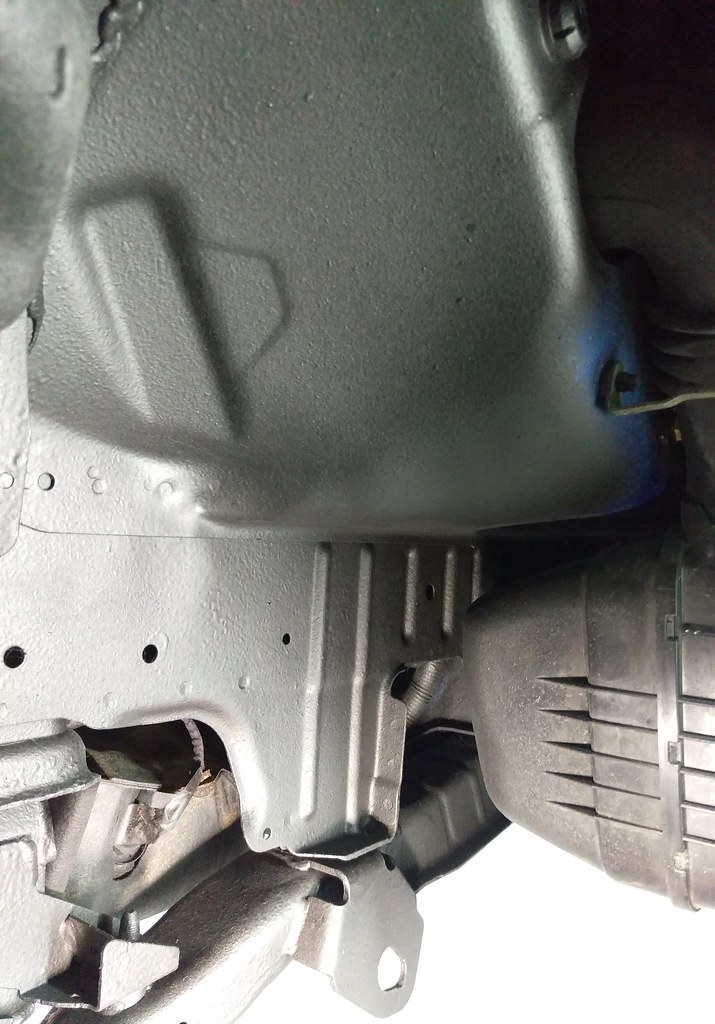
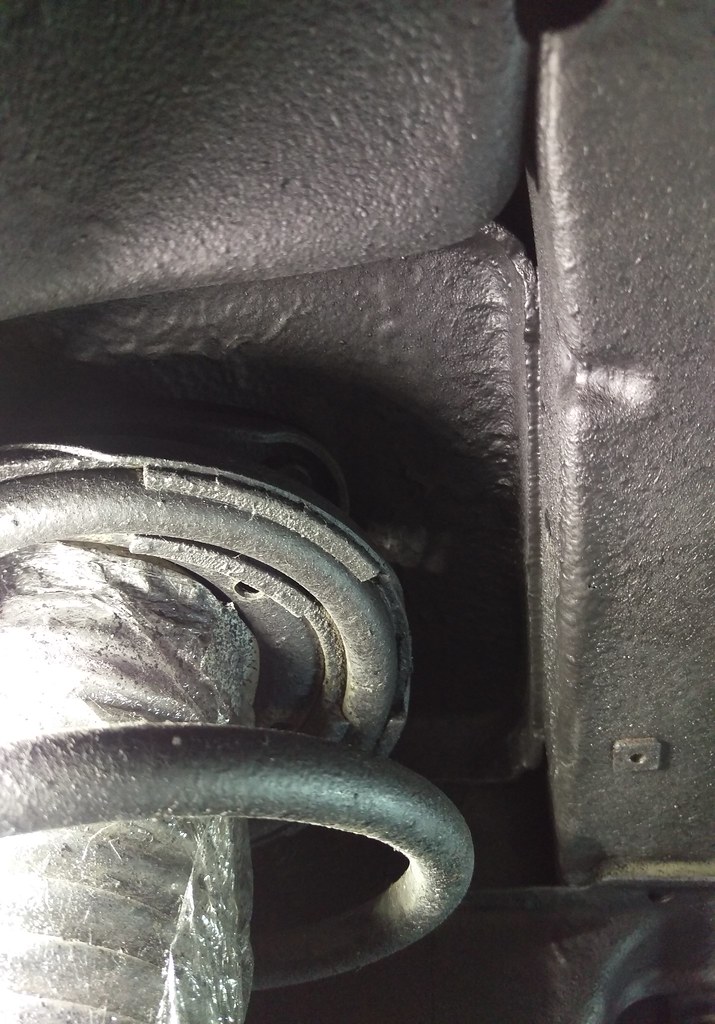
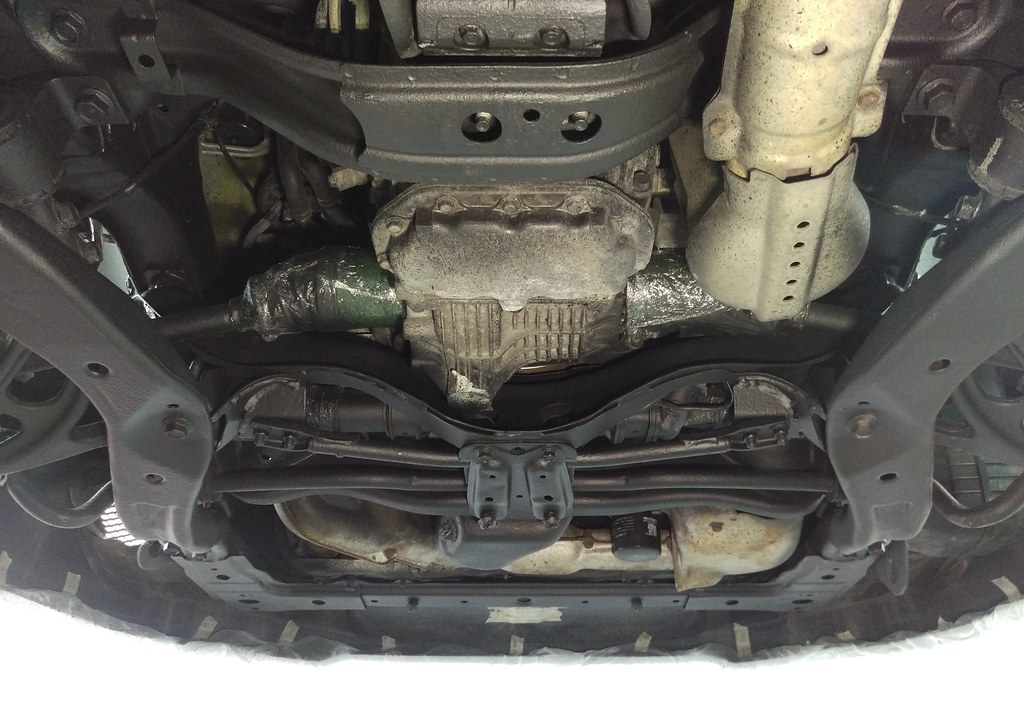
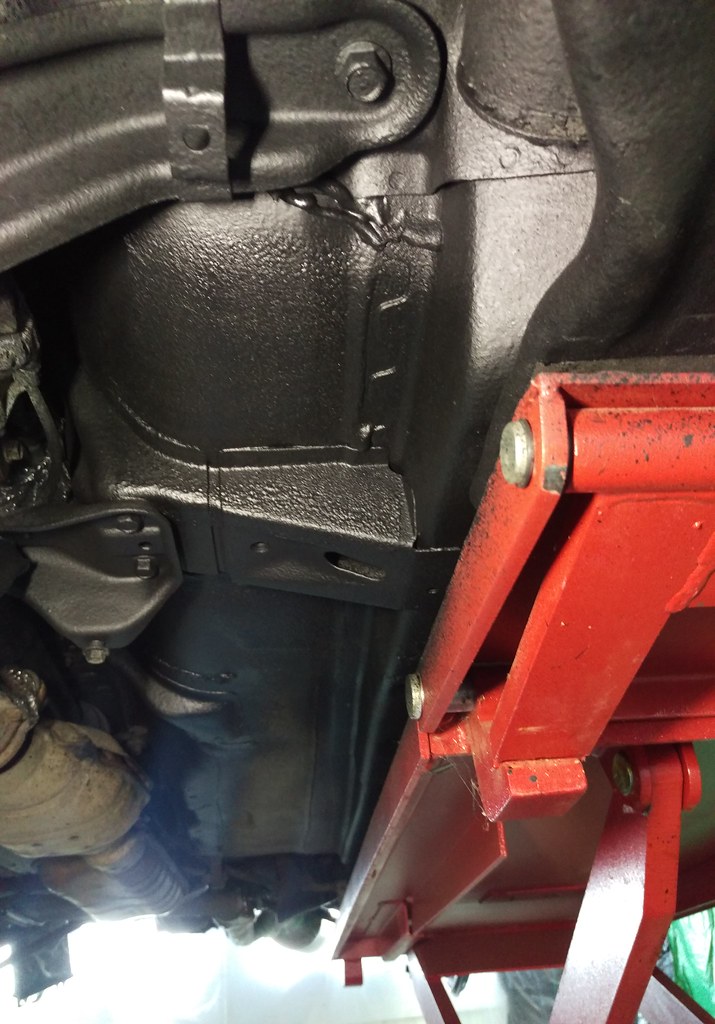
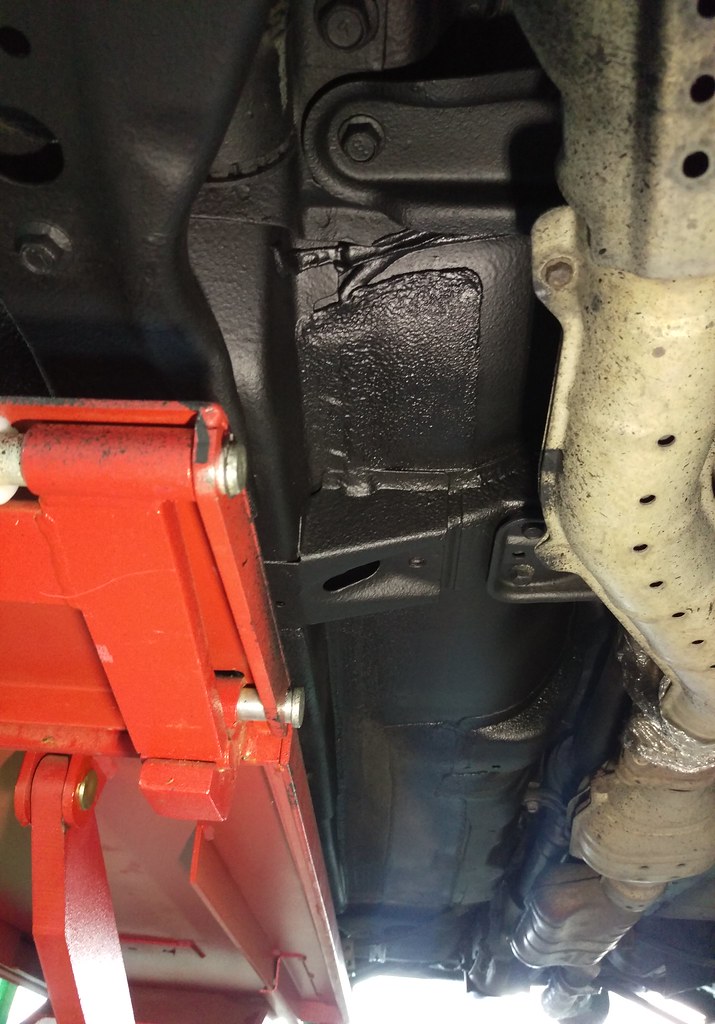
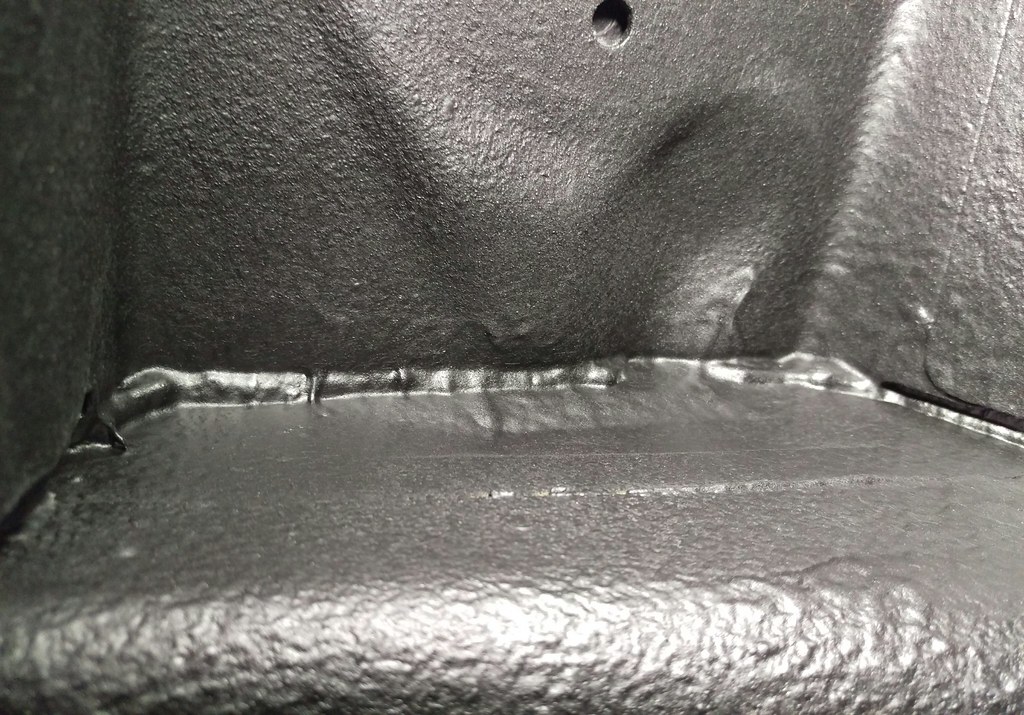
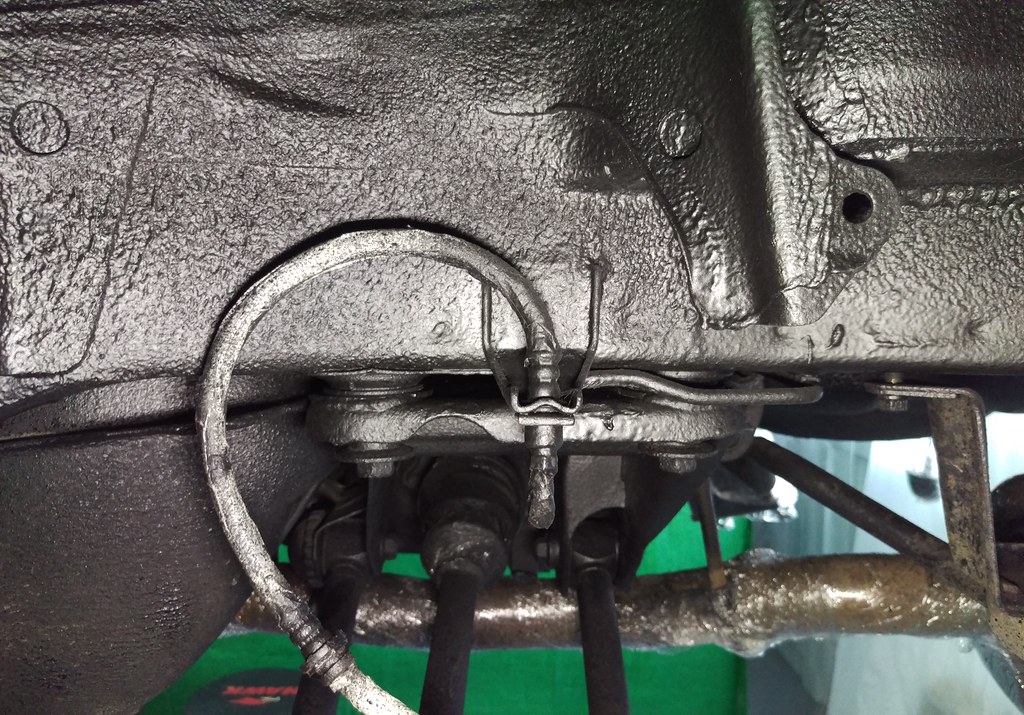
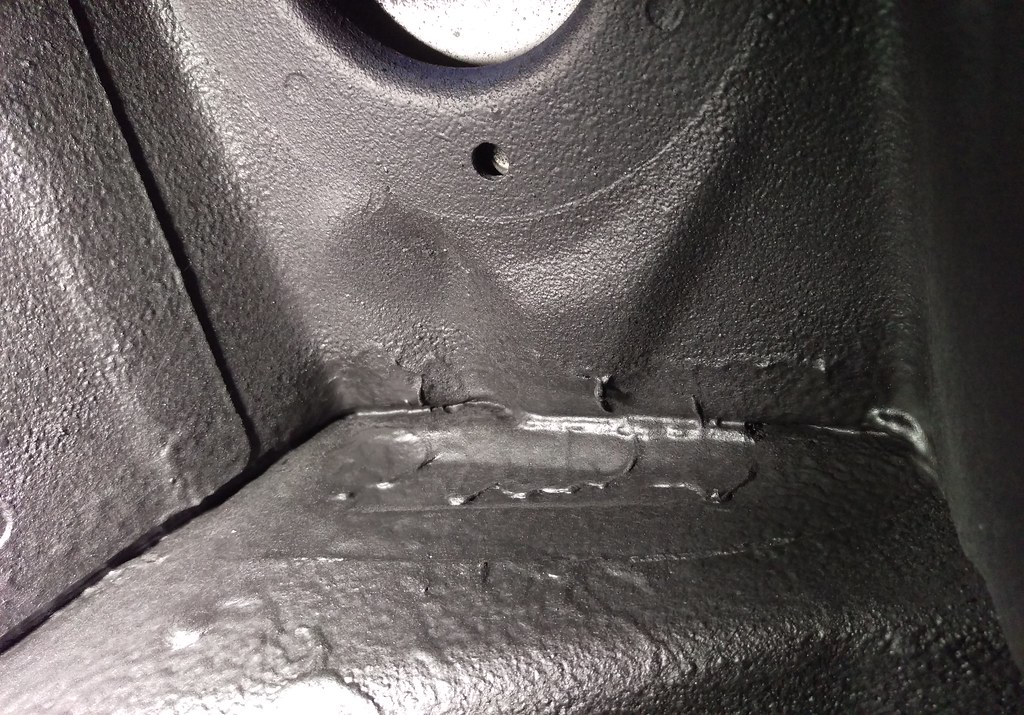
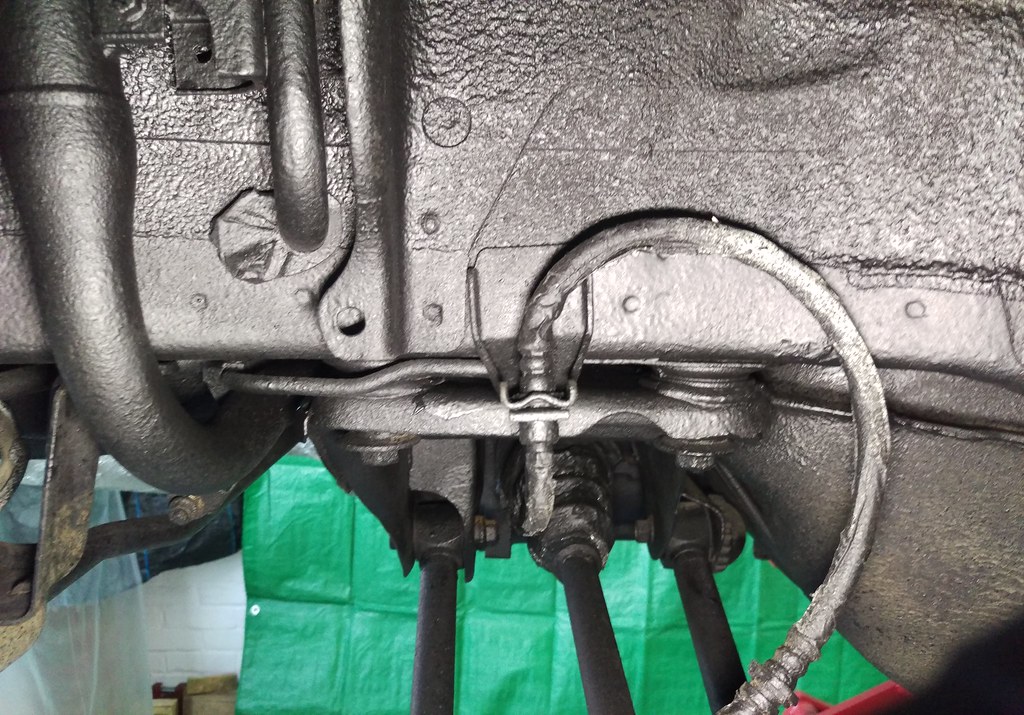
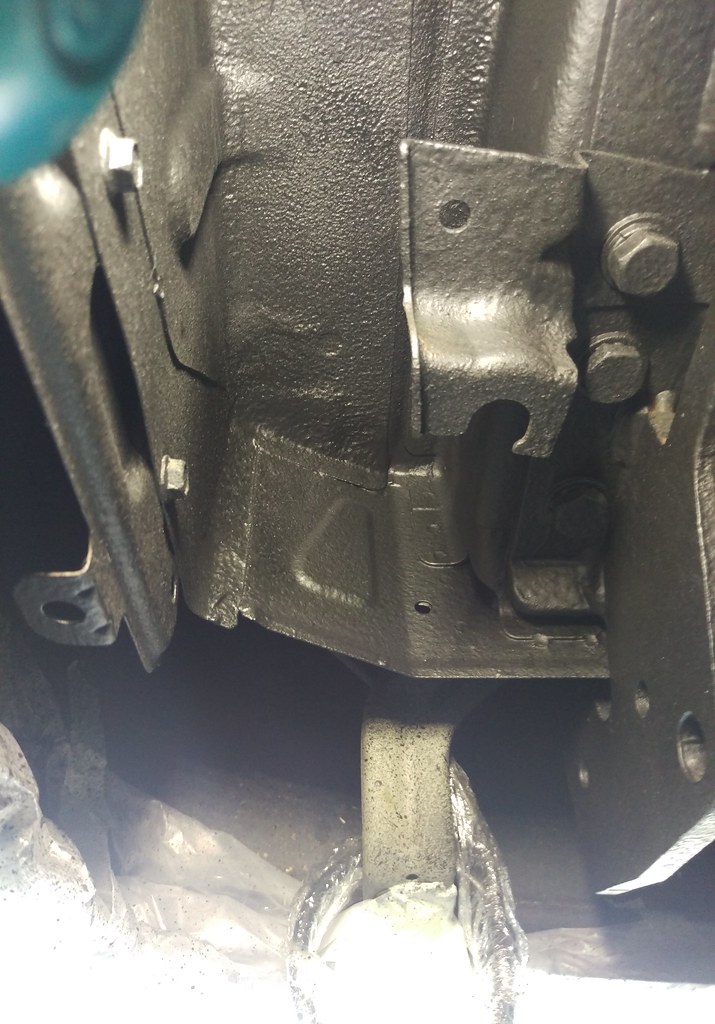
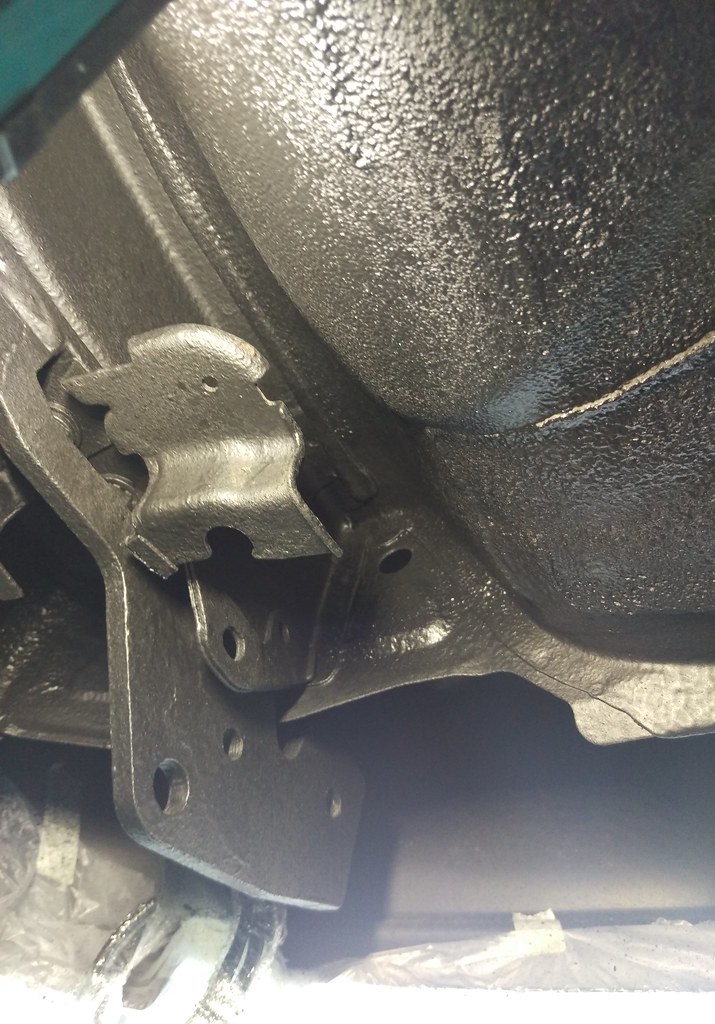
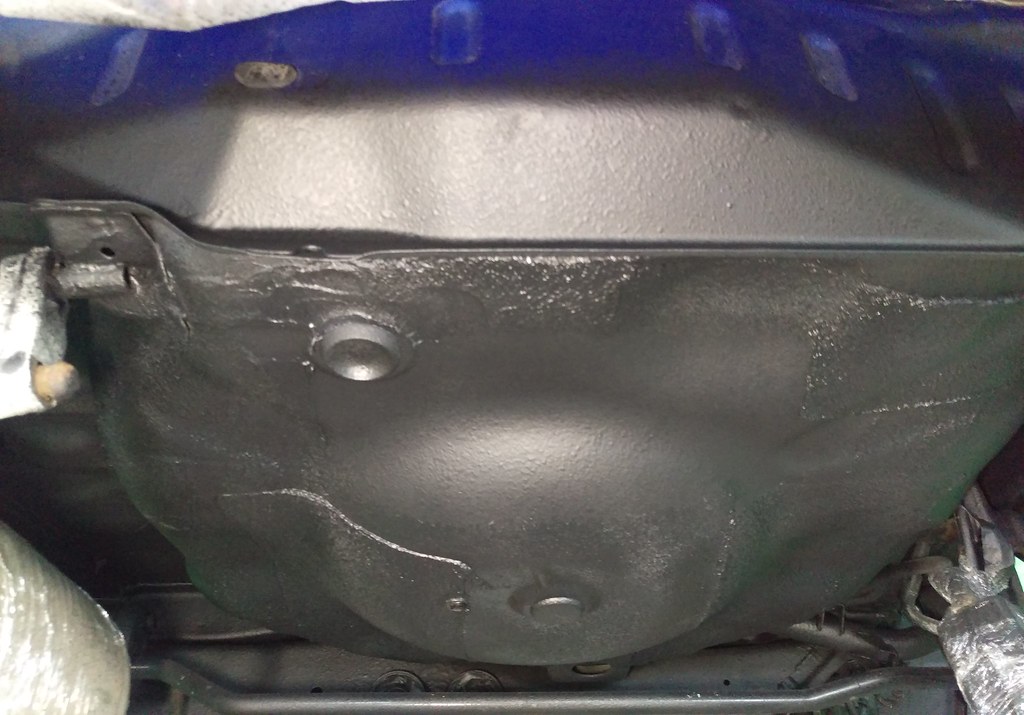
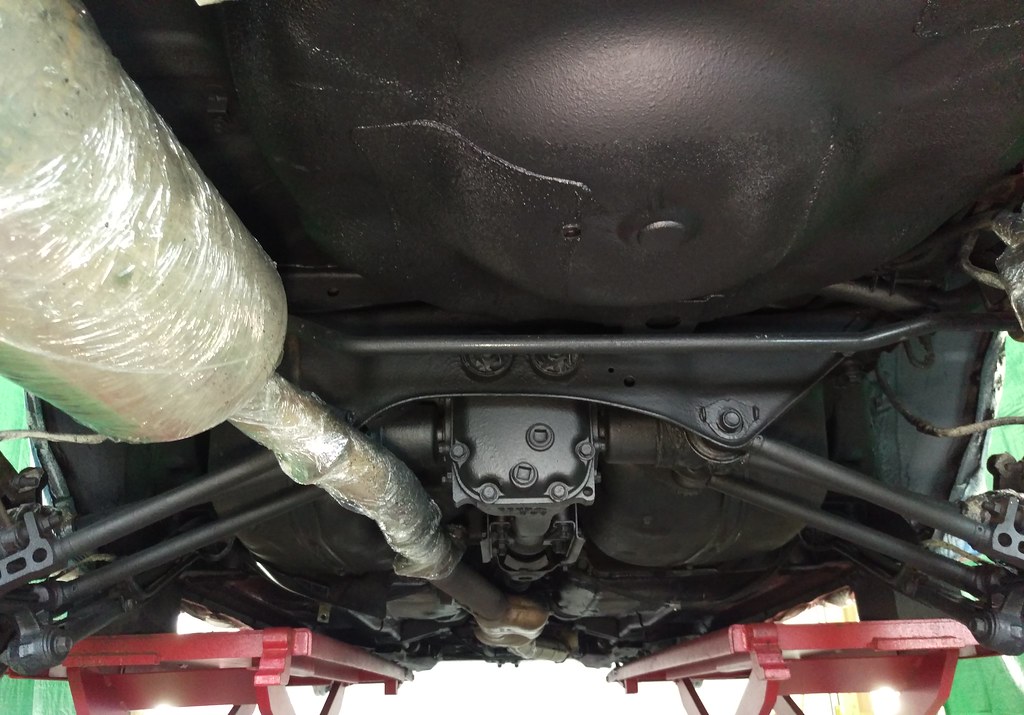
Diff carrier/rear subframe.
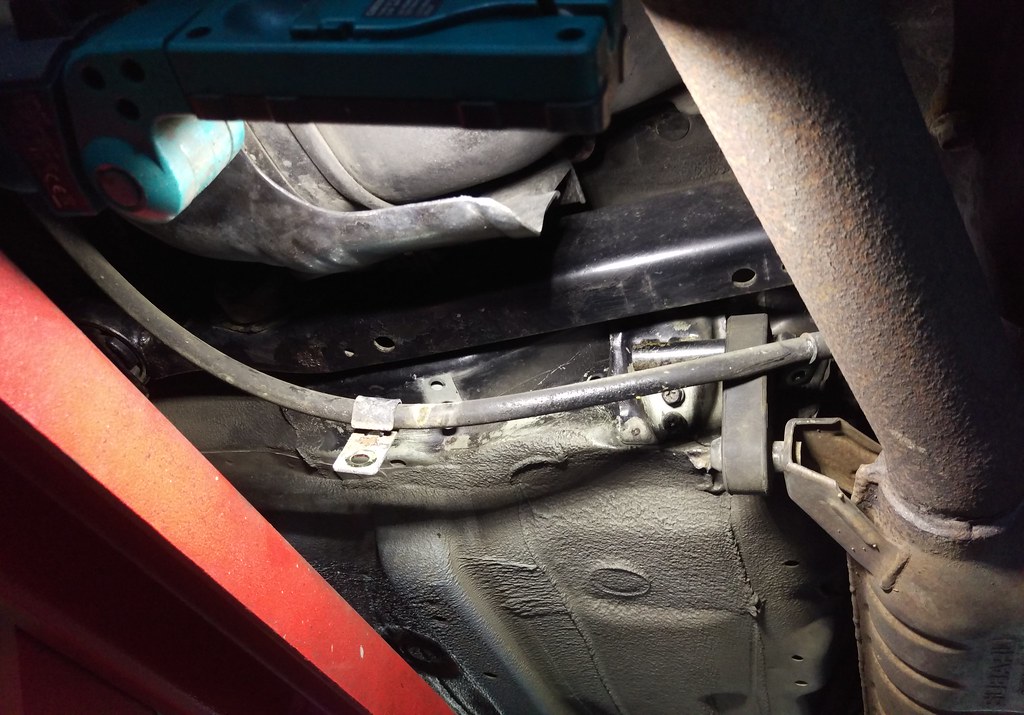
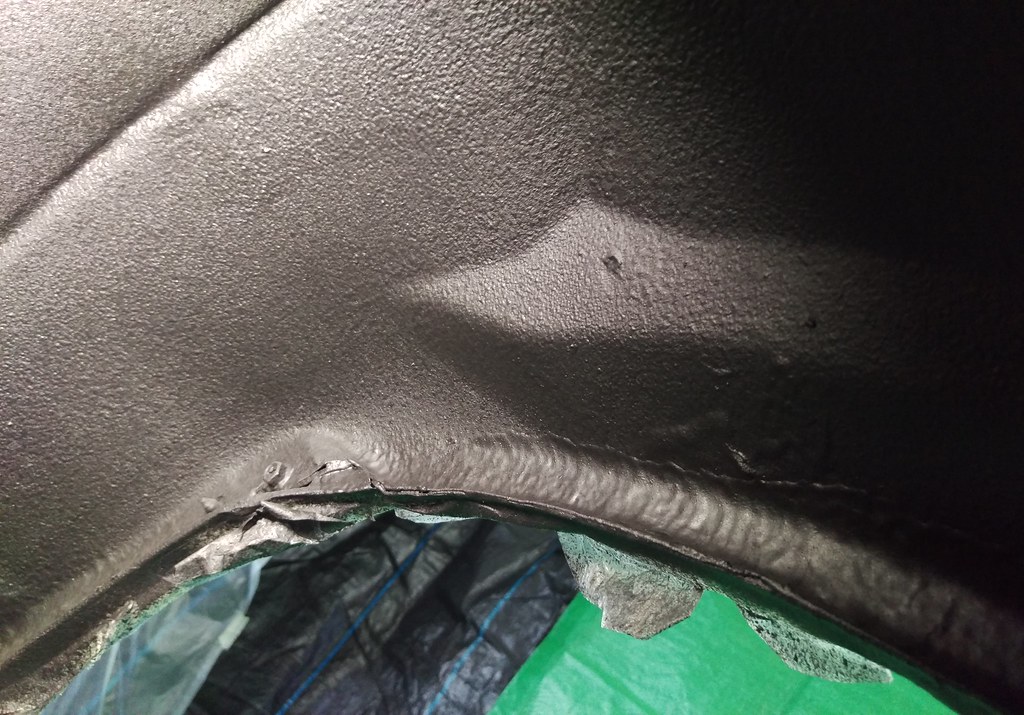
More of the rear end.
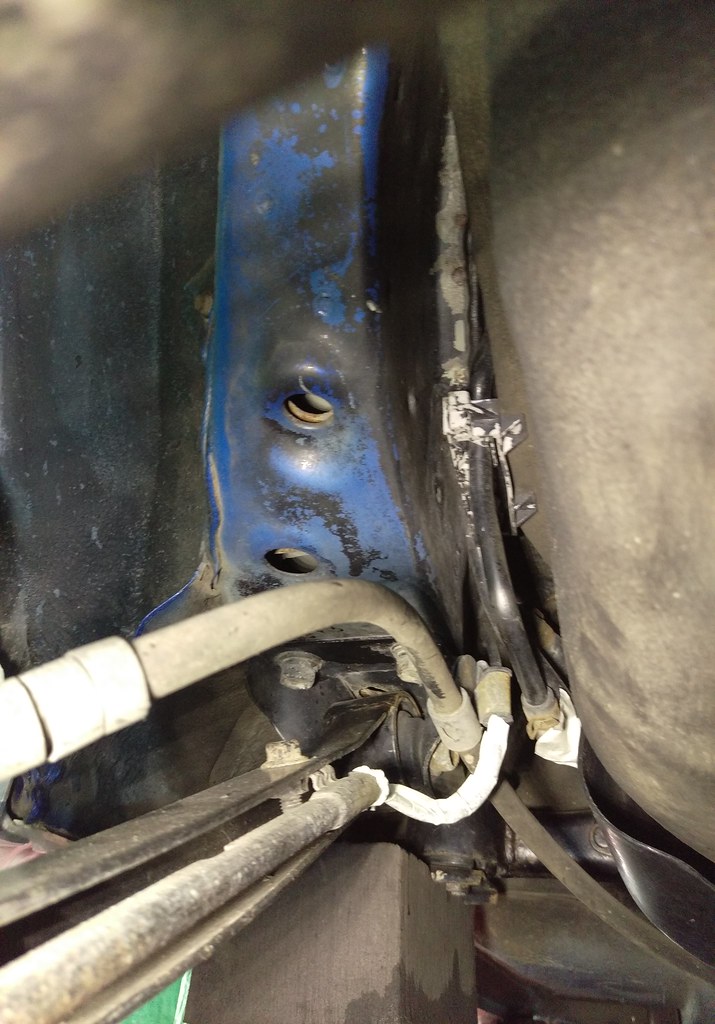
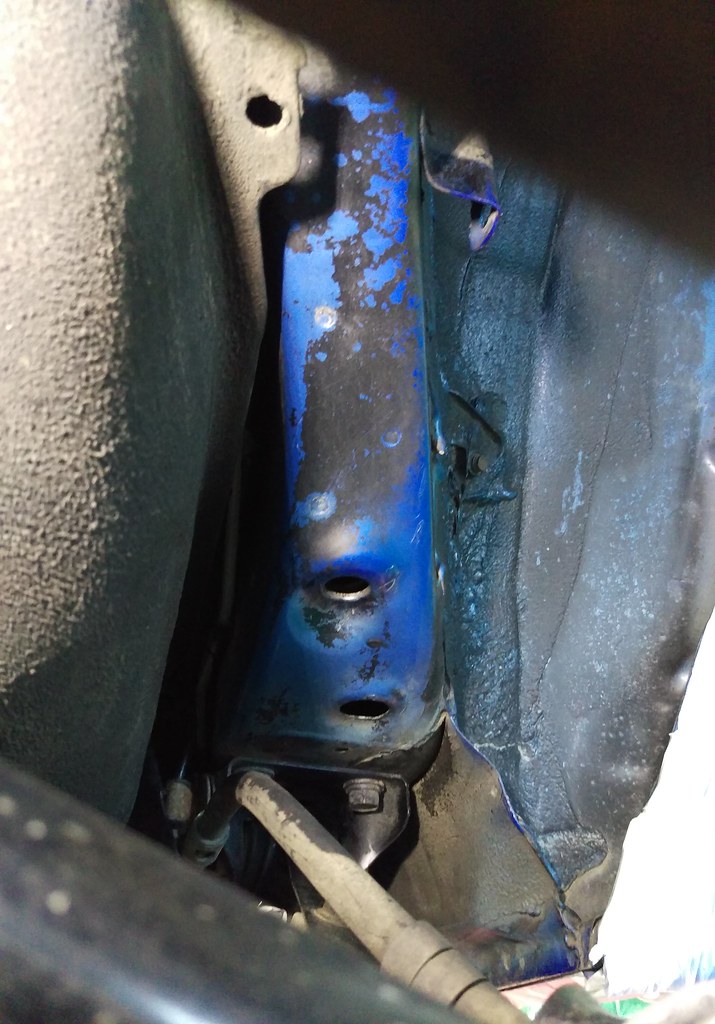
All very clean.
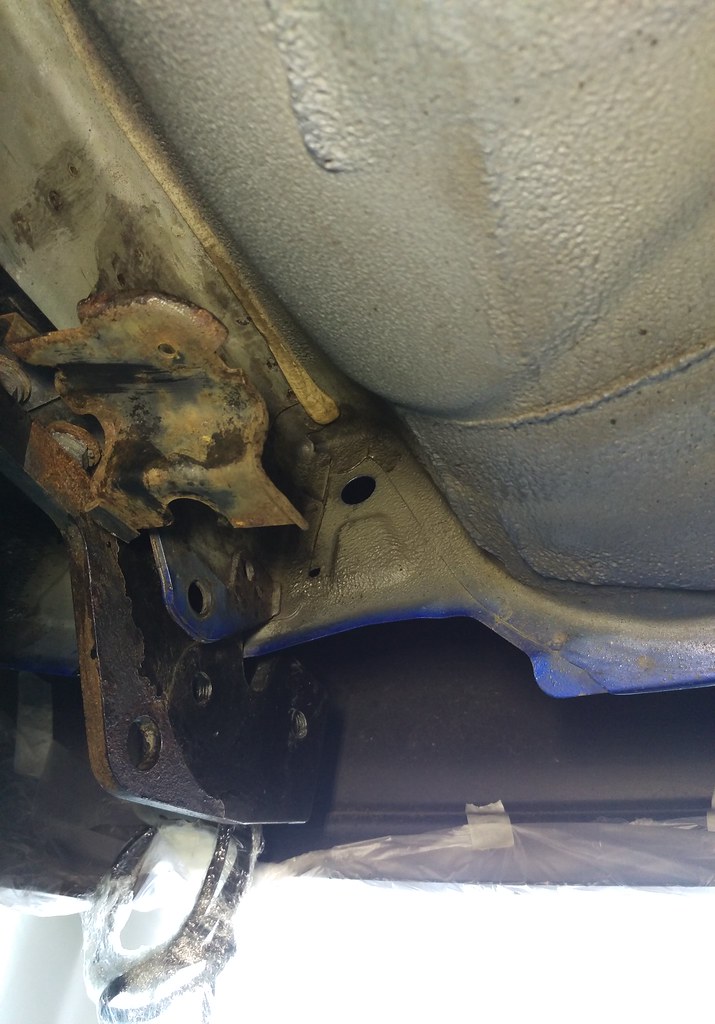
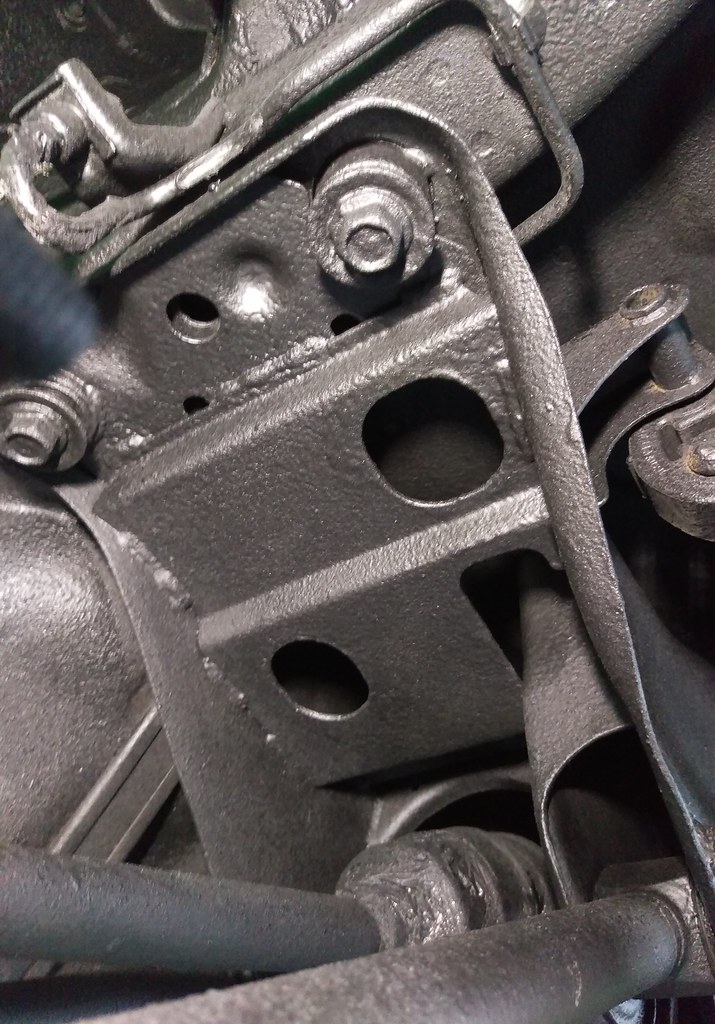
Spot the rubbish powder coating on the towbar bracket that’s only done one winter and failed. The Dinitrol should work much better. In contrast the car shell is spotless.
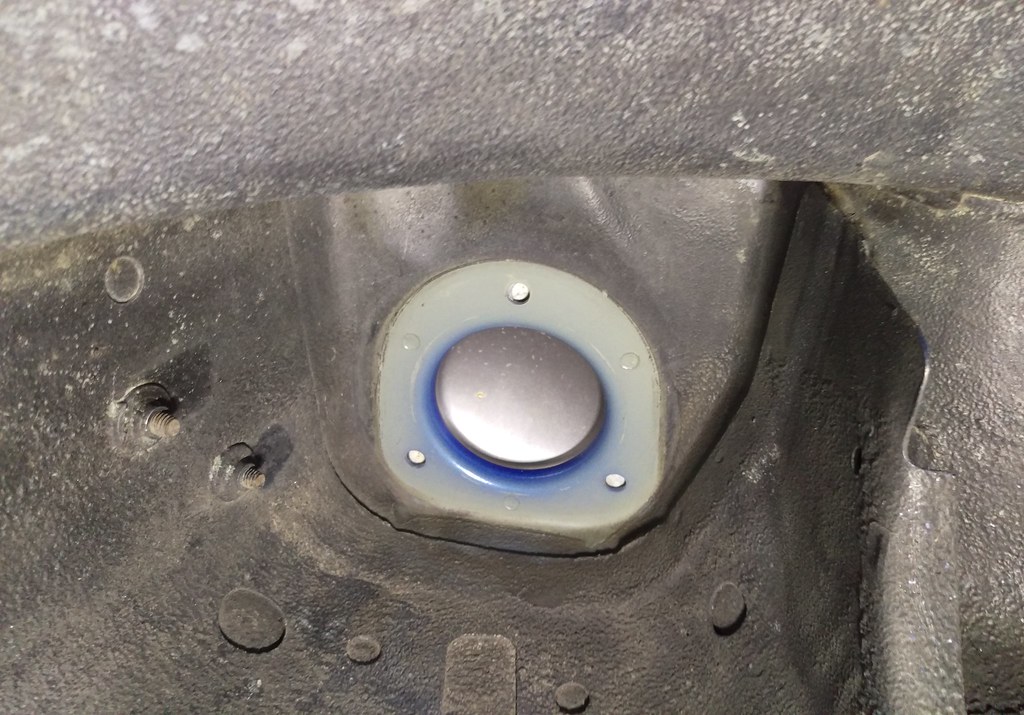
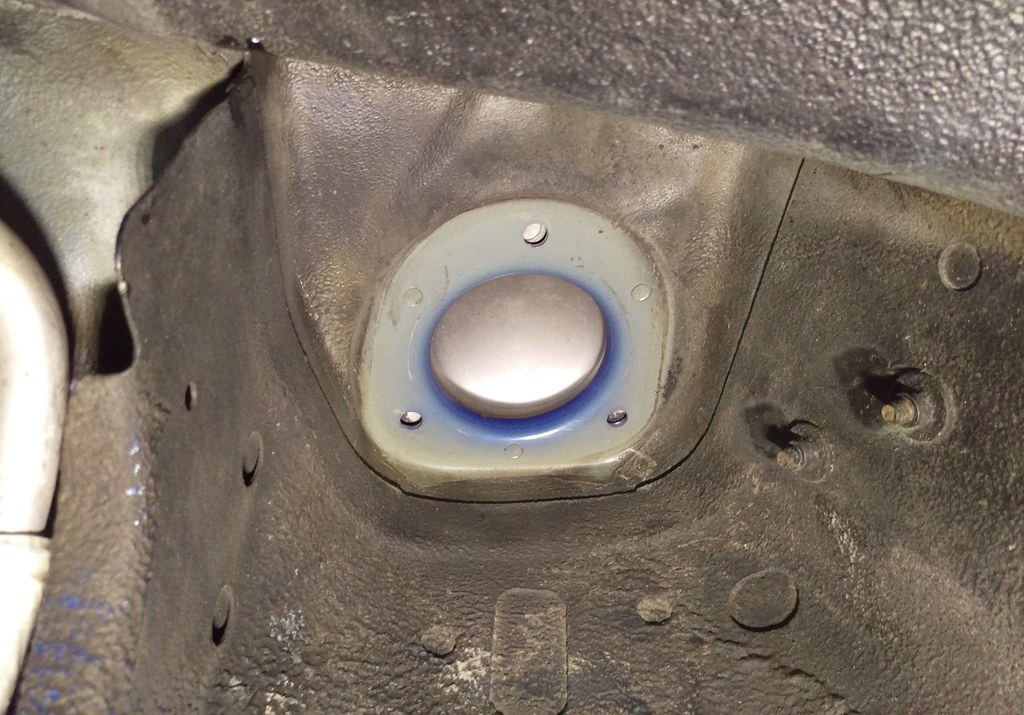
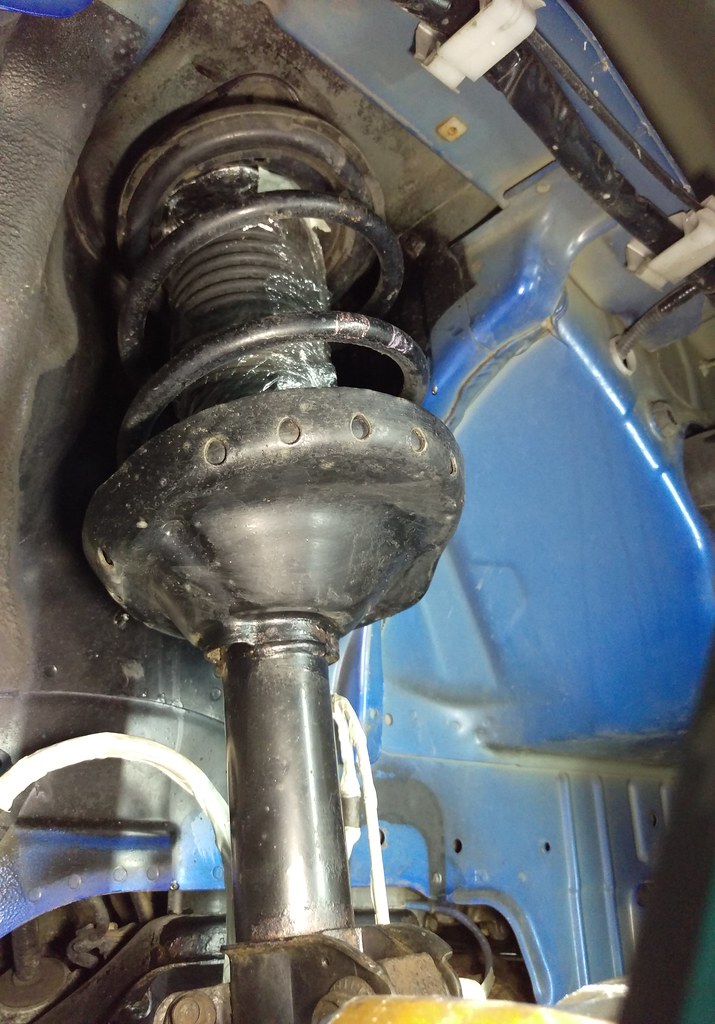
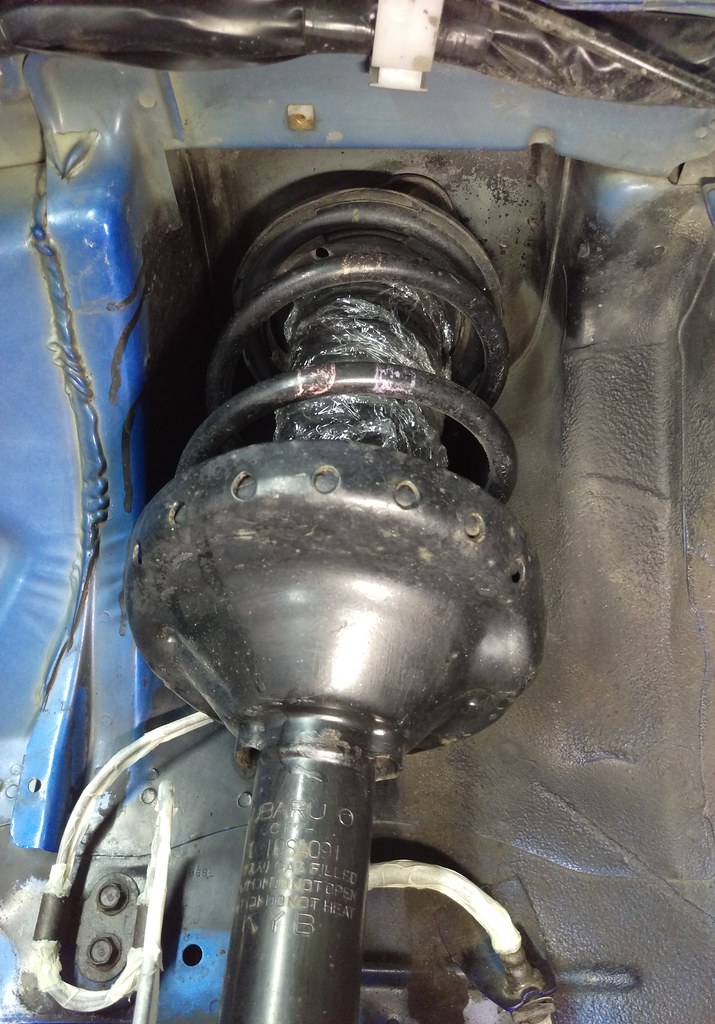
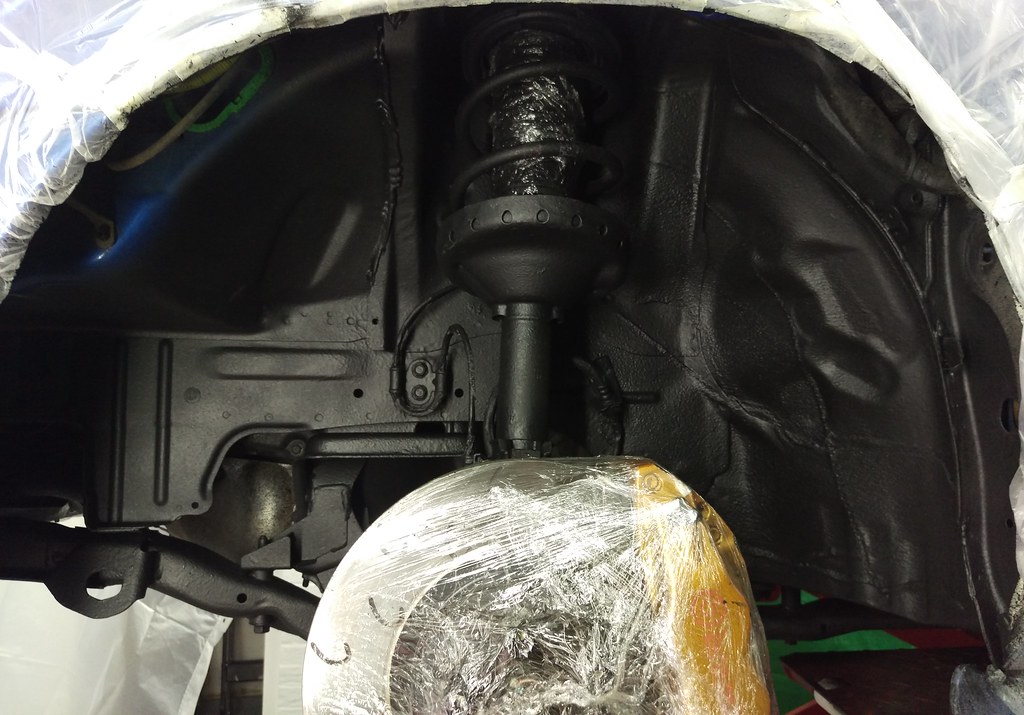
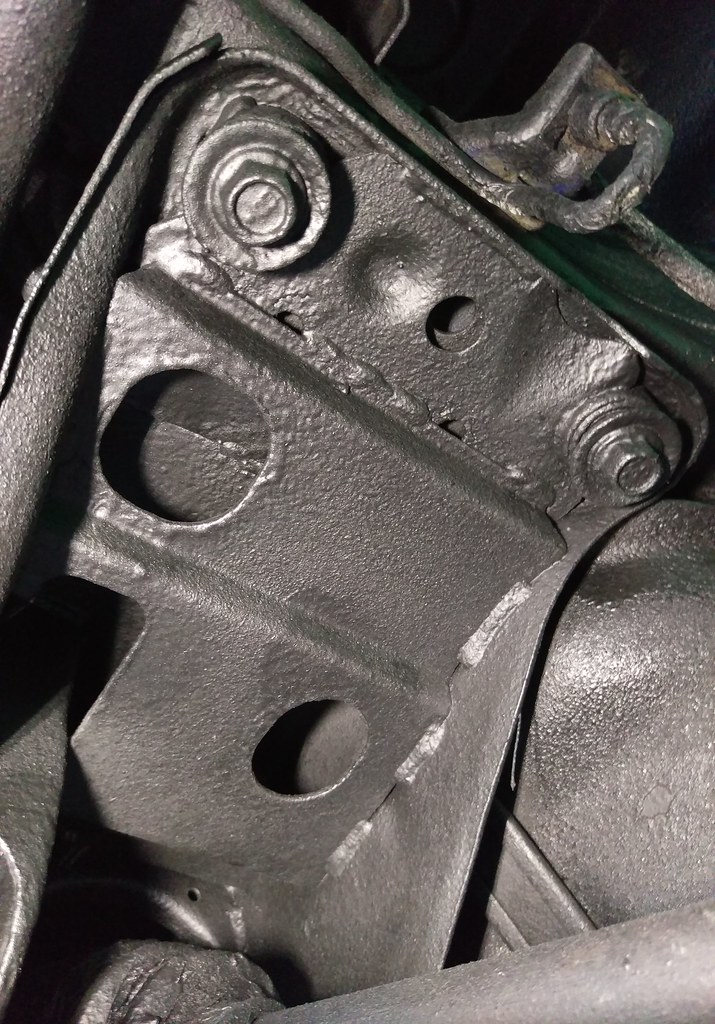
Suspension turrets are spotless.
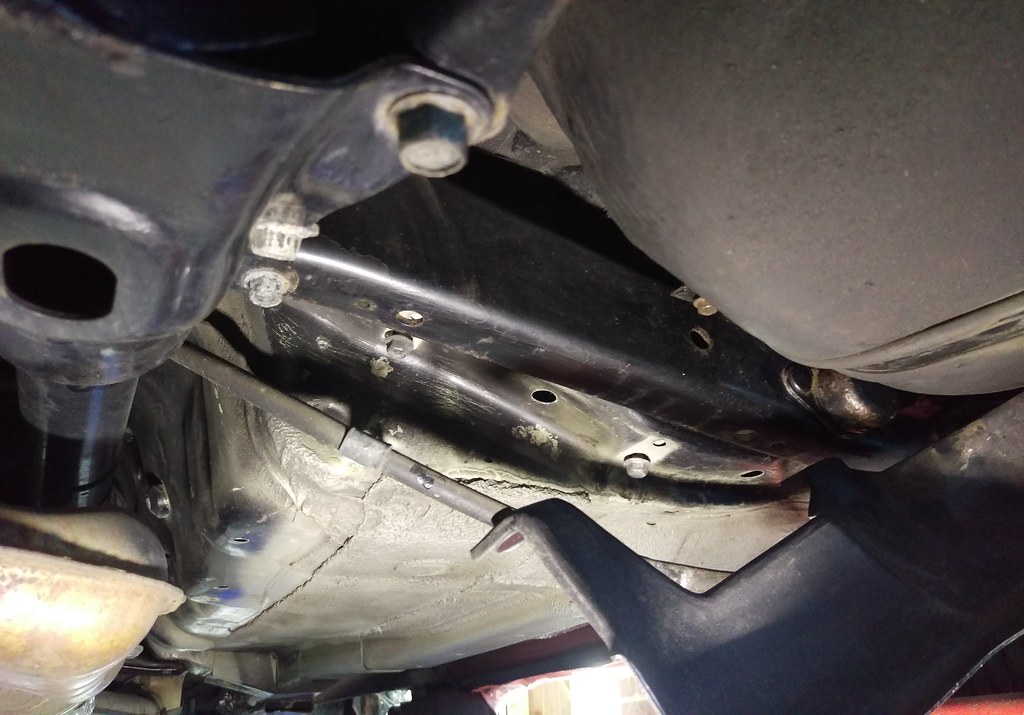
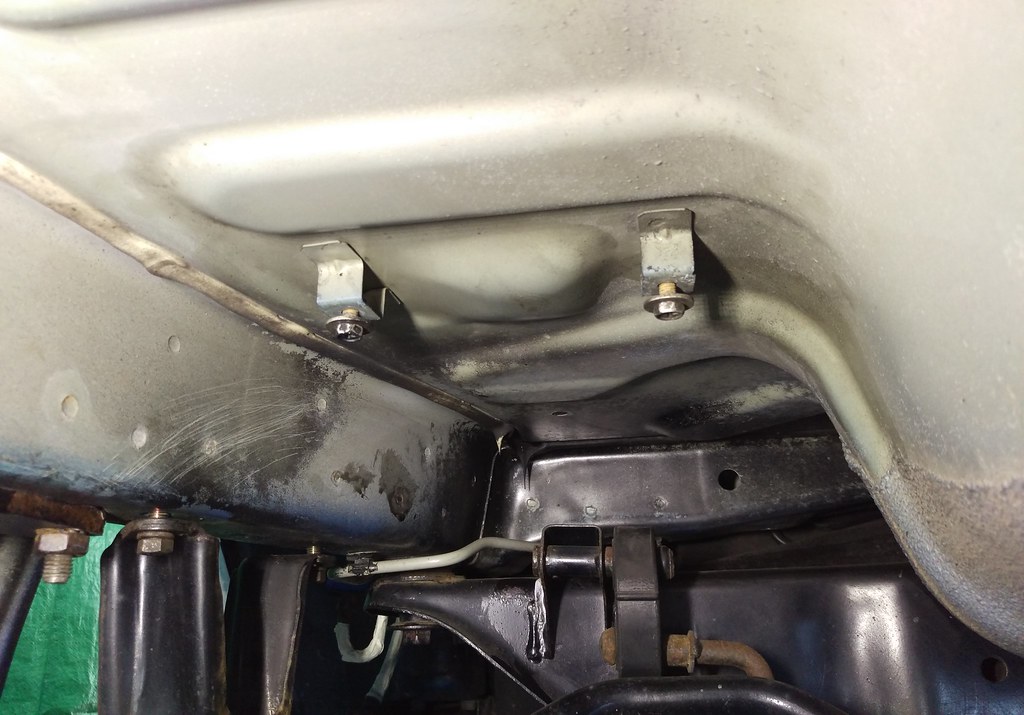
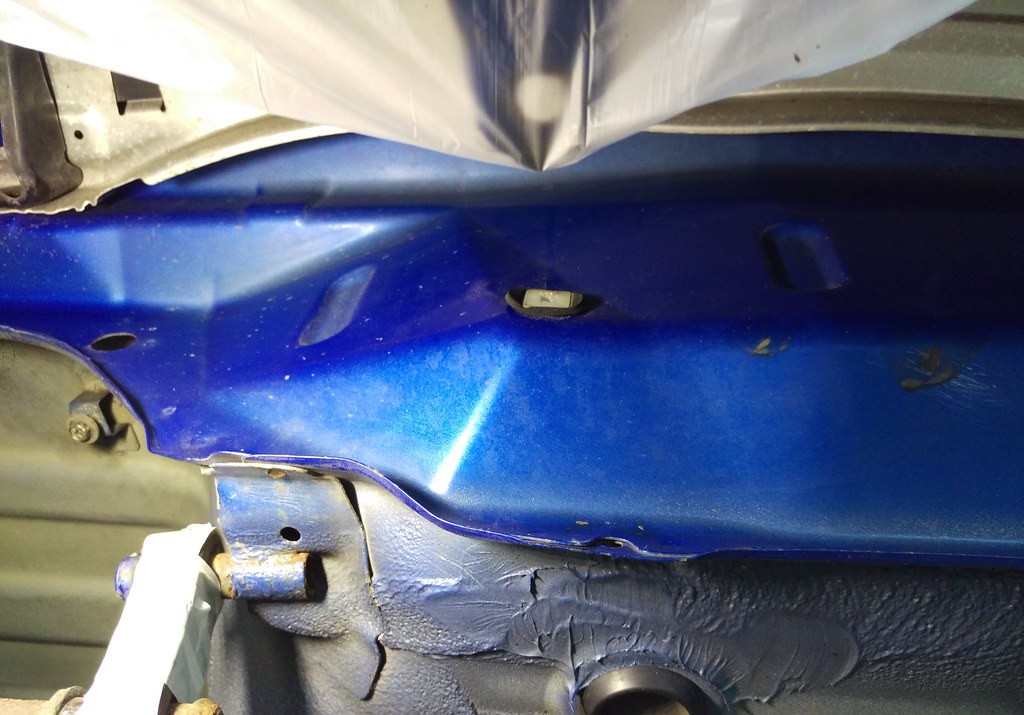
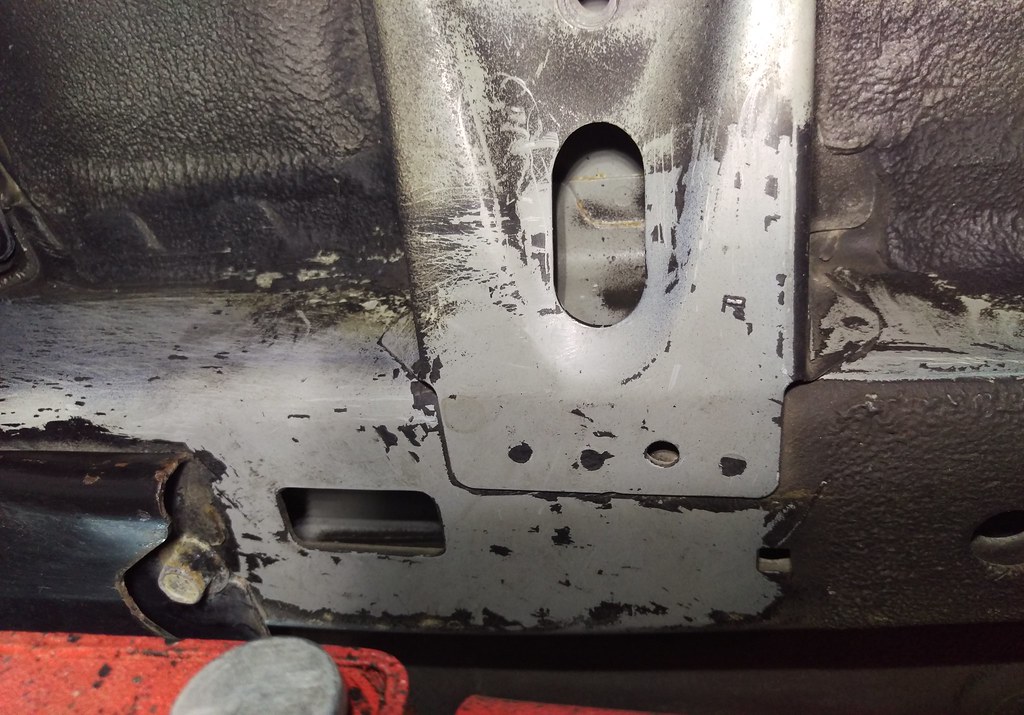
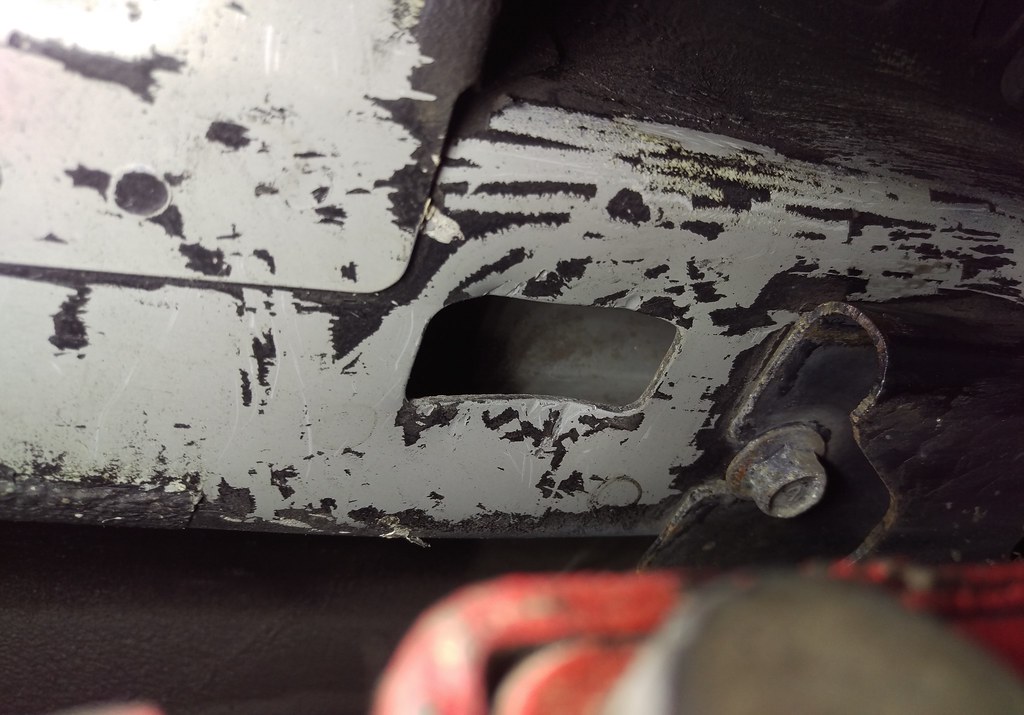
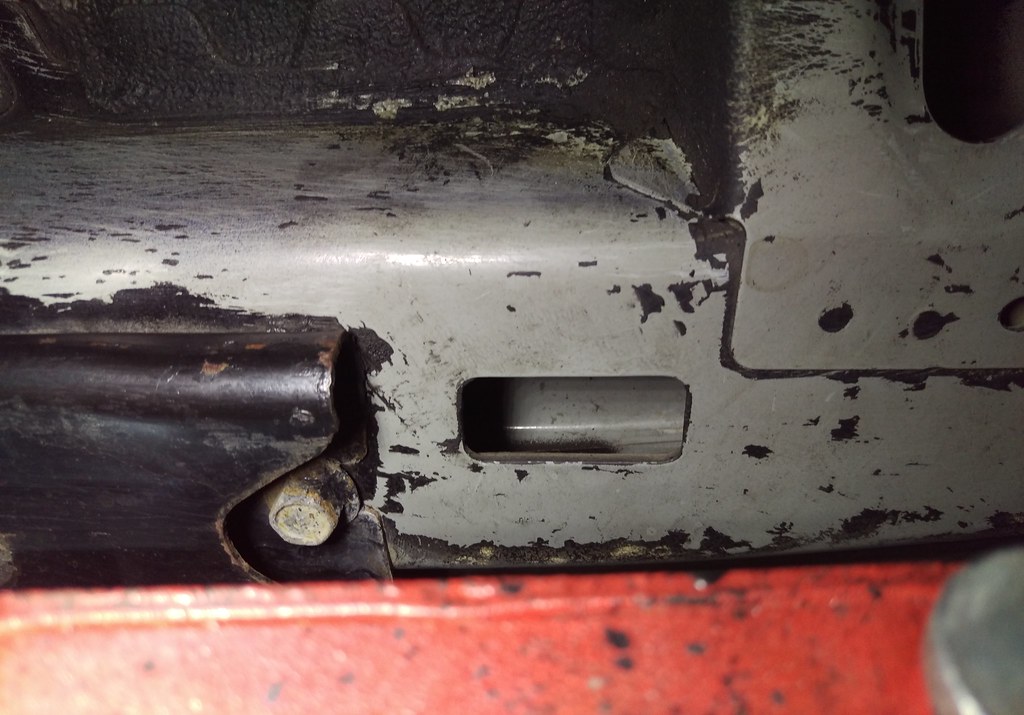
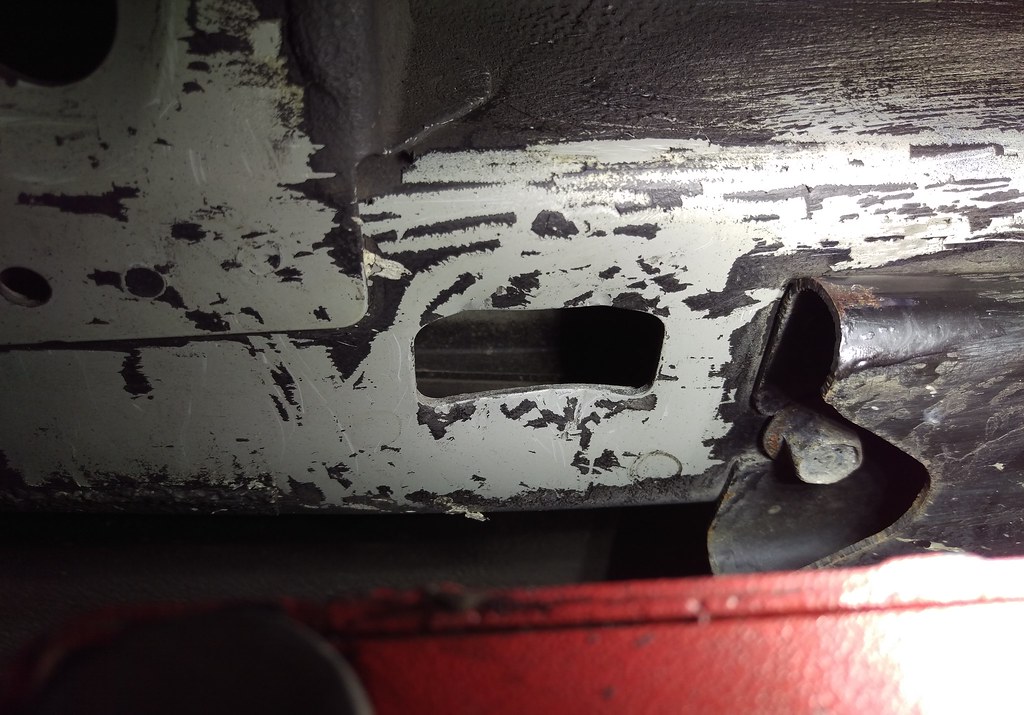
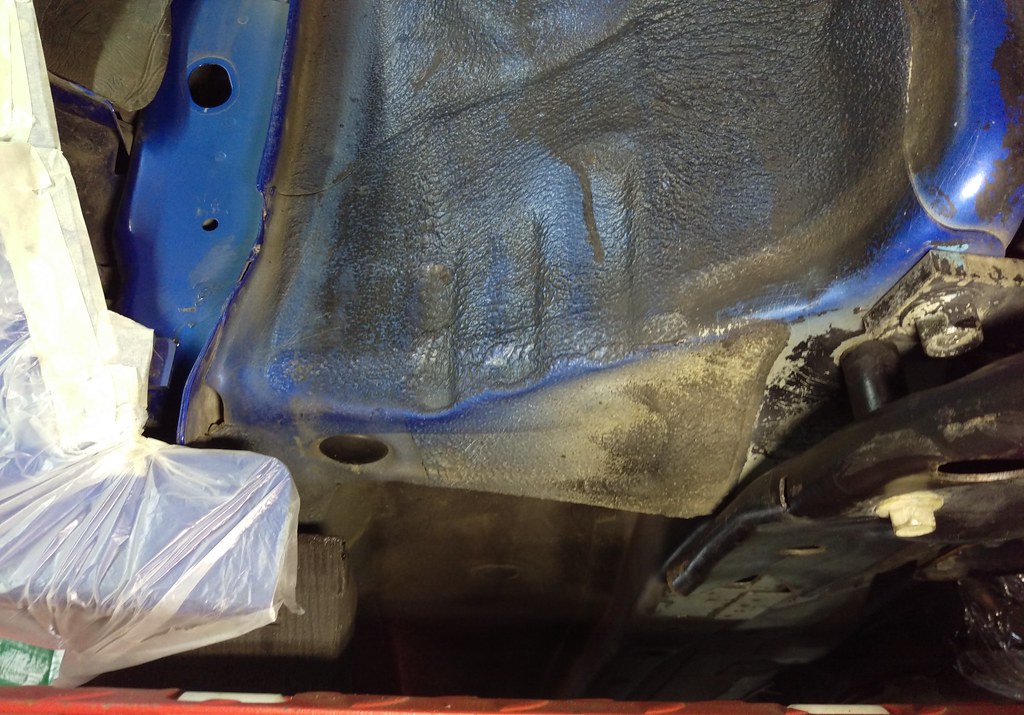
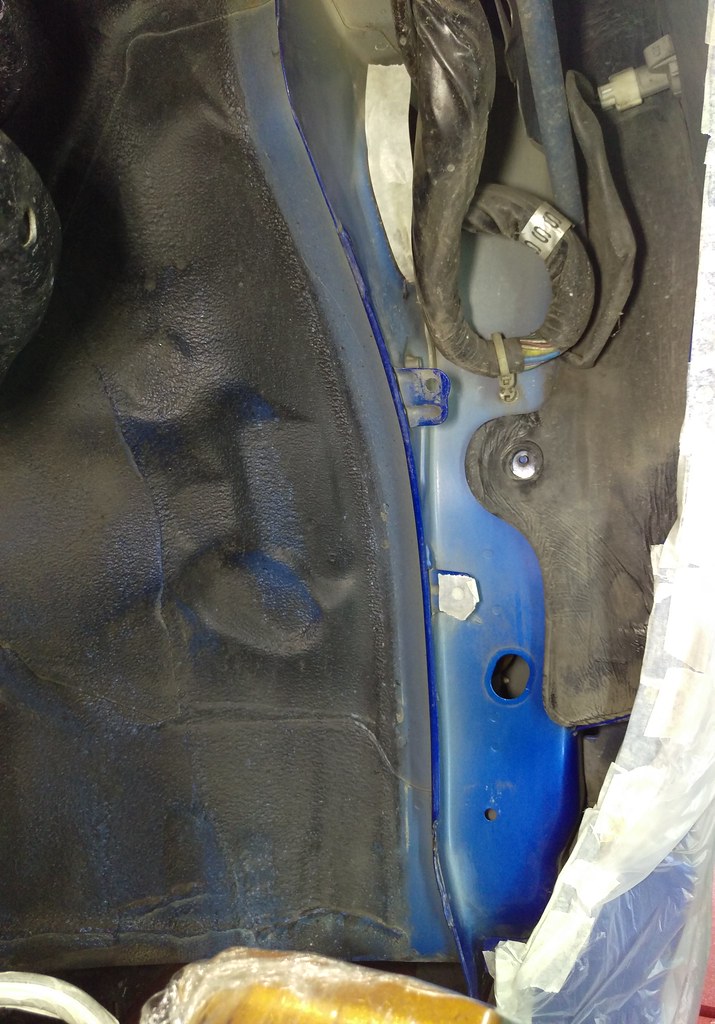
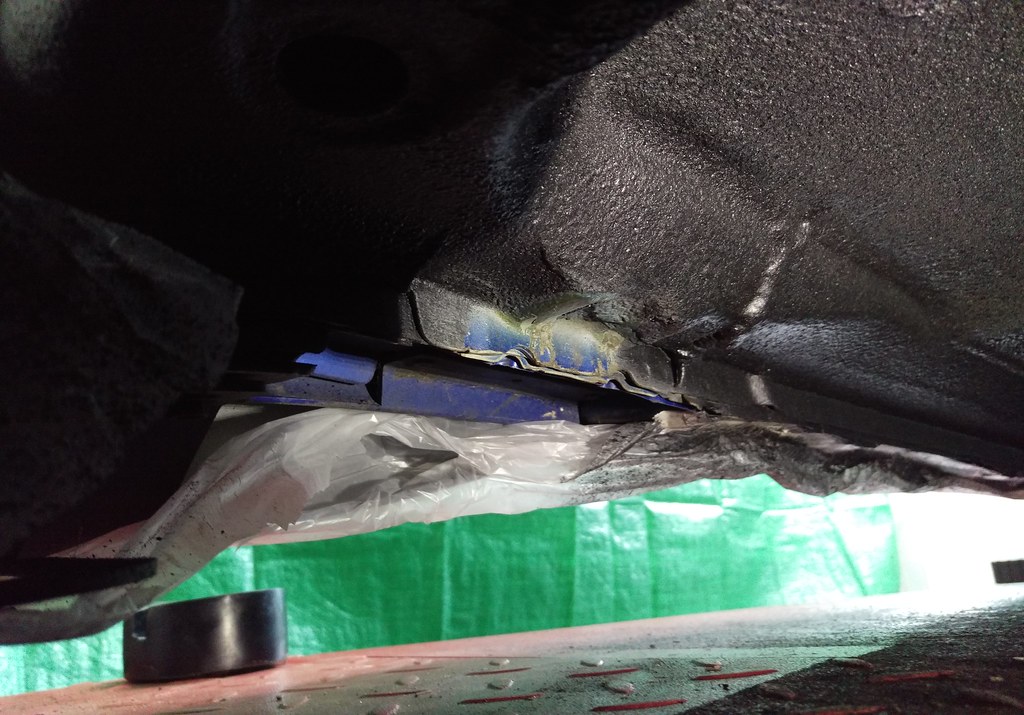
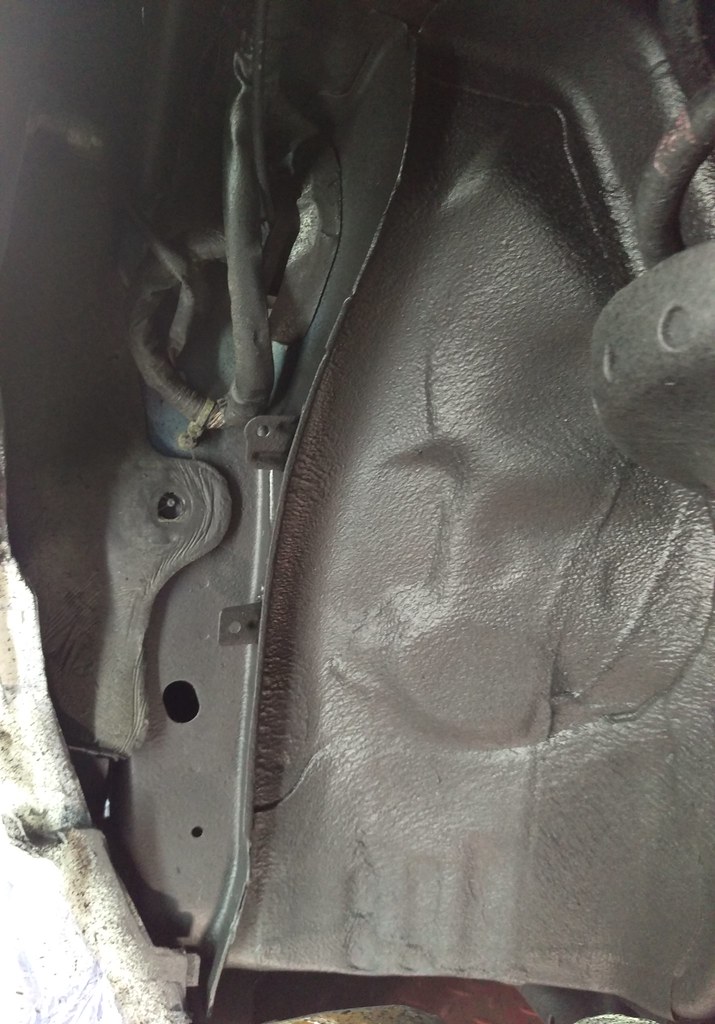
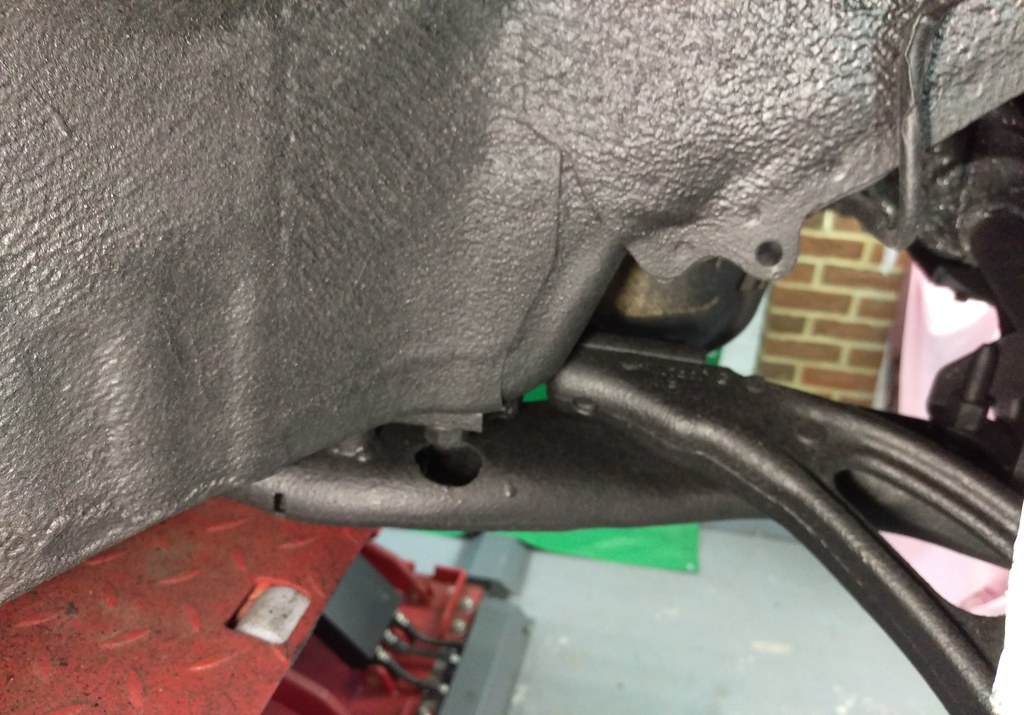
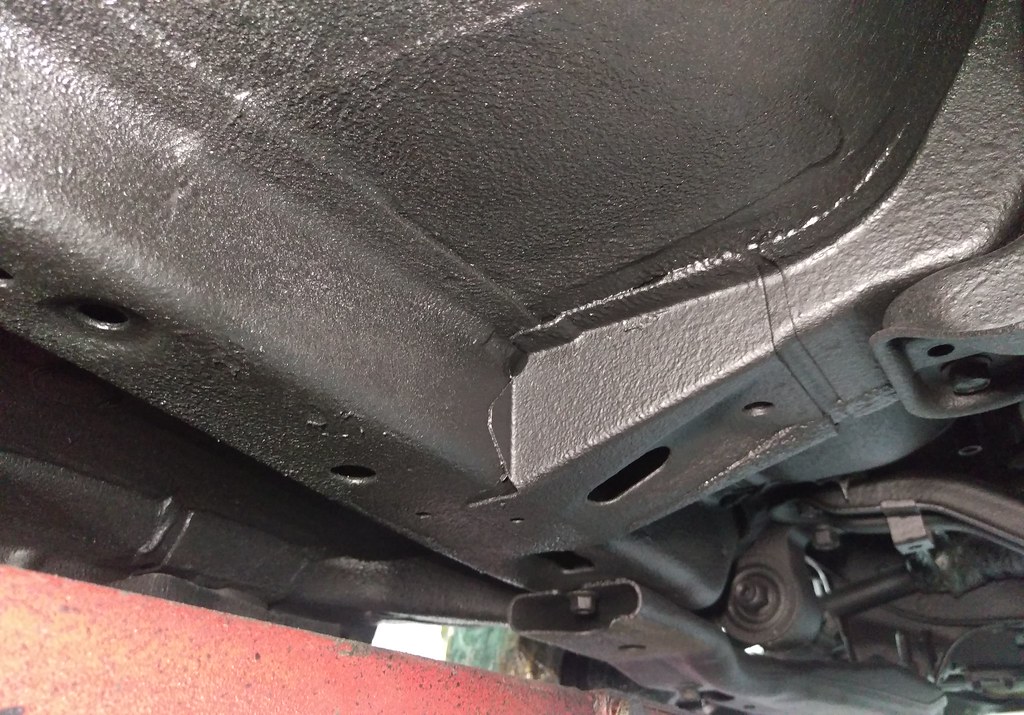
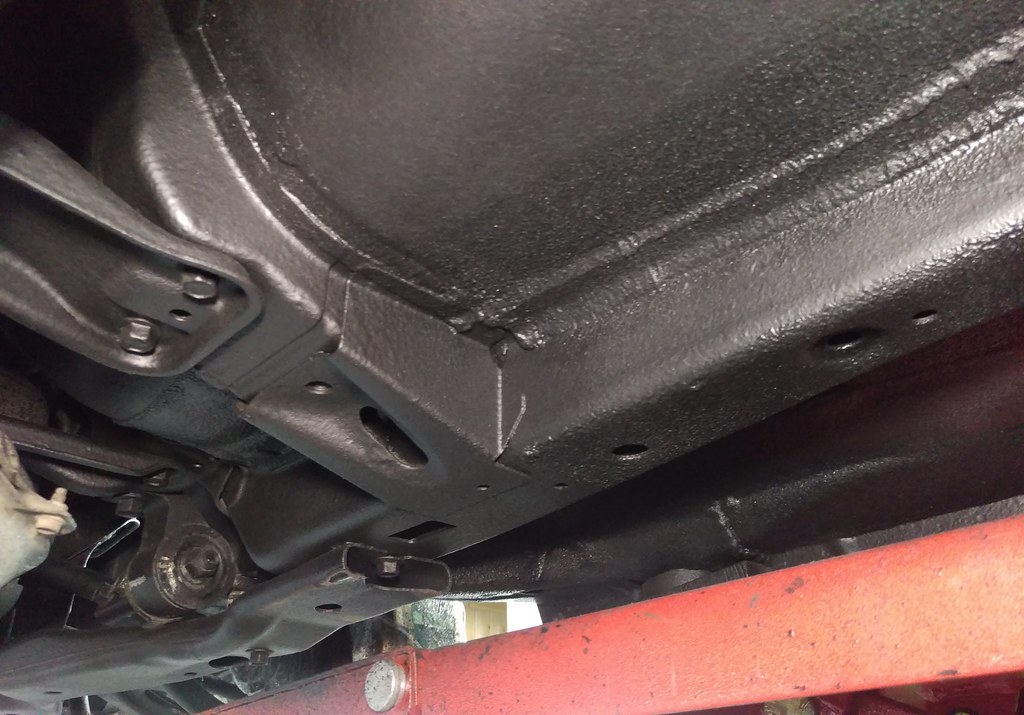
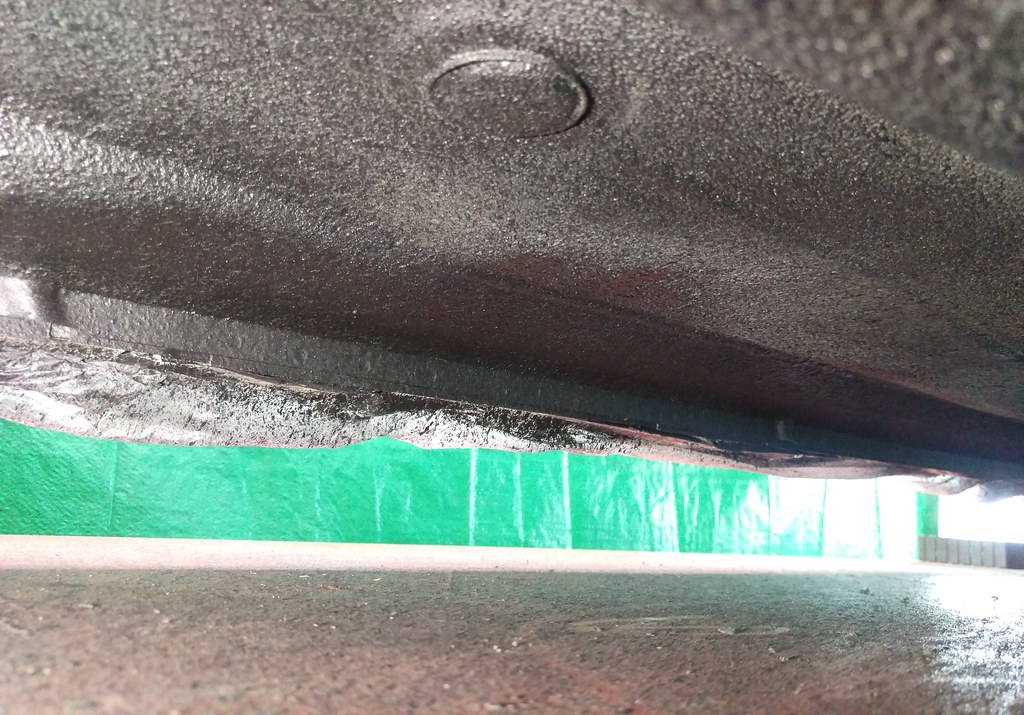
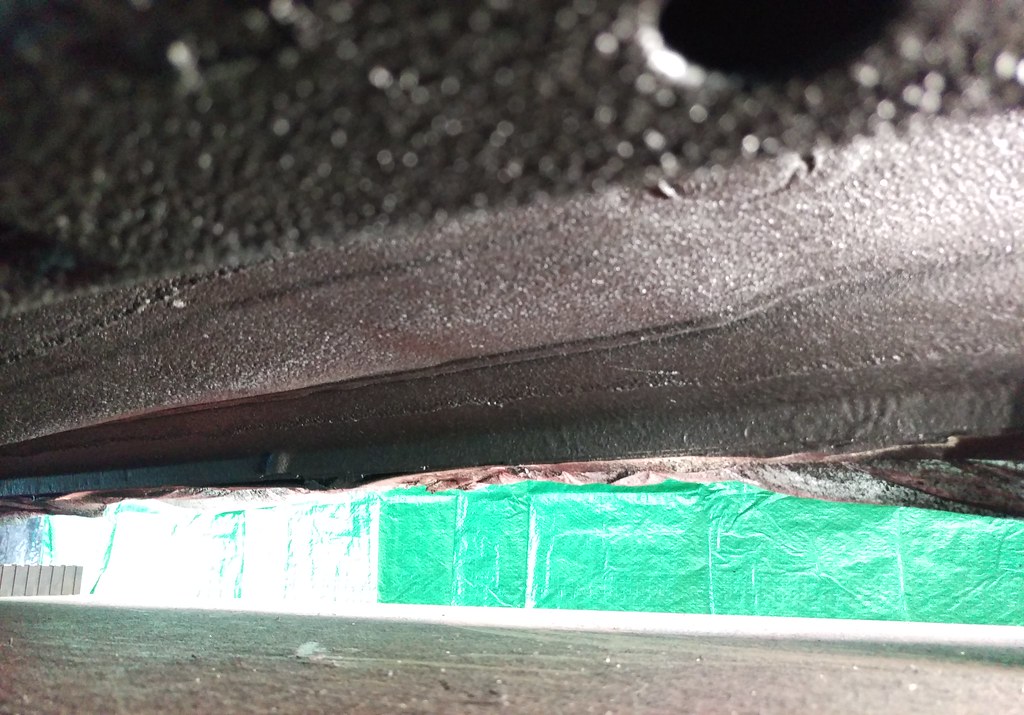
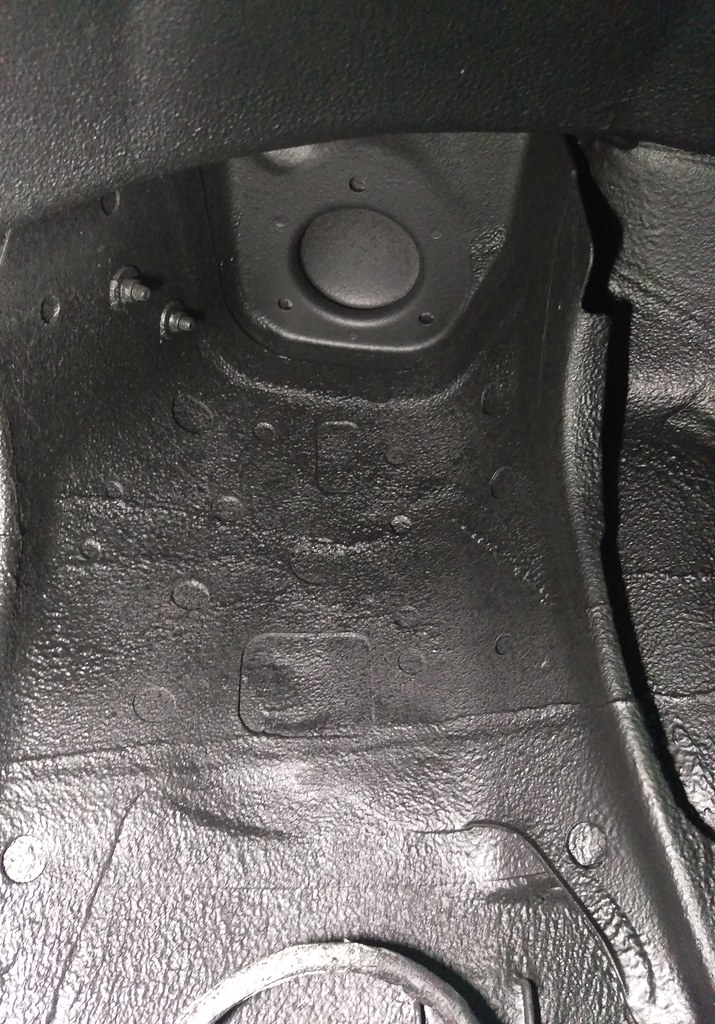
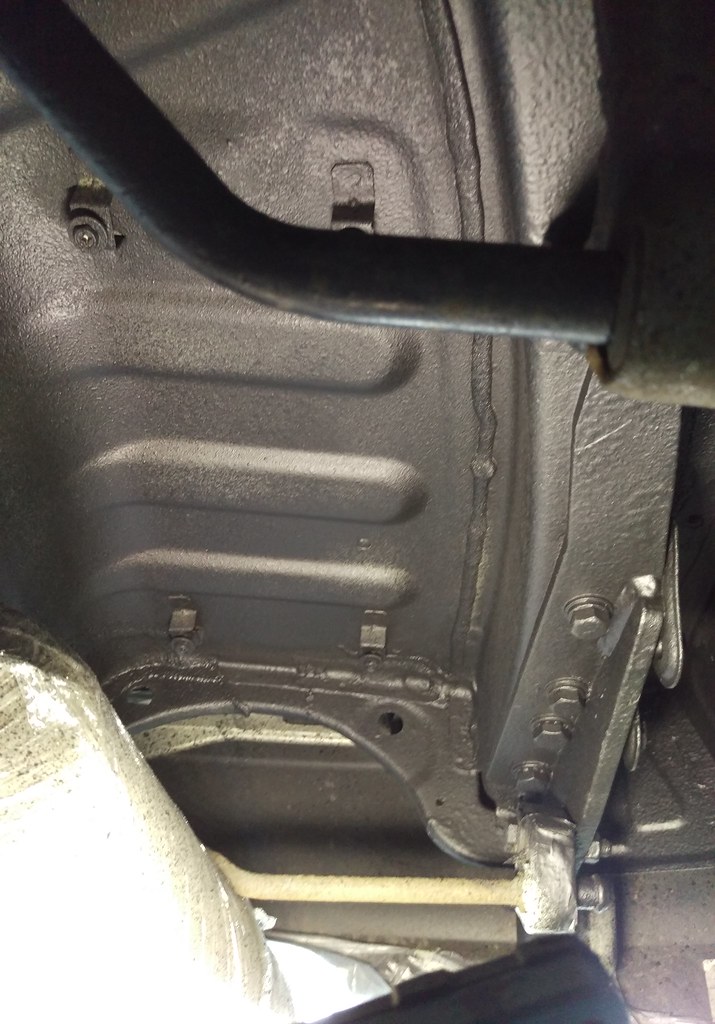
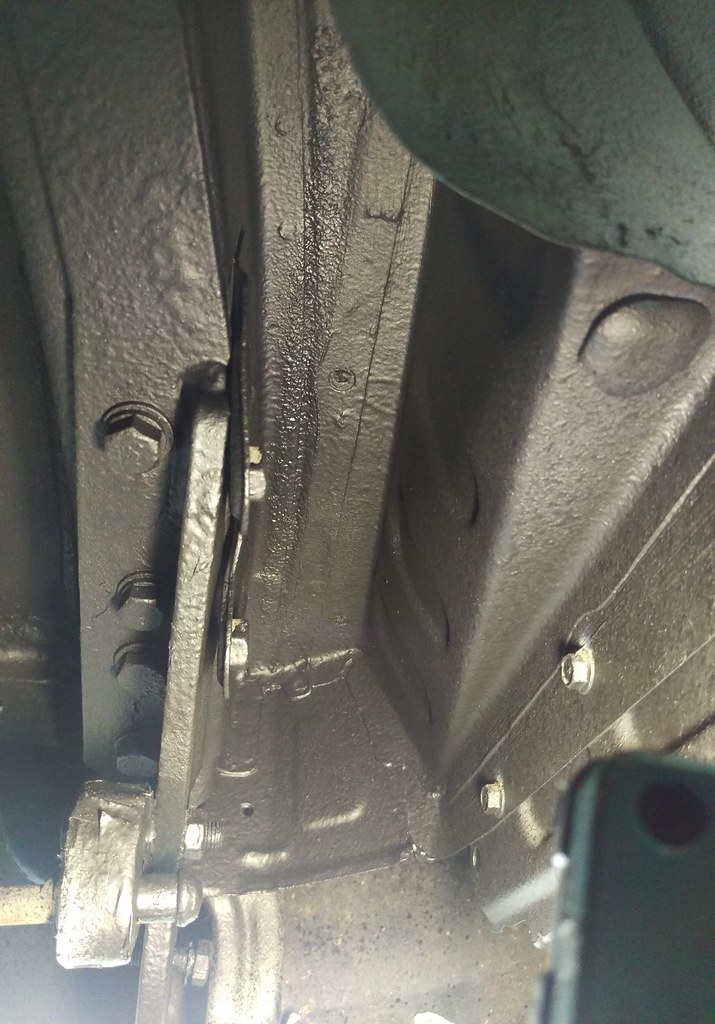
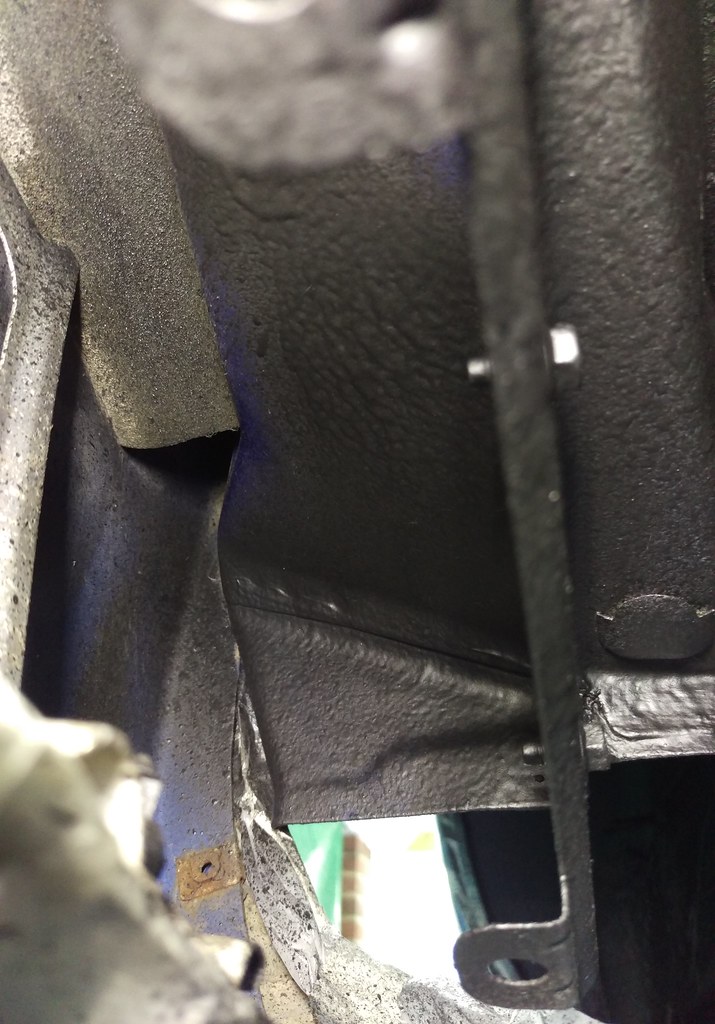
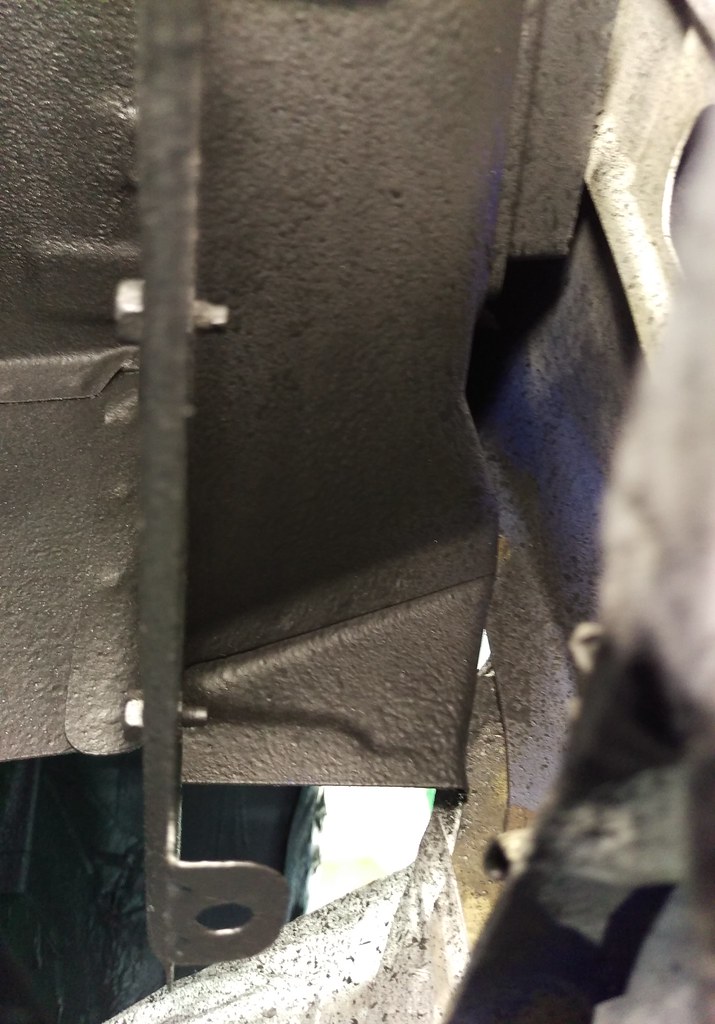
Sills.
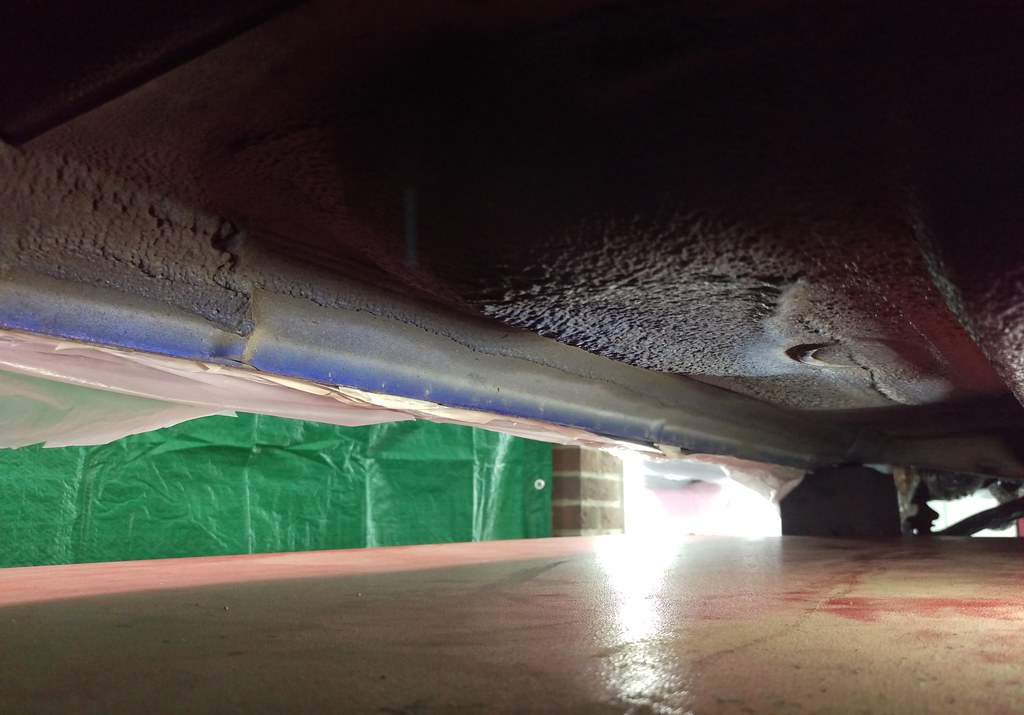
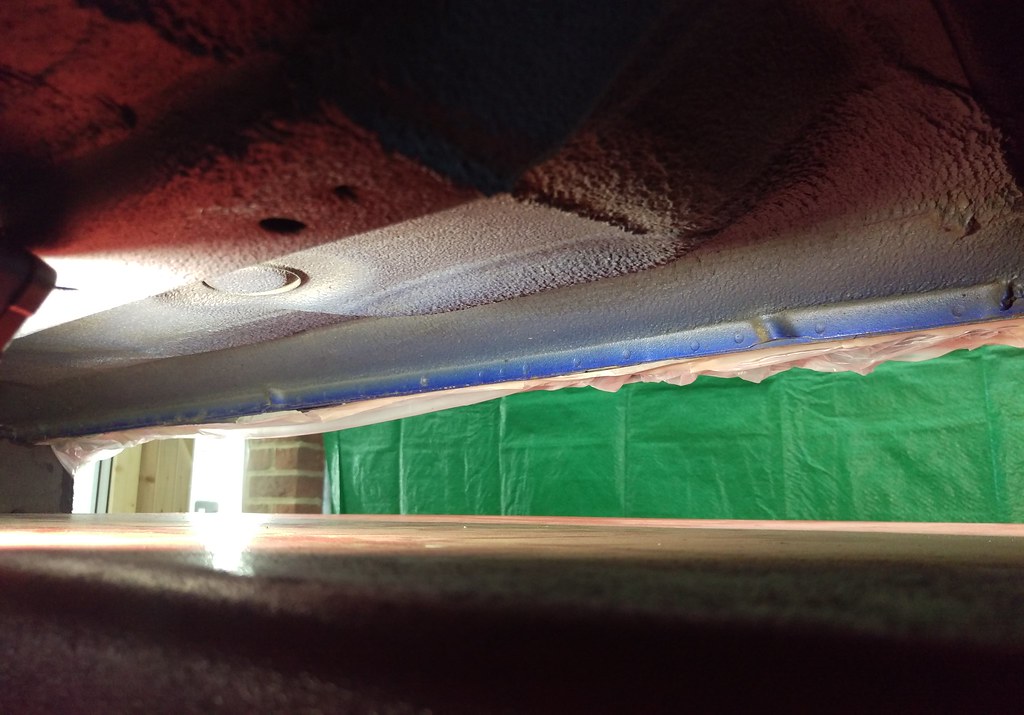
Chassis runners.
Previous thin layer of black coating stripped off to check everything is clean behind. Also no rust hiding inside these sections.
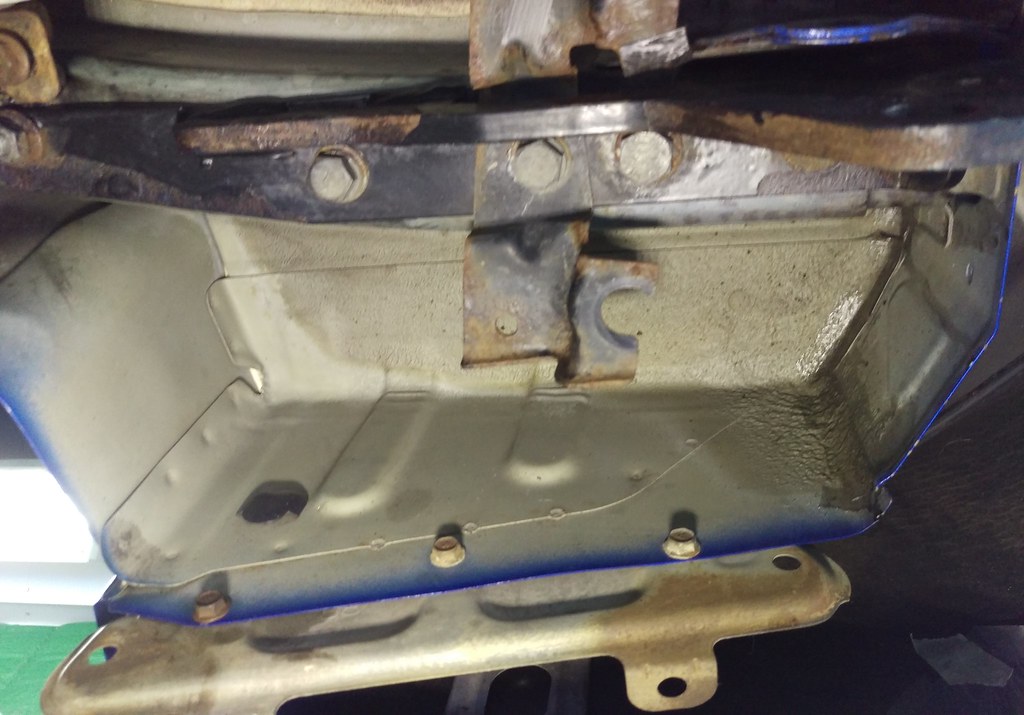
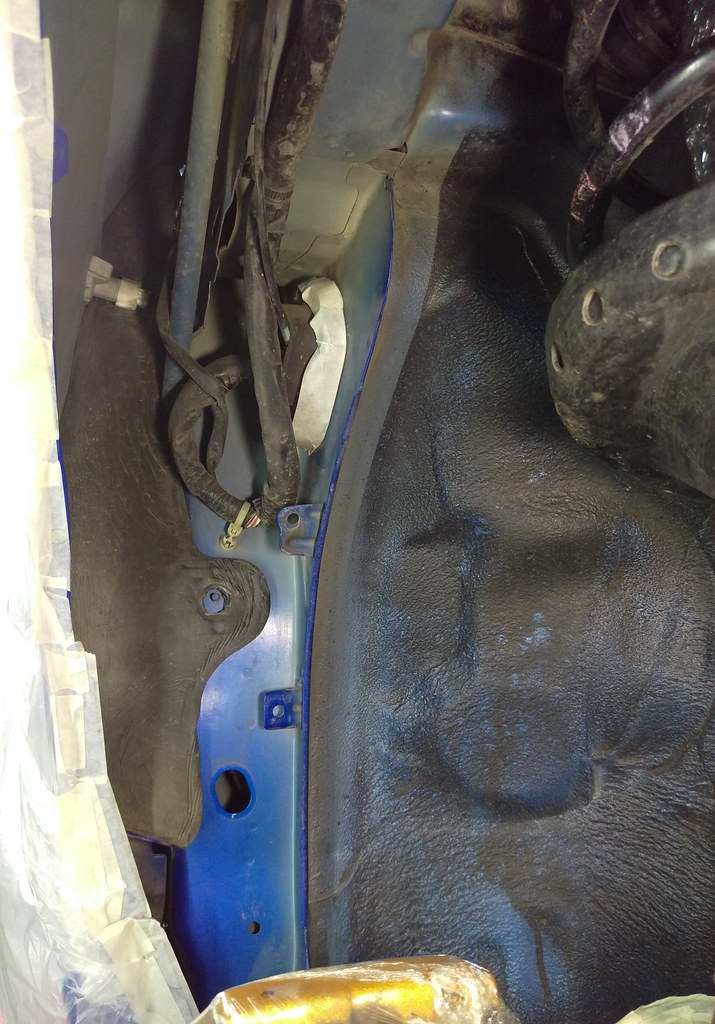
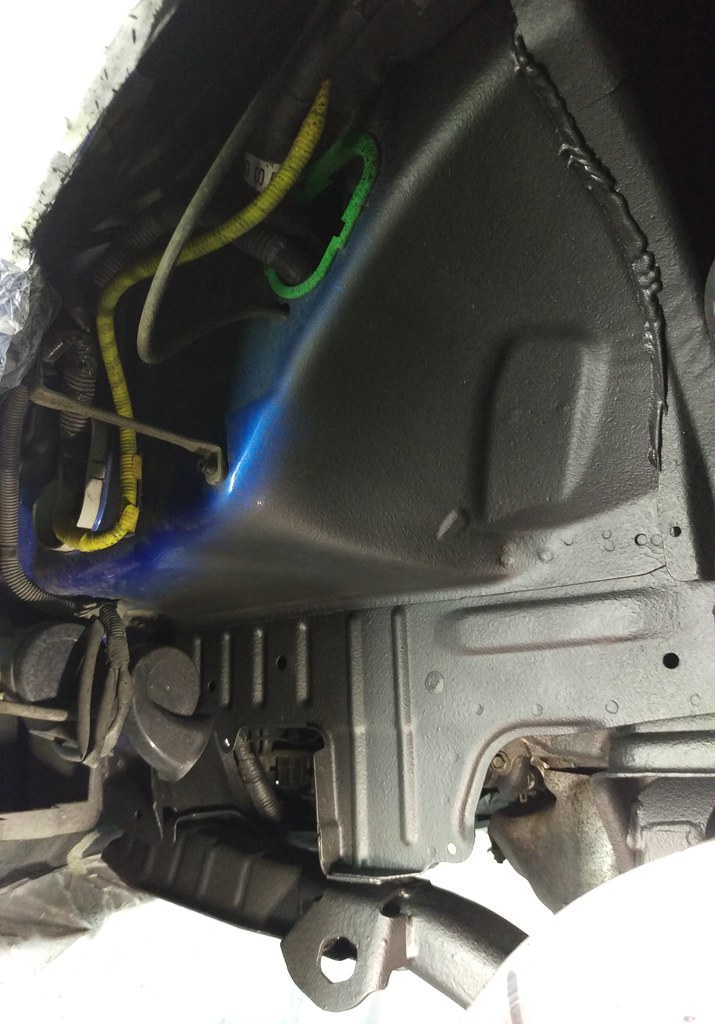
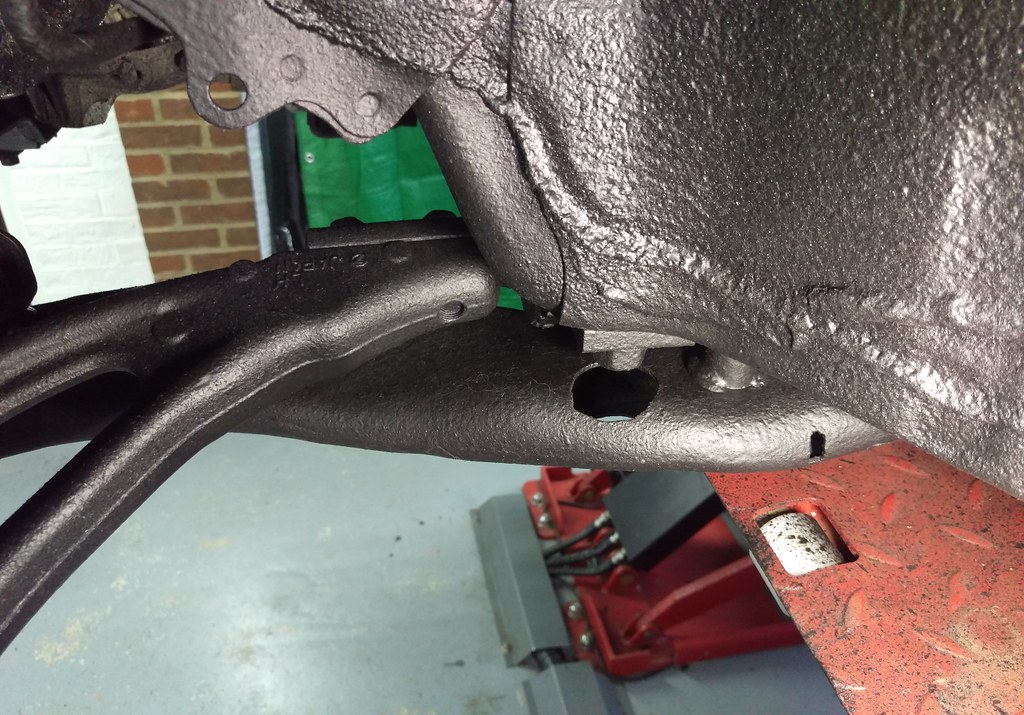
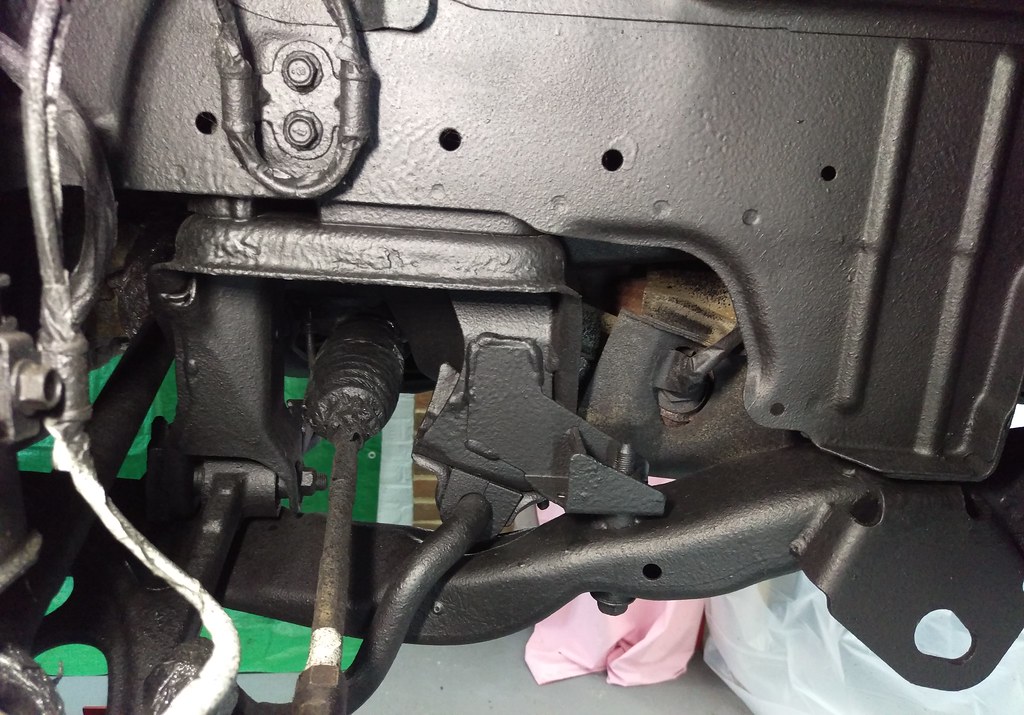
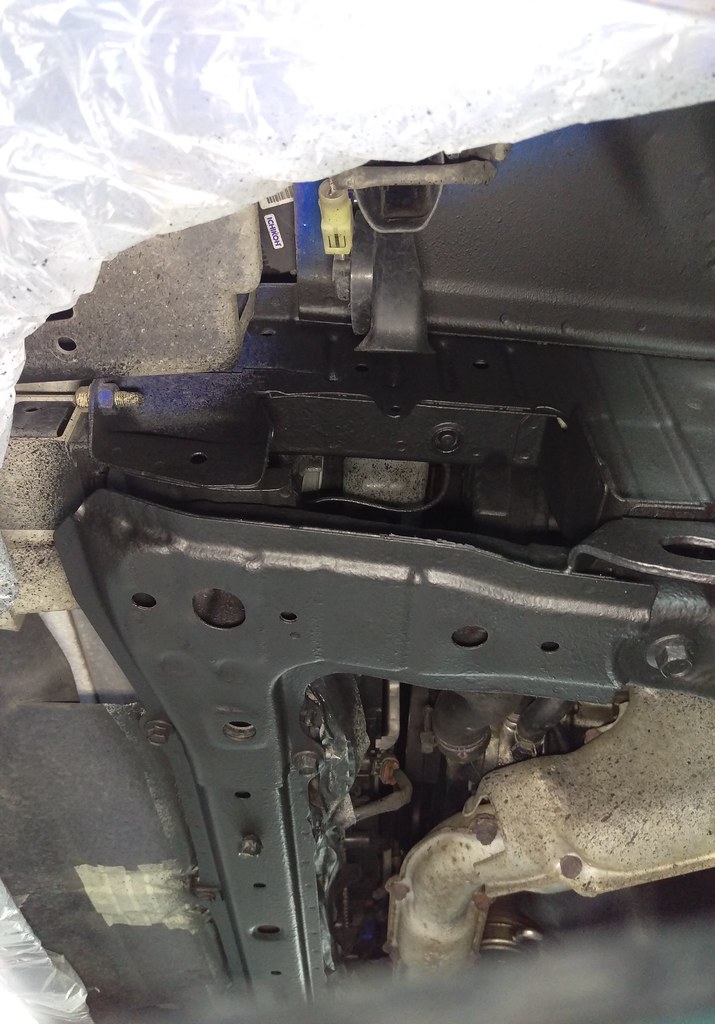
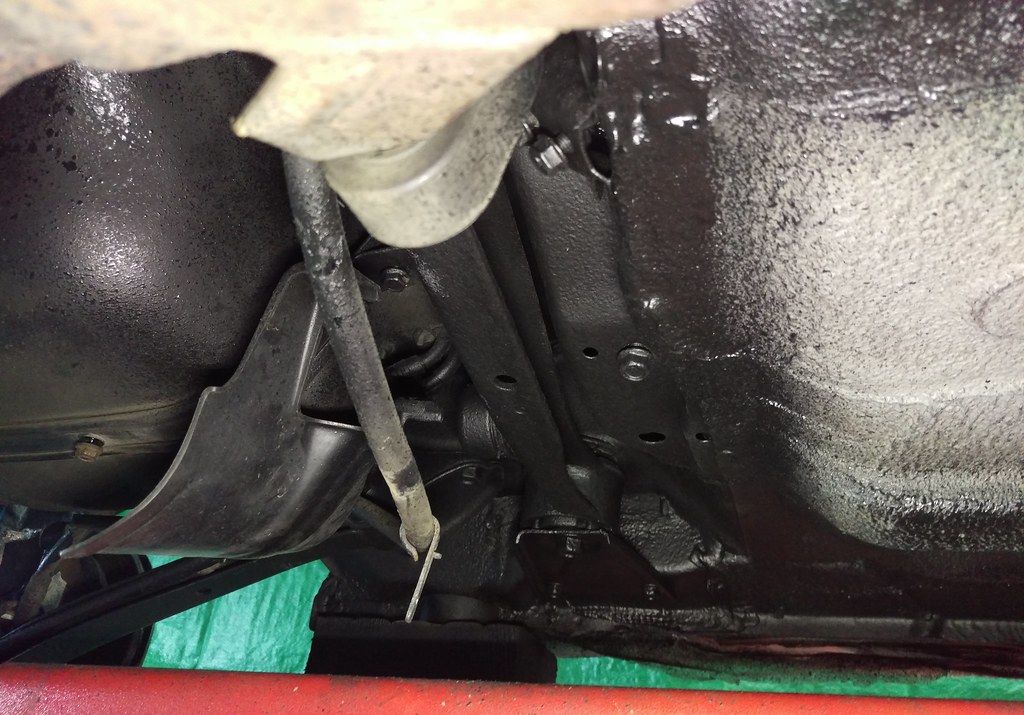
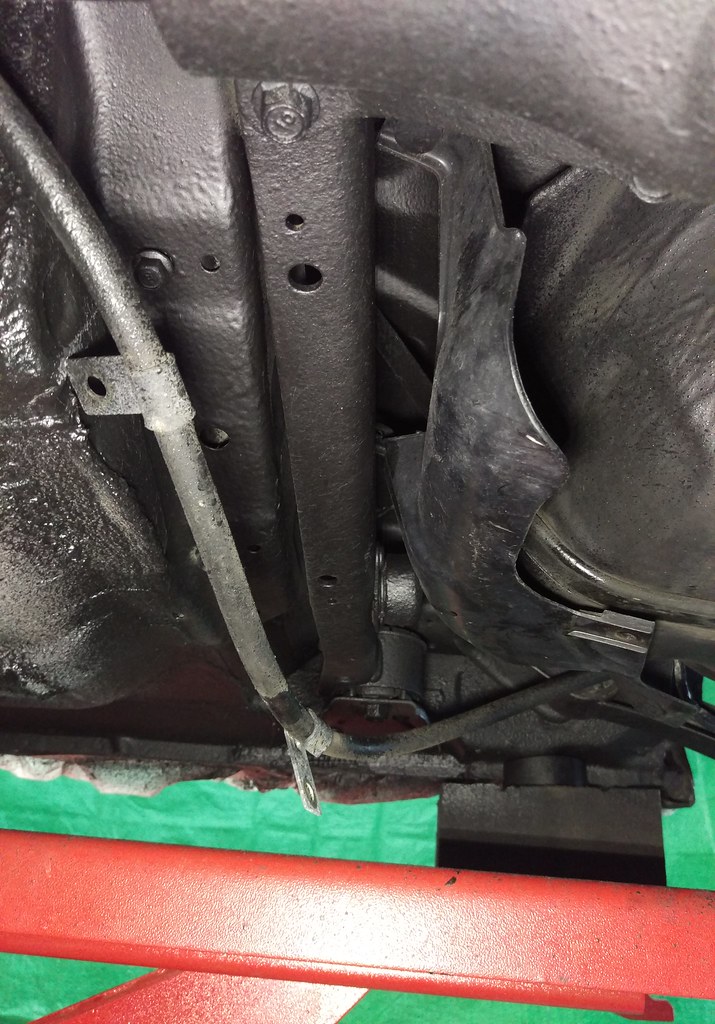
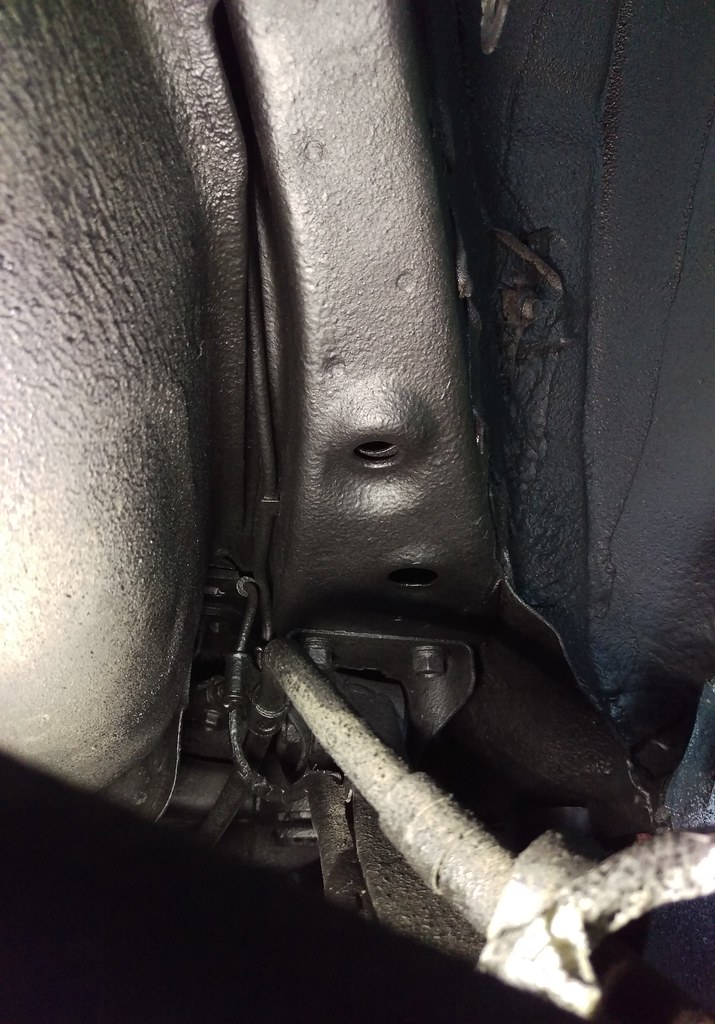
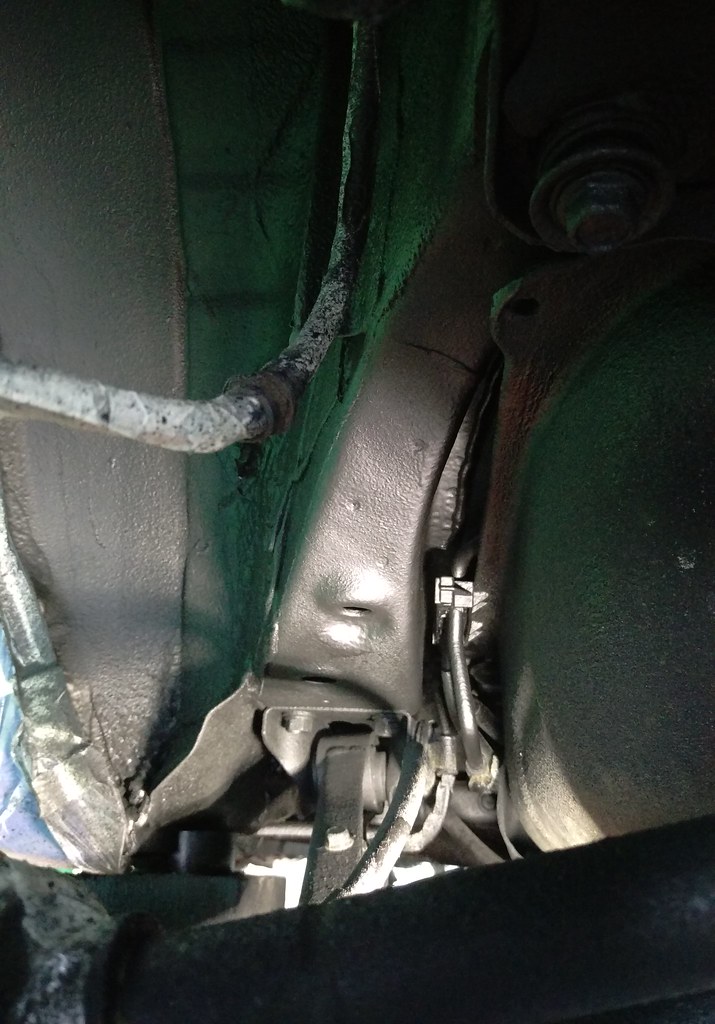
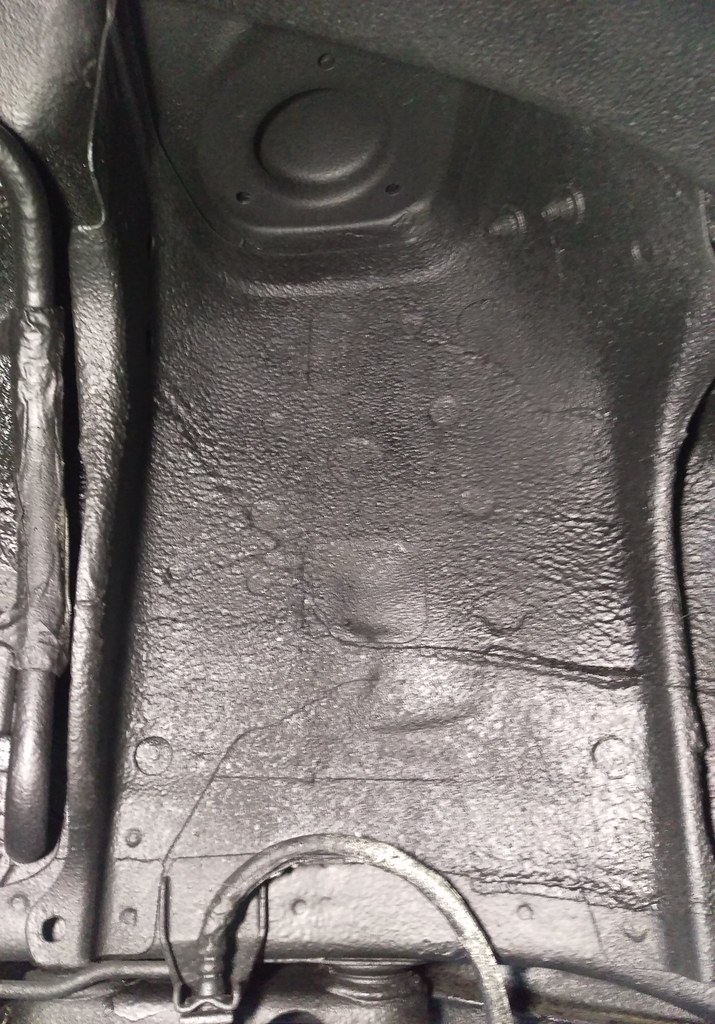
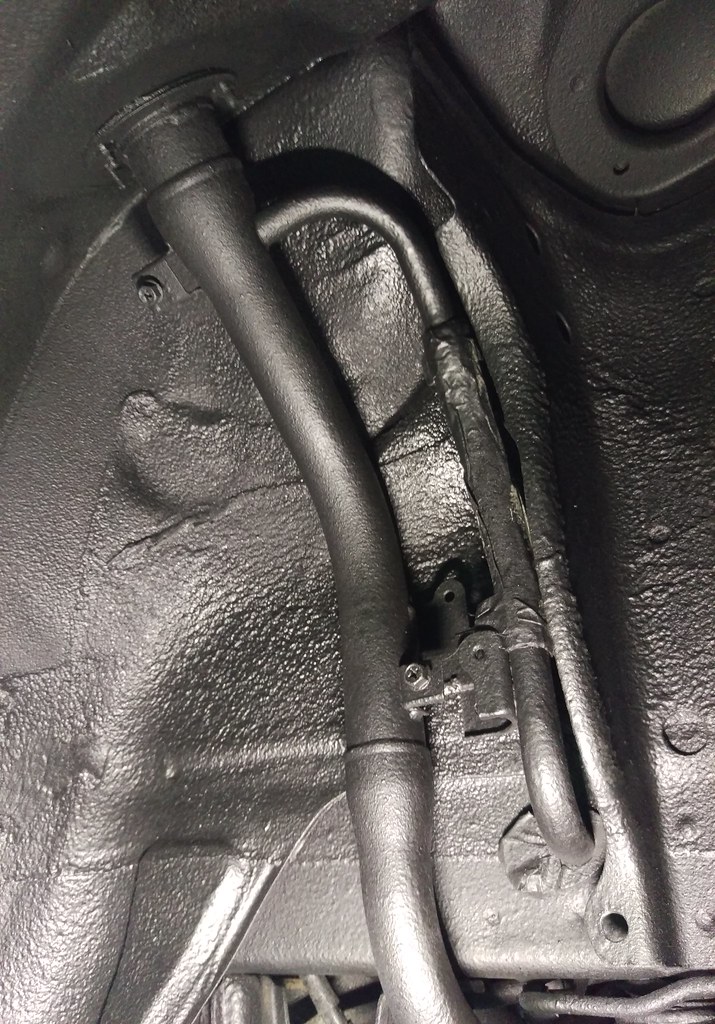
The front end.
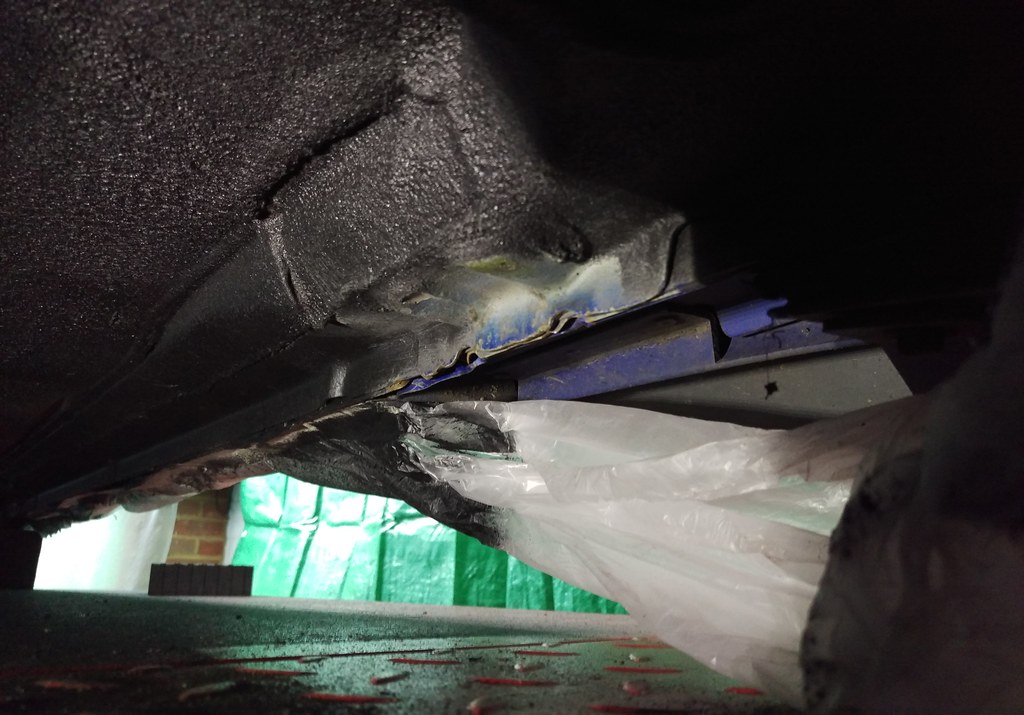
Front subframe is free form rust. Gear linkage wrapped in cling film.
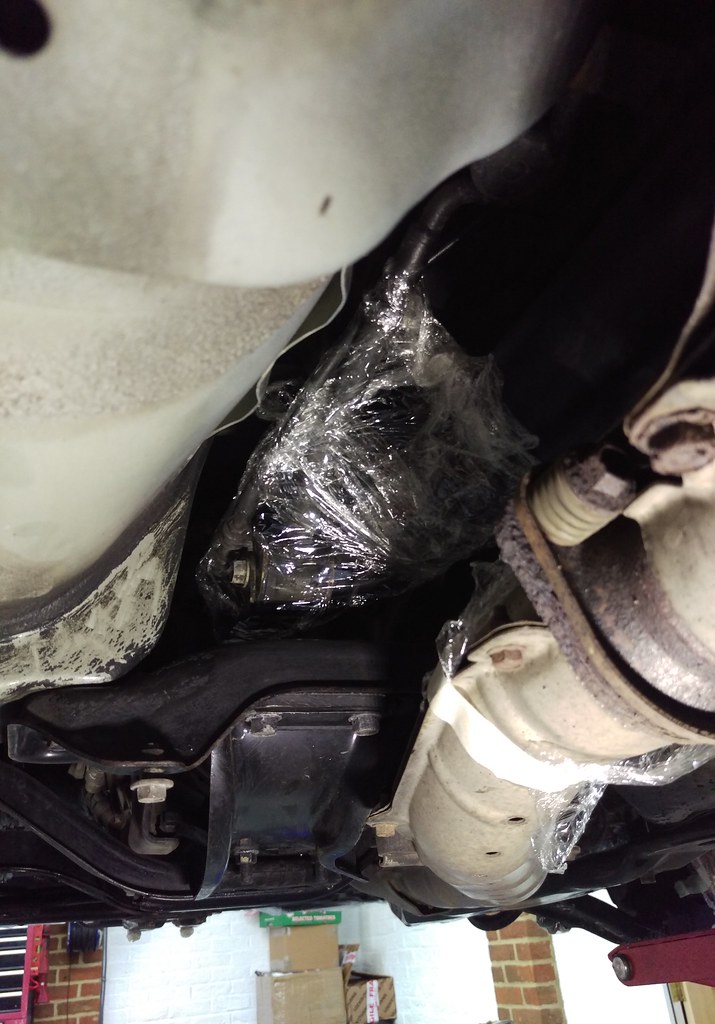
No rust to be found here.


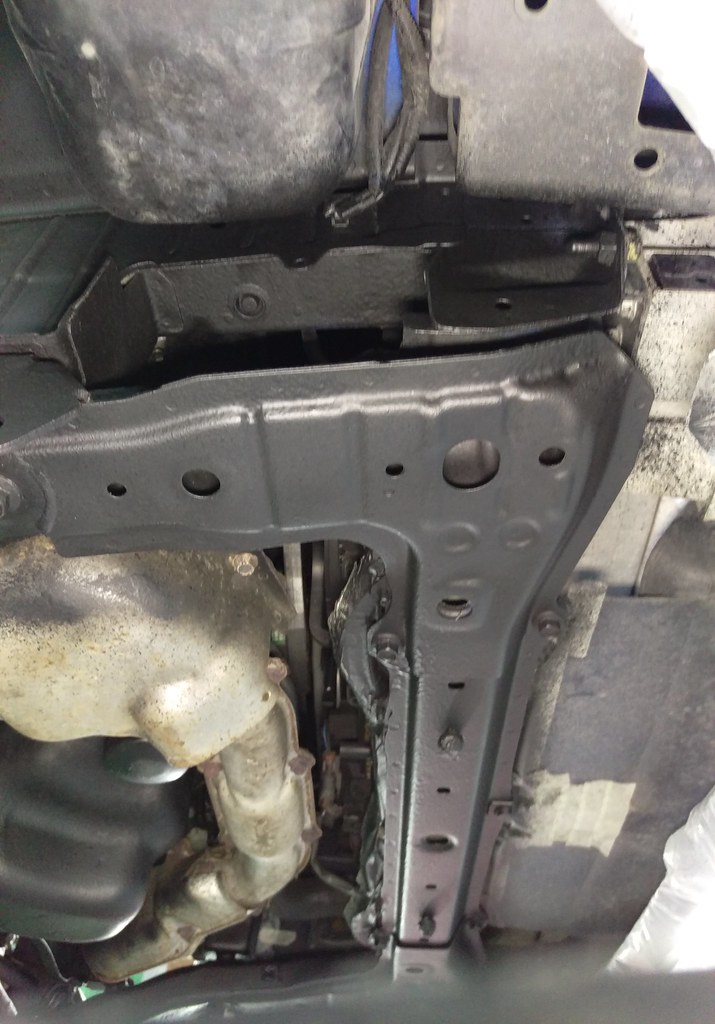
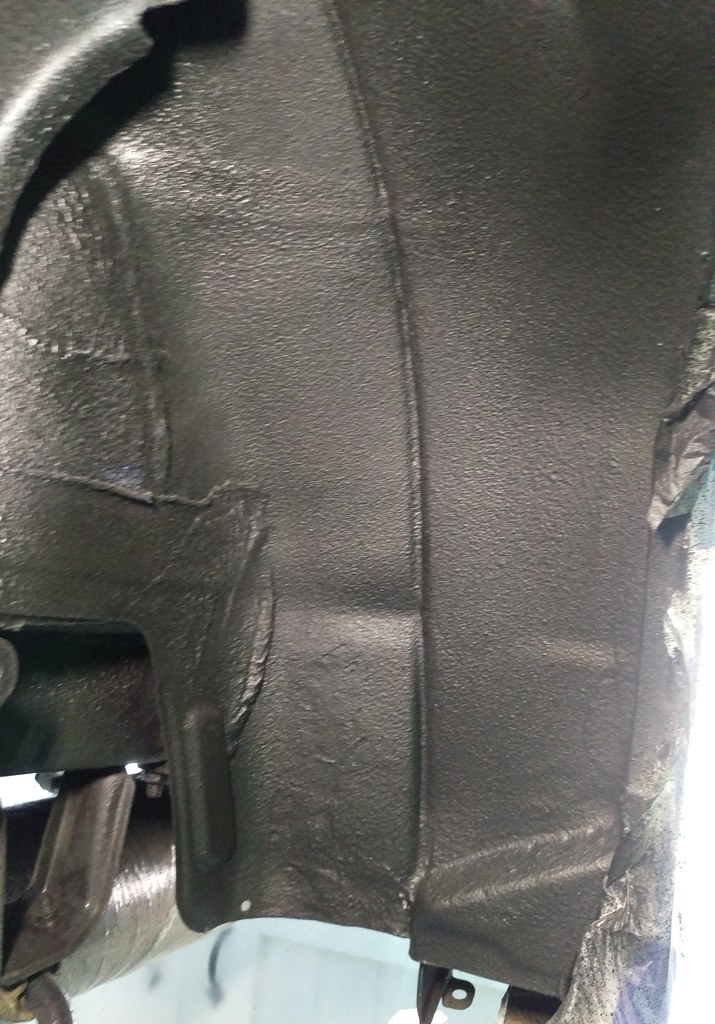
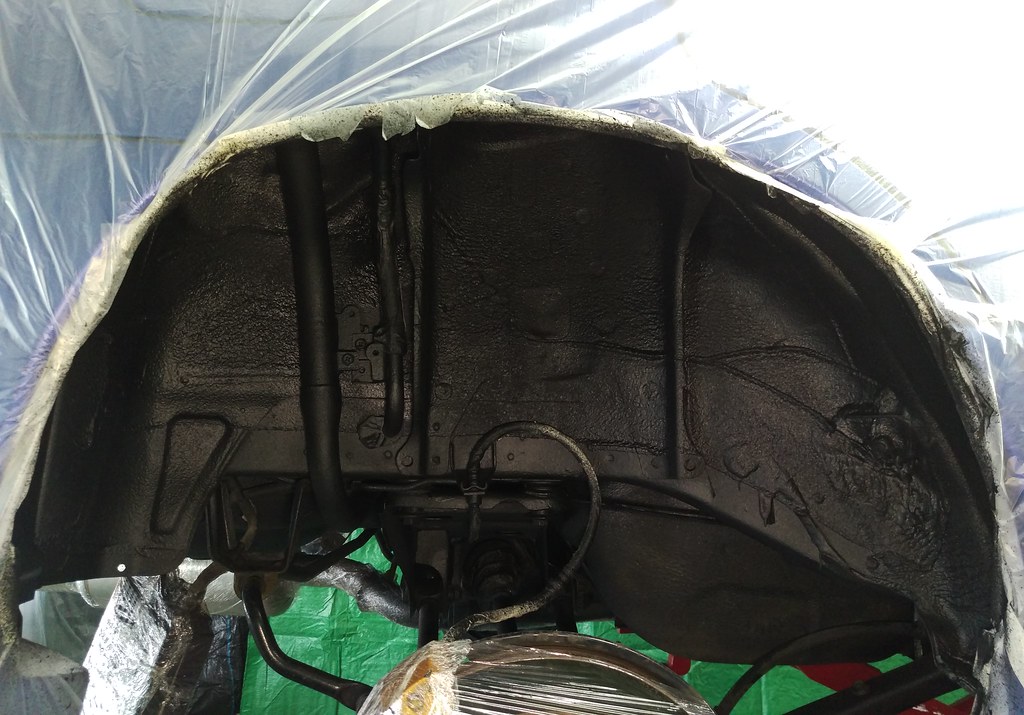
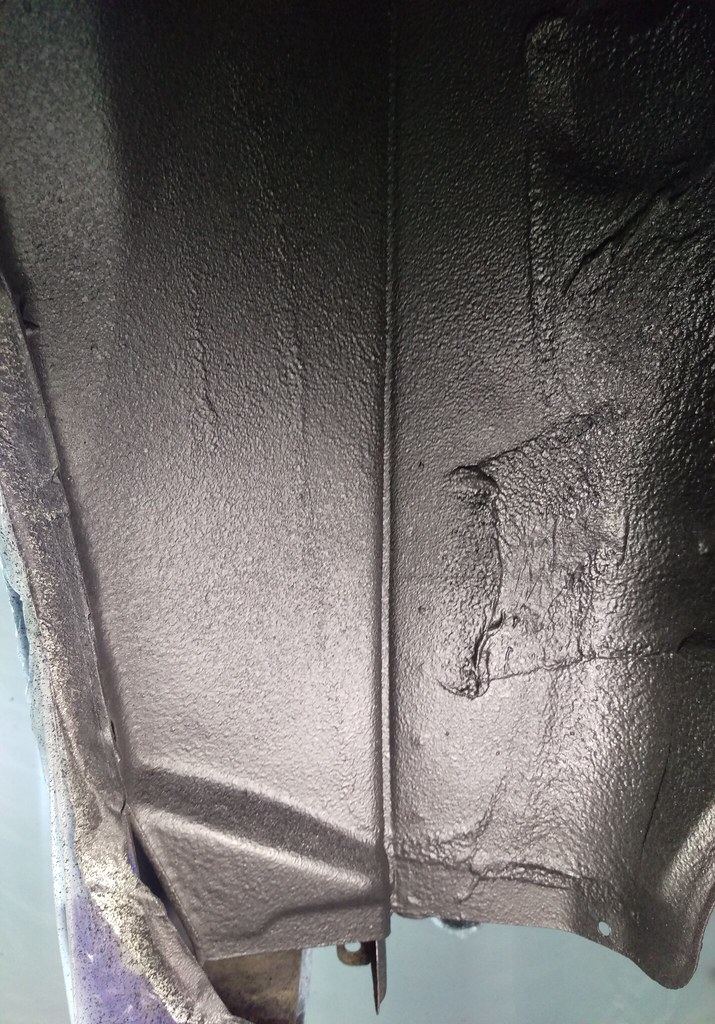
Front wheel arches.

And now it’s time for a bit of this!
This is a proper messy job so I didn’t take pictures of progress as I’d just end up with a phone covered in Dintrol!
Obviously the blocks the car sits on on the lift prevented me spraying those areas so I had to lower the car on to axle stands to move the blocks and coat the uncoated areas. It was all a bit awkward but has to be done to do the job properly.
6 empty tins plus a half of one left from doing Jem’s Mini later and…
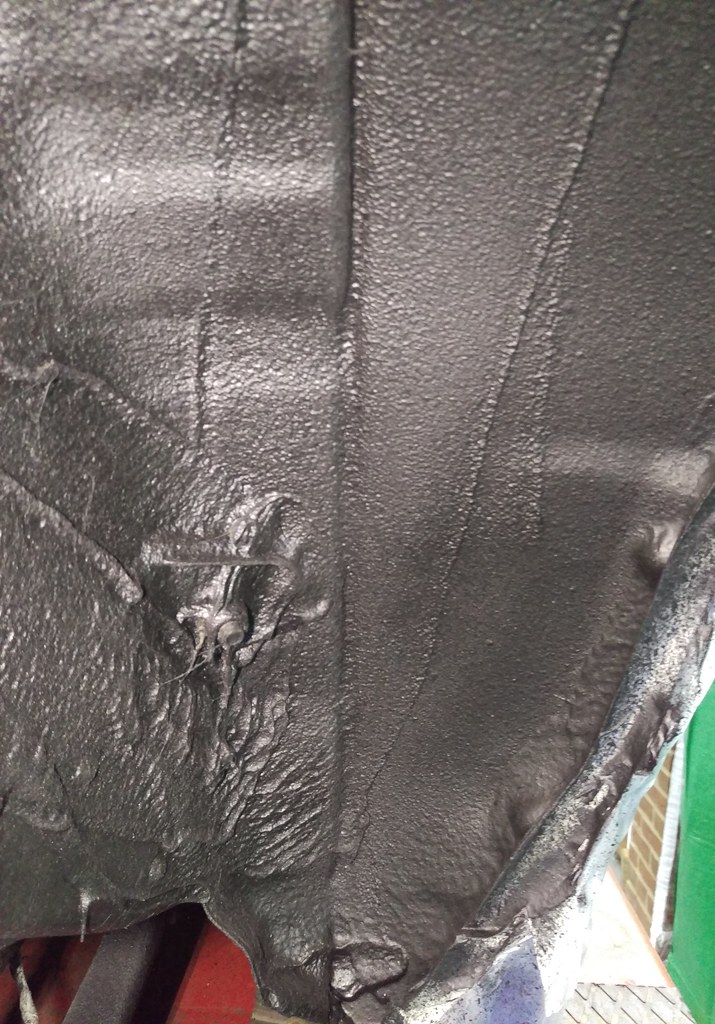
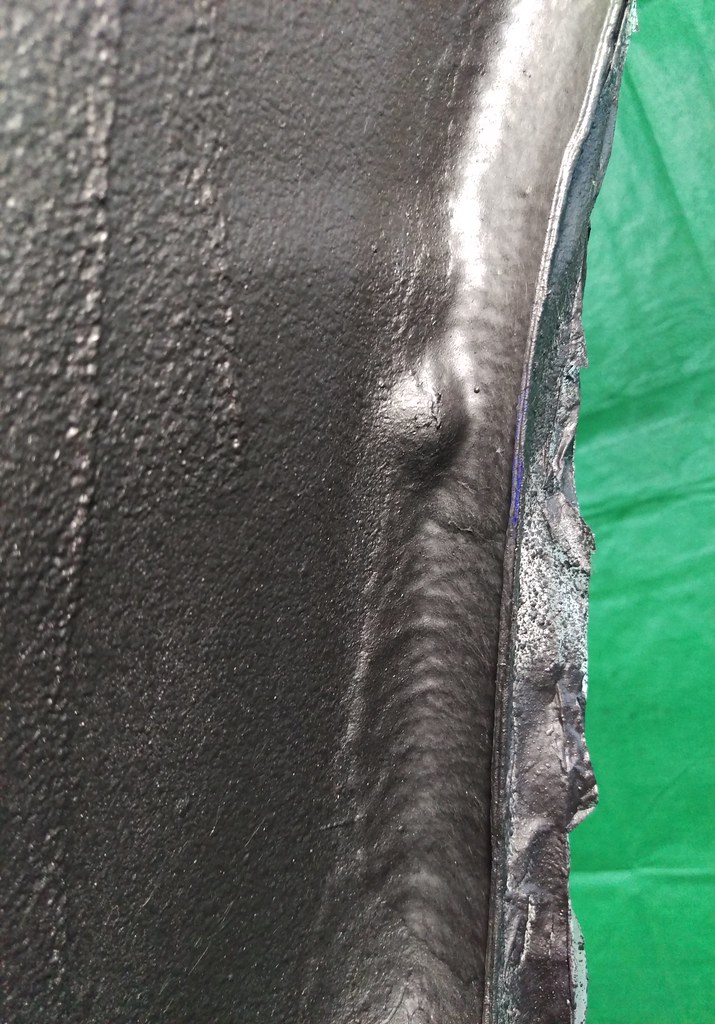
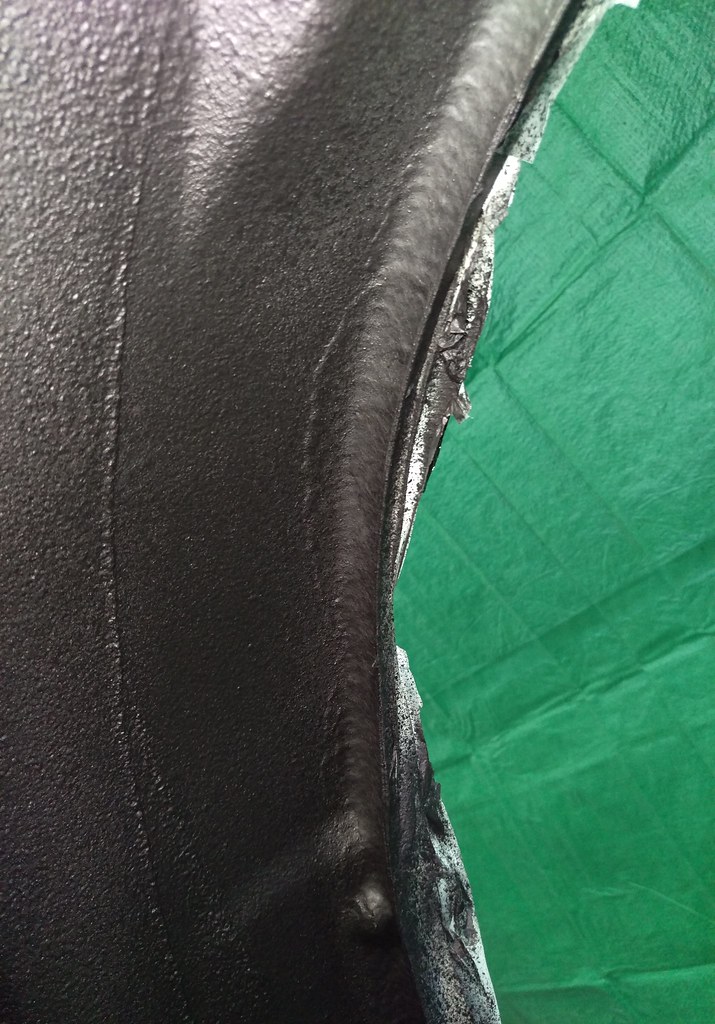
…it looks like this.
Front wheel arches.
Front subframe.
Floor.
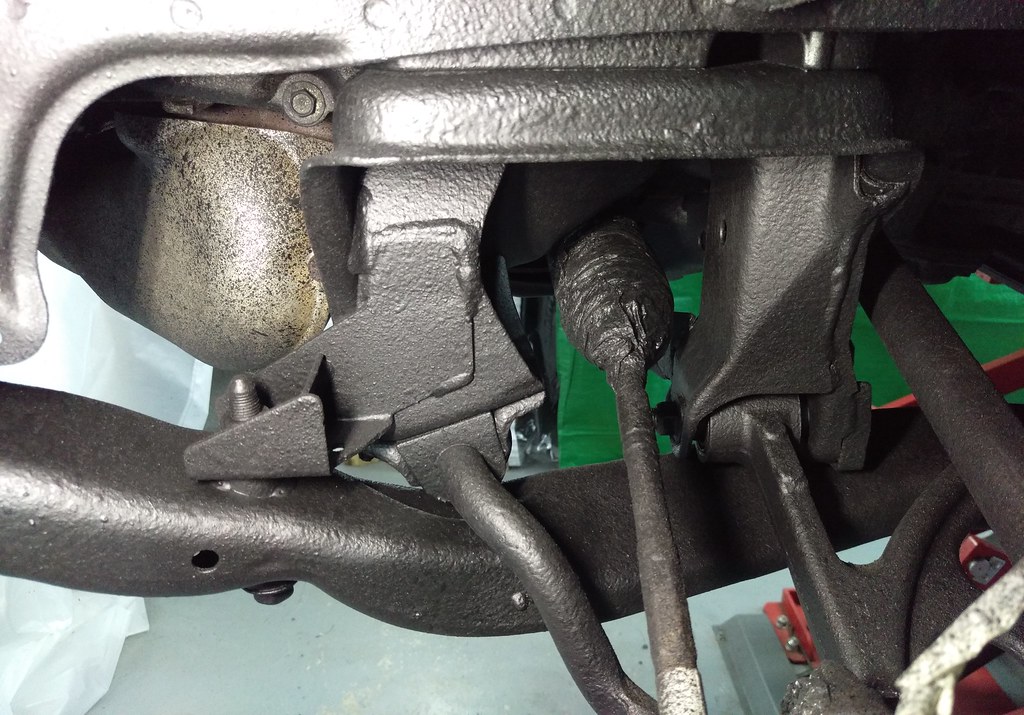
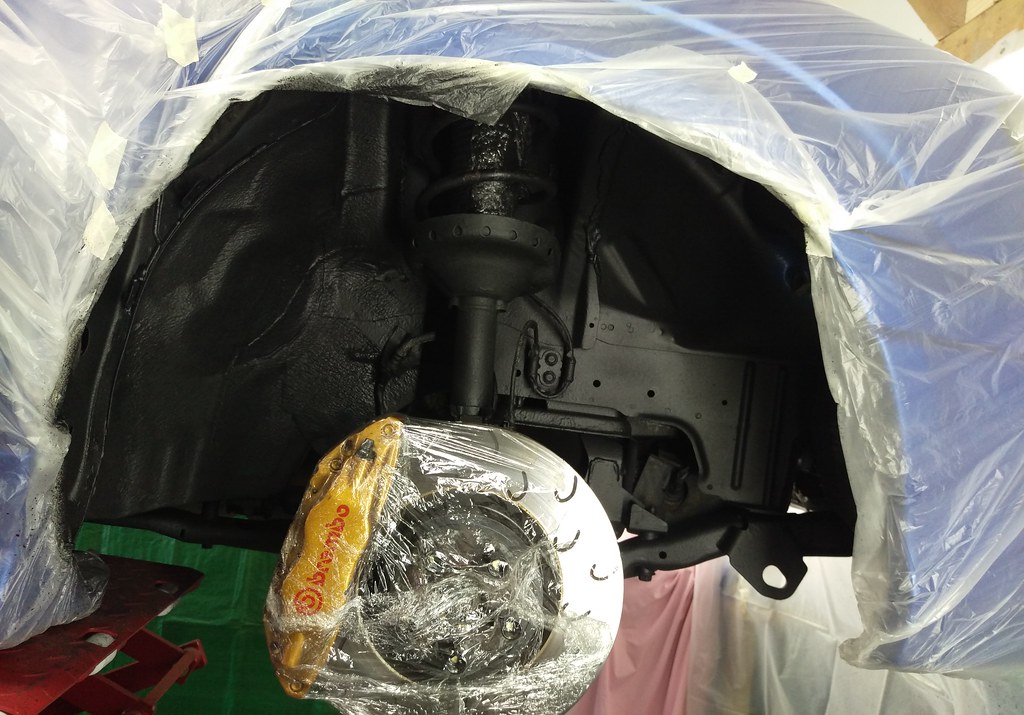
Rear subframe/diff carrier.
Sills.
Rear chassis.
Left rear wheel arch.
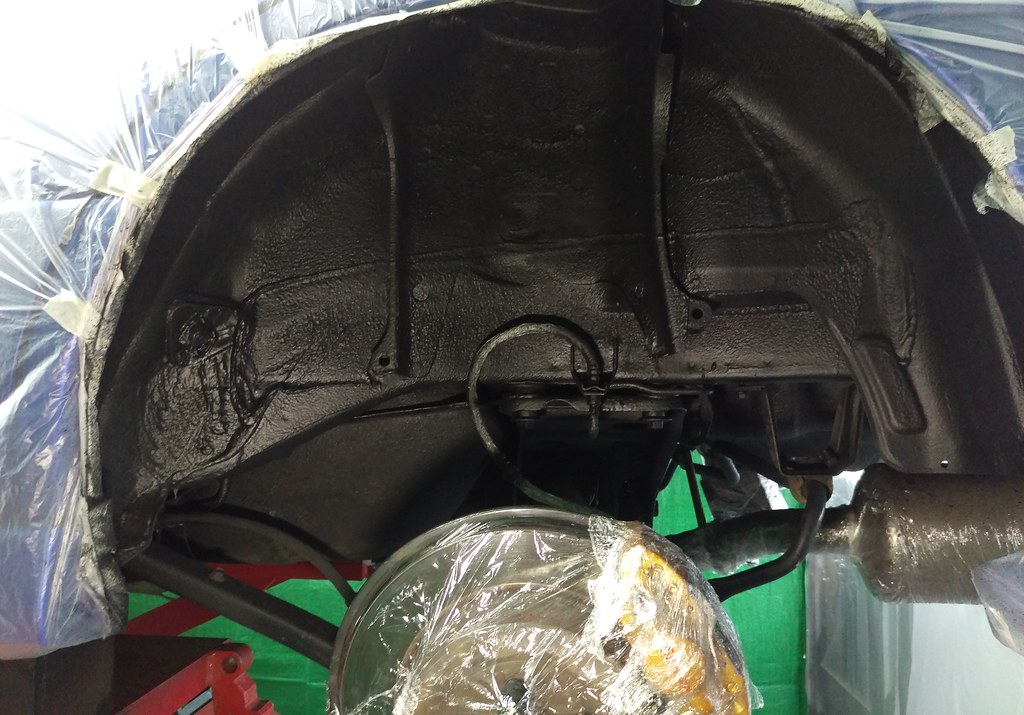

Right rear wheel arch.
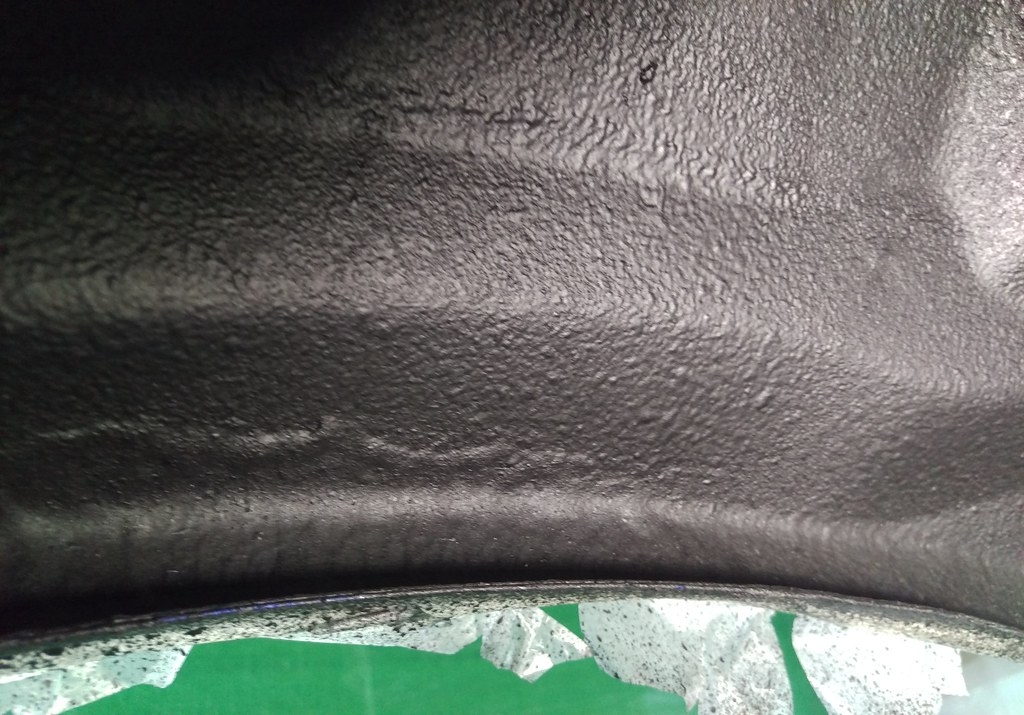

Fuel filler pipe well coated.
Rear end.
Well that’s that part of the job done. The preparation took ages but the spraying part was done in no time. The Dinitrol 447 spayed on really nicely and dried really quick so it was easy to go back round and get a good two or three coats over certain high abrasion areas.
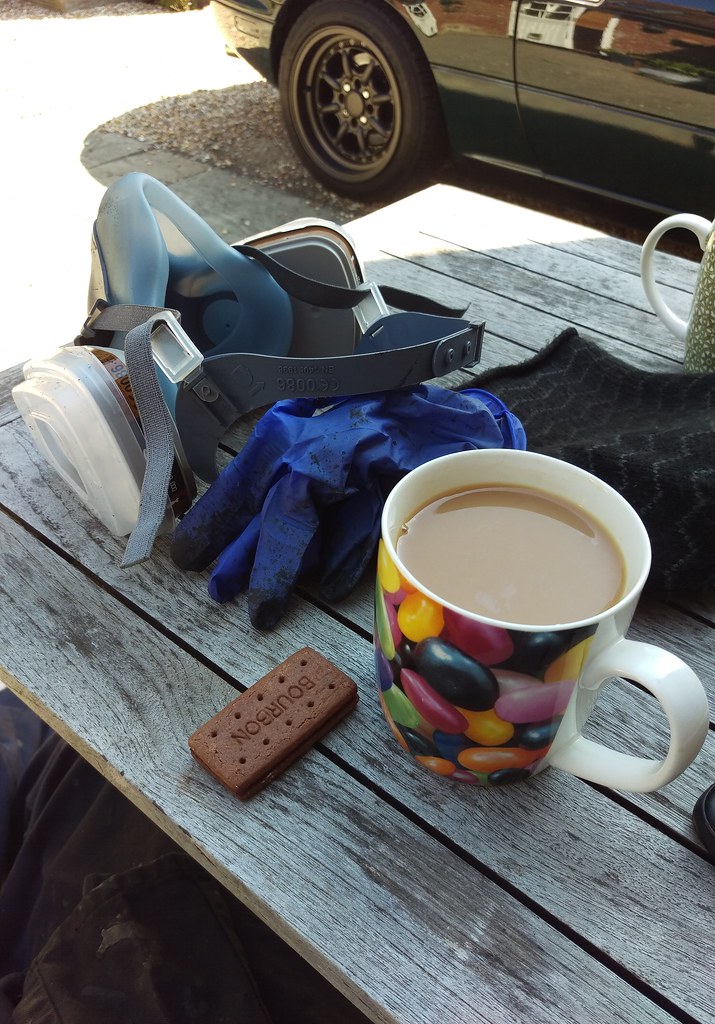
I’m certainly very glad I masked everything as well as I did as it did fill the air with fumes and it got everywhere. Also why I’m glad I wore a proper respirator throughout and took regular breaks with the garage doors open to air the garage space.
Managed a cup of tea and a biscuit in one of my breaks.
Next job applying the Mil-Spec wax to the surfaces and in all cavities…..